Pages

April Release Inspiration Hop ~ Day 2


Hello and welcome to Day 2 of the Inspiration Hop. We are so excited for you to join us as we present to you our April release.  Our fabulous Design Team will be sharing their projects over the next couple days, so be sure to visit their blogs and leave them some crafty love.


 The 4 new stamps sets and 2 new stencils which are all available to purchase right now in the shop.


The stamp set that is being highlighted today is ...

Anchor Tattoo


And the stencil being highlighted today is ...


Dotted Flower Stencil
Make sure you come back tomorrow for Day 3 of our Inspiration Hop.


_______________________


**Giveaway**


To celebrate the April release, The Rabbit Hole Designs is giving away two gift certificates; one to a lucky Instagram Follower and one to a lucky Fan Page follower.  Winner will be chosen at random from the comments left on the INSTAGRAM post, and tagging friends, and also from commenting on the Fan Page post.  So make sure to head on over to INSTAGRAM and look for the giveaway post @therabbitholedesignsllc and look for the post at The Rabbit Hole Designs Fan Page by 11:59 p.m. PST 04-02-2020.  Winner will be announced on The Rabbit Hole Designs blog 04-03-2020.

This is the graphic you are looking for on our IG and FB


___________________


For more inspiration, updates, and news make sure to check out these awesome places! 


Thank you so much for stopping by today!

April Release Inspiration Hop ~ Day 1

Hello and welcome to Day 1 of the Inspiration Hop. We are so excited for you to join us as we present to you our April release. Our fabulous Design Team will be sharing their projects over the next 3 days, so be sure to visit their blogs and leave them some crafty love.


 The 4 new stamps sets and 2 new stencils which are all available to purchase right now in the shop.


The stamp sets that is being highlighted today are

Dice & Diamond Tattoo


Horseshoe Tattoo

Make sure you come back tomorrow for Day 2 of our Inspiration Hop.


Here is the line up for the hop:

The Rabbit Hole Designs

Amanda
Lisa
Jenn
Kel
Donna
Alison
Tangii
_______________________


**Giveaway**


To celebrate the April release, The Rabbit Hole Designs is giving away two gift certificates; one to a lucky Instagram Follower and one to a lucky Fan Page follower.  Winner will be chosen at random from the comments left on the INSTAGRAM post, and tagging friends, and also from commenting on the Fan Page post.  So make sure to head on over to INSTAGRAM and look for the giveaway post @therabbitholedesignsllc and look for the post at The Rabbit Hole Designs Fan Page by 11:59 p.m. PST 04-02-2020.  Winner will be announced on The Rabbit Hole Designs blog 04-03-2020.

This is the graphic you are looking for on our IG and FB


___________________


For more inspiration, updates, and news make sure to check out these awesome places! 


Thank you so much for stopping by today!

You feel like home to me...


Hello and welcome to The Rabbit Hole Designs blog! It's Lisa here with you from 
That is the name of the stamp set I used to make this card. 


I just love the whimsical feel of this image. Everything from the messy hair to the shirt hanging off her shoulder. It just gives you a laid back easy kind of feeling and we all need that right about now! The sentiment is from another Rabbit Hole set called Love You More.  Isn't that just the sweetest sentiment you've ever seen! I think we all have a new appreciation of home right now.... It's our safe space and we are surrounded by our loved ones during this time of social distancing.  I know we have spent a lot more time together just in family meals alone! 
The background of my card was made with the 
Diamond Flower Stencil and two different color oxide inks.

I am very happy with how this card came out.  It has a nice easy feel with some cool colors and I don't even hate my Copic coloring.
😂

Thank you so much for stopping by my blog today!

For more inspiration, updates, and news make sure to check out these places ...


Have a great day, I already am!
☕️Lisa ☕️

When No-line Coloring Goes Wrong...

Beautiful Disaster The Rabbit Hole Designs No Line Coloring

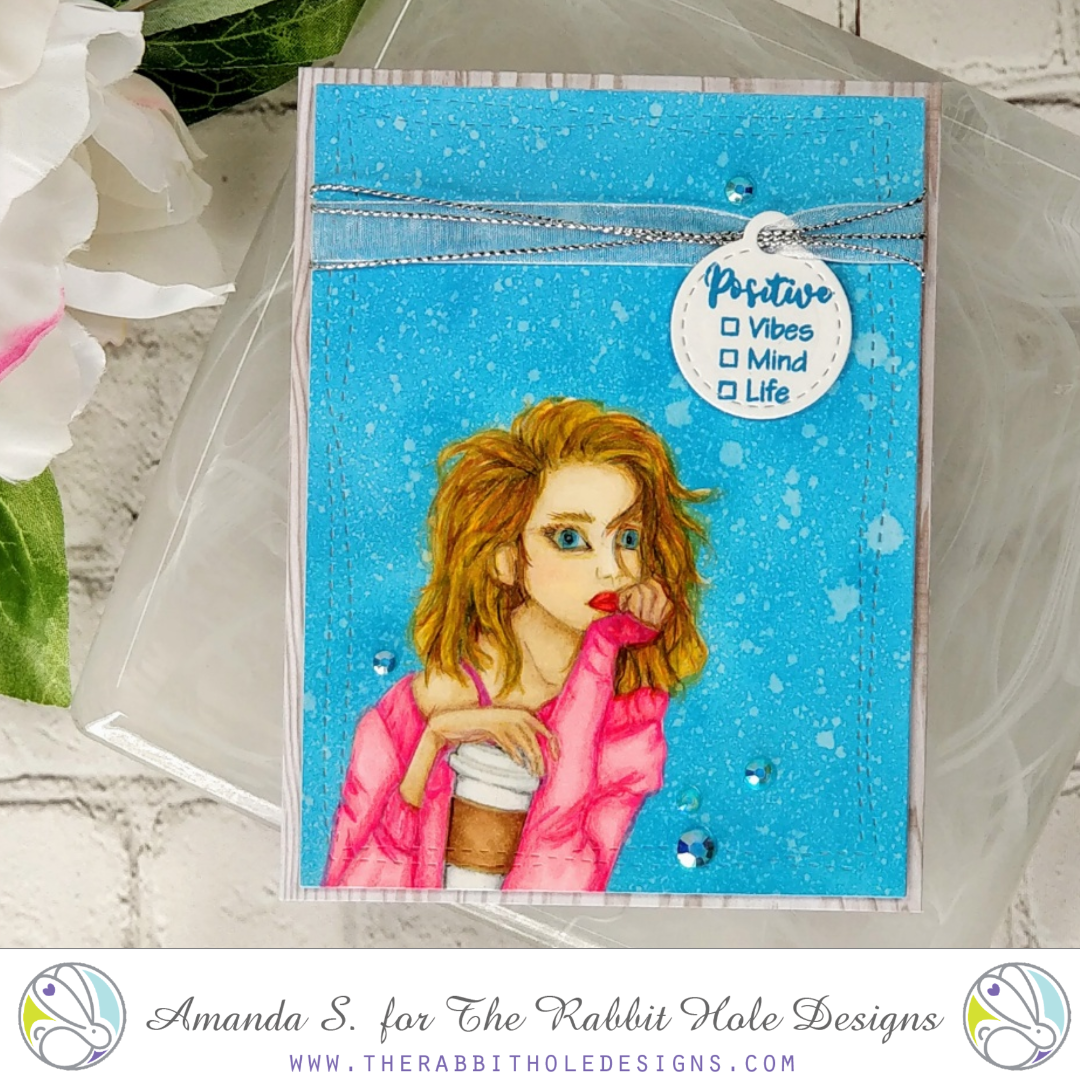
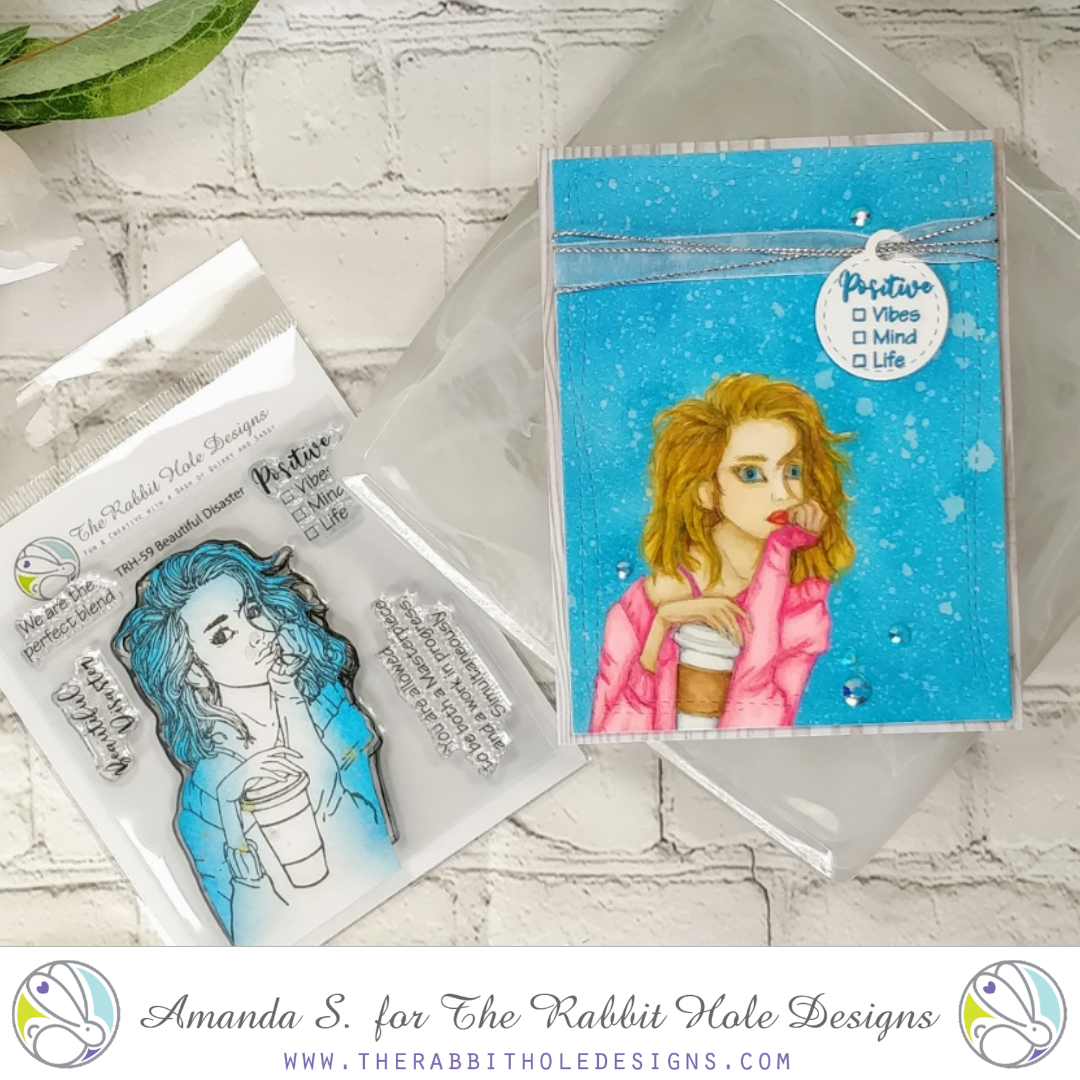
Hey crafty friends, it's Amanda from Pear Blossom Press again. I've been coloring along as much as possible for the 30 Coloring Challenge this month, and I decided to get brave and try no-line coloring again. Instead of going with an easier image, I jumped right in over my head, and went for it with the girl in Beautiful Disaster. I'd colored her before with a black outline, so I felt confident I could pull it off. The result is similar to those cake baking shows where amateur bakers try to recreate a masterpiece. Lol, I nailed it! 

Beautiful Disaster The Rabbit Hole Designs No Line Coloring Beautiful Disaster The Rabbit Hole Designs No Line Coloring

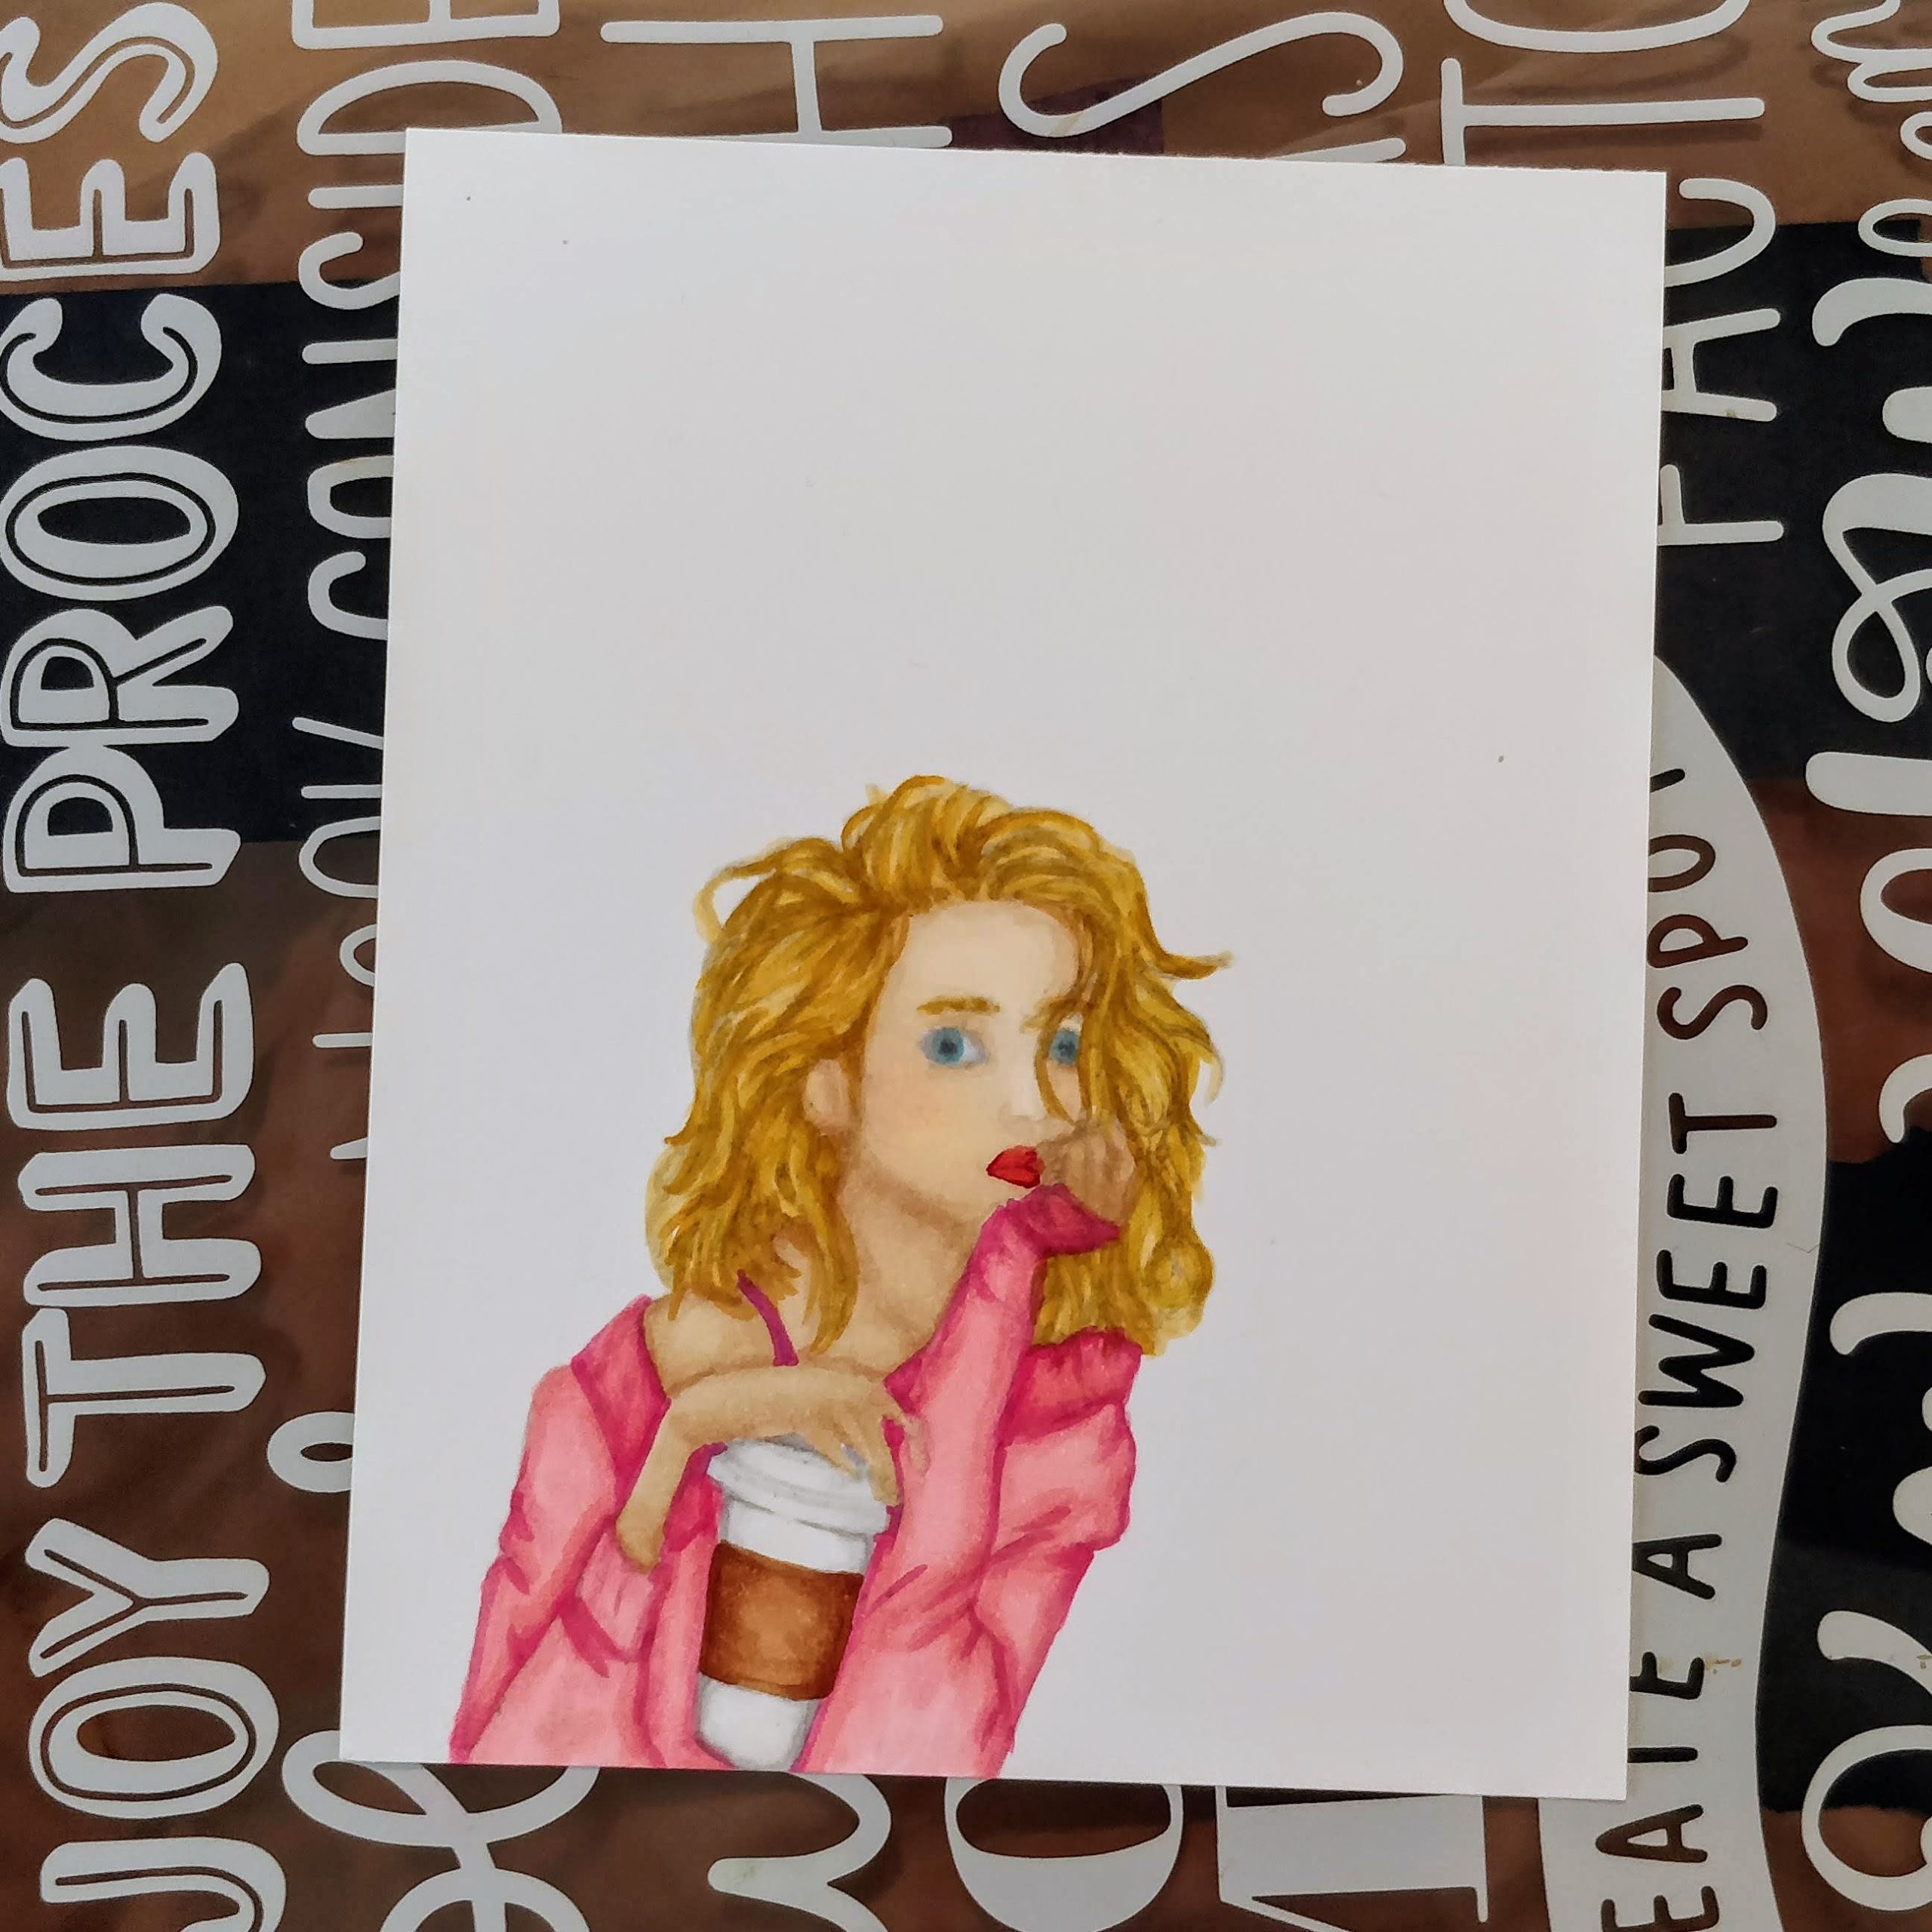
First, I colored her with Copic markers. Then, I started with the colored pencils. I'll be honest, I thought about trashing her. I spent several hours trying to get my colored pencil details right, and there are parts that I actually like, like the coffee cup. But let's be honest, she looks like she's watched one too many makeup tutorials on YouTube. Am I right? I mean, you know you're doing it wrong when your mask looks better than your colored image. I decided to keep her and show you anyhow, just to keep things real. To paraphrase one of my favorite bloggers, Lydia Fiedler, one in ten cards should be a dud to keep you humble. 

Beautiful Disaster The Rabbit Hole Designs No Line Coloring

After my giant hat/swollen head from being on Koren Wiskman's episode of The Craft Cast with MaryAnn last week, I'm okay with a dud. In case you missed it, it was actually a lot of fun! You have to watch to see what the ridiculous hats are all about...  


So what would I do differently, if I were to make this card again? I'd use a darker ink to stamp my image. I used Fadeout ink this time. It's awesome for a lot of things, but I couldn't always see where the lines were for this image. I know Kathy Racoosin recommends Warm Glow ink for no-line coloring. It's darker, so that should help. I would also skip the ribbon at the top; that went out of style a while ago. I don't know why I added it. I think I was hoping it would distract you from her alien eyes ;) Honestly, I would probably stamp this image in black again, until I've got some more no-line practice. (And practice on florals, or images that won't look distorted if lines shift a little.)

Alright, now it's your turn. I'm sharing this on Facebook too, so when you see the post, share a picture of one of your duds. I promise to laugh with you, not at you. That's what friends are for, right? And we can all use a little laugh these days. That being said, I hope you and your loved ones are safe and healthy. And I hope the TP and noodles get restocked in your area soon...

Thanks for stopping by today. You can find the sister article to this post on my blog. (Because if I'm sharing a dud, I have to share it everywhere, right?) Head on over for links to the products I used and more inspiration. Make sure to follow The Rabbit Hole Designs on social media to see much better versions of Beautiful Disaster from the rest of the design team. It really is a lovely stamp set. 

Hoppy Easter Egg Card


Hey Everyone! Justin here, and today I am sharing a fun Easter card that I made using the new All Ears set, part of the March 2020 release and available now!

There are so many fun ways to use these adorable little bunnies, and, for this project, I decided to only use 4 of them!

First, I stamped out my bunny pile from All Ears and colored up 4 bunnies from the bottom row (starting at the bottom left bunny and working my way over) with my warm gray alcohol markers. I then fussy cut the bunnies out so there is no border.

To create my Easter egg background, I cut (2) 4.125" x 5.375" panels from white cardstock, once of which also had an Easter egg cut out from the center. I laid the Easter egg cut-out piece on top of the no-cut-out piece, and taped them together with a few pieces of purple tape for stability while stenciling. Then, I put the Candy Twist Stencil on top of the attached panels and ink-blended a pastel ombré. After I was done blending, I removed the stencil (you know, that moment that perfectly emotes the emoji that has hearts for eyes). Before removing my Easter egg cut-out piece, I splattered the inked area with some sparkle silk for extra shimmer. I removed my Easter egg cut-out piece and let my panel set aside to dry.

From here, the card became fairly easy to put together. After the Easter egg panel dried, I adhered it to an A2-sized piece of light blue cardstock. I stamped the sentiment "Hoppy Easter" from All Ears on a .5" high sentiment strip, and framed that with some light pink cardstock. I placed my 4 little bunnies from All Ears into a position where it looked like they were over hanging the strip, and covered the back of my bunnies and strip with some foam tape, and adhered the piece to my card.

I then took some sequins from one of the packs I received when ordering from The Rabbit Hole Designs that had a pearly pastel palette, and adhered them to my card.

I adhered my panel to an A2-sized card base and I was done!

Here are the products I used to make my project:

All Ears


Candy Twist Stencil


For more inspiration with your The Rabbit Hole Designs Creations, be sure to follow along at these other locations:


For more details about products used in this post, you may also follow along at my personal blog, Just a Note by Justin, as well!

I hope this card is providing you with some fun ideas with how to make some adorable Easter cards or just fun bunny cards in general! Thanks for stopping by the Rabbit Hole Designs blog!

Doggone, It's Your Birthday

Kelly here on the blog today. 
I am very excited to share this birthday card with stamps and a stencil by The Rabbit Hole Designs, LLC.

 I created the background with the "Candy Twist" Stencil.
I masked off one of the candies and used three different inks.
I cut a circle and used distress ink to create the sky and grass.
I stamped the dog from "Doggone", colored him with copic makers and cut him out.  
I swiped the inks to paper to get perfectly matched balloons to the stenciled pattern in the background. The balloons were made with a punch.
I stamped the sentiment from the "Doggone" stamp set on the circle.  
I added Nuvo glaze to the balloons.  
So fun to create and I think this is perfect for anyone at any age!


For more inspiration, updates, and news make sure to check out these links.


I hope you enjoyed my birthday version of DOGGONE!  
This would be fun to make in other color combinations! 
Kelly 
 

Nobunny Like YOU


Hello there! Michelle here...
I couldn't resist playing with this stamp set, All Ears! Their faces and ears...and that cutie with 
the bow!!!!! I stamped the bunny cluster with antique linen distress ink and used Copic Markers to color. I used shades E40, E41, E42, E43, E44 and E000 for their bodies. I used RV10 and RV13 for ears, cheeks and bow. I used N0, N1, N2 for the shadow. 
 After I finished coloring, I used the Spell It stencil to ink up the word YOU. I used distress oxide inks in spun sugar and picked raspberry.  I stamped the sentiments with Memento black ink.
For a finishing touch I added some white accents with a gel pen and a few sparkly gems.
Thanks for taking a peek!!!
Hope you are keeping yourself safe and your mind busy with fun things!!!

All the best!
Michelle


Supplies used:
All Ears 4x4

Spell It - 6x6 Stencil


For more inspiration with your The Rabbit Hole Designs Creations, be sure to follow along at these other locations:

You are a Masterpiece

Hi Friends!
Donna Here today sharing a card I created using the newly released Beautiful Disaster stamp set.
I adore this girl so much and the sentiments in this kit are absolutely wonderful.


I created a simple smoosh background using distress oxide inks and afterward
applied the image using my Misti tool to apply several layers of  black to make the image stand out.


Beautiful Disaster

Thank you for popping by today. I hope you enjoyed my card!

For more inspiration with your The Rabbit Hole Designs Creations, be sure to follow along at these other locations:


From OWL Of Us Card

Hey Everyone! Justin here, and today I'm sharing this fun creation using the new OWL-Right set, part of the Rabbit Hole Designs' March 2020 Release!

This little bunch of owl are so stinking cute, and I love that the possible color palettes to color them up are just endless. For today's card, I decided to throw a masculine color palette on them. Now, for me, this color palette could really be for anybody. When I create something that I want to give to a guy, I just make sure to not use any overly feminine themes.

First, I cut out a 4.125" x 5.375 panel and stamped my group of owls from OWL-Right in the lower center of the card. I colored the owls up using a red, denim and neutral gray color palette with my alcohol markers. Each owl only uses a 3 color blend for their feathers. Then I went in and added some details, such as a warm gray shadow underneath the lower row of owls, and light blue eyes for all of them that wash out to white towards the end.

Next, I wanted to use the set's sentiment "From OWL of us", because you can really use it for so many occasions: birthday, anniversary, retirement, congratulations, etc. However, I wanted to also use the Spell It Stencil to spell out "OWL" since I knew I would have the space. So, I lined up where my sentiment would fit, and carefully blended my O, W & L in red ink with a blending brush.

Tip for the Spell It Stencil: I'm sure that you've seen a lot of the Design Team and Rabbit Hole Crafters use the Spell It Stencil to spell things out on their projects, and one of the reasons why is that it is incredibly easy to do! Because the stencil is structured where each of the letters is broken into horizontal rows of lines, it's so easy to make sure that your letters are all lining up and not "wonky". For this card, I actually blended my "W" first, just to make sure it was centered. I then went in with my "O", finishing with my "L".

For the rest of my sentiment, I stamped out "From" and "of us" onto a navy blue strip of cardstock and heat embossed it with white powder. I cut the strips into small segments and mounted them to the card with foam tape.

To finish this card off, I adhered my white panel to an A2-sized navy cardstock panel, applied some red accents, let them dry, and mounted the card to an A2-sized card base!

Products Used in this Project:


For more inspiration with your The Rabbit Hole Designs Creations, be sure to follow along at these other locations:


For more details about products used in this post, you may also follow along at my personal blog, Just a Note by Justin, as well!

There are so many things to love about this new release, especially these adorable owls! I hope this card sparked some ideas and inspiration for your next project!

You are Ear-resistable!


Hello everyone, Lisa here from Oh So Cute By Lisa and I'm here on the blog today with
a heart shaped card using the recently released stamp set All Ears.  I started by coloring my bunnies with Copic markers in different shades of brown with a couple of pink bunnies thrown in for fun. I colored the background in a pale blue/green and fussy cut those cute bunnies out.  Next I used the Diamond Flower stencil and a blending brush to make a pale pink pattern that I then cut out with a large heart shape.  I cut out a larger heart shape to mat the stenciled panel on in a light blue/green color.  I added foam tape to the back of the bunnies and popped them up on the stenciled heart.
For a little bit of added interest I added some fun white dots around the larger heart. All that was left was to stamp the sentiment from the All Ears stamp set and my card was done!

Thank you so much for stopping by the blog today!

For more inspiration, updates, and news make sure to check out these places ...


Have a great day, I already am!
🐰 Lisa  🐰