Pages

Rainy Days!

 Hi everyone! Von Marie here and I am so happy to be on the blog today. I have a card to share with you using a new stamp from the latest release!


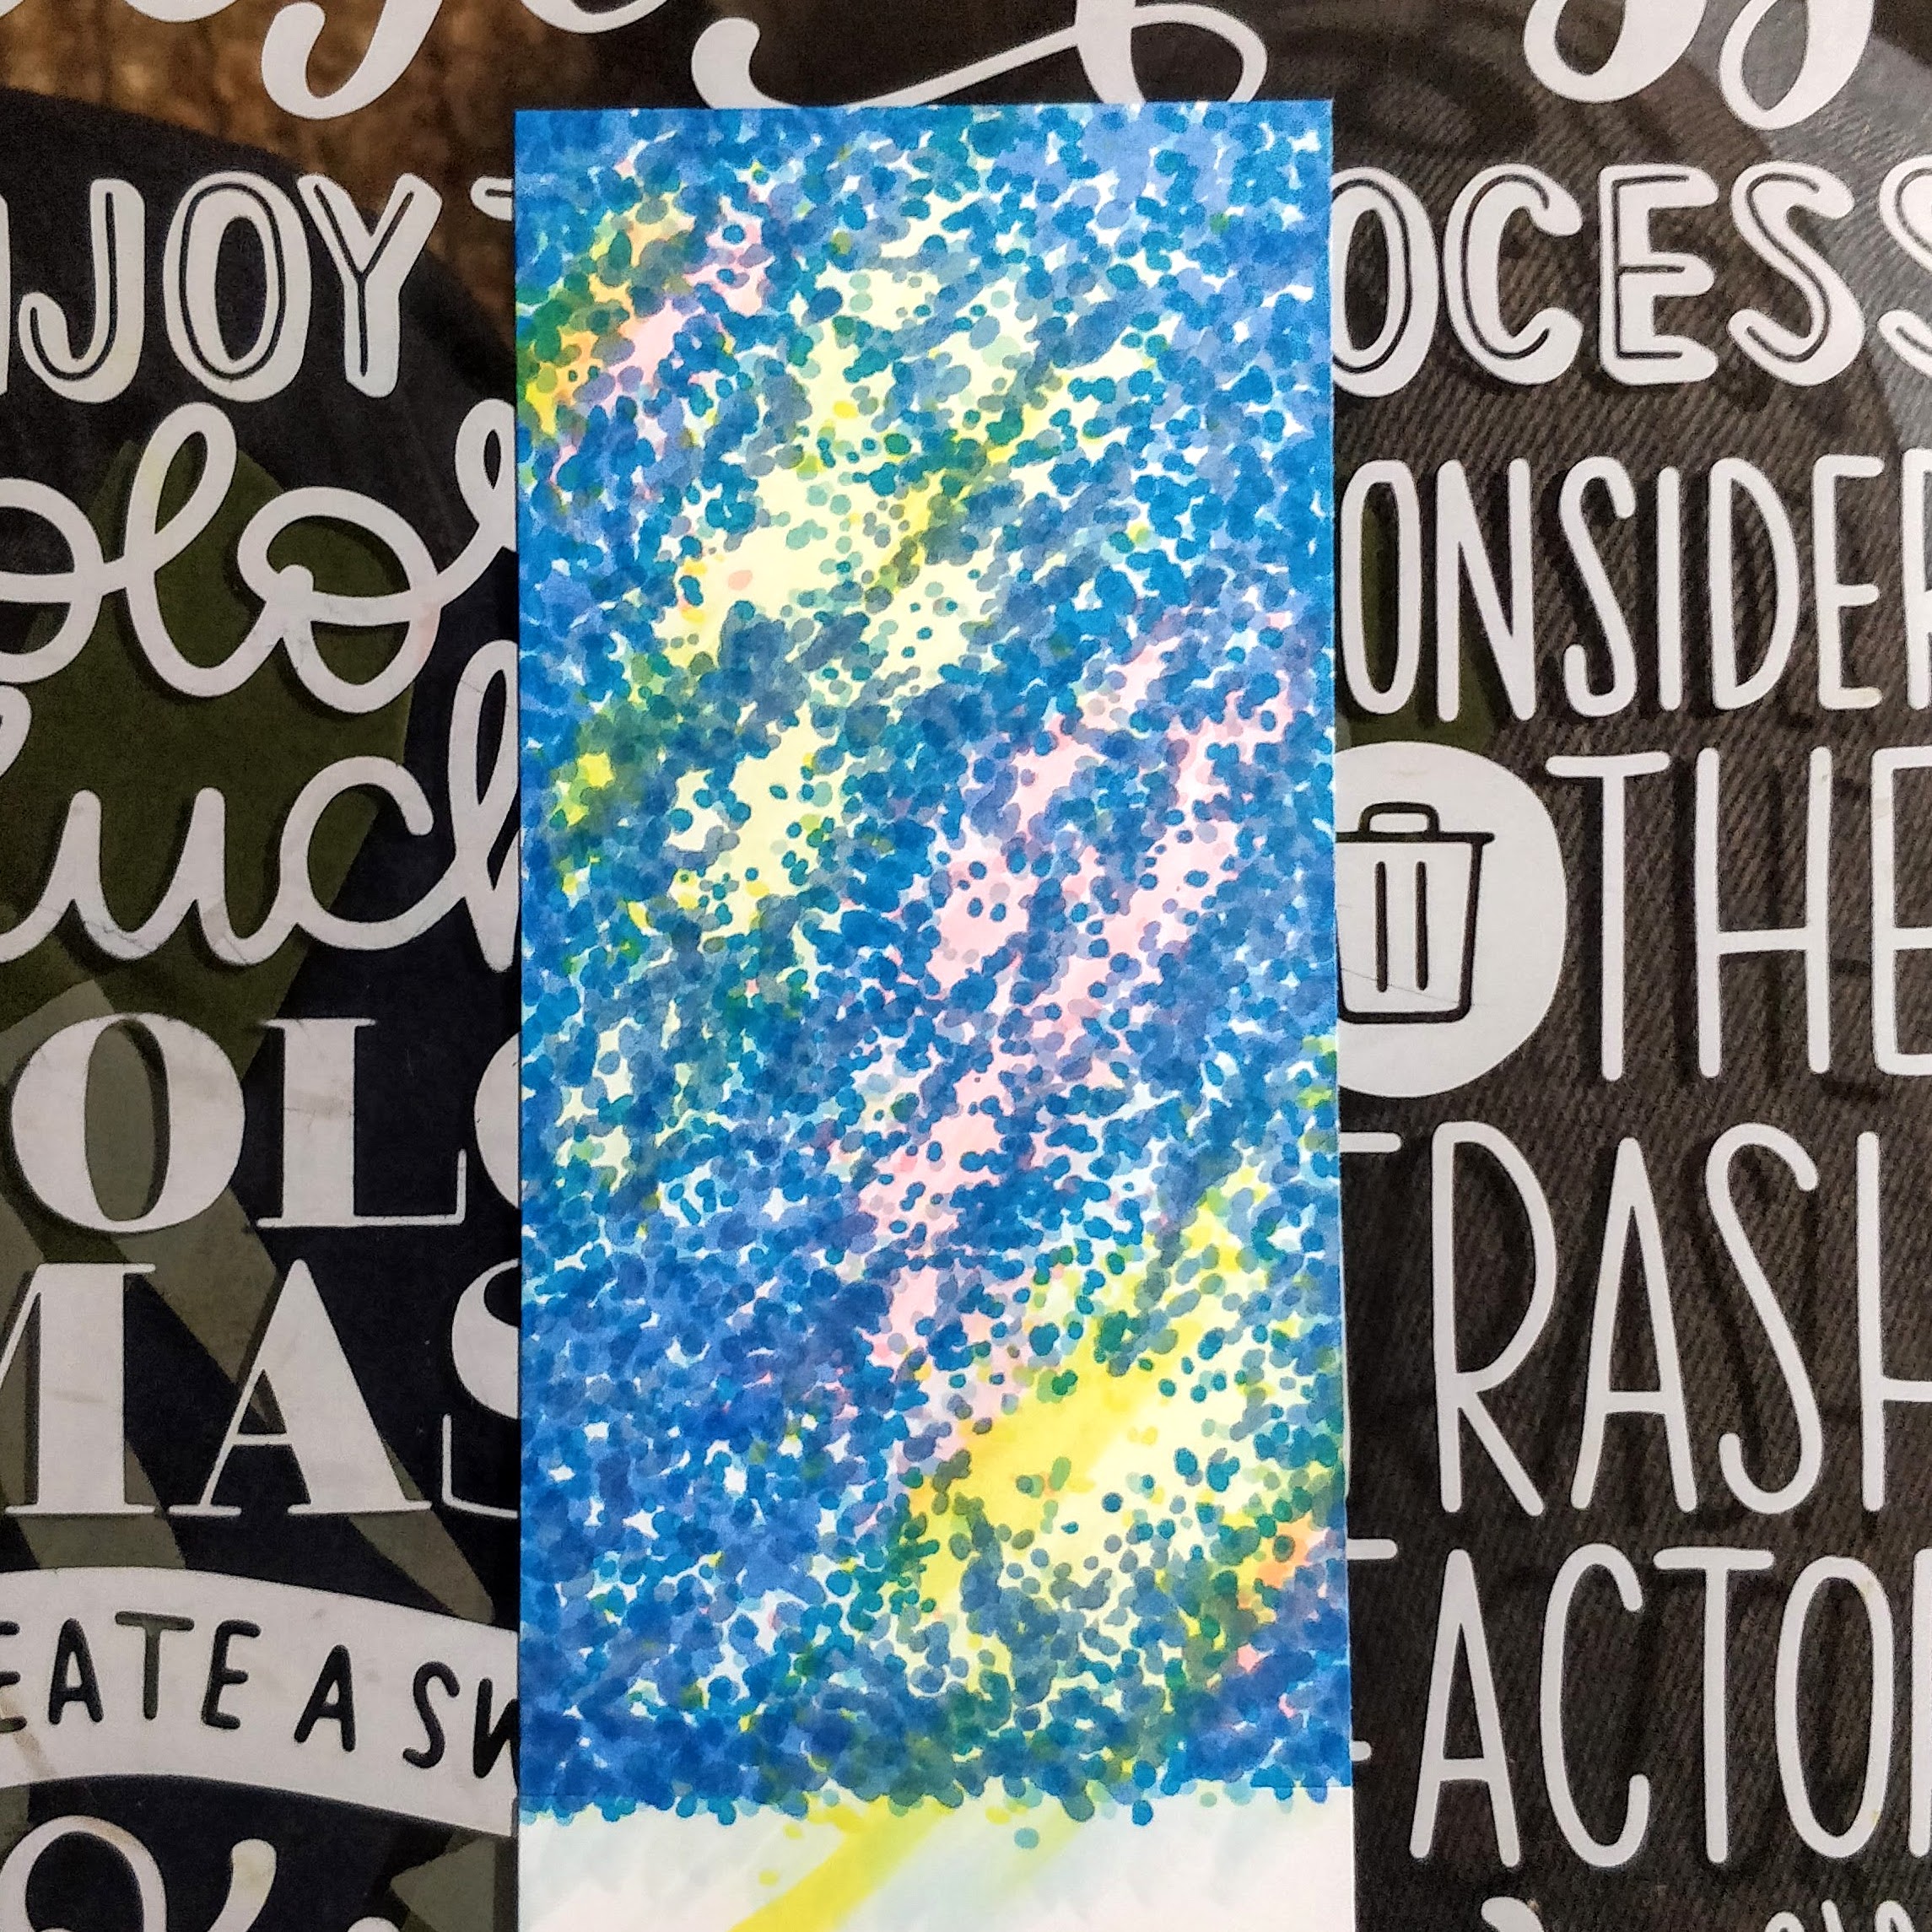
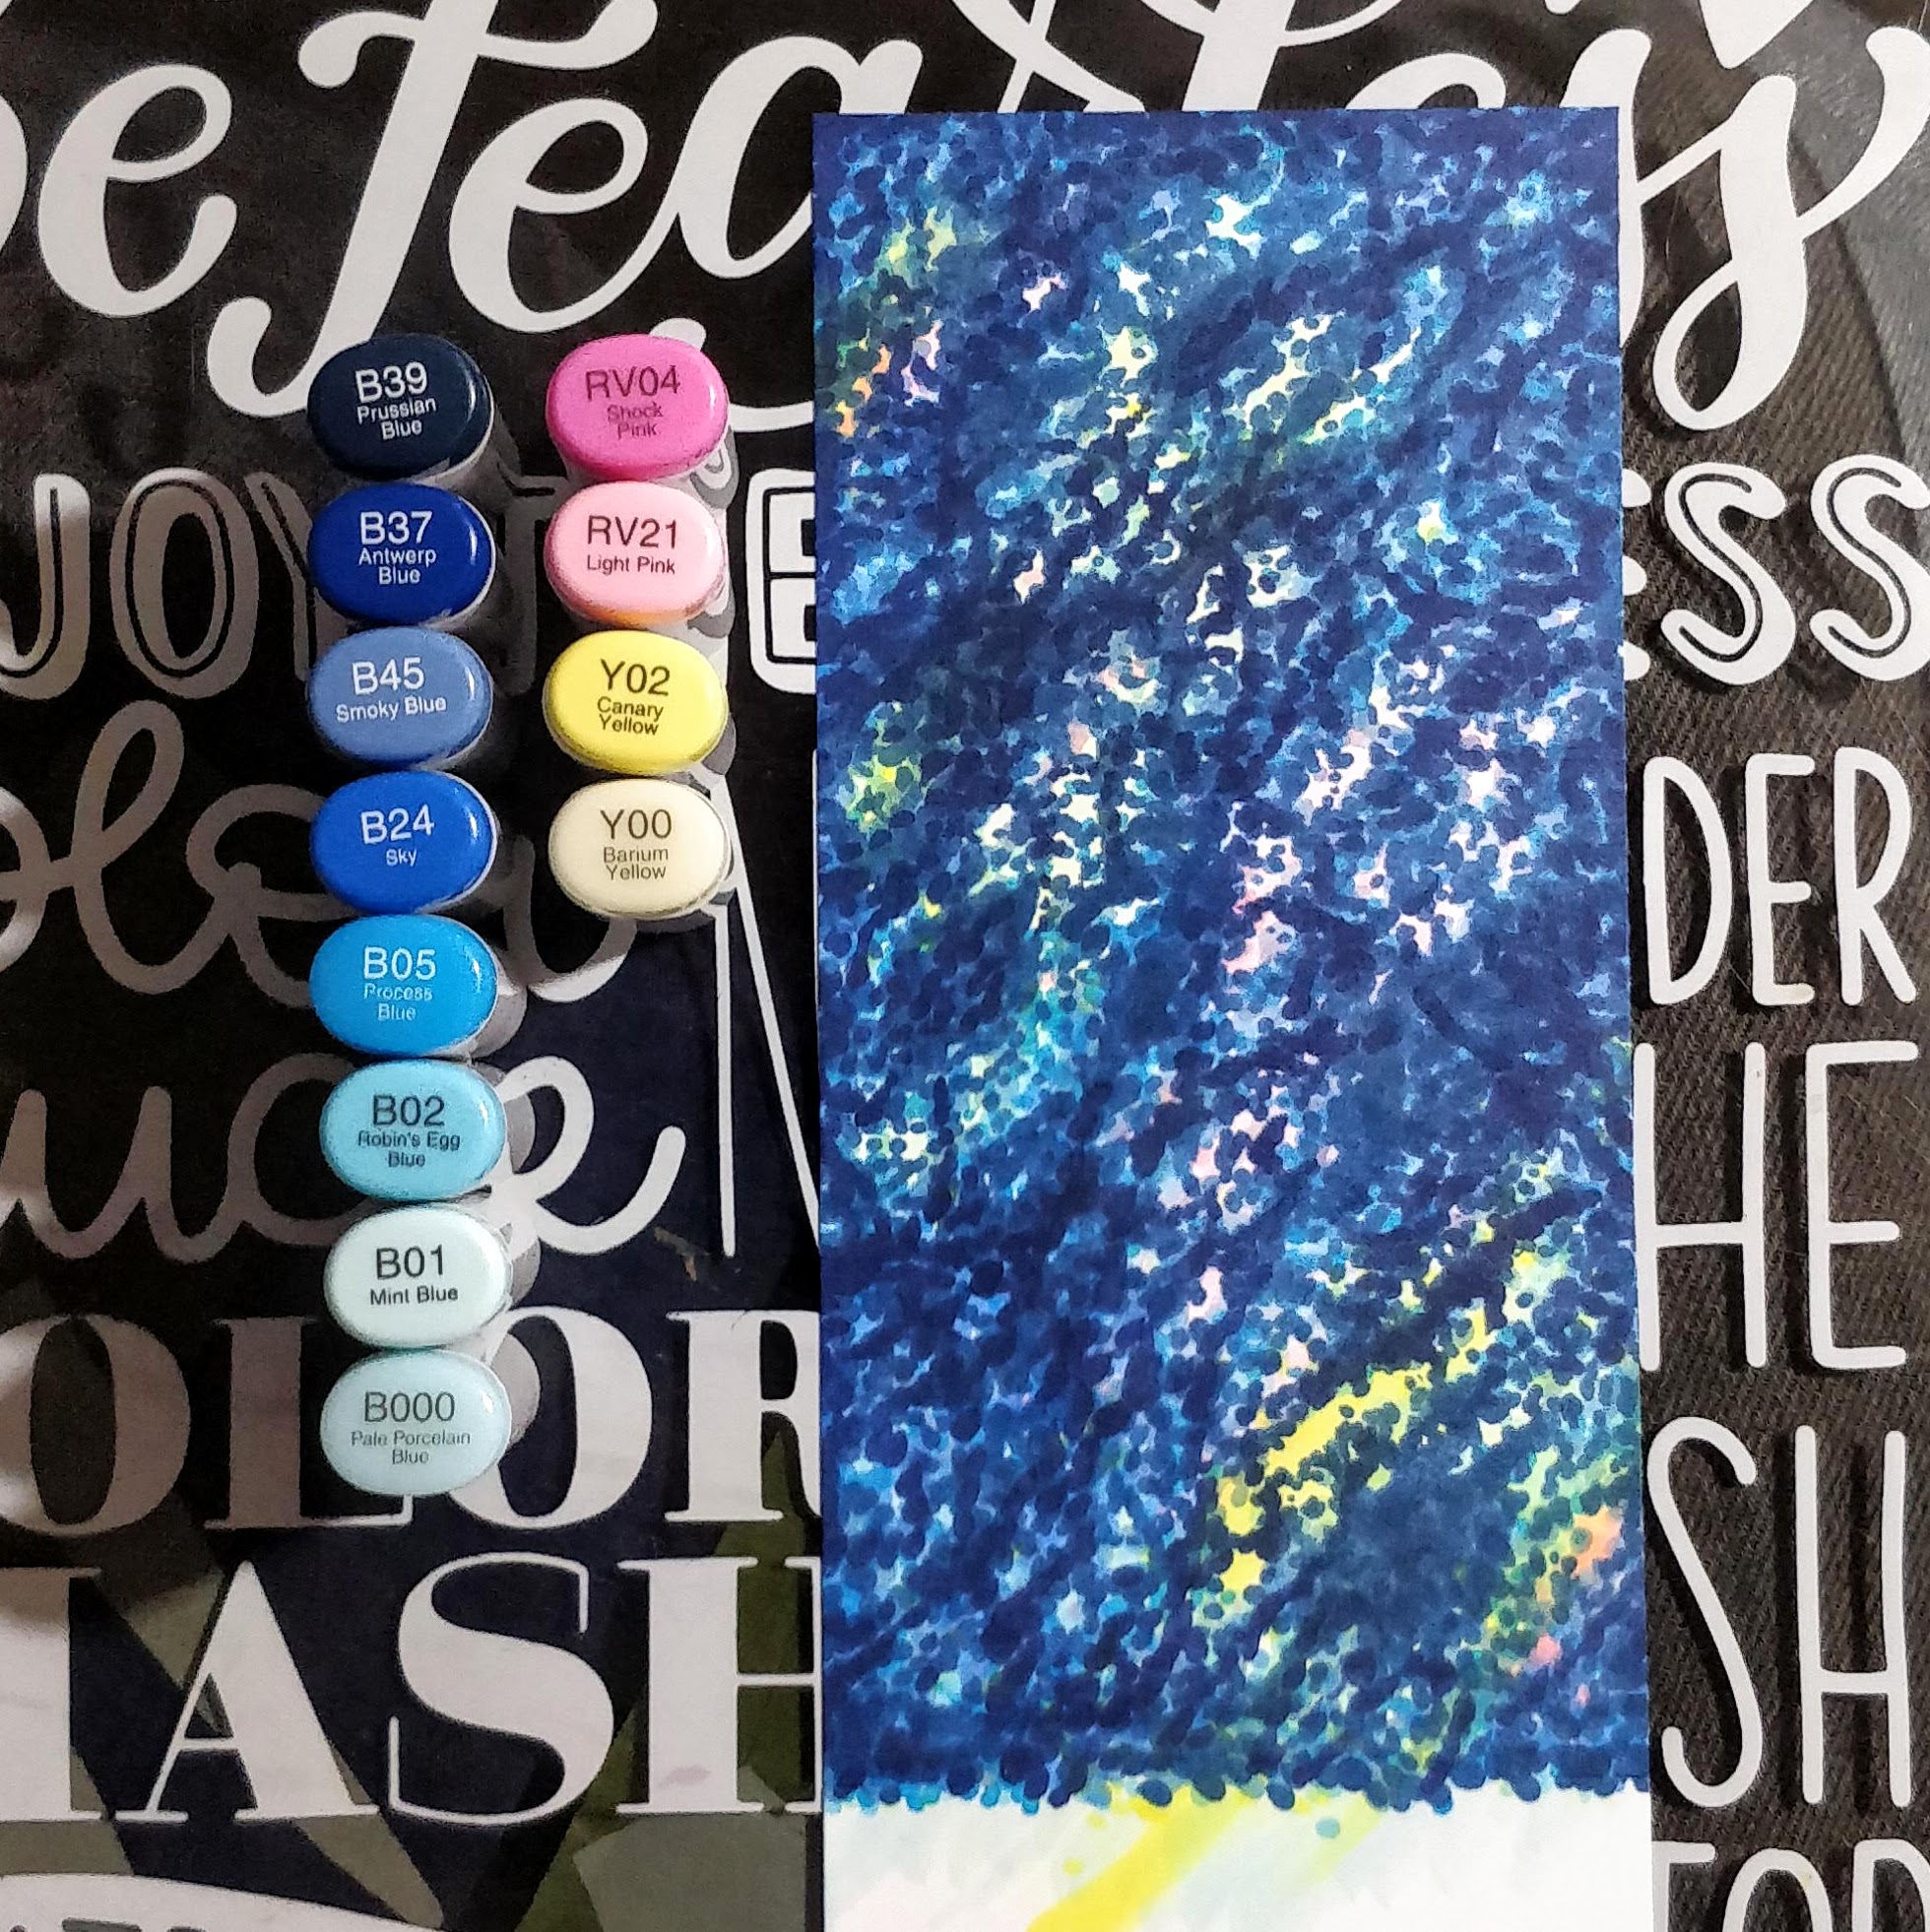
Isn't this guy cute?? I love him. He's from the Simple Things Stamp Set. I chose to stamp and heat emboss him with Versafine black ink and Clear embossing powder onto Neenah Solar White cardstock 80lb. I then stamped him on masking paper and fussy cut it out to lay over him for some ink blending. I used Stormy Sky, and Chipped sapphire Distress Oxide ink to make my background using my Cotton Tail Blending brushes. I then used the Clouds in my Coffee Stencil for some subtle clouds using Pumice Stone Distress Oxide ink. I spritz some drops of water and dried the excess with a paper towel. I then added some white paint splatters with a paint brush.


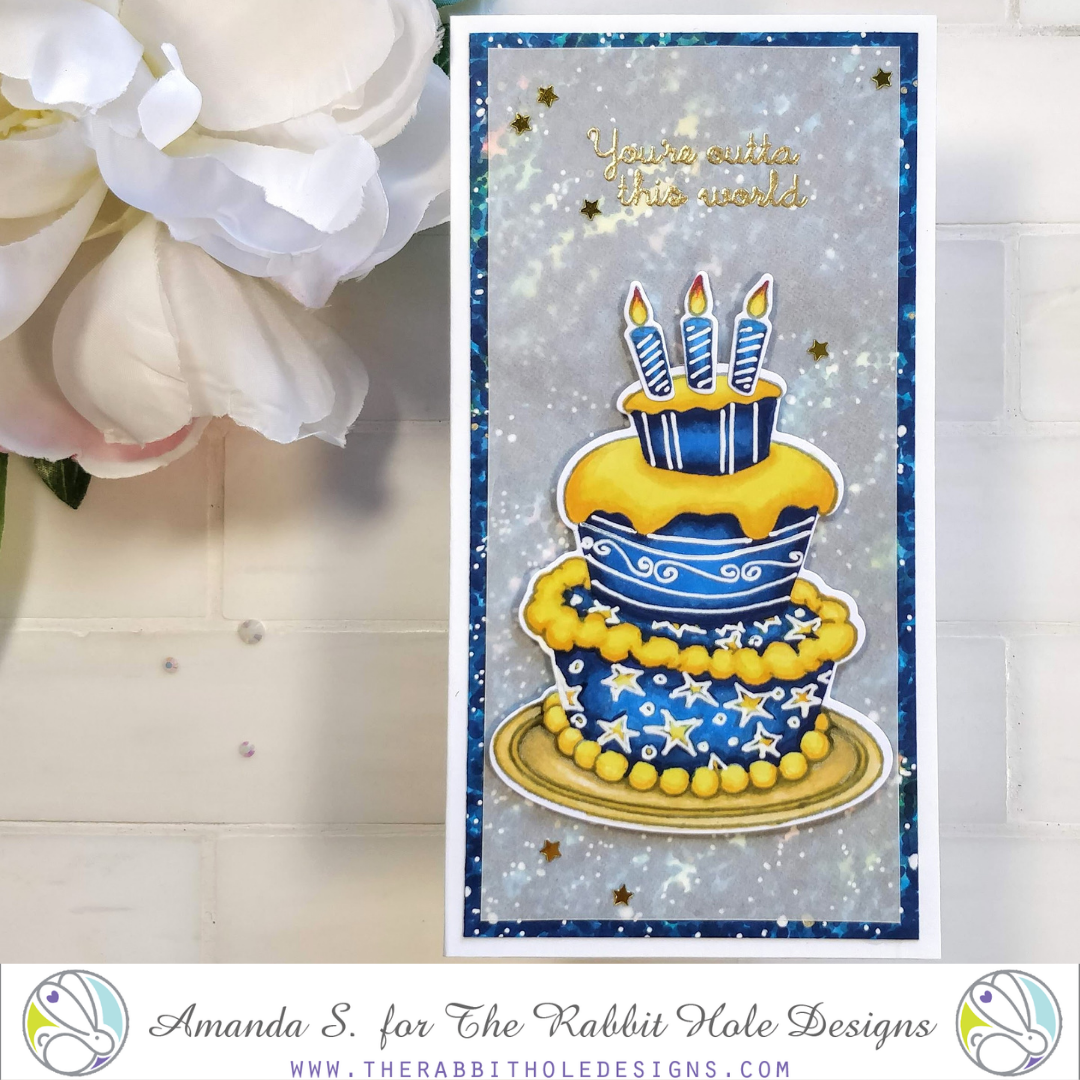
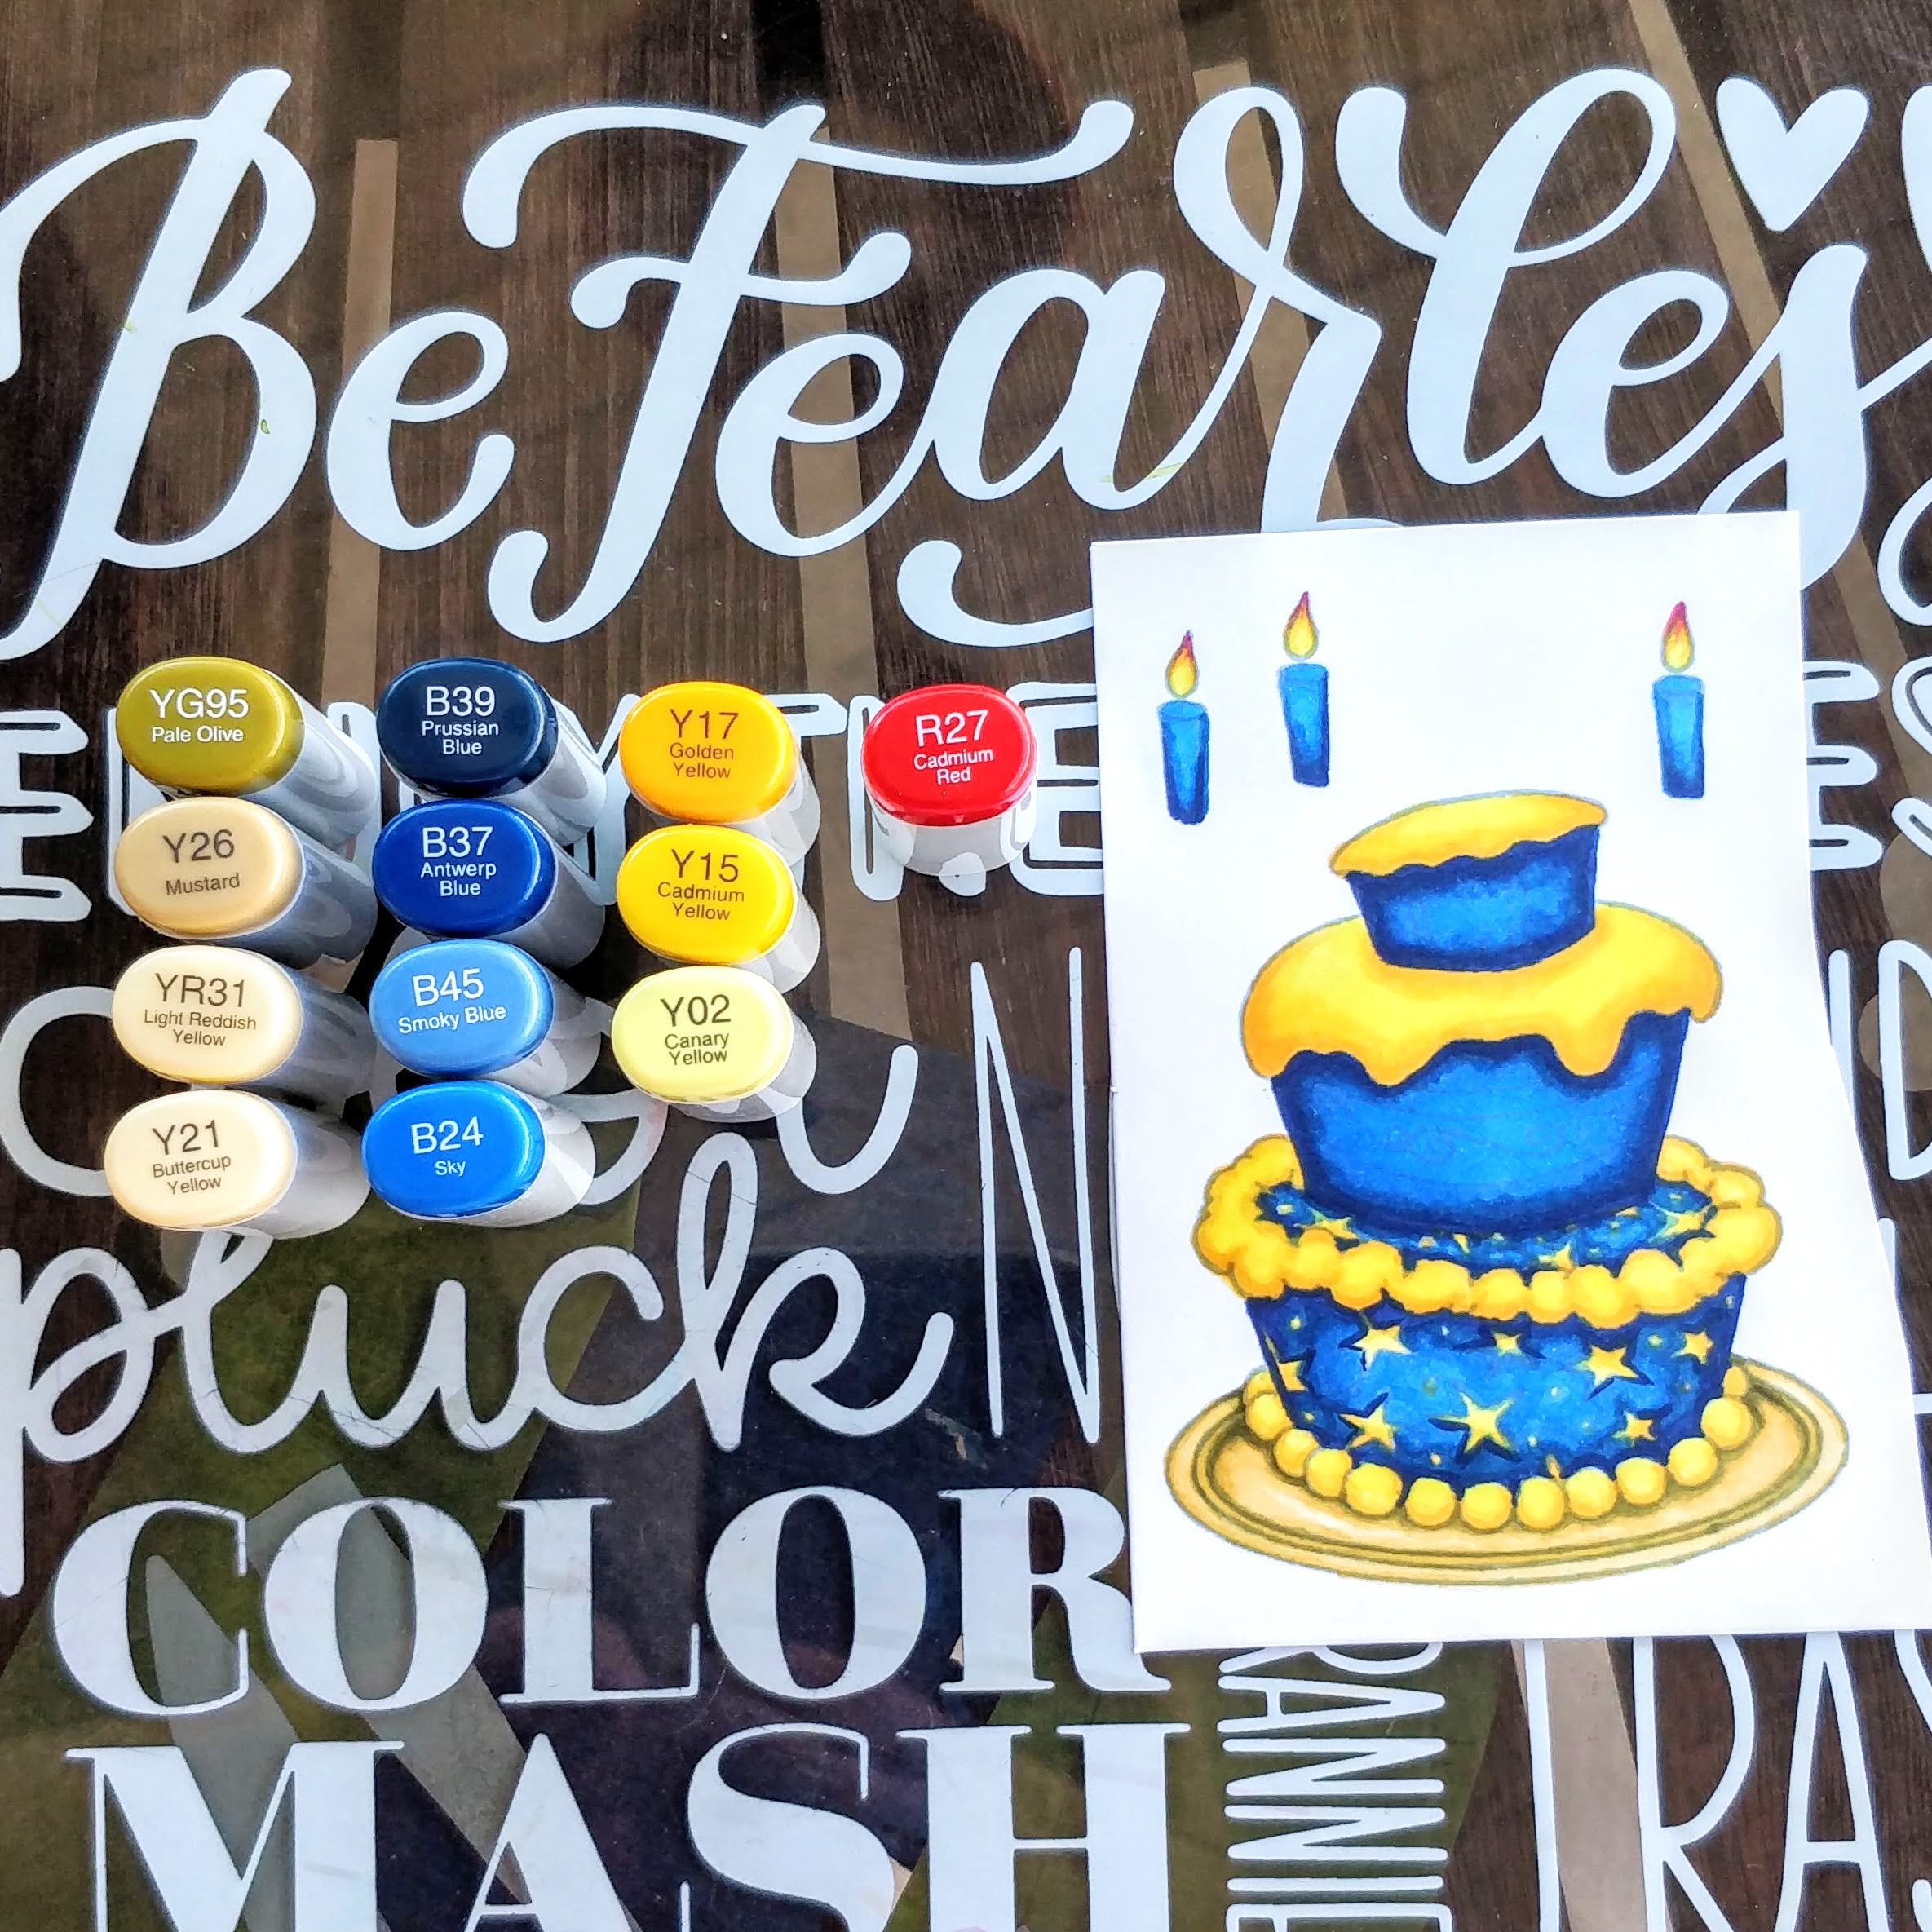
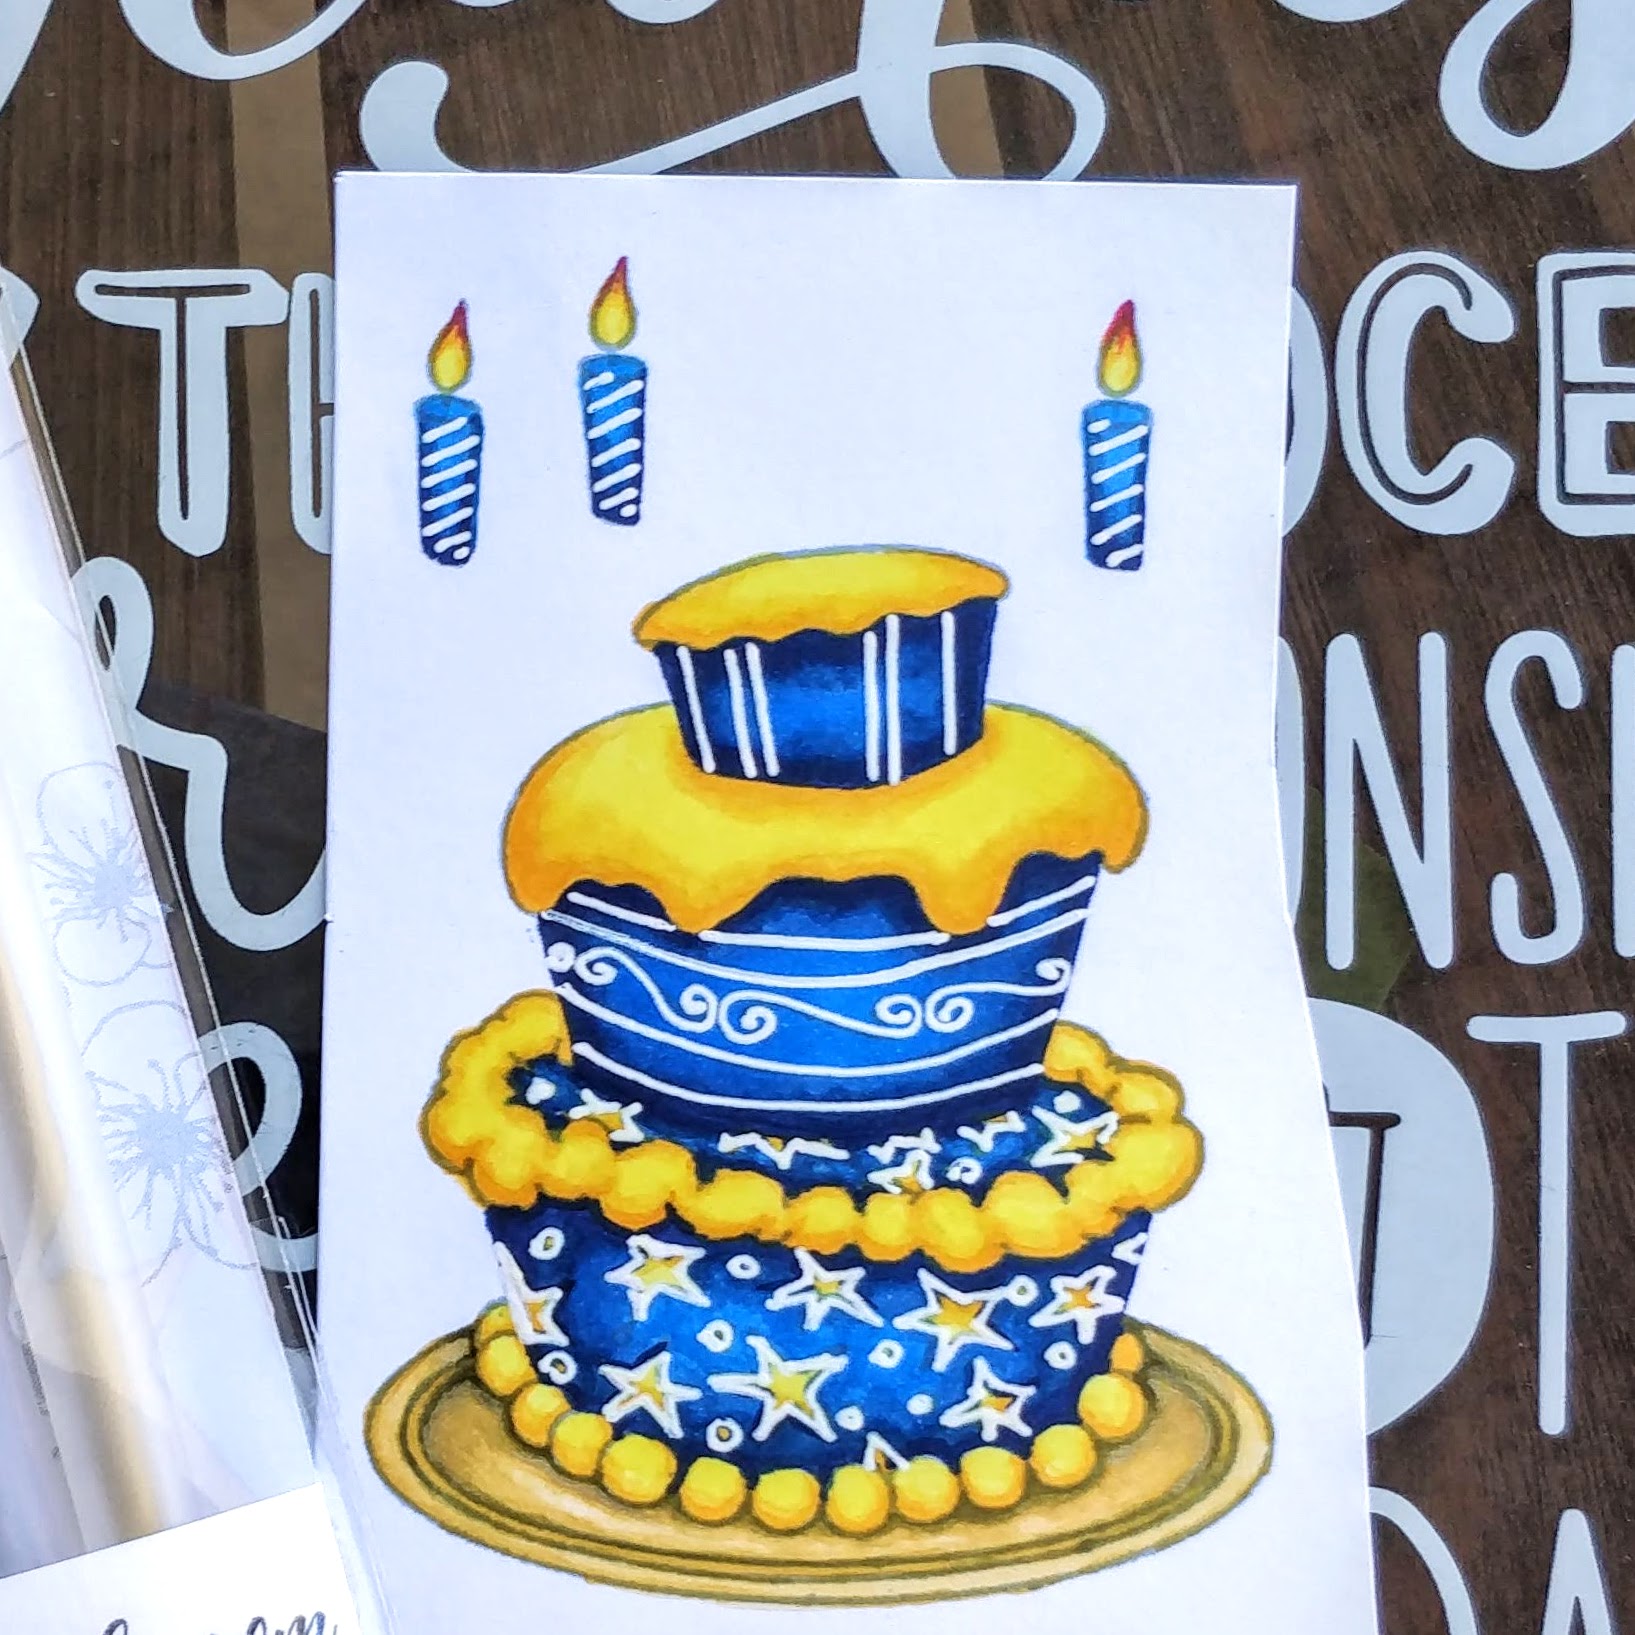
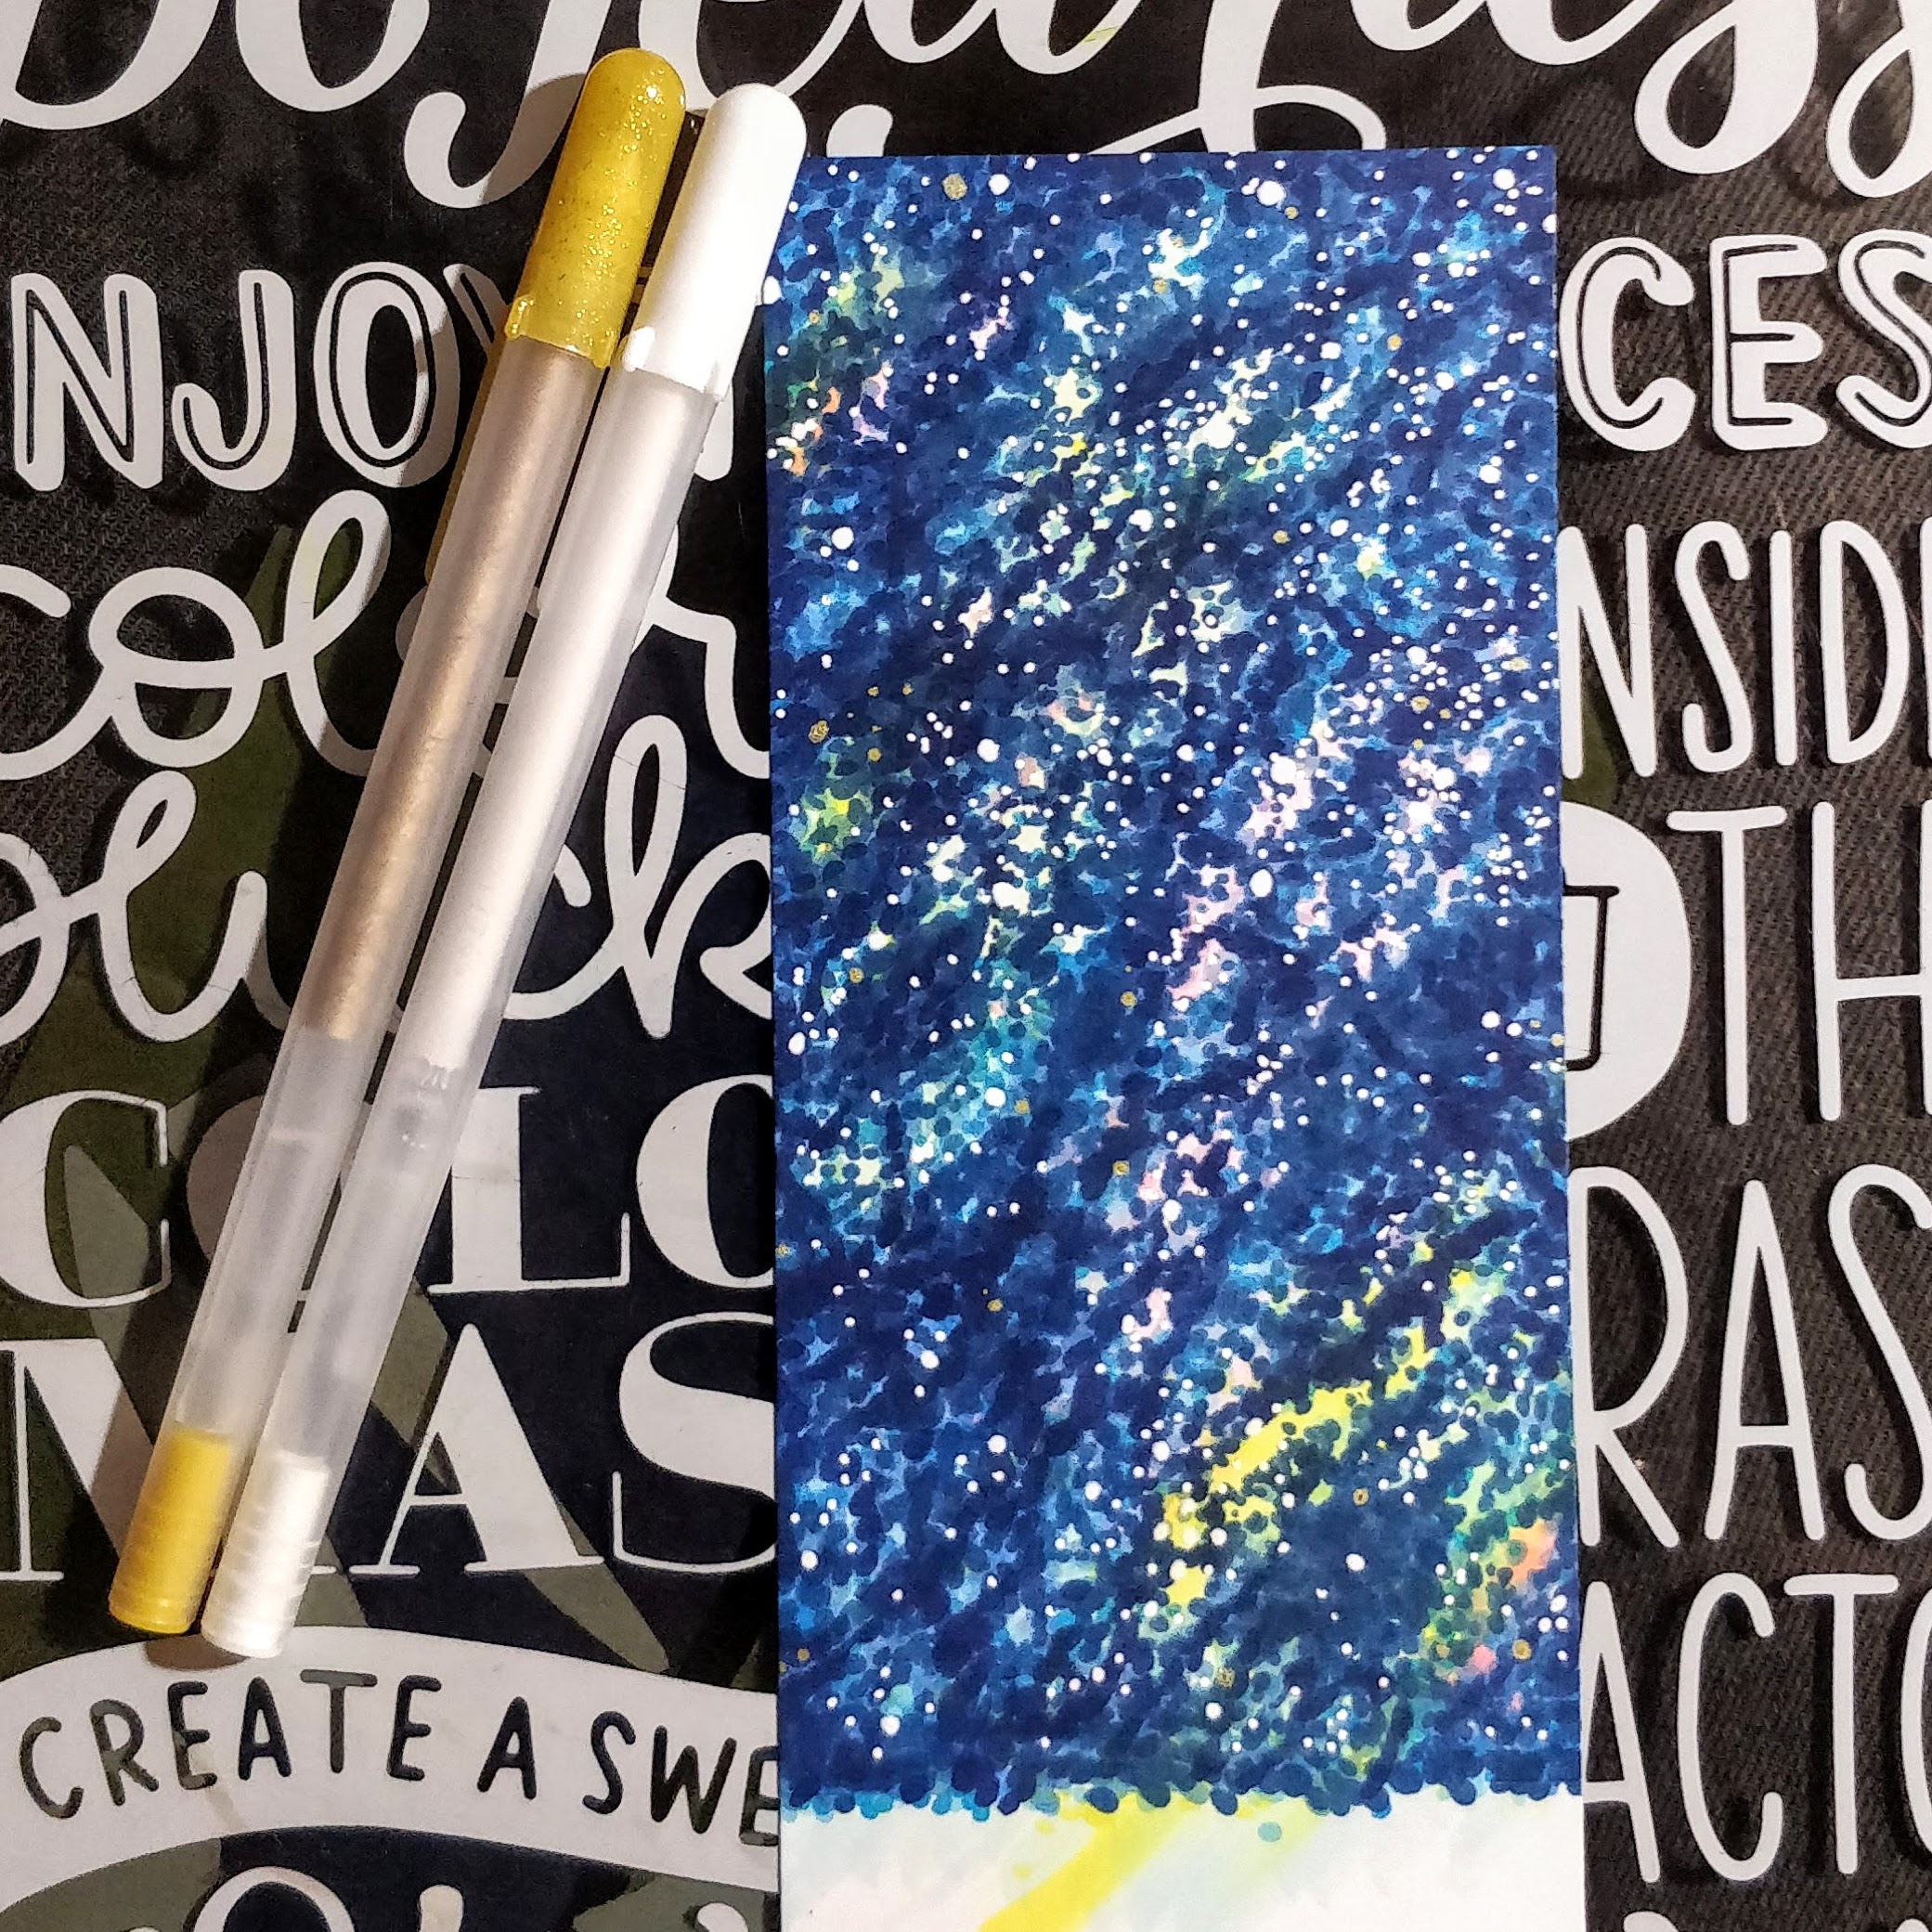
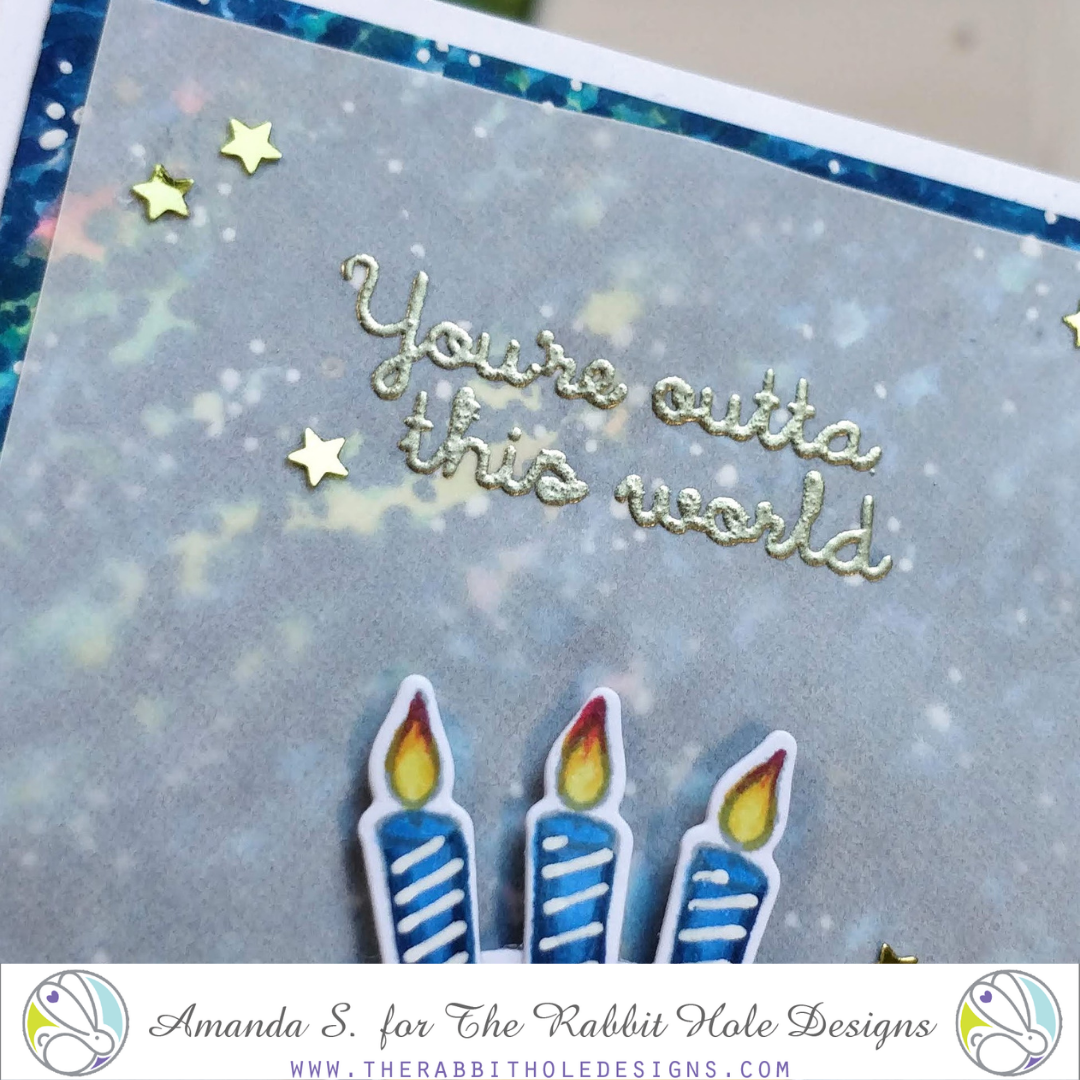
I then pulled off my masking paper and colored my guy with Copic Markers. I added white gel accents with my signo white gel pen, blue glitter enamel dots, and Nuvo Crystal Glaze to his glasses. I cut my panel to be slightly smaller than A2 size panel using my paper trimmer. I then stamped and heat embossed my sentiment onto kraft cardstock and cut it with my paper trimmer. I then added it with foam tape to my card panel. My panel was then added to a A2 card base. I hope you like my card. Thank you for stopping by!

TRHD products used:


Clouds in my Coffee

Cotton Tail Blending Brushes

For more inspiration, updates, and news make sure to check out these places

The Rabbit Hole Designs

The Rabbit Hole Designs Instagram

The Rabbit Hole Designs Facebook Page

The Rabbit Hole Designs Pinterest

The Rabbit Hole Designs YouTube

Thank you for stopping by and Happy Crafting!

Von Marie


February Inspiration Hop Winners

 Happy Friday!

Announcing the February Inspiration Hop winners. 

The winners from the Facebook Fanpage and the Instagram post are:


Heather Hall Fontenot is the winner from the Facebook Fan Page post 
(Chosen via Random.org)

&


@amohaf is the winner from the Instagram post 
(chosen via Random.org )


Please email info@therabbitholedesigns.com to claim.  Please include which post you won. Winners have until 02-05-2021 at Midnight to claim, or prize is forfeited

Be sure to join us February 22nd for our next release. If you have not already done so may we suggest joining our Facebook Fan Page where you will always be the first to know of any upcoming releases, and offers.
For more inspiration, updates, and news make sure to check out these places.

Thank you for falling down The Rabbit Hole 

February Release Inspiration Hop - Day 3


Hello and welcome to Day 3 of the Inspiration Hop. We are so excited for you to join us as we present to you our February release. Our fabulous Design Team have been sharing their projects over the last couple of days, so be sure to visit their blogs and leave them some crafty love.


 The 2 new stamps sets and one new stencil are all available to purchase right now in the shop.


The new stencil being highlighted today is ...

Corner Mandala


Thank you for being part of our February Inspiration Hop.


Here is the line up for the hop:


___________________


**Giveaway**


To celebrate the February release, The Rabbit Hole Designs is giving away two savings vouchers; one to a lucky Instagram follower and one to a lucky Fan Page follower.  Winner will be chosen at random from the comments left on the INSTAGRAM post, and tagging friends, and also from commenting on the Fan Page post.  So make sure to head on over to INSTAGRAM and look for the giveaway post @therabbitholedesignsllc and look for the post at The Rabbit Hole Designs Fan Page by 11:59 p.m. PST 01-28-2021. 
Winner will be announced on The Rabbit Hole Designs blog 01-29-2021.

This is the graphic you are looking for on our IG and FB


___________________


For more inspiration, updates, and news make sure to check out these awesome places! 


Thank you so much for stopping by today!

February Release Inspiration Hop - Day 2


Hello and welcome to Day 2 of the Inspiration Hop. We are so excited for you to join us as we present to you our February release. Our fabulous Design Team will be sharing their projects over the next couple days, so be sure to visit their blogs and leave them some crafty love.


 The 2 new stamps sets and one stencil are all available to purchase right now in the shop.


The new stamp set being highlighted today is ...

One Line Happy Easter

Make Sure you stop back tomorrow for our last day of our inspiration hop.


Here is the line up for the hop:


___________________


**Giveaway**


To celebrate the February release, The Rabbit Hole Designs is giving away two savings vouchers; one to a lucky Instagram follower and one to a lucky Fan Page follower.  Winner will be chosen at random from the comments left on the INSTAGRAM post, and tagging friends, and also from commenting on the Fan Page post.  So make sure to head on over to INSTAGRAM and look for the giveaway post @therabbitholedesignsllc and look for the post at The Rabbit Hole Designs Fan Page by 11:59 p.m. PST 01-28-2021. 
Winner will be announced on The Rabbit Hole Designs blog 01-29-2021.

This is the graphic you are looking for on our IG and FB


___________________


For more inspiration, updates, and news make sure to check out these awesome places! 


Thank you so much for stopping by today!

February Release Inspirational Hop - Day 1


Hello and welcome to Day 1 of the Inspiration Hop. We are so excited for you to join us as we present to you our February release. Our fabulous Design Team will be sharing their projects over the next few days, so be sure to visit their blogs and leave them some crafty love.


 The 2 new stamps sets and one stencil are all available to purchase right now in the shop.


The new stamp set being highlighted today is ...

Simple Things


Make Sure you stop back tomorrow for Day 2 of our inspiration hop.


Here is the line up for the hop:


___________________


**Giveaway**


To celebrate the February release, The Rabbit Hole Designs is giving away two savings vouchers; one to a lucky Instagram follower and one to a lucky Fan Page follower.  Winner will be chosen at random from the comments left on the INSTAGRAM post, and tagging friends, and also from commenting on the Fan Page post.  So make sure to head on over to INSTAGRAM and look for the giveaway post @therabbitholedesignsllc and look for the post at The Rabbit Hole Designs Fan Page by 11:59 p.m. PST 01-28-2021. 
Winner will be announced on The Rabbit Hole Designs blog 01-29-2021.

This is the graphic you are looking for on our IG and FB


___________________


For more inspiration, updates, and news make sure to check out these awesome places! 


Thank you so much for stopping by today!

Cake for everyone!

Hello crafty friends! Melinda here to share another card for The Rabbit Hole Designs January birthday release. 

For todays card I wanted to combine the Open Heart stencil and the Just Cake stamp and die.


I started by adding a touch of blue ink onto my panel. I made it darker in the center fading out to a lighter color. Next I added some Nuvo glitter paste and set aside to dry. I watercolored my cake and cut it out with the coordinating die. After my glitter paste was dry I cut my panel down to 3 3/4 inches by 5 inches. I popped the base layer up with some foam tape and then added my die cut cake which I also popped up with some more foam tape. 


I absolutely love the way the Open Heart stencil spotlights the main image on your card! This stencil isn't just for Valentines day, its great on any card.


Thanks so much for stopping by and taking a look and I hope I've provided some inspiration for using these wonderful products!
For more inspiration on how I used these check me out on


For more inspiration, updates, and news make sure to check out these places.

Cosmic Cake Slimline


Hey crafty friend, it's Amanda from Pear Blossom Press again. Need an "out of this world" birthday card? I've got you covered! Today's card features a Copic colored galaxy background; the best part - no splatter mess!

First, let's start with the star of the show, the cake! Have you seen the Just Cake stamp set from The Rabbit Hole Designs yet? It's really cute! (And it has stars all over the bottom layer, so it inspired the galaxy background for the rest of the card.)

Knowing that I wanted to color it in shades of blue, I stamped the cake with London Fog ink. It's a Copic friendly grey, that works well for no-line coloring. (I prefer to stamp with Warm Glow ink for living things, and warm tones. London Fog is perfect for coloring cool tones and inanimate objects.) You can see the Copic markers I colored the cake with below.

Once I was happy with the colors, I came back and outlined some of the details with a white gel pen. 

Using the coordinating dies, I cut out the cake and candles. I glued the candles on top and set it aside while I worked on the background.

Just like all galaxy backgrounds, this one started out a mess. I scribbled pale shades of pink, yellow, and blue onto a white cardstock panel. Next, I stippled dots of mid-tone colors all over, making sure not to completely cover the pale colors. Then I added more dots with my darkest markers. You can see the progress below. Notice that even after my darkest colors are down, the background still doesn't look like a galaxy. To pull it together, I added lots of dots with a white gel pen, and then a few gold dots for shimmer. Every galaxy needs stars, right?


Originally, I thought I'd pop the cake up right on top of the galaxy, but the background was so busy, the cake was almost lost. No problem, a little vellum fixes everything. I embossed the sentiment in gold powder, then glued the vellum panel to the galaxy, leaving a border visible. To keep the glue from showing through the vellum, I strategically applied it behind the sentiment and where the cake would sit. I also dabbed a small dot of glue at each corner of the galaxy background, and smeared most of it away. The vellum sticks to it and the glue is virtually invisible.

To complete the card, I glued the galaxy to a mini-slimline card base, again leaving a border, and popped the cake up on top with foam tape. A few gold star confetti pieces add extra sparkle. Isn't it fun? This card fits into a #7 coin envelope.

Want to see another card using the Just Cake stamp set? Check out this article! Let me know if you spot the difference in the no-line coloring.

Thanks so much for stopping by today! You can find the sister post to this article on my blog - pearblossompress.com. I hope I've inspired you to give this a try. Tag me on social media if you do. I'd love to cheer you on!

For more inspiration, updates, and news make sure to check out these fantastic places! 

Sketched Love Bunnies


Hi everyone! It's Lauren on the blog today sharing my easy pull tab Valentine card. The sketched look of the new Je t'aime stamp set gave me the idea to create this black and white "chalk on a blackboard" looking pull card. This is an easy interactive card to make that you do not need any special tools or dies for.


I started out by stamping the bunny couple onto an A2 (5.5x4.25) black cardstock panel using white ink. Then onto white cardstock, I inked the word LOVE from the new Valentine stencil using Fired Brick then Candied Apple distress oxide inks. Using an acrylic block and the straight tines on my glass mat, I traced then cut with scissors the shape of the hidden pull panel.  


After the Love shape pull part was complete, I cut a slit on the black panel above the bunnies using a ruler and xacto knife on my cutting mat. I cut it centimeter (cm) longer than the word love. My word measured 10cm so I cut an 11cm long slit. I put a small pencil dot to mark the center of the panel (7cm mark). I then lined up the 6.5cm mark of my ruler with the pencil dot and made my 11cm long cut. I trimmed the black panel smaller so that a white border of the card base would show and fit the pull panel through the slit in the panel. 


I stamped a bunch of the hearts included in the kit all over the black panel in white. Then 2 hearts on the white pull tab using black ink.

Next, on the back of the black panel I placed double sided foam tape right under the bottom to create a stop. Also along the sides to as guides so that it slides up straight. Then I added more foam tape over the back of the panel. 


Lastly, I peeled off the foam tape backing and placed the panel onto the white card base. I hope you enjoy this simple interactive card and give it a try. Thanks for visiting! 

Lauren