Pages

Showing posts with label All Occasion Card. Show all posts

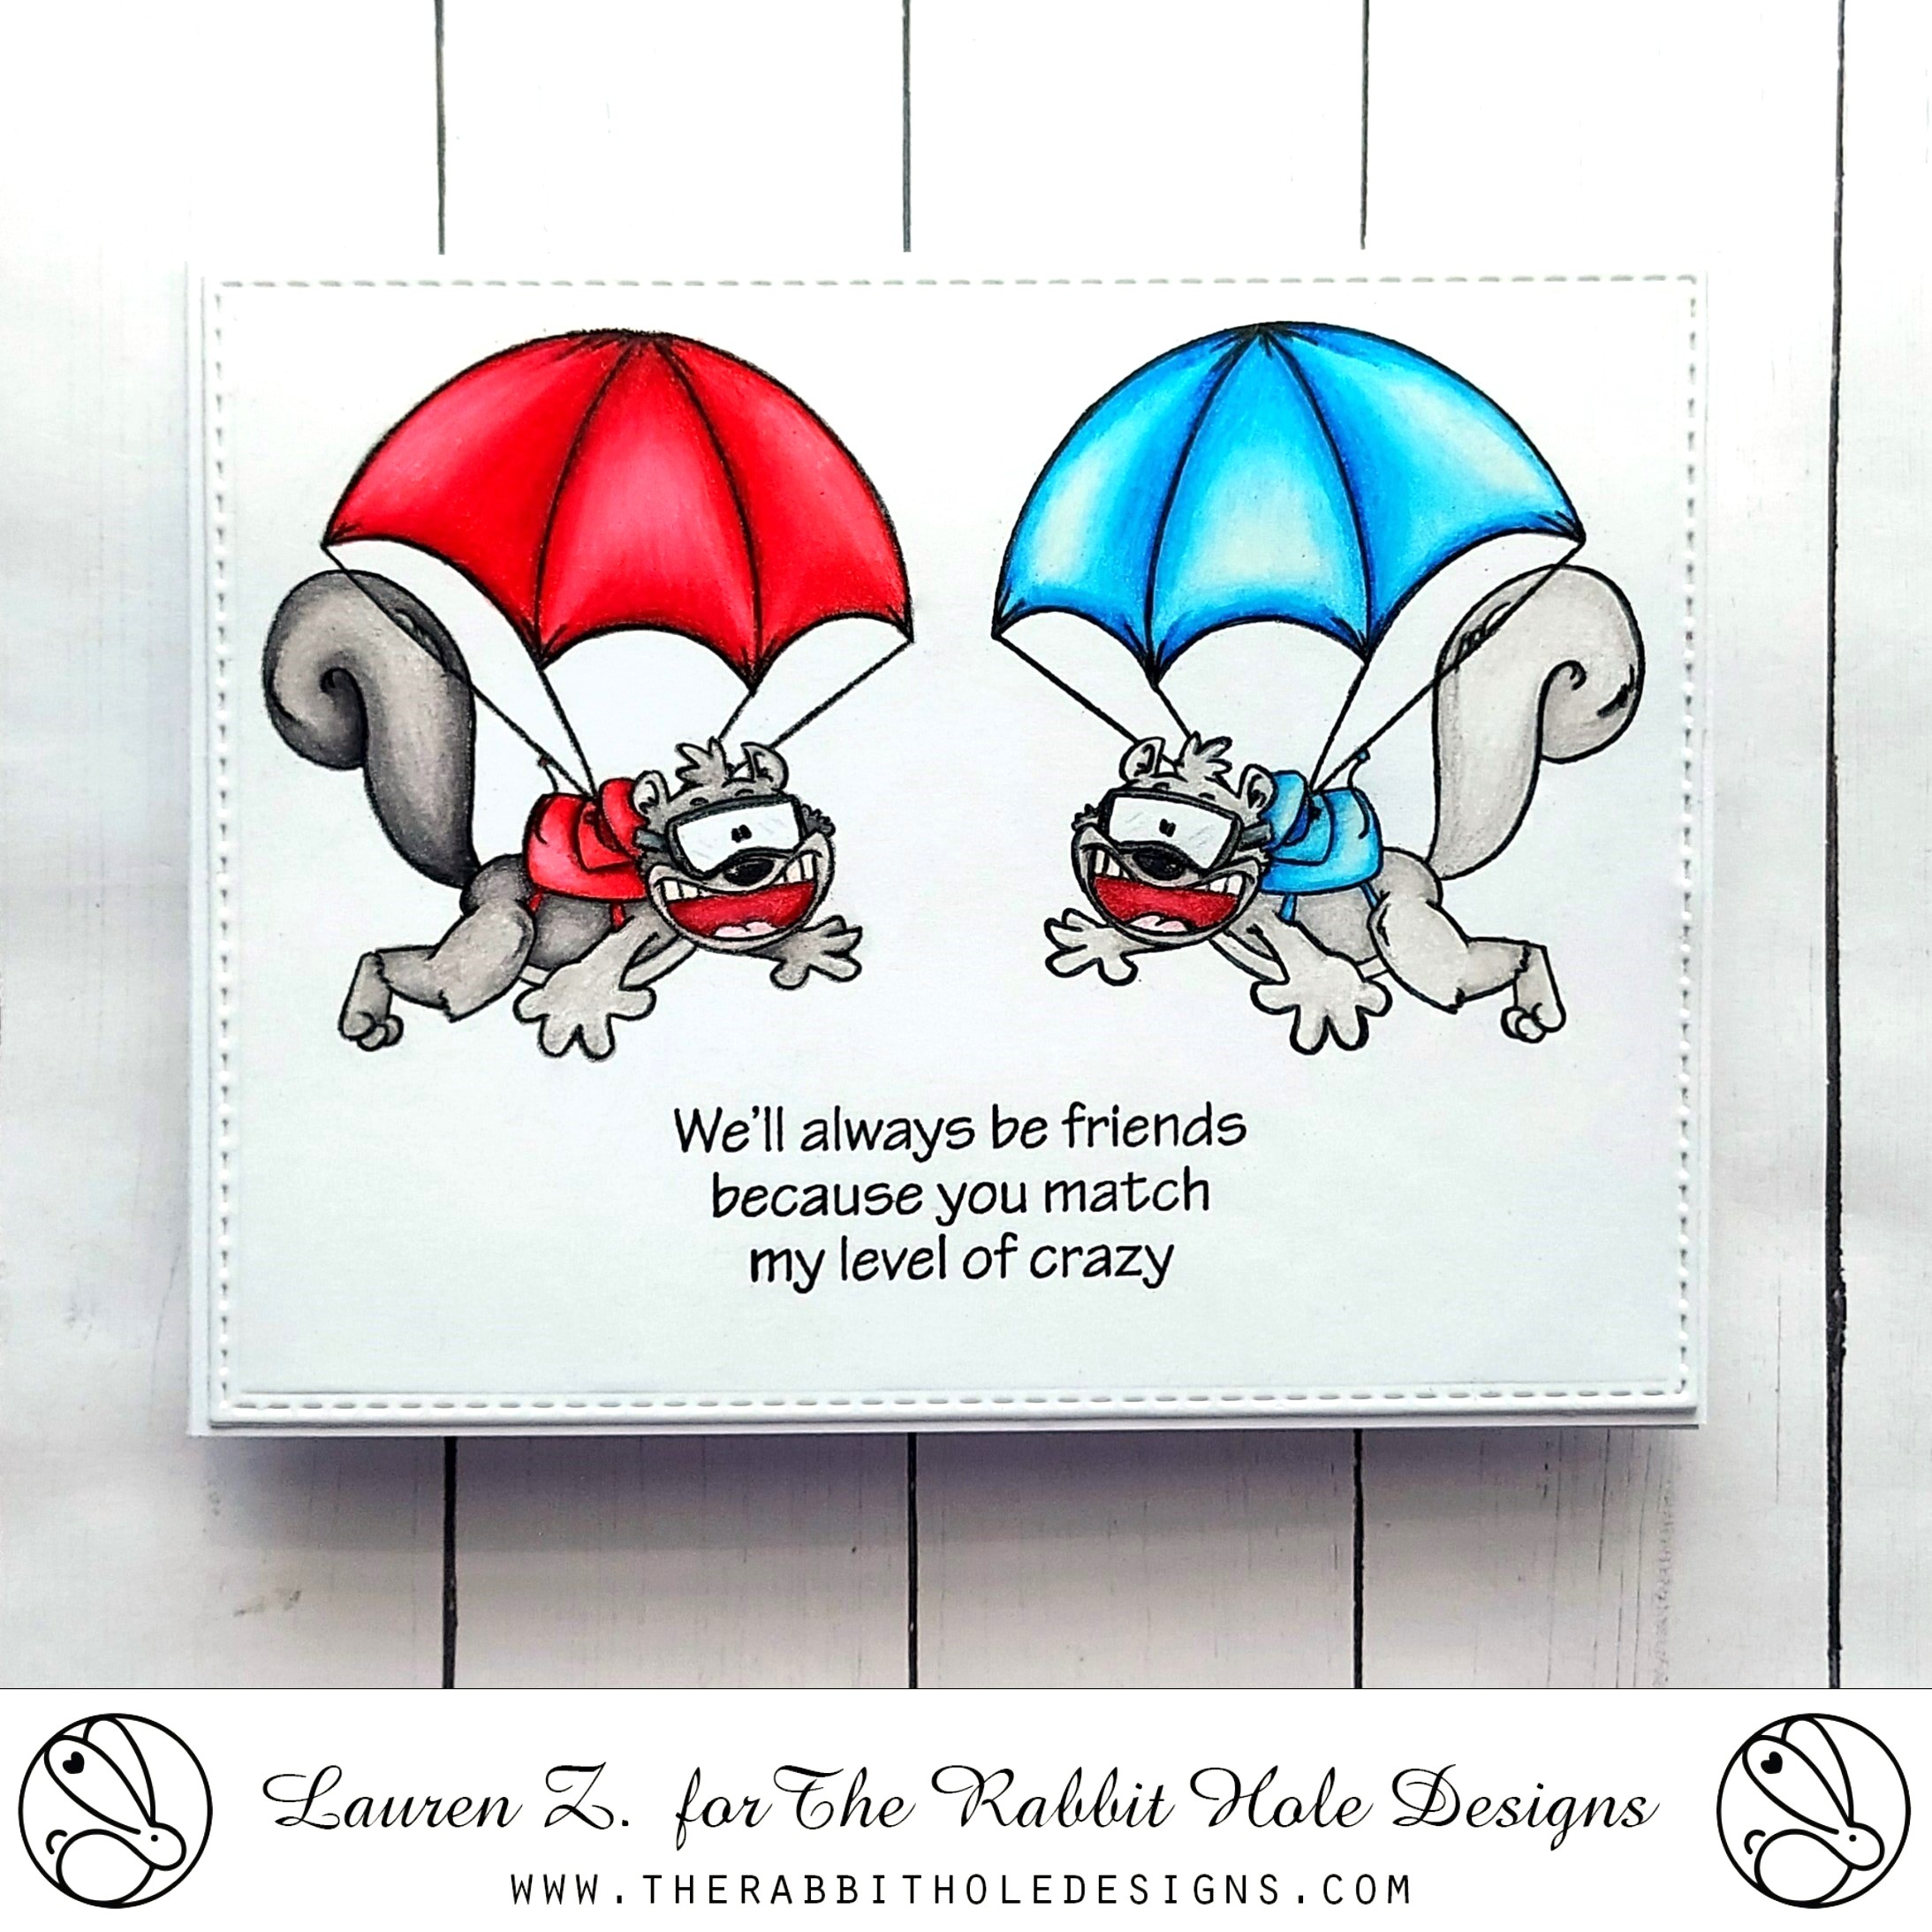
My Level of Crazy, Revisited


 Hello crafty friends! It's Lauren here today. As we revisit our favorite creations we've made this past year, I landed on this one. I think this image of Clarence pairs so perfectly with this sassy sentiment! 

I have all the details showing how I created this fun mirror image card on my blog: https://laurenzrdh.wixsite.com/queenlorecreations/post/my-level-of-crazy-day-3-of-trhd-new-release-and-inspiration-hop

Thanks for visiting!

Here are the links to the Stamps set used for my card:

Thanks again for visiting. You can follow me here:

Bloom Where You Are Planted

Hello there!
Michelle here, sharing a combination of two of the newest Botanical Stamp sets, Turtle Botanical and Flamingo Botanical. I chose to stamp the flowers with a no line coloring technique. I stamped the flowers using tea dye distress ink and colored with Copic Markers.
For the center flower: R35, R46, R56, and RV99
light orange rose: E93, E95, E97, and E99
yellow rose: Y11, Y13, Y15, Y35, and YR14
For the rose centers: E81, E84, E87, and E89

I stenciled the word 'bloom' using Spell It Stencil and distress oxide inks, barn door and black soot.
For the base cardstock I used our very own Jammie's shimmer cardstock.  I added a strip of glitter cardstock to the base of the panel and layered the flowers. I embossed the sentiment with gold embossing powder and added some shimmer with stickles gold glitter glue. 

Thanks for stopping by for a peek!!!
Have a great week!!

Michelle

Forever...

I am sharing a card I made using the new "Anchor Tattoo" Stamp.

I embossed the entire image in silver embossing powder on gray paper.
I also stamped the image on white paper, 
colored it and cut out the main anchor image.
 I used a craft knife for the detail work. 

Then, I layered the colored image over top the embossed one, 
exposing the background images from the stamp in the embossed form.  

I used a dark gray Copic maker around the edges of the cut 
image to hide the white paper on the sides for a cleaner look.  

I stamped "Forever" directly on the front in black ink 
and added washi tape on the side.

I added red Stickles on the heart.  

This image can be used for a variety of card themes. 
I plan to send this one as a friendship card.   


For more information, news and updates check out these links:


I hope you enjoyed my take on "Anchor Tattoo"
Thank you for stopping by!
-Kelly  


TRHD & Therm-O-Web Collaboration #2

Happy Friday everyone!

Niccole here; I am back with another collaboration post for The Rabbit Hole Designs and Therm-O-Web. This is my second blog post so if you missed the first one you can catch it ... HERE.


You can enter win $25 in Therm-O-Web product. Head on over to their website to find out how.


I am using another one of my favorite stamps from The Rabbit Hole Designs, which is Caffeinated Owl and the Candy Twist stencil. Both are available at Simon Says Stamp and at The Rabbit Hole Designs stores.
 
This is the Therm O Web Transfer Gel I used for my card along with the Deco Foil Blue Diamond Flock. This flock is so fun to use. It reminds me of those old black fuzzy posters you could color ... remember??

Now onto my card ...
Here is how I made this card:

1. Turn laminator on to really heat it up good
2. Cut and fold a black A2 card base
3.On another black card panel I used my stencil to apply
the Transfer Gel
4. I let the Transfer Gel dry. It's dry when it turns clear
5. Place flock fuzzy side DOWN (very important)
6. Put card with flock on it in carrier sheet
(I use a piece of copy paper folded in half)
7. Run through laminator
8. Peel flock away from card to reveal your FUZZY masterpiece
9. Cut oval to center front of flocked card panel
10. Save cut oval for another fun flocked project
11. Stamp, color, and cut out TRHD Caffeinated Owl image
12. Attach Caffeinated Owl with foam tape
13. Add clear gems around card

*** Make sure not to throw away the negative piece from your flock. You can definitely reuse it . I will be sharing a card really soon using the negative pieces from my foil and my flock.***
 Doesn't this Blue Diamond Deco Foil Flock just make you happy? Like I said earlier ... its like one of those fuzzy posters we'd get as a kid and color.

Here is one more look at the full card. I just want to say ... If you have never played with flock; you really should try it. It is so much fun and there are so many possibilities when using Therm-O-Web products.

  For more inspiration, updates, and news make sure to check out these places.


Until next time ... Hugs & inky fingers!

-Niccole-


TRHD & Therm-O-Web Collaboration

Happy Monday everyone!
Niccole here ...

I am so excited to be collaborating for The Rabbit Hole Designs with Therm-o-Web this week. I will be sharing not one but two blog posts. So make sure you check back later in the week.

You can enter win $25 in Therm-O-Web product. Head on over to their site to find out how.
I am using one of my favorite stamps from The Rabbit Hole Designs, which is Gourd-geous and the Diamond Flower stencil. Both are available at Simon Says Stamp and at The Rabbit Hole Designs stores.
 
This is the Therm O Web Transfer Gel I used for my card along with the Silver Shattered Glass Deco Foil. Have I told you I LOVE this foil? I do, I really do!

Now onto my card ...

Here is how I made this card:

1. Turn laminator on to really heat it up good.
2. Cut and fold a black A2 card base.
3.On the card front I used my stencil to apply the Transfer Gel
4. I let the Transfer Gel dry. It's dry when it turns clear.
5. Place fold shiny side up on to of card with Transfer Gel
6. Put card with foil on it in carrier sheet
(I use a piece of copy paper folded in half)
7. Run through laminator
8. Peel foil away from card to reveal your masterpiece.
9. Added black circle to center front of card
10. Stamp, color, and cut out TRHD pumpkin image
11. Attach Pumpkin with foam tape.

** Make sure not to throw away the negative piece from your foil. You can definitely reuse it . I will be sharing a card really soon using the negative piece of foil.**

 Doesn't this Silver Shattered Glass Foil just sparkle? I mean it shines here but trust me this picture does NOT even do it justice. I think it definitely is one of my favorite foil.
This cute pumpkin is floating on the top of the card with foam tape. I love how the hat is gray and it adds to the Silver Shattered Glass foil. Wouldn't you agree?
Here is one more look at the full card. I just want to say ... If you have never played with foil; you really should try it. It is so much fun and there are so many possibilities when using Therm-O-Web products. Make sure you come back later in the week ... I will be using Therm-O-Web Flock. It is so fuzzy and bright. It makes me happy every time i use it.

  For more inspiration, updates, and news make sure to check out these places.


Until next time ... Hugs & inky fingers!

-Niccole-