Pages

Showing posts with label Je T'amie Stamp Set. Show all posts

Sip, Sip, Ahh!


Welcome. Lauren here today with this coffee loving bunny card. I love the smell of coffee and that first sip in the morning is pure heaven. I thought that the expression on this bunny from the Je t'aime stamp set reflects exactly how I feel about the smell of coffee first thing in the morning. Yum! I put this cutie into the brand new Coffee Shop Background to make this sweet card.

I started out by inking up and stamping just this one bunny from the stamp set onto white cardstock. I also stamped and fussy cut a mask for her using masking paper.

I placed the mask over the stamped bunny, then positioned the Coffee Shop Background stamp so the coffee cup would be directly below the bunny's nose. I made sure that I inked only the part of the stamp I wanted to show up on my panel.


I removed the bunny mask and colored the stamped images using Prisma color pencils. I also stamped my sentiment above the counter in black ink. On separate white cardstock, I stamped, colored and fussy cut a couple of hearts. Then I adhered them above the bunny's nose. 


Next, I created an embossed background for my coffee shop scene to sit on. I first prepared an A2 (4,25x5.5") black cardstock panel with the Cottontail Embossing Powder tool. This virtually eliminates stray embossing powder from sticking where you do not want it to. Then, I used embossing ink to stamp the small coffee bean from the Blended sentiments set and one of the hearts included in the Je t'aime set randomly over the cardstock panel. I covered the stamped areas with white embossing powder, returned the excess to my container, then heat set it. I trimmed this down a little so that a border of white card base would show once I adhered it.


I cut my coffee shop scene to my desired size, adhered a piece of self adhesive white foam sheet the same size and adhered it to my embossed background. 

Here are the links for The Rabbit Hole Designs products I used for this card:

Coffee Shop Background 4x6 – The Rabbit Hole Designs

Je t'aime 3x4 – The Rabbit Hole Designs

Blended Sentiments 2 4x6 – The Rabbit Hole Designs

For more inspiration, updates, and news make sure to check out these awesome places! 


Thank you so much for stopping by today!


Let's dress up some envelopes!


Hey yall!  Happy Tuesday!!  Tangii here sharing some of my Easter mailings stash! I LOVE decorating envelopes, I feel like it just adds another "virtual hug" when sending a handmade card!  I took the 1 Line Happy Easter set and the hearts from Je T'aime to quickly spruce up some envelopes! 

I just grabbed a few different colored envelopes and then some inks that paired well.  I stamped the 1 Line bunny almost half way up so I can write the "To" address above the line.  "Happy Easter" is stamped in a darker gray, and the hearts are in red.

These were very simple and quick, but a really fun and easy way to dress up your envelopes a bit.

 All of the items I linked in my post are available at The Rabbit Hole Designs.

You can also read about this card on my blog, here with links to the products I used, etc.  Thanks for popping by, come back again soon!

Sketched Love Bunnies


Hi everyone! It's Lauren on the blog today sharing my easy pull tab Valentine card. The sketched look of the new Je t'aime stamp set gave me the idea to create this black and white "chalk on a blackboard" looking pull card. This is an easy interactive card to make that you do not need any special tools or dies for.


I started out by stamping the bunny couple onto an A2 (5.5x4.25) black cardstock panel using white ink. Then onto white cardstock, I inked the word LOVE from the new Valentine stencil using Fired Brick then Candied Apple distress oxide inks. Using an acrylic block and the straight tines on my glass mat, I traced then cut with scissors the shape of the hidden pull panel.  


After the Love shape pull part was complete, I cut a slit on the black panel above the bunnies using a ruler and xacto knife on my cutting mat. I cut it centimeter (cm) longer than the word love. My word measured 10cm so I cut an 11cm long slit. I put a small pencil dot to mark the center of the panel (7cm mark). I then lined up the 6.5cm mark of my ruler with the pencil dot and made my 11cm long cut. I trimmed the black panel smaller so that a white border of the card base would show and fit the pull panel through the slit in the panel. 


I stamped a bunch of the hearts included in the kit all over the black panel in white. Then 2 hearts on the white pull tab using black ink.

Next, on the back of the black panel I placed double sided foam tape right under the bottom to create a stop. Also along the sides to as guides so that it slides up straight. Then I added more foam tape over the back of the panel. 


Lastly, I peeled off the foam tape backing and placed the panel onto the white card base. I hope you enjoy this simple interactive card and give it a try. Thanks for visiting! 

Lauren


A LOVE-ly bookmark!


Hey yall!  Happy Sunday!  Tangii here sharing my first bookmark for the year (yeah, I'll make several before the year ends, lol)  I love reading and I love, love, love pretty bookmarks!  For today's bookmark I used the new Valentine stencil and the hearts from the Je t-aime stamp set.
I started off stamping a bunch of hearts in white pigment ink over my black tag.  Then I wanted to stack the letters so they'd fit on my tag better.  So once my stencil was in place and taped down I slathered some pretty pink glittery paste on!  Starting with the "ve" and then adjusting my stencil, etc. and then slathering more on the "lo".  So sparkly and pretty!

I stamped some words from various sets and then crude cut them with scissors (yes, I know the cutting isn't straight, lol) these are popped up on the tag.  Finally I added some pretty ribbons at the top and voila! I'm ready to go buy some new books for my pretty new bookmark! lol

 All of the items I linked in my post are available at The Rabbit Hole Designs.

You can also read about this card on my blog, here with links to the products I used, etc.  Thanks for popping by, come back again soon!

Its All About Love AND stencils!

 Hello crafty people! Thanks for stopping by today to take a look. Todays card is all about love! 
I wanted to create a nice clean and simple card with the Open Heart stencil. I started out by applying a tiny bit of bright pink ink and then spread on some Faber Castell glass bead glitter gel. I let the panel dry over night to let it get completely dry. I didn't want to be tempted to touch it before it was totally dry.


After the panel was completely dry I added a frame around the panel. 
 Next I stamped the sentiment from the Je t'aime stamp set on a die cut heart and added a bit of silver thread behind it for a little touch of fancy.
I hope I was able to provide some inspiration today! Stop by The Rabbit Hole Designs to check out all the amazing products in the January new release.
Thanks so much!

For more inspiration, updates, and news make sure to check out these places.

Be My Valentine

 Hello there!

Michelle here, sharing a male inspired Valentine card.


I used the newest stamp set, Je T'amie and the newest stencil, Valentine.

I colored the cute couple with Copic Markers in shades

E40, E41, E42, E43, E44

C00, C2, C4, C6, C9

E30, E31, RV02, RV52


I inked up the stencil with distress oxide ink in shade mermaid lagoon. Than I stamped the extra hearts

onto the background. I hand drew the words 'be my'. 


I fussy cut the bunnies than adhered them to the card base with foam tape.

Thanks for stopping by for a peek!

Michelle

For more inspiration, updates, and news make sure to check out these places


The Rabbit Hole Designs

The Rabbit Hole Designs Instagram

The Rabbit Hole Designs Facebook Page

The Rabbit Hole Designs Pinterest

The Rabbit Hole Designs YouTube


Love Buns Slimline

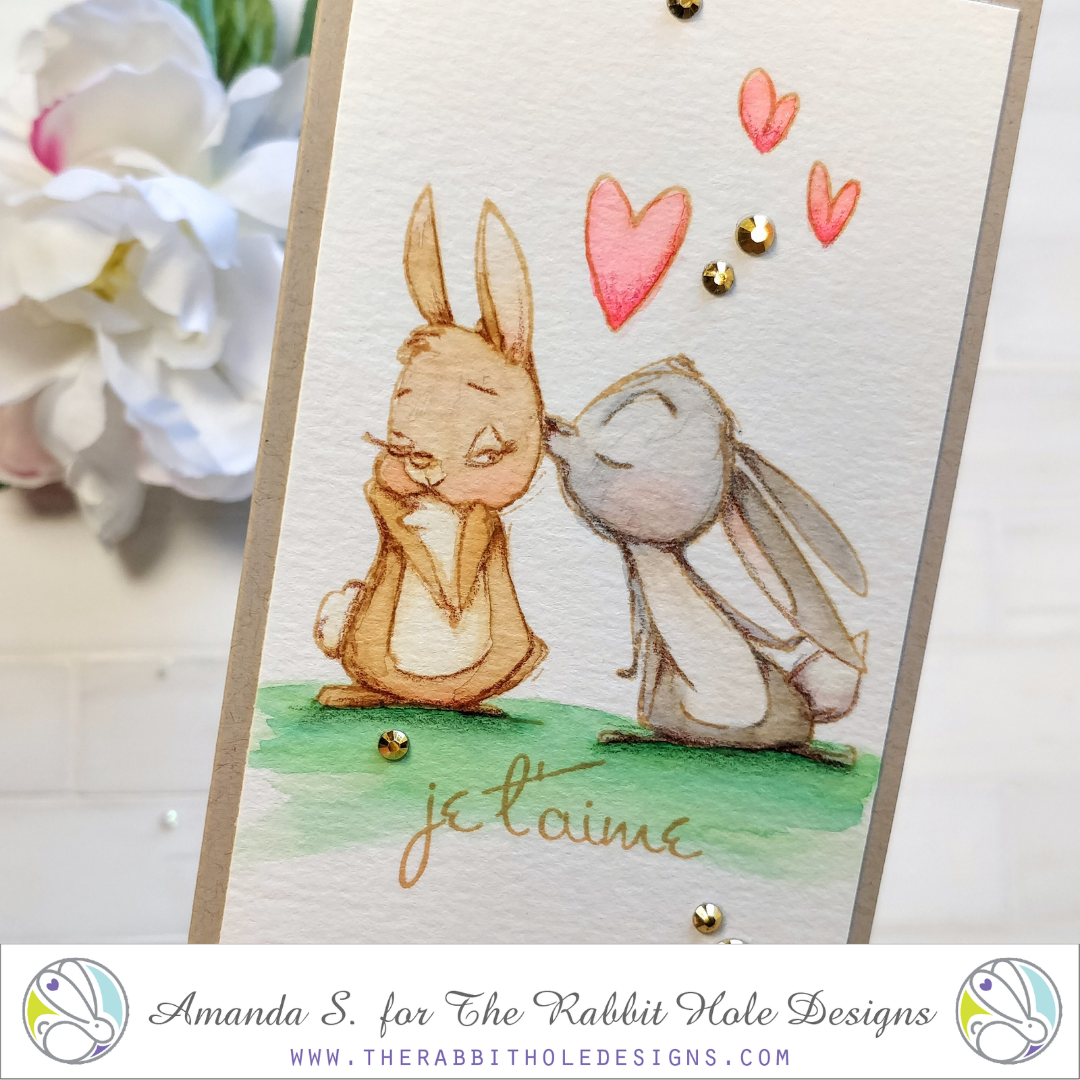
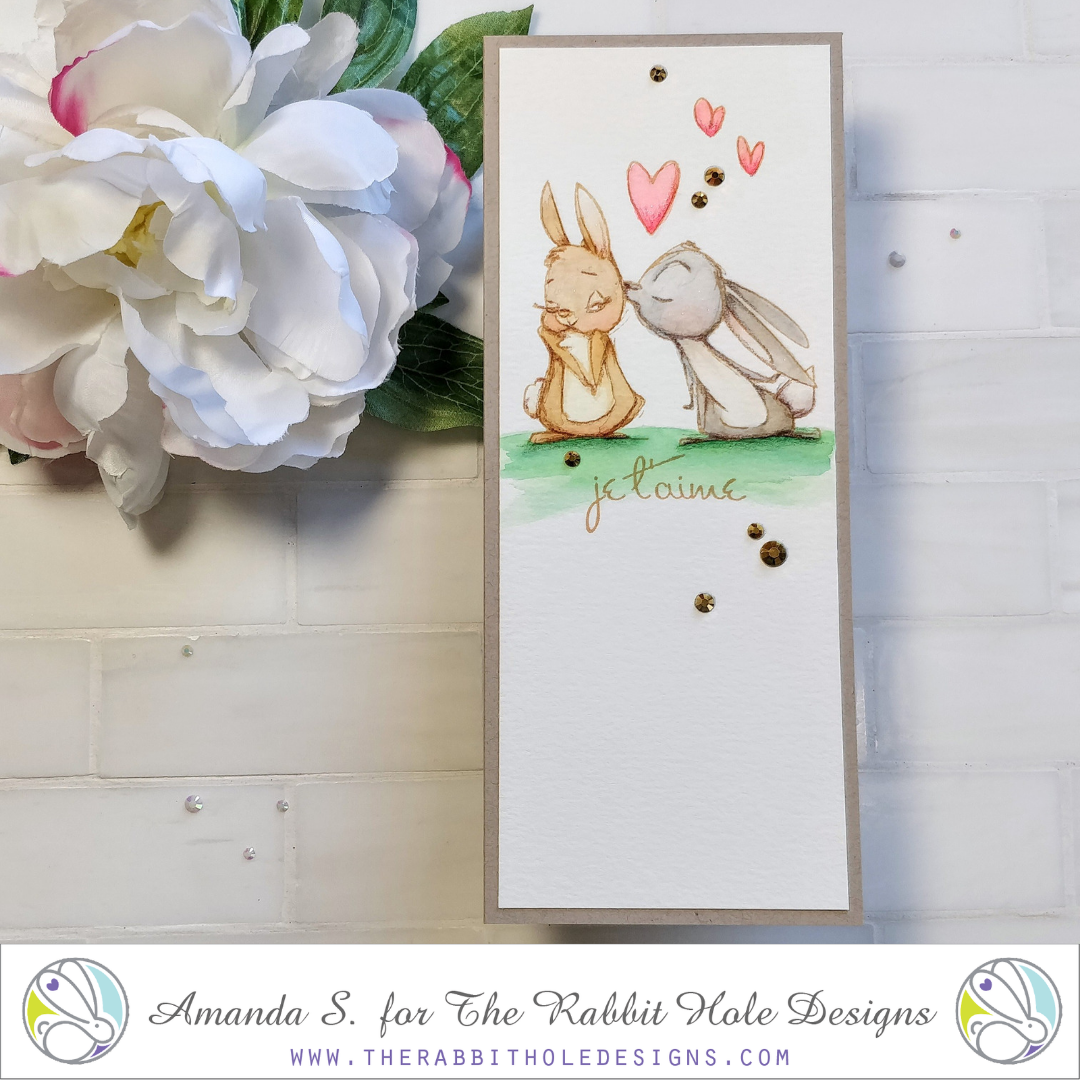
Hello my crafty friend, Amanda here from Pear Blossom Press again. Can you keep a secret? If so, I'll show you the Valentine I made for my husband. It features the new Je t'aime stamp set. Have you seen these sweet little love buns yet? So cute!!! I adore this set, and not just because I'm a bun mom. 

Head on over to my blog for tips on how to no-line watercolor this image, and turn it into a lovely slimline card. I've also got pictures of my real life love buns!

Thanks for stopping by today! If you'd like to see more cards featuring the Je t'aime stamp set, check this out. I'll be back soon with more fun cards to share. Until then, find me on Instagram, and in the Facebook Fan Page

Follow me, Amanda at Pear Blossom Press, on
Instagram - https://instagram.com/pearblossompress
YouTube - https://youtube.com/pearblossompress
Blog - https://pearblossompress.com

For more inspiration, updates, and news make sure to check out these places


The Rabbit Hole Designs

The Rabbit Hole Designs Instagram

The Rabbit Hole Designs Facebook Page

The Rabbit Hole Designs Pinterest

The Rabbit Hole Designs YouTube

January 2021 Special Release Inspirational Hop ~ Day 2


Hello and welcome to Day 2 of the Special Release Inspiration Hop. We are so excited for you to join us as we present to you our release. Our fabulous Design Team will be sharing their projects over the next couple days, so be sure to visit their blogs and leave them some crafty love.

We are also collaborating with My Sweet Petunia so keep reading to see how you could win some great prizes.


 The 2 new stamps sets , one die set, and 3 new stencils are all available to purchase right now in the shop.


The new stamp set and stencil being highlighted today is ...

Je T'amie


Make sure you come back tomorrow for Day 3 of our Special Release Inspiration Hop.


Here is the line up for the hop:

______________________

**Giveaway**

To celebrate the Special Release and My Sweet Petunia collaboration, The Rabbit Hole Designs is giving away one $50.00 voucher to a lucky winner and My Sweet Petunia is giving away one MISTI to a lucky winner.  Winners will be chosen at random from the comments left on the INSTAGRAM posts that use the hashtag #TRHDMISTI. So make sure to head on over to INSTAGRAM and look for the projects using #TRHDMISTI. You have until by 11:59 p.m. PST 01-10-2021. 
Winner will be announced on The Rabbit Hole Designs blog 01-11-2020.

The comments we are looking for are the ones share to the projects using the hashtag #TRHDMISTI so make sure you comment there.

HAPPY 2nd BIRTHDAY THE RABBIT HOLE DESIGNS!!
___________________


For more inspiration, updates, and news make sure to check out these awesome places! 


Thank you so much for stopping by today!