Pages

Showing posts with label thermoweb. Show all posts

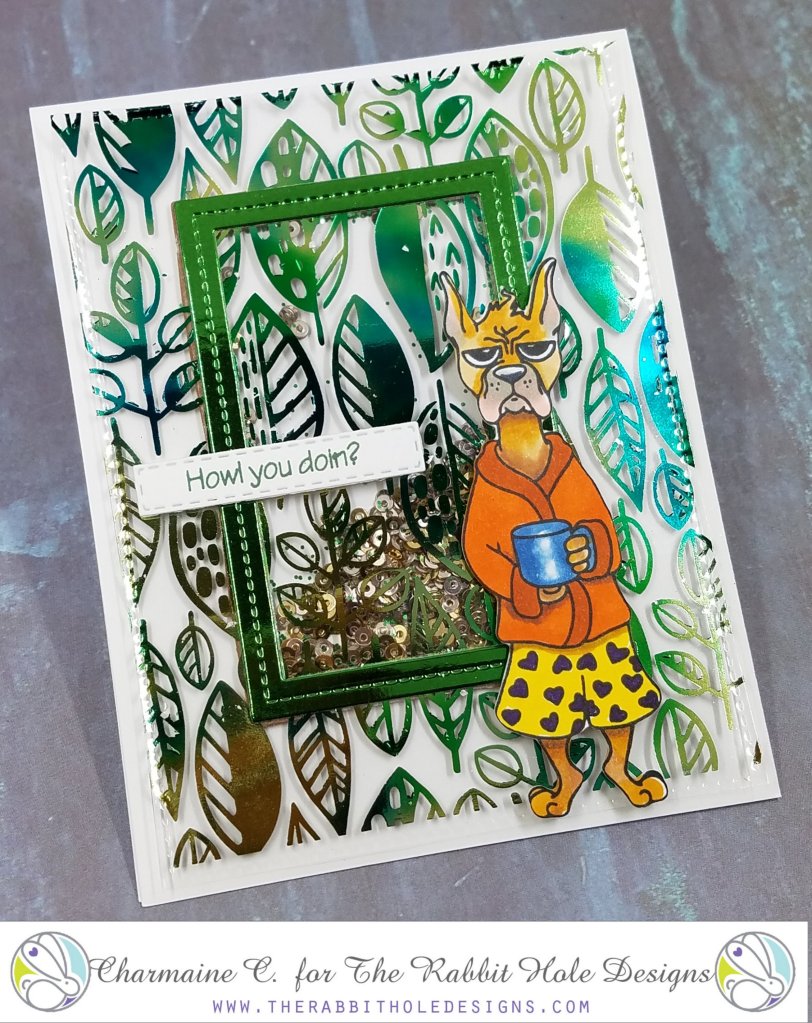
Howl you doin, Therm-o-Web?

Morning Rabbit Hole fans!
We are collaborating with Therm-o-Web this week and sharing how we incorporate crafty items into our own designs using The Rabbit Hole Designs stamps. I hope you are able to fit these ideas into your own creations! There are also some prizes to win!!!
  Image may contain: text

Using our favorite boxer for this project available at Simon Says Stamp and at The Rabbit Hole Designs stores.
T
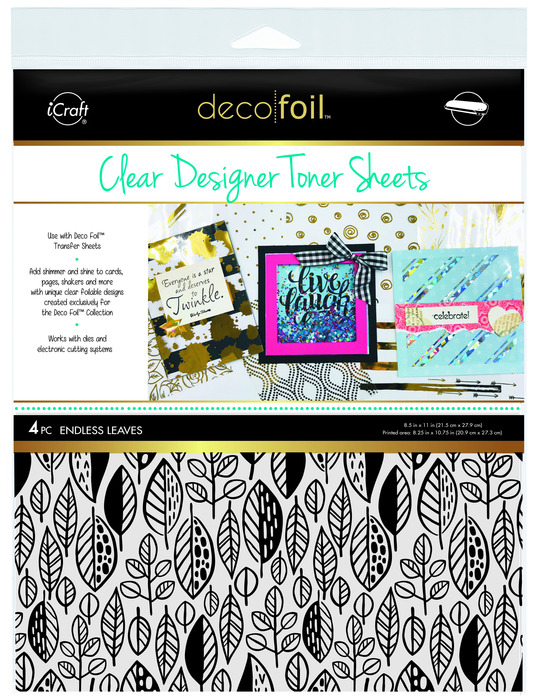
These are clear designer toner sheets. You get 4x A2 sheets in each pack and can be cut accordingly. This is similar to acetate, but already with an image printed on.

To color the toner sheet, choose a Deco foil transfer sheet color that will match your project. I used Emerald watercolor today. Links are on the images.


Here is how I made this Boxer shake:
*
**Switch on your laminator!***

1. Stamp, cut and color Boxer. I used Copics to color.
2.  Stamp and cut the sentiment.
3. Use a frame die to make the actual shaker part.


4. Cut the clear designer sheet to 4 x 5.25. You can also use a stitched die.
5. Cut a piece of transfer sheet big enough to cover the clear designer sheet.
6.  Following the instructions on the packaging, feed the sheet and toner sheet through a hot laminator. The "black" picks up the green and all the shine!
7. Adhere the frame to the designer sheet on top.
8. Apply foam tape underneath the sheet and frame. The frame hides the foam tape.
9. This is a top folding 4.25 x 5.5 card. Place sequins/shakers on top of the card and finish the shaker.
10. Apply the dog and sentiment, and you are done in 10 steps!
Hope you liked my card and all the elements I used from Therm-O-Web. These Clear Designer Toner Sheets are amazing and very easy to work with. I hope you will give it a try!
  For more inspiration, updates, and news make sure to check out these places.


Leafy kisses!
Charmaine
Follow me at www.facebook.com/charcards2017
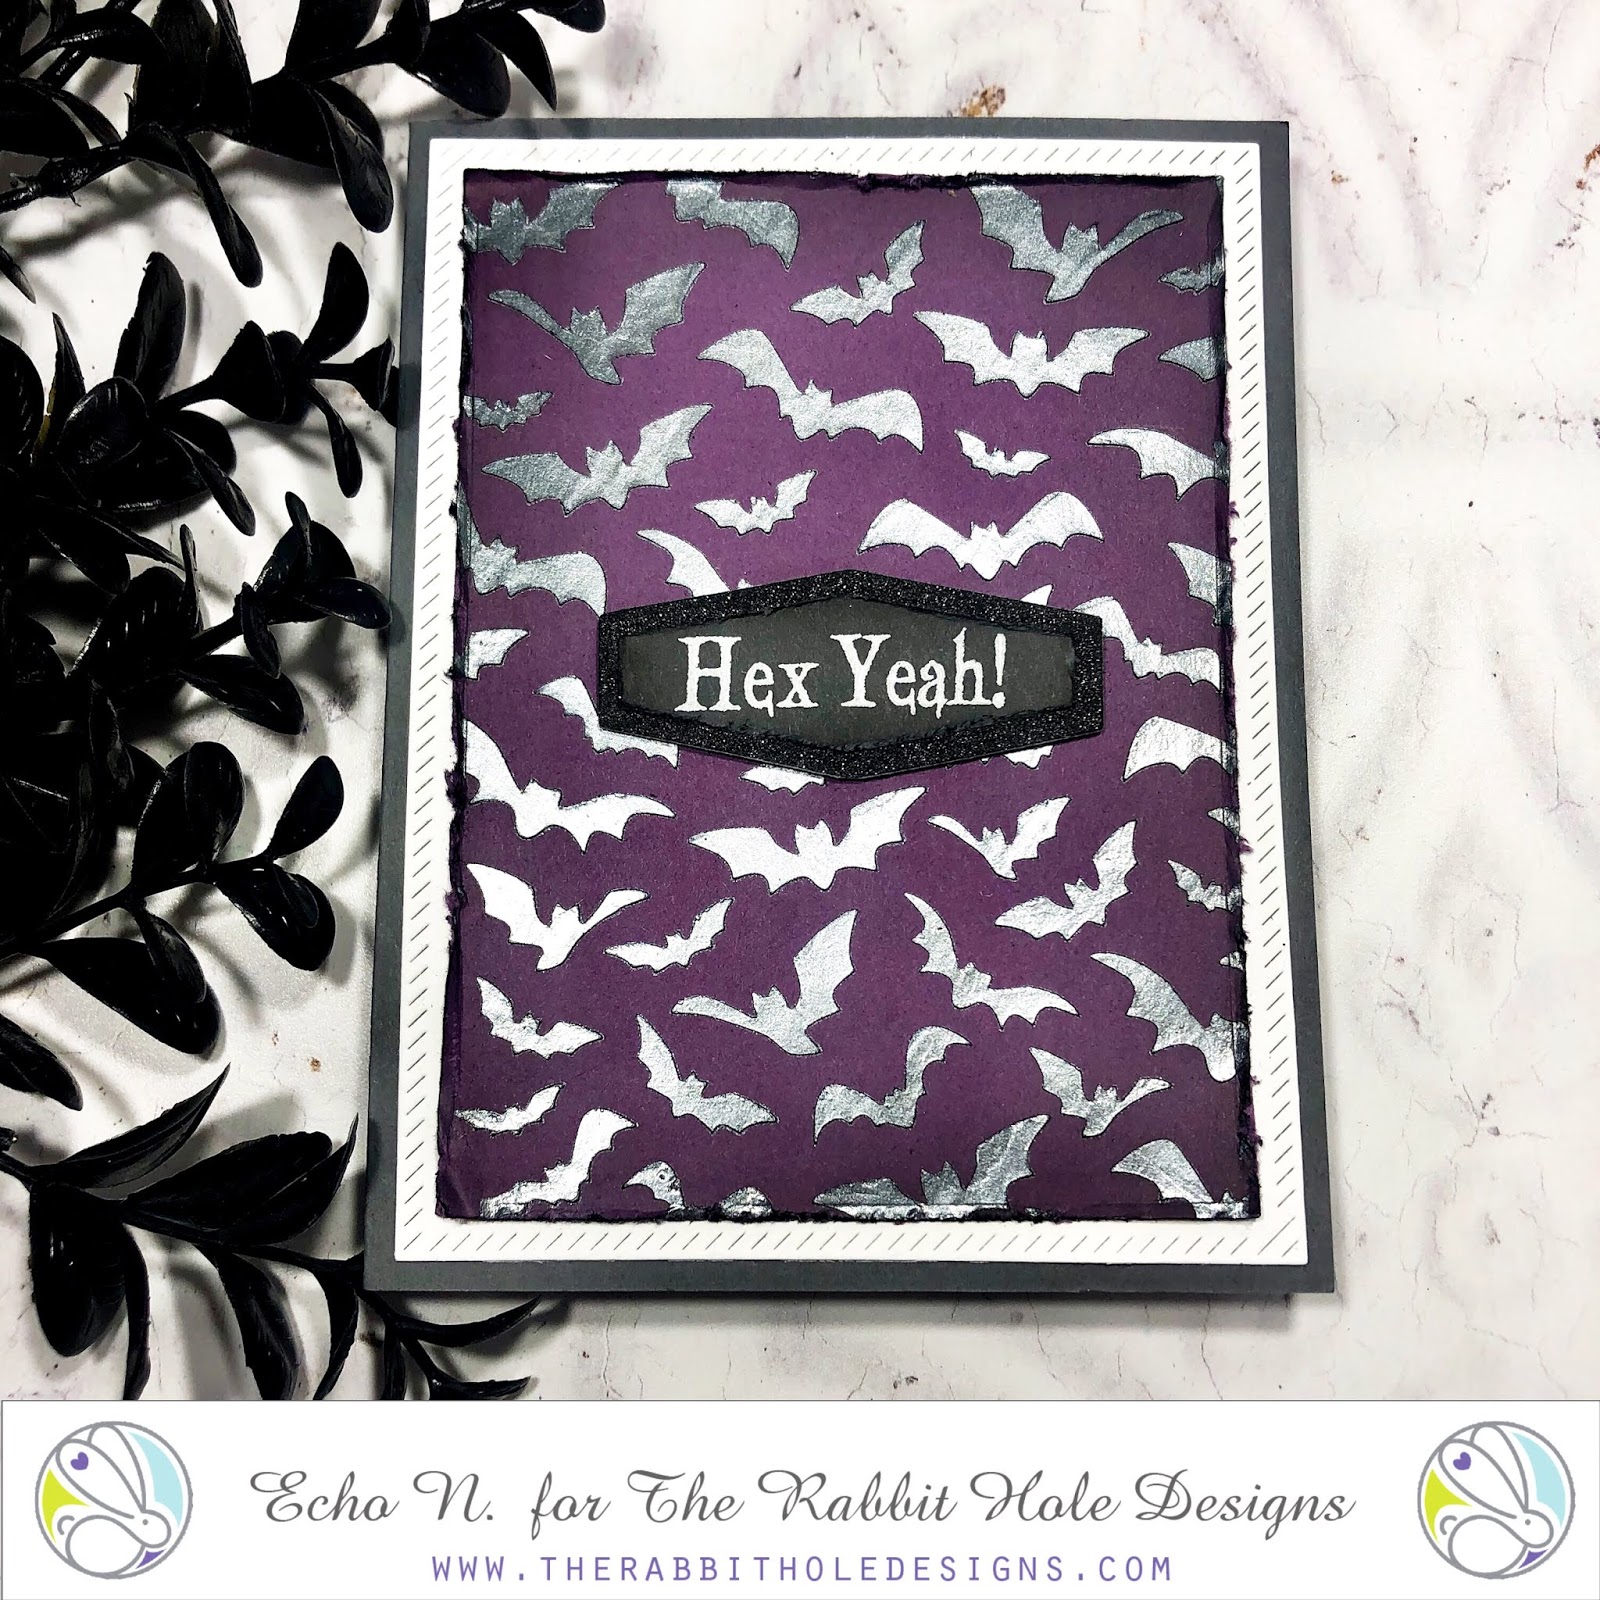

Thermoweb Collab- Hex yeah!


Hello crafty friends! 

Welcome back the the rabbit hole.
  Echo here for some more crafty inspiration! Today I have a fun collaboration with ThermowebI love making Halloween cards and these products from both companies were a great match up! 


Thermoweb is offering a $25 gift card with this collaboration! Head on over the The Thermoweb blog for details to enter to win.

How I created this card.


Sprayed the back of my stencil with Pixie spray. Then applied deco foil metallix gel in glazed pewter


I used the deco foil stencil pal tool to apply the mettalix gel.


Die cut layers 


Distress edges and ink blend.


Stamped sentiment from Hex Yeah stamp set in VersaMark ink and embossed with white embossing powder on black card stock. Die cut sentiment. 

Image may contain: text


For further details and supplies used visit my blog! 

Thank you so much for stopping by!
Stamp on- Echo

Therm-O-Web, TRHD and Katie

Heyyyy!  We are collaborating with Therm-O-web this week!  Woohoo!  We have fun creations throughout the week, so keep checking back for more. 


I have a fun creation for you today, filled with unicorns, rainbows and foil!


Um... don't you just want to jump into the sparkly, dreamy scene?  Ride a unicorn or two?  Giddy-up! LOL. 

And can I draw your attention to the extra sparkle in the background →


OK, so here is how I made this:
  • I started with die cutting the Thanks border on some sticker paper that I had on hand.  The die is from Top Dog Dies (no longer around). 
  • Next, I peeled of the backing and applied my Deco Foil Rainbow Shattered Glass directly to the sticky portion. I set this aside.  
  • I  repeated this step with the Rainbow Die Set (Trinity).  I die cut the cloud dies from the Cloudy Day Scene Builder Die set in white and set them both aside. 
  • Then I stamped my unicorn from The Rabbit Hole Designs Sassy Stamp set on Copic friendly paper.  I colored it and fussy cut it out.  Again, I set this aside. 
  • The next step was to place my Candy Twist Stencil (TRHD) on a white card base.  I tacked it down with Pixie Spray.  Then I covered it with Glass Bead Glitter Gel and a palette knife.  (I like to rinse this type of thing off immediately when done so it doesn't stick to the stencil forever).
  • Once the background was dry, I came back in and added my elements; frame, rainbows, clouds and unicorn.
Here is another view:


Well I hope you enjoyed this card!  I loved making it and playing with these products!  


PRIZES: Head to Therm-O-Web for your chance at a prize to win a $25 gift card. 


Here are a few of the supplies used, feel free to head to my blog for the full list.  


 Thermoweb Deco Foil- Rainbow Shattered Glass     Pixie Spray
Thermoweb Foil- Rainbow Shattered Glass                    Pixie Spray                                  


                    TRHD- Sassy                              Candy Twist Stencil       


Thanks for visiting and have a wonderful day!  ~Katie


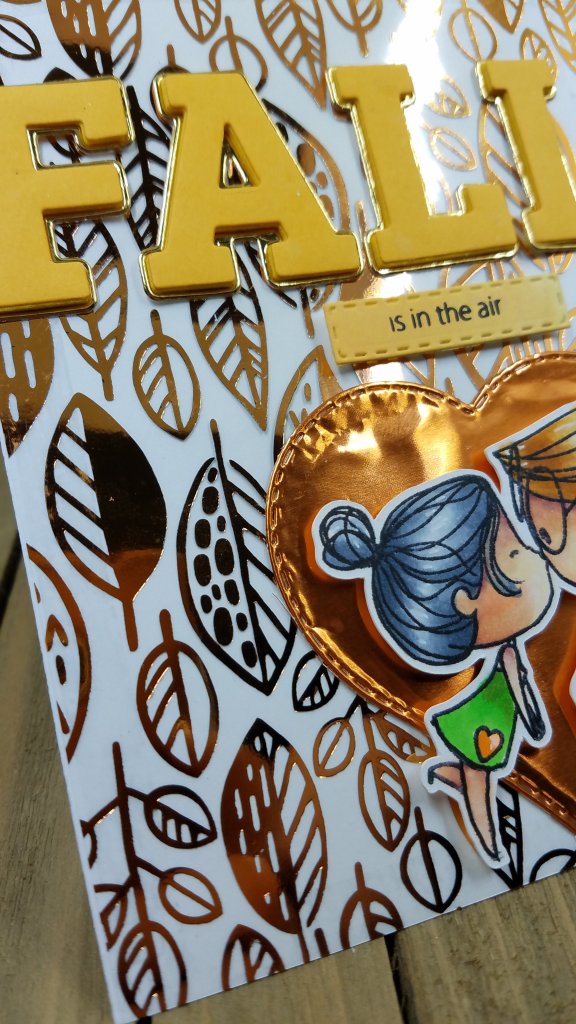
Therm O Web Collaboration: Fall is in the Air


Morning Friends! 
Charmaine with CharCards on the Rabbit Hole Designs Blog!

This week we are teaming up with Therm O Web to showcase you some old and new products that we use in our products. 
I am an Autumn baby so these gold Deco Foil and leafy designer toner sheets just spoke to me! I will link all my products used in the post.

This image has an empty alt attribute; its file name is 20190915_1600267456851903282201301.jpg


Using my favorite Love you more stamp, I decided that they need a Fall background. This stamp set is available 
Deco Foil Clear Toner Sheets - Endless Leaves pictureDeco Foil Transfer Sheets - Copper picture
Love You More Clear Stamp 4x6

Here is what I did:

** Switch on your laminator***
1. Stamp, cut and color the lovely couple. I used Copics.
3. Stamp the sentiment on yellowish paper, used
  My Creative Time's sentiment strip for the stitched die
4. For the "Fall", I used Pinkfresh's Adore Alpha Die Set and craft foam. Cut another set out of yellow cardstock and another out of gold/ mirror card stock. 
5. Glue the foam and cardstock with liquid adhesive. I used Gina K connect glue

This image has an empty alt attribute; its file name is 20190915_1558458713080945495934890.jpg

6. Now for the fun background: 
This clear Deco Foil Designer Toner Sheet, Endless Leaves, is GORGEOUS.
7. Pair it with ICraft Deco Foil Copper Cabre transfer sheet and run it through the laminator.
(Follow the directions of the packaging). 
The Rabbit Hole has transfer sheets in stock as well. Click here.
8. Cut the leafy background down to your card size (4.25 x 5.5)
9. Adhere the leafy background to the card using Therm O Web tape runner. This will not show through the clear sheet. Amazing right???
10. Adhere all the elements onto the card and as a final touch, use the gold "shadow outline" from letters and adhere to the word Fall. 
11. I used dimensional tape to adhere the sentiment

Hope you liked my card and all the elements I used from Therm O Web. These Clear designer Toner Sheets are amazing and very easy to work with. I hope you will give it a try!

For more inspiration, updates, and news make sure to check out these places.


Leafy kisses!
Charmaine