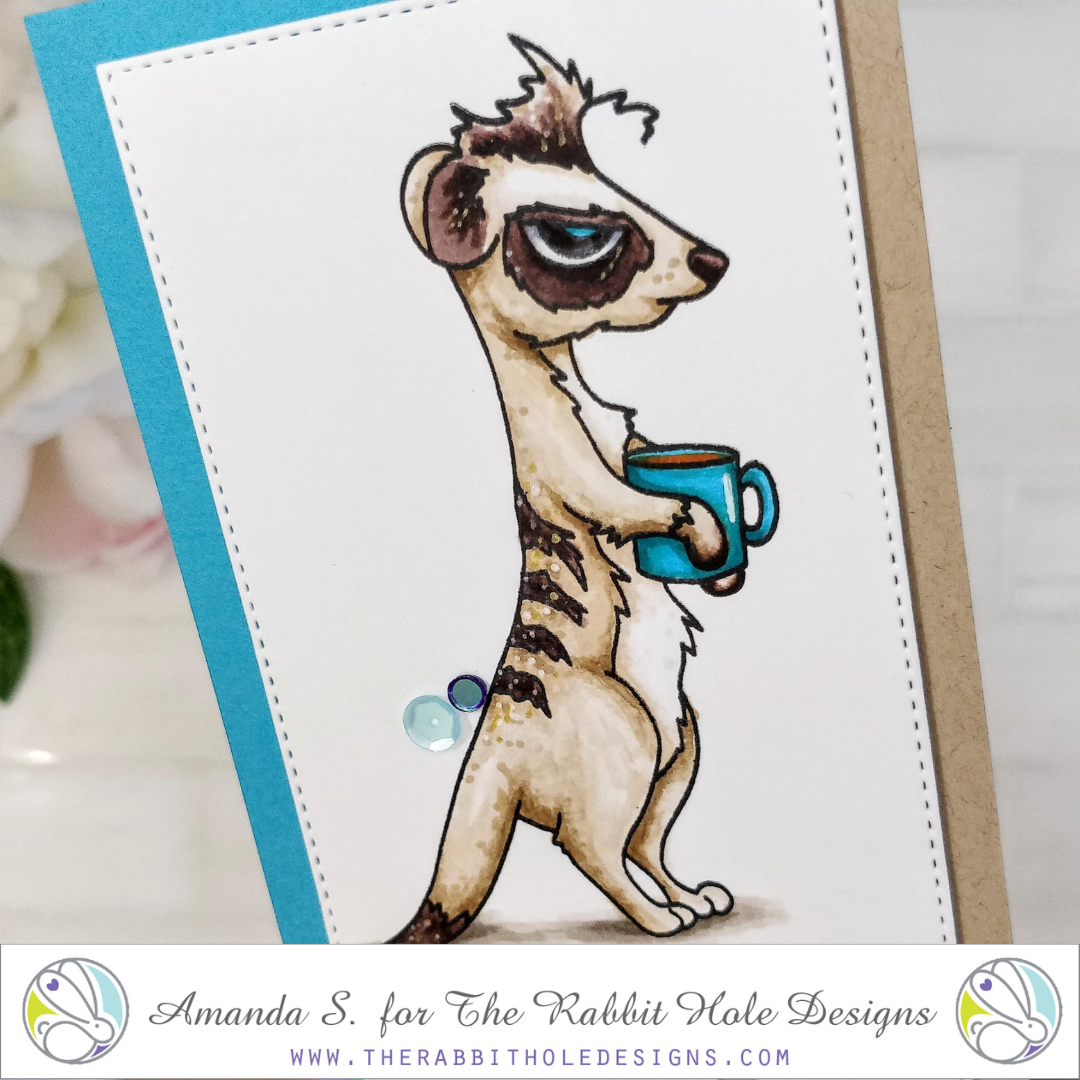
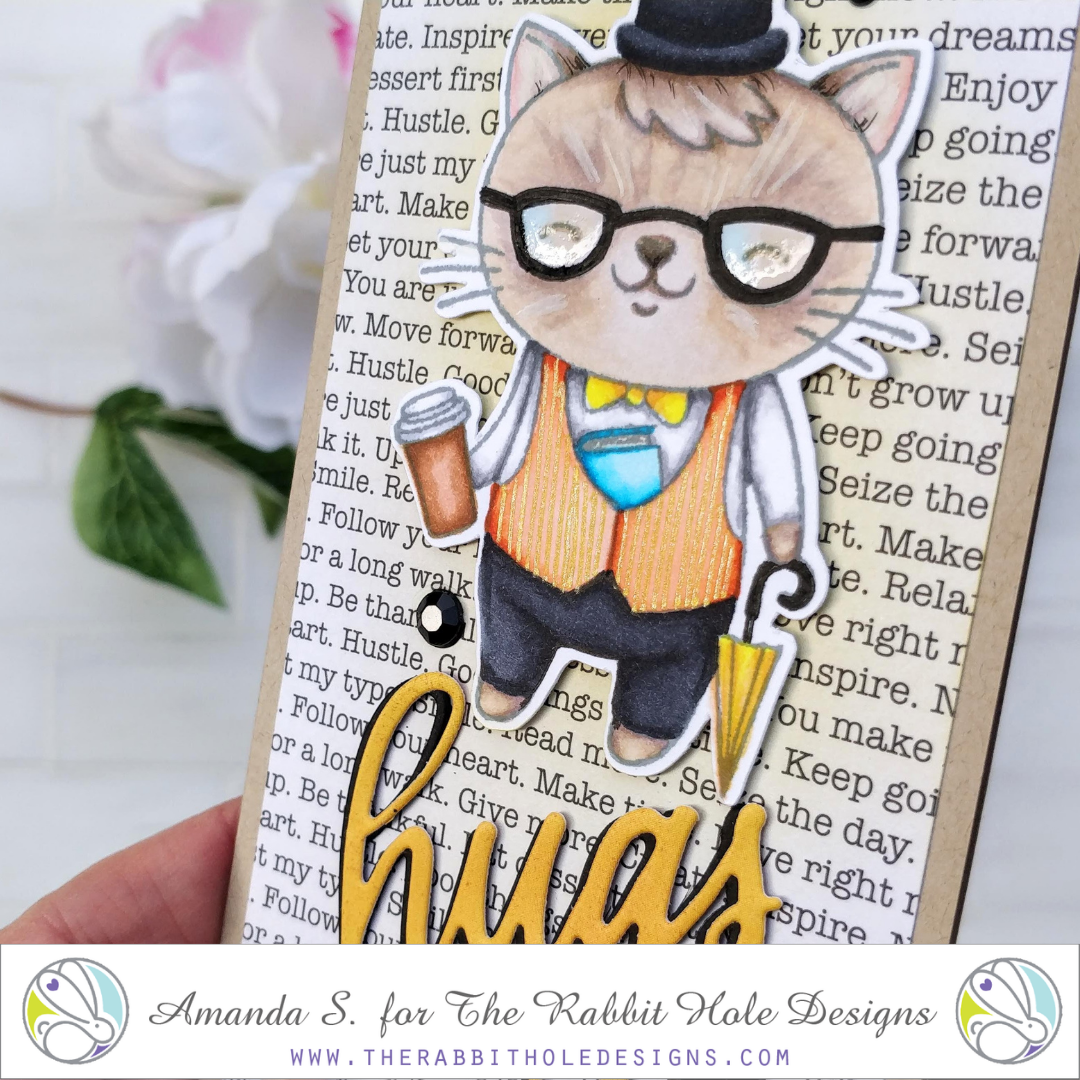
Speaking of details, check out his eyes! They really sparkle, thanks to a trick I learned from Jammie, of Sweet Sentiment. I love her technique!
If you'd like to recreate this card, head on over to the shop, and be sure you have these supplies...
Speaking of details, check out his eyes! They really sparkle, thanks to a trick I learned from Jammie, of Sweet Sentiment. I love her technique!
If you'd like to recreate this card, head on over to the shop, and be sure you have these supplies...
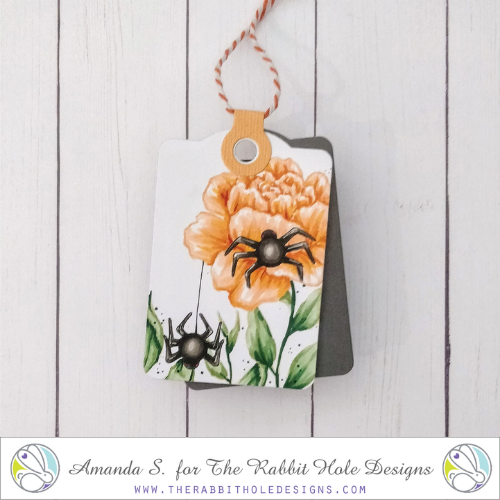
Hello again my crafty friend! It's Amanda from Pear Blossom Press again, with a fun new Halloween tag to share. I combined the spiders from The Right Shoes stamp set, with florals from Pretty in Peony to create a sophisticated, yet creepy tag. It's perfect to tie onto a bottle of wine, for a more grown up Halloween treat. Don't you agree?
Thanks so much for stopping by today. I'll be back soon with another fun project to share. In the meantime, check out these awesome places for more inspiration...
Hello crafty friend, it's Amanda from Pear Blossom Press again! I'm back with another fun pair of Christmas cards today. These we're really fun to make, and even though they have a few more parts, they came together pretty quick because they don't involve any coloring.
Unlike many of the cards I make, the fronts are simple, setting the stage for the big reveal inside.
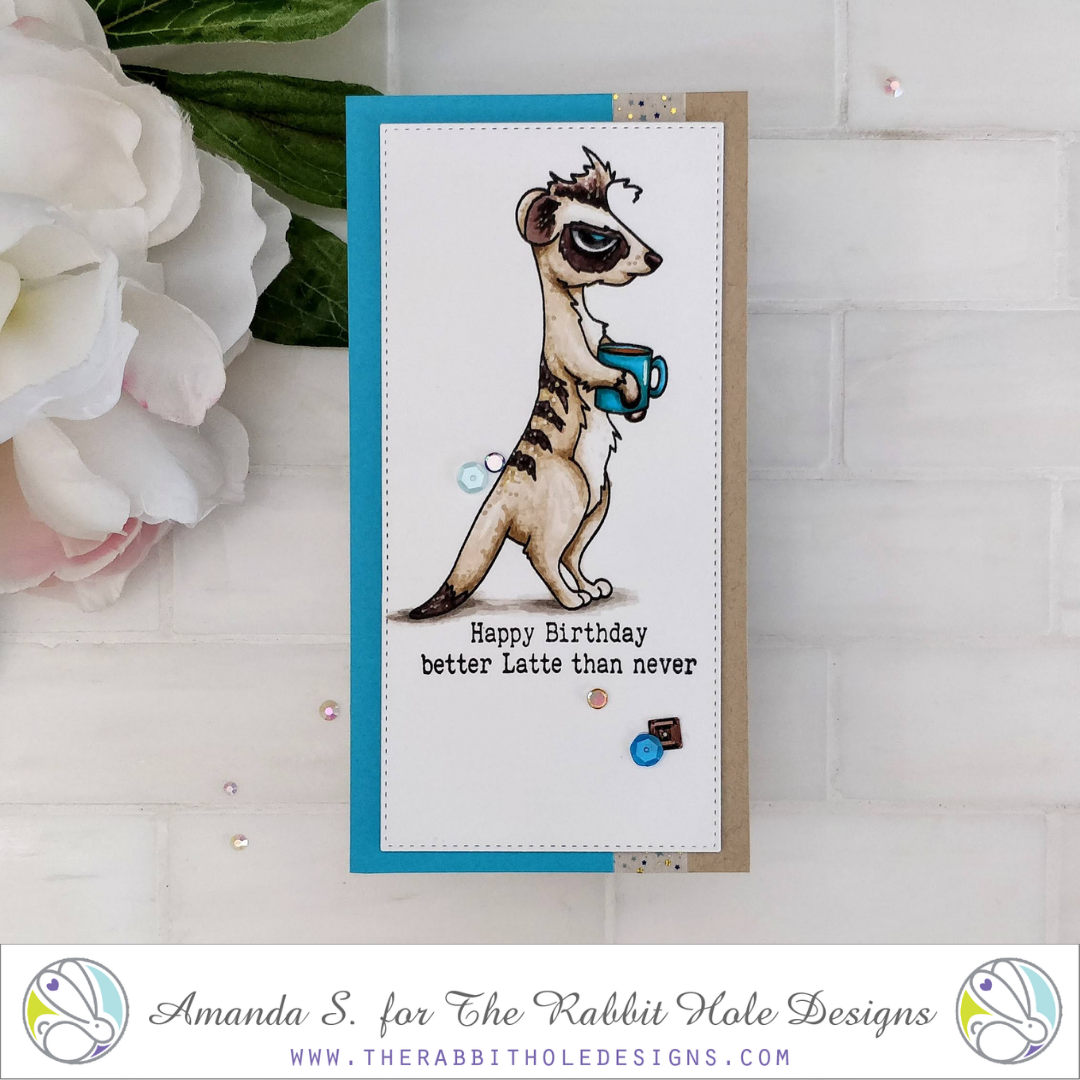
Hello my crafty friend, it's Amanda from Pear Blossom Press, again! Today, I'm sharing a clean and simple card, featuring the new Caffeinated Meerkat. I love this little guy. He's so much fun to color, and he's not too cutsie, so he's perfect for masculine cards too! Especially, when you pair him up with some of the fun sentiments in the Blended Sentiments stamp set.
For the Copic chart I used, and coloring tips and tricks, head on over to my blog... pearblossompress.com. I've listed measurements for the card pieces too.
Thanks so much for stopping by today! I'll be back soon with another fun card to share. Until then, let me know in the comments what your favorite caffeinated critter is. Is there another animal you'd like to see in the series?
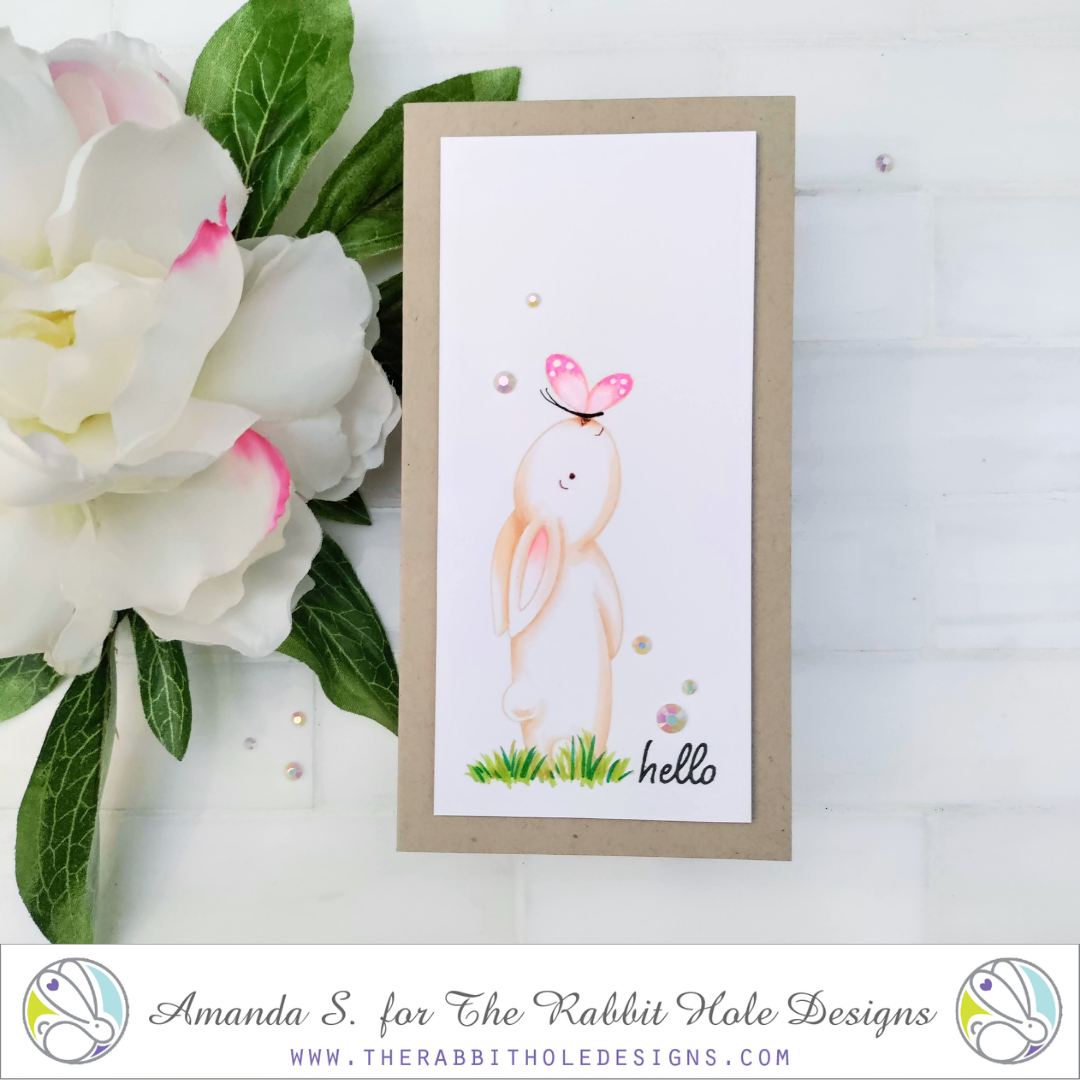
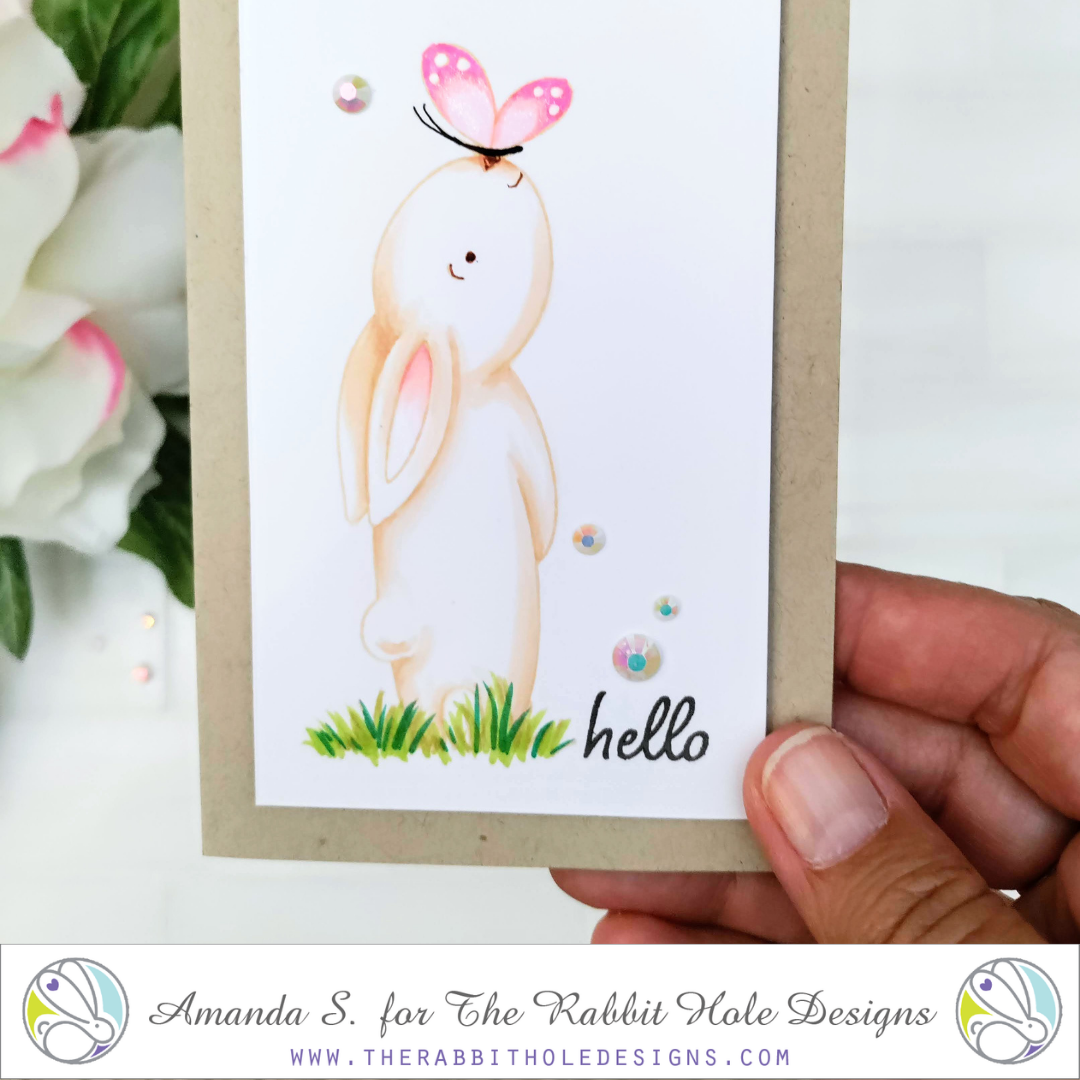
Hello again my crafty friend, it's Amanda from Pear Blossom Press again. Today, I've got a clean and simple mini-slimline card for you, and I think you'll agree, it's very sweet.
Using the new Butterfly Kiss stamp set, and minimal coloring, it came together very quickly too. Head on over to my blog for all of the details, and for a list of the markers I used... pearblossompress.com
Thanks so much for stopping by today. I'll be back again soon with another fun card to share. Until then, I'll see you in the Facebook Fan Page.
For more inspiration, updates, and news make sure to check out these awesome places!
The Rabbit Hole Designs Instagram
The Rabbit Hole Designs Facebook Fan Page
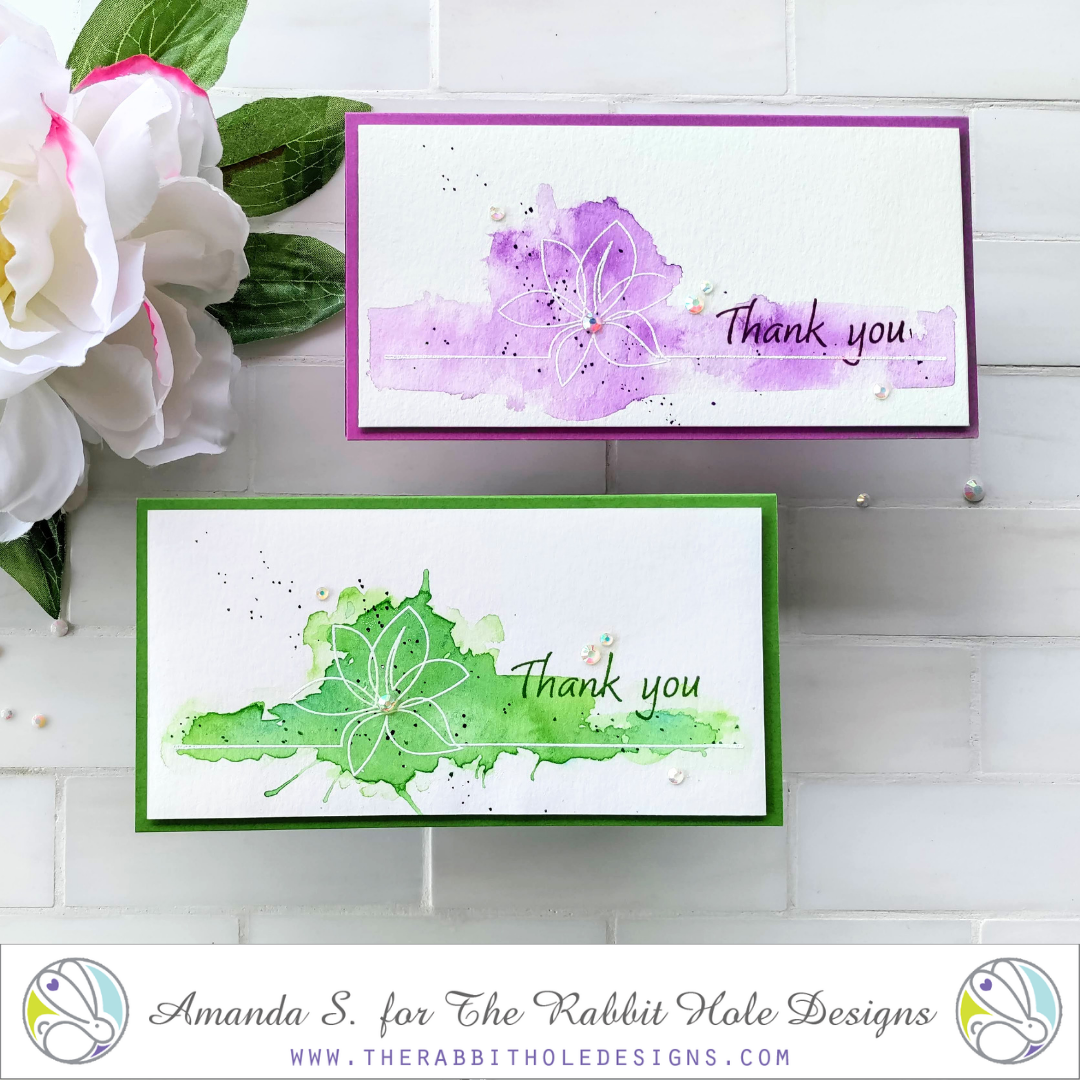
Hey crafty friend, it's Amanda from Pear Blossom Press again. Do you have any stamps in your collection that you just don't know how to color? Or maybe you're looking for an easy way to add color to a card, without actually having to color? Try this!
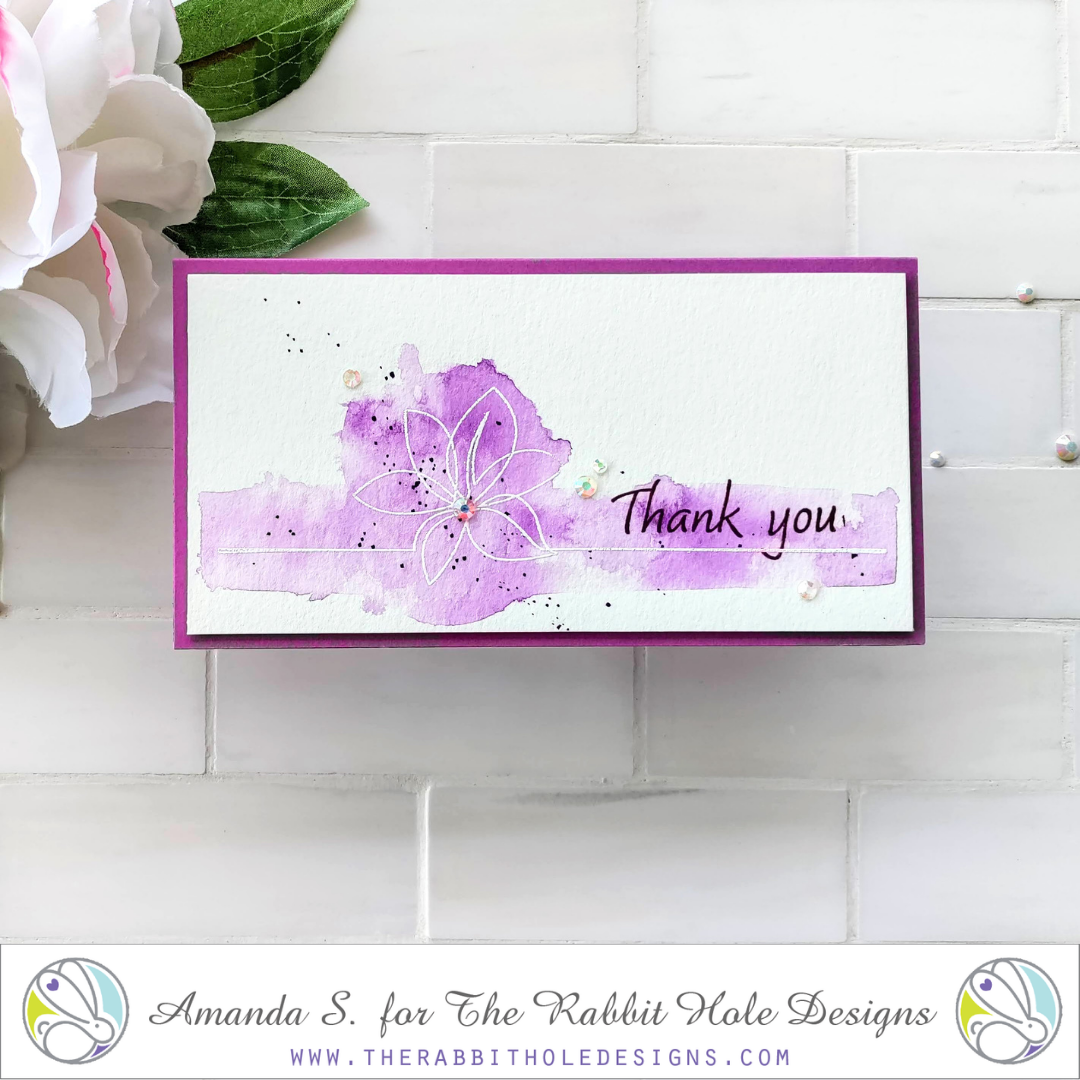
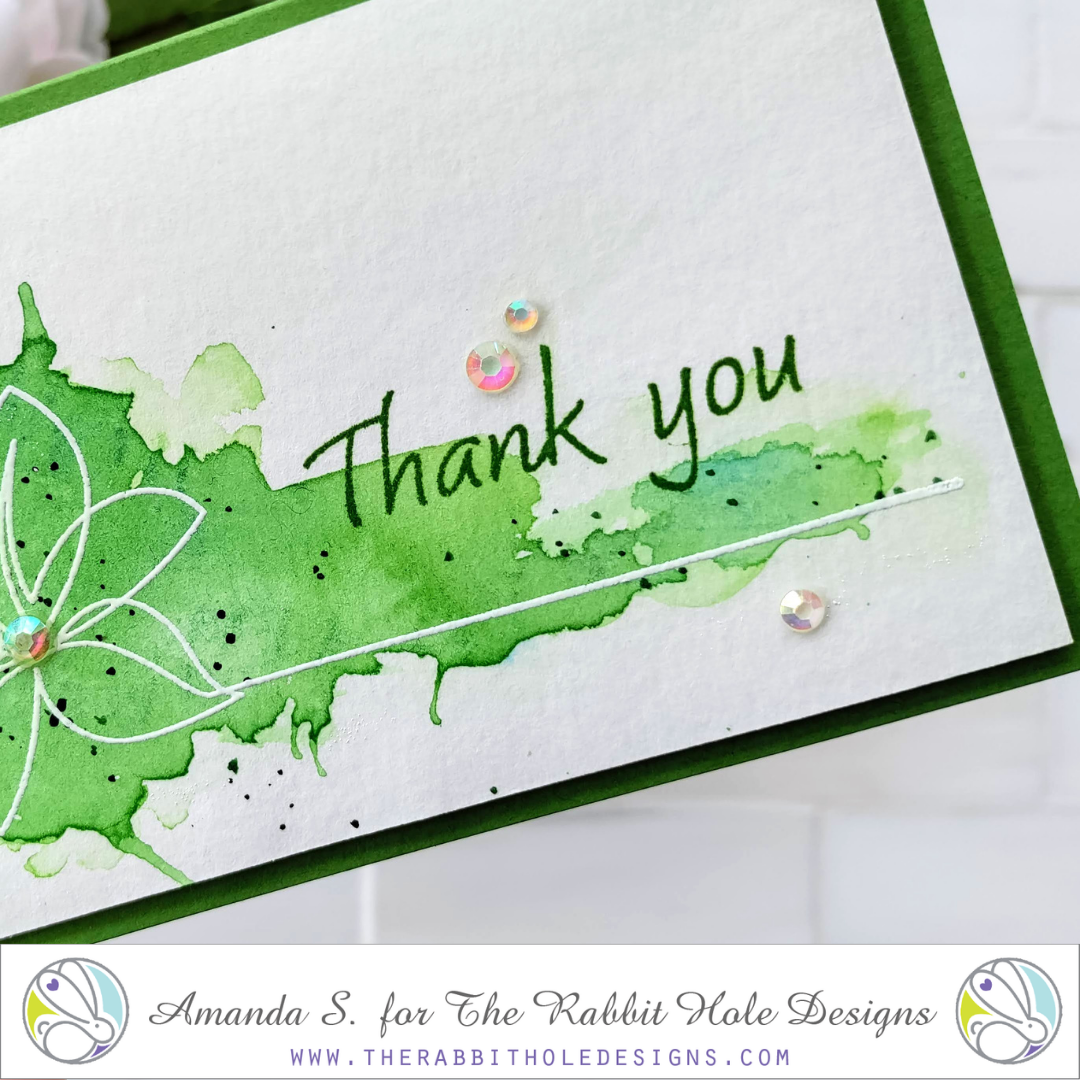
Simply paint a little watercolor onto a panel in roughly the same size and shape as your stamp. If you paint on clear water first, you can achieve a nice wispy look. I like to add concentrated splatter for more interest. After it dries, stamp your image on top and emboss it with white powder. If your sentiment will stand out enough, you can emboss it too. Or you can stamp it in coordinating dye ink like I did with these panels.
This is a great way to create quick and easy cards, without having to actually color. It works for clean and elegant images like the 1 Line Flower I used in today's cards, as well as intricate images (that would take hours to color). Once your panels are dry, turning them into cards only takes a few minutes. Simply trim them down and pop them up on coordinating card bases with foam tape. Add a few gems for sparkle. I love the way these mini-slimlines turned out, and I always need thank you cards, so these are great to have on hand.
Thanks so much for stopping by today. Head on over to my blog for more photos and links to all of the supplies I used in these cards... pearblossompress.com And make sure to swing by tomorrow for the new release celebration! See you then!
It's time for the Star Light Hop with Pear Blossom Press! Today on Instagram, you’re going to see some of the sweetest light-up cards all featuring the very special new Bunny Moon Bundle. It includes stamps, dies, a 6"x6" paper pad, EZ-Lights, and more, all tucked nicely into a heavy duty Bunny Bag - everything you need to make awesome light-up cards like you'll see in the hop today!
Design team member, Amanda Stevens, created a fun mini-slimline birthday card with the bundle. Let's take a closer look...
If you’d like to create a card like Amanda's, head on over to our Instagram post and watch the short process video. Then hop along with us to see all of the awesome light-up cards featuring the new Bunny Moon Bundle! (Don't worry if you don't have an Instagram account, you can still click the links below to see...)
STAR LIGHT HOP LIST
Thanks for stopping by today! For more inspiration, be sure to check these places...
The Rabbit Hole Designs on Instagram
The Rabbit Hole Designs Facebook Page
The Rabbit Hole Designs on Pinterest
The Rabbit Hole Designs on YouTube
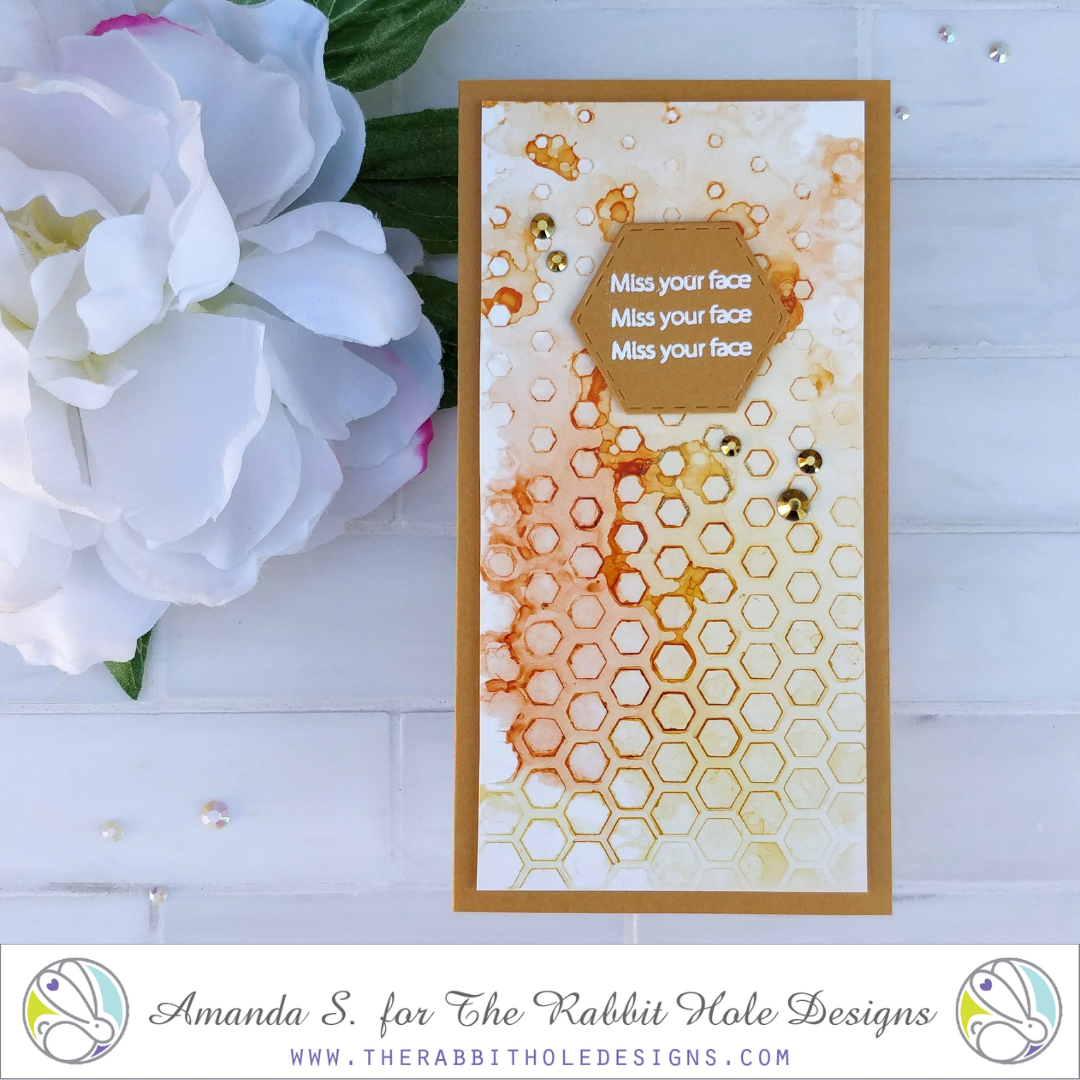
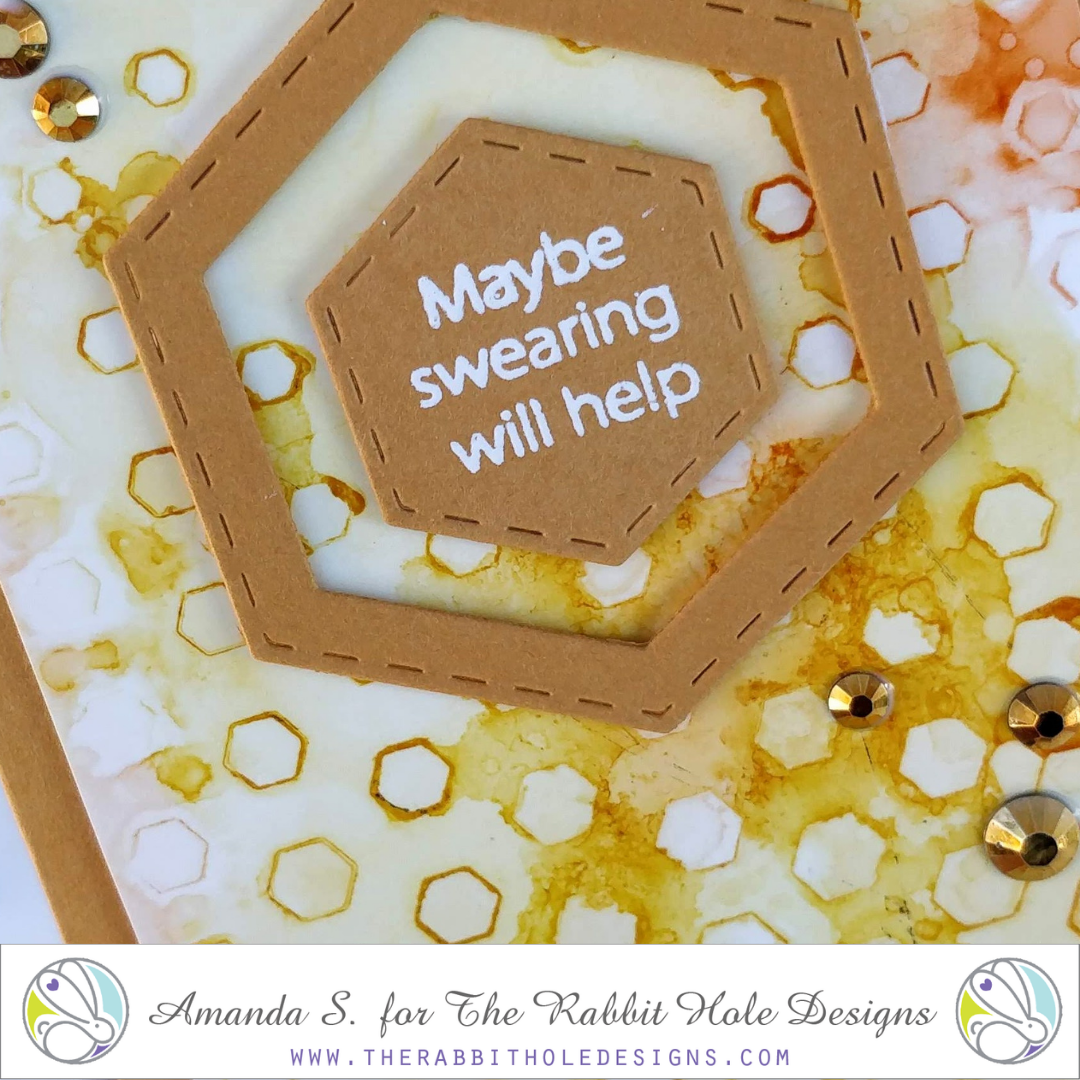
Hello crafty friend, Amanda from Pear Blossom Press here again, and today, I'm sharing a pair of fun mini-slimline cards that feature a cool stencil and alcohol ink technique!
Head on over to my blog, pearblossompress.com, for instructions on how to combine alcohol inks with the new Tastes Like Honey Stencil for awesome backgrounds! A few Sassy Sentiments pull these cards together.
Thanks so much for stopping by today! I'd love to know what your favorite way to make backgrounds are. Let me know in the comments below. I'll be back soon with more fun cards to share. Until then, I'll see you on Instagram!
Anyone else miss traveling? I do! Amanda from Pear Blossom Press here again, with a mini-slimline that's full of vacation vibes and is ready to be shipped off on an adventure...
I stamped the cute little suitcase bunny from Adventure Awaits on a 3" x 6" panel in Warm Glow ink and no-line Copic colored him. For the background, I drew in a simple hardwood floor, baseboard, and a pale yellow wall. Using a gold gel pen, I drew in lines and circles to create the pattern in the wallpaper. It reminds me of a tropical hotel.
To pull the card together, I heat embossed the sentiment with white powder and mounted the panel on a 3¼" x 6¼" kraft card base. A few gold gems finish the card and add more shimmer. Easy peasy, and ready for an adventure!
Thanks so much for stopping by today. If you're feeling vacation vibes too, I hope you'll give this card a try. I'll be back soon with another fun card to share. Until then, find me on my blog... pearblossompress.com
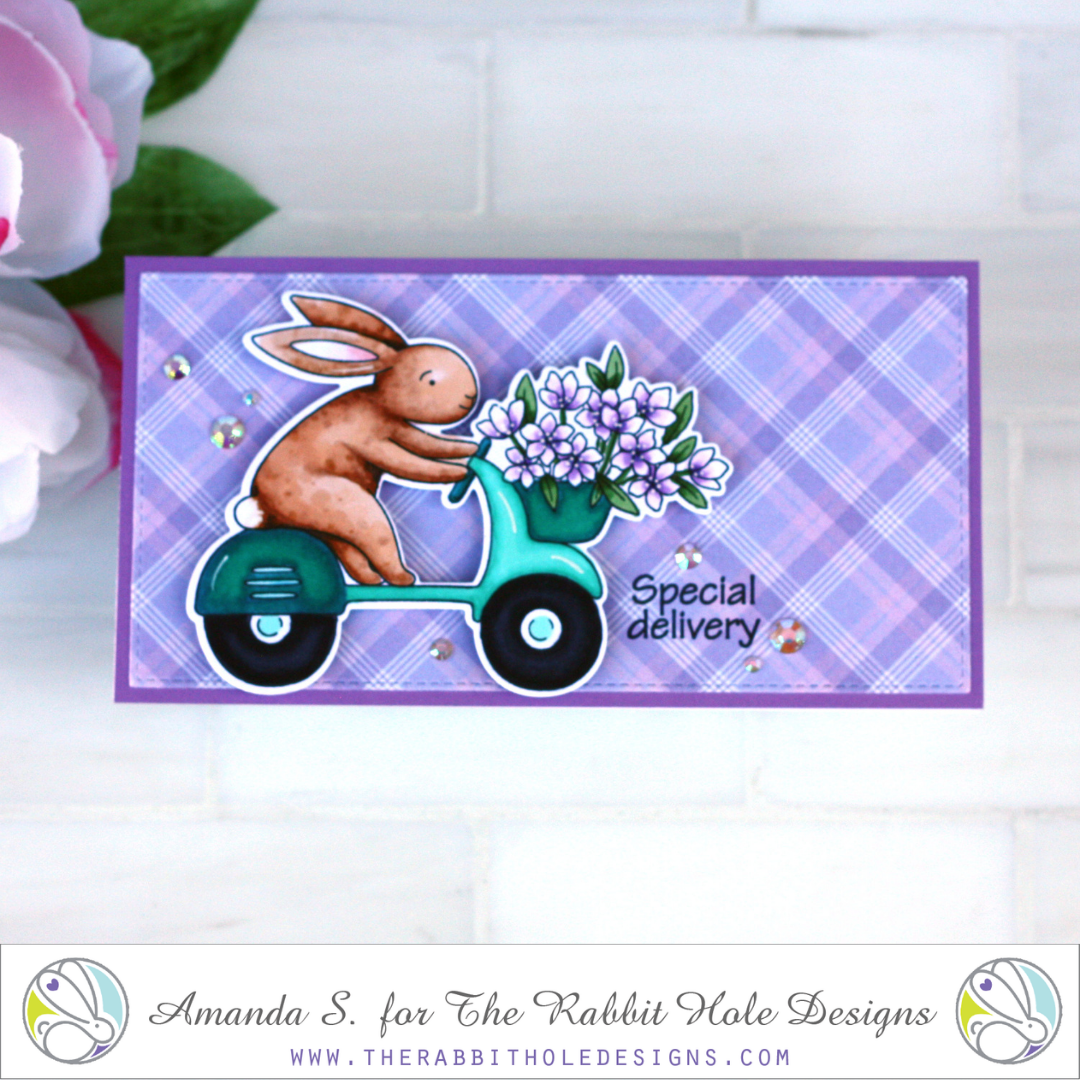
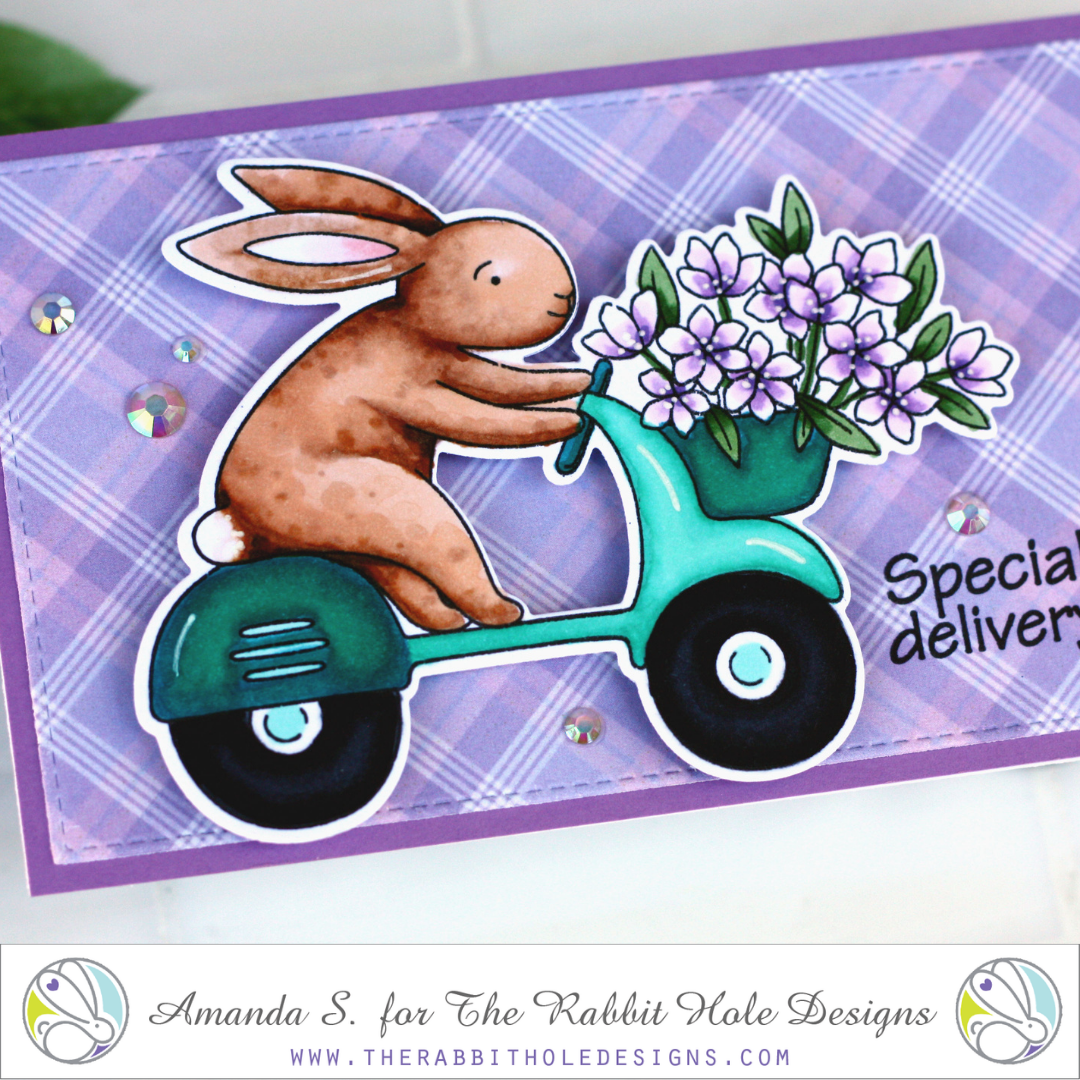
Hello my crafty friend, it's Amanda from Pear Blossom Press again! I'm back with another mini-slimline card today (you're shocked, I know).
Instead of creating a scene for my cute little bunny from Special Delivery, I used pattern paper to pull the card together. It's a simple trick, but there are a few things to keep in mind so your image doesn't get lost, and to make sure the paper actually coordinates. Head on over to my blog for details!
Thanks for stopping by today! My sample card today features the Special Delivery Stamp Set, Coordinating Die, and Spring Floral #1 Paper Pack. I'll be back soon with another fun card to share.
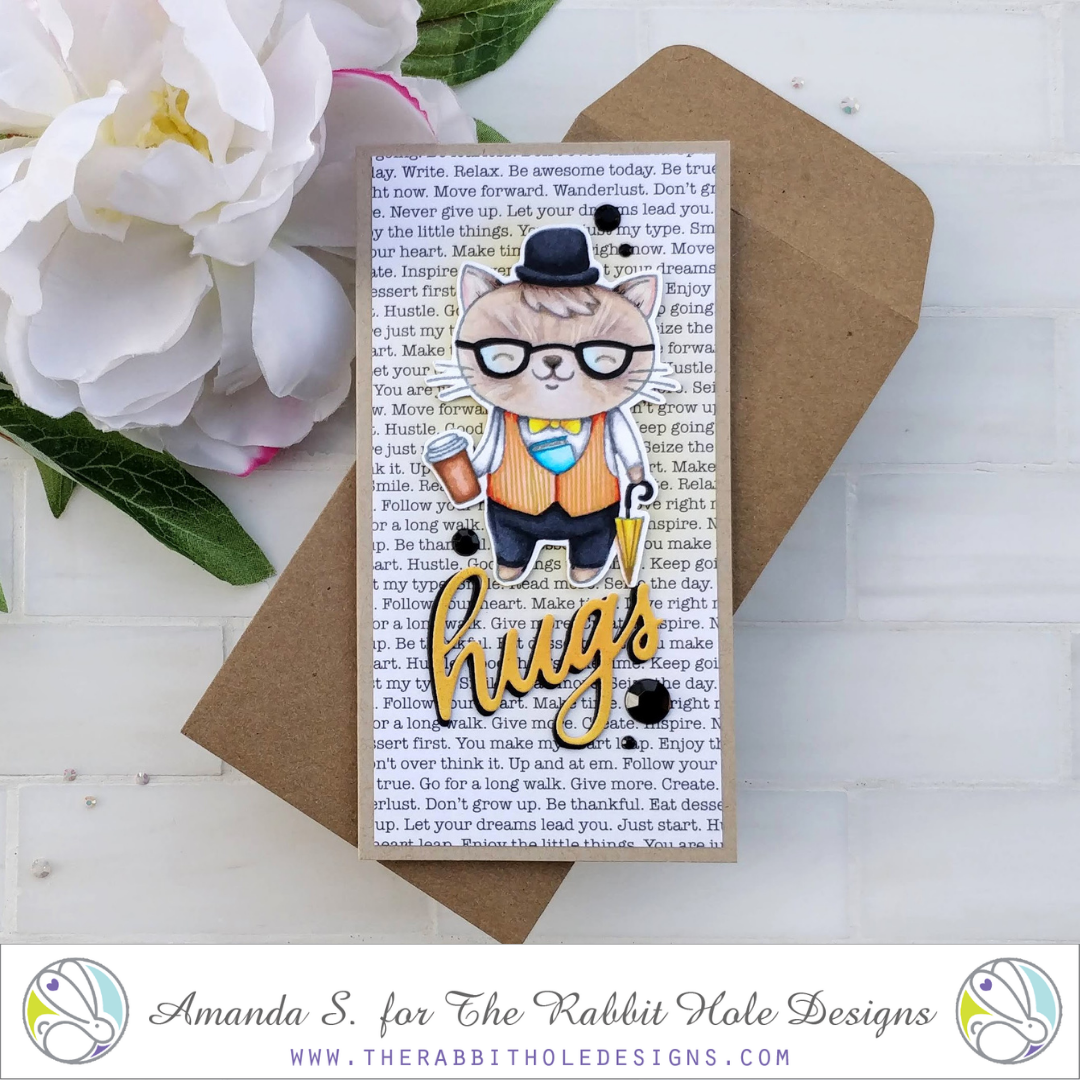
Hello, hello my crafty friend, it's Amanda from Pear Blossom Press again! I'm back with another no-line coloring project featuring the Simple Things stamp set. I have to tell you, I really love this kitty! He's dapper, and a bit of a hipster, all at the same time. You may remember the first card I made with him (click here to see). For that card, I stamped him in brown ink, and colored him with a warmer palette. This time, I wanted to stamp him in grey ink, and use a cooler palette to compare. I love him just as much!
Head on over to my blog for lots of no-line coloring tips, and a few tricks I used for this card... pearblossompress.com
Thanks for stopping by today. I'll be back soon with another fun card to share. In the meantime, you can find me on Instagram, and in the Facebook Fan Page. See you there!
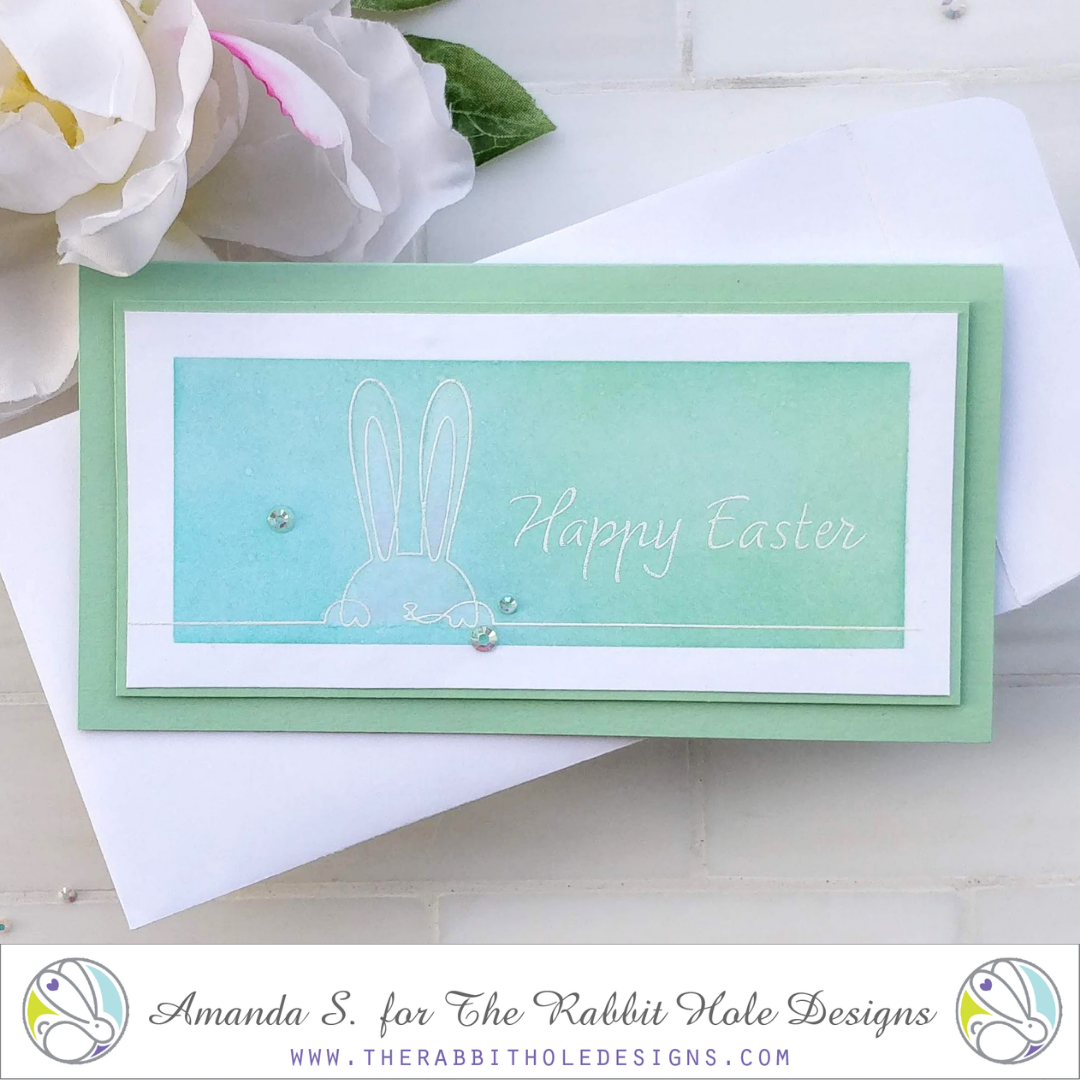
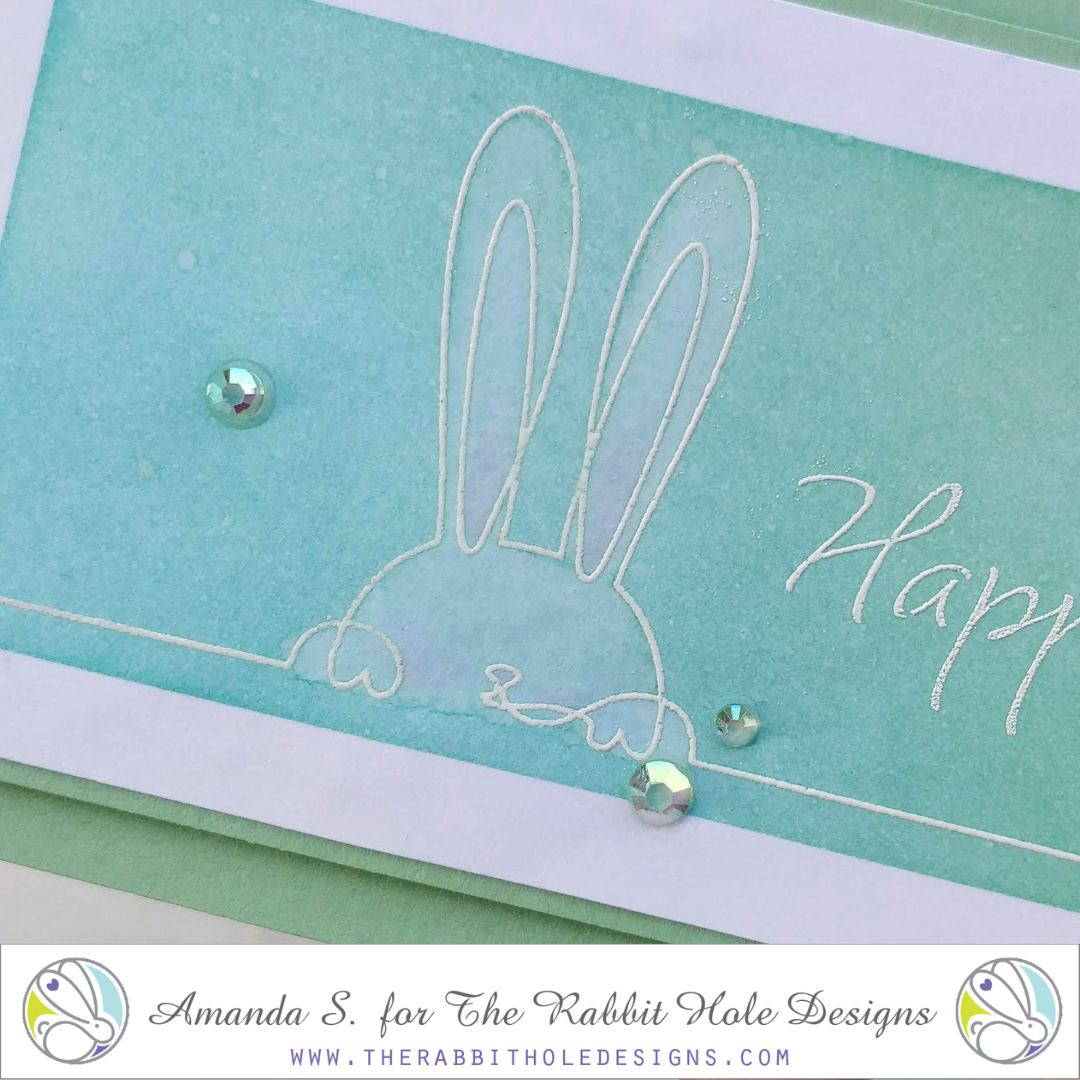
Hello my crafty friend, it's Amanda from Pear Blossom Press again! I'm back with another fun card showing off a neat ink bleaching technique. It's easy, and lends itself to clean and simple images like the new 1 Line Happy Easter stamp set. (It's also a great alternative to traditional coloring.)
Head on over to my blog, where I'll walk you through the steps, and give you a bunch of helpful tips. (Click here.) Notice the hint of pink in my bunny's cheeks and ears? I've got tricks for that too!
Thanks so much for stopping by today. I'll be back soon with another fun card to share. In the meantime, you can find me posting regularly to my blog, and on social media.