Pages

Showing posts with label Beautiful Disaster. Show all posts

Miss Your Face


Hello there! Michelle here, sharing a card I made for my daughter. She's been home from college since Thanksgiving and we've had so much fun! She returns to school in a few weeks until May and I anticipate missing her like crazy! I'll drop it in the mail two days before she leaves😢

I inked up Beautiful Disaster with black ink and colored her with Copic Markers and 
Prismacolor Pencils. I used Copic shades E00, E11, E13, E15, R05 (skin/ lips); C2, C5, C9 (hair); 
RV91, RV93, RV95 (sweater); E81, E70, E71, E74 (coffee).
I added some shading with Prismacolor pencils in shades 1093, 934, 929, 935, 945, 921 and 938.
I created a mask using a circle die cut and scrap paper than secured the mask over the card base. I inked up the circle with tumbled glass distress oxide ink than removed the mask.  I used Pumpkin Face Stencil and inked up the stars with cracked pistachio distress ink. Than, I splattered the background with black paint.
I fussy cut my young lady than adhered her to the card base with foam tape.
I embossed the sentiment, from the stamp set Sassy Sentiments. For a finishing touch I scattered some gems.

Thanks for stopping by for a peek!

Michelle


We Are The Perfect Blend!

Hi everyone! Von Marie here and I'm so Happy to be on TRHD Blog today.  I have a fun card to share with you.


I used this cute image from the Newest Release called Caffeinated Terrier.  It's such a fun image, and I adore that doggy and his big cup of coffee.  I first stamped the image onto some Neenah Crest Solar White Cardstock using the inner square from the poloroid that i had cut out. I colored the image in with my Copic markers and I gave a shadow around the image.

I used some fun pattern paper from my stash and layered my poloroid with layers of cardstock and added foam tape to the back to be added to my panel.  I then added my panel onto a A2 kraft top folding card base.  I stamped the sentiment from Beautiful Disaster onto the poloroid and added sequins and white gel accents.  I hope you like my card for today.  Thank you for stopping by!


Products I used:


For more information, news and updates check out these links:
 
 
Thank you for stopping by!

You feel like home to me...


Hello and welcome to The Rabbit Hole Designs blog! It's Lisa here with you from 
That is the name of the stamp set I used to make this card. 


I just love the whimsical feel of this image. Everything from the messy hair to the shirt hanging off her shoulder. It just gives you a laid back easy kind of feeling and we all need that right about now! The sentiment is from another Rabbit Hole set called Love You More.  Isn't that just the sweetest sentiment you've ever seen! I think we all have a new appreciation of home right now.... It's our safe space and we are surrounded by our loved ones during this time of social distancing.  I know we have spent a lot more time together just in family meals alone! 
The background of my card was made with the 
Diamond Flower Stencil and two different color oxide inks.

I am very happy with how this card came out.  It has a nice easy feel with some cool colors and I don't even hate my Copic coloring.
😂

Thank you so much for stopping by my blog today!

For more inspiration, updates, and news make sure to check out these places ...


Have a great day, I already am!
☕️Lisa ☕️

When No-line Coloring Goes Wrong...

Beautiful Disaster The Rabbit Hole Designs No Line Coloring

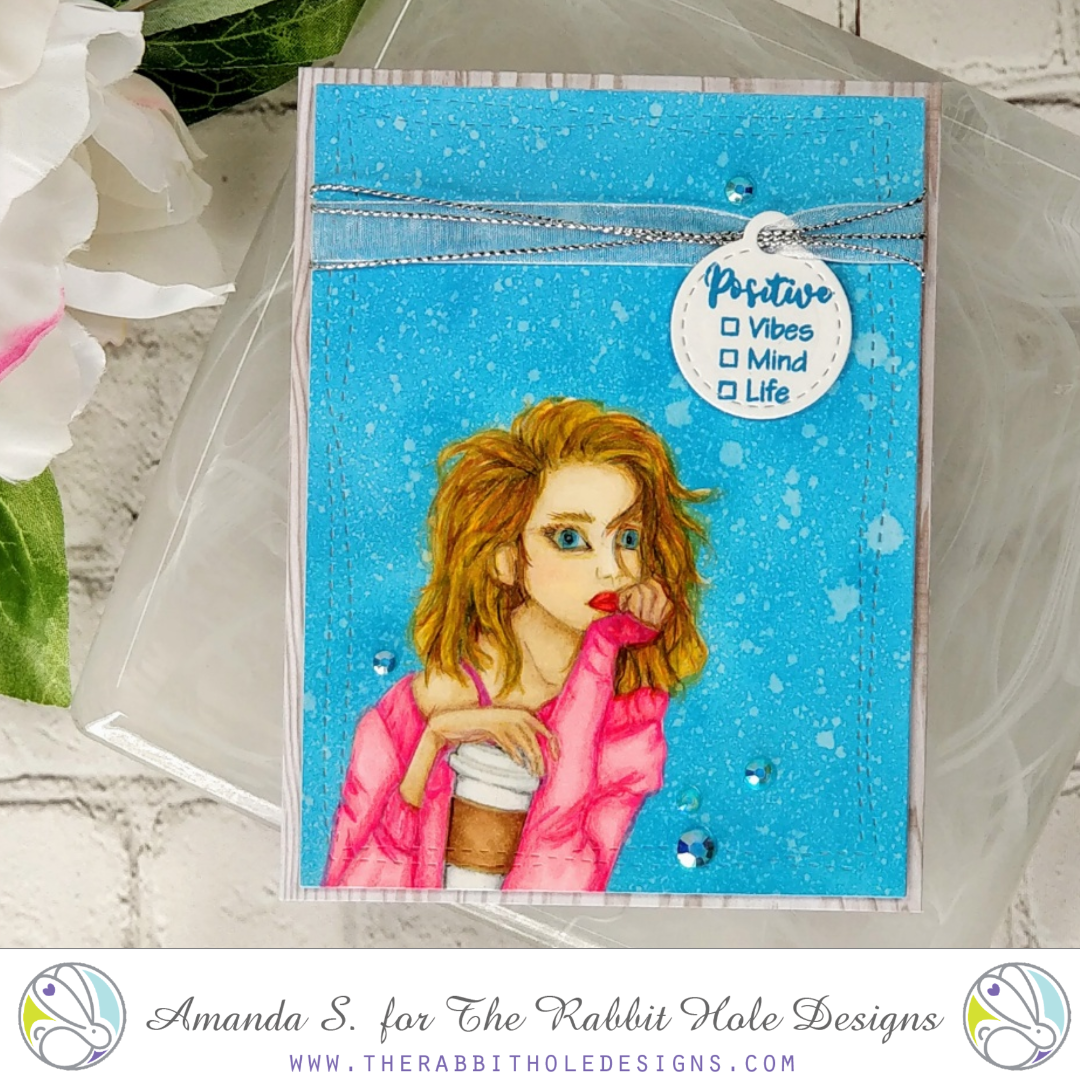
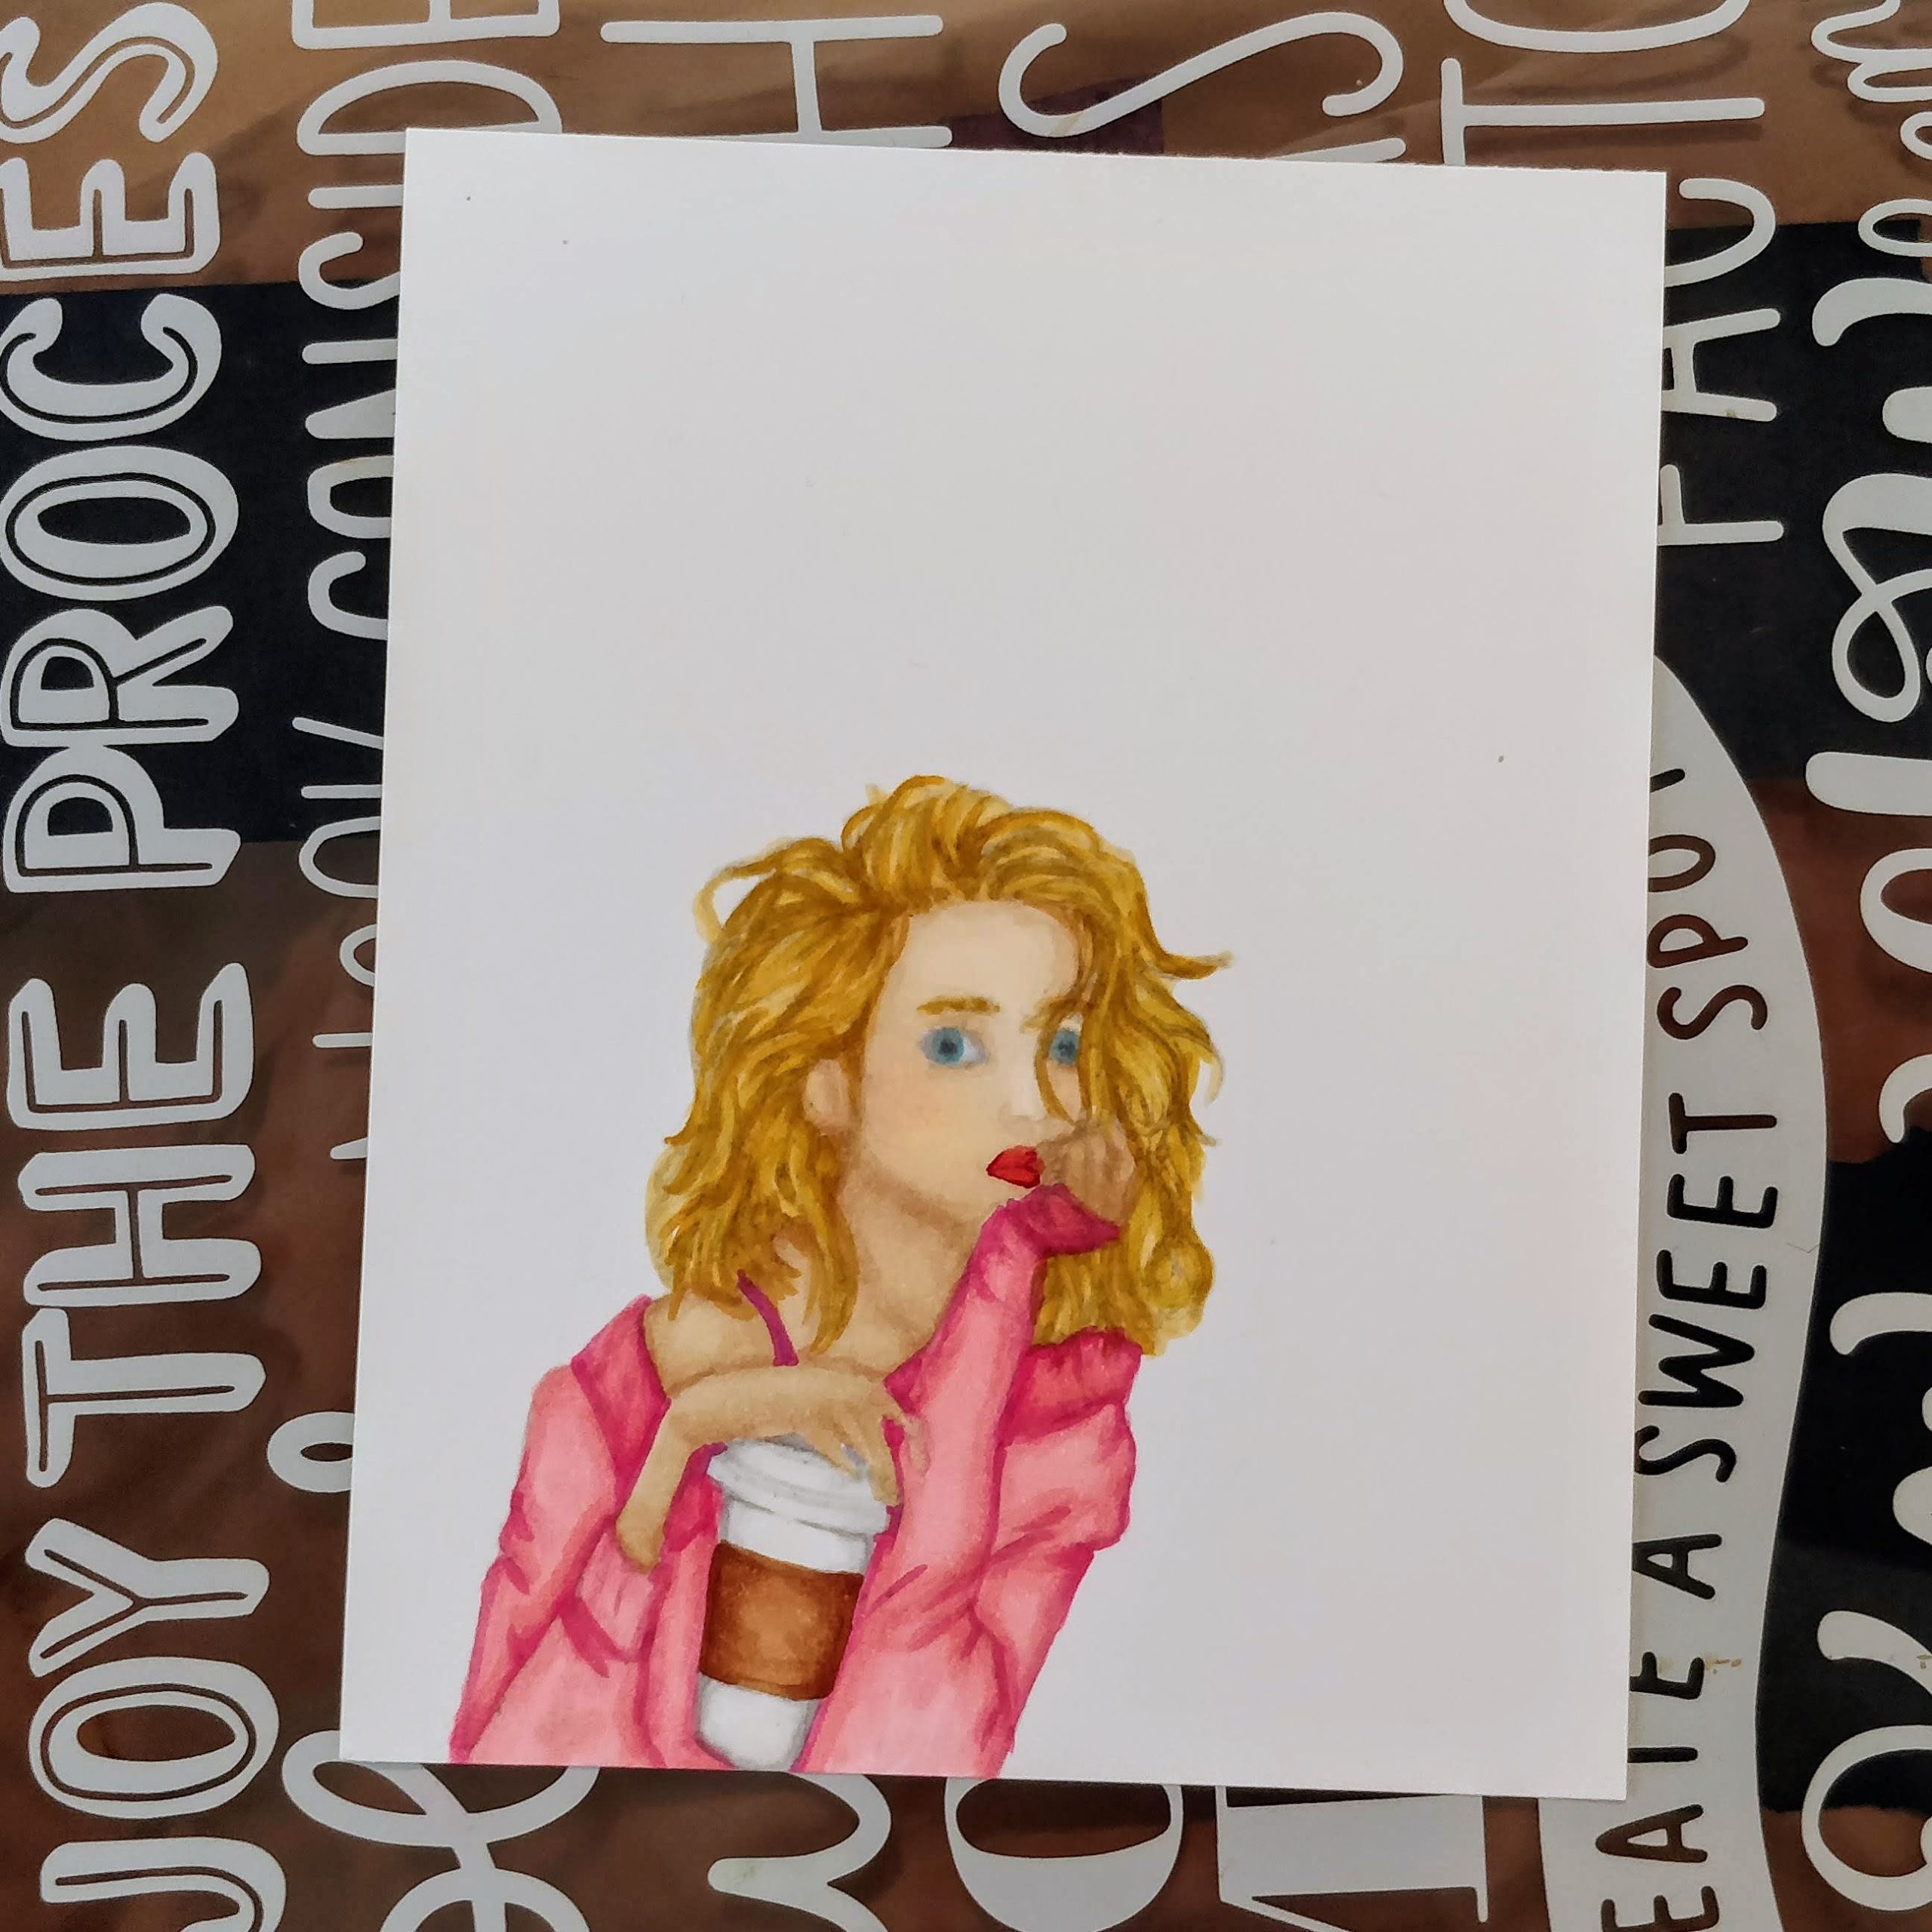
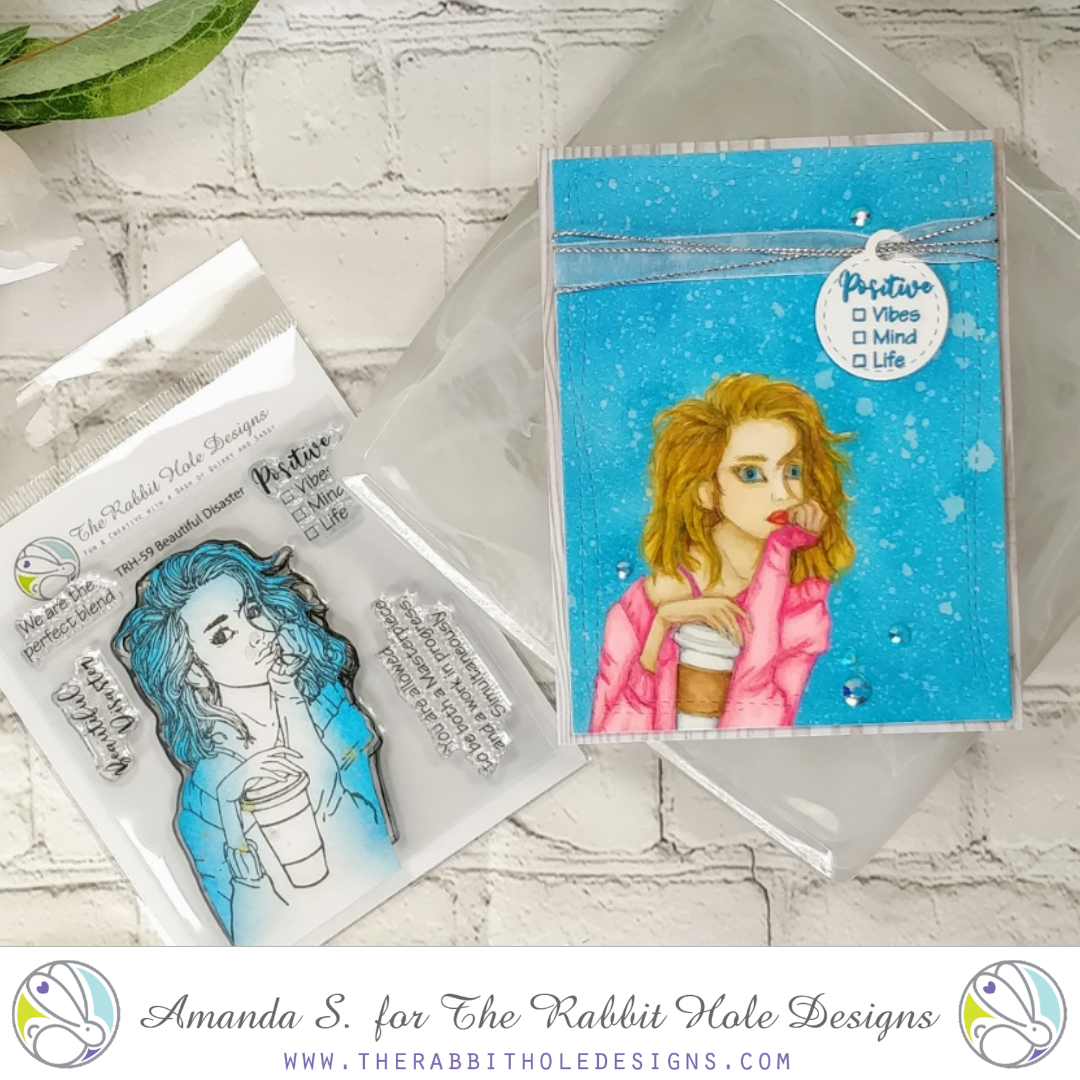
Hey crafty friends, it's Amanda from Pear Blossom Press again. I've been coloring along as much as possible for the 30 Coloring Challenge this month, and I decided to get brave and try no-line coloring again. Instead of going with an easier image, I jumped right in over my head, and went for it with the girl in Beautiful Disaster. I'd colored her before with a black outline, so I felt confident I could pull it off. The result is similar to those cake baking shows where amateur bakers try to recreate a masterpiece. Lol, I nailed it! 

Beautiful Disaster The Rabbit Hole Designs No Line Coloring Beautiful Disaster The Rabbit Hole Designs No Line Coloring

First, I colored her with Copic markers. Then, I started with the colored pencils. I'll be honest, I thought about trashing her. I spent several hours trying to get my colored pencil details right, and there are parts that I actually like, like the coffee cup. But let's be honest, she looks like she's watched one too many makeup tutorials on YouTube. Am I right? I mean, you know you're doing it wrong when your mask looks better than your colored image. I decided to keep her and show you anyhow, just to keep things real. To paraphrase one of my favorite bloggers, Lydia Fiedler, one in ten cards should be a dud to keep you humble. 

Beautiful Disaster The Rabbit Hole Designs No Line Coloring

After my giant hat/swollen head from being on Koren Wiskman's episode of The Craft Cast with MaryAnn last week, I'm okay with a dud. In case you missed it, it was actually a lot of fun! You have to watch to see what the ridiculous hats are all about...  


So what would I do differently, if I were to make this card again? I'd use a darker ink to stamp my image. I used Fadeout ink this time. It's awesome for a lot of things, but I couldn't always see where the lines were for this image. I know Kathy Racoosin recommends Warm Glow ink for no-line coloring. It's darker, so that should help. I would also skip the ribbon at the top; that went out of style a while ago. I don't know why I added it. I think I was hoping it would distract you from her alien eyes ;) Honestly, I would probably stamp this image in black again, until I've got some more no-line practice. (And practice on florals, or images that won't look distorted if lines shift a little.)

Alright, now it's your turn. I'm sharing this on Facebook too, so when you see the post, share a picture of one of your duds. I promise to laugh with you, not at you. That's what friends are for, right? And we can all use a little laugh these days. That being said, I hope you and your loved ones are safe and healthy. And I hope the TP and noodles get restocked in your area soon...

Thanks for stopping by today. You can find the sister article to this post on my blog. (Because if I'm sharing a dud, I have to share it everywhere, right?) Head on over for links to the products I used and more inspiration. Make sure to follow The Rabbit Hole Designs on social media to see much better versions of Beautiful Disaster from the rest of the design team. It really is a lovely stamp set. 

You are a Masterpiece

Hi Friends!
Donna Here today sharing a card I created using the newly released Beautiful Disaster stamp set.
I adore this girl so much and the sentiments in this kit are absolutely wonderful.


I created a simple smoosh background using distress oxide inks and afterward
applied the image using my Misti tool to apply several layers of  black to make the image stand out.


Beautiful Disaster

Thank you for popping by today. I hope you enjoyed my card!

For more inspiration with your The Rabbit Hole Designs Creations, be sure to follow along at these other locations:


Diamond Flower Girl Card


Hey Everyone! Justin here, and today I'm featuring an A2-sized card made with the new set Beautiful Disaster, part of the March Release!

What I love about the girl in this set is there are so many variables to color up and entirely change the feel of the image. There are so many skin and hair tones to pick from, and that slouchy sweater can be any color or pattern you want (and could be really fun to pattern paper piece together with the right print)!

For this card, I was inspired by a Pinterest swatch I saw for inks, and decided to use those colors (they're also pretty close to the Rabbit Hole Designs Colors too!).

First, I took a 4.125" x 5.375" panel of white cardstock and stamped my girl in Alcohol Ink Compatible Black Ink in the lower left corner. I colored up my girl with a vibrant purple sweater and some dusty brown hair. I loved how she turned out!

Next, I knew I wanted to use a stencil with this project as well. Instead of fussy cutting out my colored image, I decided I wanted to stencil directly onto that panel. So, I stamped my girl again on a piece of scrap paper for a mask, and left a little bit of blank paper at the bottom of my image for how I was going to adhere it. I fussy cut my mask out and covered my image in a way I hadn't done before. Because my colored image was at the very bottom of the panel, I took a piece of washi tape and stuck it to the back side of the card, so that some of the sticky side was visible on the bottom edge of the panel (maybe about .25" worth of a strip). I took my mask, positioned it, and adhered the bottom portion to my washi tape. I knew I was going to use a light tack spray adhesive for my stencil, which would help keep the mask in place, so long as I didn't move it around too much.

So, following my plan, I applied my Diamond Flower stencil with the light tack adhesive over the masked panel. I then took blending brushes and applied ink in diagonal lines, repeating 3 colors in the same order. Before removing my mask, I flicked some specs of the same ink colors all over my card for a little bit of texture.

I removed my stencil and mask, and was so happy with how my panel turned out!

I mounted my panel to an A2-sized turquoise panel. I then heat embossed my sentiment in white powder on purple patterned paper (if you clock a splotch on the purple paper, it's actually intentionally there by the patterns design and not an accident!), and mounted the sentiment piece on a turquoise frame.

I finished my card by adhering some Rabbit Hole Designs sequins and mounting the card to an A2-sized card base!

Here are the products I used in this card:


For more inspiration with your The Rabbit Hole Designs Creations, be sure to follow along at these other locations:


For more details about products used in this post, you may also follow along at my personal blog, Just a Note by Justin, as well!

There are so many things to love about this new release! I hope this card sparked some ideas and inspiration for your next project!

The Perfect Blend


Sometimes you just don't feel like coloring, but you want to make a card, am I right?!  It's Cassie back with another card to share with you all.  Today I'm using the new Beautiful Disaster stamp set, and I think the she is just gorgeous!  Instead of coloring her, I inked her up with a couple of Distress Oxide inks in blues and purples.  


Because those are a form of pigment ink, I embossed her with a clear embossing powder.  My background was made using spray inks and the beautiful Twisted Sunshine stencil.  I also have a video to share with you, if that is something you'd be interested in watching.  You can watch it here, or over on my YouTube channel.


And here's a closer look at the products I used today.


I hope you enjoyed what I made for you today and that you were inspired to go out and get a little crafty.  

For more inspiration, updates, and news make sure to check out these links.

Thank you so much for stopping by!
Cassie

Beautiful Disaster

I am very excited to share this new card here today.
My card features "Beautiful Disaster" which is from the recent release.

I started by inking the "Circles and Stars" stencil with purple ink.
Then, I used Glitz Gel over the top for sparkle. 

While that dried, I stamped, colored and cut out the beautiful image.   
I just love her. 


Thanks for hopping by today!
-Kelly 


For more inspiration, updates, and news make sure to check out these places


March Release Inspiration Hop ~ Day 1

Hello and welcome to Day 1 of the Inspiration Hop. We are so excited for you to join us as we present to you our March release.  Our fabulous Design Team will be sharing their projects over the next 3 days, so be sure to visit their blogs and leave them some crafty love.


 The 3 new stamps sets are available to purchase right now in the shop.


The stamp set that is being highlighted today is


Make sure you come back tomorrow for Day 2 of our Inspiration Hop.


Here is the line up for the hop:

The Rabbit Hole Designs
Michelle
Cassie
Amanda
Lisa
Donna
Jammie
_______________________


**Giveaway**


To celebrate the March release,  The Rabbit Hole Designs is giving away two gift certificates; one to a lucky Instagram Follower and one to a lucky Fan Page follower.  Winner will be chosen at random from the comments left on the INSTAGRAM post, and tagging friends, and also from commenting on the Fan Page post.  So make sure to head on over to INSTAGRAM and look for the giveaway post @therabbitholedesignsllc and look for the post at The Rabbit Hole Designs Fan Page by 11:59 p.m. PST 02-27-2020.  Winner will be announced on The Rabbit Hole Designs blog 02-28-2020.

This is the graphic you are looking for on our IG and FB

___________________


For more inspiration, updates, and news make sure to check out these awesome places! 


Thank you so much for stopping by today!