Pages

Showing posts with label Just Cake Stamp Set. Show all posts

Another Fave from 2021: At Your Age...

Happy Thursday!  Tangii here and I'm back with another one of my favorite cards from 2021!!

I had this fantastic glittery, shimmery paper and it was perfect for this festive card!  I die-cut the Congrats word from my base, and the shadow in black cs.  The shadow covers the the negative from my die-cutting and now my word has the same colors/gradient as the background.  My sentiment is from the Sassy Birthday 2 set, I stamped it on a white die cut piece and then blended some Oxide ink on the edges.  Finally I stamped, colored and then die cut some candles from the Just Cake stamp set & coordinating dies.  The candles are floating under the sentiment and popped up with pop dots.

The lighting on this pic stinks, but it shows the shimmery-goodness! Lookie at all of those layers & all of that texture! Swoon! 

 All of the items I linked in my post are available at The Rabbit Hole Designs.

You can also read about this card on my blog, here with links to the products I used, etc.  Thanks for popping by, come back again soon!

Cake for everyone!

Hello crafty friends! Melinda here to share another card for The Rabbit Hole Designs January birthday release. 

For todays card I wanted to combine the Open Heart stencil and the Just Cake stamp and die.


I started by adding a touch of blue ink onto my panel. I made it darker in the center fading out to a lighter color. Next I added some Nuvo glitter paste and set aside to dry. I watercolored my cake and cut it out with the coordinating die. After my glitter paste was dry I cut my panel down to 3 3/4 inches by 5 inches. I popped the base layer up with some foam tape and then added my die cut cake which I also popped up with some more foam tape. 


I absolutely love the way the Open Heart stencil spotlights the main image on your card! This stencil isn't just for Valentines day, its great on any card.


Thanks so much for stopping by and taking a look and I hope I've provided some inspiration for using these wonderful products!
For more inspiration on how I used these check me out on


For more inspiration, updates, and news make sure to check out these places.

Cosmic Cake Slimline


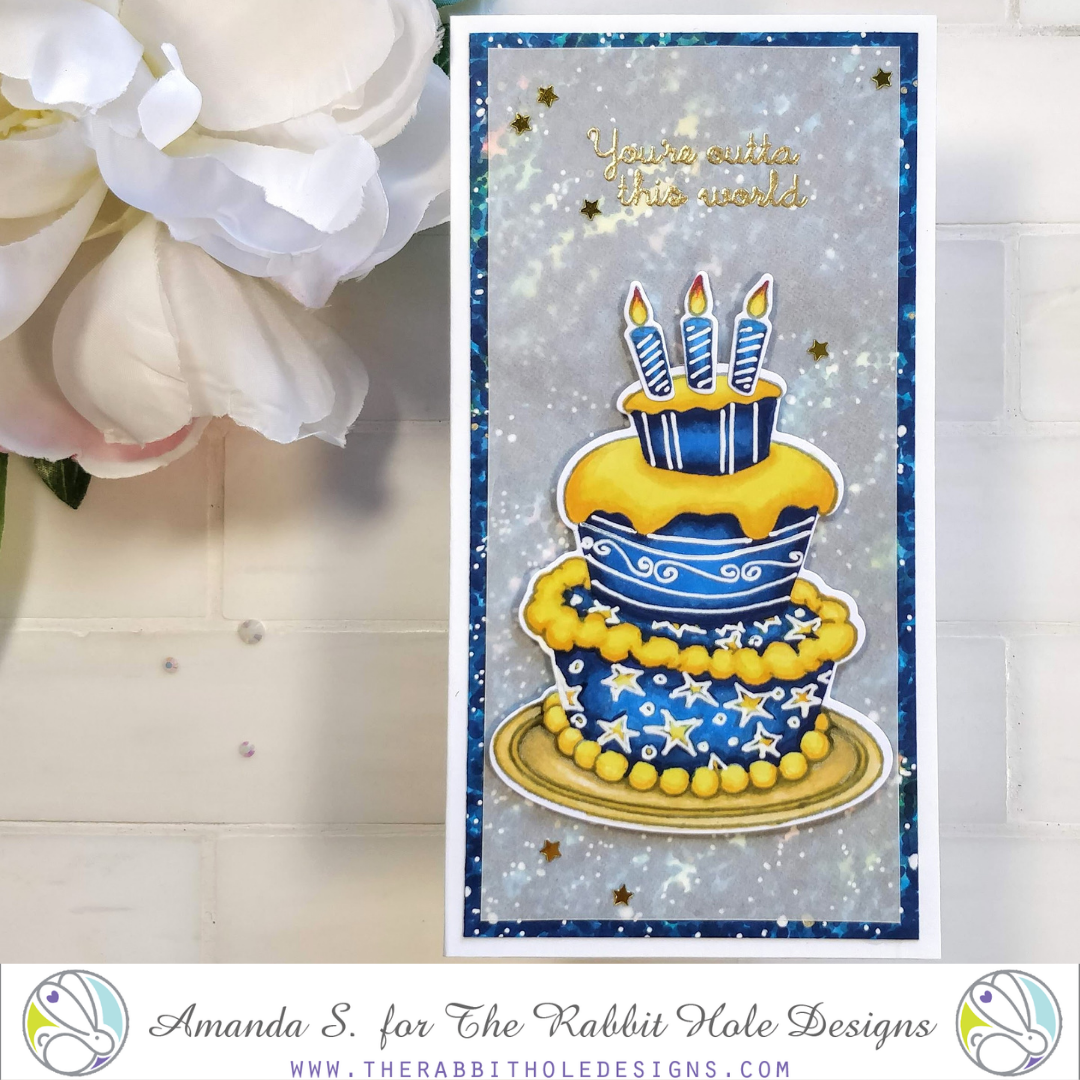
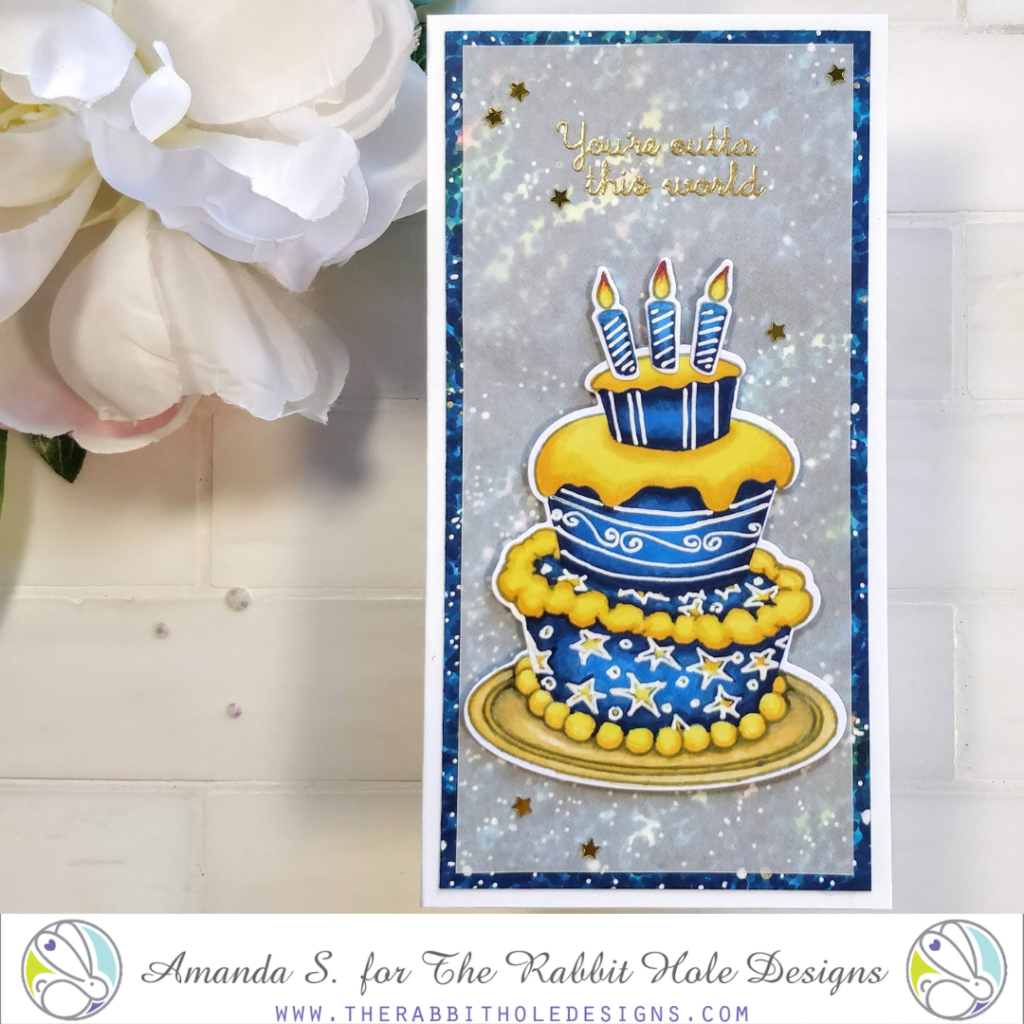
Hey crafty friend, it's Amanda from Pear Blossom Press again. Need an "out of this world" birthday card? I've got you covered! Today's card features a Copic colored galaxy background; the best part - no splatter mess!

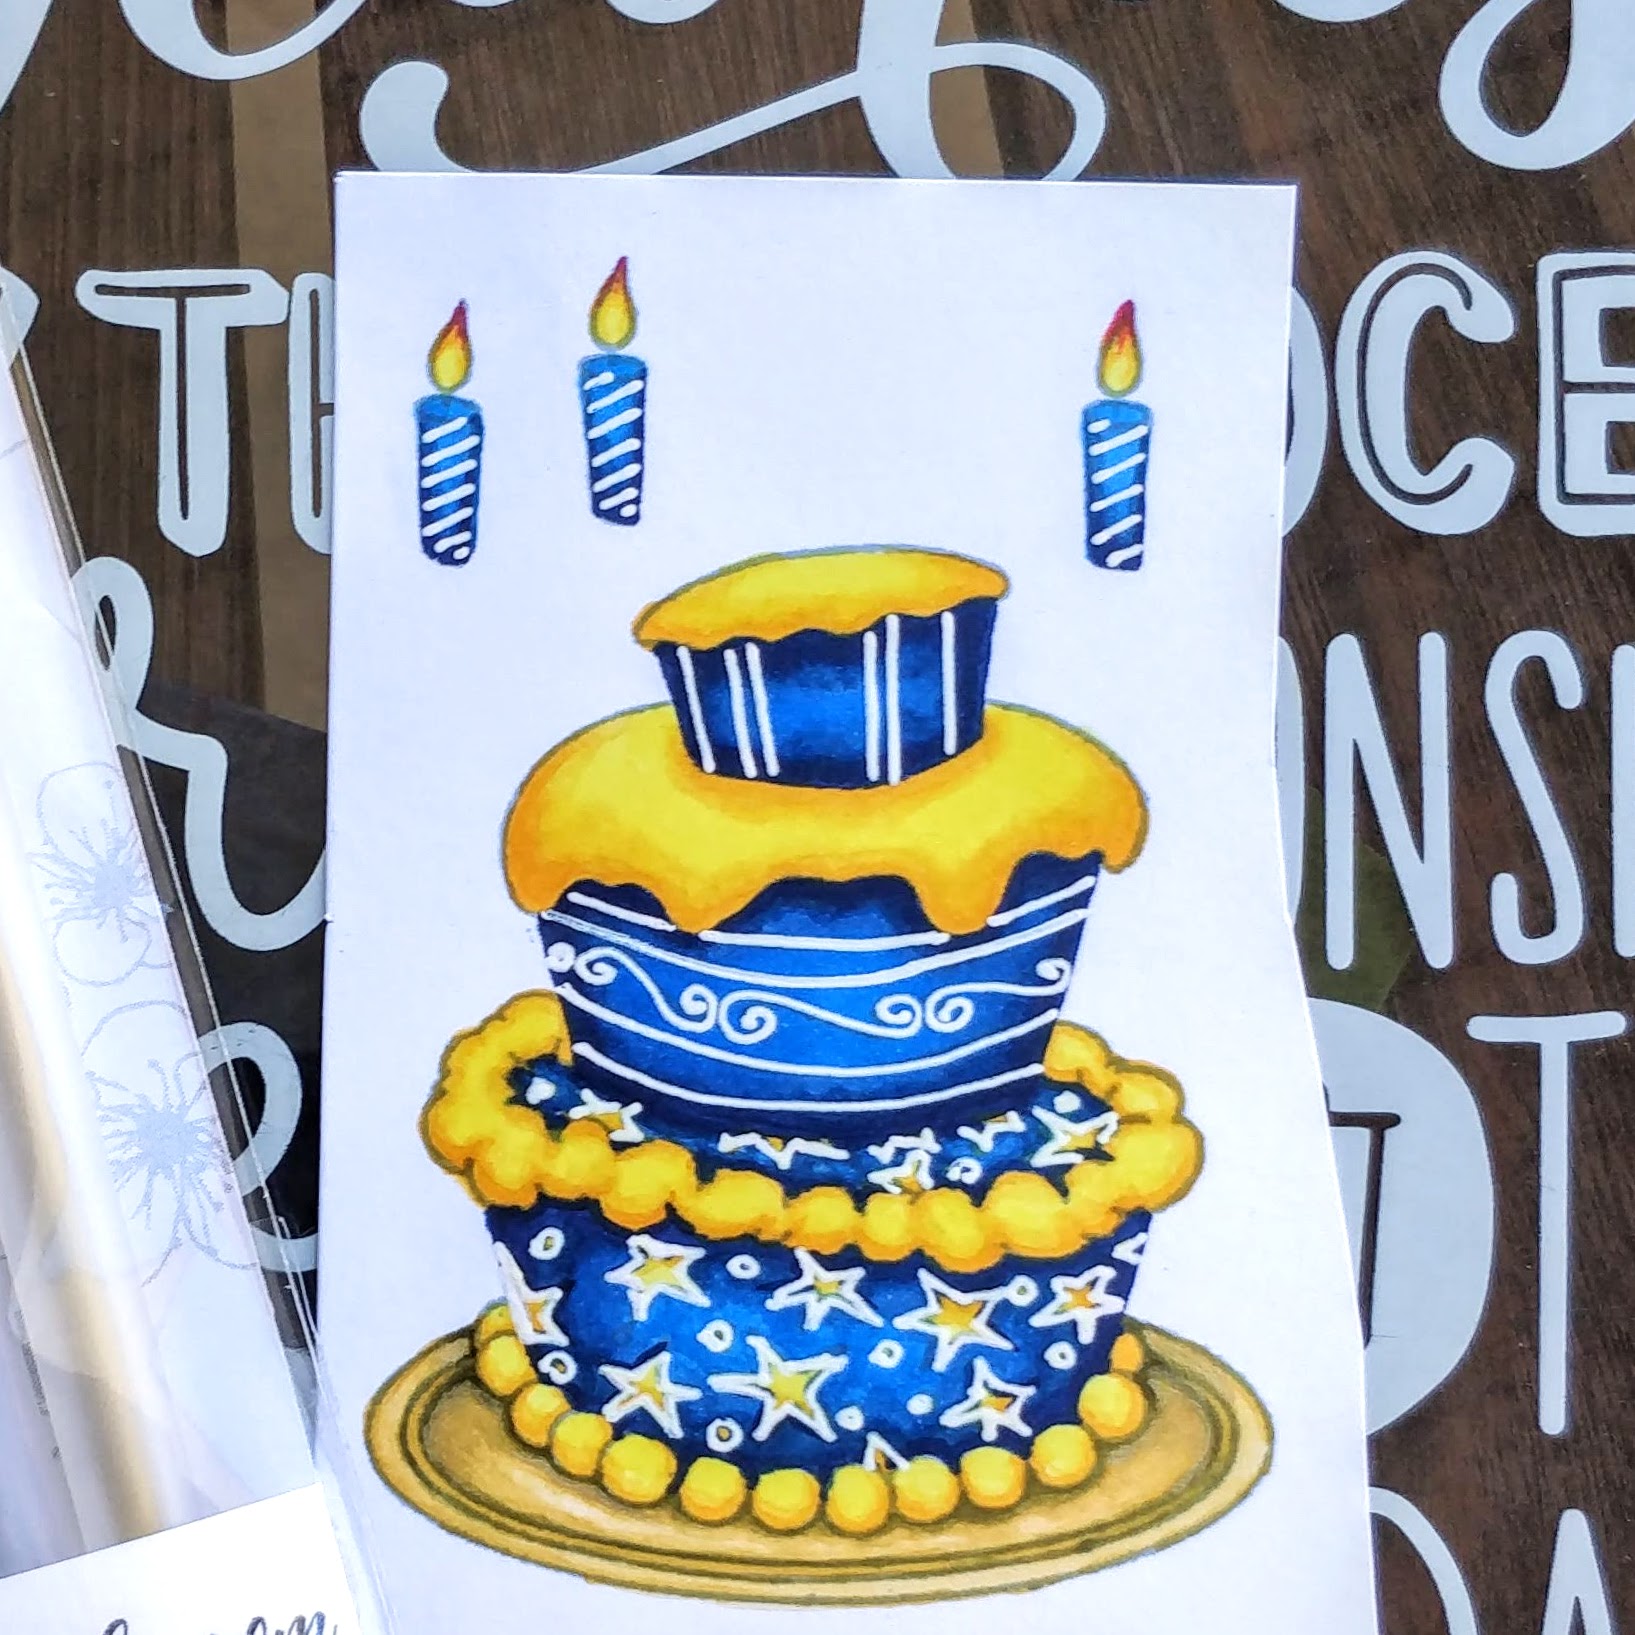
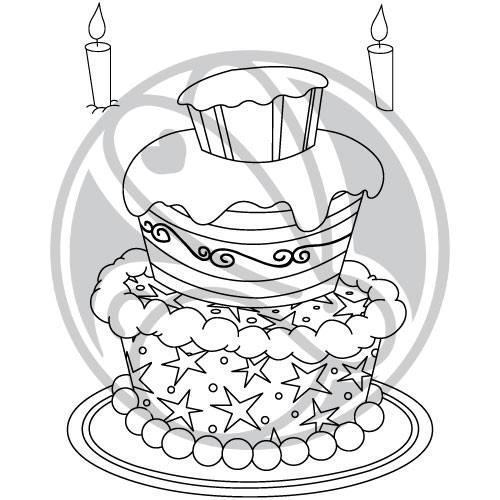
First, let's start with the star of the show, the cake! Have you seen the Just Cake stamp set from The Rabbit Hole Designs yet? It's really cute! (And it has stars all over the bottom layer, so it inspired the galaxy background for the rest of the card.)
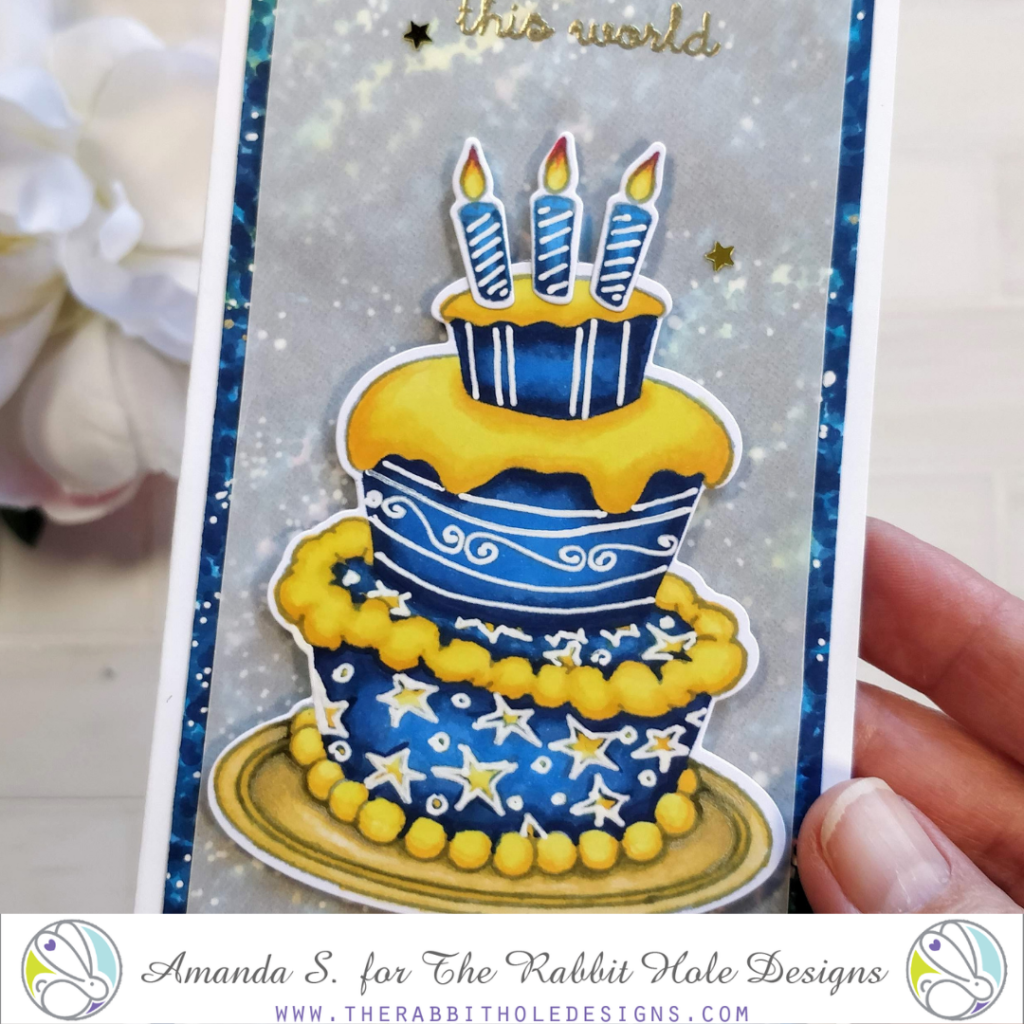
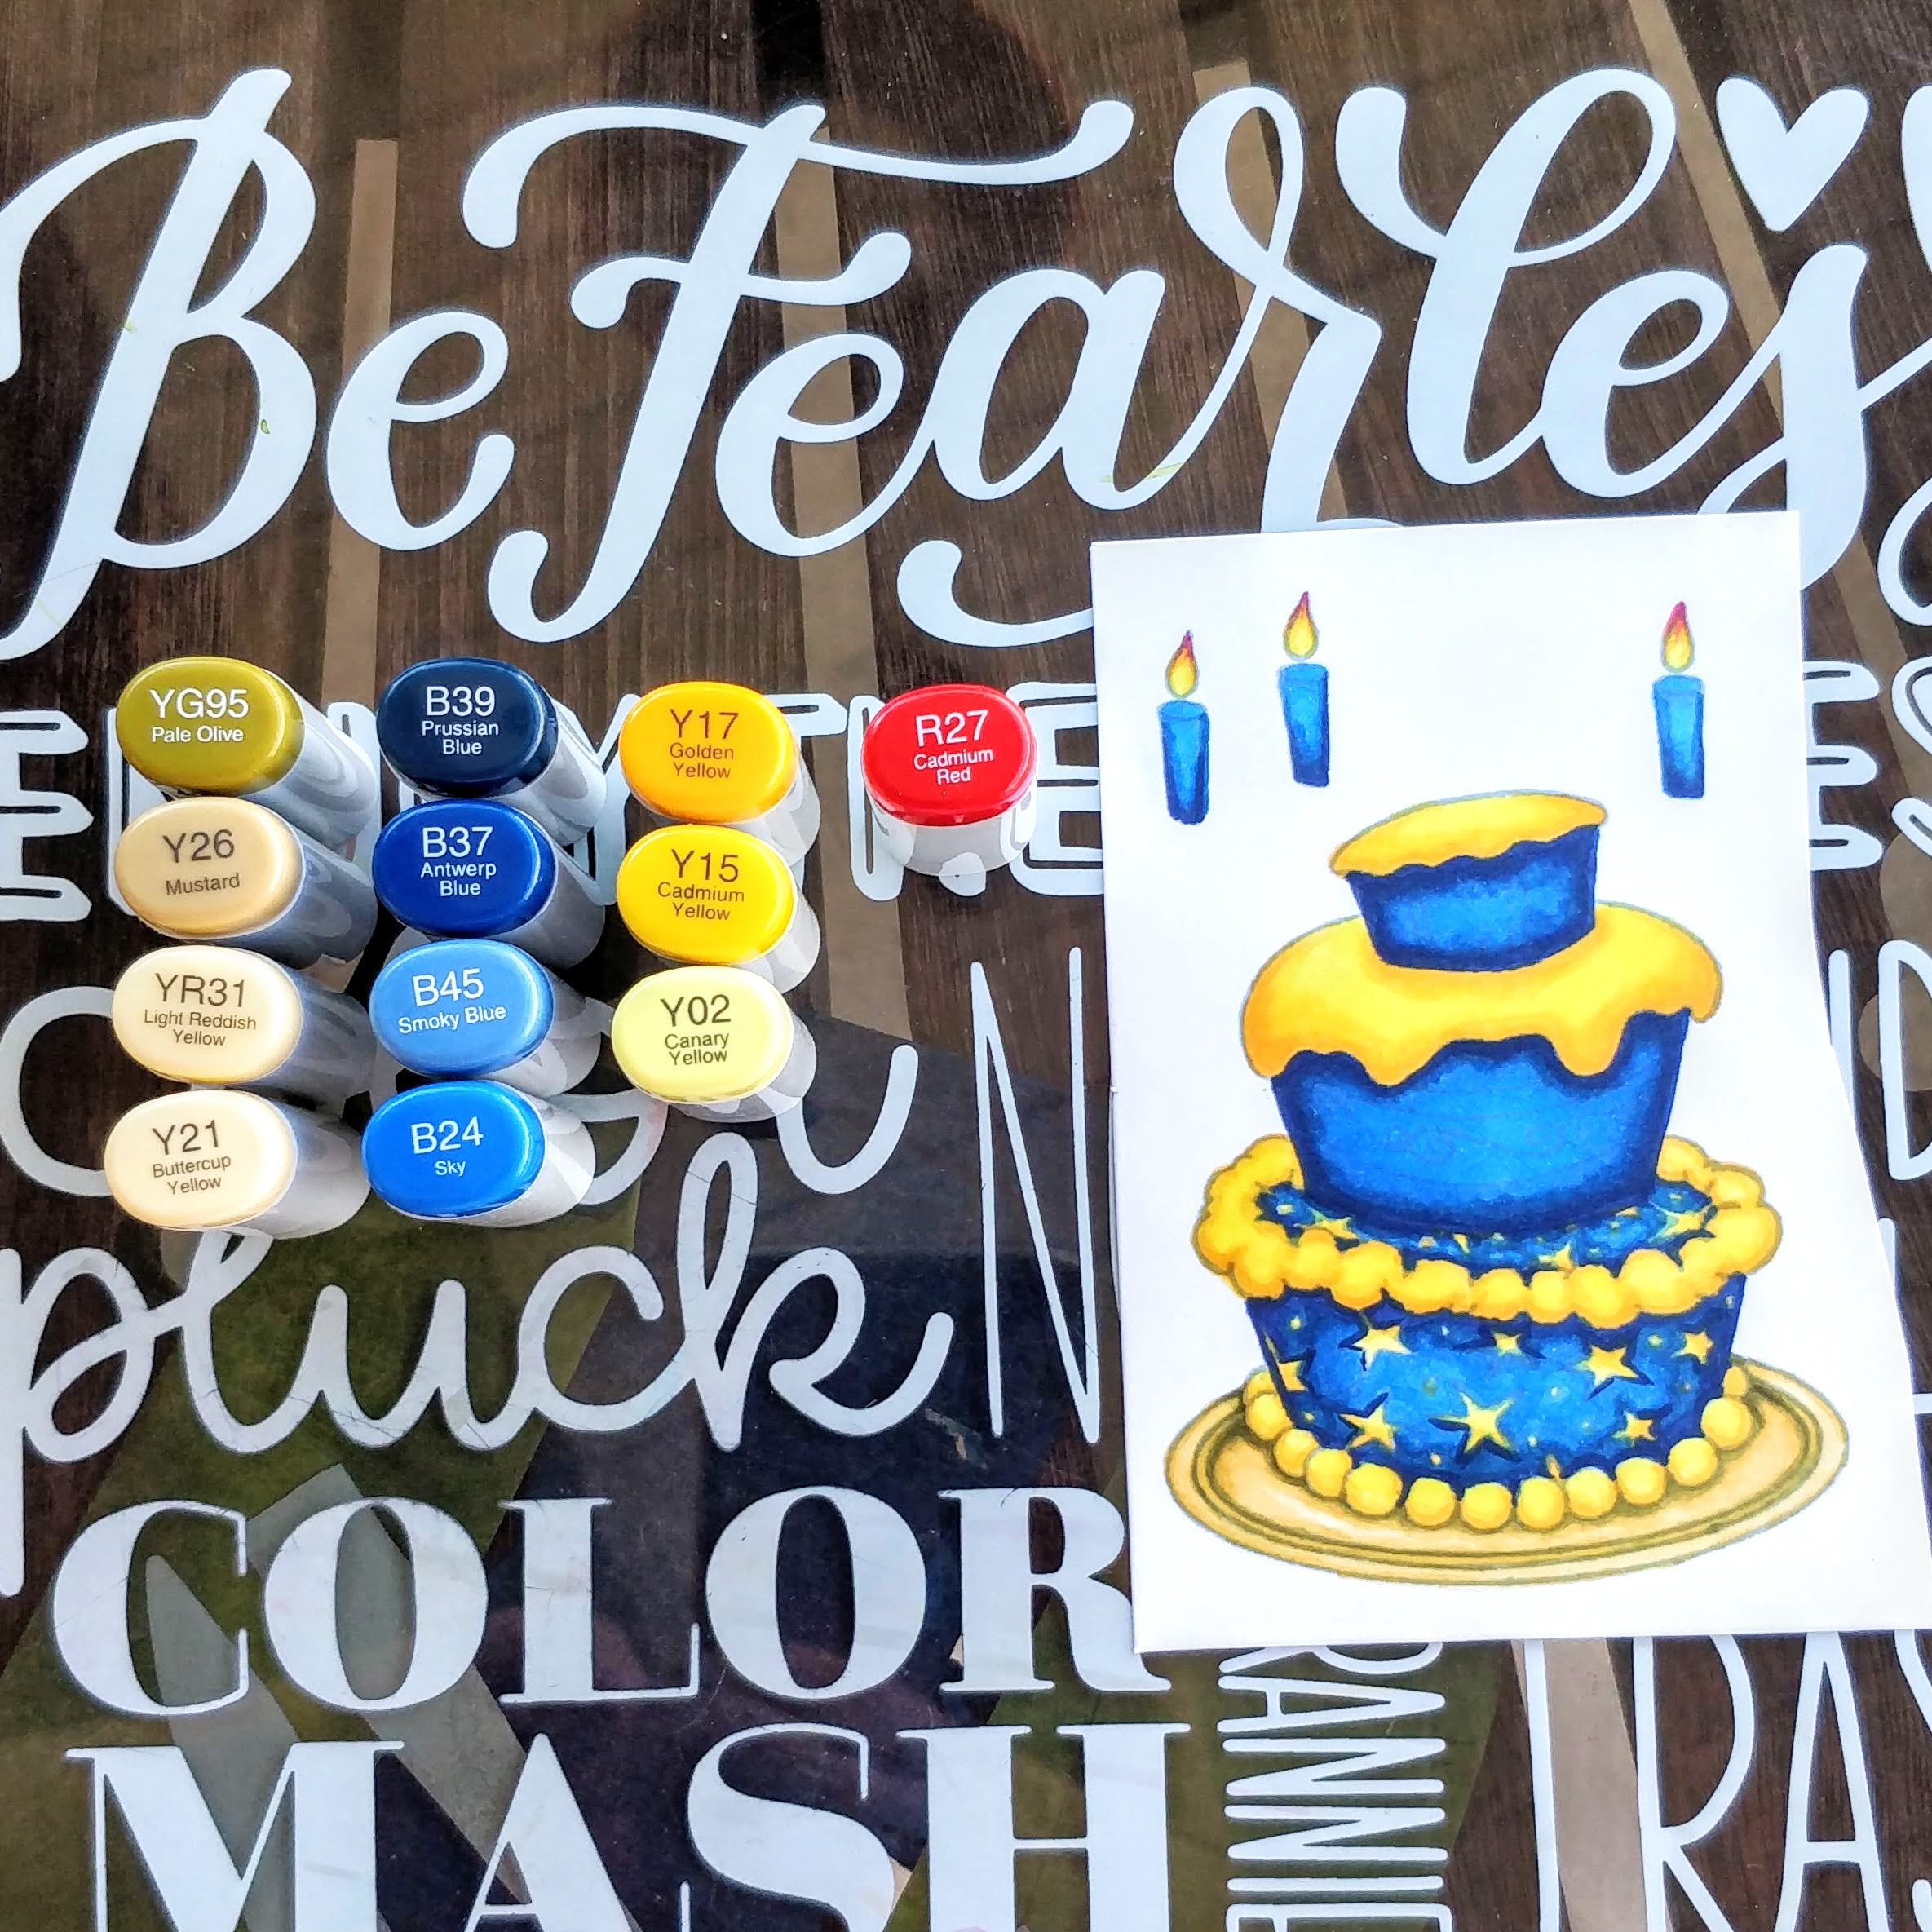
Knowing that I wanted to color it in shades of blue, I stamped the cake with London Fog ink. It's a Copic friendly grey, that works well for no-line coloring. (I prefer to stamp with Warm Glow ink for living things, and warm tones. London Fog is perfect for coloring cool tones and inanimate objects.) You can see the Copic markers I colored the cake with below.
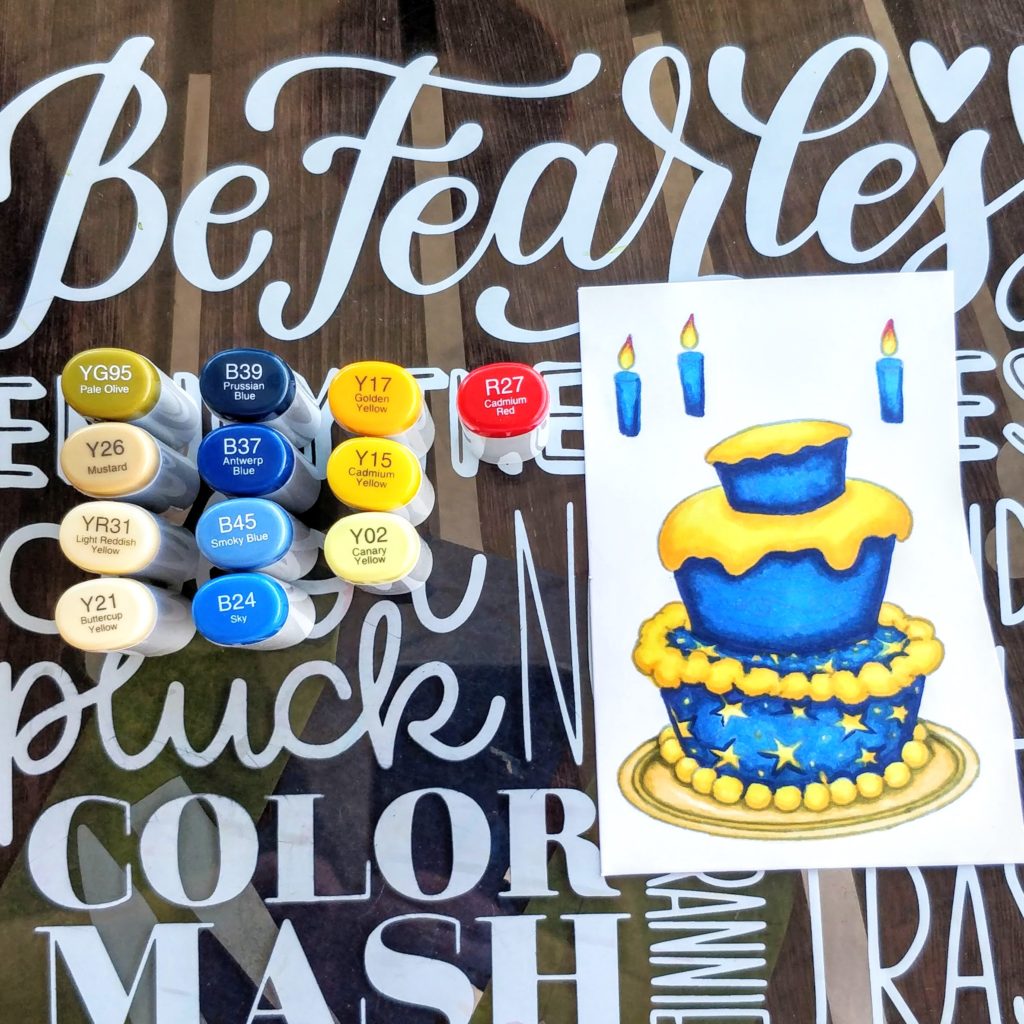
Once I was happy with the colors, I came back and outlined some of the details with a white gel pen. 
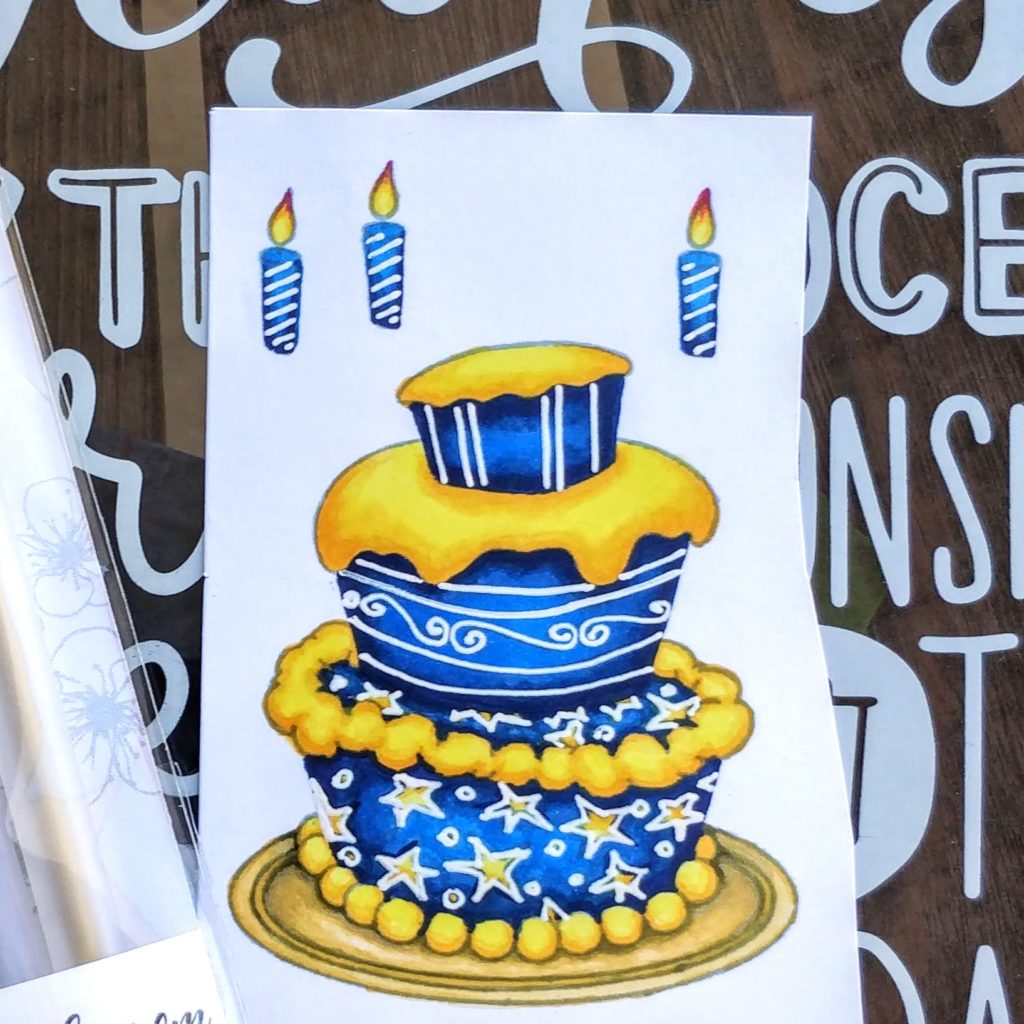
Using the coordinating dies, I cut out the cake and candles. I glued the candles on top and set it aside while I worked on the background.

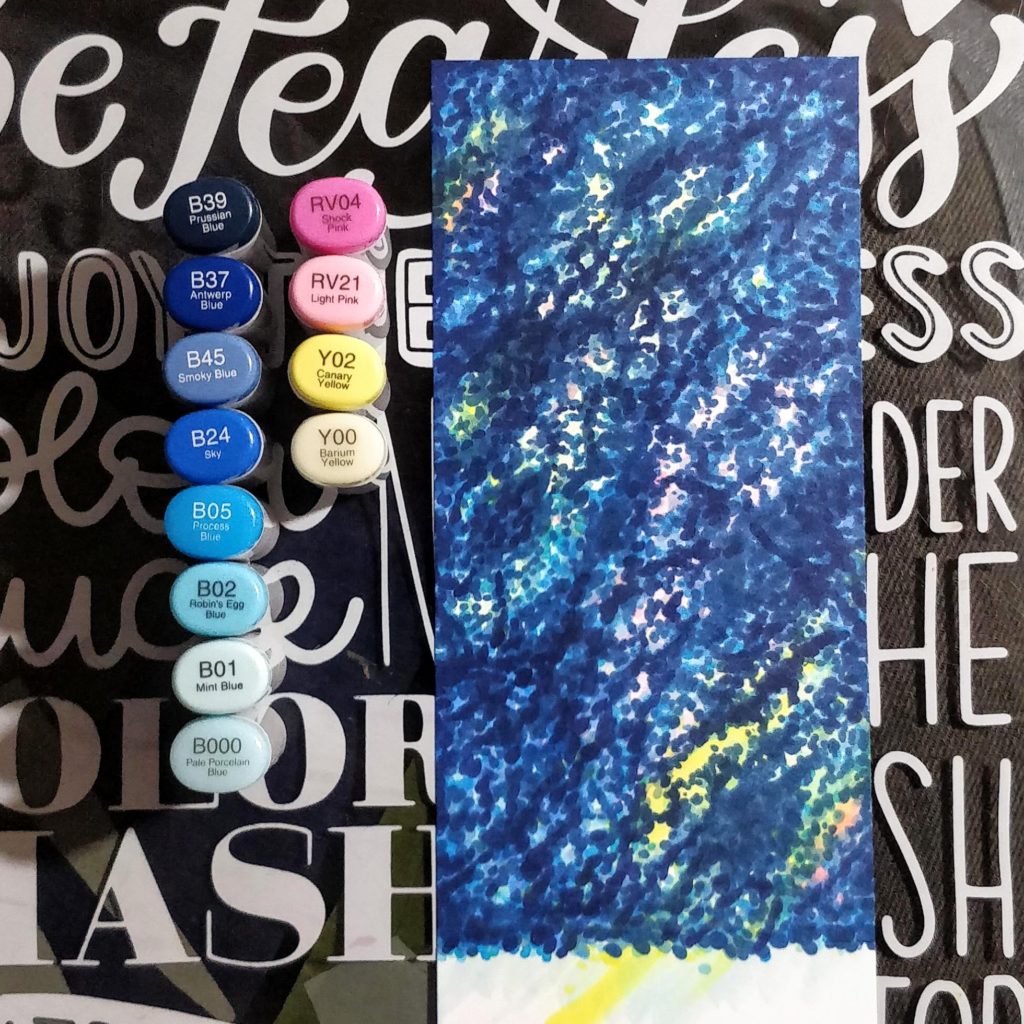
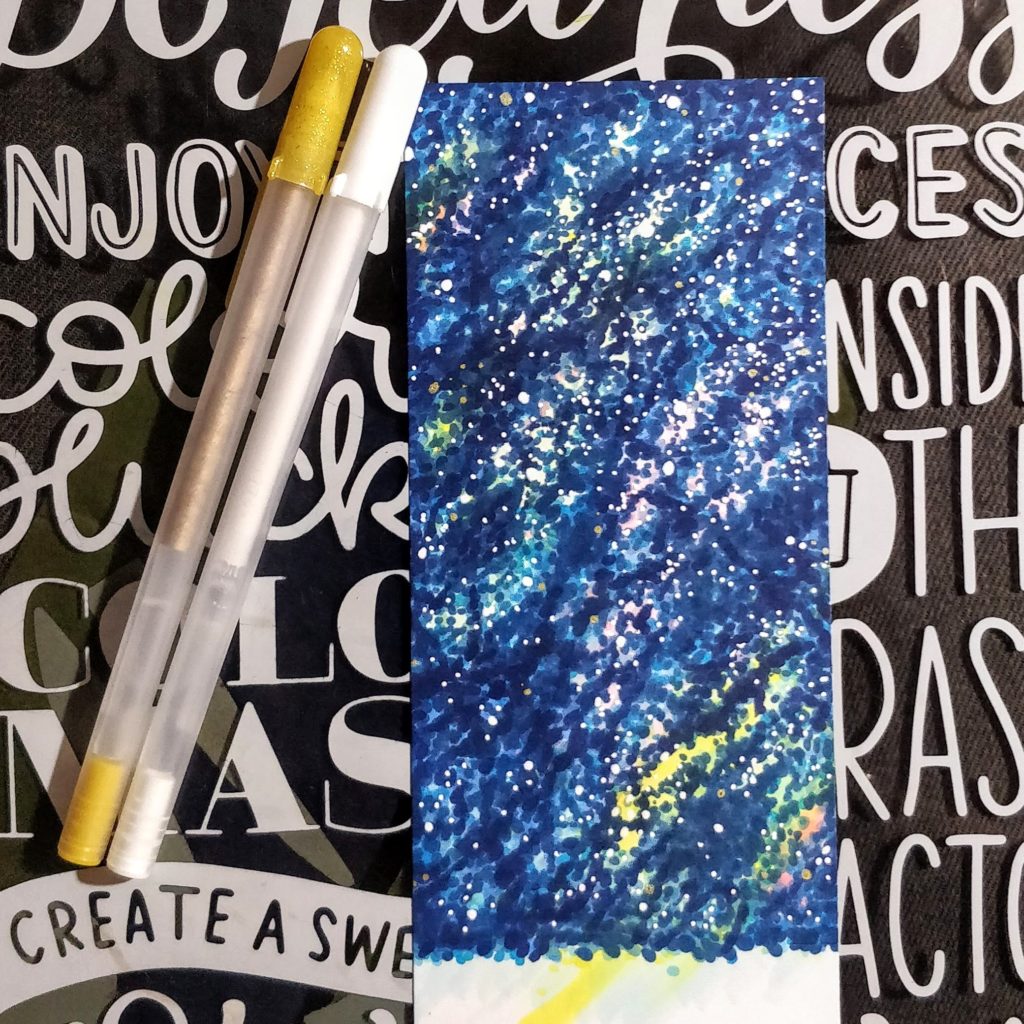
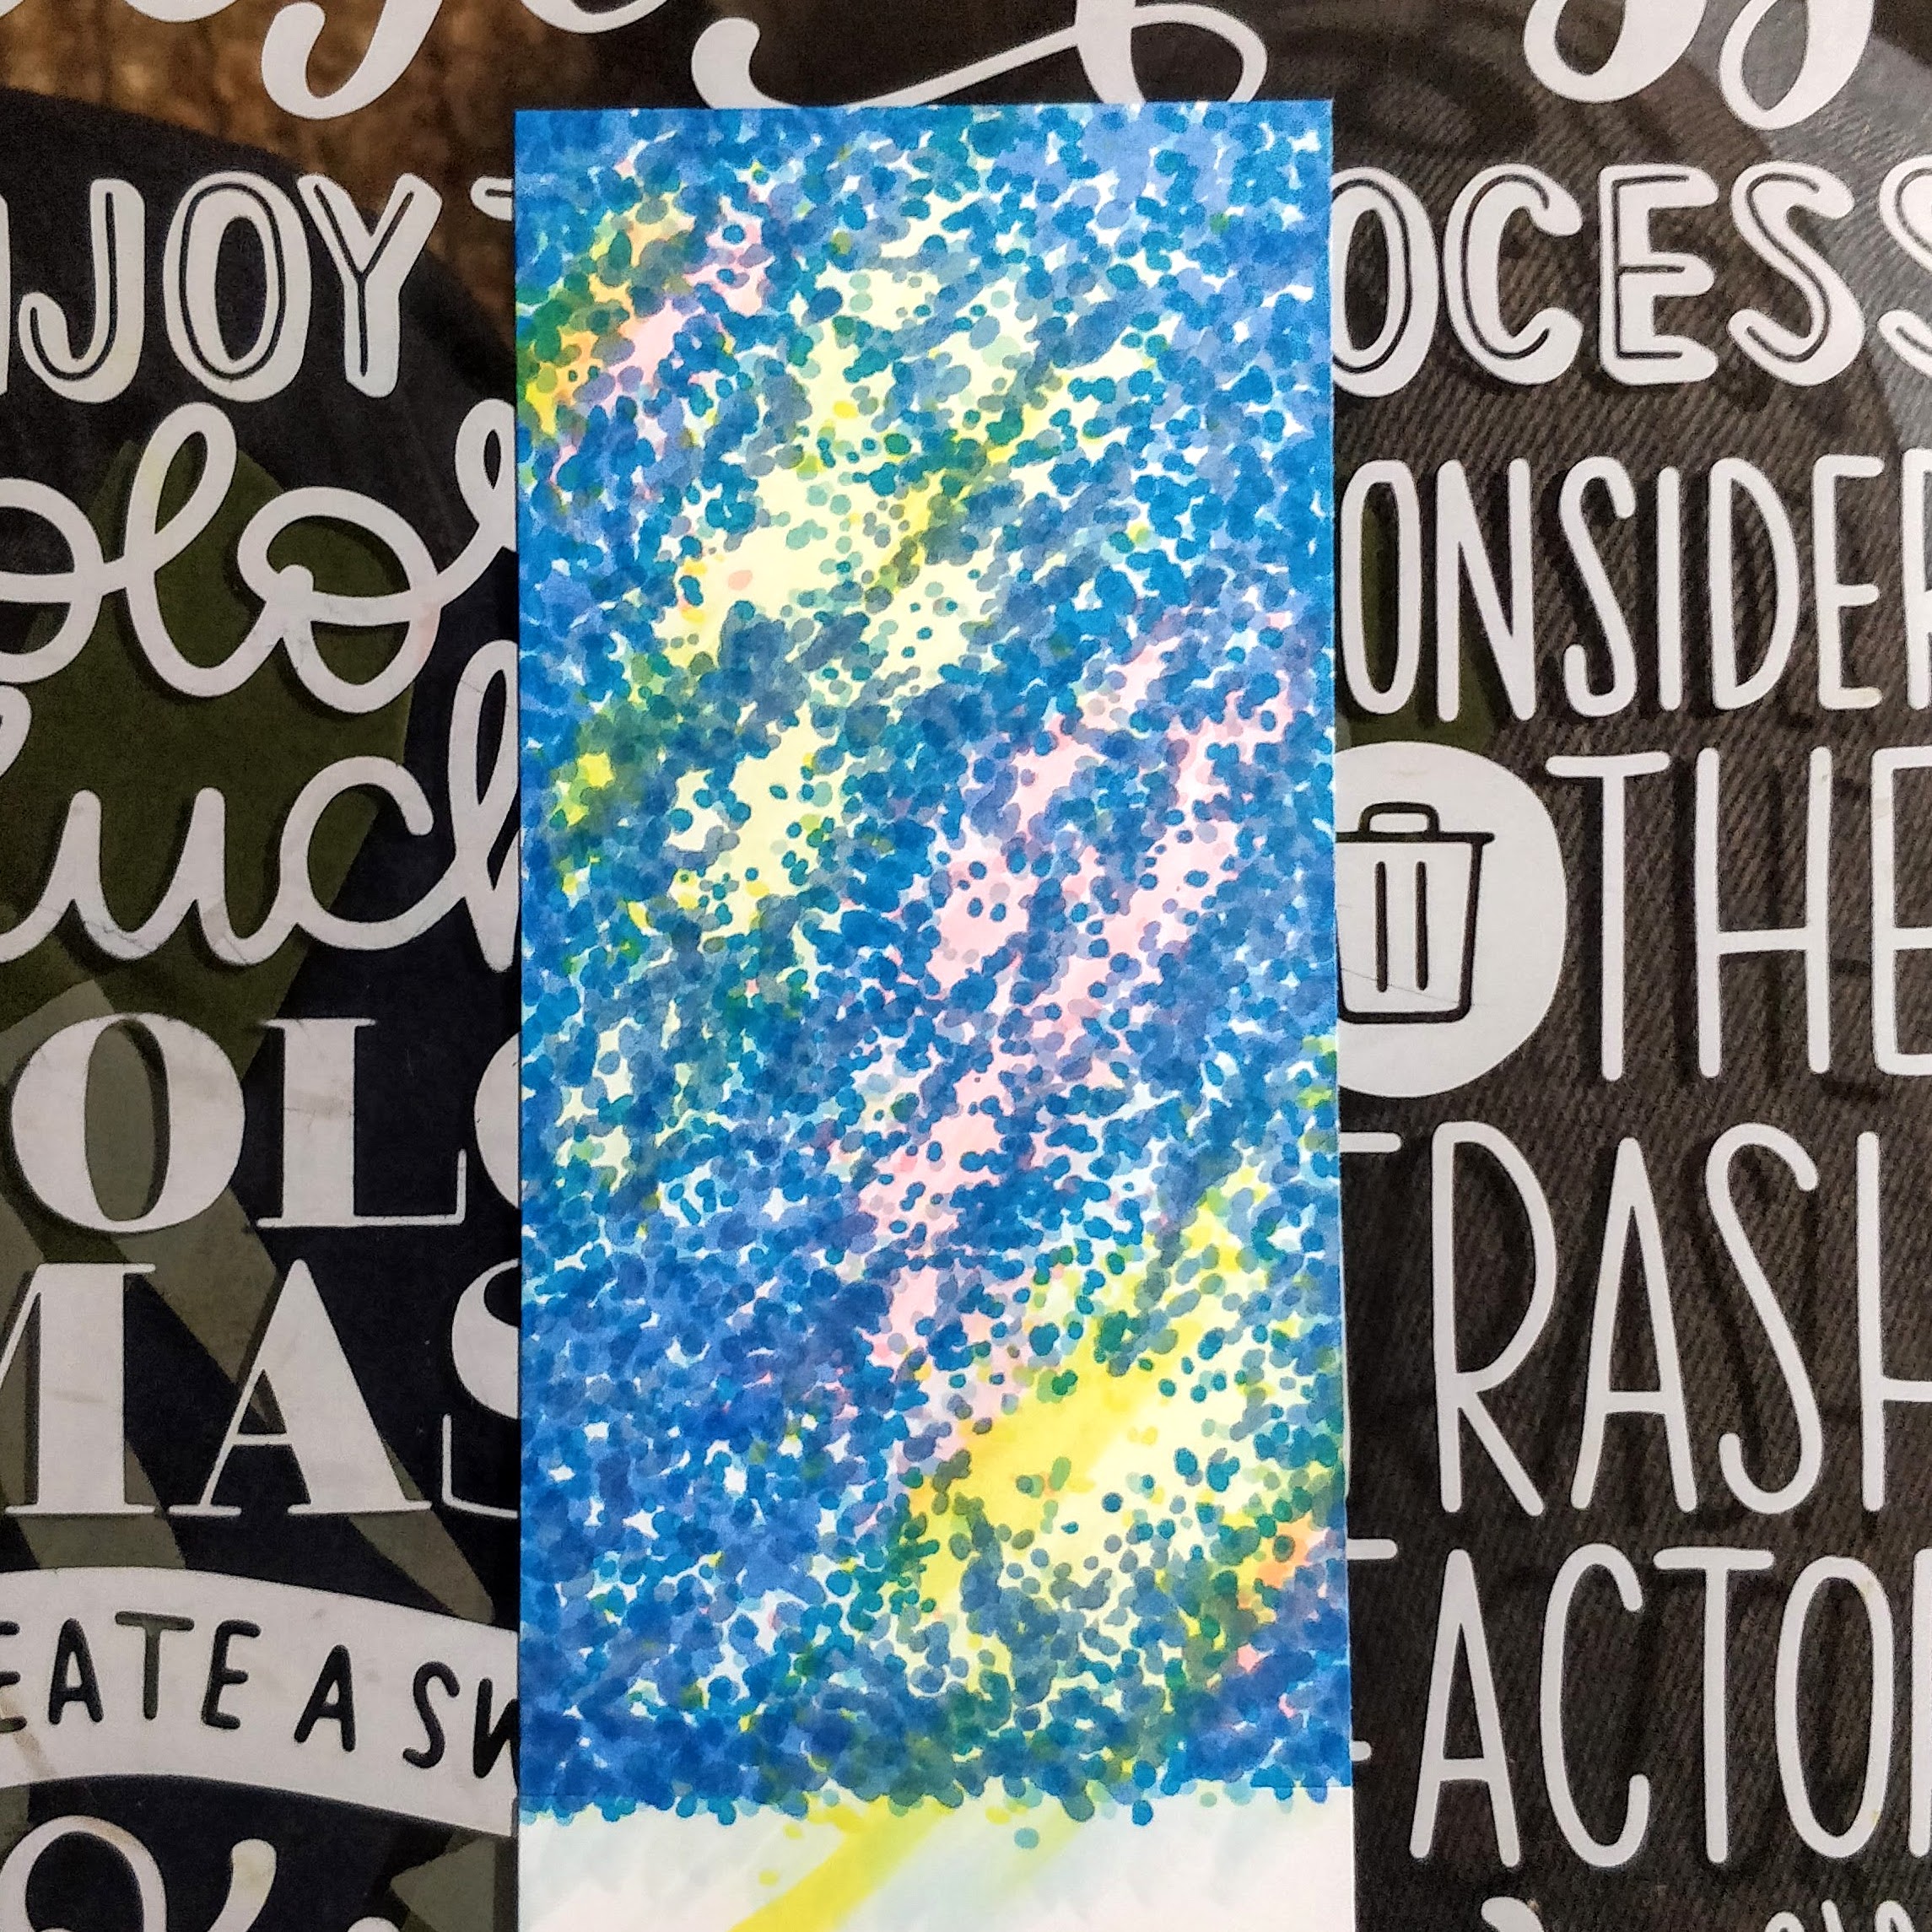
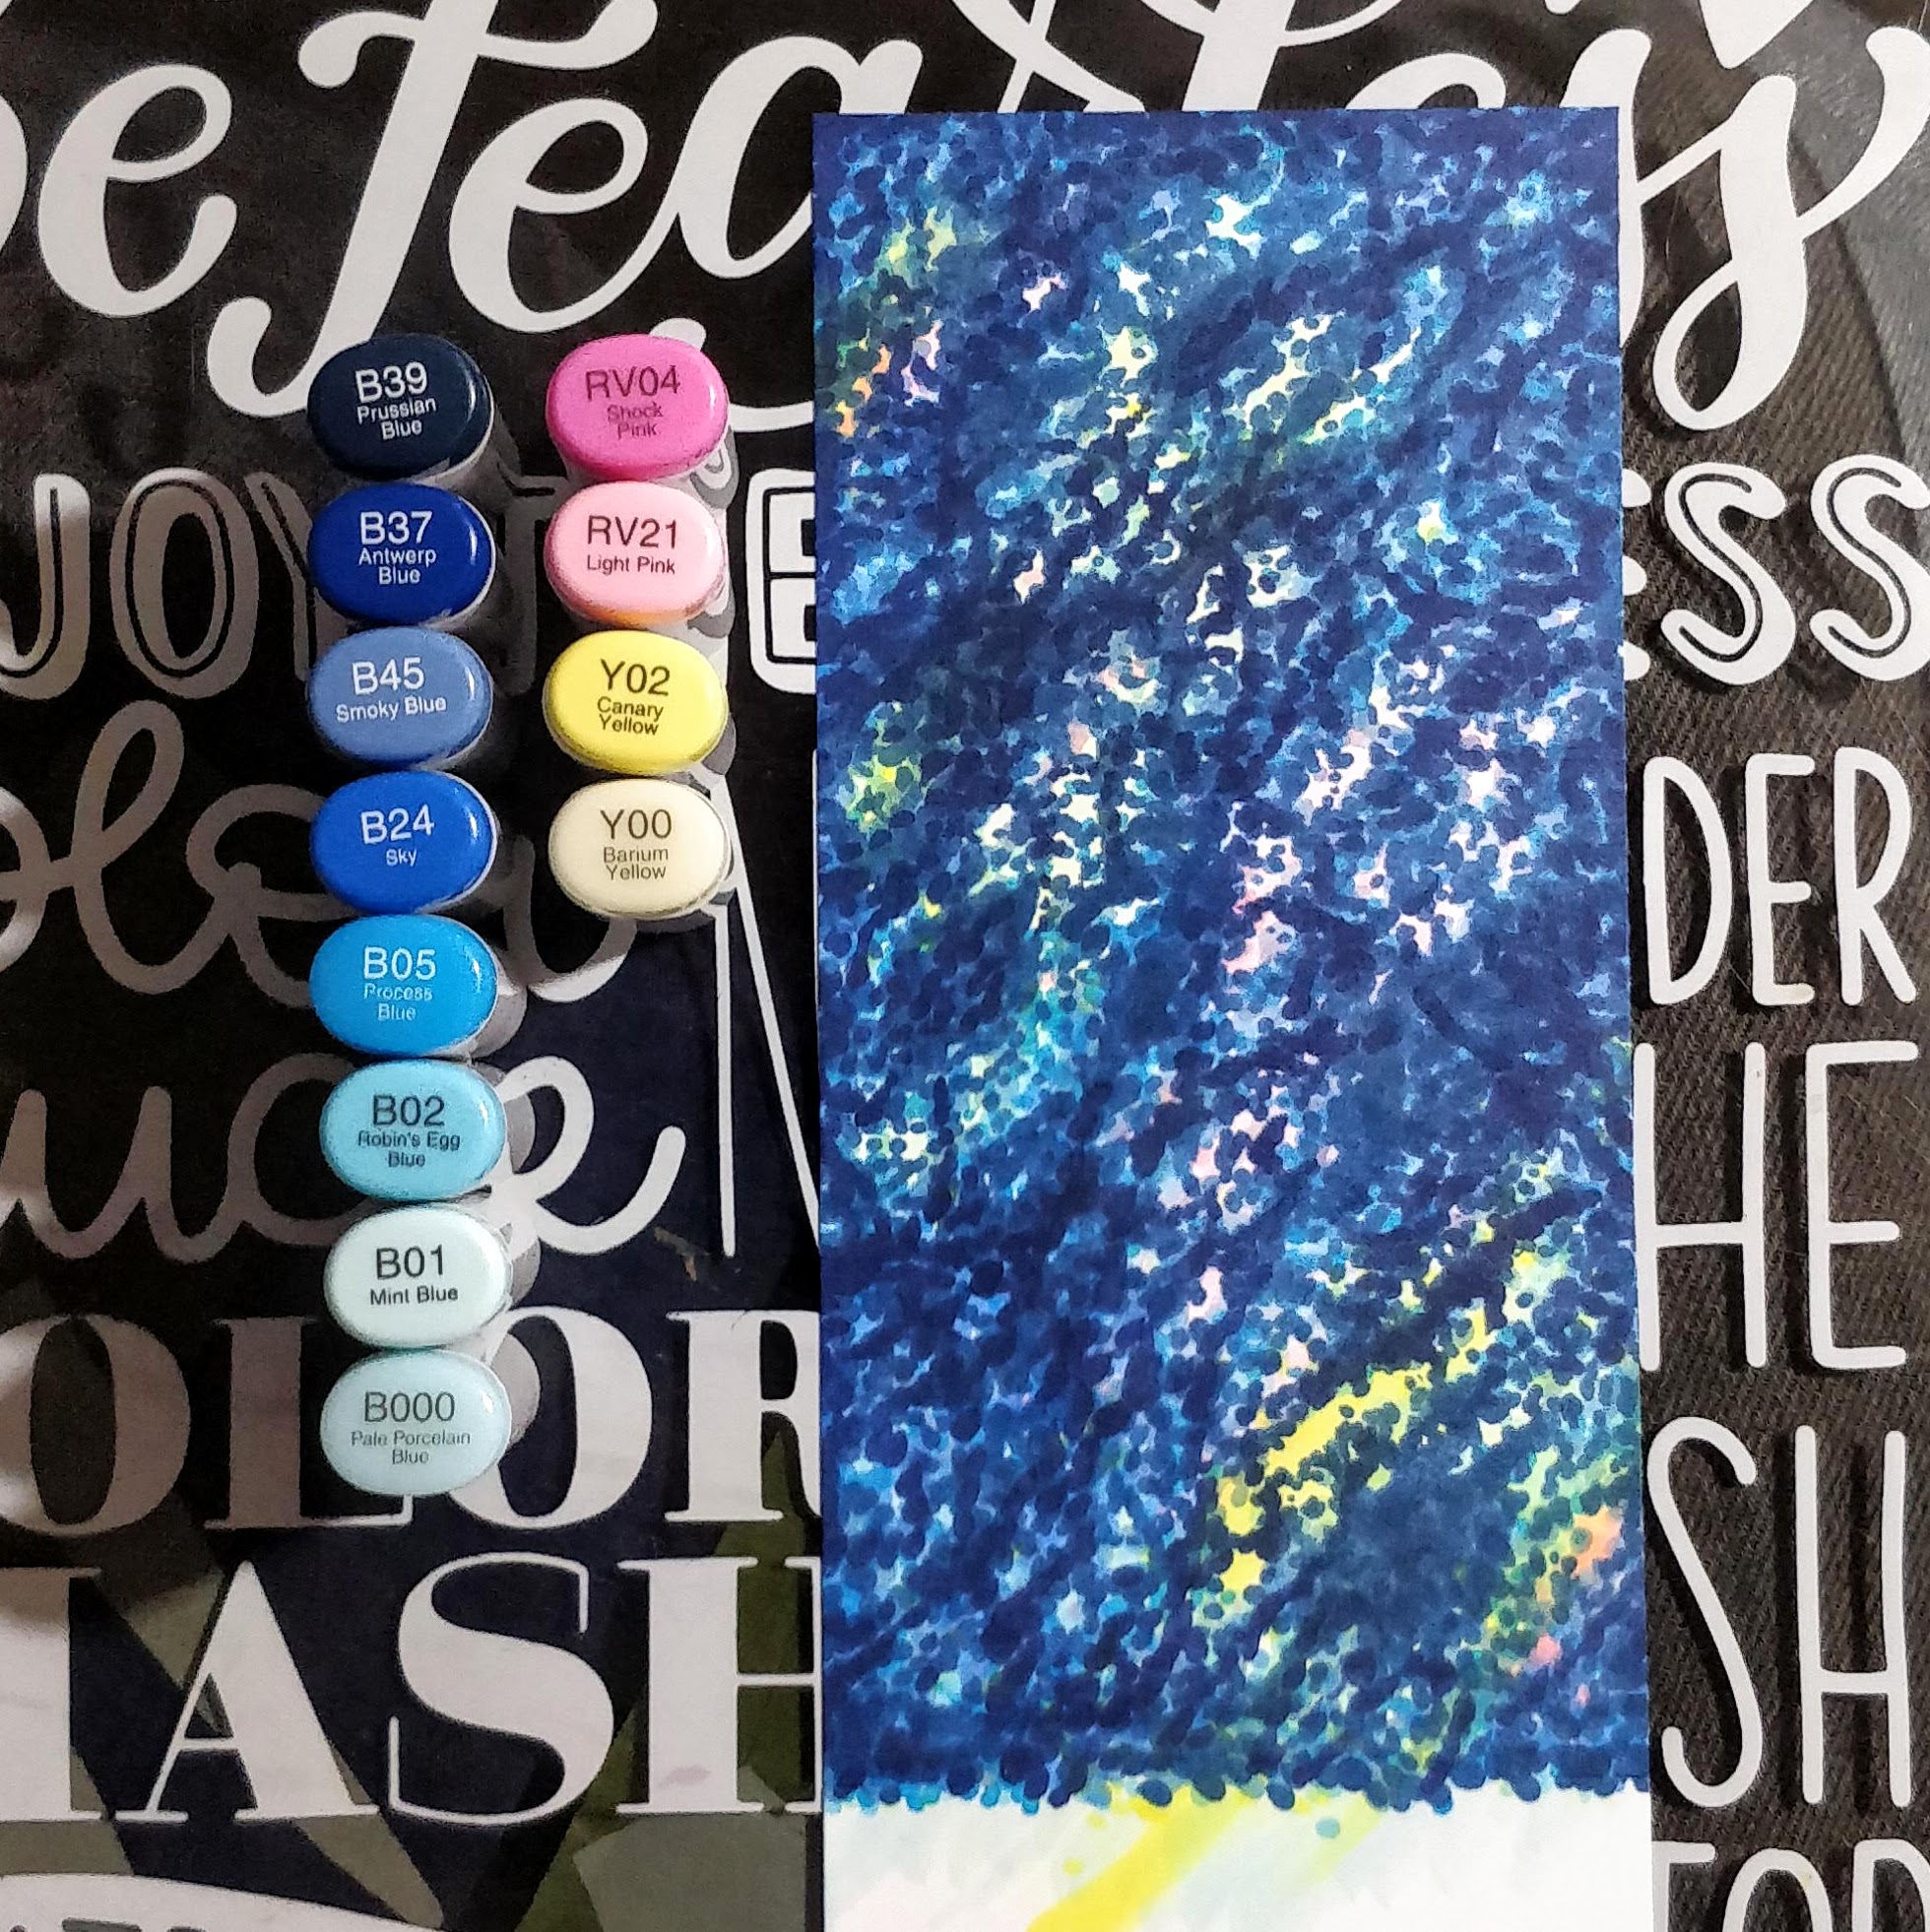
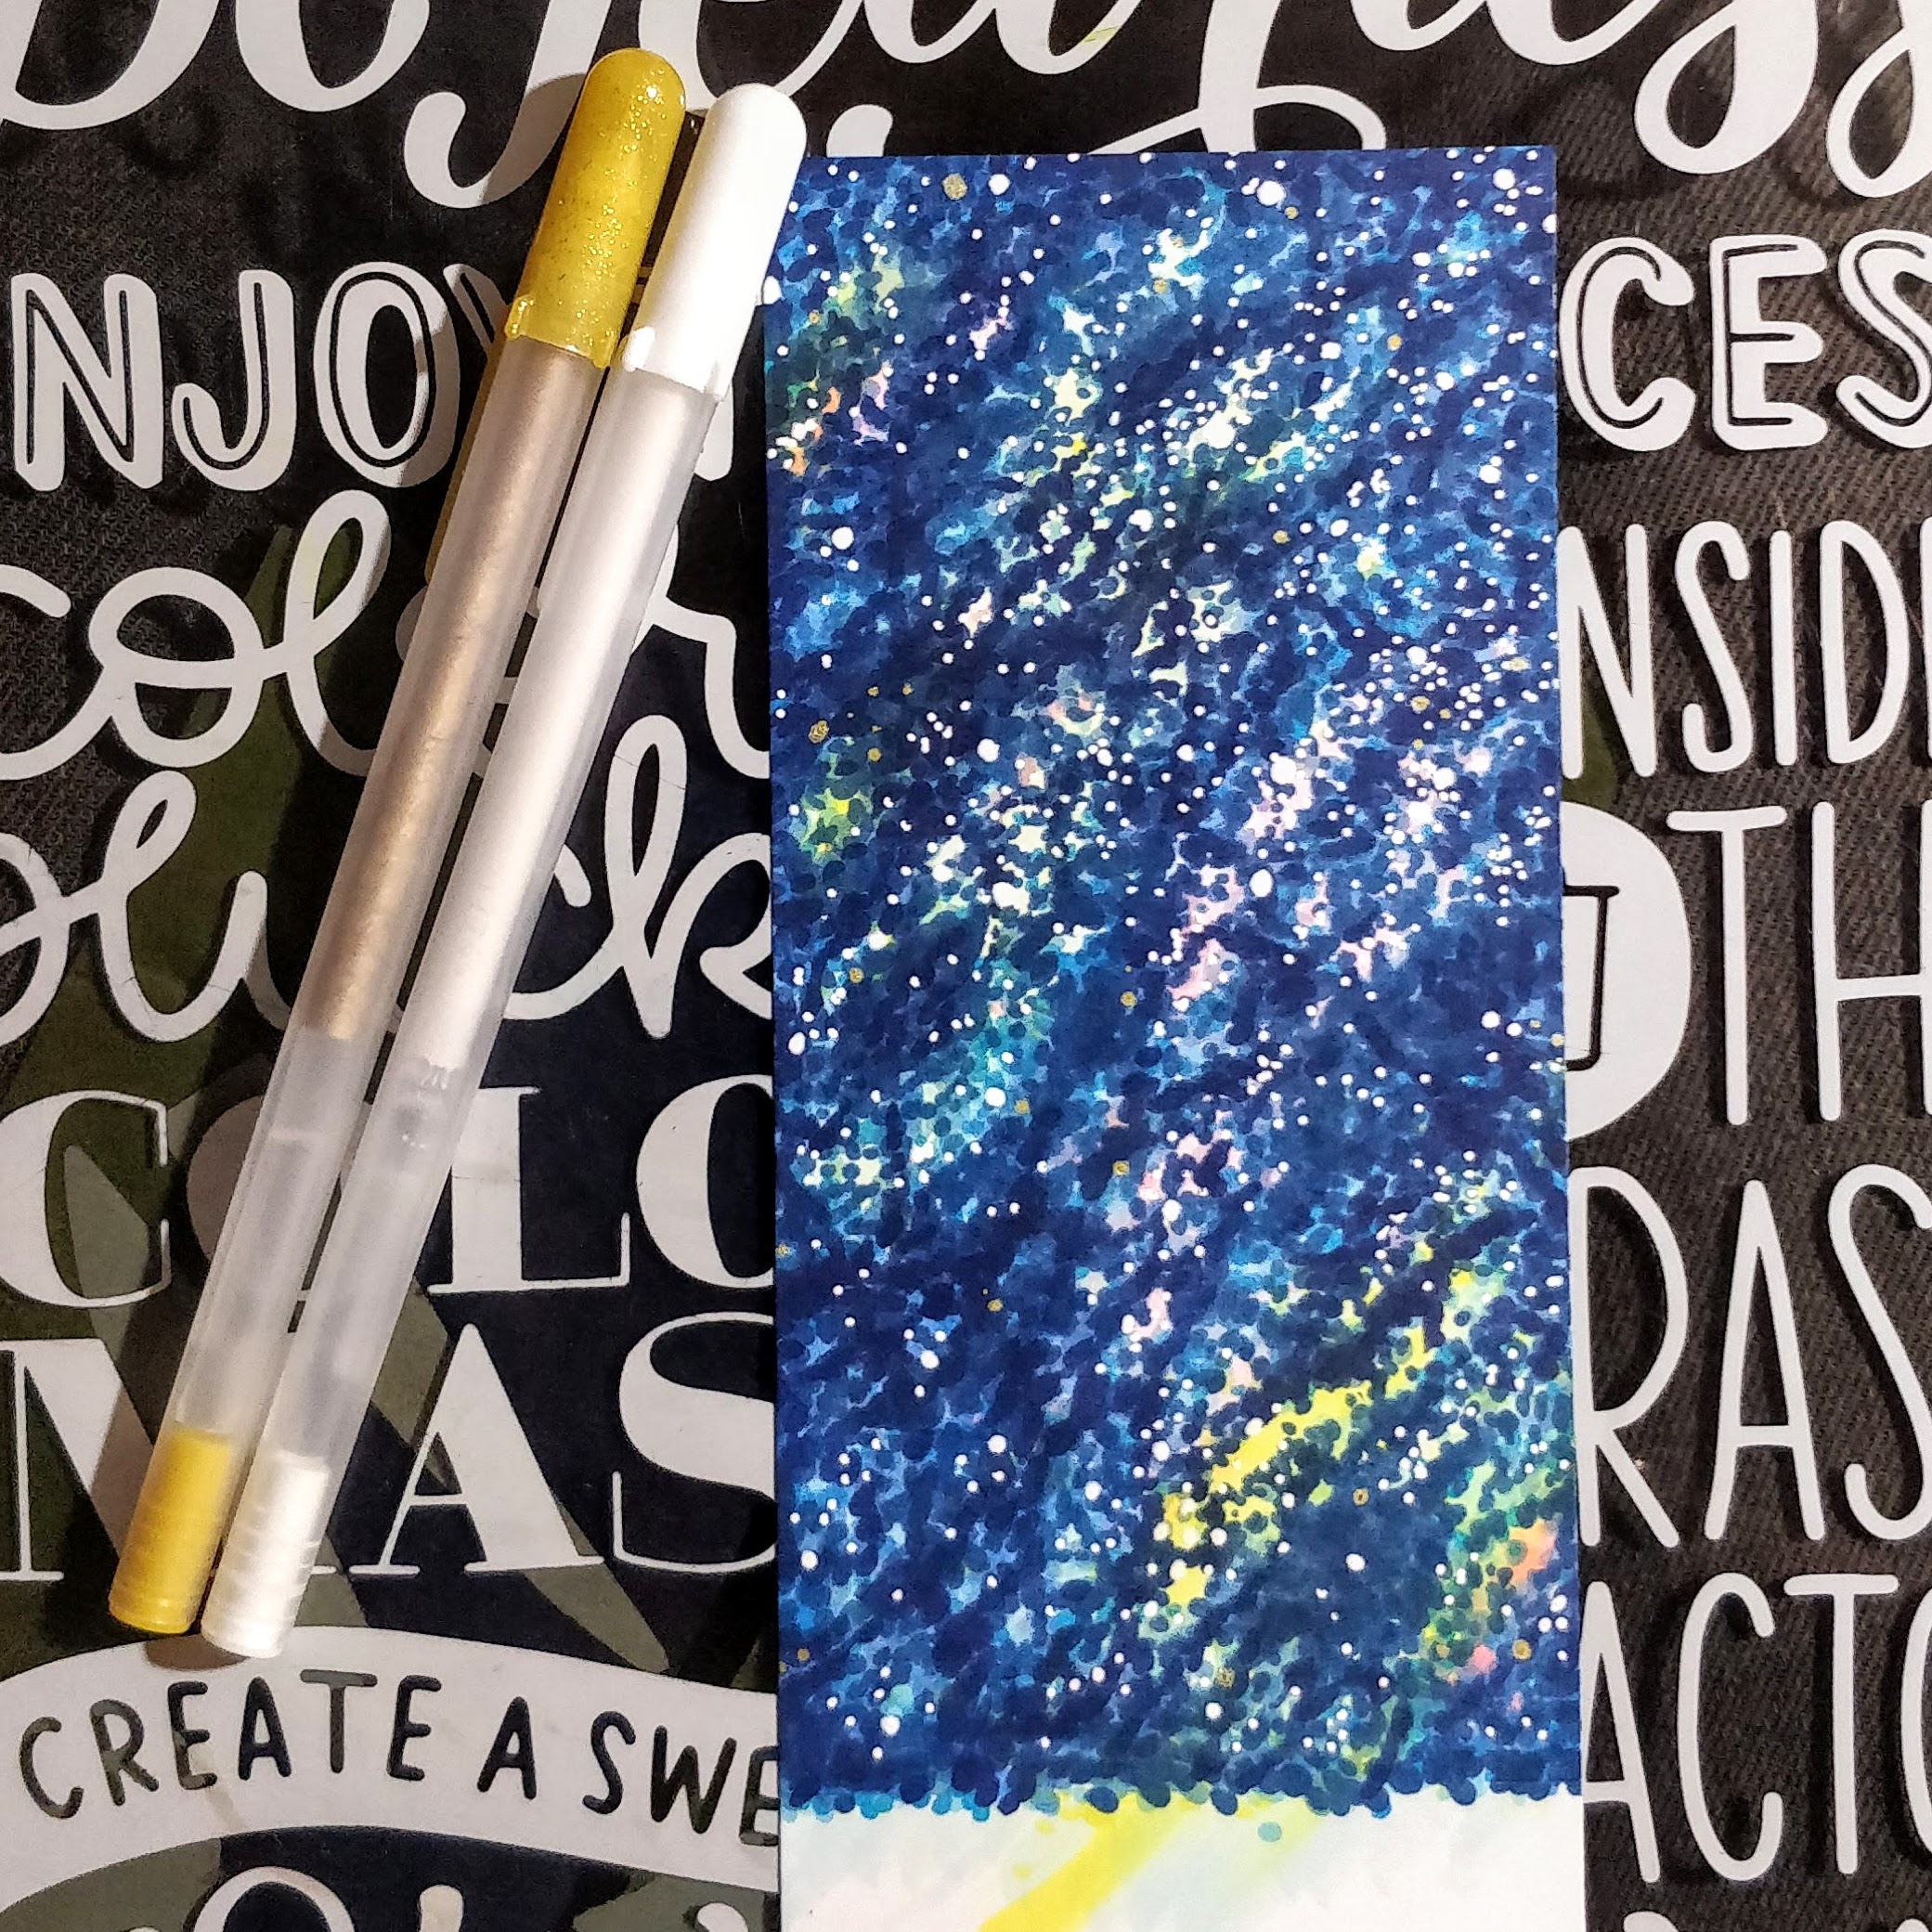
Just like all galaxy backgrounds, this one started out a mess. I scribbled pale shades of pink, yellow, and blue onto a white cardstock panel. Next, I stippled dots of mid-tone colors all over, making sure not to completely cover the pale colors. Then I added more dots with my darkest markers. You can see the progress below. Notice that even after my darkest colors are down, the background still doesn't look like a galaxy. To pull it together, I added lots of dots with a white gel pen, and then a few gold dots for shimmer. Every galaxy needs stars, right?
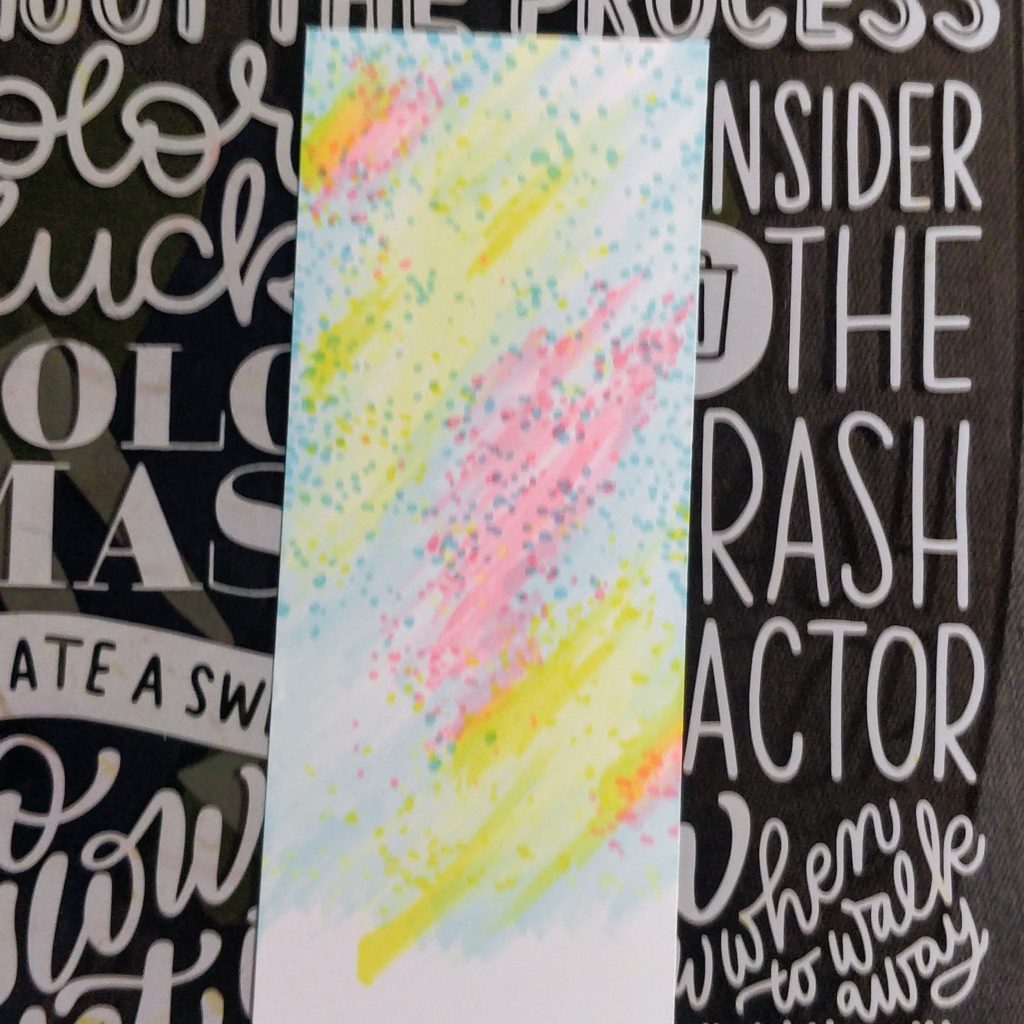
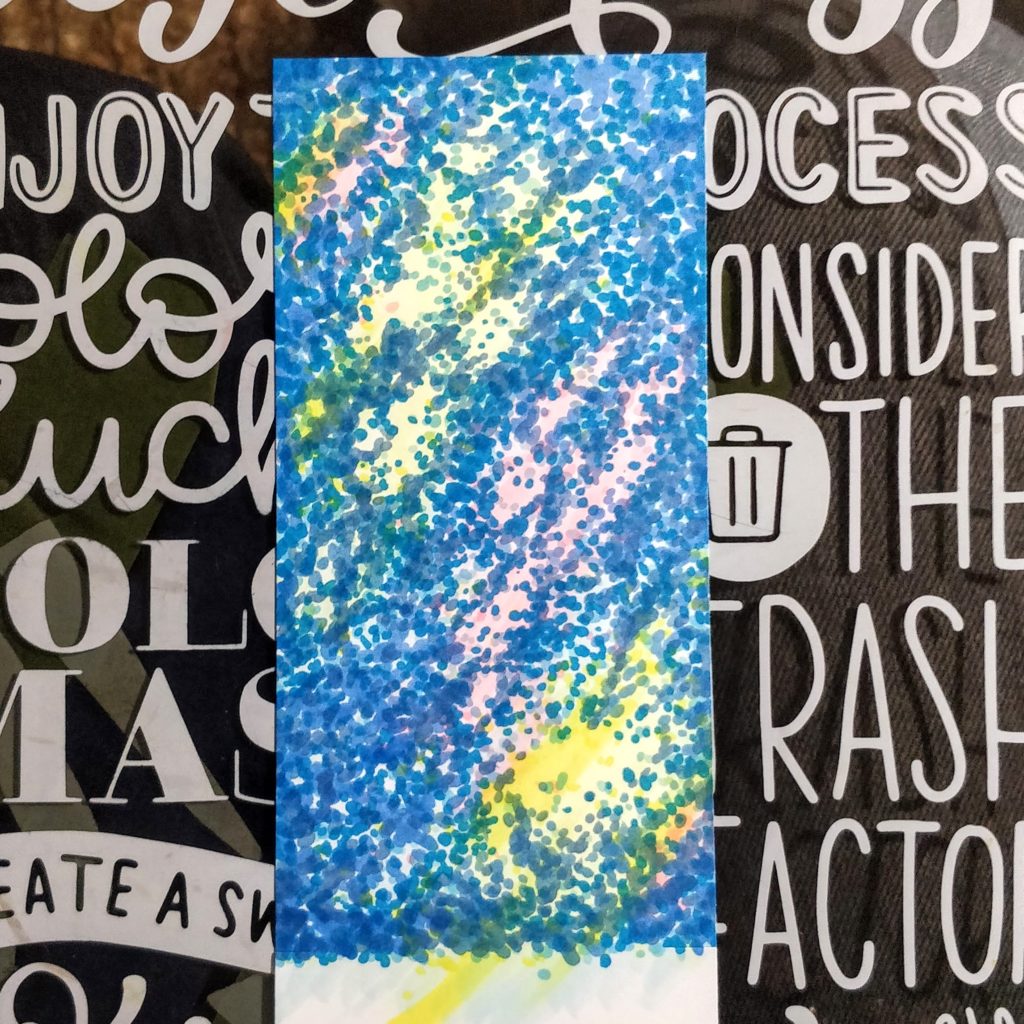


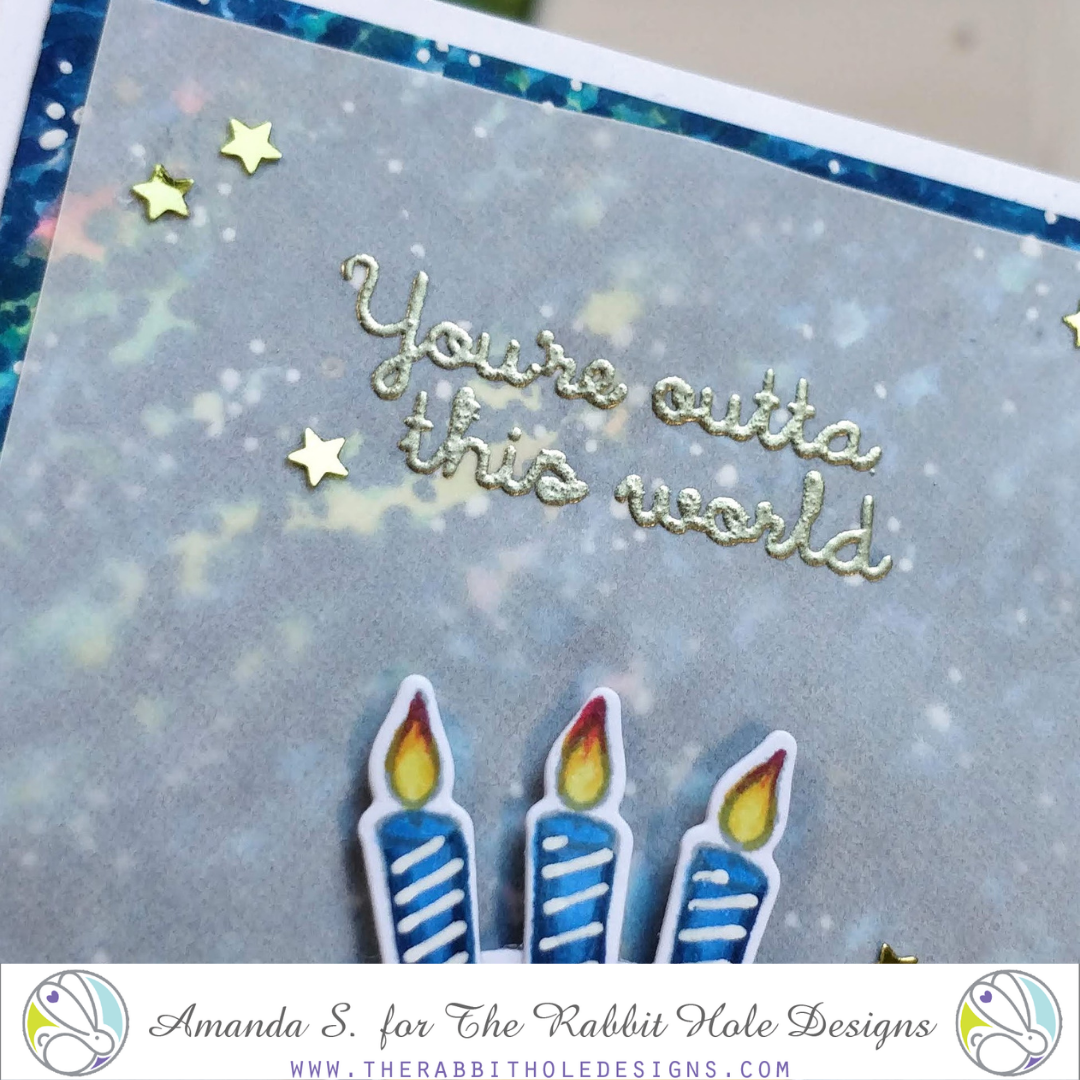
Originally, I thought I'd pop the cake up right on top of the galaxy, but the background was so busy, the cake was almost lost. No problem, a little vellum fixes everything. I embossed the sentiment in gold powder, then glued the vellum panel to the galaxy, leaving a border visible. To keep the glue from showing through the vellum, I strategically applied it behind the sentiment and where the cake would sit. I also dabbed a small dot of glue at each corner of the galaxy background, and smeared most of it away. The vellum sticks to it and the glue is virtually invisible.
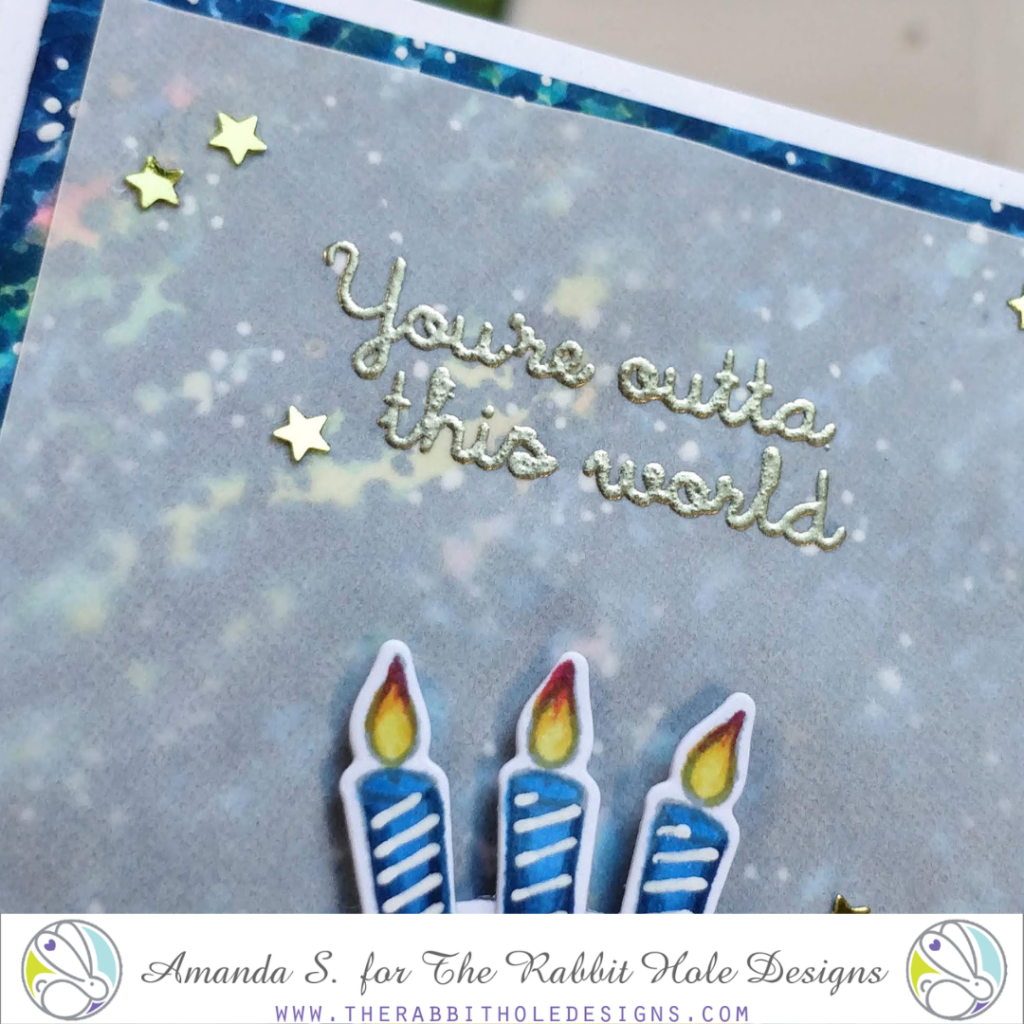
To complete the card, I glued the galaxy to a mini-slimline card base, again leaving a border, and popped the cake up on top with foam tape. A few gold star confetti pieces add extra sparkle. Isn't it fun? This card fits into a #7 coin envelope.

Want to see another card using the Just Cake stamp set? Check out this article! Let me know if you spot the difference in the no-line coloring.

Thanks so much for stopping by today! You can find the sister post to this article on my blog - pearblossompress.com. I hope I've inspired you to give this a try. Tag me on social media if you do. I'd love to cheer you on!

For more inspiration, updates, and news make sure to check out these fantastic places! 

January 2021 Special Release Inspirational Hop ~ Day 1


Hello and welcome to Day 1 of the Special Release Inspiration Hop. We are so excited for you to join us as we present to you our release. Our fabulous Design Team will be sharing their projects over the next 3 days, so be sure to visit their blogs and leave them some crafty love.

We are also collaborating with My Sweet Petunia so keep reading to see how you could win some great prizes.


 The 2 new stamps sets , one die set, and 3 new stencils are all available to purchase right now in the shop.


The new stamp set and stencil being highlighted today is ...

Just Cake


Make sure you come back tomorrow for Day 2 of our Special Release Inspiration Hop.


Here is the line up for the hop:

______________________


**Giveaway**

To celebrate the Special Release and My Sweet Petunia collaboration, The Rabbit Hole Designs is giving away one $50.00 voucher to a lucky winner and My Sweet Petunia is giving away one MISTI to a lucky winner.  Winners will be chosen at random from the comments left on the INSTAGRAM posts that use the hashtag #TRHDMISTI. So make sure to head on over to INSTAGRAM and look for the projects using #TRHDMISTI. You have until by 11:59 p.m. PST 01-10-2021. 
Winner will be announced on The Rabbit Hole Designs blog 01-11-2020.

The comments we are looking for are the ones share to the projects using the hashtag #TRHDMISTI so make sure you comment there.

HAPPY 2nd BIRTHDAY THE RABBIT HOLE DESIGNS!!

___________________


For more inspiration, updates, and news make sure to check out these awesome places! 


Thank you so much for stopping by today!