Pages

Showing posts with label SSS. Show all posts

Love, under the sea

Hello there! Michelle here
With Valentine's Day approaching, love is in the air....and the sea!
I combined a few stamp sets and some masking to create this no line coloring card.
I love this cutie from Mermaid Hair and used her as my focus.
I used the big heart from Sassy Sentiments- Anti Valentine.
After my coloring was complete, I used stars and part of a sentiment from 
Love You More- Christmas Frost. The 'love' sentiment is from Put a Bow on It.


I began with a mask for both the mermaid and heart...
A. Mask the place where you want to stamp your mermaid, than stamp your heart.  
B. Remove the mask and cut along the heart outline on the mermaid body...this is
your second mask.


C. Place the second mask in it's original position and D. Stamp your mermaid.
 Using a Misti makes this a lot easier.


E. Remove the last mask and stamp the heart again. My placement was not
so perfect, but using antique linen distress ink for no line coloring allows
you to color over your mistakes!!
F. Start coloring...and have fun!!!
Here is a list of Copic colors:
fin, bubbles and bikini: BG11, BG13, BG18
body: E000, E00, E11, E93
hair: V000, V01, V12, V17, V17
heart: R24, R27, R29, R39
water: B32, B93, B24, B37
sand: E11, E13, E17
colorless blender for rays.
I stamped the stars with white ink and 'love' with festive berries distress oxide ink.
I added some white accents with a gel pen and shimmer with 
stickles glitter glue.


That's it for today!
Thanks for taking a trip down the rabbit hole!!!

Michelle

For more inspiration, updates, and news make sure to check out these places.


Let Them Eat {Birthday} Cake...


Hello there!

 Michelle here! Stopping by to share a birthday card with you using one of my favorite
color combos...aqua, violet and gold!!!
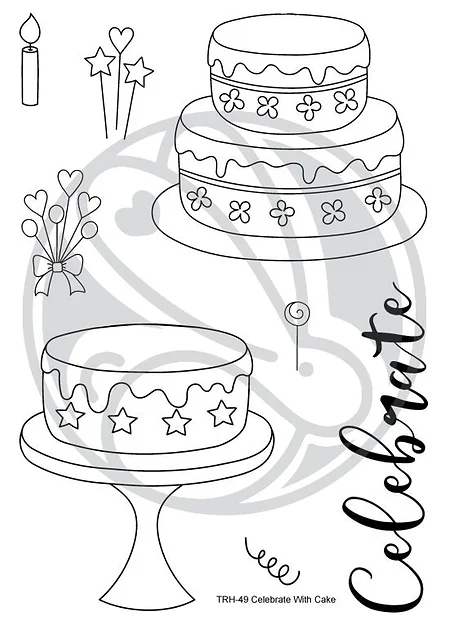
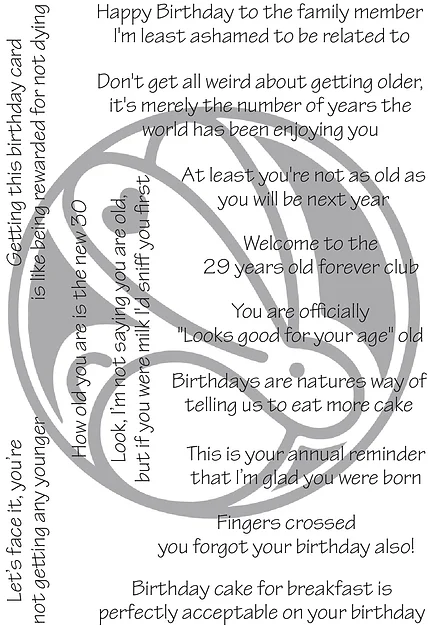
I used the stamp sets Celebrate With Cake, and Sassy Birthday, along with Diamond Flower Stencil.
I inked up the background with this sweet stencil and distress oxide inks in peacock
feathers and tumbled glass. Than I added some gold and black paint splatters and set aside to dry.

I stamped the double layer cake than masked the image and stamped the pedestal 
from the single layer cake. I colored the cake with Copic Markers in shades:
cake plate: BG10, BG11
Cake: E50, E51
Icing and Flowers:  V12, V15, V17
Topper: BG11, BG13, BG18
For the sentiment, I shaded a piece of Copic friendly paper with V12, 15, and 17.
I embossed the sentiment with gold powder.
For a finishing touch I added some clear stickles glitter glue and sequins.

Supplies used:
Celebrate with Cake 4x6

Sassy Birthday 4x6

Diamond Flower - Stencil 6x6

Thanks for taking a peek!!!
Check out all the items in the shop and also at Simon Says Stamp!!!

For more inspiration, updates, and news make sure to check out these places ...

See you soon!!!

Michelle


Love by Niccole

Hello everyone!

It's Niccole from Nic & Viv Designs back again to share another card I made using one of The Rabbit Hole Designs new stamp sets. 


For today's card I used the Put A Bow On It stamp set. I love how versatile this stamp set is.

I have a lot of pictures today for you. This way I can show you each card and a close up of the foil on each card.


How to create this card:
  • Square card base that is 4.25"x4.25".
  • Stamp the bows stamp from the Put A Bow On It  stamp set with Versamark Ink on a 3.75"x3.75" square.
  • Add clear embossing powder and heat emboss bow image.
  • Cut a piece of foil to cover embossed image.
  • Run bow image with foil through laminator.
  • Remove foil to reveal foiled image.
  • Frame out square stamped image with coordinating color to frame it.
  • Add image to square card base.
  • Stamp the word LOVE from the Put A Bow On It stamp set in the bottom right corner at an angle coinciding with the heart shape.
  • Add a few black Nuvo Crystal Drops randomly to finish the card.
Here is one more picture of the full cards ...


What do you think of the three foiled Put A Bow On It cards? Which is your favorite I really love how they turned out.

TRHD Products used:

For more inspiration, updates, and news make sure to check out these places

The Rabbit Hole Designs YouTube

I have had so much fun playing with the Put A Bow On It stamp set today.

Thank you so much for stopping by and spending some time with me.

Until next time ... Hugs & inky fingers!   -Nic-