Pages

Showing posts with label Boo to You. Show all posts

Watercolor Pumpkin Friends

Hello everyone and welcome back! It's Amanda W. sharing some watercolor fun with Pumpkin Friends today.


Today I decided to get messy with watercolor. Let's be real, I'm rarely a clean crafter but when you add paint I'm an extra mess.
  • Today I used watercolor paper for the background panel and just did multiple layers of black watercolor, drying the paper in between to add texture and dimension to the paint. Then I splattered that with gold and purple watercolor and set it aside to dry.
  • I stamped, colored and cut my pumpkins and popped them up with foam squares.
  • I stamped and heat embossed the sentiment in gold and then stamped a spider hanging down from the bottom of it for an extra spooky look.
  • For finishing touches I added glossy accents to the pumpkin's eyes, noses and mouths and the spider's body.
  • This whole thing was glued onto a purple card base for a little pop of extra color around the edge.

Look at the light shine off the glossy accents. It really gives it a whole different look. I love it!

Here are the stamp sets I used.


For even more inspiration, updates, and news make sure to check out these links.


Easy BOO to you!

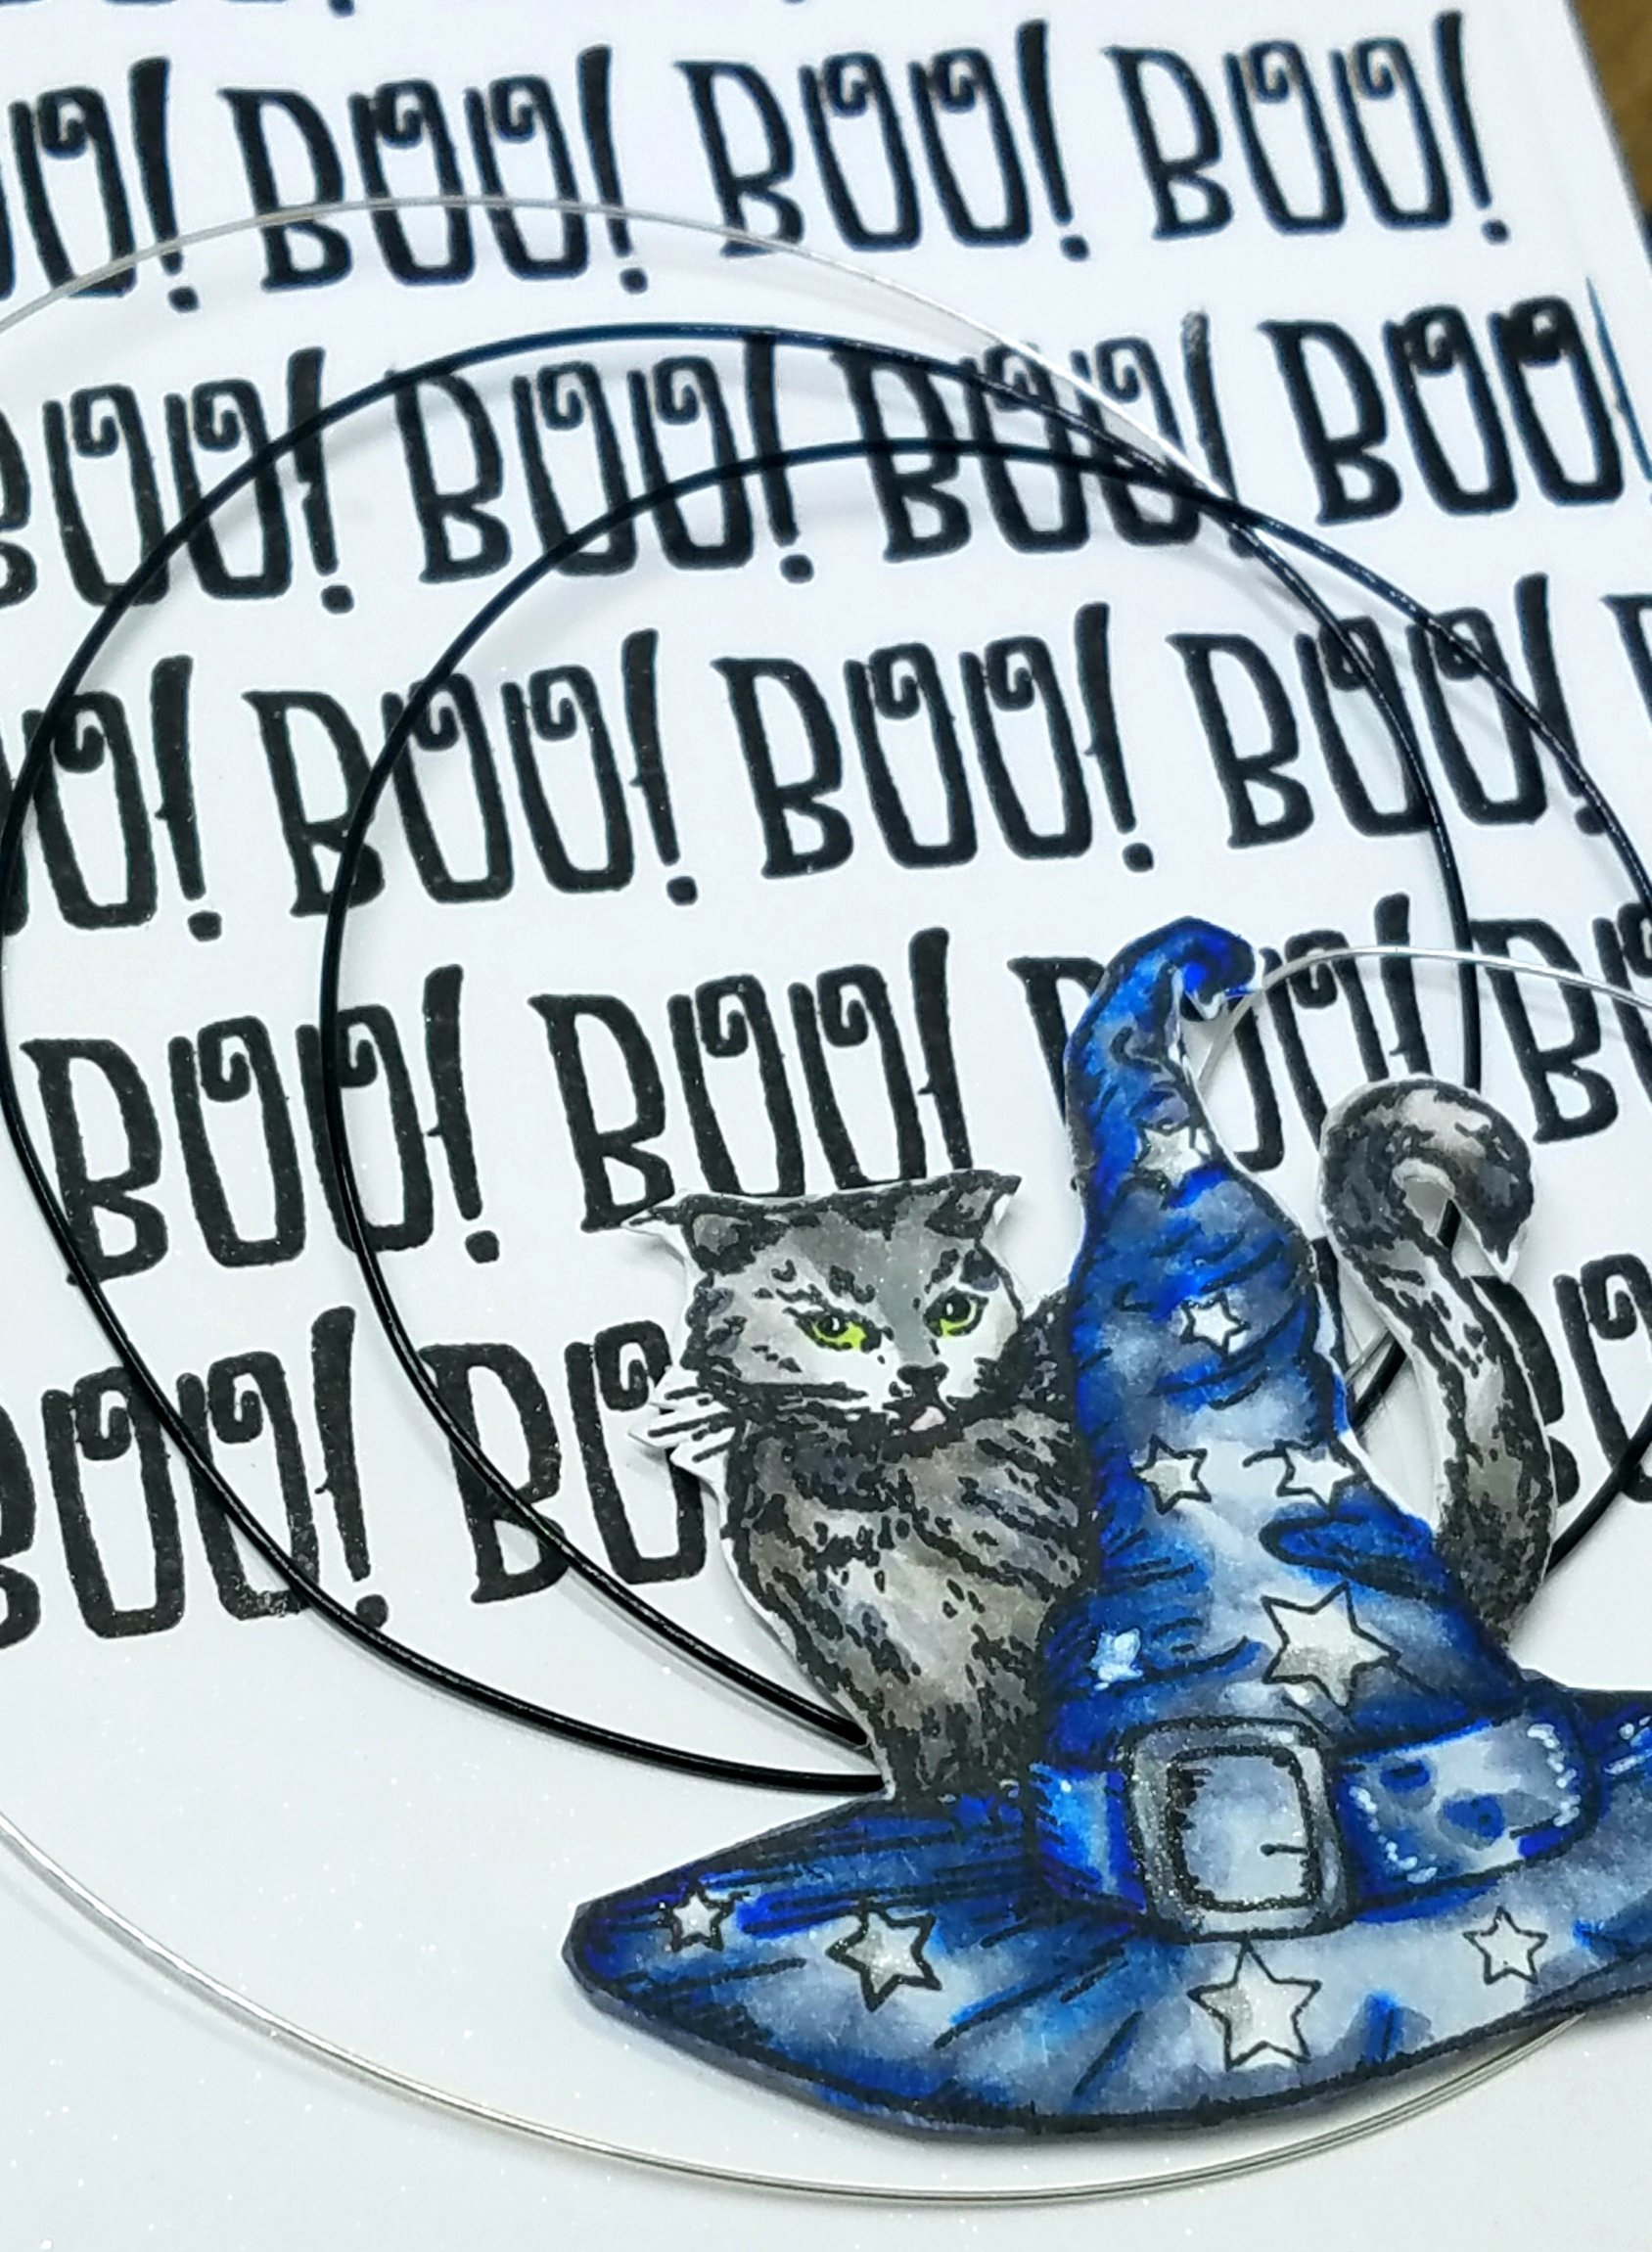
 I have a black kitty cat card that may remind you to be careful of 
the black cat crossing your road!!


This stamp is available at The Rabbit Hole Designs and now at

  1. Repeat stamp BOO! across the 4.25 x 5.5 card stock. I did this free hand but you can use a ruler and pencil lines. I used Versafine Onyx Black ink.
  2. I used a 4 x 5.25 rectangle die to make it just a little smaller than the top folding 4.25 x 5.5 card.
  3. Spray the BOO card stock with Sheer Shimmer Spritz for a little sparkle.
  4. Stamp, cut and color the cat with Copics.
  5. Cut a piece of 24 gauge wire in black and silver and loop them in a circle.
  6. Place the cat on dimensional foam tape and adhere over where the wire ends connect.


For more inspiration, updates, and news make sure to check out these links.
Thank you for visiting today! Hope you can CASE this today!

Vampire Bites,

Charmaine

Follow me here for more creations www.facebook.com/charcards2017


Witches Gotta Stick Together

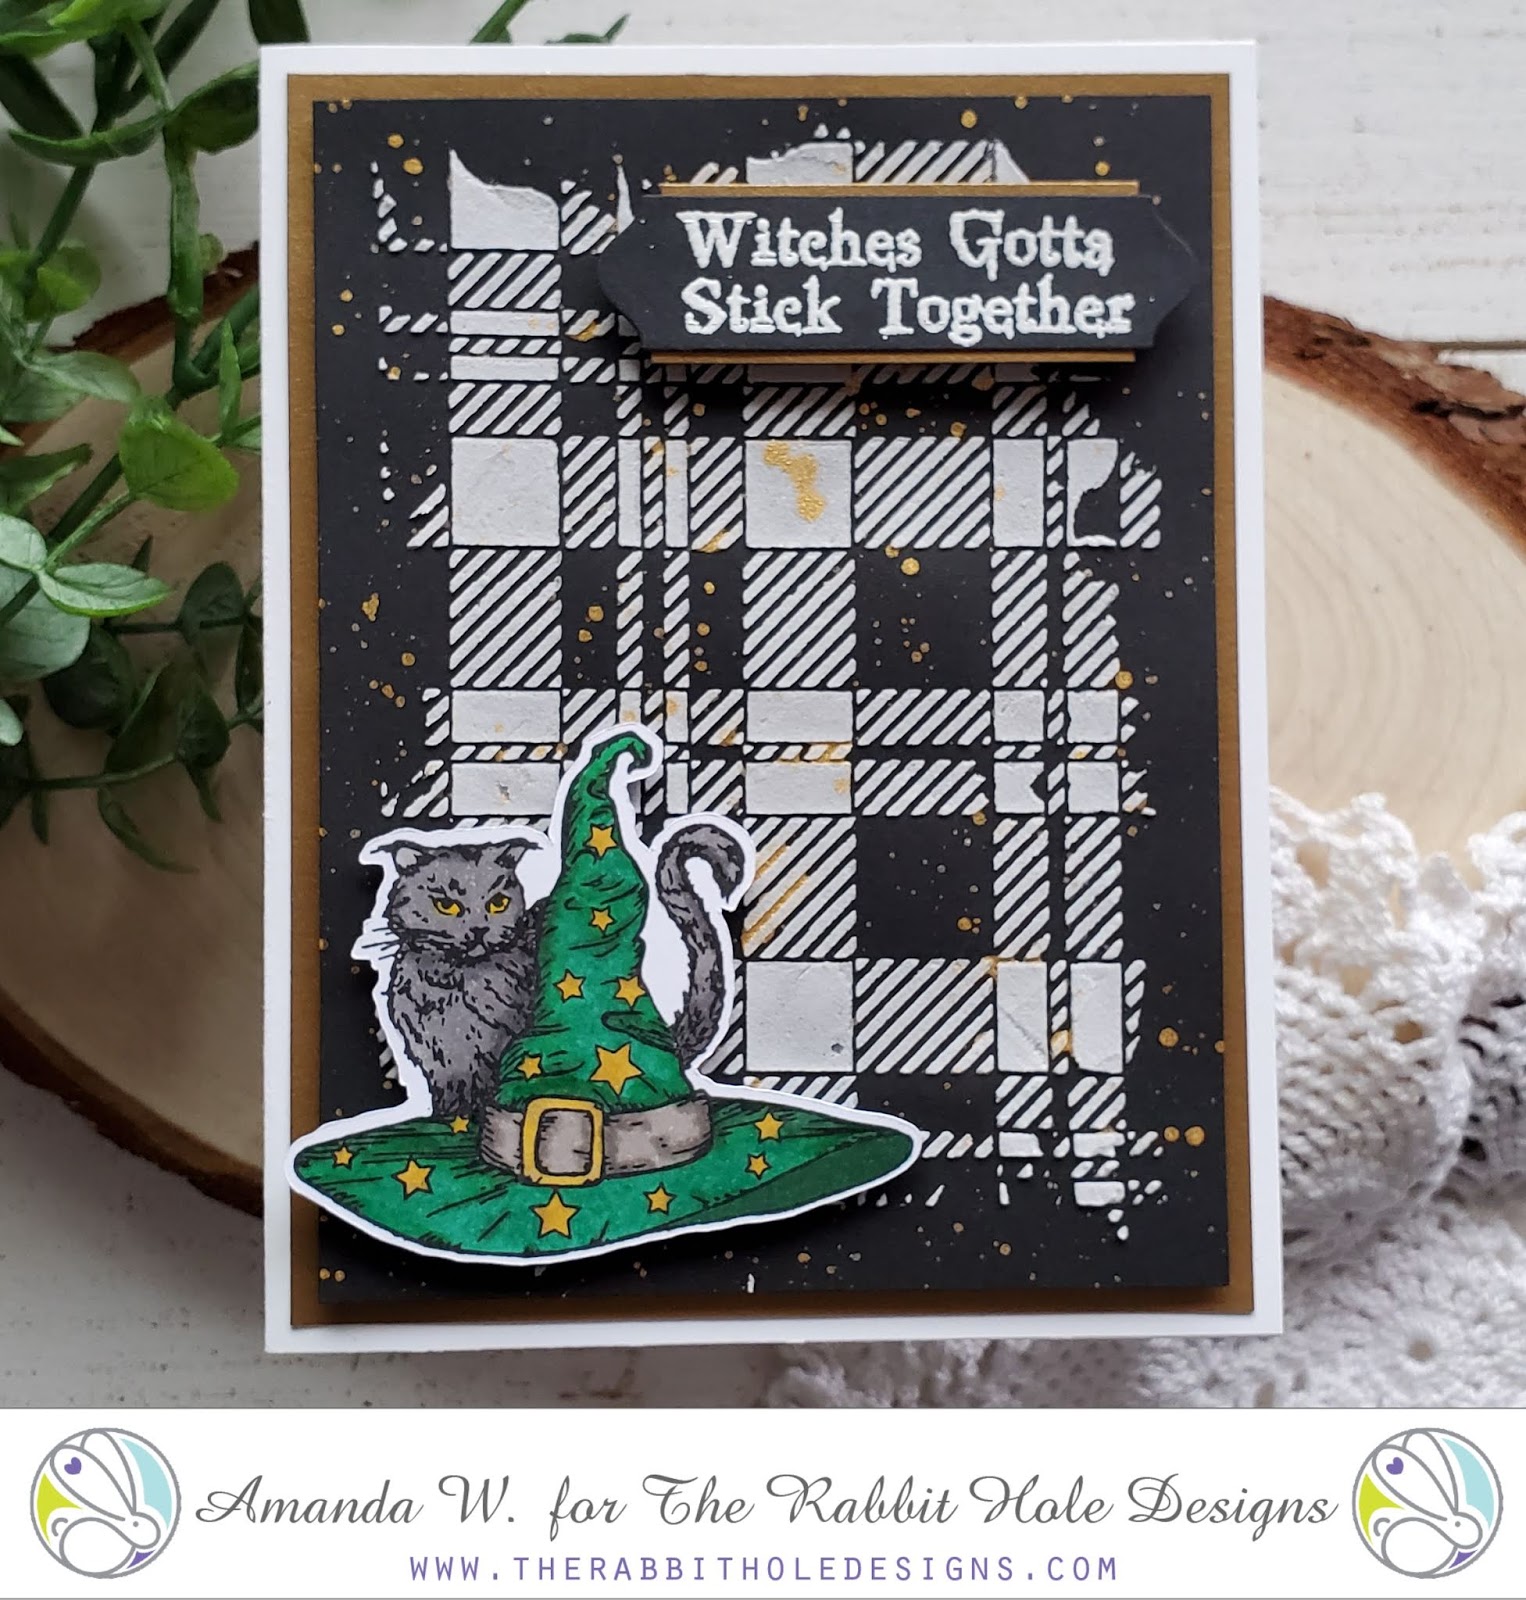
Hello everyone! It's Amanda W. and thanks for stopping by today! Are you just loving the new Halloween release for September? It's fabulous and I'm so excited about the card I'm sharing with you today. I hope you enjoy it. 

Here's how I did it:
  • Started with a black panel and smeared texture paste across a plaid stencil and set it aside to dry. Once that was dry I flicked gold watercolor on it and let that dry too. Then adhered it to a piece of craft foam for dimension and glued that to a copper panel.
  • I stamped, colored and cut out my image. Stamped and heat embossed my sentiment and die cut it with a label die. Then added gold accents to the top and bottom to go with the base panel.
  • I adhered the background to a white card base and popped the image and sentiments up with foam squares.
  • Voila! Shimmery, witchy goodness!


I really like the look of the flat texture paste with the shimmer of the gold paper and watercolor. They go so well together! And that green hat! Perfect! This is such a fun card to share with a girlfriend who needs a little encouragement. 

The stamps I used:

For even more inspiration, updates, and news make sure to check out these links.

Golden Boo to You

Hello TRHD fans!! Did you have fun falling down the rabbit hole this last week with our new release inspiration hop??  Aren't the new stamps just fabulous!?! Just in time for all of our Halloween and Fall crafting and card making!


I have been having so much fun coloring these stamps, but today wanted to do something that *GASP* has NO COLORING!! 
I was inspired by a background I made using Deco Foil Mettalix gel in Gold on black cardstock, and the Circles and Stars stencil.  I kept going with the black and gold theme and my card was born!


I heat embossed the sentiment and image from Boo to You in detail gold embossing powder, and fussy cut out both.  Before fussy cutting the sentiment though, I added the spider to the bottom of the "N" in Halloween and heat embossed it as well to make it look like all one stamp.  After all the fussy cutting was done (phew!) I matted my stenciled panel on top of a gold foil cardstock panel, then lastly onto a black card base.  My image and sentiment were adhered using foam tape for dimension.  I really enjoy how classic this color combo is, and it could be turned into any occasion, not just Hallloween!

Do you have a favorite color combo you like to use?? 

As always, thanks so much for stopping by! You can see more of my creations on my blog Caffeinated Craftiness, or be sure and follow my crafty adventures over on Instagram!
 See you all soon!
~Shanna

For even more inspiration, updates, and news make sure to check out these links.

The Hat Makes the Outfit by Niccole

Hello everyone!


It's Niccole from Nic & Viv Designs back again to share another card I made using one of The Rabbit Hole Designs stamp sets. 

For today's card I used the Hex Yeah & Boo to You stamp sets.


How to create this card:


  • Black A2 card base
  • Added purple layer 
  • Added my white layer with the sentiment from Hex Yeah
  • Stamped the Hat from Boo To You set.
  • Copic colored the image
  • Fussy cut the hat out because I didn't want to use the cat in the image
  • Raised the hat up with foam tape for dimension
  • Added orange Nuvo Drops randomly
Here is one more picture of the full card ...


TRHD Products used:

For more inspiration, updates, and news make sure to check out these places

The Rabbit Hole Designs YouTube


I have had so much fun playing with the Hex Yeah and Boo To You stamp sets.

Thank you so much for stopping by and spending some time with me.

Until next time ... Hugs & inky fingers!   -Nic-