Pages

Showing posts with label Caffeinated Spider. Show all posts

Altered Caffeinated Critters


Hey crafty friends, it's Amanda from Pear Blossom Press. By special request, I made this hysterical slimline card for MaryAnn. We were laughing one day and she said she'd love to see a card with the Caffeinated Bee spraying a can of Raid® bug spray at the Caffeinated Spider. I thought the idea was fantastic and filed it away in my "to make" folder. When the Sassy Birthday 2 sentiment stamps were released, there was one I knew would bring my card together perfectly. 

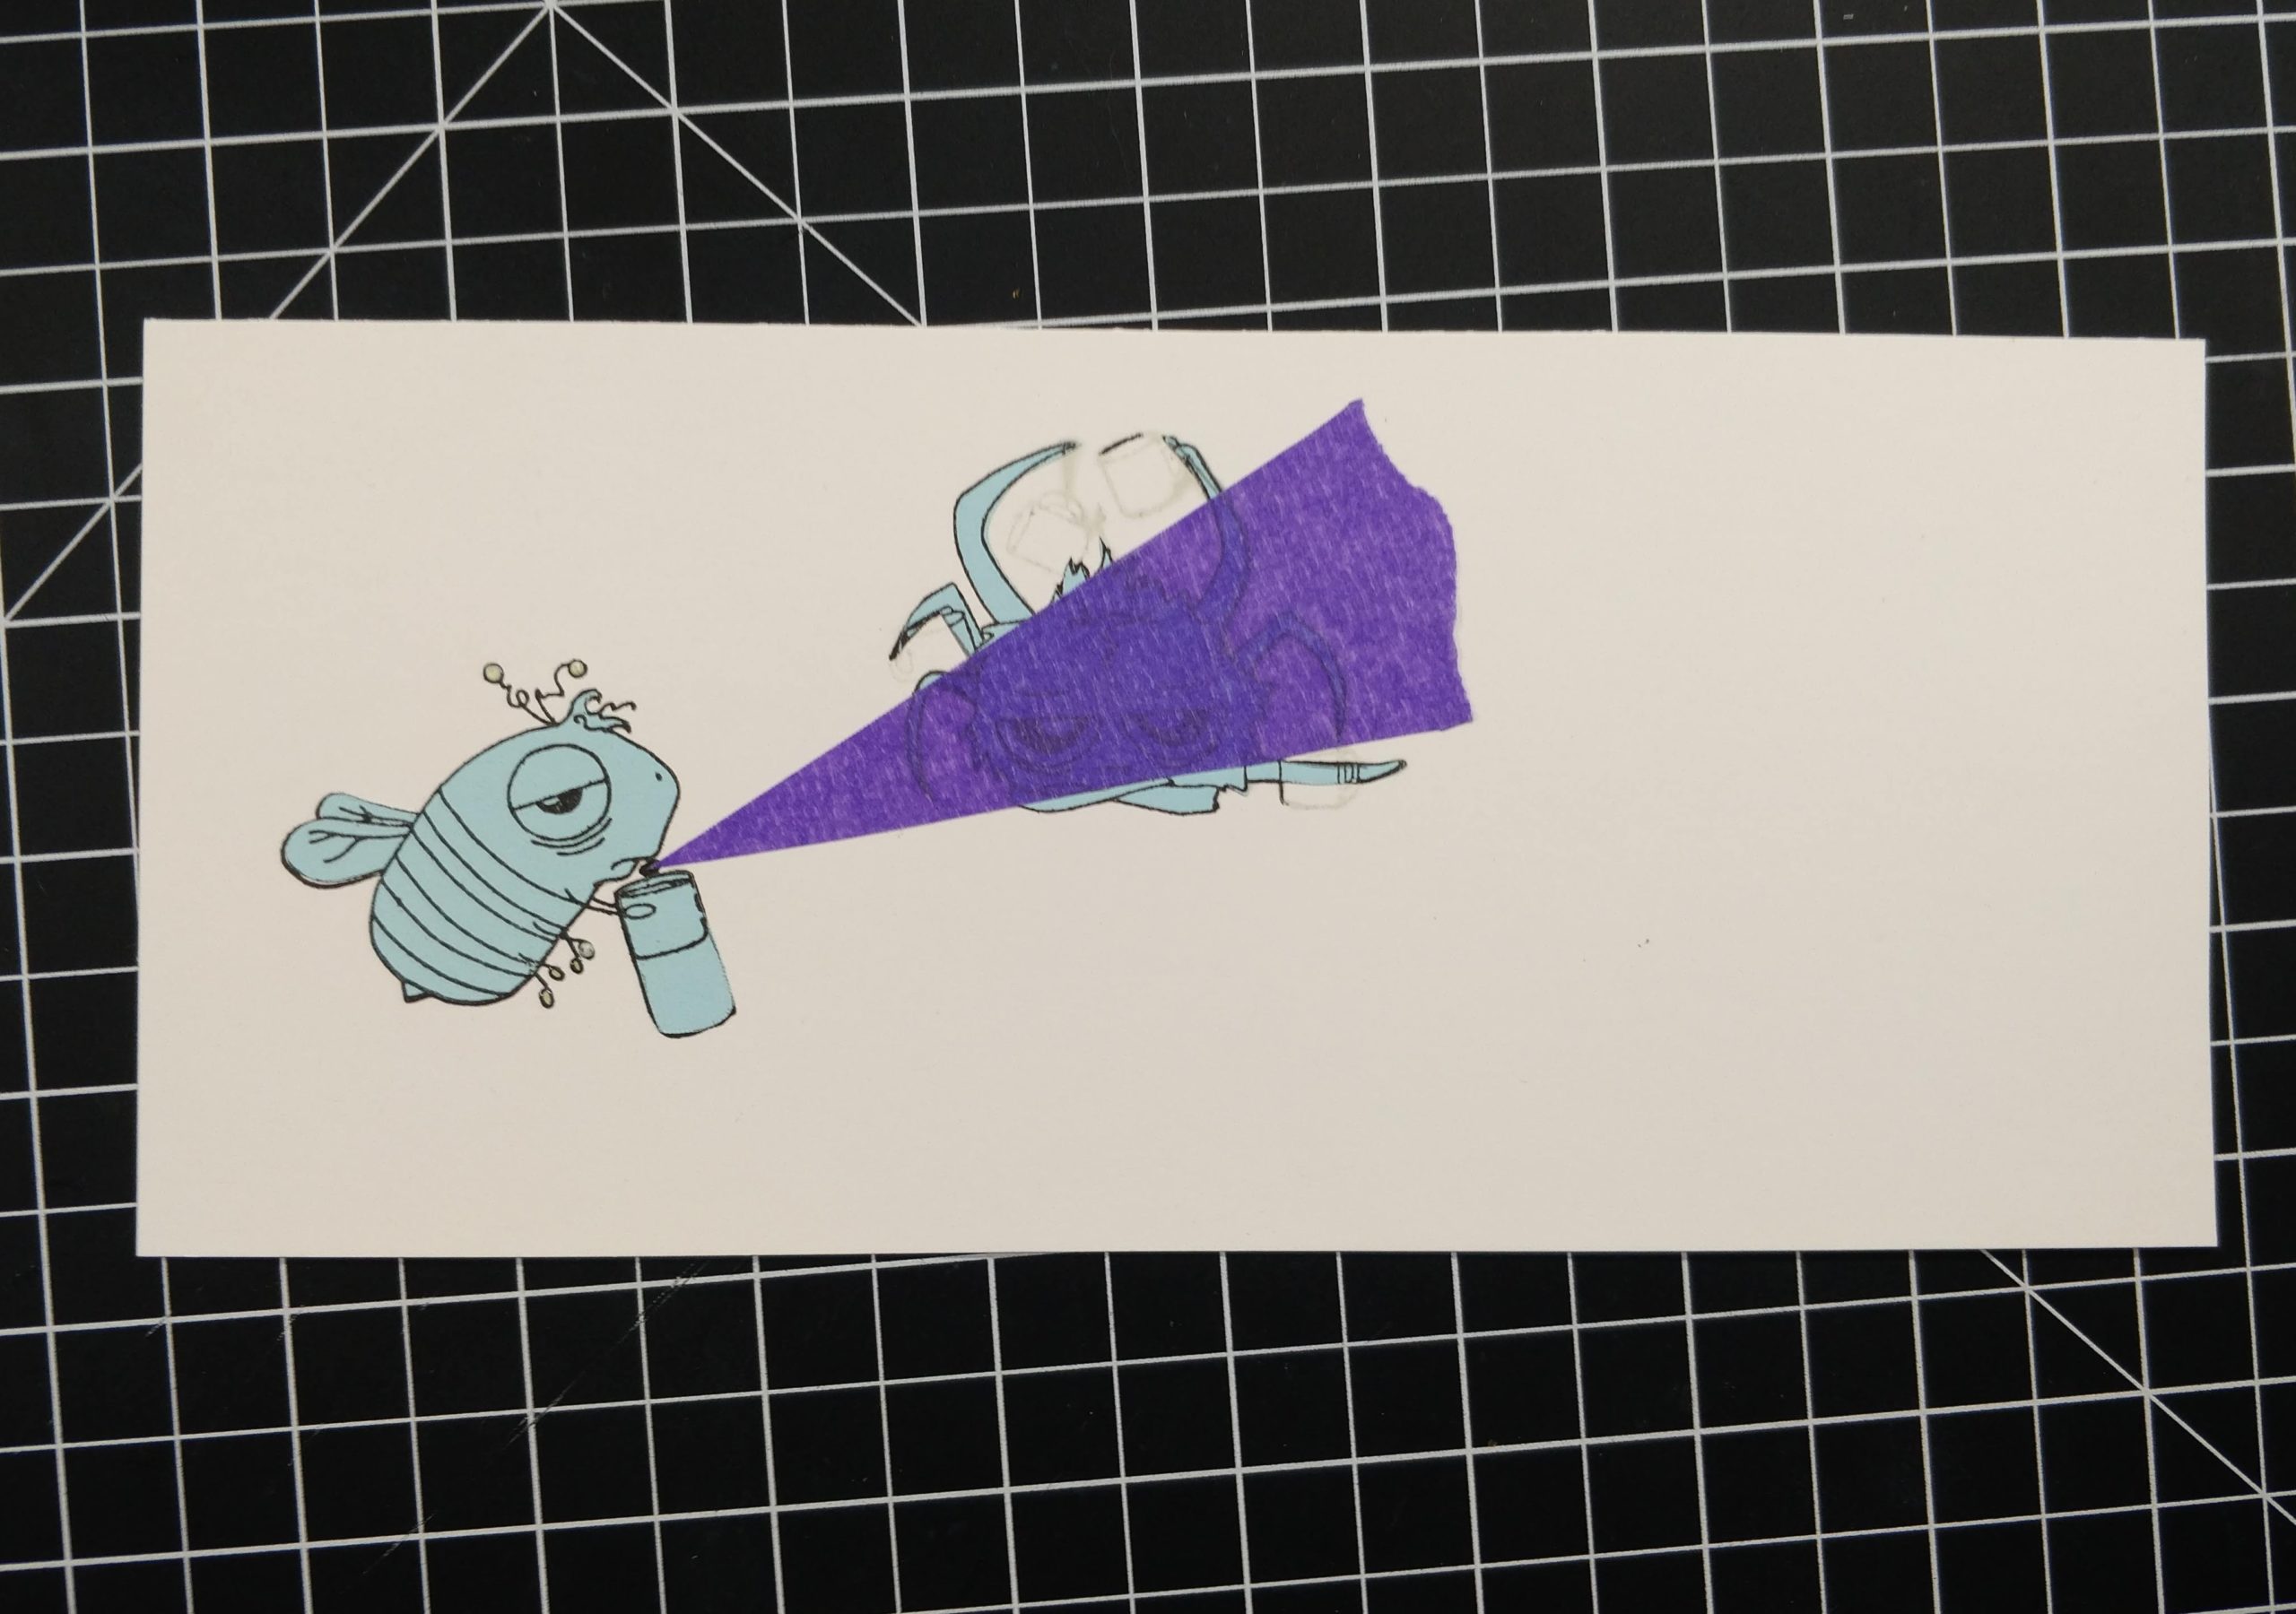
This card was actually very easy to make. I started by lining up the bee and spider in my Misti. I used some masking tape to mask off the coffee cups in the spider's hands and most of the cup in the bee's. I inked up the stamps with black ink, removed the masking tape, and stamped the images onto a slimline panel (4" x 8½"). Because so much of the spider's arms are touching the coffee mugs, I cleaned my stamp and inked the entire spider image again with Fadeout ink. I knew I was going to ink blend a dark sky around the images, so I could "edit out" any of the Fadeout inked areas I didn't want in the final scene. (That's another trick I learned in Kathy Racoosin's coloring classes!) Then, I traced over the rest of the spider's legs with a black Copic liner pen (0.3). I drew the can of bug spray in the bee's hand too. 
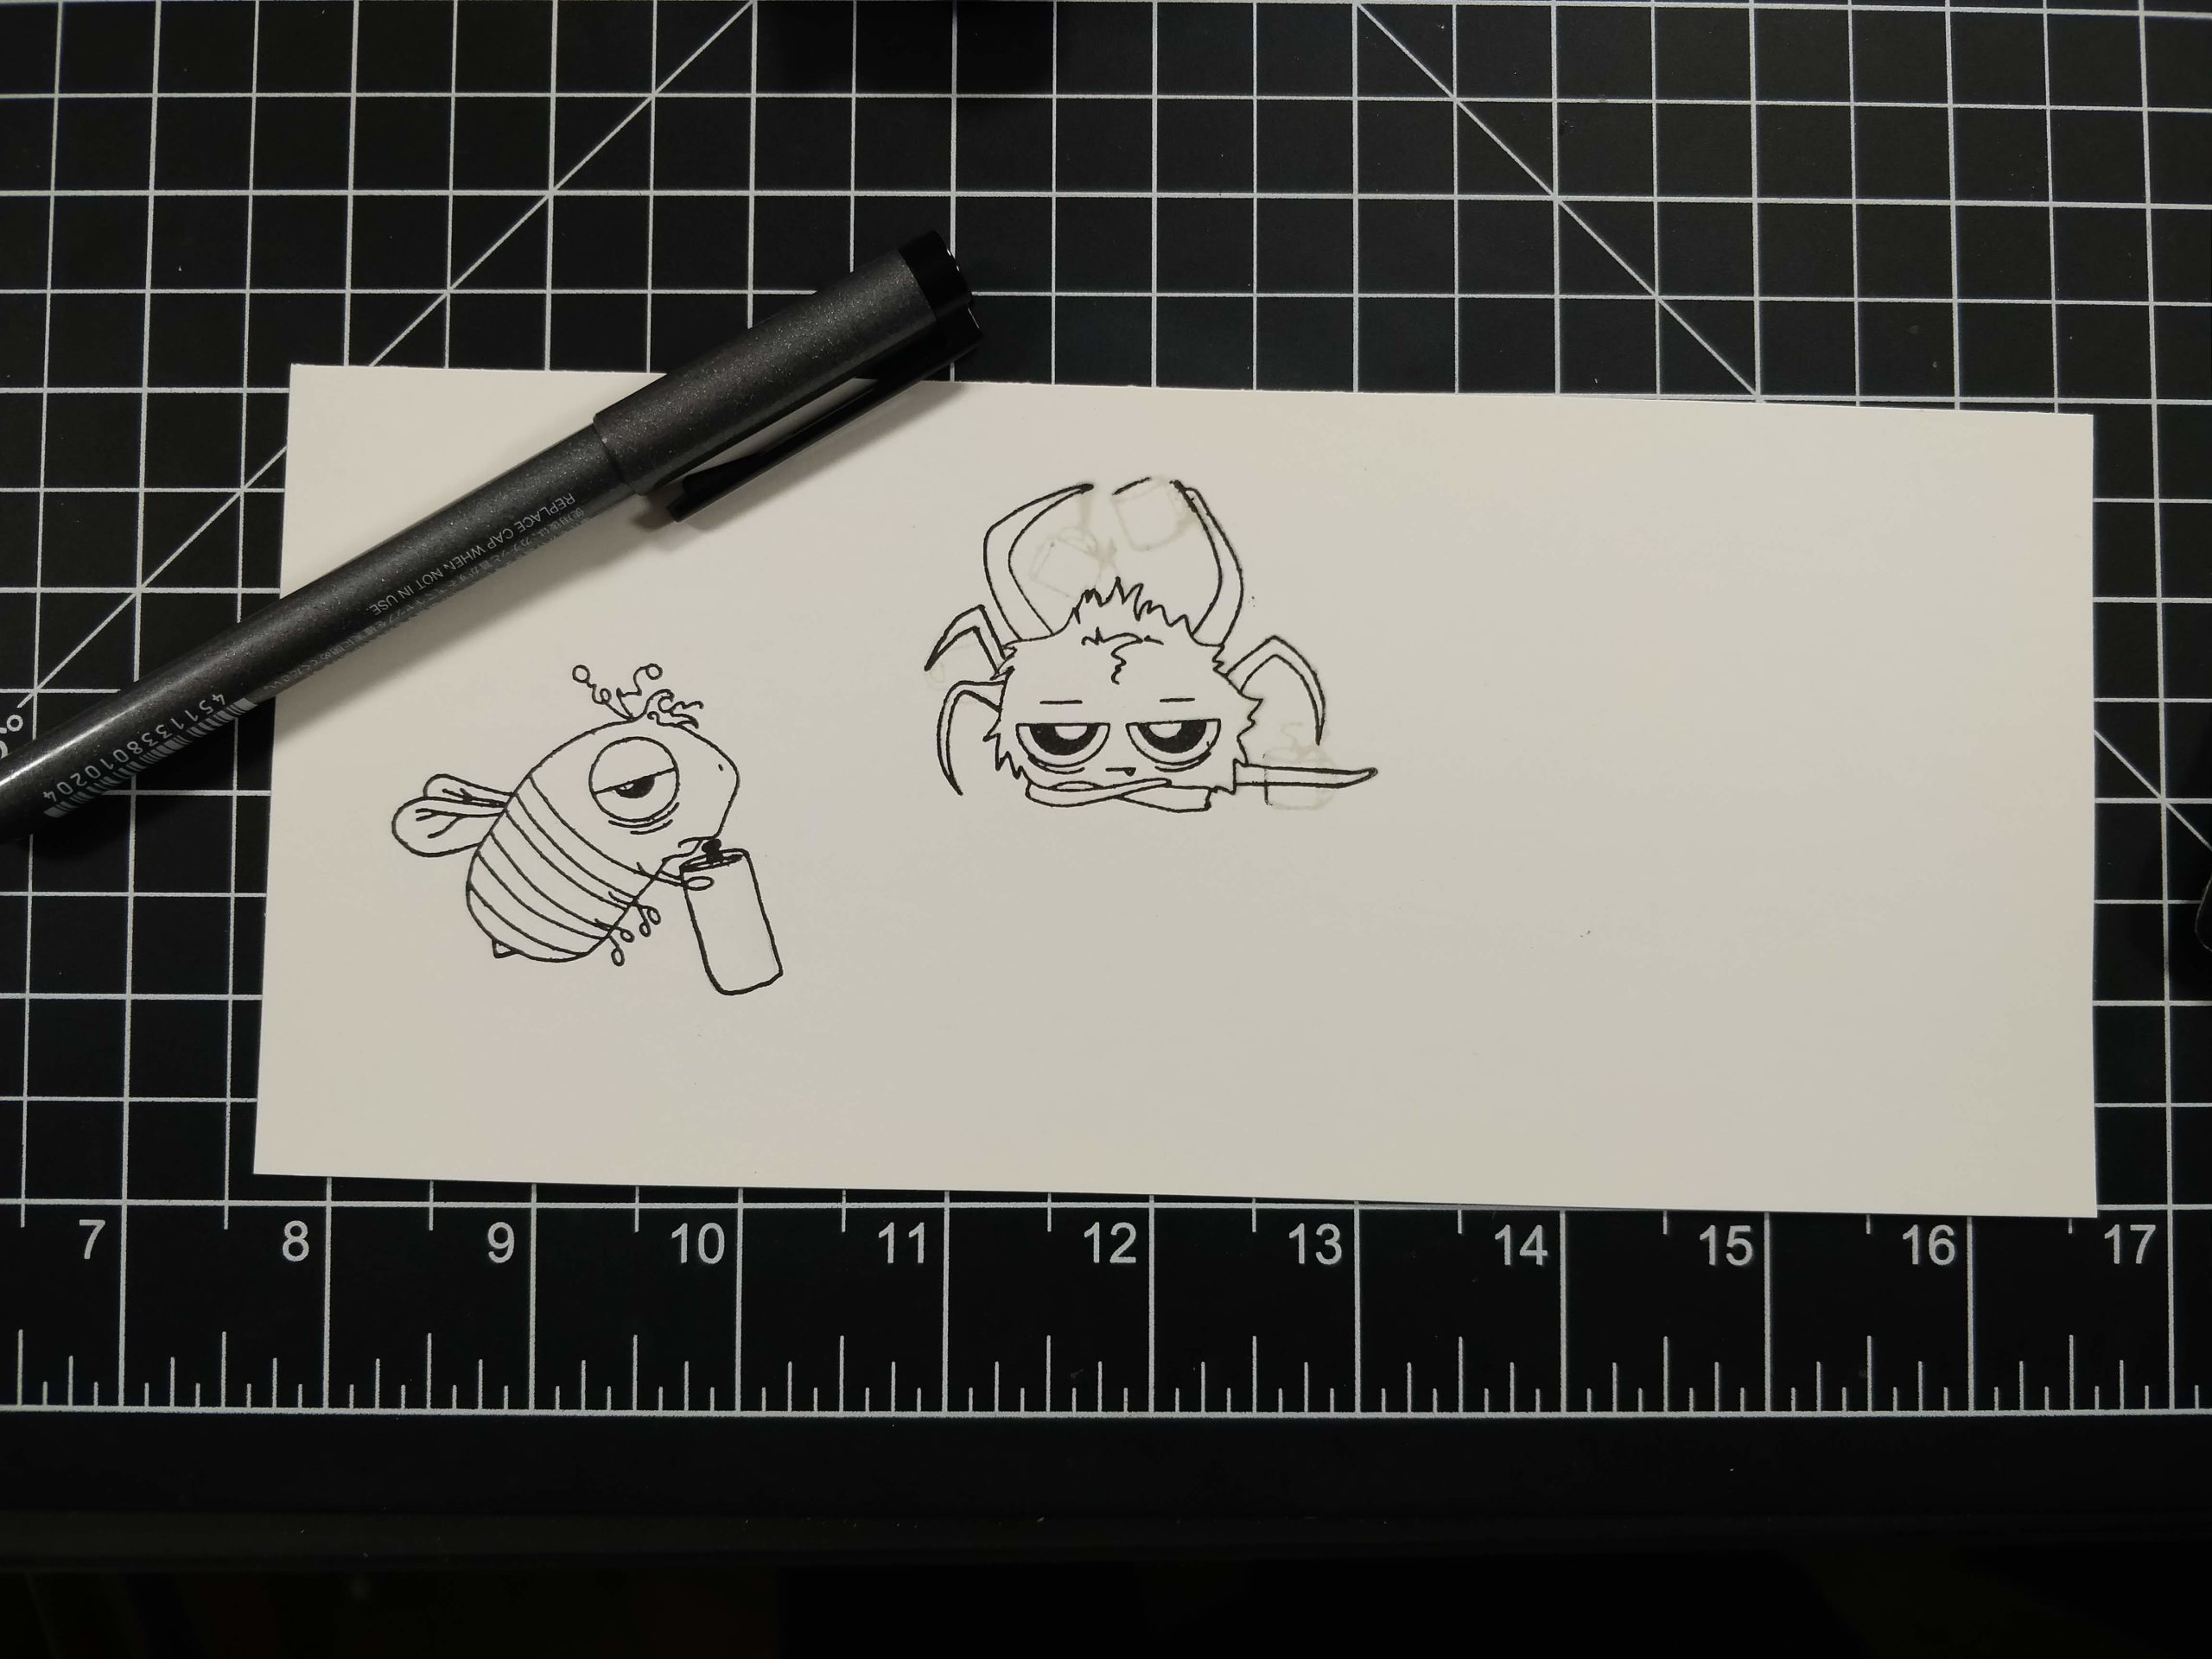


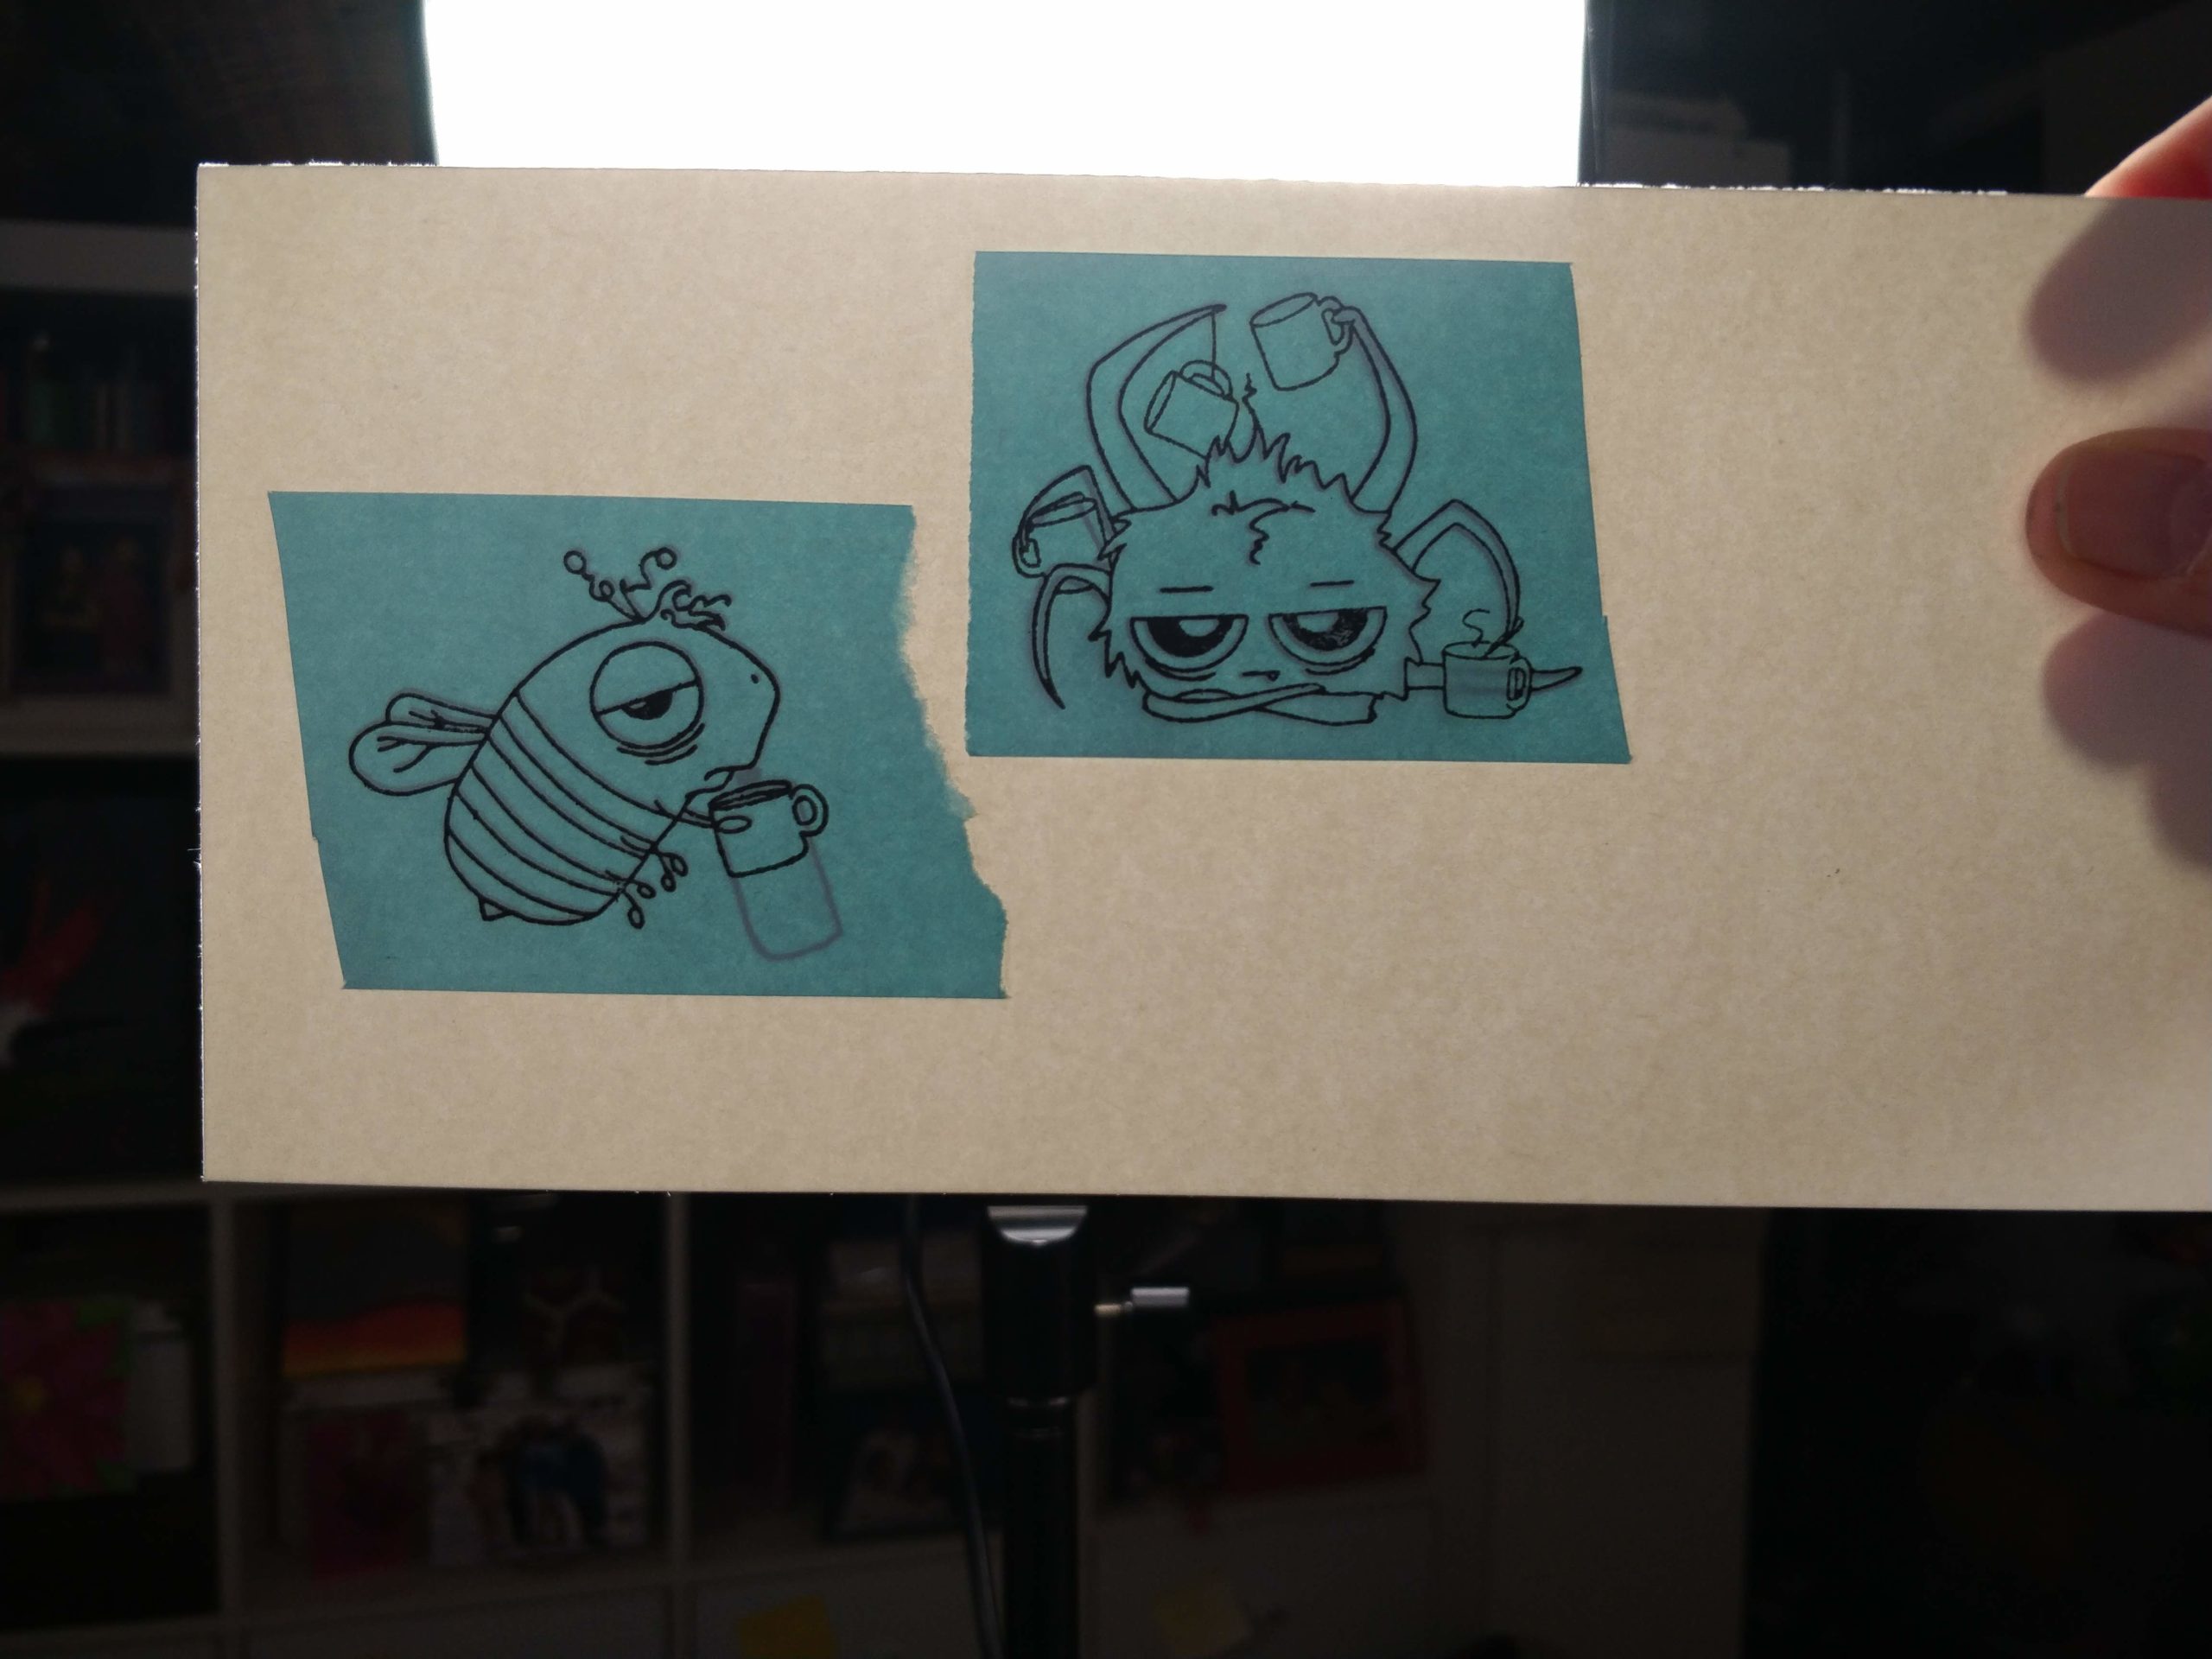
Next, I cut out masks of the bee and spider to prep for ink blending. To get the bug spray can mask to match, I held the panel up to a light, put the post it masks over the images, then traced around the can, before cutting them out. Once the images were cut out, I stuck them back on top of the panel, and cut a triangle mask out to cover the spray area. 


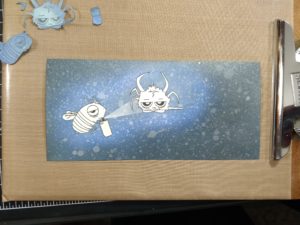
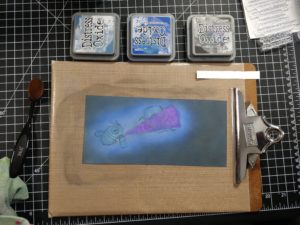
I used a makeup brush with Faded Jeans, Blueprint Sketch, and Black Soot Distress Oxide pads to ink up the background. Once I was happy with the colors, I pulled up the triangle and blended on some Stormy Sky ink. I used a heavier hand on the right of the spider, to make the spray look like it was dissipating into the background. It was a hot mess at this point, but wait until the masks come off...
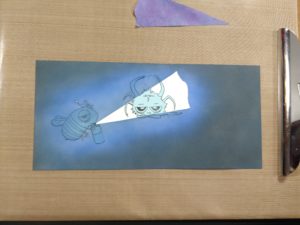
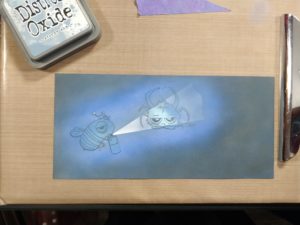
My masks aren't coated, so I removed them from the spider and bee to spritz water onto the background. (If the masks get too wet, ink can bleed through them onto the images.) After I absorbed the water with a towel, I put the masks back in place and lightly misted shimmer spray over the top. (I didn't want to contaminate my Copic markers with shimmer when I colored the critters.) Then, I removed my masks again and let the panel dry. 
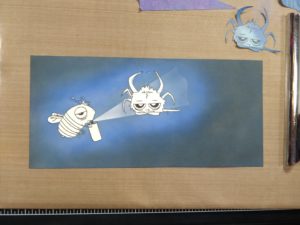


My husband said I should leave the panel with the images in black and white, but I decided to color them anyhow ;) I used Copic markers. I freehanded the bug spray label and added a line down to the spider. Then I embossed the sentiment with white powder. I trimmed the panel down, then rounded two corners and popped it up on a navy card base. I glued on a few sequins and added sparkle to the eyelids and wings with Liquid Pixie Dust. To finish the card, I coated the eyeballs, bug spray can, and sequins with Diamond Glaze.
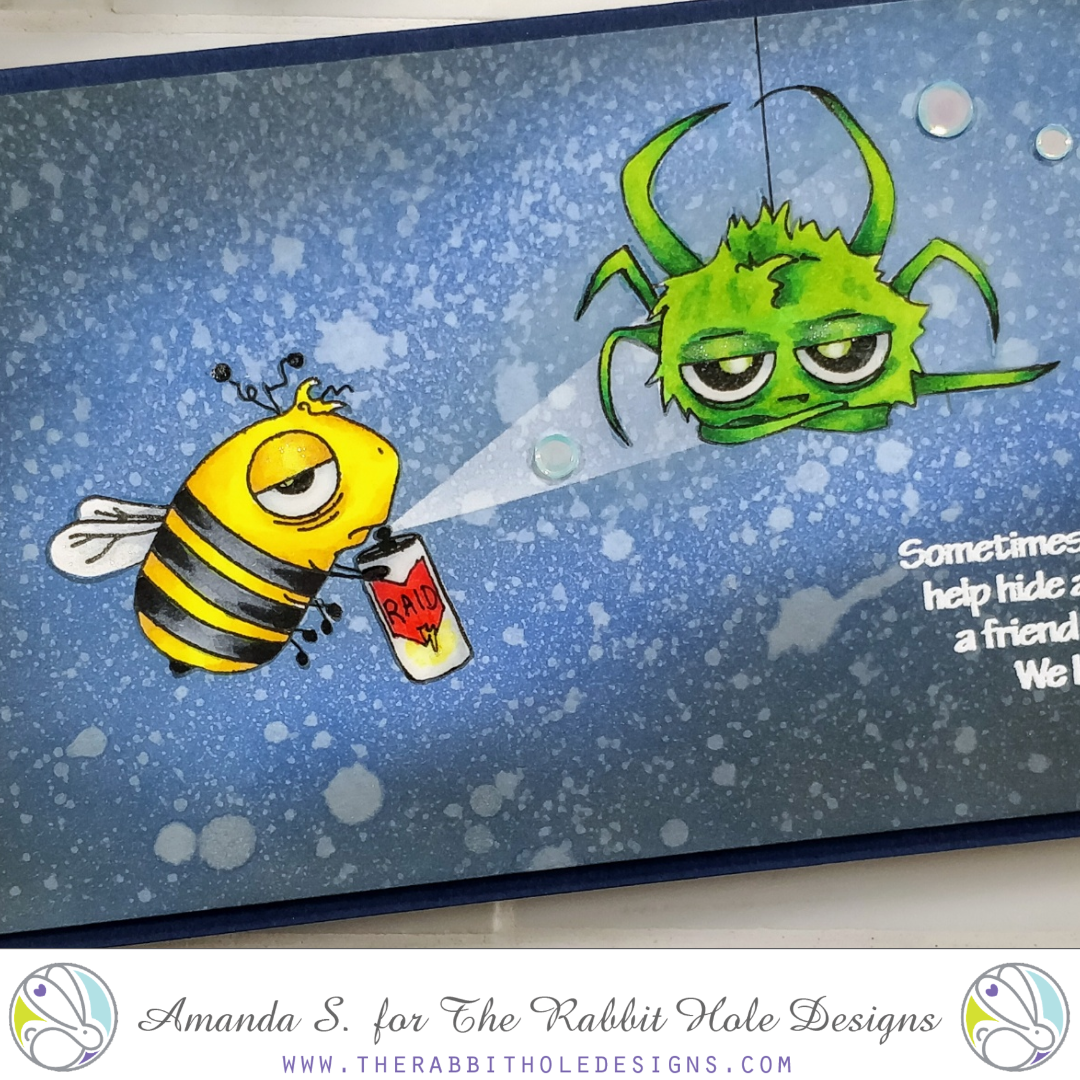
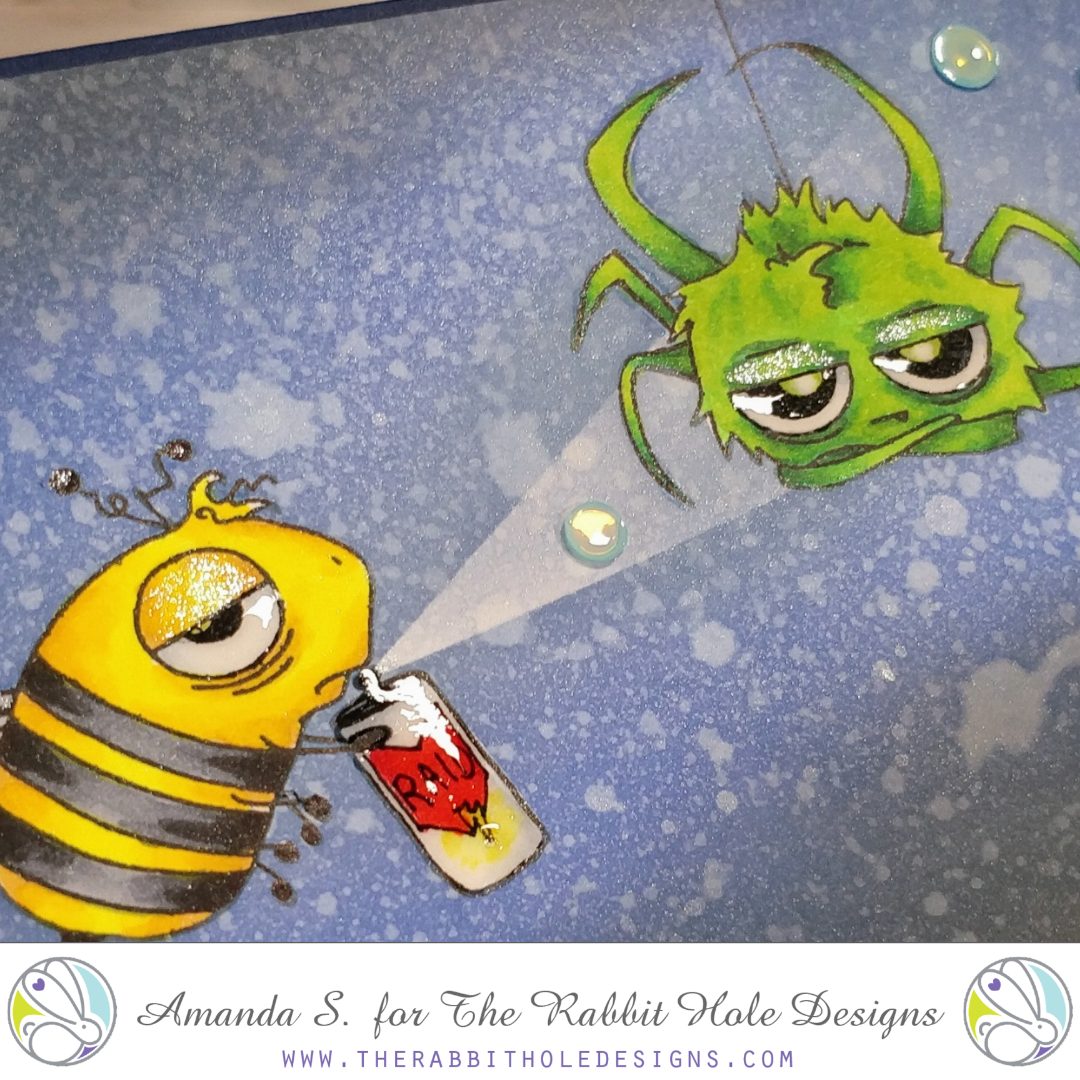

I love the way this card turned out! It's funny, the scene was simple to create, and did you notice - it's flat! I made a (mostly) one-layer card! Okay, it's popped up off the base with foam tape, but the scene is flat and I didn't add any die cuts on top. (If I'm being honest, I wanted to add a die cut tree silhouette on the right side of the card, but I forced myself to keep it simple, so the focus stayed on the critters.) What do you think? I can't wait to give it to MaryAnn :) Have you altered any of your stamps to create a scene like this?

Thanks for stopping by today; I'll be back soon more fun cards. You can find links to the specific products I used for this card in the sister article on my blog. And be sure to keep an eye out on Facebook and Instagram for pictures and stories from Creativation later this week!

For more inspiration, updates, and news make sure to check out these places:


Spooky Front Porch Card


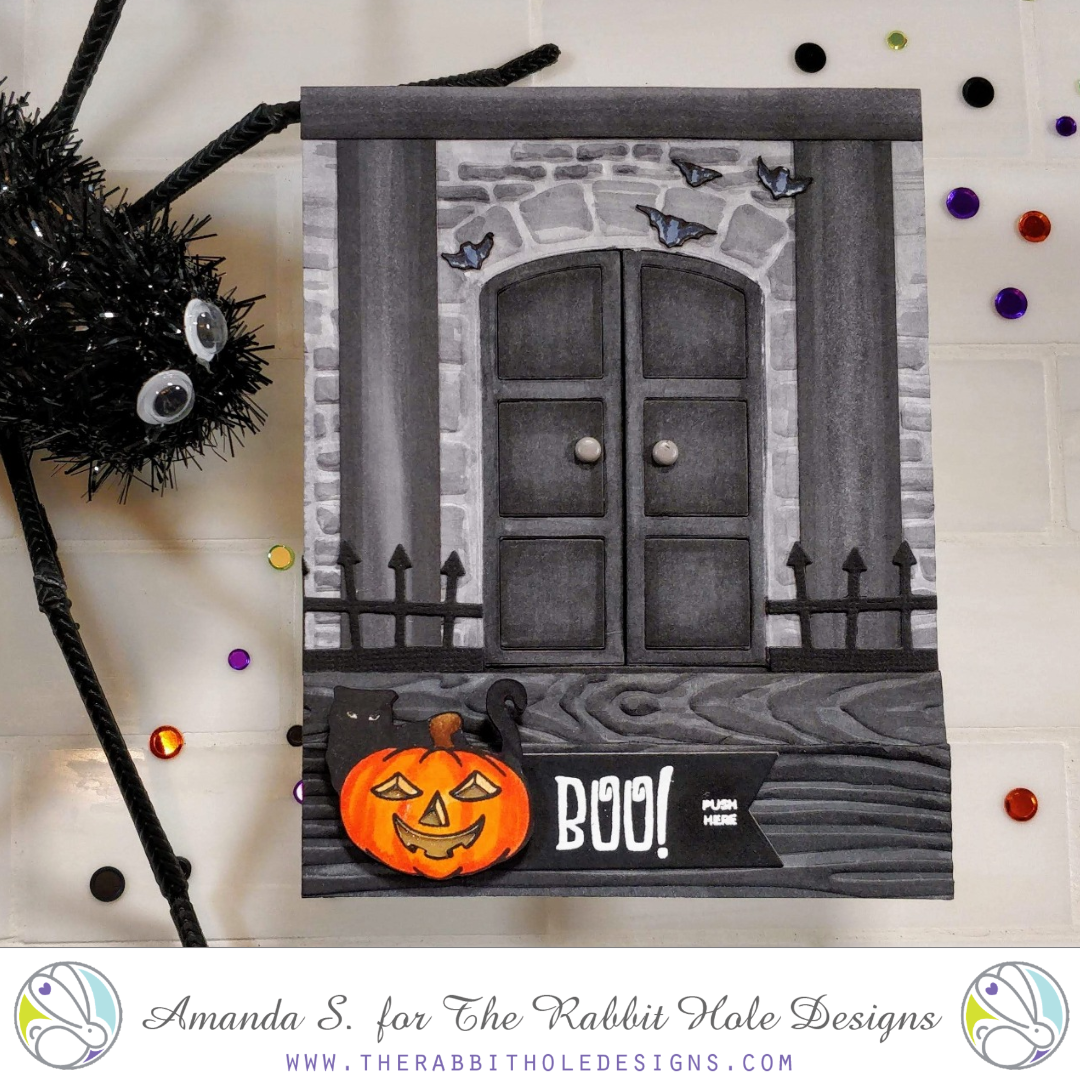
Hello my crafty friend, it's Amanda from Pear Blossom Press again! Now that fall is here, I wanted to revisit the Front Porch Card I made over the summer and give it a Halloween makeover. This time I added lights too! Take a look at it in action...


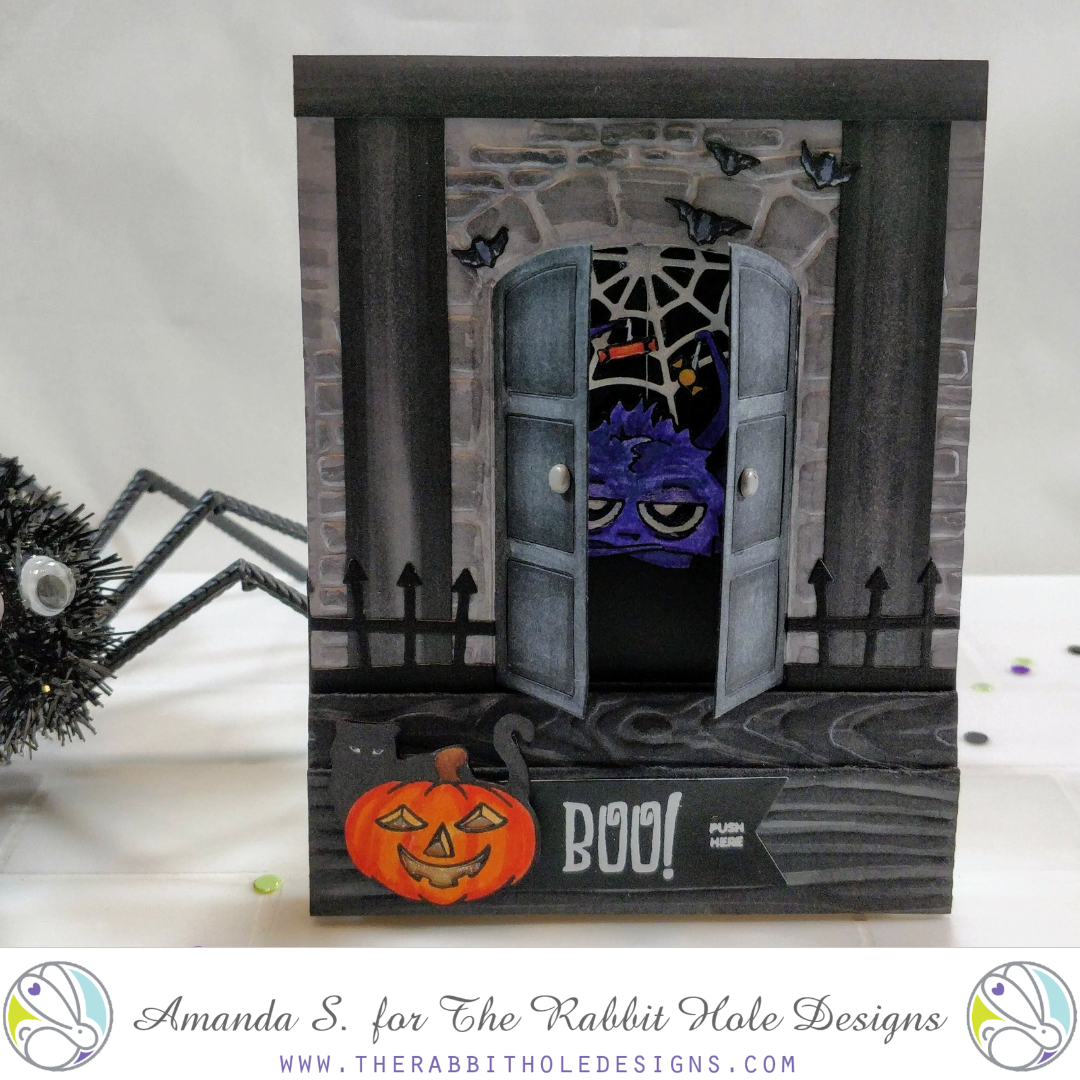
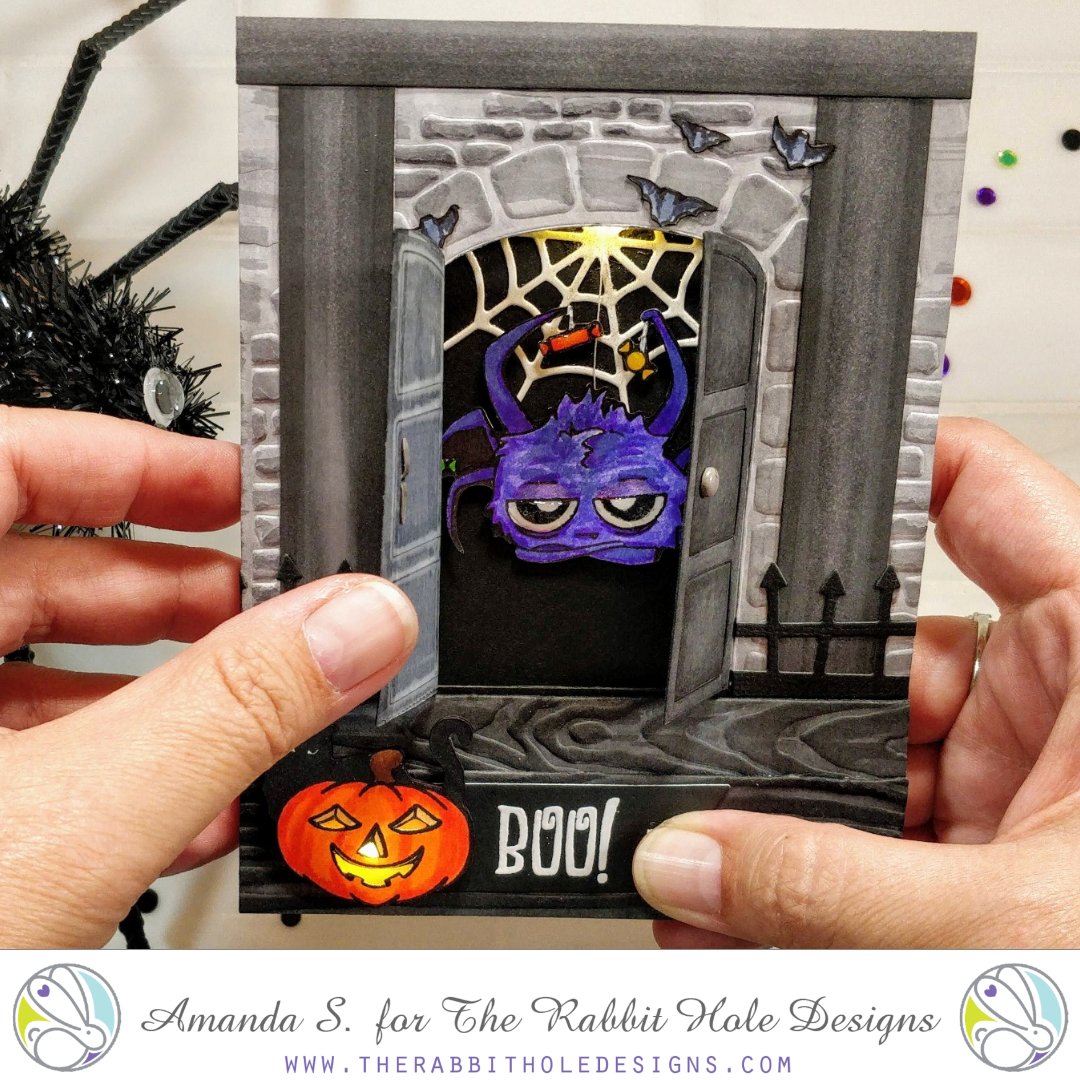
For the spooky version of the card, I switched up the colors and decorative elements. You can see the original card and how to build the frame here. Instead of a white house, I colored it in shades of grey with Copic Markers. This time around, I kept the cutouts from the door panels and taped them back in place. I added a spooky fence in front of the pillars and swapped the flowers and stars for a jack-o-lantern and bats from the Hex Yeah stamp set. Instead of the kissing couple behind the doors, I've got the Caffeinated Spider swinging from a piece of thread. Notice she's holding candy where her coffee mugs usually are. I just masked off the mugs on the stamp before stamping, then stamped candy in their places, and used a Copic liner to connect the legs lines. I embossed boo and push here onto a die cut banner and tucked it behind the pumpkin.

This card has three different interactive elements to it. First, the doors open. The Impresslit I used both cuts the doors, and embosses the stone pattern around them. So all of the work is done with one pass in the Big Shot. The second interactive element is light! I used one of my EZ-Lights and taped the battery to the back of the bottom step (with the switch lined up under the push here stamp). Then, I simply punched a hole through the step, threaded one of the lights through, and taped it in place behind the pumpkin. I taped the other two lights above the center of the doors to light up the spider and her web. The last interactive element is the swinging spider. To do this, I just taped a piece of thread to the back of her, then sandwiched the top of the thread between two layers of foam tape. By using a double layer of foam tape all the way around the back side of the porch piece, it left her plenty of room to swing, and room for the light to bounce around.


I love how this one turned out! In fact, this card actually inspired the first card, even though it hadn't been made yet. Being on The Rabbit Hole Design's design team, I knew the jack-o-lantern stamps were coming and that got me thinking about creating a front porch to put them on. Since it was early summer, and I had been searching for porch decor on Pinterest, my feed was full of great ideas for summery porch scenes. That's when I realized this card base could be adapted to any season. (I already have a Christmas card in mind.) What kind of scene would you make?

You can find the sister article to this post on my blog today, along with links to the specific products I used. Soon, you'll be able to find my EZ-Lights here at The Rabbit Hole Designs. Until then, you can find them here. Be sure to pick up these items to recreate today's card...

Hex Yeah
Boo to You
Caffeinated Spider (available September 30th)
Liquid Pixie Dust
Diamond Glaze

Thanks for stopping by today! I'll be back soon with more fun cards to share!

Hanging by a Thread


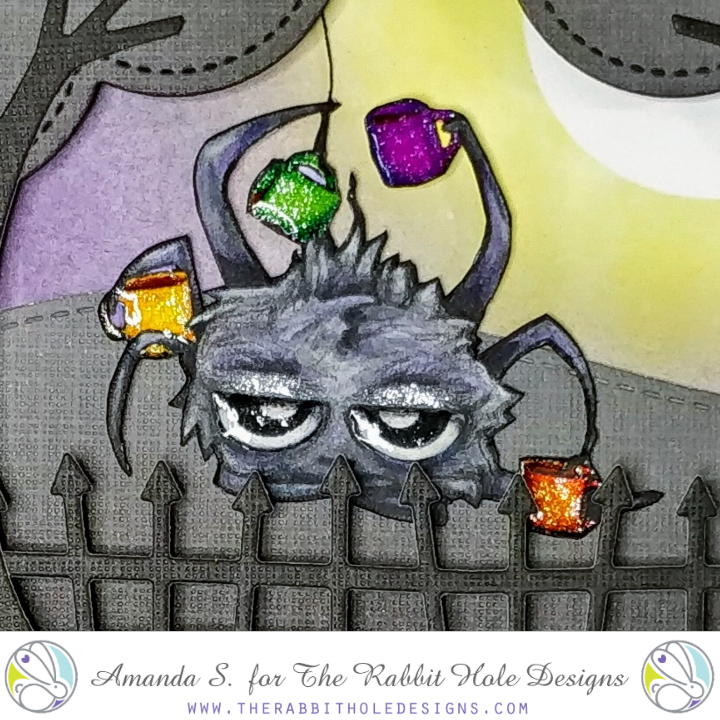
Hello my crafty friend, it's Amanda from Pear Blossom Press again! How do you take your coffee? I usually prefer mine sans spiders, but this one is so cute, I couldn't resist. I was inspired by my friend Jenn to dangle the adorable Caffeinated Spider from a thread and let her swing. Isn't she cute?!


Now I know a lot of people missed the chance to order the Caffeinated Spider when it was offered as part of a mini coloring class from Sweet Sentiment, but don't worry, she'll be available from The Rabbit Hole Designs starting on September 30th. I also missed Jammie's class, so I had to color her up on my own.

Luckily, I took a coloring class with Kathy Racoosin last weekend. It was fantastic! And I learned that I'm the Jon Snow of coloring; I know nothing! All kidding aside, I really did learn some great new techniques that I want to work on. Kathy teaches how to add details with colored pencils (a medium I rarely work with). So for this card, I wanted to practice some of the new tricks I learned.


I started by stamping my spider and laying down a base coat of color with several shades of grey Copic markers (N3, N5, & N7). Then I brought in my colored pencils and went to work. I chose random dark pencils to deepen up the nooks and crannies. I added a little purple over some of the highlight areas, just for a touch of color. And I added lots of tiny strokes to look like hair all over the spider. For the mugs, I opted for bright colors and added a touch of shading. Once I was happy with the coloring, I fussy cut the spider and glued a piece of black thread behind the green mug.

While the glue was drying, I masked off a 1¼" circle on a 3¼" x 4¼" panel. I ink blended Squeezed Lemonade Distress Oxide ink around the circle. Then I blended Wilted Violet Distress Oxide ink on from the bottom up, leaving about ½" of white space between the two colors  (don't mix them, it won't be pretty). To bring the colors together and darken up the edges of the purple, I lightly blended in Black Soot Distress ink just to where the yellow started. This gave me a nice bright moonlit sky.

To create a scene, I die cut a pair of tree trunks, a spooky fence and a stitched rectangle frame from black cardstock. I also cut a stitched hillside piece and a pair of tree tops from grey cardstock. To add a little shading to the grey pieces, I blended more black soot ink along the bottoms. I glued the hillside piece flat to the ink blended panel. Then I glued the trees and fence to the rectangle frame and added a double layer of foam tape to the back of the frame. Before sandwiching the frame to the panel, I draped the spider in between.

For the A2 card base, I cut and folded a piece of purple woodgrain cardstock. The color was more pink than I wanted, so I blended wilted violet and black soot around the edges to get the right color. Then I stamped and embossed the sentiment along the bottom right edge and glued on the scene. For a little shimmer and shine, I painted Liquid Pixie Dust onto the spider's eyelids and the coffee mugs. I added Diamond Glaze to her eyeballs and the mugs. And to finish the card, I glued on a few sequins that came for free in my last order from The Rabbit Hole Designs!

So tell me what you think. Fun right? I love the way she swings back and forth with that bothered expression on her face. She is the cutest spider I've ever seen. And the thread is one of the easiest ways to add an interactive element to your card. Plus, it couldn't be more perfect for a spider to hang from, right?

Thanks for swinging by today! (See what I did there? I must've been a dad in another life...) You can find the sister article to this on my blog today, along with links to the specific products I used. I'll be back soon with another fun card...