Pages

Showing posts with label Love You More - Heart Dance. Show all posts

Who Needs a Soulmate When There is a Kitten


Have you ever tried doing some creative masking with your stamps?  That's exactly what I did here using the Heart Dance stamp set and the Sassy Anti Valentine stamp set.  Hey friends, it's Cassie back with another card!

In order to stamp just the girl from the set, I put the stamp into my Misti, and masked off the boy using some masking tape.  I inked it up and then pulled the tape away, and stamped the girl.  I colored her and one of the cats from the Cattitude stamp set using Copic Markers.  My background was made using some more masking paper along with the Diamond Flower Stencil and a couple different colors of Distress Oxide Ink.


I basically stamped the sentiment on the inside in the exact same manner, since I wanted to be creative with my sentiment.  The only difference is that I wrote the letter 'a' in between 'is' and 'kitten'.  If you'd like to see exactly how I did it, I do have a video that you can watch here, or over on my YouTube Channel.


And here are close ups of the products that I used:

Heart Dance stamp set

Cattitude stamp set


I hope you enjoyed what I made for you today and that you were inspired to go out and get a little crafty.  

For more inspiration, updates, and news make sure to check out these links.

Thank you so much for stopping by!
Cassie


You Make My Heart Dance by Niccole

Hello everyone!

It's Nic from Nic & Viv Designs back again to share another card I made using one of The Rabbit Hole Designs new stamp sets. 
For today's card I used the Love You More - Heart Dance stamp set, along with the Square Illusion stencil that was released this month.

How to create this card:
  • A2 red card base that is 4.25"x5.5".
  • Apply transfer gel over your stencil on a black card piece and let it dry clear.
  • Add silver foil to your stenciled background and run through your hot laminator.
  • Trim background to 4"x5.25" and apply to your red card base.
  • Add a red stripe across the middle of your background that is 1.5"x5.25"
  • Trim the top and bottom of your red piece with a thin black piece of card stock. 
  • Clear emboss you stamped image of the couple dancing from the Love You More - Heart Dance stamp set. 
  • Place silver foil over embossed image and run through your hot laminator.  Trim around the couple dancing.
  • Add your trimmed foiled couple from the Love You More - Heart Dance stamp set. I raised them up with foam tape.
  • Add White Nuvo Drops to the center of the squares of the Square Illusion stenciled background.  It adds some dimension to the card.
  • Add a few White Nuvo Crystal Drops randomly to finish the card.
Here is one more picture of the full cards ...

What do you think of the foiled couple? Isn't a neat technique?  It does work better with outline images, but play around ... you never know what you might come up with.

TRHD Products used:

For more inspiration, updates, and news make sure to check out these places

The Rabbit Hole Designs YouTube

I have had so much fun playing with the Love You More - Heart Dance stamp set and the Square Illusion stencil.


Thank you so much for stopping by and spending some time with me.

Until next time ... Hugs & inky fingers!   -Nic-


Love You More Christmas Card


Happy Christmas Eve! It's Amanda from Pear Blossom Press and I wanted to share one last Christmas card with you this year. I stepped outside of my comfort zone to color a whole scene. I really tried to create a flat, one-layer card, but in the end, I couldn't do it. Lol, one of these days I'll actually make a completely flat card. Maybe that can be one of my new year's resolutions? (Who am I kidding, I won't keep that one either!)
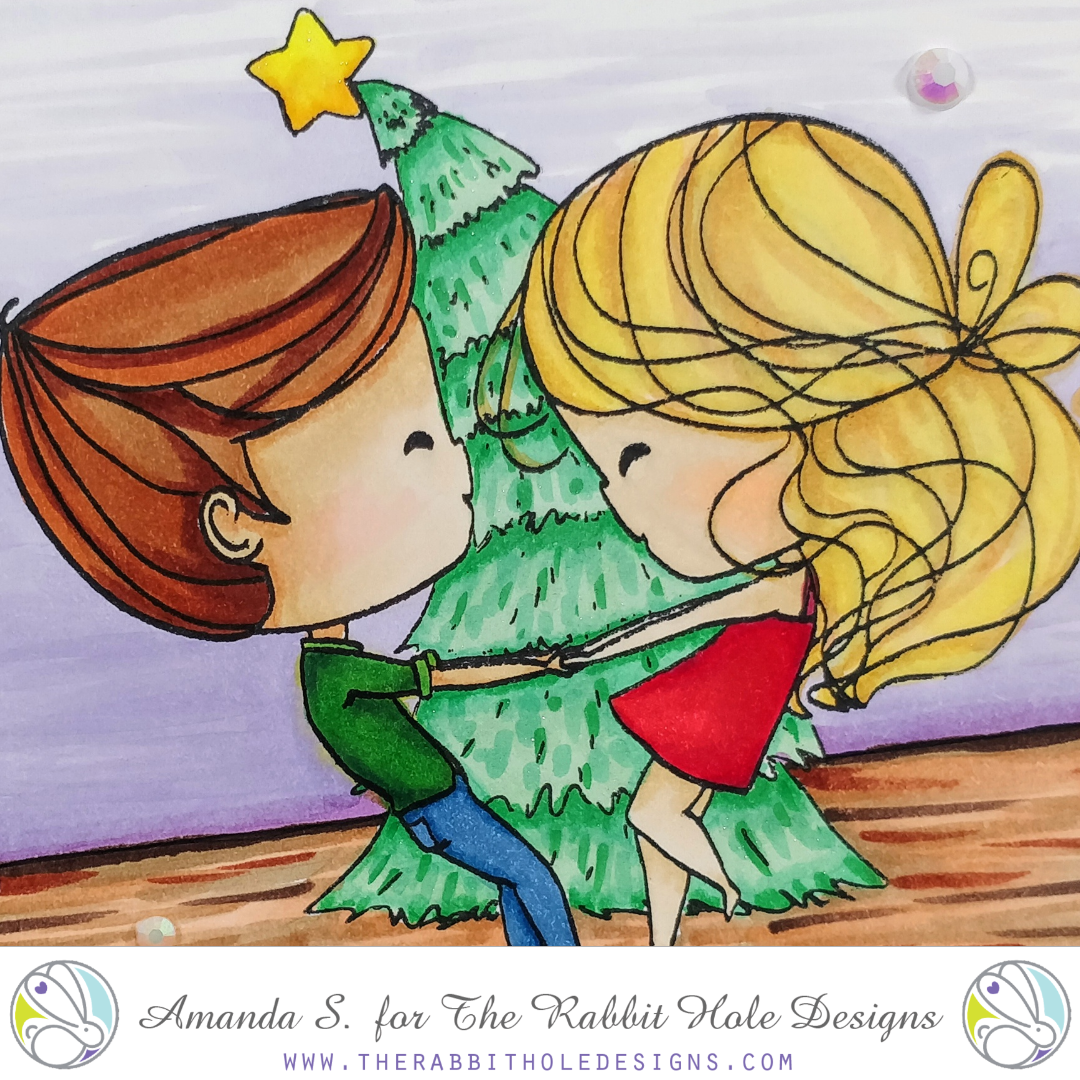

This card was very simple to make. I stamped the couple from the Love You More Heart Dance set. Then, I masked them off and stamped only the Christmas tree from the Love You More Christmas Frost set on top. When I removed the mask, the tree appeared to be in the background behind them. I used Copic markers to color the images, as well as the floor and wall. It was surprisingly easy to create the wood floor. I just used a ruler to mark a straight line separating the floor and wall. Then, I used several shades of E markers (browns) to draw in lines and a few ovals. I used the last and lightest shade to color over the whole floor. That toned down the contrast and helped blend the colors a little. For the wall, I used three shades of BV markers (blue violet), darkest at the bottom and worked my way up to feather off into white. I used the 0 Blender marker to soften the last lines at the top and help them blend. I really like the wispy lines at the top; they give the wall texture without too much contrast. 
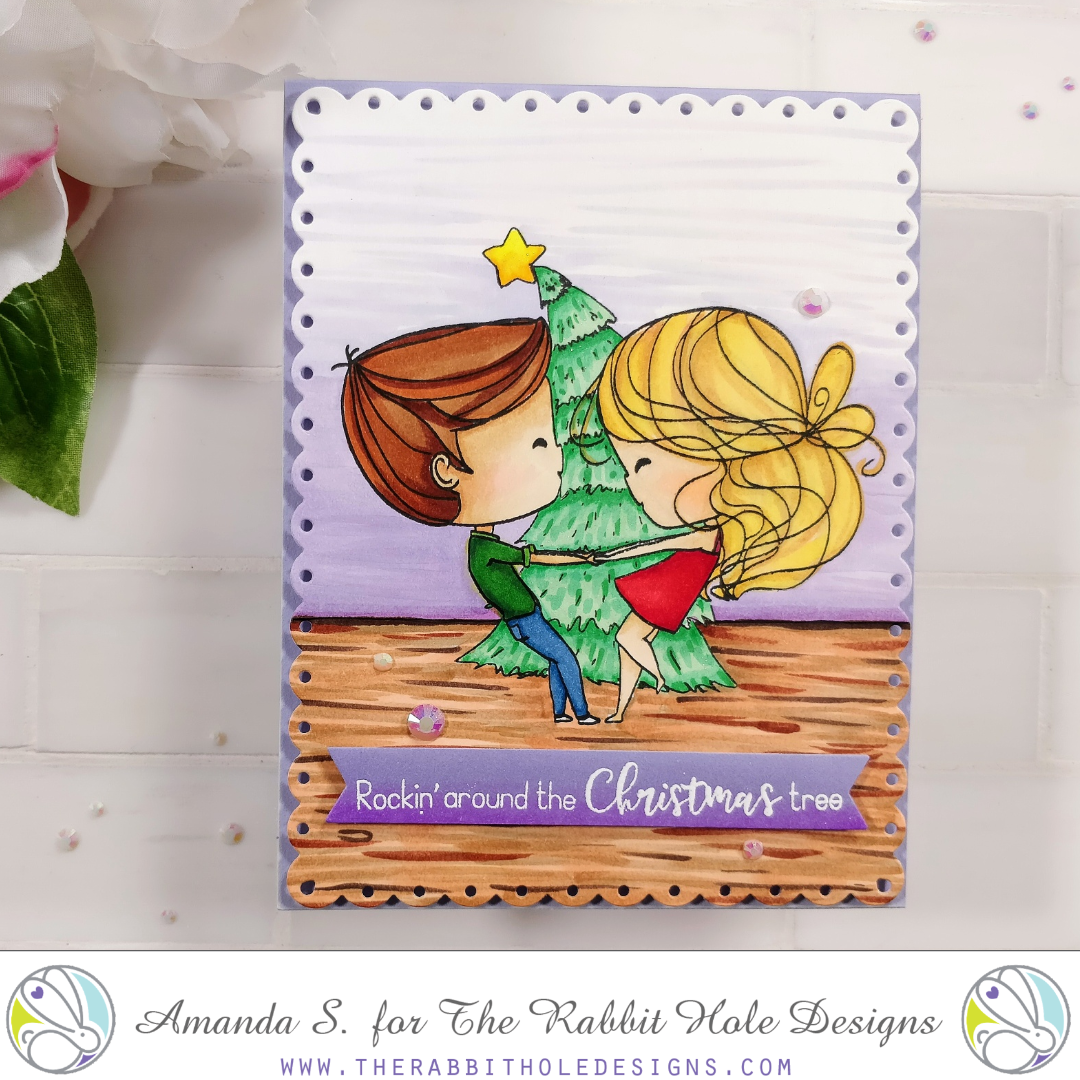


My plan was to stamp the sentiment onto the wood floor, but I was afraid it would get lost. So I stamped it onto a piece of pale violet cardstock and die cut it with a fishtail banner. At this point, I knew the card wasn't going to be a single layer, so I decided to decorate it a little more by cutting the scene out with a scalloped rectangle and layering it onto a pale violet card base. I used foam to pop up both the scene and the sentiment. Yes, that means my flat card has three layers, but that's still less than normal for me, right? I played with the placement of the flat-backed gems, trying them first as ornaments on the tree, but I decided I liked them scattered on the scene better. To keep the tree from feeling naked, I added some sparkle with an Aqua Shimmer pen. 

What do you think of my almost flat card? Do you prefer lots of layers, or stamping/drawing a scene? If I had thought about it more, I probably could have moved the images down on the panel and stamped the sentiment at the top. Then I might have actually made it one layer. Knowing me, I probably wouldn't have been happy with it though. 

Happy holidays my crafty friend! I'll be back soon with more fun cards! (It's almost time for the new release; I hope Santa brings you a gift certificate because you are going to want it all!) In the mean time, you can find more inspiration with the Love You More sets here and here. Head on over to my blog for links to the specific products I used.

December Guest Designer Daniel West

As December wraps up; We are pleased to bring you one more card from one of our December 2019 Guest Design Team Members ... Daniel West.

We sent Daniel the Love You More - Heart Dance stamp and we think he nailed it with his project. To see all the details please click here -> Love You More - Heart Dance blog post


This is what Daniel had to say about our Love You More - Heart Dance stamp set ...

"The Love You More - Heart Dance stamp set can be very sweet!! But what if you want to be playfully mean? Since I'm a fairly ornery person, I like to use my stamps in fun and unexpected ways. Today, these two dancers swayed to close to edge of love. 


You can find Daniel here at his blog ------> Del & Artie
You can also find his IG here ------> @delandartie

Make sure you go back and see Daniel's post from Wednesday December 11th, to see what Daniel originally had to share with us. 
~
Until then for more inspiration, updates, and news make sure to check out these awesome places! 

Thank you so much for stopping by today!

Dance your heart out!

Hey everyone: it's Jammie here with a little inspiration post for you today.

I sat down at my desk to make this card and literally had NO IDEA what I wanted to make... so... I just went for it.  I grabbed the "You make my heart dance" stamp set and stamped it out using Momento Desert sand Ink onto Sweet Sentiment Coloring paper so that I could color in the "no lines" technique.  Then I just stared grabbing markers.

I use Copic markers, and in all honesty, I didn't write down the ones I used because I was literally just coloring for my mental health.  You know how it goes this time of year right?  You just wanna color or make something and not have to think about it.  So, that's exactly what I did!


I had so much fun making this little card.  Well, I suppose it's not little as it is a 5.5" x 5.5" square card, but you get the point. For the background I used the "Diamond Flower" stencil and Distress Oxide Inks.  I also added a ribbon and some Black Nuvo drops to complete the card and add a little dimension.  

I hope this project has inspired you and I hope to see you use this stamp set on your future projects.  Hope you have a wonderful weekend!  Toodles! 

For more inspiration, updates, and news make sure to check out these places

Heart Dance

Good morning everyone! It's Amanda W joining you today with this sweet Valentine card featuring the new Love You More - Heart Dance stamp set. This couple is just so sweet and coincidentally kind of make a heart shape with their dance pose. ;)


To make this card I stamped the open heart cluster from the set in pink all over the card front and die cut a heart shape out. Then I backed it with iridescent vellum and put a sentiment strip across it.


Then I made a mini card for the inside and stamped my couple in the center and colored them with copic markers. I glued this to the inside of my regular A2 card so the couple shows through the window. I just love how this looks!


With it structured like this you get the pretty vellum window, the full image and still have room to write your love note to that special someone.

I appreciate you sharing your time with me. Have a fabulous day!

The products I used are:


For more information, news and updates check out these links:


December Guest Designer Daniel West

We are pleased to bring you one of our December 2019 Guest Design Team Members Daniel West.

We sent Daniel the Love You More - Heart Dance stamp and we think he nailed it with his project. To see all the details please click here -> Love You More - Heart Dance


This is what Daniel had to say about our Love You More - Heart Dance stamp set ...

"The Love You More - Heart Dance stamp set has a whimsical, retro feel, with large open spaces for an epic coloring session. I really enjoyed breaking out the alcohol markers with this set. Its beautifully drawn design fits Valentine, Anniversary and Love Note occasions. "

You can find Daniel here at his blog ------> Del & Artie
You can also find his IG here ------> @delandartie

Make sure you stop back next Wednesday December 18th, to see what Daniel has to share with us one more time.
~
Until then for more inspiration, updates, and news make sure to check out these awesome places! 

Thank you so much for stopping by today!

You Make My Heart Dance

 Hello there crafty friends!  It's Cassie here back with another card to share with you using some of the latest The Rabbit Hole Designs products!  

I colored up the adorable Heart Dance stamp set using Copic Markers, and I fussy cut them out to be the star of the show.  I wanted this to look almost like a Christmas wedding card, so I chose the colors green and red.  The background was made with the Square Illusion Stencil and some Nuvo Glacier Paste.


I popped up my image and my sentiment using some foam tape to give some added dimension, and mounted everything onto a white card base. If you look closely her dress has some glitter on it to simulate a wedding dress.  I love how versatile this set can be depending on the occasion you are making it for.


Here are the products I used today:


For more inspiration, updates, and news make sure to check out these links.

Thanks for stopping by!
Cassie

Love in the Winter

Hello everyone! DTM Shanna here today with a card featuring The Rabbit Hole Design‘s new release for December, Love You More--Heart Dance! This couple is adorably in love, and I had a lot of fun making a wintery scene for them!


I started by ink blending my card panel with Distress Oxides in Milled Lavender and Dusty Rose.  Sooo pretty and pastel, totally not my normal palette!  Next I used the Light Me Up stencil to add snowflakes to the background. I used VersaMark ink and smooshed the pad over the stencil, then heat embossed in a platinum pearl embossing powder.  The end result was just dreamy!!  My sentiment was borrowed from the Love You More--Christmas Frost stamp set, which also happens to feature our favorite couple!!


I am in full Christmas Card and Tag making mode in my crafty space...what's on your table!?!

That wraps up my post for today, I will be back next week for another trip down The Rabbit Hole!  Until then you can find me over on my blog, Caffeinated Craftiness or over on Instagram
-Shanna


For even more inspiration, updates, and news make sure to check out these links.


December Release Inspiration Hop ~ Day 2


Hello and welcome to Day 2 of the Inspiration Hop. We are so excited for you to join us as we present to you our December release.  Our fabulous Design Team will be sharing their projects over the next couple of days, so be sure to visit their blogs and leave them some crafty love.


 The 4 new stamp sets, 3 dies, & 2 Stencils are available to purchase right now in the shop.
~
As a thank you every order placed will be eligible for a 20% discount. Discount Code TRHDTHANKFUL20 This code will only be accepted until 12-01-2019. There are no exclusions on this code it is applicable to your whole order. Not applicable to previous orders. May be used more than once. Does not apply to shipping and tax.
Please see graphic at the bottom of the post.
**Please Note: Free Shipping WILL NOT be available during the time this discount code is in effect. **
~

The stamp set that is being highlighted today is:

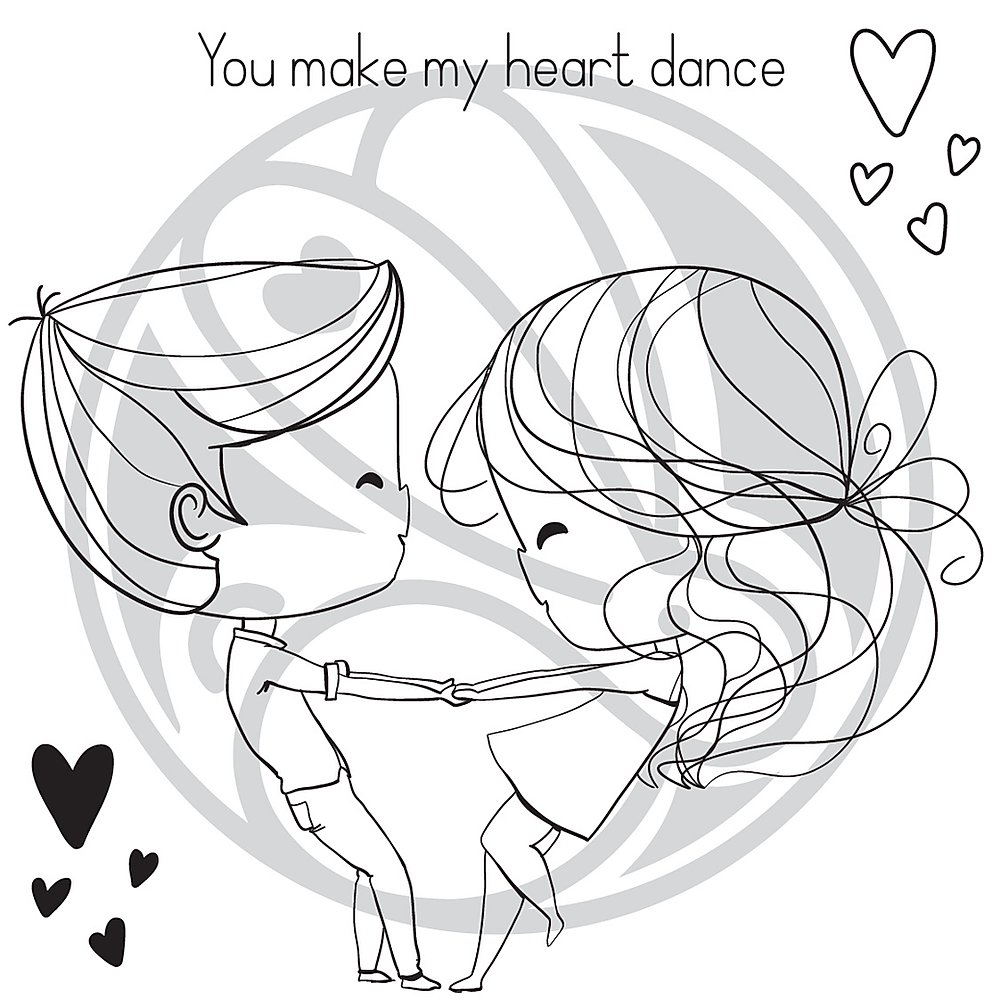
Love You More - Heart Dance


you may also see this stamp set floating around the design team ...


**Giveaway**
To celebrate day 2 of inspiration The Rabbit Hole Designs is giving away the stamp set Love You More - Heart Dance and the stencil Circle Illusion to one lucky winner. Winner will be chosen at random from the comments left on participating blogs, so make sure to visit each stop and leave a comment. Leave comments by 11:59 pm PST 11-28-19 on all participating blogs. Winner will be announced on The Rabbit Hole Designs blog 11-29-2019 


Here is the line up for the hop:
Amanda Stevens
Amanda Wilcox
Lisa Golzbein
Cassie Trask

Make sure you come back tomorrow for Day 3 of our Inspiration Hop.


Thank you so much for stopping by today!