Pages

Brew-tiful Watercolor


Hello my crafty friends, it's Amanda from Pear Blossom Press again! Today, I'm sharing a quick and easy card featuring the Handmade Brew set. If you missed it last time, don't worry, it will be back on August 26th. If you haven't seen it yet, this set has a "handmade by" stamp - perfect for signing your name under, on the back of cards. It also has a lovely mug with hearts rising from the steam, and three little words that fit perfectly inside the cup. You can use this image on the back of your cards as well, but it is so pretty that I thought it would make a great image for the front of a card.


For today's card, I stamped and embossed the cup and words onto an A2 size panel of watercolor paper. The cups kind of form a diagonal line from the top left side to the bottom right. Loose is the name of the game for this card; watercolor and wispy images like this pair perfectly, and there is no need to try to line them up and evenly space them apart. Next, I painted a loose diagonal line of clean water over the area where I wanted to add color. The light coat of water helped the colors move around when I started dropping them in with my paintbrush, and it kept them confined to that diagonal line. The white embossing powder resists the paint. I used three colors and played around until I was happy with the look. The edges dried with harsh lines, so I came back in with some more clean water and pounced my brush over the edges a little to soften them. I dried the panel and splattered on some concentrated color, as well as some black paint. Then I trimmed 1/8" off each side and glued it to a top-fold A2 card base. Whenever you paint a panel all the way to the edges, color tends to pool up along the sides. Trimming the panel after it's painted allows you to cut off the obvious edges and keeps your eyes moving.
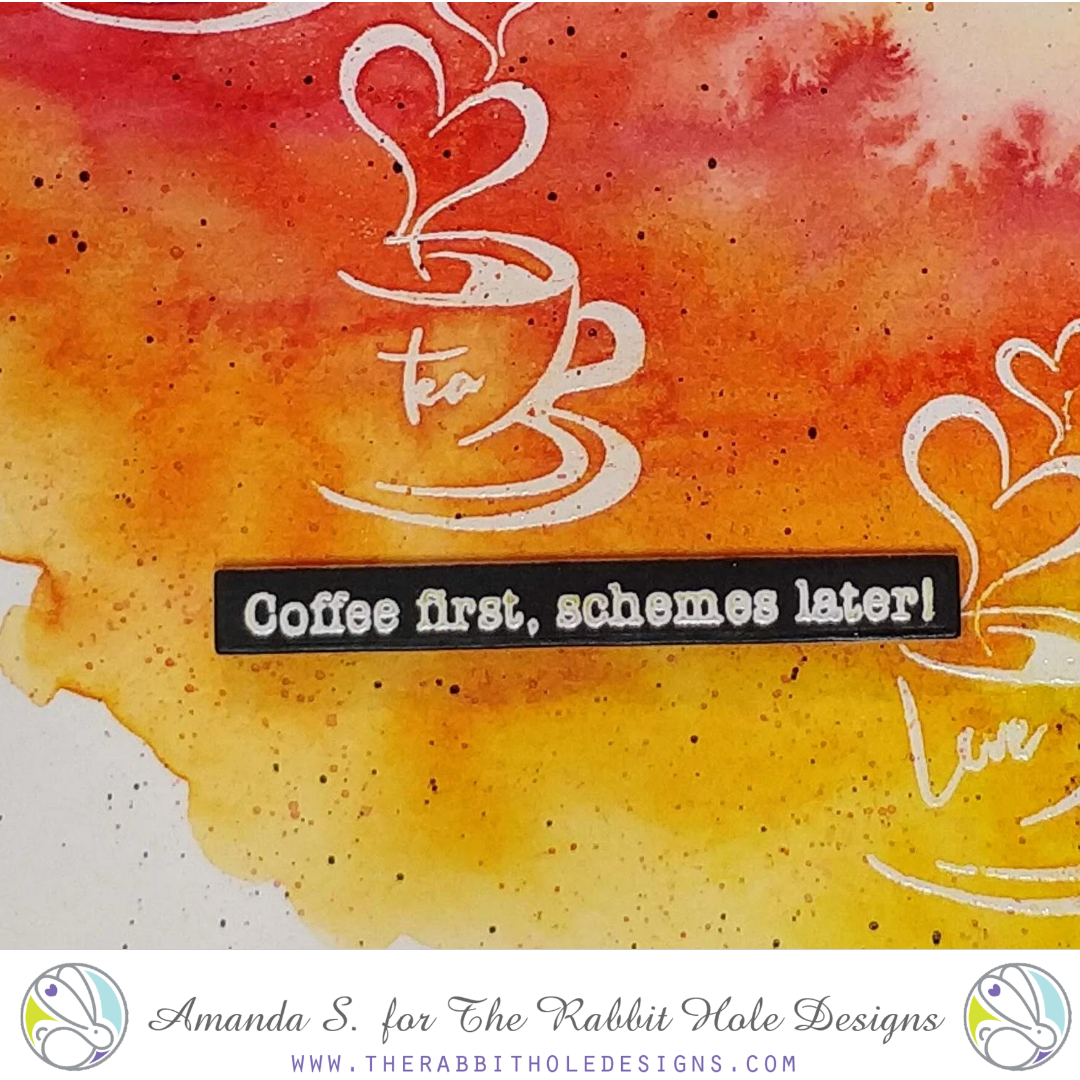


To finish the card, I embossed a sassy sentiment from Perfectly Blended onto a black strip, and popped it up with a little foam tape. The black splatter on the watercolor panel ties the two together nicely. I opted not to add any sequins or glitter, but you definitely can if you'd like. I love the way this card turned out. The tiny words that fit inside the cup make it look like three different images; I especially like how the L in love creates the left side of the cup. This card was so fast and easy to make that I plan to make several more with different sentiments. I think a set of these would make an awesome gift.

Thanks for stopping by today! Let me know in the comments below what types of images you like to use for watercolor pieces. How would you use the coffee cup in this set? You can find more watercolor inspiration here. You can also find the sister article to this on my blog. Hop on over for more great ideas and links to specific products I used. Until next time, stay crafty my friends...

That ONE Friend


Hello and welcome TRHD fans!  Shanna here today to share a fun CAS card that stretches the stamp set Mermaid Hair from The Rabbit Hole Designs.
Summer is still HOT here in California, so I am not quite ready to put away my summer stamps, not that my mermaids ever go far!! And I am always looking for different ways to use my stamps that don't always jump out at me when first seeing the set. These 3 fishies were needing their own card for sure!

For this card I started my stamping my single *odd ball* fish first and then added all of the other fish in a triangular pattern for interest all on a A2 Bristol card base.  I used Versa Clair Nocturne ink knowing I would be watercoloring my images.
I used my Zig real brush pens to watercolor all the fist and water.
My sentiment came from Sassy Sentiments. It fit the design perfectly!!  I just heat embossed it in white on a black sentiment strip and added it to the card.


We all have "that one friend", I know I do!  What about you?!?


As always, thanks so much for stopping by! You can see more of my creations on my blog Caffeinated Craftiness, or be sure and follow my crafty adventures over on Instagram!
 See you all soon!
~Shanna

For even more inspiration, updates, and news make sure to check out these links.

Miss Your Face!

Hello everyone!


It's Niccole from Nic & Viv Designs back again to share another card I made using one of The Rabbit Hole Designs stamp sets. 

For today's card I used the Diamond Flower Stencil, The Sassy stamp set, and the Sassy Sentiment stamp set.  


How to create this card:


  • Cut an A2 size black card base
  • Stencil image with fuchsia ink on a white piece of paper
  • Die cut large circle from stenciled image (circle die from my stash)
  • Die cut small white circle (circle die from my stash)
  • Die cut cloud image out of white paper (cloud die from my stash)
  • Glue circles to black base
  • Stamp sentiment from Sassy Sentiments to the front of cloud
  • Add cloud to card with foam tape
  • Copic color Unicorn and fussy cut
  • Add Liquid Pixie Dust to Unicorn
  • Add Unicorn to white circle with foam tape
  • Add crystal gems to card
Here is one more picture of the full card ...


TRHD Products used:

Diamond Flower Stencil

For more inspiration, updates, and news make sure to check out these places

The Rabbit Hole Designs YouTube


I have had so much fun playing with the 

Thank you so much for stopping by and spending some time with me.

Until next time ... Hugs & inky fingers!   -Nic-

Fly, Fly Away with me


Good Morning! Charmaine from CharCards here!

I am coming out of my glitter fort to bring you
this awesome shiny card. Grab your laminator, foil and this gorgeous stamp!


This image has an empty alt attribute; its file name is 20190724_1943247629936033019033289.jpg

This is a very doable card, it took about two hours to do everything. 

This is a top folding 4.25 x 5.5 card. 

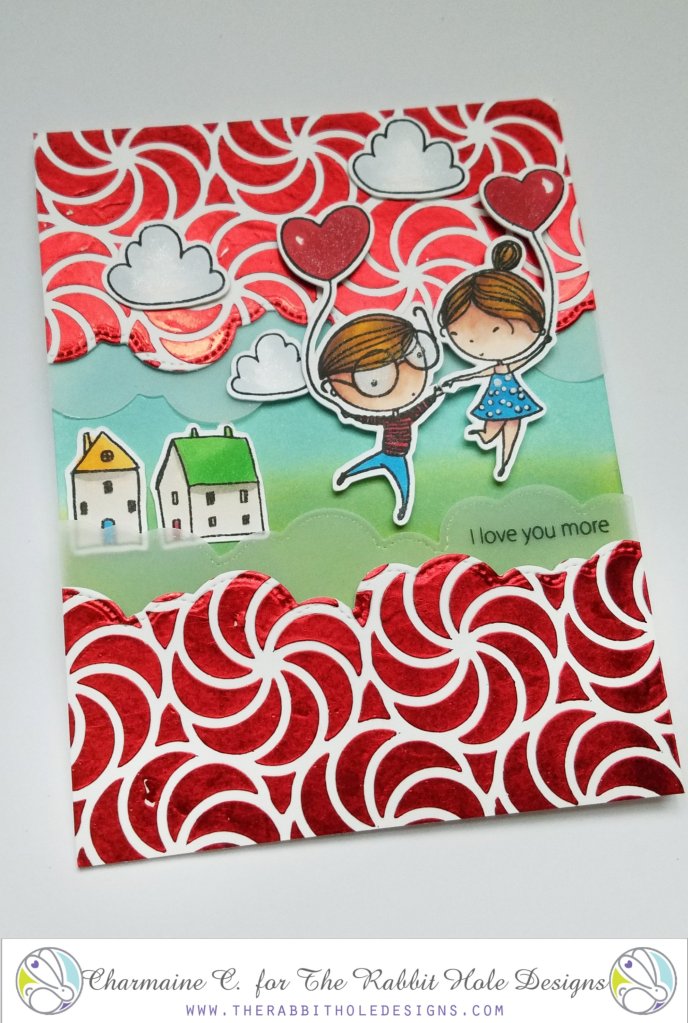
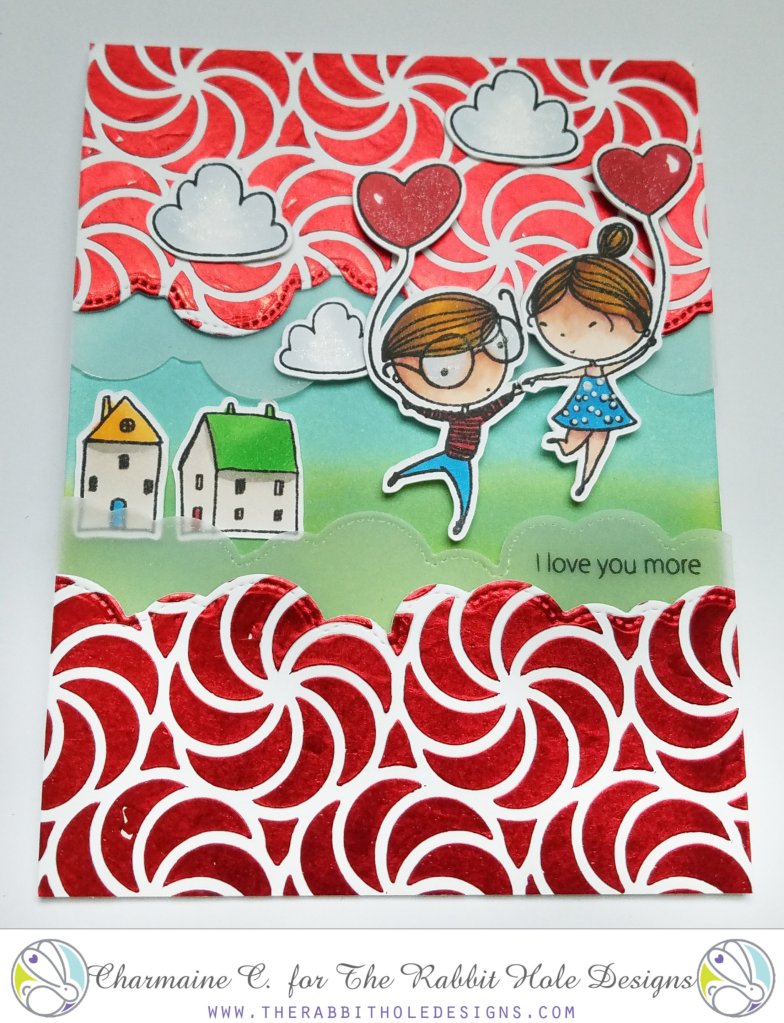
I used the previously released Love you More stamp and one of the new stencils, Candy Twist, to make the background. 
Click on the images to go to the store. Also, these stamps and stencils are also now available at Simon Says Stamp 


Love You More Clear Stamp 4x6
Love You More, Click image for store


Candy Twist - 6x6 Stencil
Candy Twist Stencil, click image for store


Place the 6x6 stencil over a sheet of Neenah cardstock 110lb paper, or any other heavy duty cardstock. I use washi tape to keep everything in place but Pixie Spray is pretty handy here. Smear the transfer gel evenly across the stencil and paper using a craft knife or old credit card. Immediately wash the stencil in warm soapy water to avoid hardening of the gel. Set this aside and allow the gel to dry for about an hour. Switch on your laminator. Give it a good 20 minutes to heat up before use.


This image has an empty alt attribute; its file name is 20190724_1944124026818366040905272.jpg

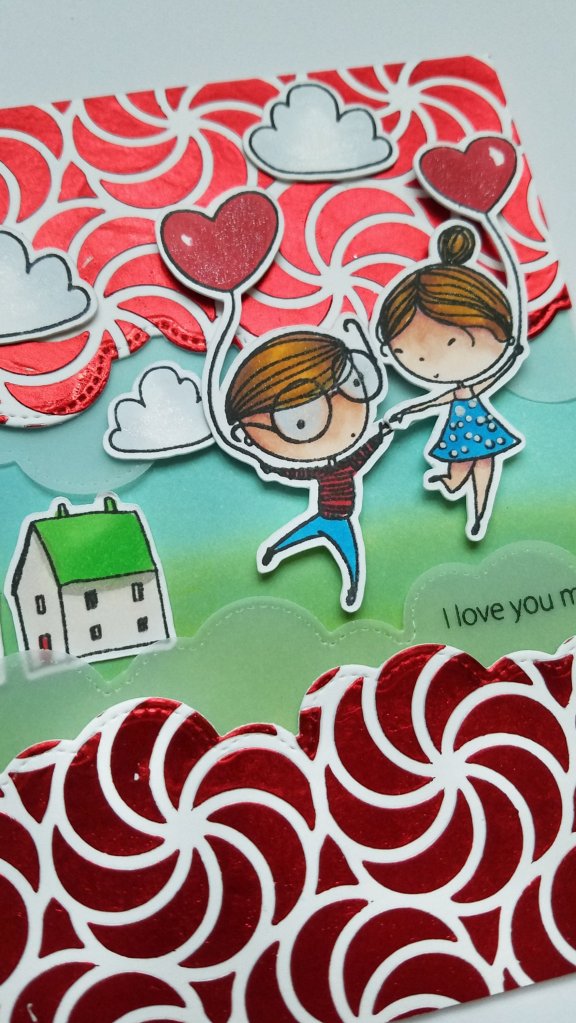
Now, stamp, cut and color your pretty people and buildings. I used Copics and didn't focus too much on the detail. The main attraction of this card will be the foiled stencil result. For the background, I used a green and blue distress oxide palette. Nothing fancy, just enough to peak through.

Vellum "paper" is a fantastic way to soften any card. I used a cloud like metal die to cut clouds for the top and the bottom. Using black StazOn ink, stamp the sentiment on the vellum. This ink is amazing as it is PERMANENT! Give it a second to dry.

This image has an empty alt attribute; its file name is 20190724_1944011276829069687109925.jpg

Make sure the transfer gel is dry. Place a piece of red foil large enough to cover over the cardstock. Depending on your laminator (***please read your instructions***) place the foil and dried gel cardstock through the laminator.
Some machines require you to place your product in a piece of parchment paper to run through the machine.

Using the fluffy cloud die, cut two pieces from the red foiled product that match the vellum pieces.

Adhere the vellum to the red with a little overlap, and then to the card. Cut off excess paper to match the card size. Place the people on dimensional tape and use regular adhesive for the buildings.

I hope you have a fantastic day and appreciate you supporting a new and small business! We are all so excited that you are here growing with us!

Ta-ta!
Charmaine
charcards.blog

For more inspiration, updates, and news make sure to check out these links.


Coffee is the new Black


Hello and welcome TRHD fans!  Shanna here today to share another adorable  card featuring the caffeinated critters from The Rabbit Hole Designs
The critter line is my favorite (no big secret there!!!) and I had so much fun combining a few trouble makers for this card!

I started by coloringstamping the Caffeinated Rabbit, Caffeinated Unicorn, and Caffeinated Dino in Versa Clair Nocturne ink on a 5x7 panel of bristol cardstock
Next I watercolored them all using my Zig Real Brush pens...I especially had fun individualizing their mugs!  That volcano still makes me giggle!!


Next I drew a light pencil line to guide my floor coloring, and watercolored it as well.
For the background I wanted a "line up" look, so I got handy with my ruler and drew lines every 1/4 inch.  Every fourth line I made slightly larger, and added height measurements.  Bring up the question...

"How tall are the critters!?!"

Lastly I added my sentiment.  I had a couple I liked, but decided to go with "Caffeine, because prison orange is not flattering" from the Perfectly Blended sentiment set.  It seemed all to appropriate for the scene!  I heat embossed it on black cardstock with white embossing powder.

That wraps up todays card, hope you all enjoyed it!

As always, thanks so much for stopping by! You can see more of my creations on my blog Caffeinated Craftiness, or be sure and follow my crafty adventures over on Instagram!
 See you all soon!
~Shanna

For even more inspiration, updates, and news make sure to check out these links.