Pages

True Love!

Hi everyone! It's Von marie here with a card to share with you today! I'm so happy to be on TRHD Blog today!  I used the stamp set Old School Tattoo Affirmation along with the Tattoo Icons Stencil.


I first cut out a stitched rectangle out of some Canson Coldpress Watercolor paper.  I then used Distress inks in Squeezed Lemonade, Picked Raspberry, and Spiced Marmalade with blending brushes. I wanted to use the Icon Stencil so I chose to use Nuvo Glacier Paste in Golden Era with a spatula.  I love the shine on this color combo!


I love this pretty coffee image.  I stamped and heat embossed it onto some more Canson Coldpress Watercolor paper.  I colored the image with my Arteza Water Brush Markers and a water brush.  I stamped and heat embossed the sentiment below my image.  I then cut out the image with a scalloped rectangle and added it to my panel with foam tape.  I added some matching sequins and black subtle splatters with a paintbrush.  I hope you like my card.  Thank you for stopping by!


Supplies Used:


For more inspiration with your The Rabbit Hole Designs Creations, be sure to follow along at these other locations:


Love is Never Wrong Card

Hey Everyone! Justin here and today I am sharing a fun project using the new Affirmation set and Tattoo Icons stencil, part of the Rabbit Hole Designs April 2020 Release!

What I love the most about the Affirmation stamp set is that there are so many possibly sentiment options. You can either use words on their own, or build them together with other sentiments. For this project, the sentiments "love" and "is never wrong" spoke to me the most. I also decided it was definitely time to break out a rainbow color palette (again).

I knew I wanted to use the swallow with the flower image from the Affirmation set for this project. I stamped that image and colored the image with my alcohol markers. I colored the feathers in the wings with a rainbow palette, and colored the main bird itself a very light blue. I then fussy cut out my rainbow bird.

I also took the sentiments "love" and "is never wrong" and heat embossed them in white powder on a black cardstock strip. I set my sentiment strip and bird aside to work on the main panel of the project.

First, I ink blend a rainbow ombré with my inks on a 4.125" x 5.375" panel of white cardstock. I spritzed this with some water and set it aside to dry.

When the panel was entirely dry, I took my Tattoo Icons stencil, and used full-adhesive backed post-its to adhere my rainbow panel to my stencil.

Tip: I don't always use a low tack adhesive spray on my stencils when applying an ink or glitter layer. I usually take into account if there are fine lines in the stencil that are difficult to keep in place. If there are fine lines, I spray. If no fine lines, I usually tape it down.

Next, I took a clear glitter gel and applied a thin, but solid layer, on top of the stencil. I carefully peeled the stencil off, had that "ah ha" moment of when a stencil comes off perfectly, and set it aside to dry in an undisturbed location. I always let glitter gels dry for at least a good half hour so that I don't have any accidental smears or smudges.

I was in the home stretch with my project. Once my glitter gel panel was dry, I adhered it to an A2-sized panel of black cardstock. I took my sentiment strip, adhered the swallow image to it, put foam tape on the back, and adhered it to my card. I finished off by adhering some sequins and mounting the card to an A2 card base.

And that's how I made my card!

I used the following products on this card:


For more inspiration with your The Rabbit Hole Designs Creations, be sure to follow along at these other locations:


For more details about products used in this post, you may also follow along at my personal blog, Just a Note by Justin, as well!

I hope you're loving these projects with the new Old School style tattoos and stencils, and that you're finding some great inspiration!

Lucky 40


Hey Friends,
Donna here today sharing a fun card I created for my baby brother's upcoming birthday.
I was going for something bright and bold with a big 4 0


I created this no coloring card using both stamps from the Old School Tattoo Dice and Diamond set.
This was seriously one of the easiest cards I've done but one that I love a LOT because it's so happy.

Old School Tattoo Dice and Diamond 


I also wanted to share that I used my Misti Stamp tool to repeat stamp over the images 
several times in black amalgam ink to get a super dark cover on top of the design paper.


Thank you so much for stopping by today and letting me share.

Wishing you every good thing today!

And be sure to follow the links below for more inspiration:


Take Life One Sip at a Time


Hey yall!  Happy Friday, hope you are healthy and enjoying some family & crafting time.  Tangii here with a supah dupah bright and cheery card.  Recently, our wonderful Niccole sent us some beautiful Alcohol Ink/Yupo sheets.  I used mine for this card.  I loved what she sent me... so much so, I was actually afraid to use it (sure I'd just mess it up, lol).  Plus the sheet was so pretty as it was how do you decide what part(s) to use/cut up??  So I decided to use as much of the sheet as I could.  


I started off by cutting a rectangle panel  from the middle of my Yupo sheet.  Using some Dark Roast cs and a postage stamp die, I made the frame for that cut out panel.  Then I stamped my image from the Steeped in Happiness set with some Embossing ink and added some Dark Roast ep.  I love the rich dark brown, but with a little shimmer.

Next I used the Dotted Flower Stencil and some pink stickles for the steam from the pot.  Finally I stamped my sentiment from the Perfectly Blended set on to a die cut tag. I am so in love with the way this card turned out!!!  I am thinking of making my own Yupo sheet and re-creating this card to be framed for my loft!  Thank you so much Niccole for the base for this card!

All of the items I linked in my post are available at The Rabbit Hole Designs which is still open & shipping!

You can also read about this card on my blog, here with links to the products I used, etc.  Thanks for popping by, come back again soon!

How to Use Pattern Paper and Washi Tape


Hey crafty friends, it's Amanda from Pear Blossom Press, and I've got a fun new video for you today, showing you several ways to use up some of that extra pattern paper and washi tape in your stash! Check it out...


As I mentioned in the video, this is part of the Dig It Out, or Use It Up Hop. Head on over to my blog for the next stop in the hop, as well as links to all of the products I used. 
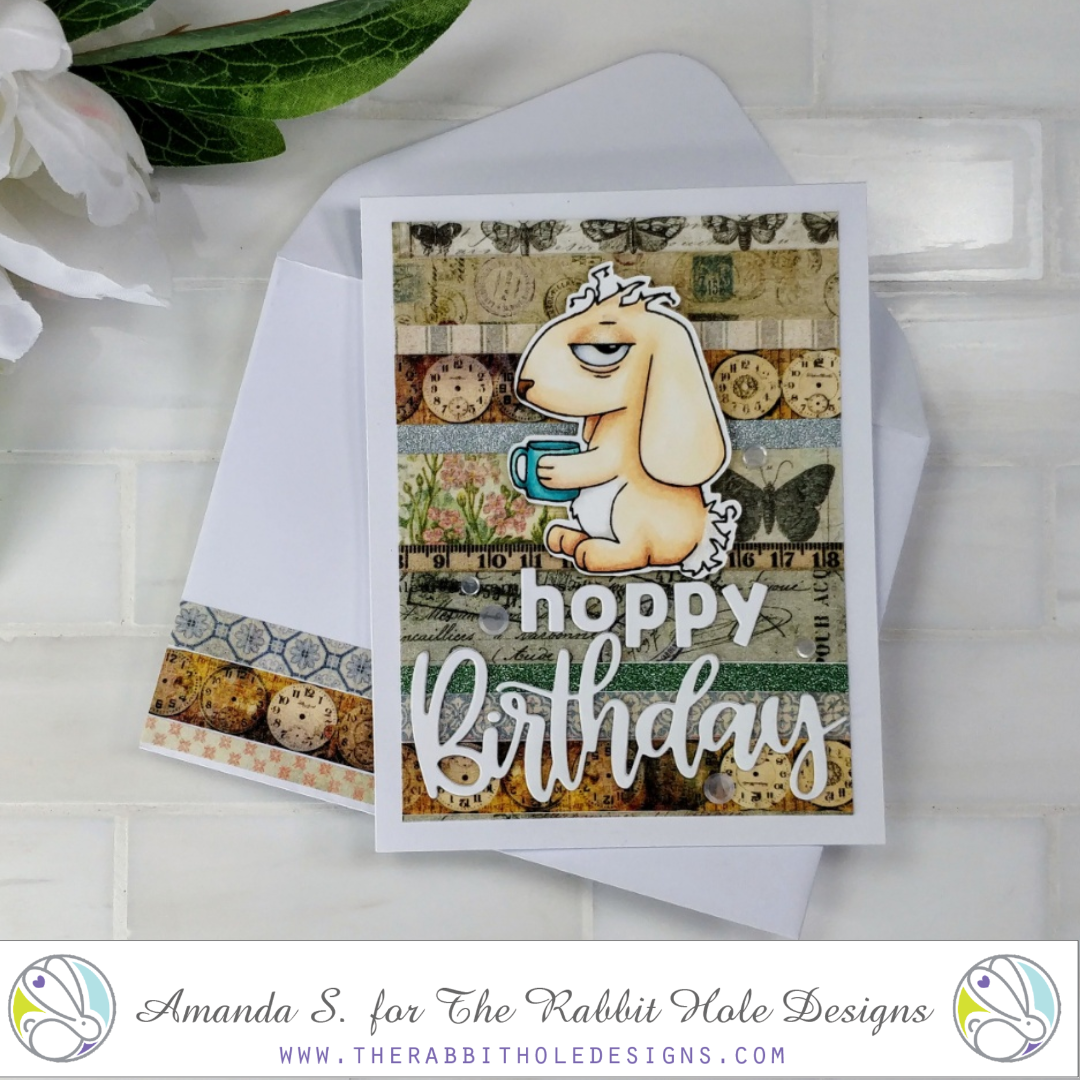
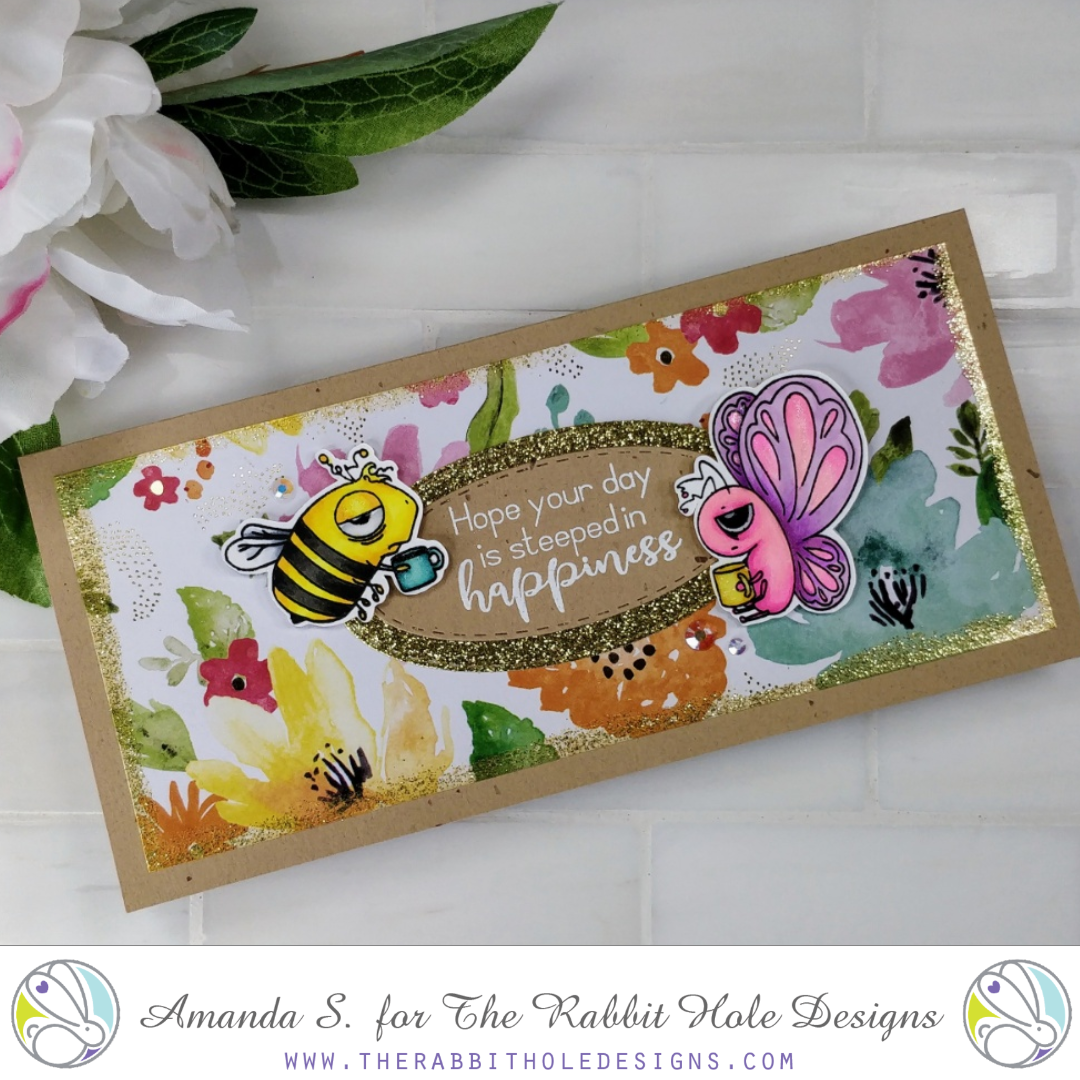
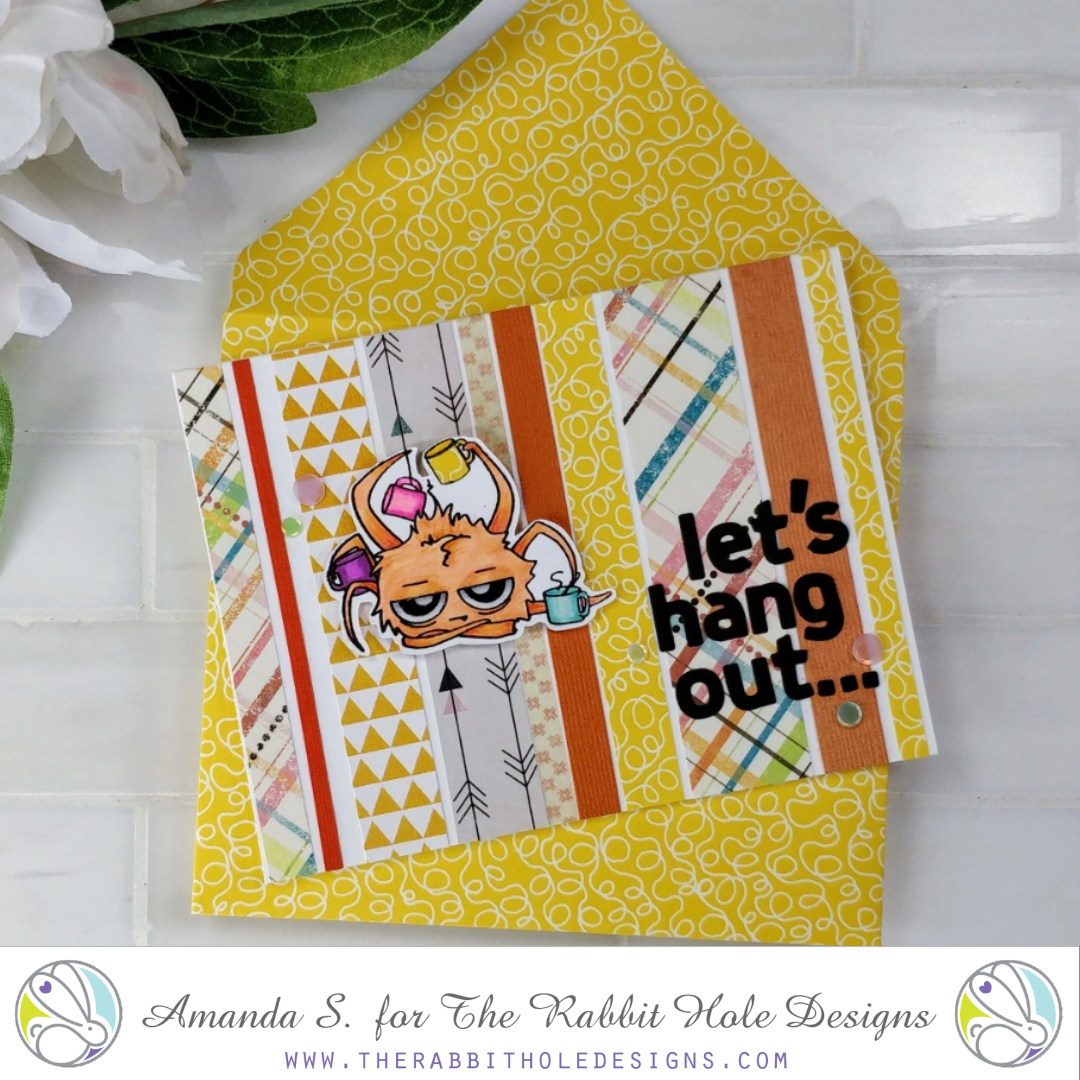
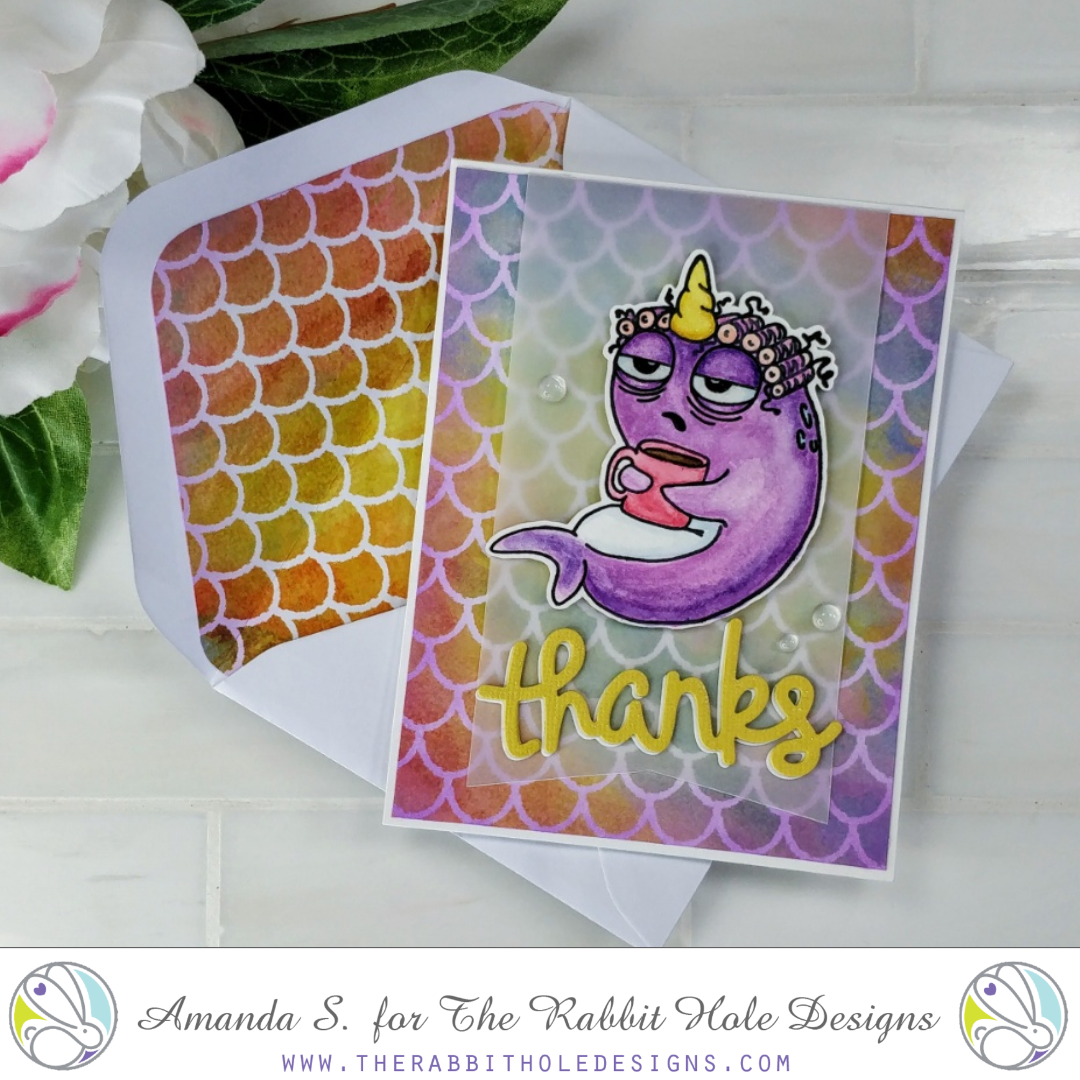
Let's take another look at the cards I made.
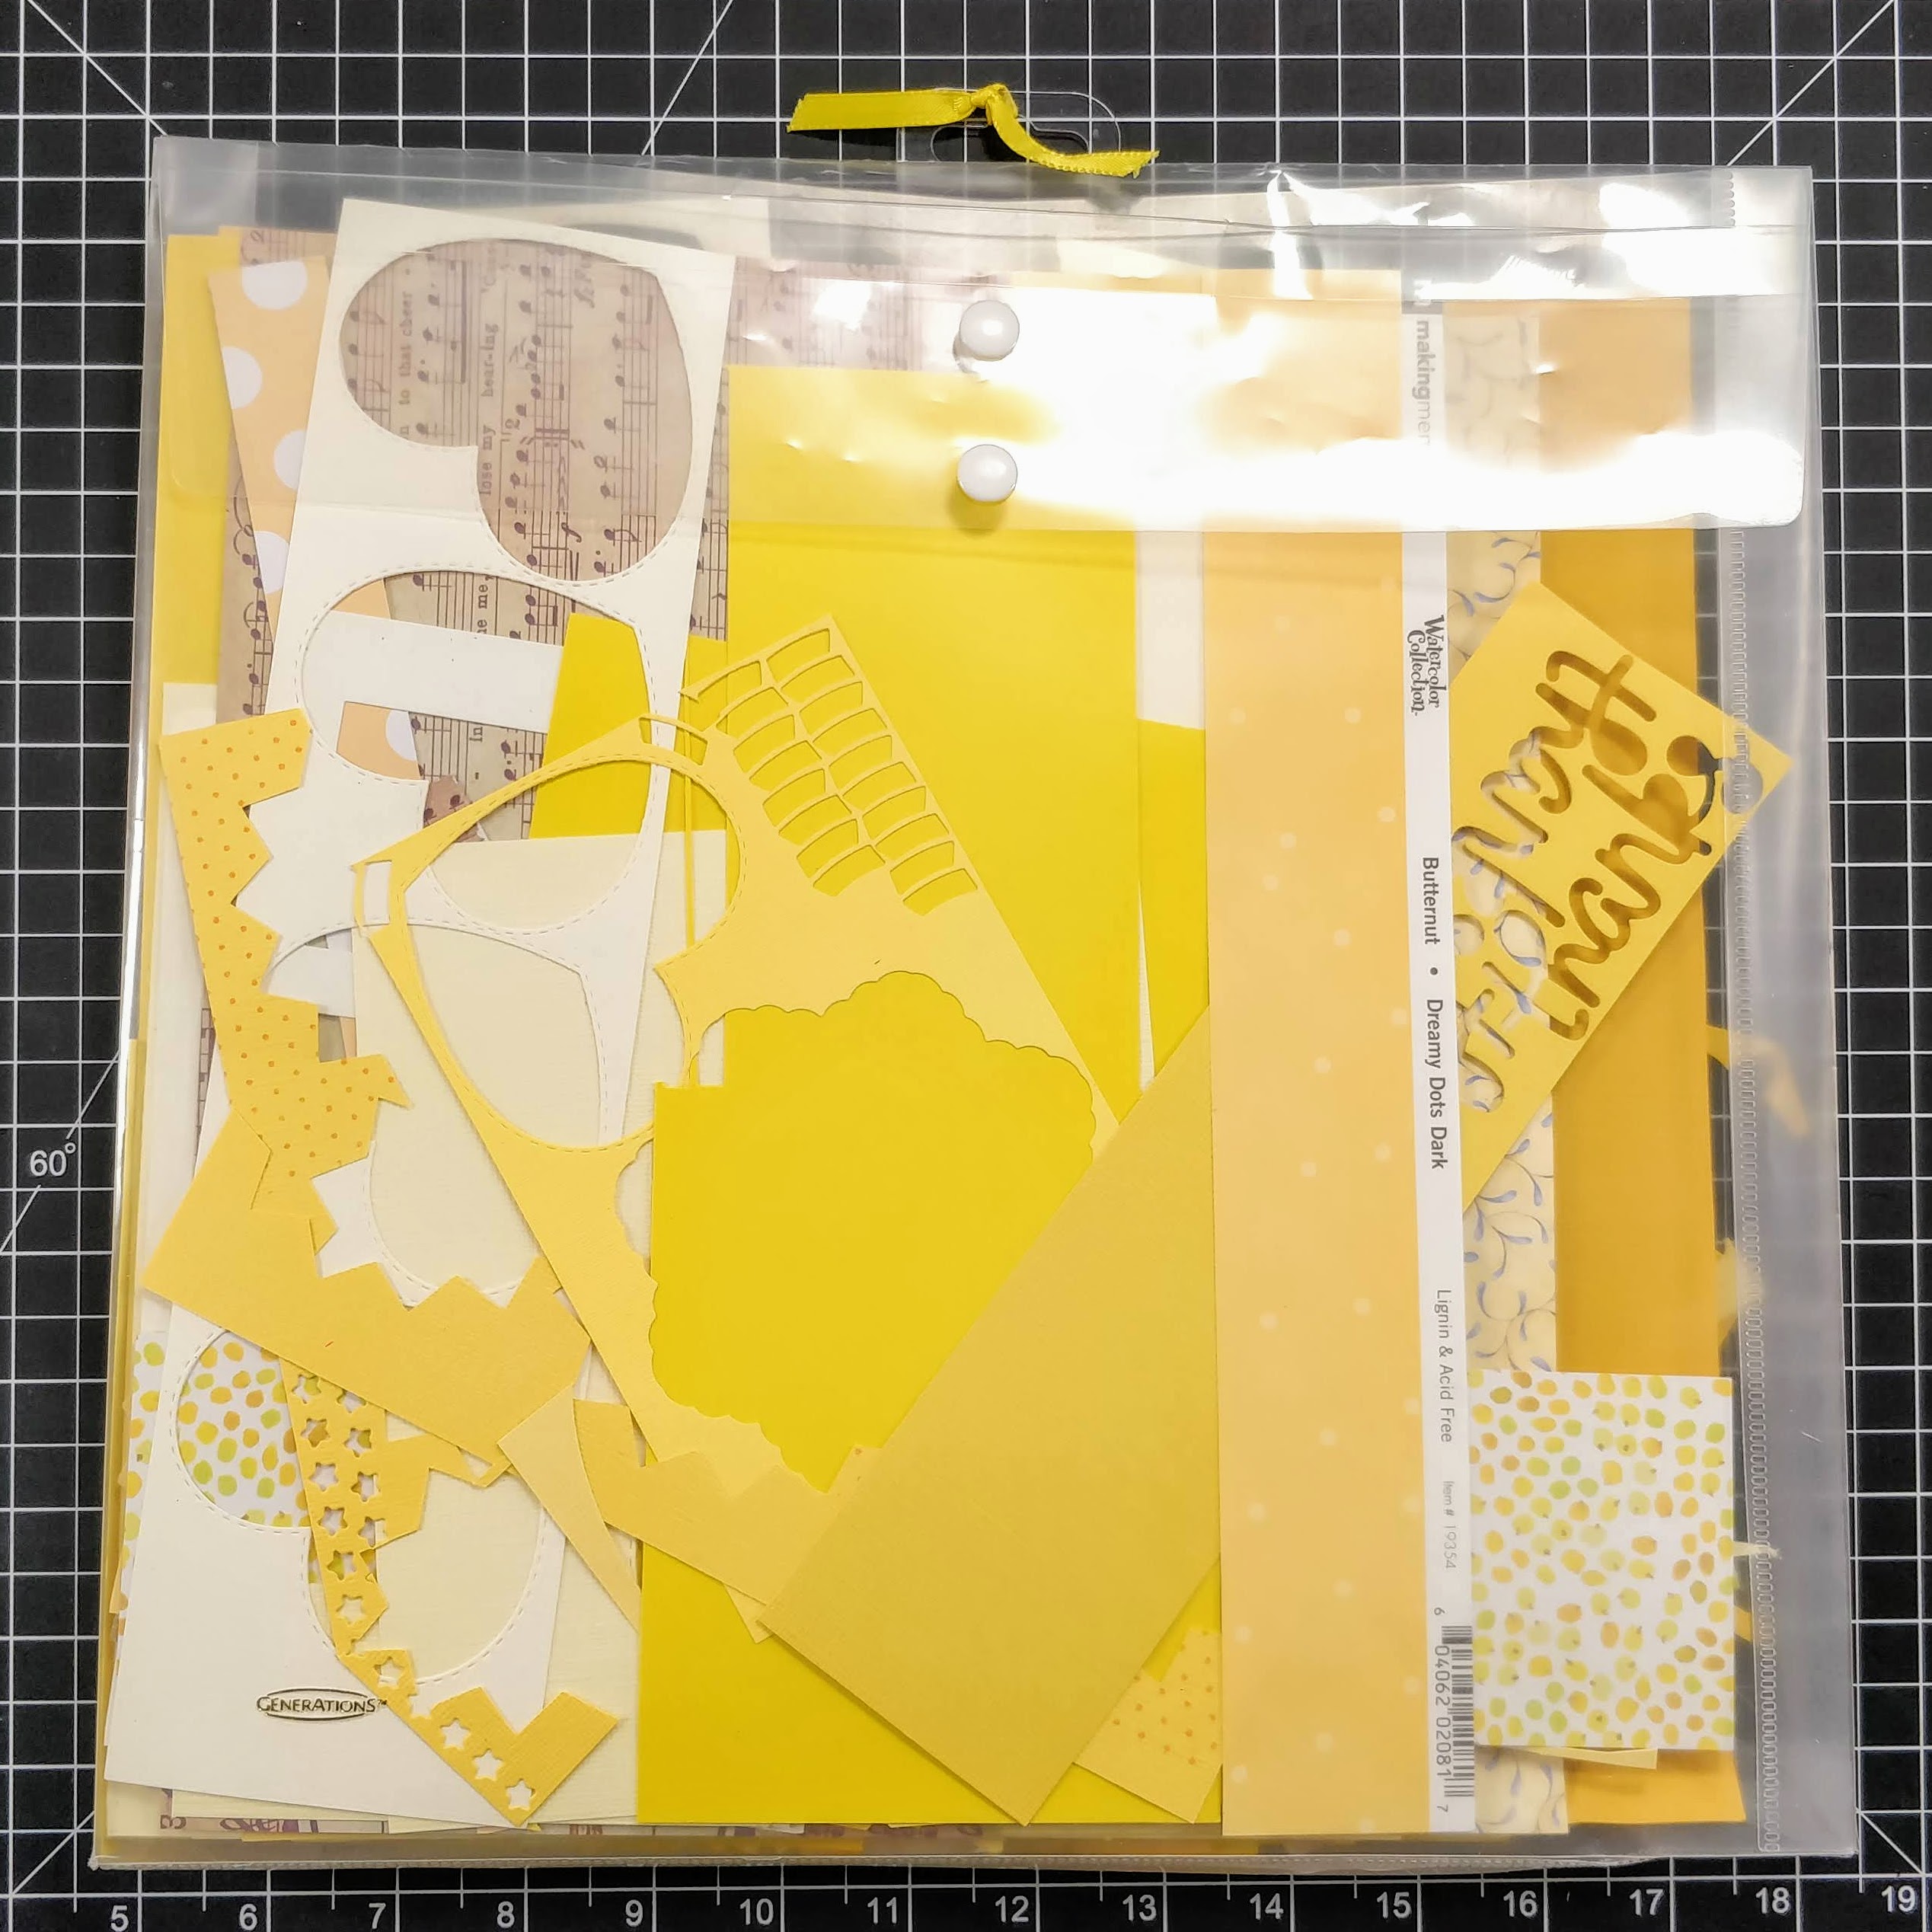
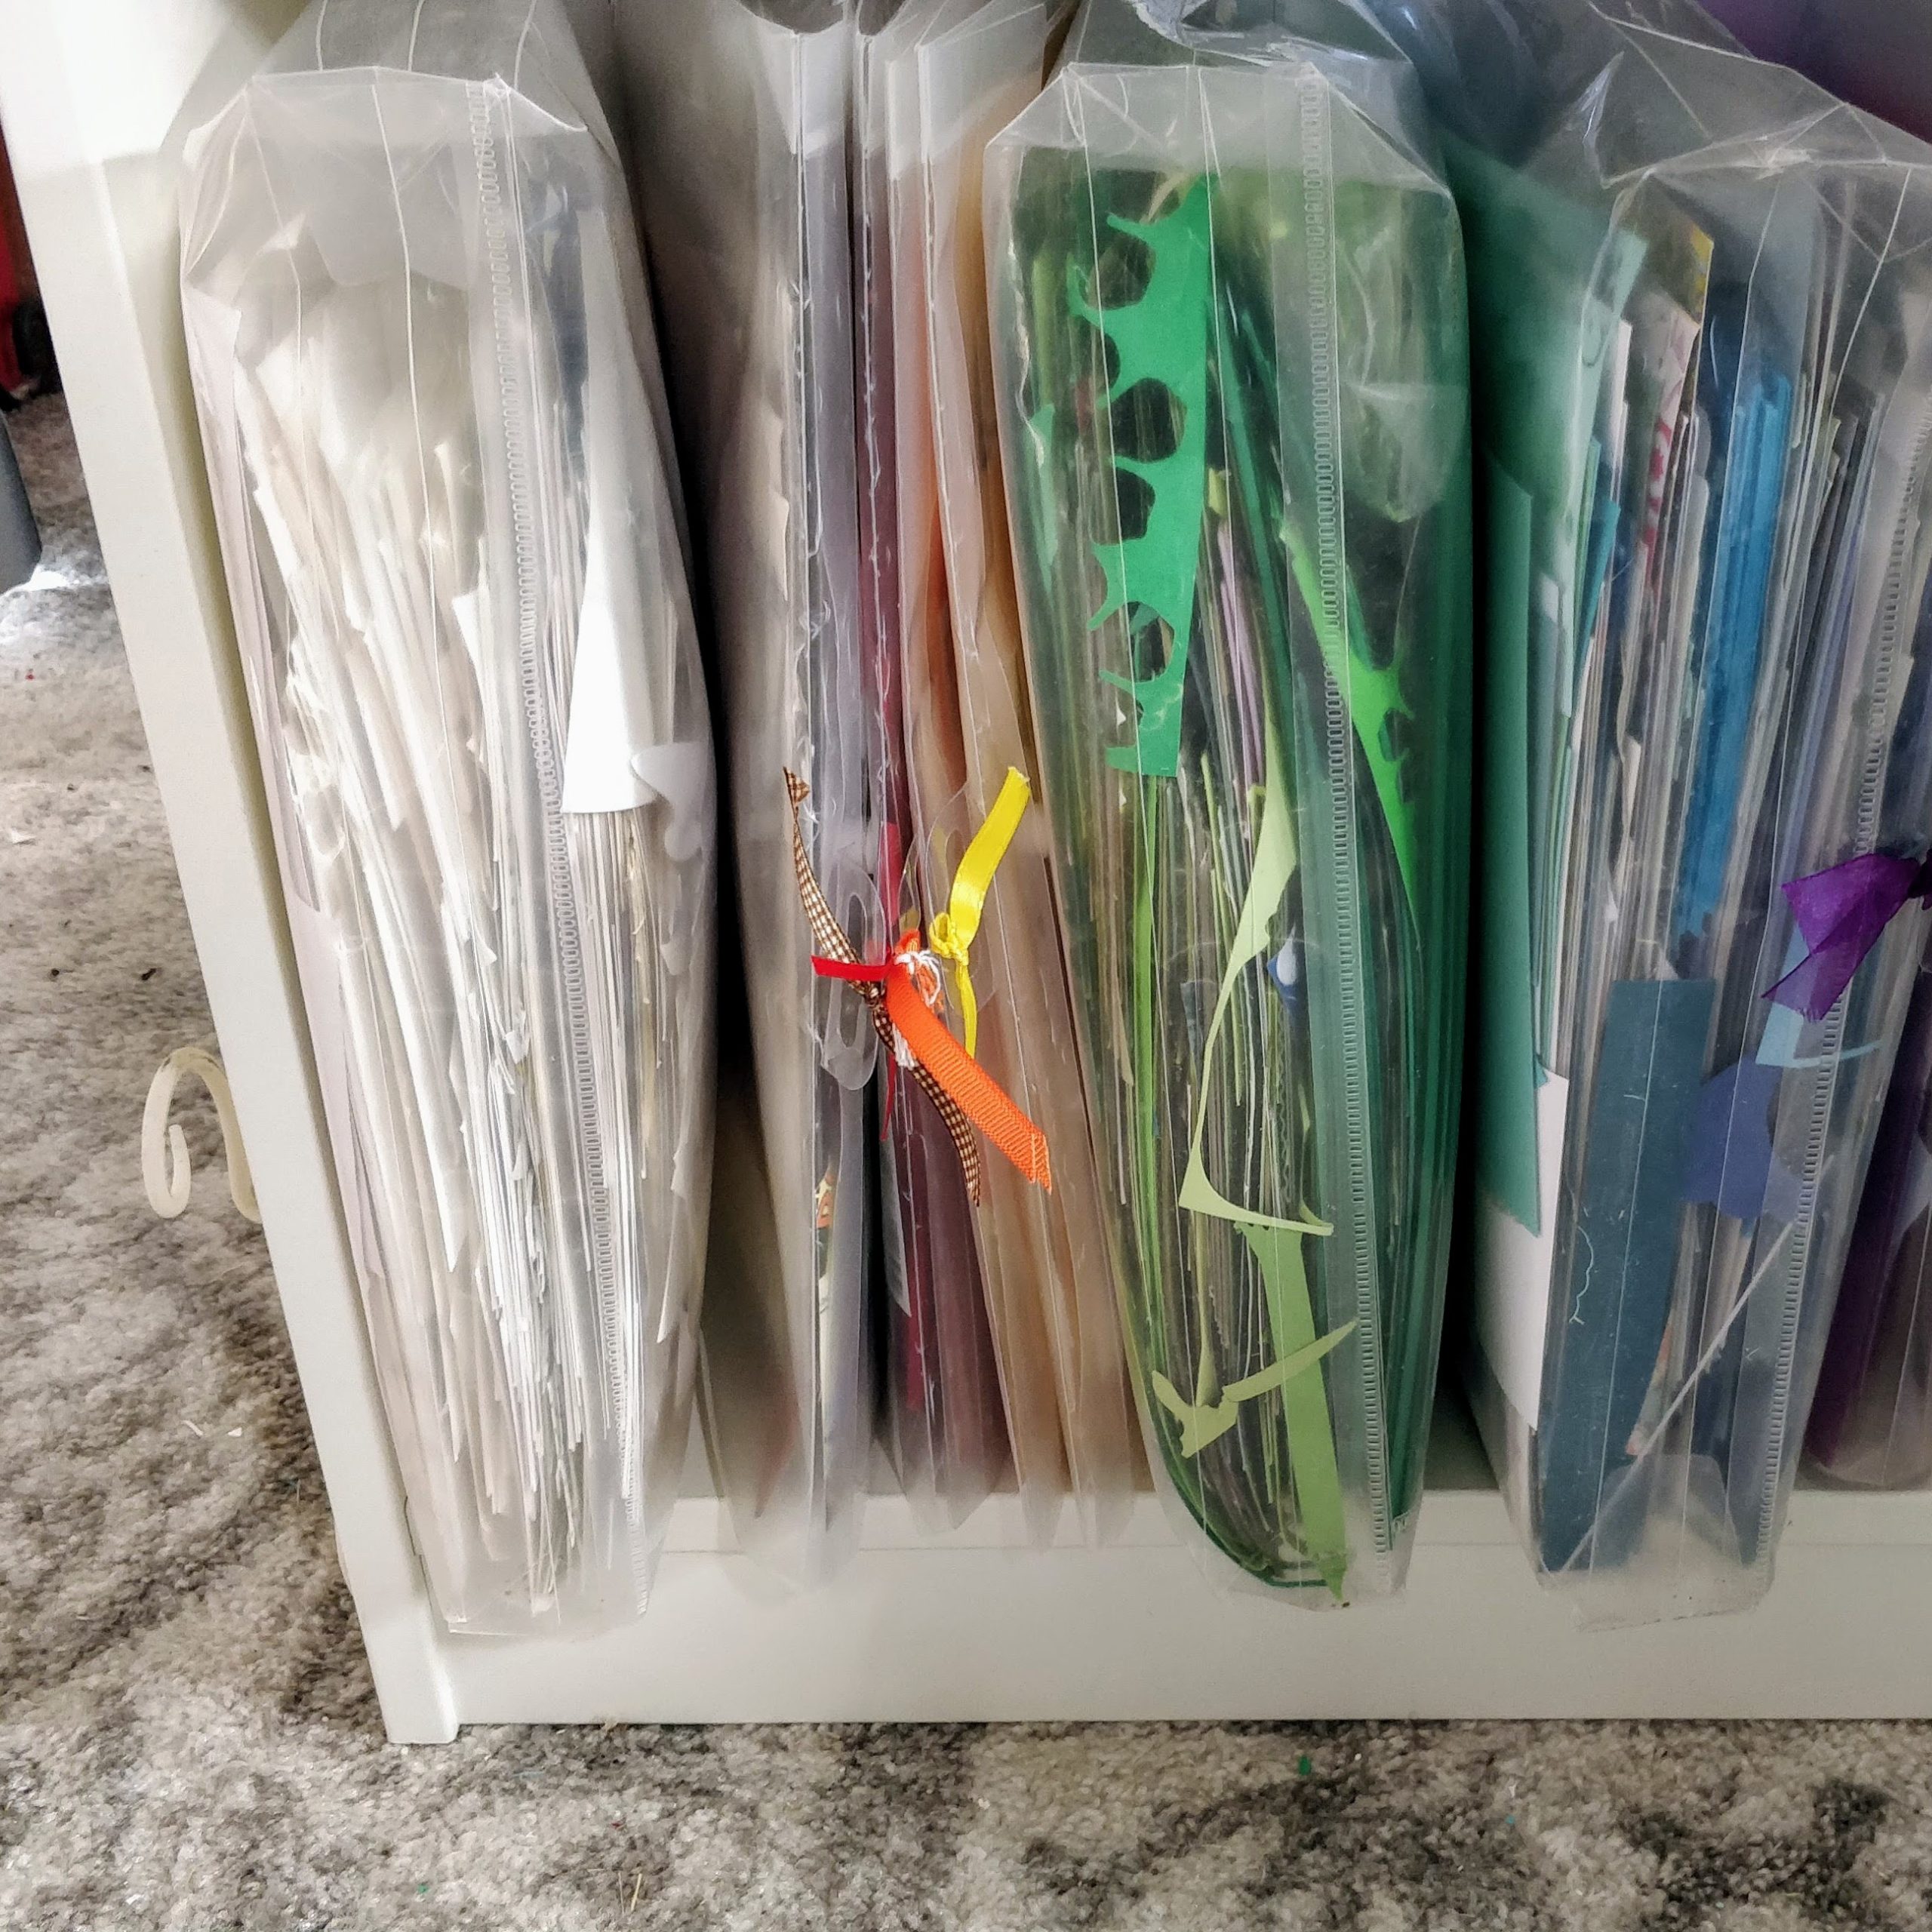
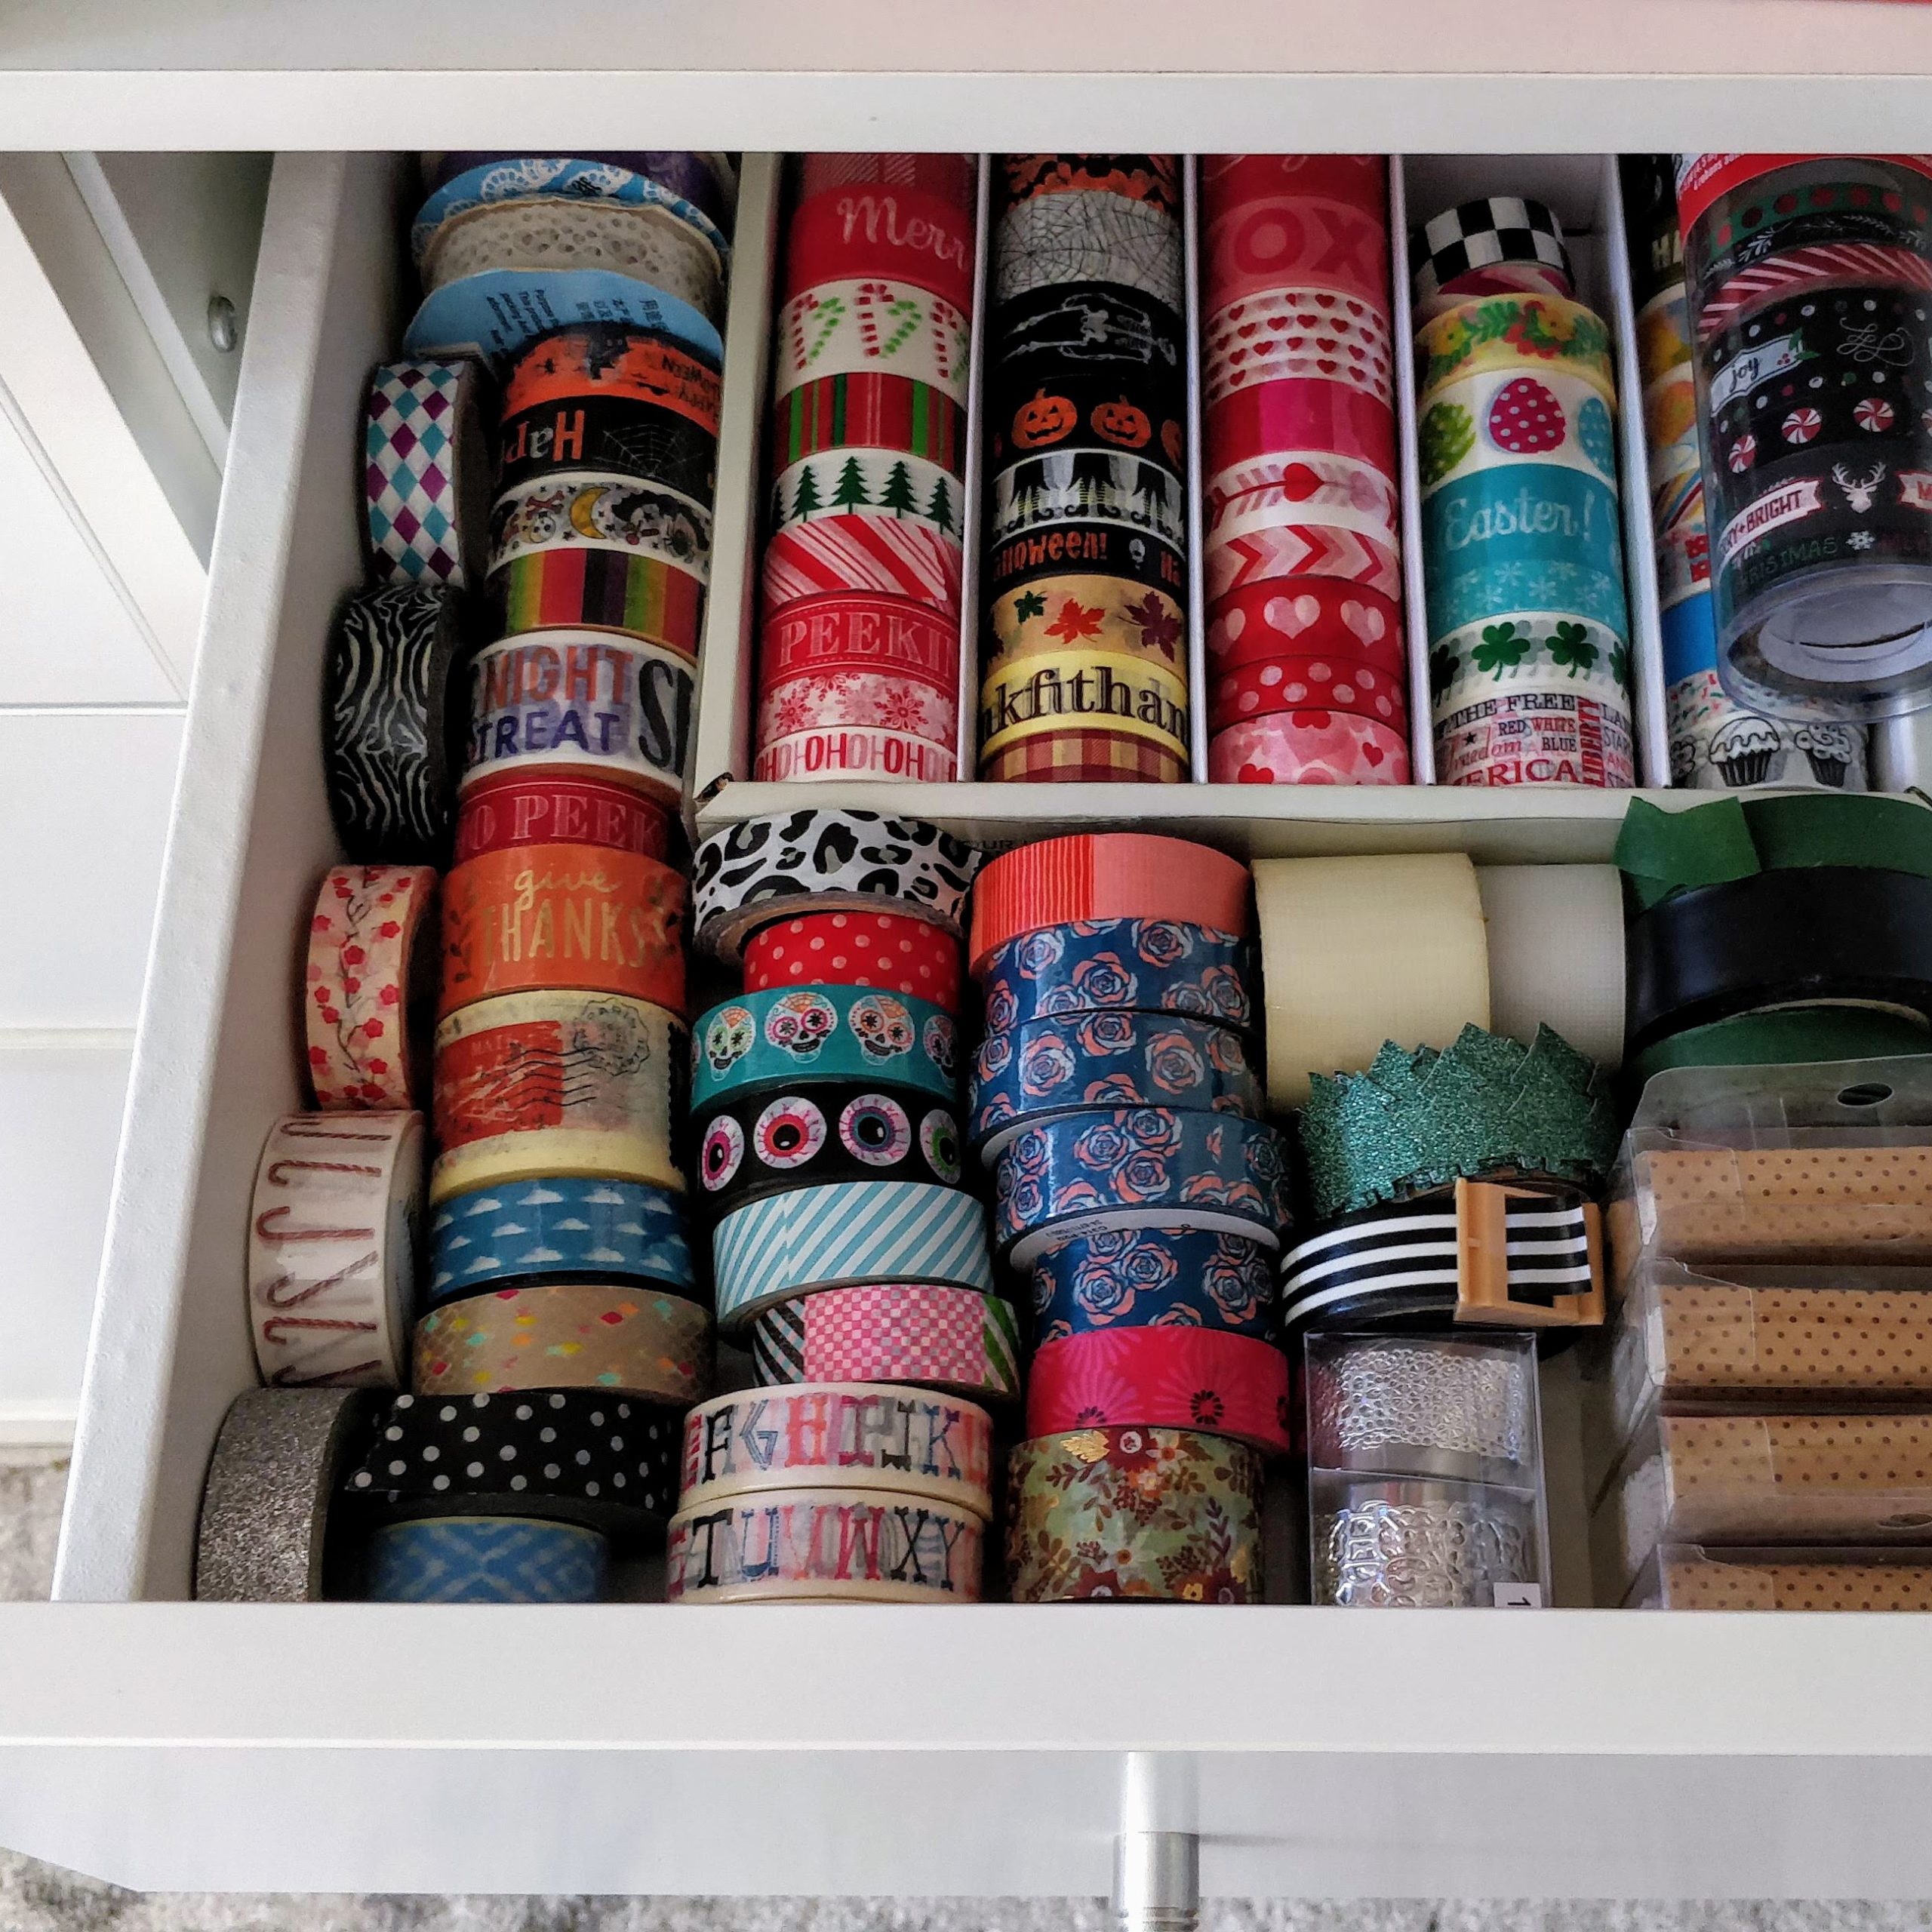
Here's another peek at my scrap paper, and washi tape storage. By keeping them organized and close at hand, I use them more often. 
If you are interested in the stamps I used for today's cards, you can find them here...

For more inspiration with your The Rabbit Hole Designs Creations, be sure to follow along at these other locations: