Pages

Splish Splash!!!

 Hello my crafty friends! I wanted to take a break from making all of my holiday cards to make something fun, colorful, and quick that I could easily mass produce. 


When you have a great stencil like the 6x6 Splish Splash stencil the backgrounds you can make are endless. For this A2 side folding card, I pulled out some of my brighter distress oxides and my favorite CottonTail Blending brushes I had this card made in 5 minutes.


I also grabbed the sentiment "Friends make it easy to believe in yourself" from the Sassy Sentiments Stamp set which has a lot of fantastic sentiments for almost every occasion.


Merry Pigmas & Happy Hoglidays!!


Happy, happy Friday-eve!  Tangii here for today's share!  I am doing another Christmas-y goodie but this time a tag!  I just love supah cute tags on gifties!!  For my tag today I used the Merry Pigmas stamp set & coordinating dies. I used some great patterned paper for the tag and then added a patterned die cut heart.  I stamped my sentiment in red up towards the top.

Next up I colored up my piggy.  I just couldn't resist inking him up in traditional pink.  I also colored up his suit in red, but I added a bit of Forest green to hos pant cuffs.  Using the coordinating dies I cut him out and popped him up on the tag/heart.
Finally I added some ribbon and a button and voila!  This baby is ready for a prezzie!!!  Guess this means I'd better get wrapping!!!  Thanks for popping by today, hope you have something fun planned for the coming weekend!

All of the items I linked in my post are available at The Rabbit Hole Designs.

You can also read about this card on my blog, here with links to the products I used, etc.  Thanks for popping by, come back again soon!

Adulting is Hard


Hello everyone it's Lauren here on the blog today. When I saw this Caffeinated Parrot stamp set I knew I had to have it! So hilarious. I love how one of his eyes is partially closed! 

Today's card was created with my oldest son in mind and I cannot wait to give it to him! He would love to own a McCaw someday so I colored up this guy as a Blue and Gold McCaw. 

I started this card by stamping the parrot image onto watercolor paper. I then colored the image using Derwent Inktense pencils. I love these water coloring pencils because they dry like ink so there is very little bleeding. 

I then used the Clouds In My Coffee stencil to create tops of trees to resemble a jungle. I placed the stencil in the position I wanted then traced it with my pencil. I did that with all the tree layers, then did the coloring. Making sure to alter the shades of green so that they wouldn't look like all one tree.


When I colored the tree layers I also made sure that the layer next to the one I was about to color was dry before I colored it. That keeps the colors from running  together and mixing.


Then I finished off the coloring on the parrot. On the coffee cup I wrote "Tims" to stand for Tim Hortons, our favorite coffee place in Canada. 


For the sky, I lightly swept Mermaid Lagoon distress oxide across the top above the trees. When dry I stamped my sentiment. This one is from the Blended Sentiments 2 set. 


Finally, I trimmed the panel down using a stitched rectangle die from my stash, backed it with a 4.25x5.5 blue cardstock panel then adhered to my A2 top folding card base.

I am so happy with how this card turned out and I know my son is going to love it! Thanks so much for visiting! Have a great day.
Lauren


Sledding ParTea with Tea-Rex!


Welcome to The Rabbit Hole Designs blog. Whooohooo - let's go sledding!  Tea-Rex is on his way!  He grabbed his racing red tea cup. He is experiencing pure Joy as he sleds down the snowy hill.

I am using The Rabbit Hole Designs' Tea-Rex stamps set, Sassy Sentiments stamp set, the Slice of Christmas stencil and Cotton Tail blending Brushes to create this card.


I stamped the Tea-Rex image masking off the sugar cubes.  I colored the image with TriBlend and Copic alcohol markers/  I used a stippling techniques to color the Tea-Rex.  Stippling is when you use dots of color to color and shade an image. I hand drew and colored the Santa hat. After fussy cuting the images I glued the Santa hat to the Tea-Rex


The card front is a piece of 4"x 5 1/4" light blue cardstock.  I used my Cotton Tail Blender Brushes to blend Blueprint Sketch Distress Oxide ink to create the sky. I used the Slice of Christmas stencil With Shark Tooth White ink to create the snow drifts for Tea-Rex to sled down.  I used a white gel pen to outline the drifts.  I die cut a wavy slider track in the card front make this an inactive card.


I went into my stash of dies and found the word Joy.  I die cut Joy from white glitter-stock and the outline from mirror red cardstock. I glued them together and to the top of the right of the card front. The glow-in-the-dark stars are fun embellishments from The Rabbit Hole Designs


I stamped one of the Sassy Sentiments stamps and hid it behind the red tea cup sled.  I created a pivoting slider pull allowing the tea cup to move seamlessly along the wavy track.  I used thick double-sided adhesive foam tape to attach the card front to a dark blue 4 1/8" x 5 3/8 piece of card stock.  I added it to a white A2 card base to complete the card.


Thank you so much for stopping by the blog today.  I hope you enjoyed this fun Sledding ParTea with Tea-Rex!  card featuring the Tea-Rex stamps set and the Slice of Christmas stencil.   I love hearing from you, What winter activities bring you Joy? Leave me a comment below!   


Be Creative ~ Stay Inspired

Jenn Gross


Follow me, Journey Coach Jenn, on 

Instagram - https://www.instagram.com/journeycoachjenn/

YouTube - http://www.youtube.com/c/JourneyCoachJenn

Blog - http://www.journeycoachjenn.com/


For more inspiration, updates, and news make sure to check out these places


The Rabbit Hole Designs

The Rabbit Hole Designs Instagram

The Rabbit Hole Designs Facebook Page

The Rabbit Hole Designs Pinterest

The Rabbit Hole Designs YouTube


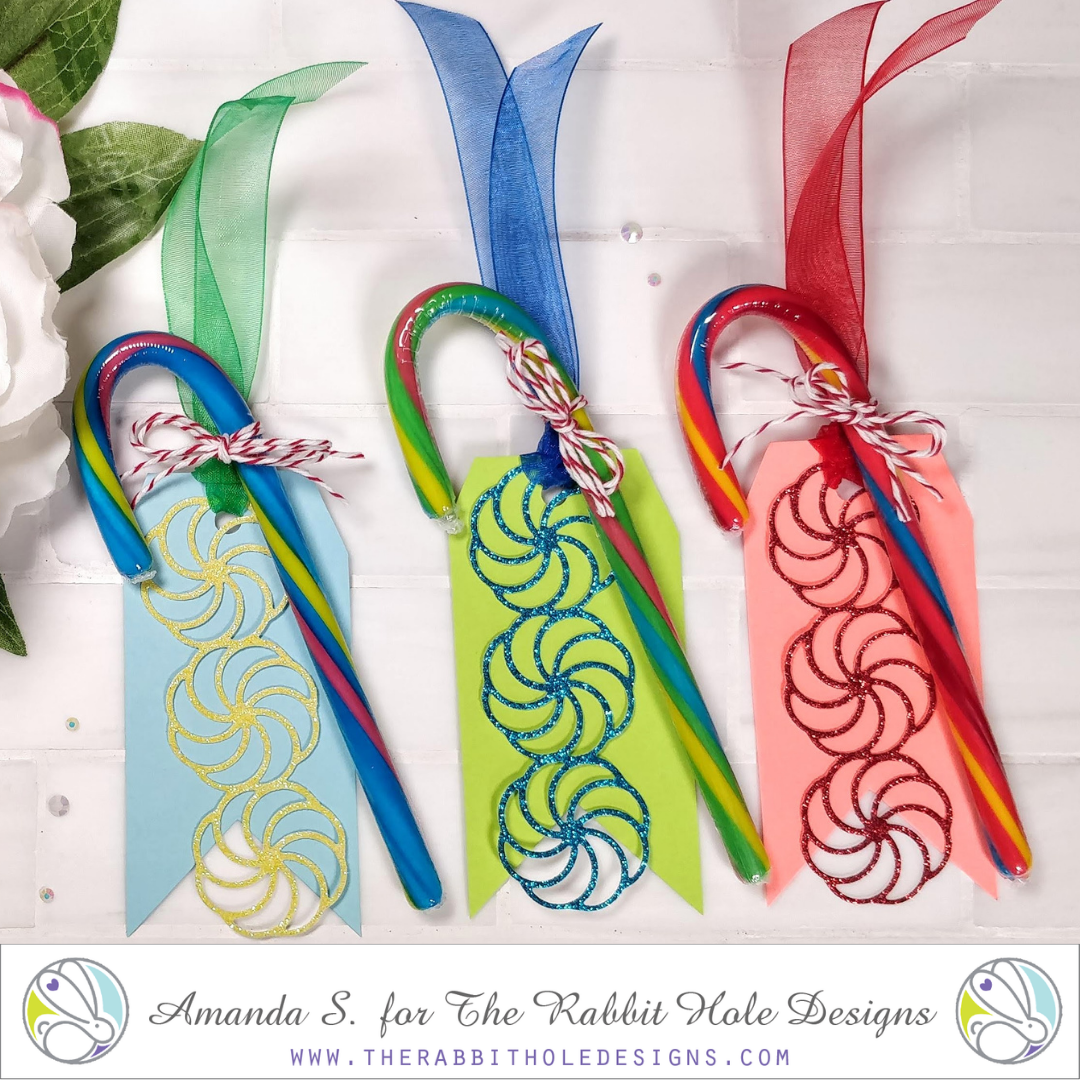
Candy Cane Twist Tags


As we get closer to Christmas, it's time to start wrapping gifts. Amanda here from Pear Blossom Press again, and I've been busy making fun gift tags. Today, I'm sharing another set. These are fast, easy, and tasty! 

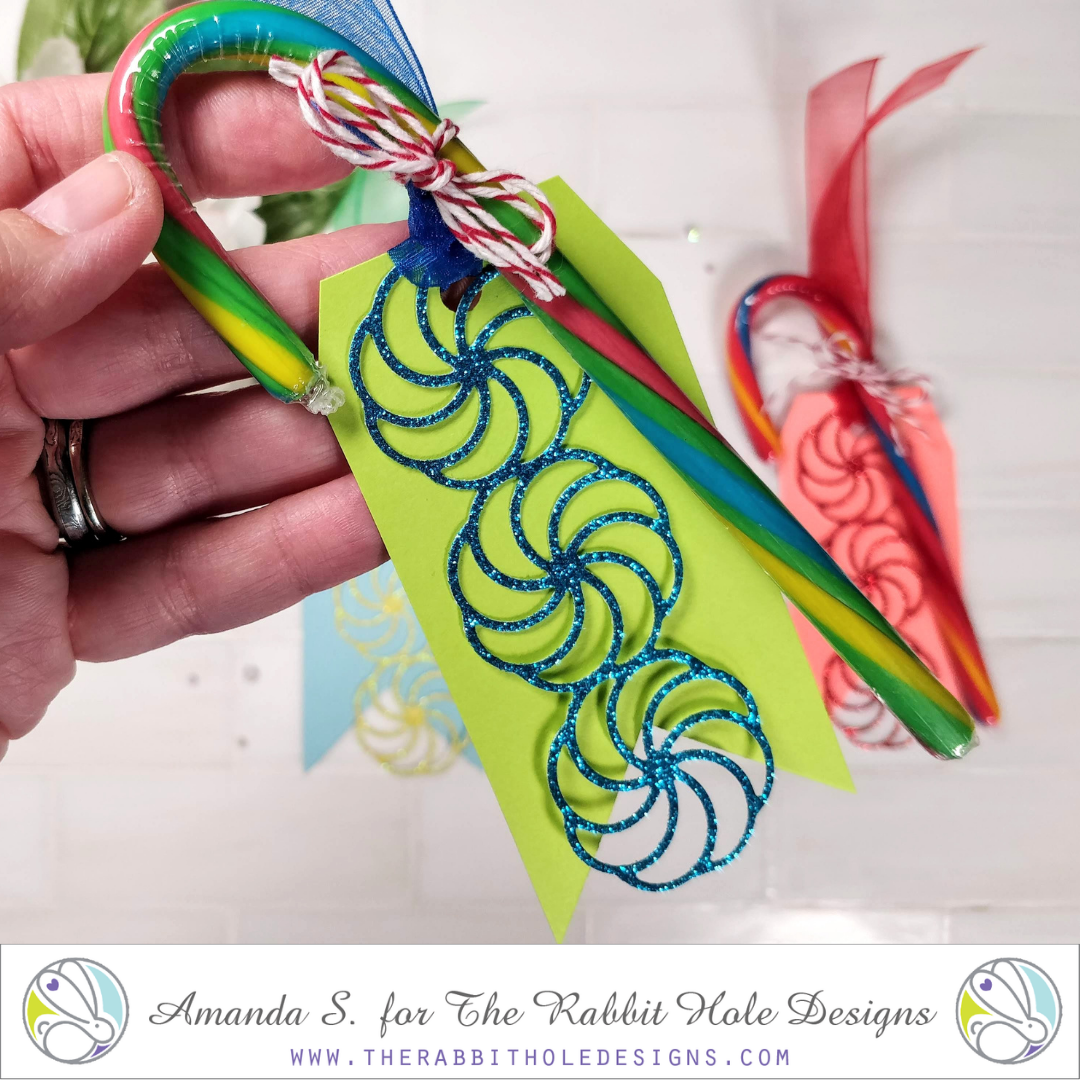
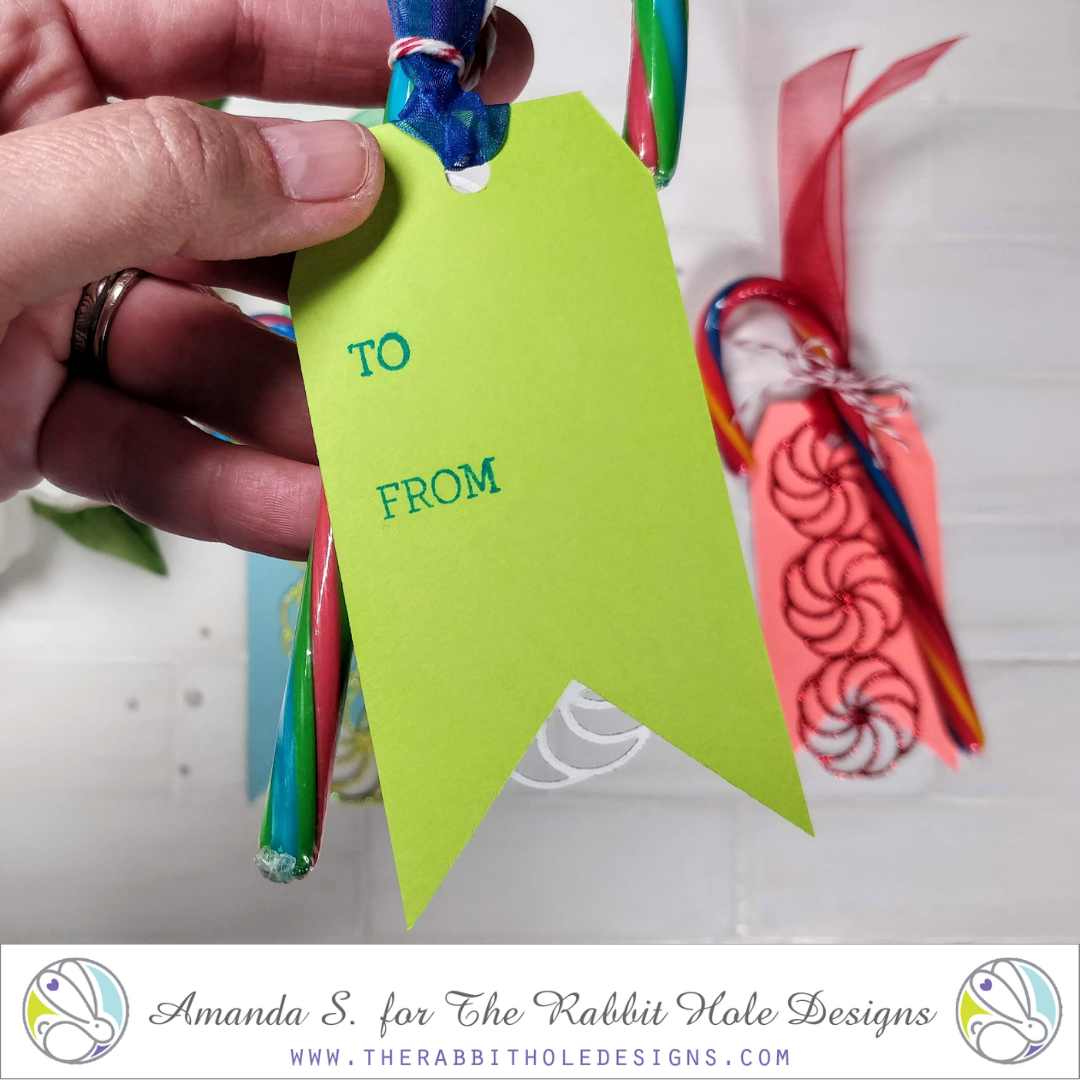
To make these tags, I cut out Candy Twists from glitter paper and layered them onto simple tag shapes with TO/FROM stamped onto the back. The two layers are held together only with ribbon, no glue needed! I tied a candy cane on with bakers twine for an extra special treat. 


Aren't they fun? Of course, you can use traditional red and white candy canes, instead of these fruity flavored ones, but my kids always seem to like these better. 

If you'd like to see a quick tip on cutting perfect flagtail tags and banners, CLICK HERE

Thanks for stopping by today. I'll be back soon with more fun cards to share. In the meantime, for more inspiration, updates, and news make sure to check out these fantastic places...