
Hello crafty friends, Jenn here with sweet treat of a card for you using The Rabbit Hole Designs' 1 Line Reindeer stamp set and making them into cookies for Santa. I also added a sentiment from the Bunny Christmas stamp and die set.
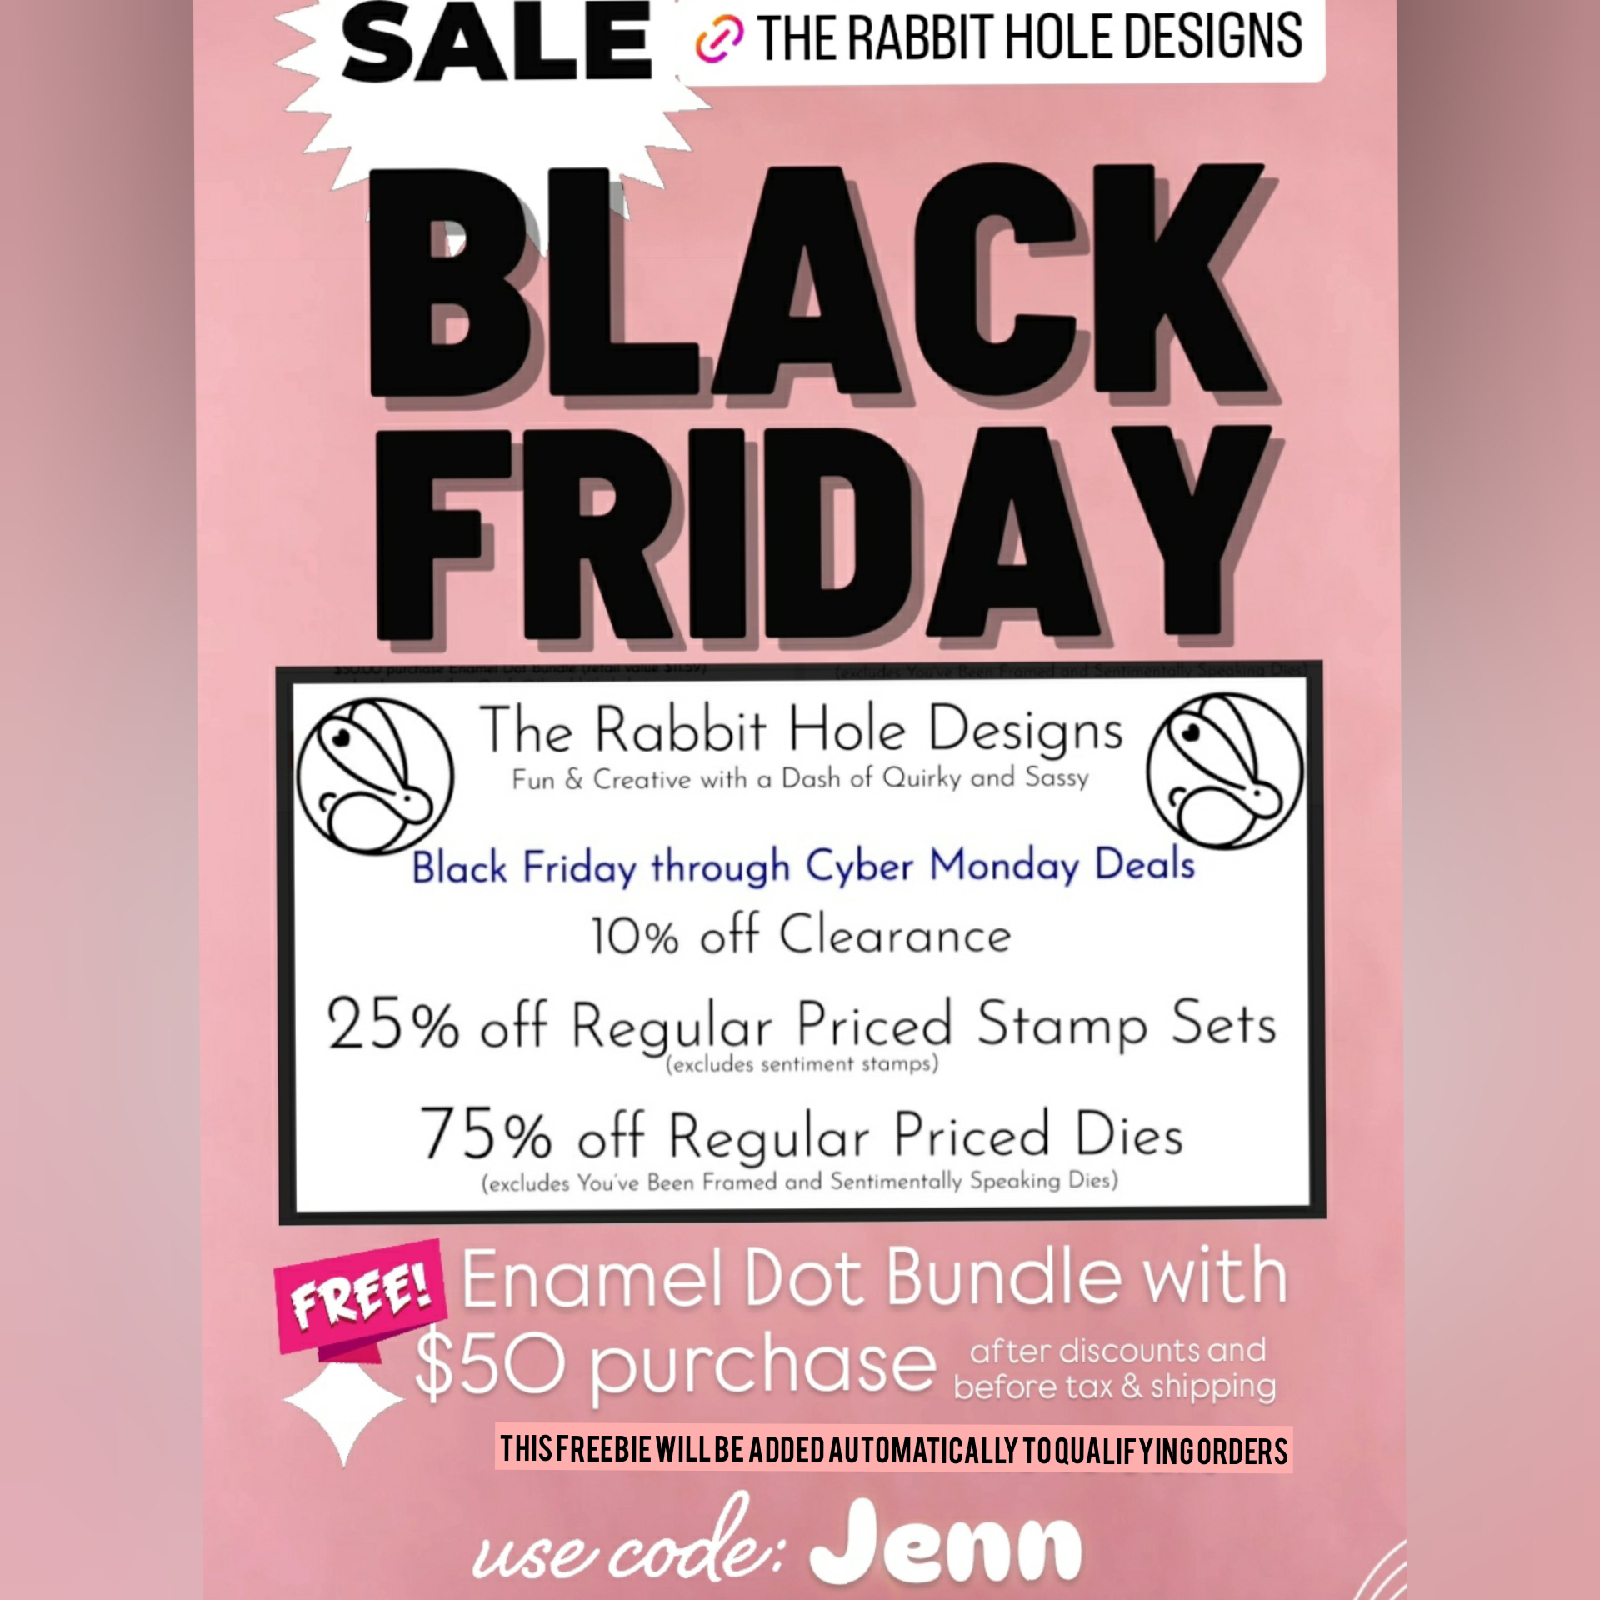
Make sure to take advantage of the BLACK FRIDAY and CYBER MONDAY sales at The Rabbit Hole Designs!
Sales are from 11/27/2024 through 12/02/2024 11:59pm PST (No Codes Needed)
Use Code Jenn at check out to share you saw this sale on today's blog!
Let's take a look at this easy step tutorial:

A & B - I stamped out the 1 Line Reindeer using brown ink on light brown cardstock and colored three of them with OLO Markers
C & D - I die cut three 2 1/2" circles from kraft cardstock and shaded the edges using a Bitty Blending Brush and Gathered Twigs Distress Oxide ink to look like a baked cookies

E & F - I die cut three 2 1/4" white cardstock circles to use as frosting on the cookies. I softly recut the edges to give it a slight wave for more of a hand-iced look. I added shadowing with OLO Markers BV2.0 and BV2.2 I fussy cut the reindeer heads and glued them down on the white frosting circles. I glued these on top of each cookie
G - To create the cookie plate, I die cut a 5" circle with a 4" circle centered inside from a piece of double sided winter printed cardstock in my stash
H - The circle card base is die cut from a piece of folded kraft cardstock and a 5 1/4" circle leaving 1 1/4" of the fold intact as shown in the photo

I & J - I opened up the circle card base and glued the outer plate circle centering it on one side of the card base. I truned over the middle circle for the plate and glued it to the center
K - I glued one cookie to the plate and attached the second cookie with adhesive foam squares. The third cookie has a bite taken out of it. I uses a circle die form my stash that has a zig zag decorating the edge and die cut a bit out of the third cookie. The bitten cookie is attached to the card with two layers of foam tape.
L - I stamped out the Jolly Holly-Days to you using a sentiment from the Bunny Christmas stamp and die bundle. I cut out the sentiment and added it above the cookies on the plate to complete the Deer Santa cookie card.

Supply List
Other Supplies (from your stash)
OLO Markers
Gathered Twig Distress Oxide
Circle Nesting Dies
Be sure to check out The Rabbit Hole Designs for the BLACK FRIDAY Specials
Use the code Jenn at check out to let us know you saw this post!
Thank you, I appreciate you taking time from your day to stop by and check out today's blog featuring The Rabbit Hole Designs stamps and dies. I hope you are inspired to create something lovely today!
Be Creative ~ Stay Inspired
Jenn Gross
Follow me, Journey Coach Jenn, on
Instagram - https://www.instagram.com/journeycoachjenn/
YouTube - http://www.youtube.com/c/JourneyCoachJenn
Blog - https://journeycoachjenn.blogspot.com
For more inspiration, updates, and news make sure to check out these places


