Pages

July Release Inspiration Hop ~ Day 2


Hello and welcome to Day 2 of the Inspiration Hop. We are so excited for you to join us as we present to you our July release. Our fabulous Design Team will be sharing their projects over the next couple of days, so be sure to visit their blogs and leave them some crafty love.


The 2 new stamps sets, a stand alone die, and a stencil are all available to purchase right now in the shop. So are our BRUSHES ... run out and get some!


This is the new stamp set and blending brushes being highlighted today ...

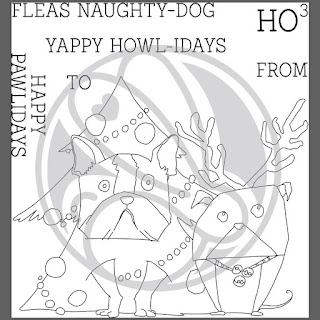
Pawlidays

Cotton Tail Blending Brushes


Make sure you come back tomorrow for Day 3 of our Inspiration Hop.


___________________


**Giveaway**


To celebrate the July release, The Rabbit Hole Designs is giving away two gift certificates; one to a lucky Instagram follower and one to a lucky Fan Page follower. Winner will be chosen at random from the comments left on the INSTAGRAM post, and tagging friends, and also from commenting on the Fan Page post. So make sure to head on over to INSTAGRAM and look for the giveaway post @therabbitholedesignsllc and look for the post at The Rabbit Hole Designs Fan Page by 11:59 p.m. PST 07-02-2020. 
Winner will be announced on The Rabbit Hole Designs blog 07-03-2020.

This is the graphic you are looking for on our IG and FB


___________________


For more inspiration, updates, and news make sure to check out these awesome places! 


Thank you so much for stopping by today!

July Release Inspiration Hop ~ Day 1


Hello and welcome to Day 1 of the Inspiration Hop. We are so excited for you to join us as we present to you our July release. Our fabulous Design Team will be sharing their projects over the next 3 days, so be sure to visit their blogs and leave them some crafty love.


 The 2 new stamps sets, a stand alone die, and a stencil are all available to purchase right now in the shop. So are our BRUSHES ... run out and get some!


This is the new stamp set and blending brushes being highlighted today ...

Kringle

Make sure you come back tomorrow for Day 2 of our Inspiration Hop.


___________________


**Giveaway**


To celebrate the July release, The Rabbit Hole Designs is giving away two gift certificates; one to a lucky Instagram follower and one to a lucky Fan Page follower.  Winner will be chosen at random from the comments left on the INSTAGRAM post, and tagging friends, and also from commenting on the Fan Page post.  So make sure to head on over to INSTAGRAM and look for the giveaway post @therabbitholedesignsllc and look for the post at The Rabbit Hole Designs Fan Page by 11:59 p.m. PST 07-02-2020. 
Winner will be announced on The Rabbit Hole Designs blog 07-03-2020.

This is the graphic you are looking for on our IG and FB


___________________


For more inspiration, updates, and news make sure to check out these awesome places! 


Thank you so much for stopping by today!
Love is in the Stars Card


Hello Everyone! Justin here, and I today I am incredibly excited to be sharing this card I made using the new Aim for the Stars Stencil!

I figured this stencil paired so well with the balloon couple from the Love You More set, so I took the idea and just ran with it!

First, I colored up my couple with Copic Markers, fussy cut them out and set them aside.

Next, I die cut a stitched panel with stitching from white cardstock, a scalloped rectangle from navy cardstock, and cut an A2-sized piece of blue patterned paper. I also die cut another stitched panel from white cardstock, and then cut it with a cloud border die.

I took my white rectangle stitched panel and used a cloud stencil to blend clouds that went from pink, to purple, to navy with Oxide Inks. I also took my cloud border and distressed the bottom edge with pink oxide ink. I stamped the sentiments "love" and "is in the air" from Love You More in purple ink, along with some hearts from the set as well in various ink colors.

On my cloud panel, I took the Aim for the Stars stencil, put it into place, and applied a solid layer of purple Glitz Glitter Gel. I carefully removed my stencil and set my panel to dry entirely. I also cleaned off my stencil right away.

Once my stars had dried entirely, I adhered my cloud banner and couple with foam tape to this panel. I then adhered this layer to the scalloped navy panel, adhered the scalloped navy panel to the A2-sized blue patterned paper panel, and then adhered the whole unit to an A2-sized card base.

I finished my card off by adhering a few The Rabbit Hole Designs sequins, and was done!

This project uses the following products:


For more inspiration with your The Rabbit Hole Designs Creations, be sure to follow along at these other locations:


For more details about products used in this post, you may also follow along at my personal blog, Just a Note by Justin, as well!

I cannot wait to see what you craft up using these amazing new June release products, especially this fun stencil! Be sure to share them in The Rabbit Hole Designs Fan Page (and don't forget about the Anything Goes Challenge Album as well!

Happy Crafting!

Aim for the Stars!


Hey there Rabbit Hole fans, thanks for stopping by today! 
It's Lisa here from Oh So Cute By Lisa and I have an out of this world card to share with you today using one of the newest stamp sets from The Rabbit Hole Designs. It's called Space - Infinity and Beyond and it has the most adorable little astronaut holding the moon on a balloon string! I just love that image and I decided to go with a rainbow theme for this card. I also used the brand new 
Aim For The Stars Stencil on my card for the background and the sentiment.


To begin I stamped my astronaut directly on to my card panel and colored him up with my copic markers.  I decided to color the little strip on his chest in rainbow colors to match the theme of the rest of the card.  The stars at the top of the card and the sentiment were both done with the Aim For The Stars Stencil. I selectively stenciled the sentiment in rainbow colors and added white highlights with my gel pen. I matted the stamped panel on to a piece of rainbow patterned paper and added both panels to my card base.

I don't usually make one layer cards but I really like how this card came out. It's simple but colorful and I love how this stencil can be used in so many ways.


For more information, news and updates check out these links:


Have a great day, I already am!
👨‍🚀💫 Lisa  ðŸ’«ðŸ‘¨‍🚀 

Stencil Shift for Quick Cards


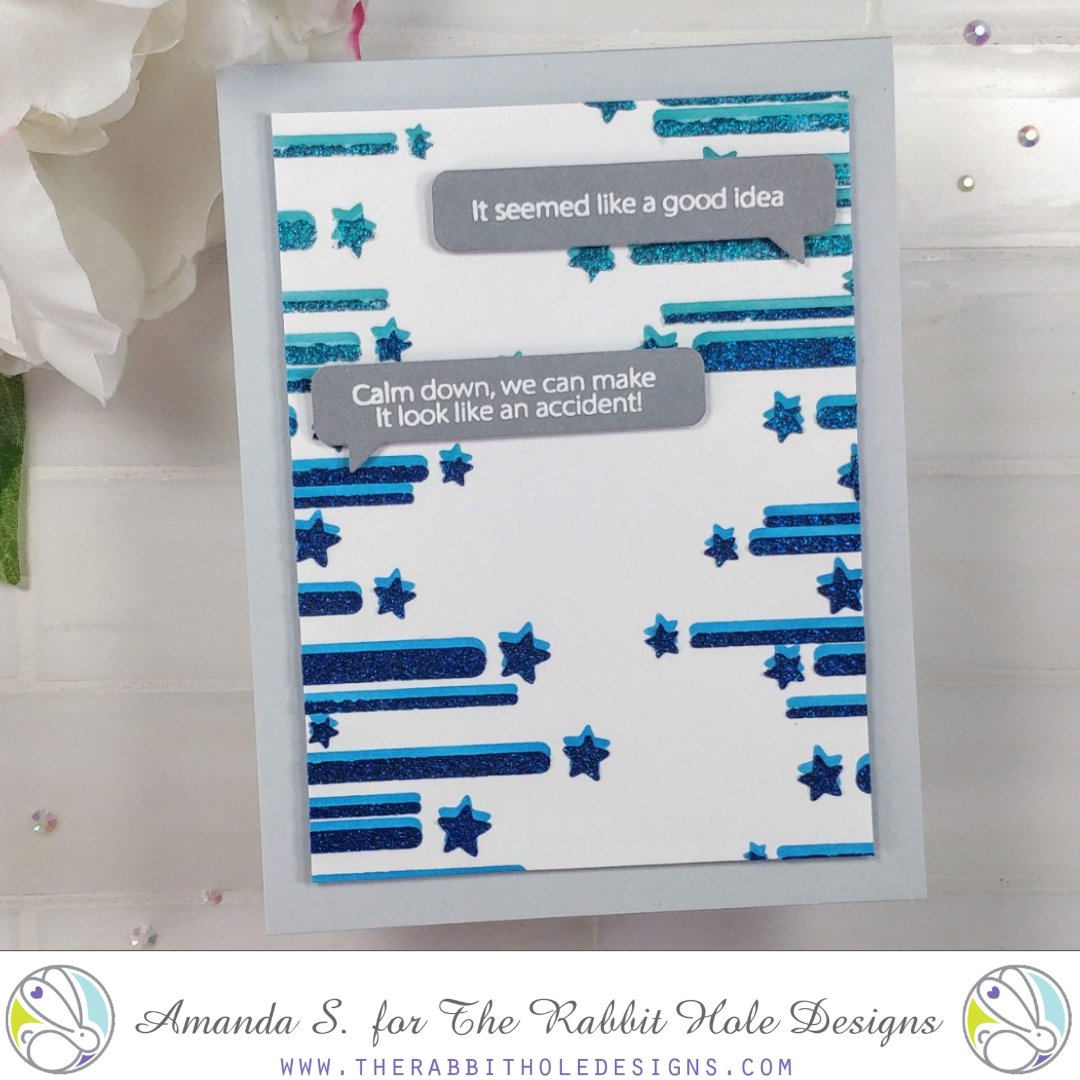
Hey crafty friend, it's Amanda from Pear Blossom Press again, and I've got a fun stencil shift technique to share today. I learned this from my friend Lynnea; she always has the best ideas! And the coolest part, is that it's quick and easy. 

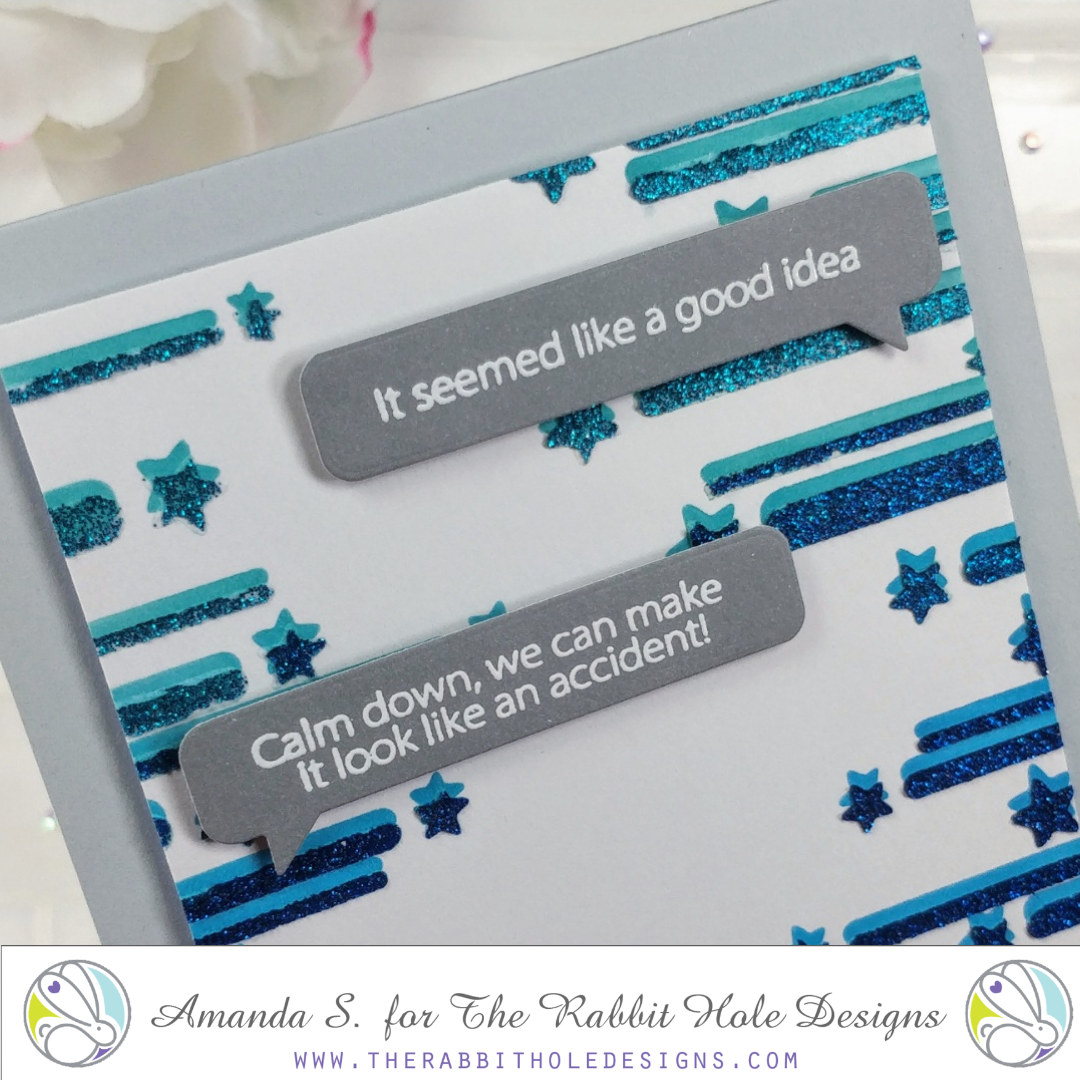
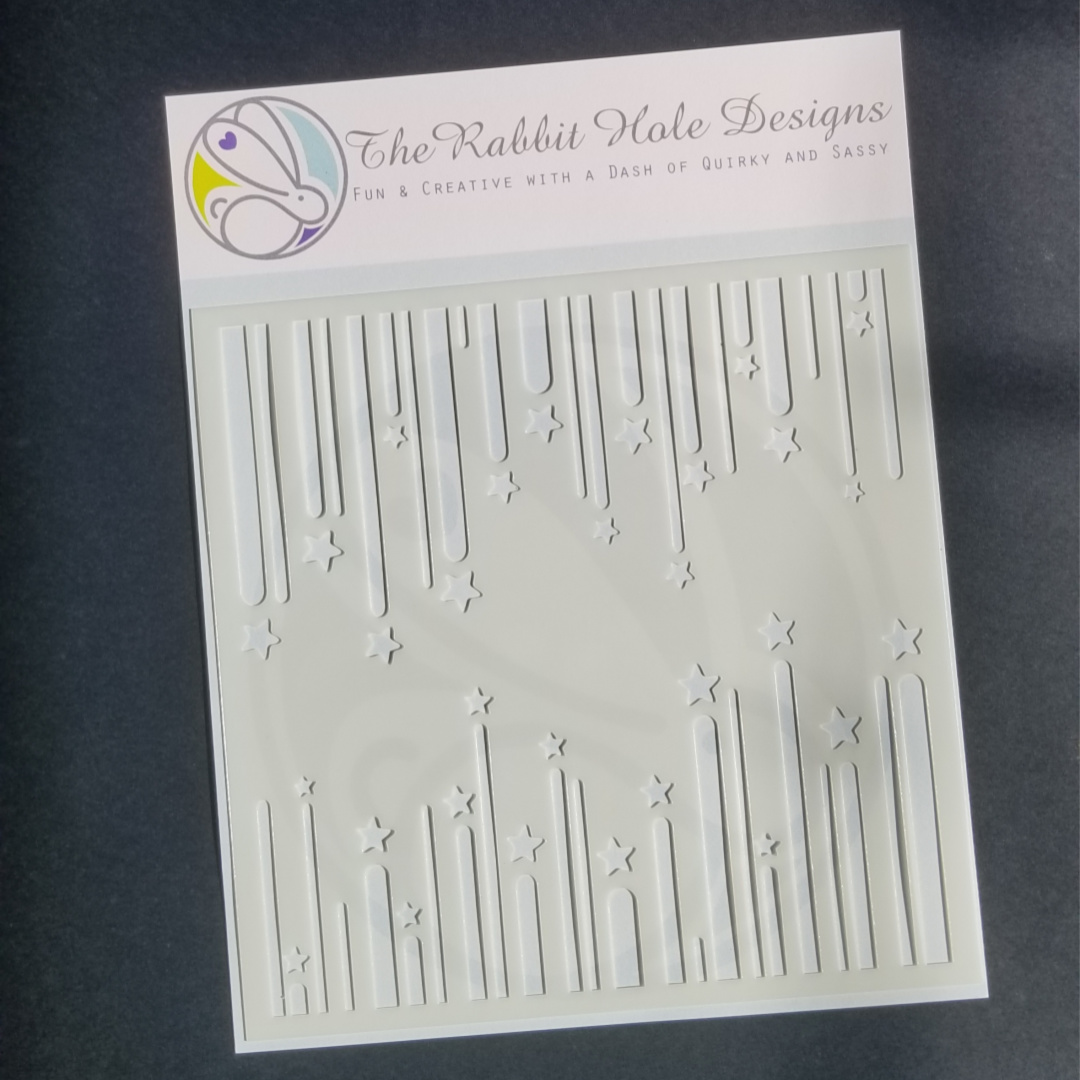
For this technique, pick your favorite stencil and blend ink through it. I used the Ribbon Star stencil, but anything with bold stripes will work really well for this. Next, shift your stencil over slightly and apply glitter gel or metallic paste through the stencil. That's it! Your ink blended layer creates a drop shadow effect for the gel. 

You can clean your stencil while your panel dries, then turn it into a card. For this one, I embossed a pair of Sassy Sentiments and cut them out with speech bubble dies. Then I popped them up onto my trimmed panel, and popped that up onto a card base. Easy peasy, lemon squeezy. 


Thanks for stopping by today. I hope you'll give this technique a try and let me know what you think. Tag me if you do; I'd love to see! If you'd like to see another fun project featuring the Ribbon Star stencil, check this out. You can find the sister article to this on my blog. Head on over for more inspiration. I'll be back soon with another fun card to share. 

For more information, news and updates check out these links:

Never Underestimate the Power of Love

Hello! Alison here with a new card featuring the Ribbon Star stencil from The Rabbit Hole Design's June release.

I really wanted to create a Pride card using this fun stencil, so I painted my background using several Dylusions sprays, allowing the colors to blend together. Then, I applied copper stencil paste on to the dry panel with the Ribbon Star stencil attached.

After I let the paste dry, I stamped my sentiment in black, which is from the Old School Tattoo- Affirmation stamp set. It's one of my favorite stamp sets from The Rabbit Hole Designs.
I created a black card base, but I thought it needed some shine, so I painted on some gold watercolor to frame my rainbow panel.
This card is actually very quick to create....you just have to wait for everything to dry. I really love how the stenciled image stands out against the vibrant background. It would be fun to try this with other color combos too, but I really wanted something for Pride for this card.

The products I used from The Rabbit Hole Designs today are:


You can get more information on my card by visiting my blog HERE. I'd also love it if you followed my social media accounts:


Thanks so much for stopping by. Have an inspiring day!
-Alison

For more information, news and updates check out these links:

Tons of room in my heart for you!


Hi Everyone! Amy here and I’m excited to share with you a card that I made using the Space - Infinity and Beyond stamp set from the June 2020 Release! 


On this card I used the new set called Space - Infinity and Beyond. I ink blended a galaxy background and then stamped an image from the set with clear embossing ink. I heat embossed the image with white embossing powder to have a nice contrast against the dark galaxy background. I used a heart shaped die to cut it out and popped it up on a background where I used the new ribbon star stencil. I felt like the sentiment from the set was a perfect complement to the scene. And don't forget, with any order you will receive one of these adorable TRHD pins for free while supplies last!


You can find these items and much more here


Thanks for checking out my project and have a great day!
Amy


For more inspiration, updates, and news make sure to check out these places.


Out of this World Celebration


Welcome back to today's blog!  I have created this fun Out of this World Celebration card using the Space - Infinty and Beyond stamp set. I created a dimensional card with layers, a acetate window and foam tape.  It is like a shaker card, but with out any shaker elements. 


I stamped  and colored the spaceman with the moon balloon (from  Space - Infinity and Beyond stamp set) using waterbrush markers and fussy cut him out.  I found a piece of watercolor paper I colored with watercolor pigments in my stash.  It already had the circle die cut out of it from another project. I trimmed it to 4" x 5 1/4" to create the card front.  I stamped the sentiment "Celebrate" from the Celebrate with Cake stamp set. I cut a piece of  clear acetate 1/4' bigger that the circle opening.  I took some neon silks and splattered colored spots onto the acetate and let it dry. 


The A2 card base is a rich purple cardstock.  I positioned the spaceman's feet just behind the lower area of the cut circle and his balloon in front of the top par of the circle opening and glued it down.  I turned the card front over and added the spotted acetate, gluing it shiny side down towards the front of the card base. When you turn the card from over  you will find the card is acetate window 
is smooth. 


I added foam tape to the back of the card front and attached it to the purple card base.  I added a few dimensional stars to the card to complete the project.


Products use:


Thank you so much for stopping by the blog!  I hope you enjoyed this Out of this Word Celebration card featuring the Space - To infinity and Beyond stamp set.  I love hearing from you. Please leave me a message letting me know what you like most about the June Release for the Rabbit Hole Designs. As always, if you have questions, just ask!

Be Creative ~ Stay Inspired
Jenn Gross

Follow me, Journey Coach Jenn, on 


For more inspiration, updates, and news make sure to check out these places


You're Outta This World

Hello there Rabbit Hole Fans!!! Hope all is well with you. Michelle here, sharing a card 
I created using the stamp set Space- Infinity & Beyond. I love giving these astronauts a female spin...
like the color pink. 

I paired it up with the stencil Twisted Sunshine. I used tumbled glass and chipped sapphire distress
oxide inks than I splattered some white and gold paint. I colored the astronaut with Copic Markers in shades C0, C1, C3, C5, C7, C9, 0, RV000, RV00, RV10, RV02, RV04.

I embossed the sentiment with gold powder over a piece of cardstock I colored
with the same inks.  For a finishing touch I scattered some cupped sequins and added
some shimmer with stickles glitter glue.

Space - Infinity & Beyond  4x6

Twisted Sunshine - 6x6 Stencil
Thanks for stopping by for a peek!
Enjoy your weekend!

Michelle

For more information, news and updates check out these links: