Pages

Showing posts with label diamond flower stencil. Show all posts

A Witch's Wardrobe

Hello there! Michelle here! The stamp set, Hex Yeah, has been a favorite of mine and I hate the idea of only using her for one season. It was time to update this witch's wardrobe!
A no-line coloring technique did the trick!
I also used the stamp set Kringle, for the sentiment and banner.
You can stamp your image with any light gray or light beige ink. Than have fun coloring! I used Copic markers to color.
Hat and Dress: R35, R46, R59, RV99
Sash and Buckle; Shoes: C7, C8, C10, YR23, YR27
Stocking: G05, G07, E40, N1
Hands: E11, E13, E15
Banner: G05, G09, G28
I embossed the top panel using Diamond Flower Stencil and gold embossing powder. 
For the inside panel I used Light Me Up Stencil and white embossing powder.

For this second card I wanted a winter inspired outfit. Blue, beige and a little leopard pattern. 
The same no-line stamping technique applies with some Copic Marker coloring.
Hat and Dress: B34, B37, B39
Stocking: B34, B37, E41,E41
Leopard Sash and Shoes: E40, E41, E42, E43, E44
Skin: E11, E13, E15

I used Spell It Stencil to spell the word 'WINTER' and used the withes legs for
the letter 'I'. I used distress oxide inks in shades tumbled glass and chipped sapphire. I 
scattered some snowflakes using the stencil Light Me Up and the same distress oxides.
I stenciled the stars using Pumpkin Face Stencil and antique linen and tumbled glass distress oxide inks.
I splattered some white paint. When dried I stamped the sentiment from the stamp set, Krinkle.

I added some finishing touches to both cards: bells, a twine bow, and gems.

Thanks for stopping by for a peek!

Michelle


Just A Little Bit Wicked!

Hi everyone! Von Marie here and I am so happy to be on the Blog today. I have a card to share with you using the Newest Release.


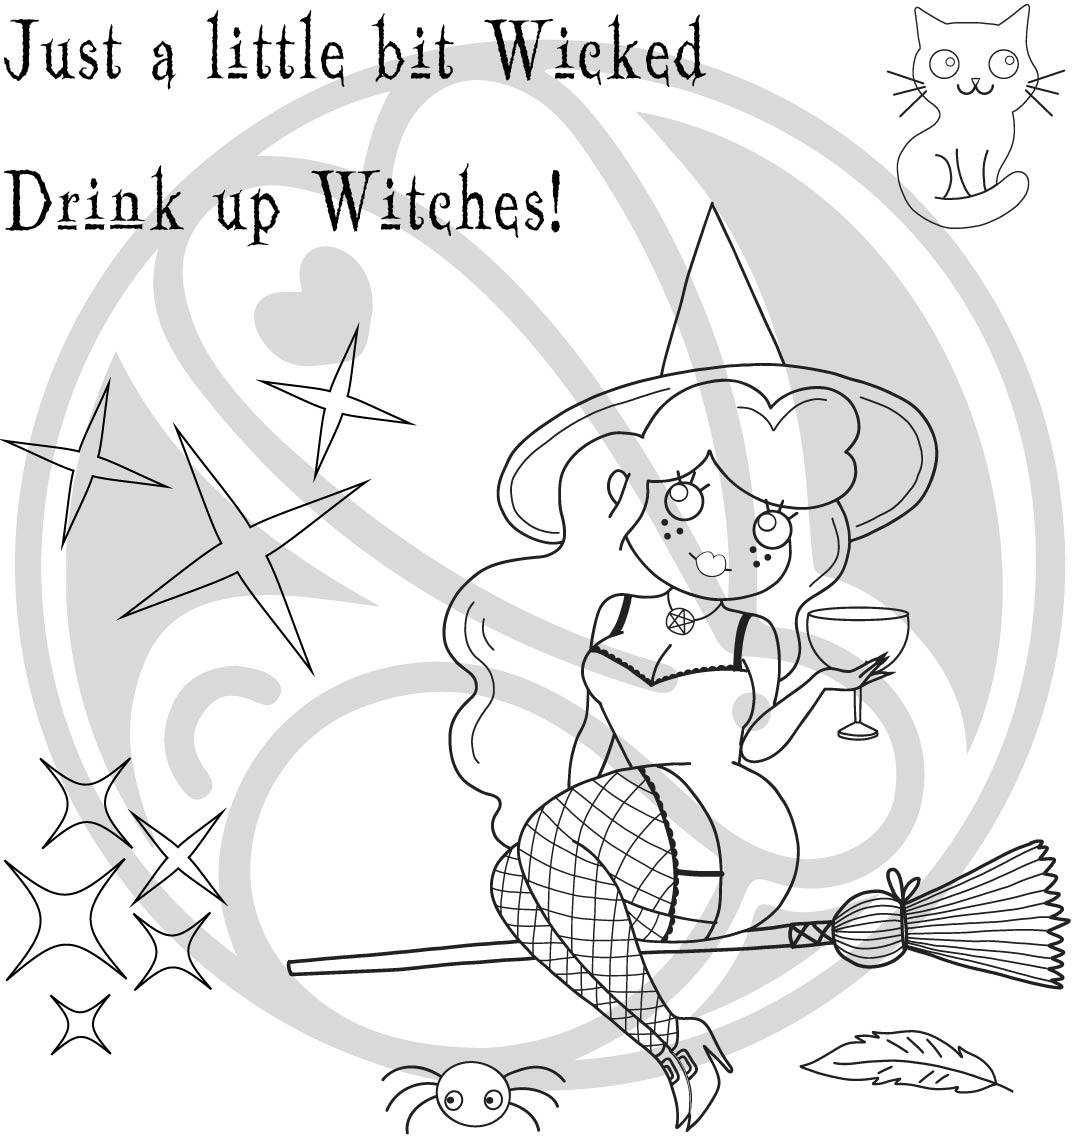
Isn't this Witch cute? She is from Cocktail Witch. I first stamped the images onto Neenah Solar White cardstock. I then cut them out with my Brother Scan N Cut and colored my images with Copic Markers.


I used a Chevron Coverplate die and cut out cardstock to match my images. I then used a square with white cardstock and used the Diamond Flower Stencil with Spun Sugar Distress Oxide ink using the Cotton Tail Blender Brush. I stamped an envelope to match in Purple Dye ink and stamped my sentiment that I cut into a banner. I glued everything onto my panel, popping up my images with foam tape. I added my panel to a A2 card base and added white gel accents with my Gelly roll pen, clear confetti, and Nuvo Glaze to her wine glass . I hope you like my card. Thank you for stopping by.

TRHD Products Used


For more inspiration, updates, and news make sure to check out these places:


Thank you for stopping by!
~Von Marie~

Harvest Witch

Hello Everyone! Justin here and today I am sharing a project using the new Bicycle Witch set, which is part of The Rabbit Hole Designs August Release!

I wanted to give this project a very autumn feel, so I used a lot of yellow and oranges in this project, along with a few color pops!

First, as always, I colored up my Bicycle Witch and a few bats using Copic Markers. I fussy cut them out and set them aside to work on my other pieces

I took an A2-sized piece of black cardstock, placed the Drop It Stencil over it, and applied a layer of Black Glitter Glitz Gel. I set this layer aside to dry.

Taking a 4" stitched circle die, I cut a piece of harvest floral patterned paper. I set this piece aside.

Using a 3" stitched circle die, I die cut a circle from white cardstock, applied the Diamond Flower Stencil over it, and blended up a Yellow to Orange to Black ombré using the Cotton Tail Blending Brushes. I adhered this circle to the center of my harvest floral circle, and adhered my bats directly to this piece.

I heat embossed the sentiment "Salem Bicycle Society" in white powder onto black cardstock, trimmed it to a strip and added a few white gel pen dots to give it a bolted look.

I now was able to begin piecing my card together. I adhered my circle unit directly to my Drop It background. I then used foam tape to adhere my Bicycle Witch directly on top of the circle. I also adhered my sentiment strip using foam tape as well. To finish this card off, I adhered a few sequins from a Rabbit Hole Designs sequin pack and then mounted this panel to an A2-sized card base.

And that's how I made my card!

This project uses the following Rabbit Hole Designs products:


For more inspiration with your The Rabbit Hole Designs Creations, be sure to follow along at these other locations:


For more details about products used in this post, you may also follow along at my personal blog, Just a Note by Justin, as well!

I cannot wait to see what you craft up using these adorable new witches from the Halloween Release! Be sure to share them in The Rabbit Hole Designs Fan Page (and don't forget about the Anything Goes Challenge Album as well!

Happy Crafting!

Reindog

Hello Rabbit Hole Fans! Alison here with a shaker card that uses the new Pawlidays stamp set. This card is super cute and festive!
I decided to work only with the pup in the reindeer costume, so after I stamped and colored him with Copics, I carefully fussy cut him out.

I made my shaker next, simply by die cutting several oval frames out of red cardstock, stacking them together and adding acetate. I filled it with the new Merry Mint Sparkle Blend from Doodles Paper Playground, which was created specifically for a collaboration with The Rabbit Hole Designs. Be on the lookout for that collaboration starting next week!
I backed the window with some old patterned paper that reminded me of the TRHD stencil called Diamond Flower, which is one of my favorites from TRHD. I inked it up with Mowed Lawn Distress Ink and of course one of the new Cotton Tail Blending Brushes. They work incredibly well! You can see the varying depth of color I was able to get on my background. Then I added my sentiment and a few additional Sparkle Blends to the top layer of my card. I popped the Reindog up on the left so that he would be even with the shaker window.

Making this card was fun, and you can easily switch out the focal image to anything you want, as this card is easy to duplicate. You can get more information over on my blog HERE. Thanks so much for stopping by. Have an inspiring day!

I used the following products from The Rabbit Hole Designs:


For more information, news and updates check out these links:

You feel like home to me...


Hello and welcome to The Rabbit Hole Designs blog! It's Lisa here with you from 
That is the name of the stamp set I used to make this card. 


I just love the whimsical feel of this image. Everything from the messy hair to the shirt hanging off her shoulder. It just gives you a laid back easy kind of feeling and we all need that right about now! The sentiment is from another Rabbit Hole set called Love You More.  Isn't that just the sweetest sentiment you've ever seen! I think we all have a new appreciation of home right now.... It's our safe space and we are surrounded by our loved ones during this time of social distancing.  I know we have spent a lot more time together just in family meals alone! 
The background of my card was made with the 
Diamond Flower Stencil and two different color oxide inks.

I am very happy with how this card came out.  It has a nice easy feel with some cool colors and I don't even hate my Copic coloring.
😂

Thank you so much for stopping by my blog today!

For more inspiration, updates, and news make sure to check out these places ...


Have a great day, I already am!
☕️Lisa ☕️

You are Ear-resistable!


Hello everyone, Lisa here from Oh So Cute By Lisa and I'm here on the blog today with
a heart shaped card using the recently released stamp set All Ears.  I started by coloring my bunnies with Copic markers in different shades of brown with a couple of pink bunnies thrown in for fun. I colored the background in a pale blue/green and fussy cut those cute bunnies out.  Next I used the Diamond Flower stencil and a blending brush to make a pale pink pattern that I then cut out with a large heart shape.  I cut out a larger heart shape to mat the stenciled panel on in a light blue/green color.  I added foam tape to the back of the bunnies and popped them up on the stenciled heart.
For a little bit of added interest I added some fun white dots around the larger heart. All that was left was to stamp the sentiment from the All Ears stamp set and my card was done!

Thank you so much for stopping by the blog today!

For more inspiration, updates, and news make sure to check out these places ...


Have a great day, I already am!
🐰 Lisa  🐰

Diamond Flower Girl Card


Hey Everyone! Justin here, and today I'm featuring an A2-sized card made with the new set Beautiful Disaster, part of the March Release!

What I love about the girl in this set is there are so many variables to color up and entirely change the feel of the image. There are so many skin and hair tones to pick from, and that slouchy sweater can be any color or pattern you want (and could be really fun to pattern paper piece together with the right print)!

For this card, I was inspired by a Pinterest swatch I saw for inks, and decided to use those colors (they're also pretty close to the Rabbit Hole Designs Colors too!).

First, I took a 4.125" x 5.375" panel of white cardstock and stamped my girl in Alcohol Ink Compatible Black Ink in the lower left corner. I colored up my girl with a vibrant purple sweater and some dusty brown hair. I loved how she turned out!

Next, I knew I wanted to use a stencil with this project as well. Instead of fussy cutting out my colored image, I decided I wanted to stencil directly onto that panel. So, I stamped my girl again on a piece of scrap paper for a mask, and left a little bit of blank paper at the bottom of my image for how I was going to adhere it. I fussy cut my mask out and covered my image in a way I hadn't done before. Because my colored image was at the very bottom of the panel, I took a piece of washi tape and stuck it to the back side of the card, so that some of the sticky side was visible on the bottom edge of the panel (maybe about .25" worth of a strip). I took my mask, positioned it, and adhered the bottom portion to my washi tape. I knew I was going to use a light tack spray adhesive for my stencil, which would help keep the mask in place, so long as I didn't move it around too much.

So, following my plan, I applied my Diamond Flower stencil with the light tack adhesive over the masked panel. I then took blending brushes and applied ink in diagonal lines, repeating 3 colors in the same order. Before removing my mask, I flicked some specs of the same ink colors all over my card for a little bit of texture.

I removed my stencil and mask, and was so happy with how my panel turned out!

I mounted my panel to an A2-sized turquoise panel. I then heat embossed my sentiment in white powder on purple patterned paper (if you clock a splotch on the purple paper, it's actually intentionally there by the patterns design and not an accident!), and mounted the sentiment piece on a turquoise frame.

I finished my card by adhering some Rabbit Hole Designs sequins and mounting the card to an A2-sized card base!

Here are the products I used in this card:


For more inspiration with your The Rabbit Hole Designs Creations, be sure to follow along at these other locations:


For more details about products used in this post, you may also follow along at my personal blog, Just a Note by Justin, as well!

There are so many things to love about this new release! I hope this card sparked some ideas and inspiration for your next project!

Kiss My Grass Card


Hey Rabbit Hole Crafters! Justin here with another project using a set from the latest The Rabbit Hole Designs Release! This Caffeinated- Goat set is so fun, and I'm not "kid"-ding!

For this card, I was inspired by farm life. Pretty simple, right? I felt like this goat is one of the first Caffeinated Critters that you would expect to find on a farm, so I wanted to make this fella right at home.

As always, I started my project with coloring up my goat with alcohol markers and cutting them out. I also wrote a fun little sentiment on their mug, reading "Kiss My Grass". Get It? Because goats eat... oh never mind!

Next I used oxide inks to blend up a daytime blue sky on a 4" x 5.25" white cardstock panel. Once finished, I set it aside.

Because I ink blended the entire sky, I wanted to do something different with the grass. One thing I love to do is use inks on colored cardstock. It's such a different effect from using solely white cardstock! So I grabbed a piece of grassy green cardstock, and trimmed it down to 4" x 5.25" as well, as I want the bottom length to be the same on both panels for when I layer. Next, I used a light tack adhesive to place my Diamond Flower Stencil on top, and ink blended over the stencil with a darker green ink. When I removed the Diamond Flower Stencil, I had a subtle floral pattern on what would soon become my grass! To finish this panel off, I used a grassy border die to give it that grassy top edge at the length I wanted. With my grass done, I set it aside until I needed it next.

I knew that, to give this card the barnyard effect I was going for, I wanted to include a rustic looking wooden fence. I have to be honest, I didn't even look for any sort of fence die. I just took paper bag colored cardstock and cut it into .5" wide strips for the vertical posts and .375" wide strips for the horizontal pieces. I cut all the vertical posts to be the same length, but I could have really skipped this part because a) I was going to tuck the posts under the grass layer to create depth of field and b) if you wanted this farm to look really rustic, different sized posts would totally add to that look!

Next, I needed to do a little bit of figuring out how my elements would be placed for my final result. I took my fence posts and laid them out so they were evenly spaced at the right height. Then, I placed the grass layer on top, as I had planned, to ensure my fence had the proper placement. Once I found out where my fence was going to be, I adhered my fence pieces together so they were 1 unit, and also masked my card to reveal the sections of the fence between the wood slats, as I was going to add some detail there. I took black ink and stamped the Caffeine Molecule included with the Caffeinated- Goat set to make it look like the fence had a chicken wire layer to it as well! I also took some black ink to my blending brush and distressed the edges of my fence to give it some shading. Once the Caffeine Molecule Chicken Wire was dry, I adhered my fence on top, and then applied my grass layer.

I then matted my grass and sky layered panel with an A2-sized cream patterned paper to continue the farmhouse effect. I placed where I wanted my goat, without adhering them yet. Once I knew where I wanted my goat, I was able to find the best spot for my sentiment strip. I took a strip of paper bag cardstock, trimmed it to 4.25" wide, and matted it with brown paper. I stamped the fun sentiment "Caffeine releases my inner kid" and adhered it towards the top of my card. 

I then adhered my goat and wanted to add a few more embellishments. I used a stitched cloud die to get a white cloud, and distressed the edges with a light gray ink and adhered my cloud in the sky. I also used some blue and green TRHD sequins and added those for additional embellishment!

Here are my products I used to make this card:

Caffeinated- Goat


For more inspiration with your The Rabbit Hole Designs Creations, be sure to follow along at these other locations:


For more details about products used in this post, you may also follow along at my personal blog, Just a Note by Justin, as well!

I hope you're loving these new Caffeinated Critters as much as I am, and I hope this card sparked some ideas and inspiration for your next caffeinated project!


Who Needs a Soulmate When There is a Kitten


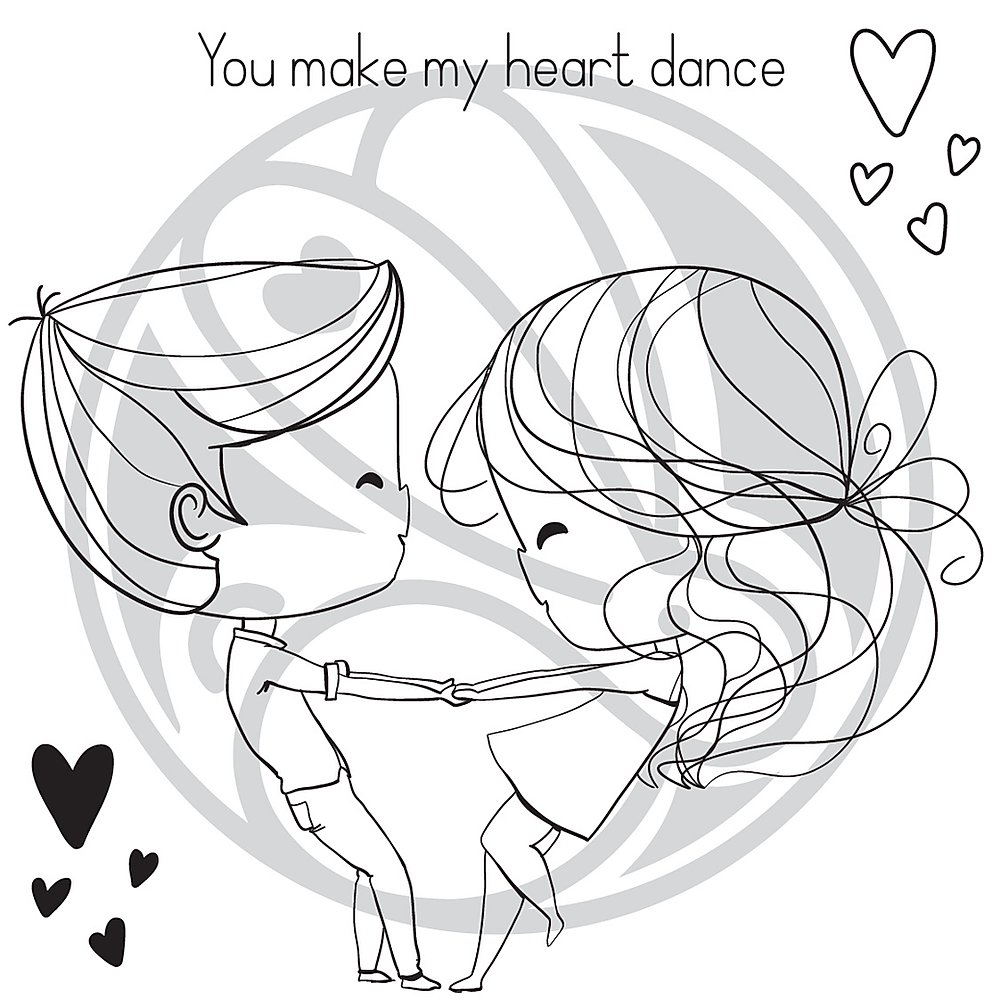
Have you ever tried doing some creative masking with your stamps?  That's exactly what I did here using the Heart Dance stamp set and the Sassy Anti Valentine stamp set.  Hey friends, it's Cassie back with another card!

In order to stamp just the girl from the set, I put the stamp into my Misti, and masked off the boy using some masking tape.  I inked it up and then pulled the tape away, and stamped the girl.  I colored her and one of the cats from the Cattitude stamp set using Copic Markers.  My background was made using some more masking paper along with the Diamond Flower Stencil and a couple different colors of Distress Oxide Ink.


I basically stamped the sentiment on the inside in the exact same manner, since I wanted to be creative with my sentiment.  The only difference is that I wrote the letter 'a' in between 'is' and 'kitten'.  If you'd like to see exactly how I did it, I do have a video that you can watch here, or over on my YouTube Channel.


And here are close ups of the products that I used:

Heart Dance stamp set

Cattitude stamp set


I hope you enjoyed what I made for you today and that you were inspired to go out and get a little crafty.  

For more inspiration, updates, and news make sure to check out these links.

Thank you so much for stopping by!
Cassie


Let Them Eat {Birthday} Cake...


Hello there!

 Michelle here! Stopping by to share a birthday card with you using one of my favorite
color combos...aqua, violet and gold!!!
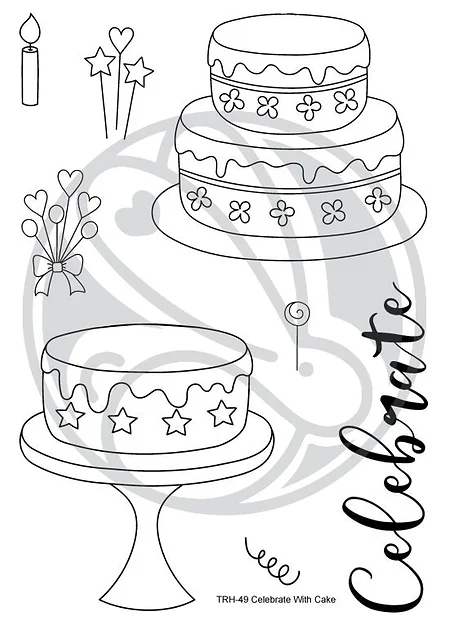
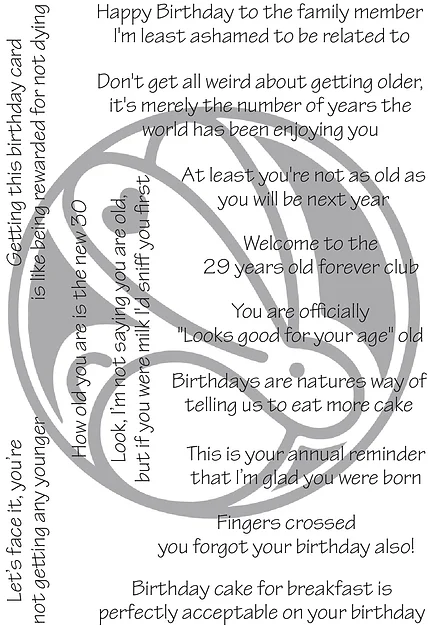
I used the stamp sets Celebrate With Cake, and Sassy Birthday, along with Diamond Flower Stencil.
I inked up the background with this sweet stencil and distress oxide inks in peacock
feathers and tumbled glass. Than I added some gold and black paint splatters and set aside to dry.

I stamped the double layer cake than masked the image and stamped the pedestal 
from the single layer cake. I colored the cake with Copic Markers in shades:
cake plate: BG10, BG11
Cake: E50, E51
Icing and Flowers:  V12, V15, V17
Topper: BG11, BG13, BG18
For the sentiment, I shaded a piece of Copic friendly paper with V12, 15, and 17.
I embossed the sentiment with gold powder.
For a finishing touch I added some clear stickles glitter glue and sequins.

Supplies used:
Celebrate with Cake 4x6

Sassy Birthday 4x6

Diamond Flower - Stencil 6x6

Thanks for taking a peek!!!
Check out all the items in the shop and also at Simon Says Stamp!!!

For more inspiration, updates, and news make sure to check out these places ...

See you soon!!!

Michelle