Pages

Showing posts with label foil. Show all posts

Succulent Life


This card was created with the September release from The Rabbit Hole Designs! I love plants, but succulents are really hard for me to keep alive! So, I knew I could enjoy these the most. LOL!!! The set is called SUCCULENT LIFE (TRH-182) it’s by the talented Tatsiana Zayats. It includes two different images of succulent terrariums and 4 sentiments!
 

I loved working with this stamp set, I loved that I got to color in some of the succulents as some of my favorite types of succulents. I watercolored these guys and mixed some greens, purples, teals and fuschia. You might recognize the golden foil strip, it is from last month’s release, it’s called: Amanda’s foil plate. I felt that the card needed a bit more of interest on the background so I used the TCW Stardust Stencil butter with my fingertips. 

The last thing I want to share with you is this month's free with purchase mini-foil!  Seriously, how adorable is this?!?!

Free with $35 purchase
after discounts, before tax & shipping.
While supplies last

For more inspiration, updates, and news make sure to check out these places:


You Make My Heart Dance by Niccole

Hello everyone!

It's Nic from Nic & Viv Designs back again to share another card I made using one of The Rabbit Hole Designs new stamp sets. 
For today's card I used the Love You More - Heart Dance stamp set, along with the Square Illusion stencil that was released this month.

How to create this card:
  • A2 red card base that is 4.25"x5.5".
  • Apply transfer gel over your stencil on a black card piece and let it dry clear.
  • Add silver foil to your stenciled background and run through your hot laminator.
  • Trim background to 4"x5.25" and apply to your red card base.
  • Add a red stripe across the middle of your background that is 1.5"x5.25"
  • Trim the top and bottom of your red piece with a thin black piece of card stock. 
  • Clear emboss you stamped image of the couple dancing from the Love You More - Heart Dance stamp set. 
  • Place silver foil over embossed image and run through your hot laminator.  Trim around the couple dancing.
  • Add your trimmed foiled couple from the Love You More - Heart Dance stamp set. I raised them up with foam tape.
  • Add White Nuvo Drops to the center of the squares of the Square Illusion stenciled background.  It adds some dimension to the card.
  • Add a few White Nuvo Crystal Drops randomly to finish the card.
Here is one more picture of the full cards ...

What do you think of the foiled couple? Isn't a neat technique?  It does work better with outline images, but play around ... you never know what you might come up with.

TRHD Products used:

For more inspiration, updates, and news make sure to check out these places

The Rabbit Hole Designs YouTube

I have had so much fun playing with the Love You More - Heart Dance stamp set and the Square Illusion stencil.


Thank you so much for stopping by and spending some time with me.

Until next time ... Hugs & inky fingers!   -Nic-


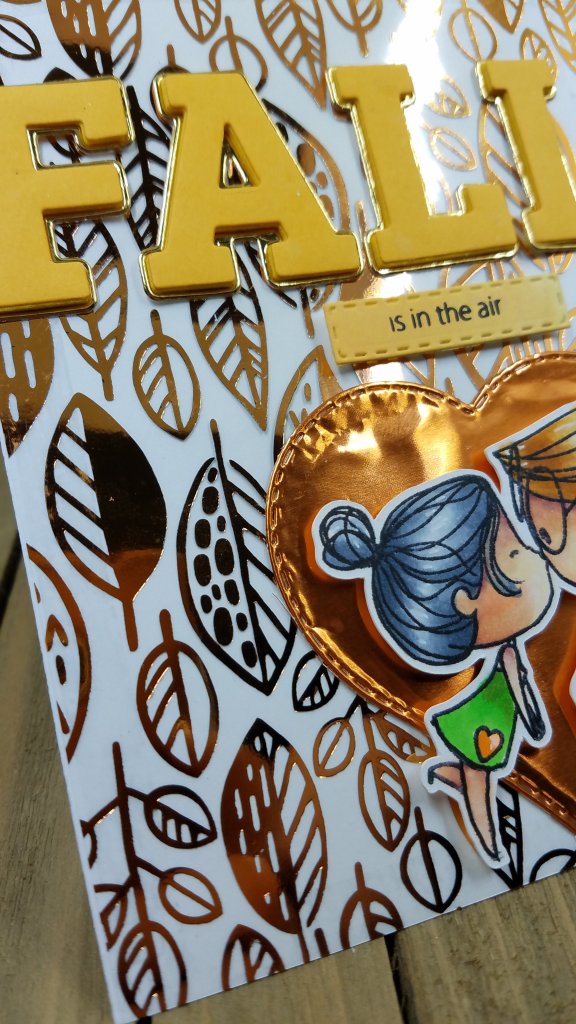
Therm O Web Collaboration: Fall is in the Air


Morning Friends! 
Charmaine with CharCards on the Rabbit Hole Designs Blog!

This week we are teaming up with Therm O Web to showcase you some old and new products that we use in our products. 
I am an Autumn baby so these gold Deco Foil and leafy designer toner sheets just spoke to me! I will link all my products used in the post.

This image has an empty alt attribute; its file name is 20190915_1600267456851903282201301.jpg


Using my favorite Love you more stamp, I decided that they need a Fall background. This stamp set is available 
Deco Foil Clear Toner Sheets - Endless Leaves pictureDeco Foil Transfer Sheets - Copper picture
Love You More Clear Stamp 4x6

Here is what I did:

** Switch on your laminator***
1. Stamp, cut and color the lovely couple. I used Copics.
3. Stamp the sentiment on yellowish paper, used
  My Creative Time's sentiment strip for the stitched die
4. For the "Fall", I used Pinkfresh's Adore Alpha Die Set and craft foam. Cut another set out of yellow cardstock and another out of gold/ mirror card stock. 
5. Glue the foam and cardstock with liquid adhesive. I used Gina K connect glue

This image has an empty alt attribute; its file name is 20190915_1558458713080945495934890.jpg

6. Now for the fun background: 
This clear Deco Foil Designer Toner Sheet, Endless Leaves, is GORGEOUS.
7. Pair it with ICraft Deco Foil Copper Cabre transfer sheet and run it through the laminator.
(Follow the directions of the packaging). 
The Rabbit Hole has transfer sheets in stock as well. Click here.
8. Cut the leafy background down to your card size (4.25 x 5.5)
9. Adhere the leafy background to the card using Therm O Web tape runner. This will not show through the clear sheet. Amazing right???
10. Adhere all the elements onto the card and as a final touch, use the gold "shadow outline" from letters and adhere to the word Fall. 
11. I used dimensional tape to adhere the sentiment

Hope you liked my card and all the elements I used from Therm O Web. These Clear designer Toner Sheets are amazing and very easy to work with. I hope you will give it a try!

For more inspiration, updates, and news make sure to check out these places.


Leafy kisses!
Charmaine 


Fly, Fly Away with me


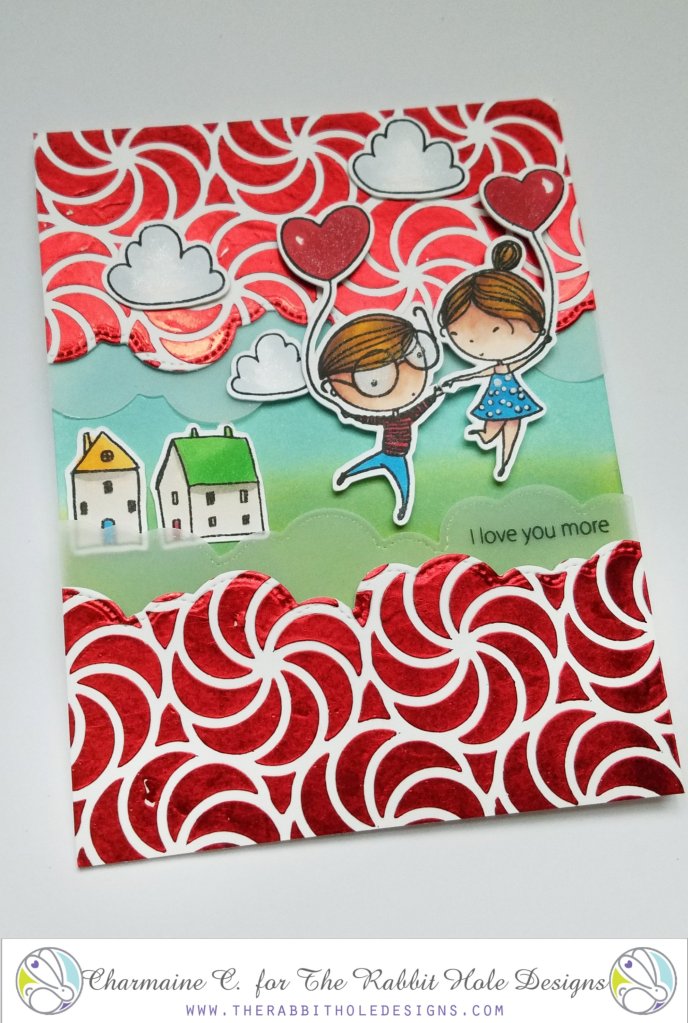
Good Morning! Charmaine from CharCards here!

I am coming out of my glitter fort to bring you
this awesome shiny card. Grab your laminator, foil and this gorgeous stamp!


This image has an empty alt attribute; its file name is 20190724_1943247629936033019033289.jpg

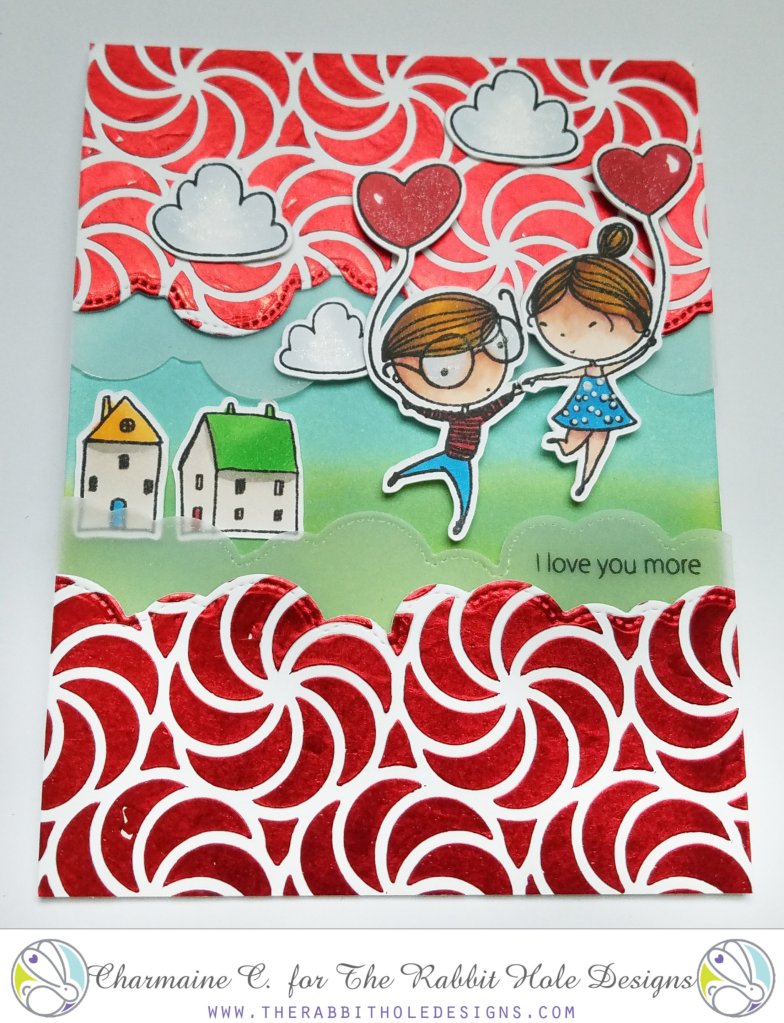
This is a very doable card, it took about two hours to do everything. 

This is a top folding 4.25 x 5.5 card. 

I used the previously released Love you More stamp and one of the new stencils, Candy Twist, to make the background. 
Click on the images to go to the store. Also, these stamps and stencils are also now available at Simon Says Stamp 


Love You More Clear Stamp 4x6
Love You More, Click image for store


Candy Twist - 6x6 Stencil
Candy Twist Stencil, click image for store


Place the 6x6 stencil over a sheet of Neenah cardstock 110lb paper, or any other heavy duty cardstock. I use washi tape to keep everything in place but Pixie Spray is pretty handy here. Smear the transfer gel evenly across the stencil and paper using a craft knife or old credit card. Immediately wash the stencil in warm soapy water to avoid hardening of the gel. Set this aside and allow the gel to dry for about an hour. Switch on your laminator. Give it a good 20 minutes to heat up before use.


This image has an empty alt attribute; its file name is 20190724_1944124026818366040905272.jpg

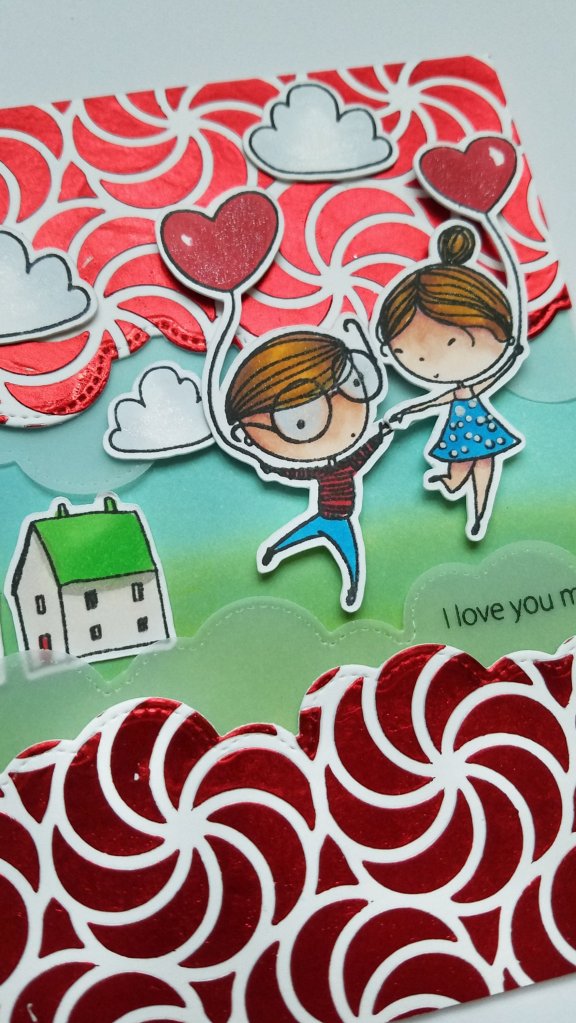
Now, stamp, cut and color your pretty people and buildings. I used Copics and didn't focus too much on the detail. The main attraction of this card will be the foiled stencil result. For the background, I used a green and blue distress oxide palette. Nothing fancy, just enough to peak through.

Vellum "paper" is a fantastic way to soften any card. I used a cloud like metal die to cut clouds for the top and the bottom. Using black StazOn ink, stamp the sentiment on the vellum. This ink is amazing as it is PERMANENT! Give it a second to dry.

This image has an empty alt attribute; its file name is 20190724_1944011276829069687109925.jpg

Make sure the transfer gel is dry. Place a piece of red foil large enough to cover over the cardstock. Depending on your laminator (***please read your instructions***) place the foil and dried gel cardstock through the laminator.
Some machines require you to place your product in a piece of parchment paper to run through the machine.

Using the fluffy cloud die, cut two pieces from the red foiled product that match the vellum pieces.

Adhere the vellum to the red with a little overlap, and then to the card. Cut off excess paper to match the card size. Place the people on dimensional tape and use regular adhesive for the buildings.

I hope you have a fantastic day and appreciate you supporting a new and small business! We are all so excited that you are here growing with us!

Ta-ta!
Charmaine
charcards.blog

For more inspiration, updates, and news make sure to check out these links.