Pages

Showing posts with label spring floral #1. Show all posts

Easter Bags and Tags

 Hello there, Rabbit Hole Friends!

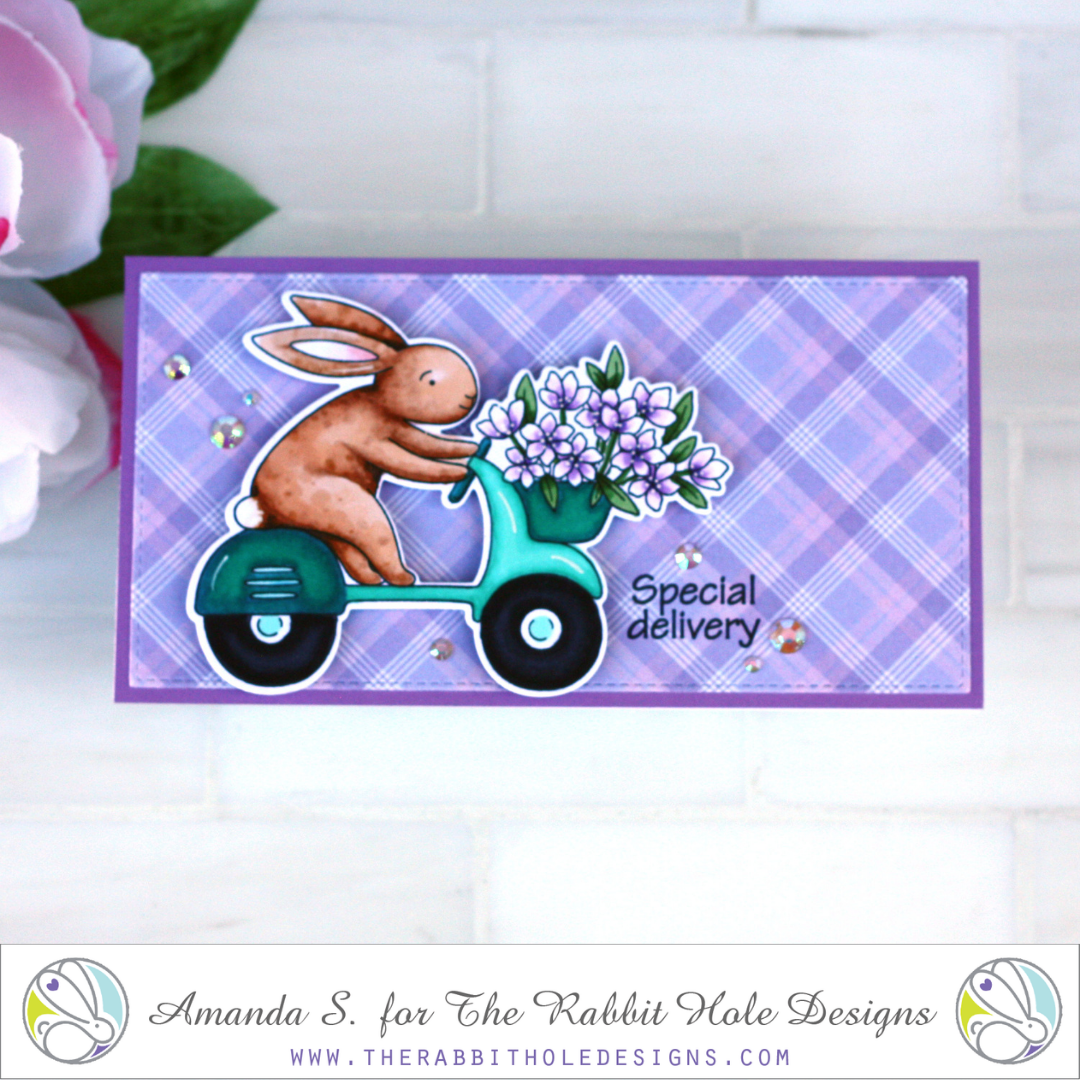
It's Kelly here on the blog today sharing a couple Easter tags and bags I made for my niece and nephew.
I can't wait to put some treats in here and drop it off at their house. 


 My tag is made from the "Spring Floral 1" paper pack.  I used a store bought tag and traced it on the back to create the base.  I cut thinner strips from other papers in the pack and hand cut the "flags" on the ends.  

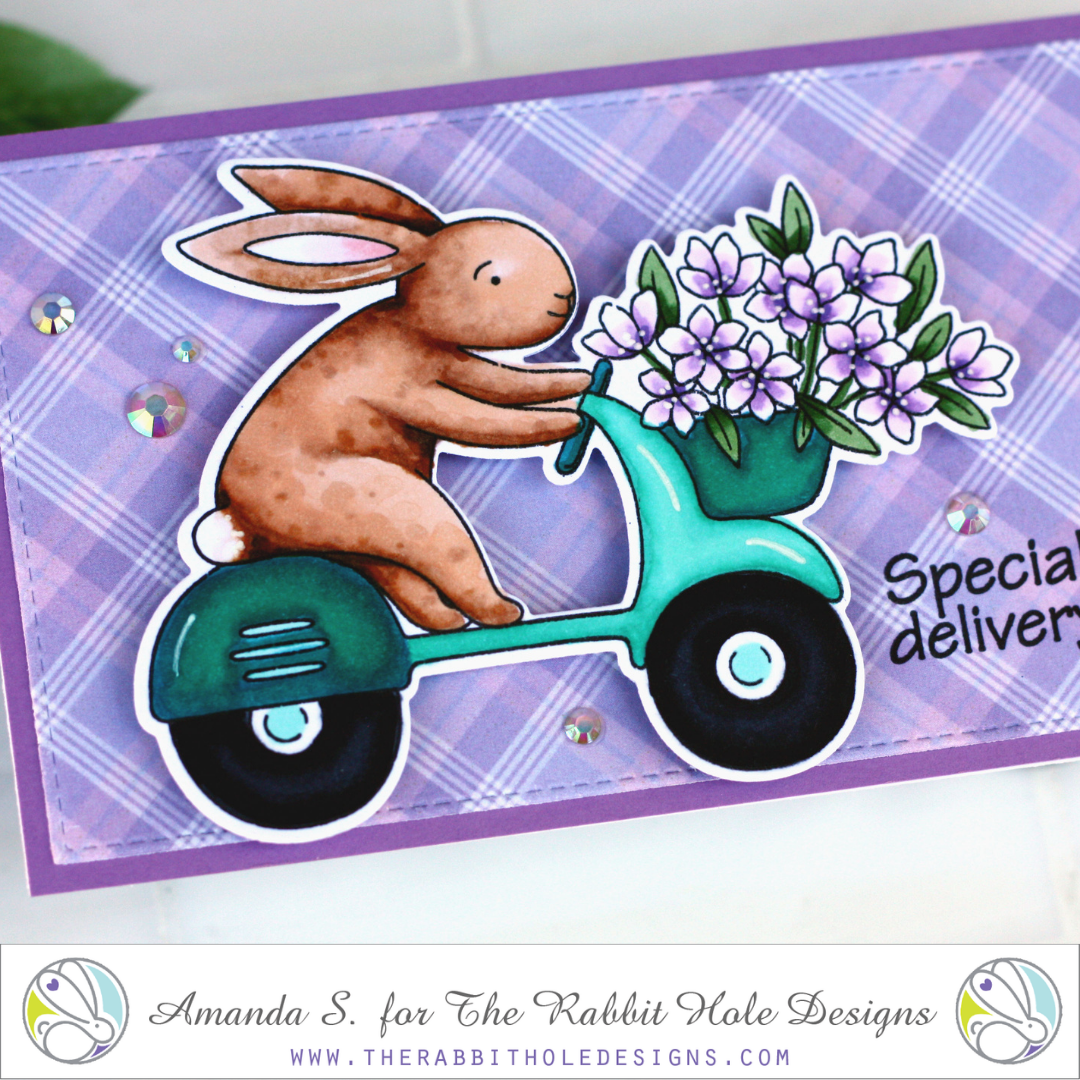
I stamped "1 Line Happy Easter" on white card stock and cut the focal point out with a circle die cut.
I carefully cut the sentiment "Happy Easter" so I could stack the words for this project.  I can still use it horizontally later.  I used my stamping tool to align the words on the tag and stamp.  


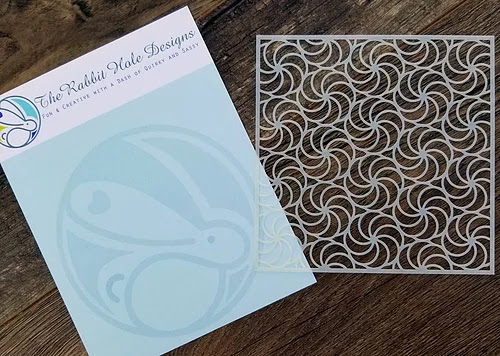
To decorate the bags, I used stencils and ink.  The pink version uses "Candy Twist" and the green one is the "Back Alley" brick stencil.  The picture shows how I taped one of the bags to prepare it for the ink blending. 


 Thank you for stopping by the blog to see my bag and tag project.
Have a great day,
Kelly

Products used in this project are below:


 1 Line Happy Easter


Special Delivery Mini-Slimline


Hello my crafty friend, it's Amanda from Pear Blossom Press again! I'm back with another mini-slimline card today (you're shocked, I know). 

Instead of creating a scene for my cute little bunny from Special Delivery, I used pattern paper to pull the card together. It's a simple trick, but there are a few things to keep in mind so your image doesn't get lost, and to make sure the paper actually coordinates. Head on over to my blog for details! 

Thanks for stopping by today! My sample card today features the Special Delivery Stamp Set, Coordinating Die, and Spring Floral #1 Paper Pack. I'll be back soon with another fun card to share. 

For more inspiration, updates, and news from The Rabbit Hole Designs, make sure to check out these places...

Adios! Safe Travels

 Hi Rabbit Hole fans. I am so excited to share this card today featuring the adorable Adventure Awaits stamp set and the Spring Floral #1 paper pack from the March release at The Rabbit Hole Designs!


On this card I created the background and set the scene with the new Spring Floral #1 paper pack. I love the colors and designs in this paper pack. I used this double sided paper to create a backdrop for the ground and the sky. I ink blended a little bit on the die cut pieces just to give it a little more depth. I also hand cut some pieces of vellum to create the clouds in the sky and layered those on the background. 


For the adorable bunny, I chose one featured from the new Adventure Awaits stamp set. I stamped the image out in black ink and colored it in with my alcohol markers. I fussy cut the image out but Coordinating dies are available for that stamp set. 


I stamped one of the sentiments also from the stamp set onto a piece of the pattern paper and popped that up on the suitcase part of the image. All that was left was to attach all the pieces onto the A2 size card base.

I had so much fun creating this card. I hope that you found some inspiration here. Be sure to check out all the fabulous products that The Rabbit Hole Designs carries. You can follow this link HERE to see their whole product line. 

Thanks for stopping by!
If you want to you can check out my blog at amyswares.com 

-Amy

For more inspiration, updates, and news make sure to check out these places.

Bunny Flower


Hello! Lauren here today sharing this cute small card featuring the newly released Bunny Bouquet stamp and the Spring Floral #1 paper pack. This is a non traditional card size that measures 4.25x4. I plan on popping it into an Easter basket that I am making up for family friends.

I love the blissful expression on this bunny's face. He is so happy to be immersed in flowers. I thought the adorable face would make a cute center for a flower and I thought of the flowers with faces in Alice in Wonderland. 

To create this card I first stamped the image onto gray cardstock using fade out ink. Then colored it using Prisma color pencils. The colors I used were:
Bunny: 20%, 30%, 50%, 70% Warm Gray white
Cheeks and nose: Blush Pink
Leaves: Spring Green, Apple Green, Kelly Green, Grass Green
Flowers: Cream, Lemon Yellow, Canary Yellow, Spanish Orange

I then worked on the front portion of the card. This floral paper is double sided and I had a hard time deciding which side to use. I picked the purple side for the outside but I didn't want to cover up the green. The cardstock is a good thickness, so I used it as the front of the card cutting off the front of my card base leaving a half inch band to adhere the plaid paper to. 

I then trimmed the colored bunny panel to fit into the inside of the card and adhered it on. 

Next I measured the height of the bunny face from the bottom and then the side so I would be able to line my circle in the right spot on the plaid paper. Then using a small circle die from my stash, I cut the circle in the paper. Then adhered the panel to the half inch white strip on the front of the card.


I then created the flower for the front of the card. I used a stitched scallop circle die and a smaller circle die to cut out a hole in the center.


For the stem, I cut a strip of green cardstock. The leaves I used a die from my stash. I added a stitched hill in a different shade of green cardstock at the bottom. I ink blended Broken China distress oxide ink around the edges of 2 clouds and a die cut hello to add to the front of the card along with a sun. This completes the front scene.


Now this sweet notecard is complete. Thanks for visiting and happy crafting! 
Lauren