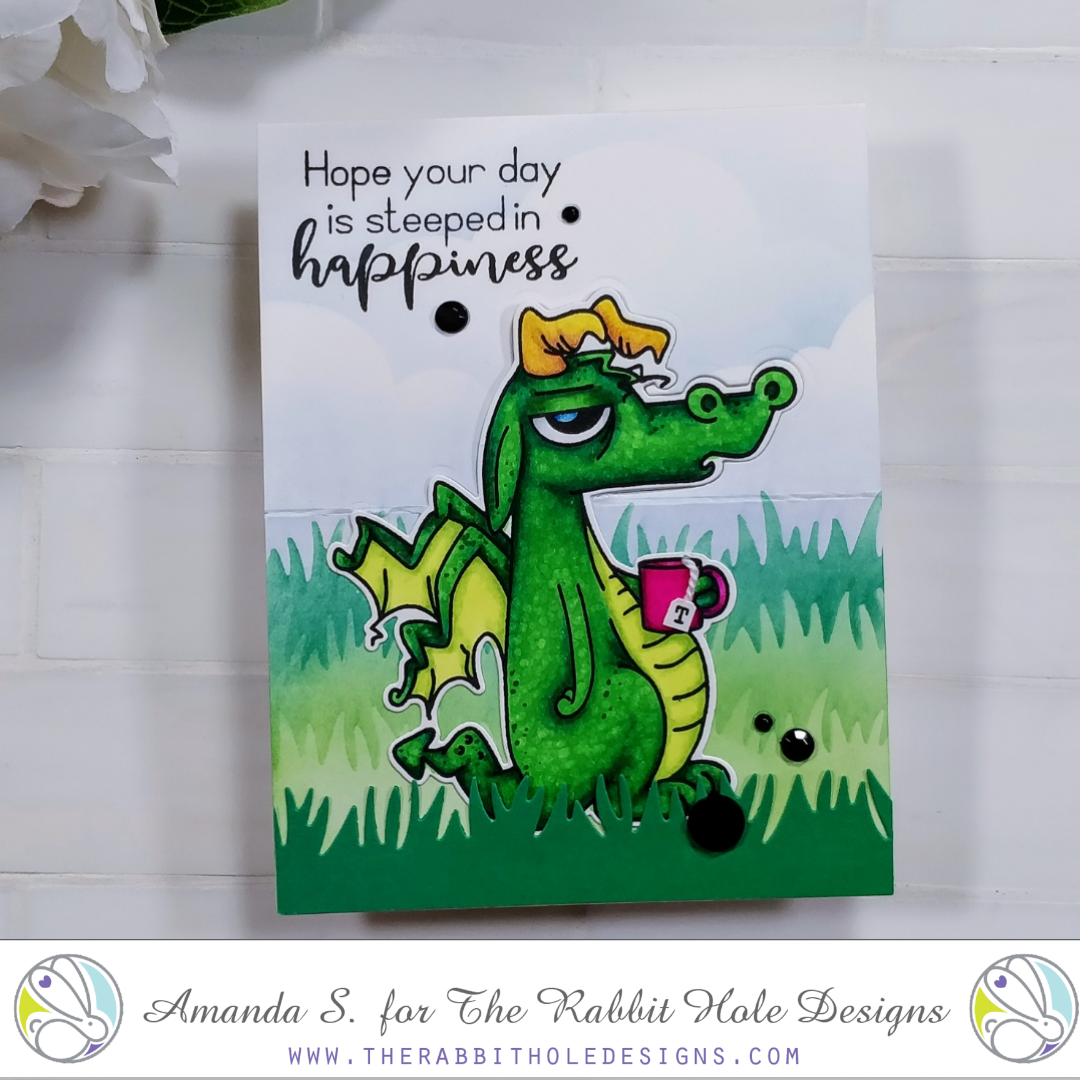
Hey crafty friend, it's Amanda from Pear Blossom Press again. In my last video, I explored several different ways to use your dies. I showed a lot of samples, so I've been breaking the different cards out into separate posts to go into a little more detail on each one. Today's card is the Caffeinated Dragon Easel card.
For this technique, you'll want to start with a top folding card base. Stamp and color a scene, then take a coordinating die from your focal image and line it up. You'll position it in your die cutting machine with the top plate only covering the top half of the die. After you run it through, the portion of the die that was under the plate will be cut out, leaving the bottom still connected to the scene.
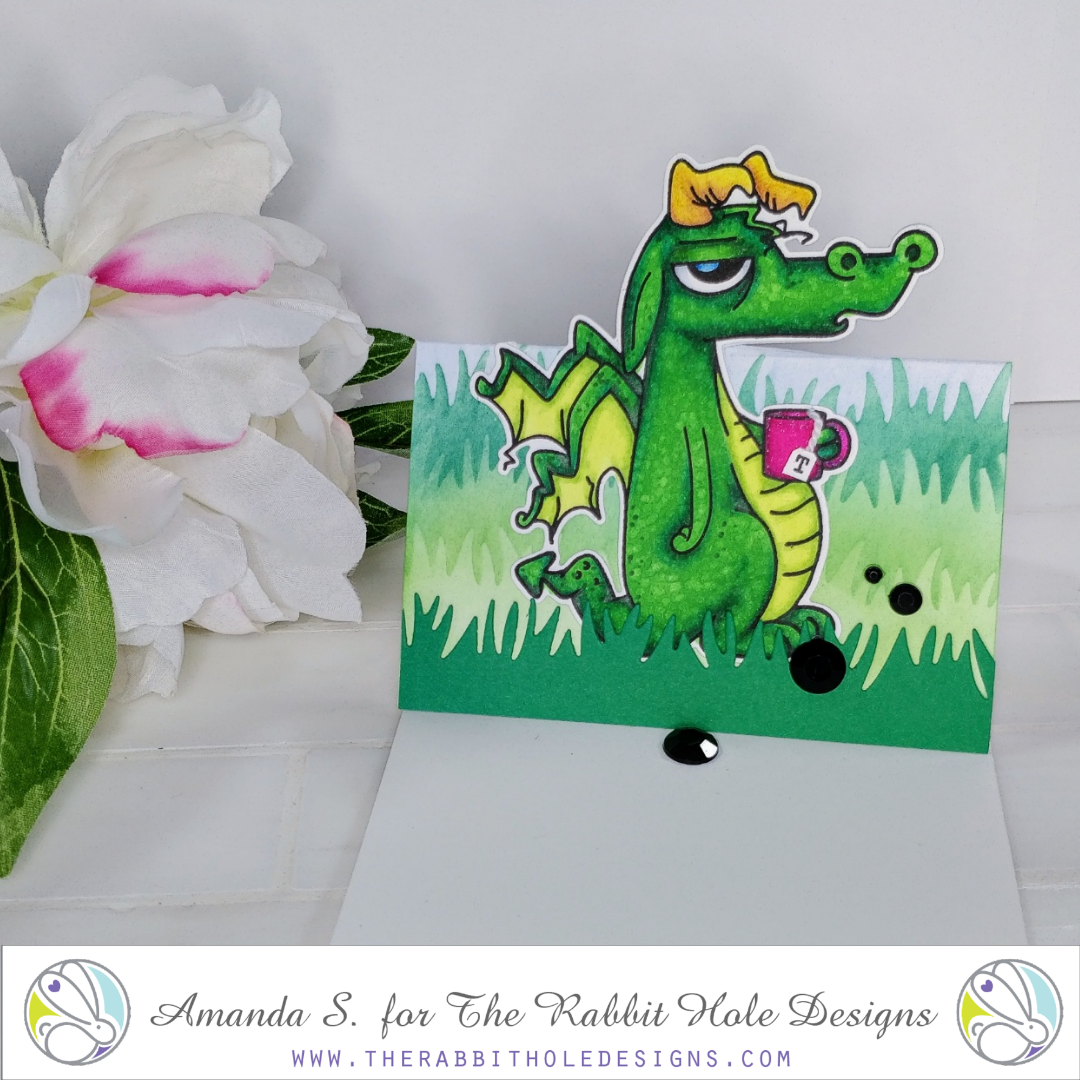
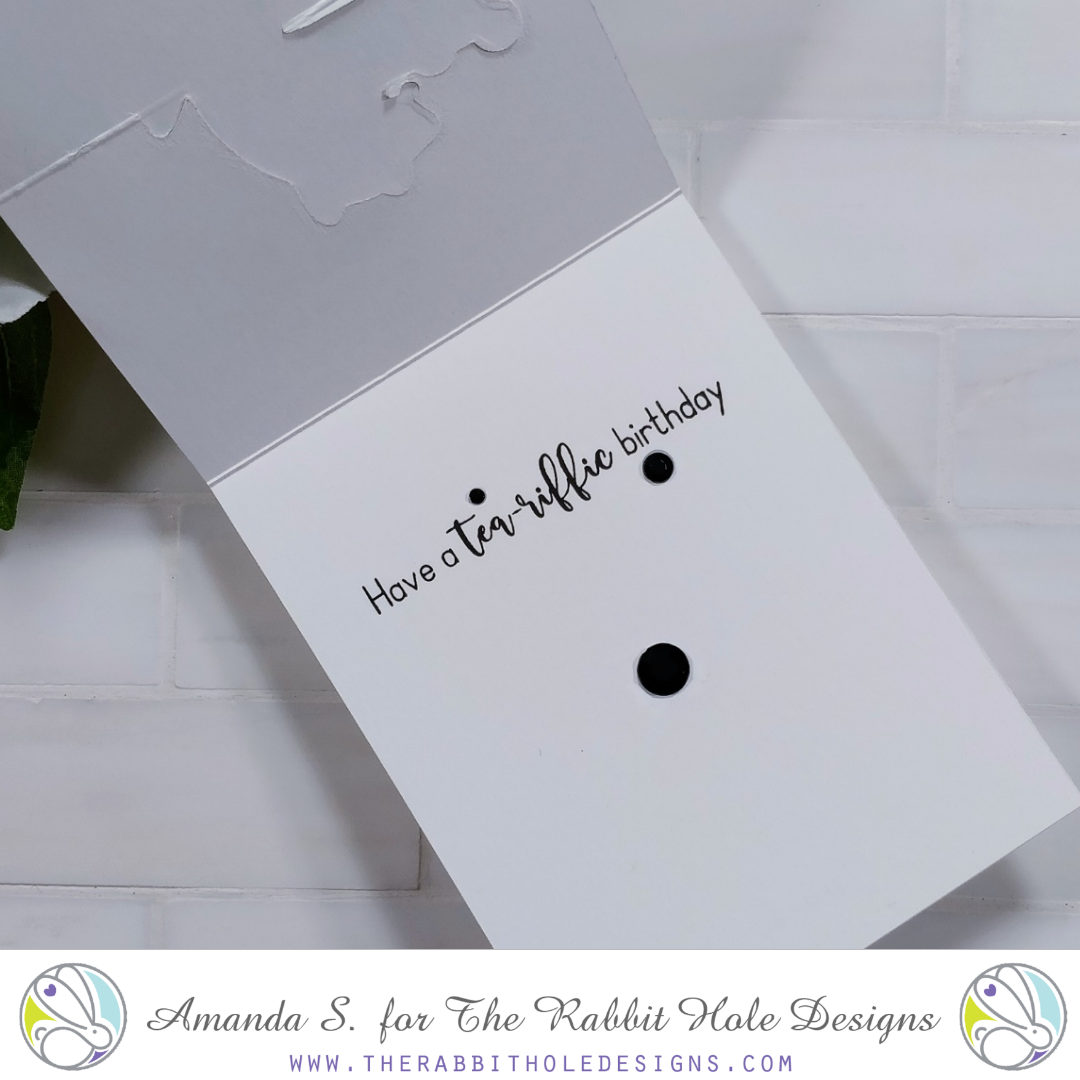
Next, line the card up in your Scor-Pal and score a line on either side of where your cut stops. You don't want to score the image you partially cut. Now, when you fold the front of your card in half, the top of the image will pop up! You need to add something inside to catch the bottom of the card when it's popped up. You can add a sentiment strip with foam tape, or like I did for this card, a large flat-backed gem.
Check out the video, if you want to see exactly what I mean...
For this card, I just created the background scene on my card base. I stamped and cut out the Caffeinated Dragon separately and layered it on top, lining it up with my partial cut. This was because I wanted to color him with Copic markers and they bleed through. The technique works exactly the same way though. I also added sentiments inside and out from the Steeped in Happiness set.
Speaking of the background scene I created, I used a second die cutting trick for that. Since I don't have cloud or grass stencils, I used border dies to create my own. This is a great way to stretch your supplies, and it also gives you both the positive and negative halves to use as masks, if needed. I taped my grass and cloud borders down, but did you know that you can use Pixie Spray on the back of your homemade stencils too? It's much less expensive than masking paper. 😉
Thanks for stopping by today; I hope you'll give these techniques a try and let me know what you think. You can find the sister article to this on my blog, along with product links and more inspiration.
Tomorrow kicks off the new release inspiration hop. If you like to color, you're definitely going to want to come back all week! (Also, the next 30 Day Coloring Challenge starts March 1st, so get ready!)
Follow The Rabbit Hole Designs for more inspiration: