Pages

Showing posts with label Hoggy Holidays. Show all posts

Making Cards with a Single Stamp Set


Hello my crafty friend. Amanda from Pear Blossom Press back again, with another recipe for quick cards. I used a holiday stamp set, but you can substitute virtually any set. You want one that has an image and sentiment you like. Just think of the design, or layout of the card, as a template.

For this design, I broke it up into two parts: the coloring, and the background. Let's start with the coloring...

I have been coloring along with Kathy Racoosin for her 30 Day Coloring Challenge again. I like to stamp images onto quarter sheets and Copic color them while watching TV, or crafting online with friends. Usually, I do this without a specific plan for finished cards; I just color and die cut, or fussy cut the images with my ScanNCut, and set them aside for later. That's what I did here with the cute little pig from Hoggy Holidays.
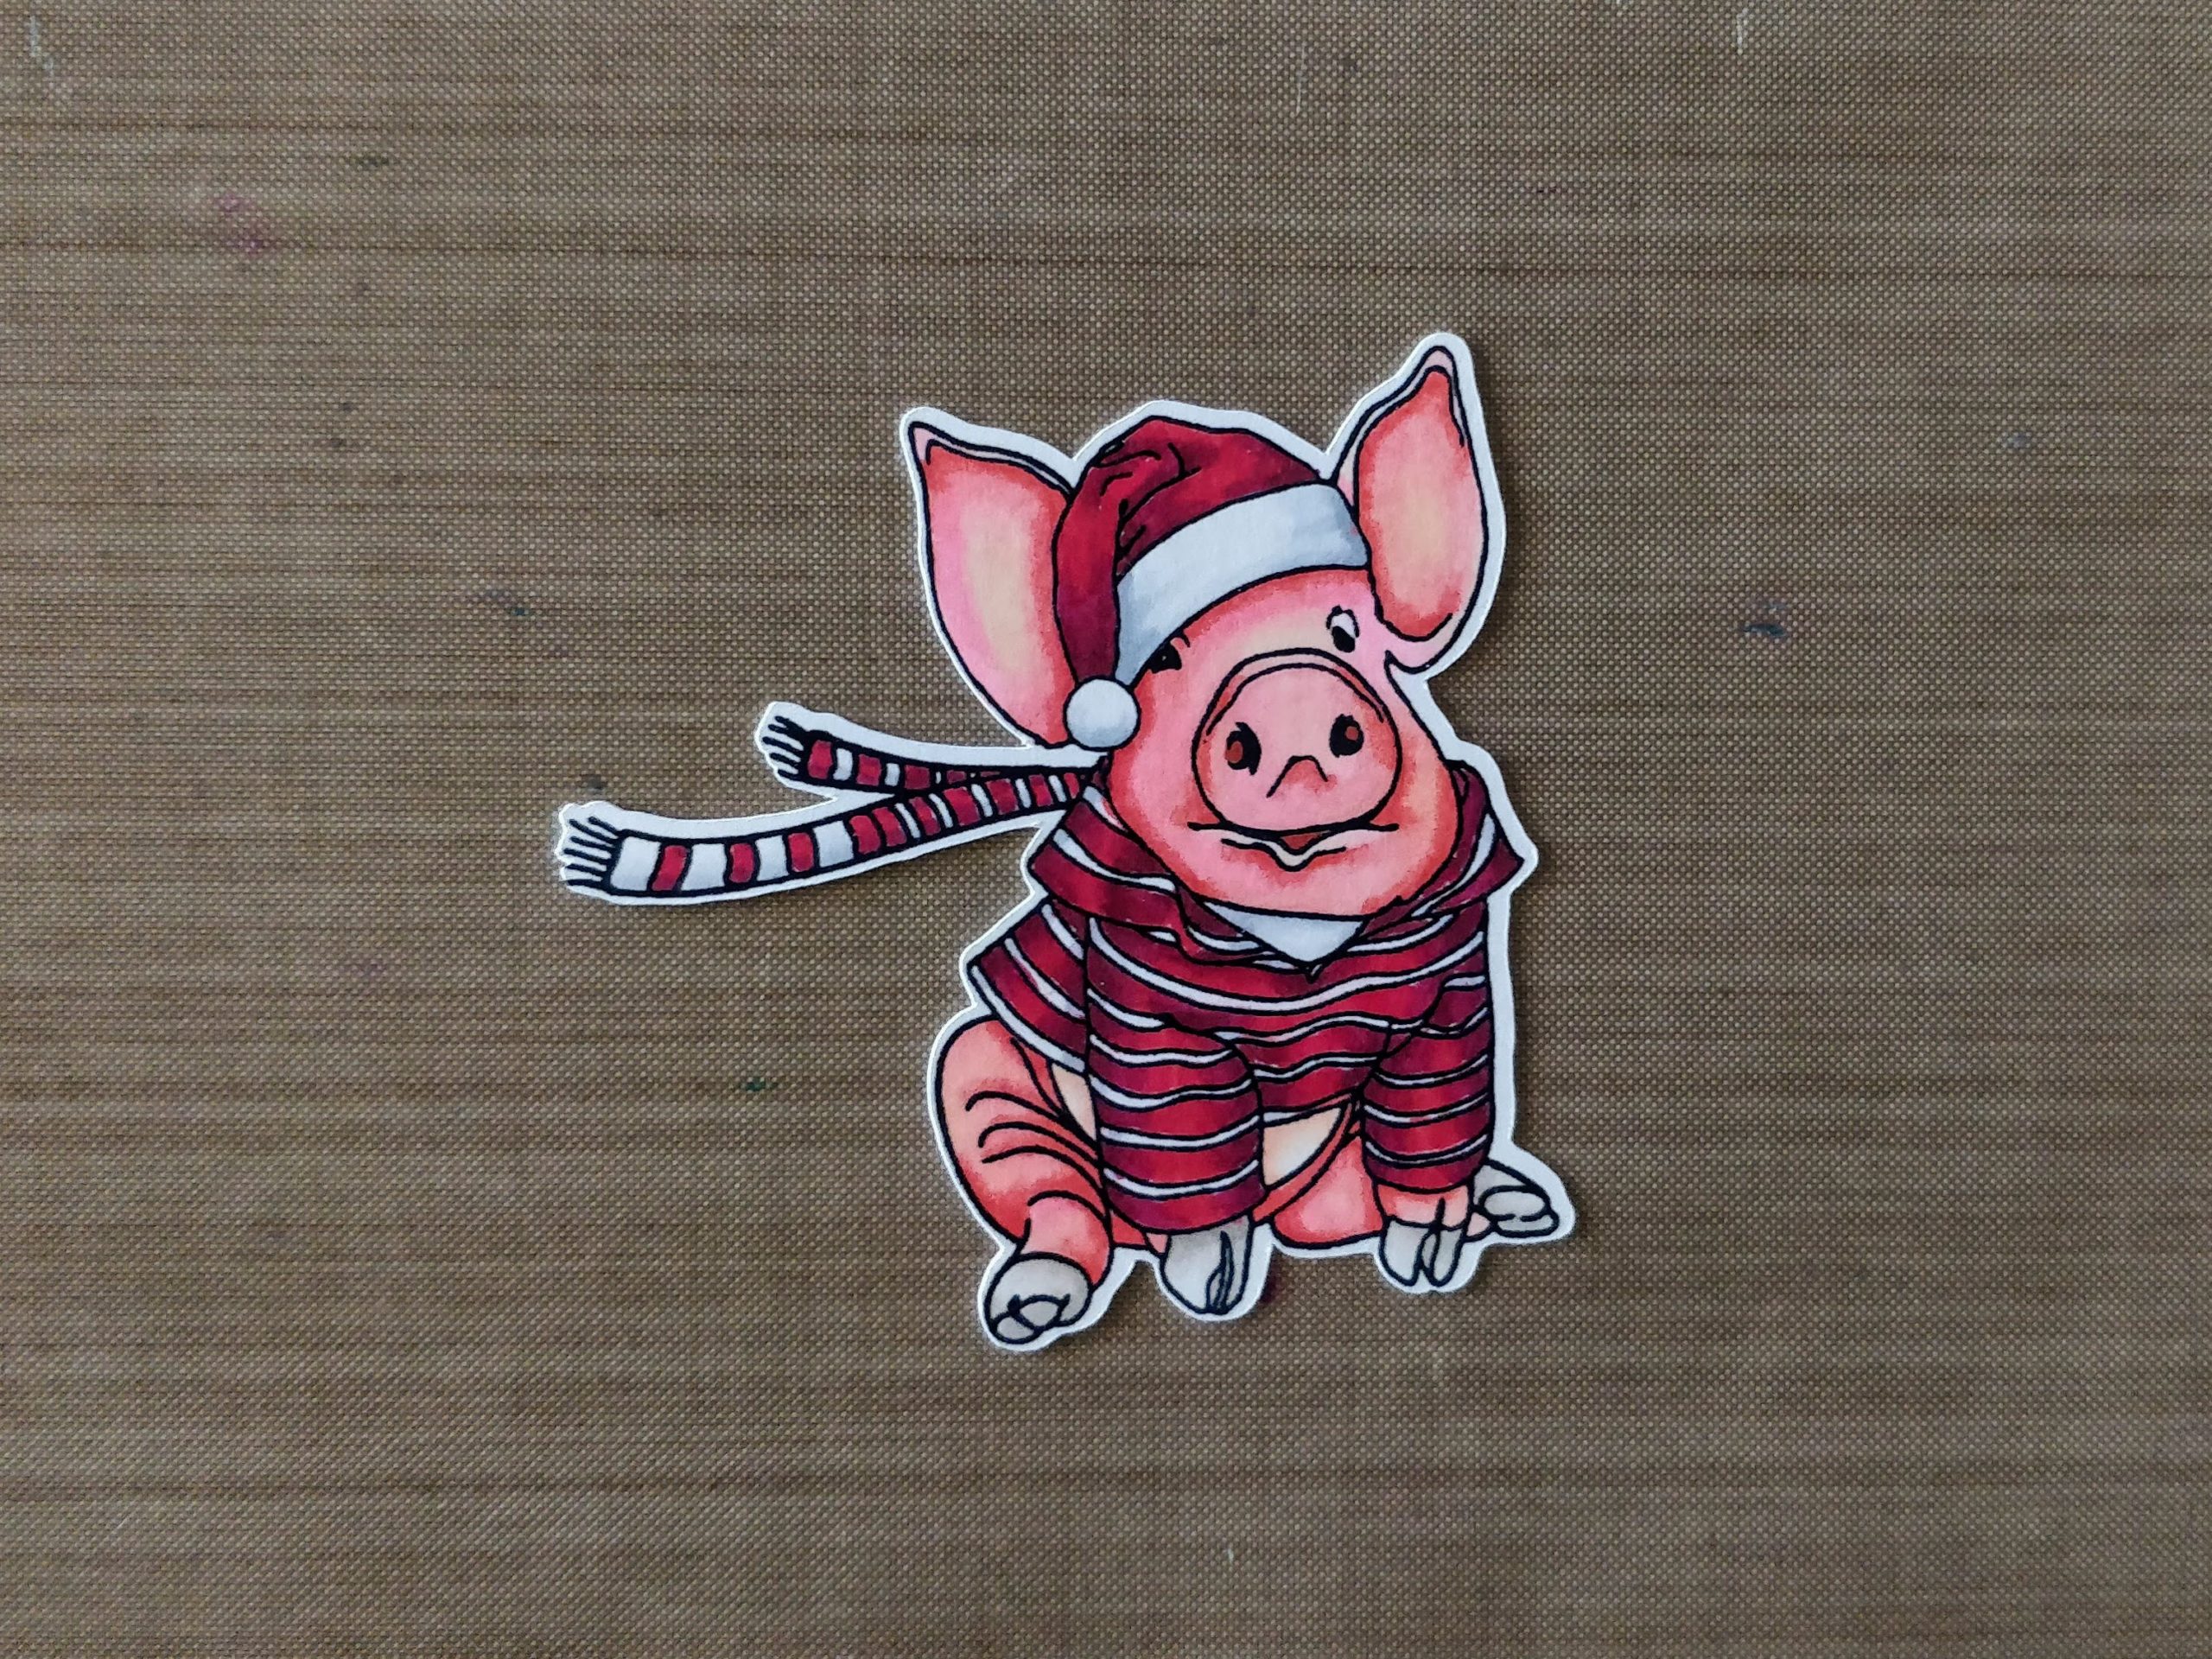
hoggy holidays The Rabbit Hole Designs

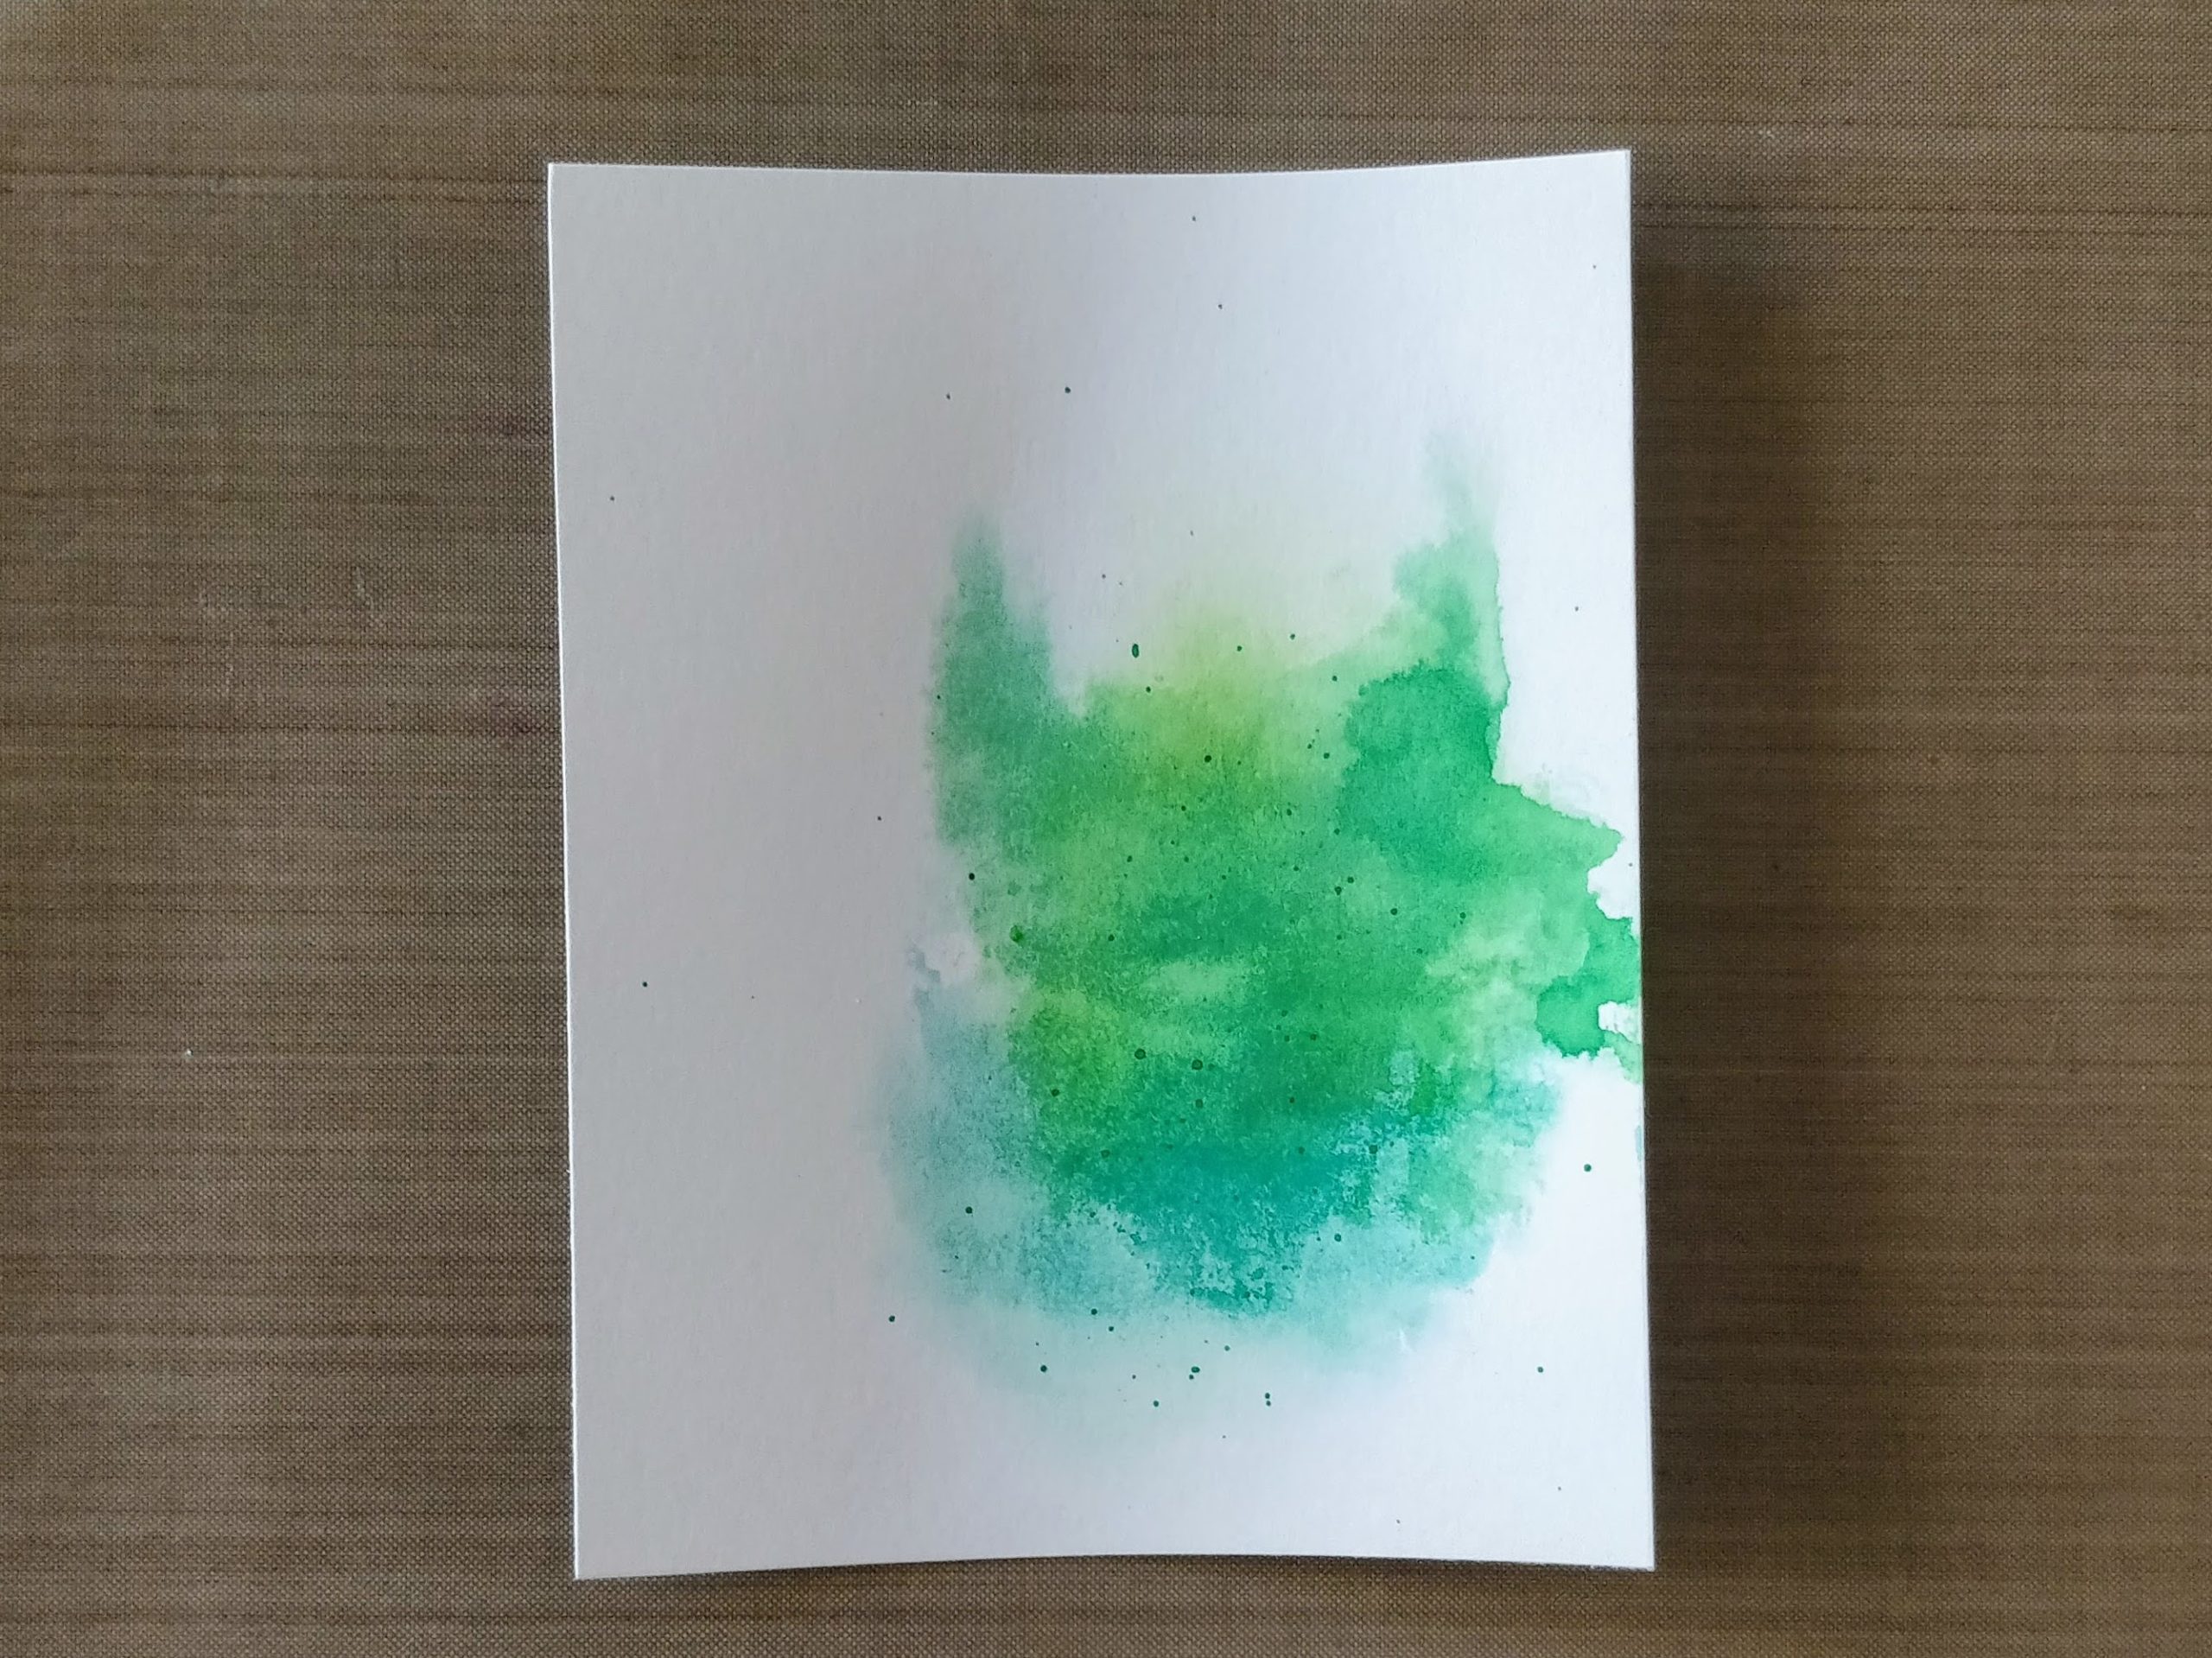
For the background of the card, I wanted something simple that would add a pop of color and ground the pig, but be fast and easy. I decided to use my Karin markers and do some ink smooshing. If you don't have these markers, you can use any water based markers, or even watercolor paint, or ink pads. I will however, recommend using a ceramic palette, not a plastic one, to help keep the ink from beading up. Just scribble (or swipe your pad) onto your palette, and spritz with a little water. Dip a panel of watercolor paper into the wet ink and lift.

You can dip it several times to create lines and variation of pattern. For markers or inks that aren't as concentrated as the Karin markers, you may want to apply more ink to the palette and repeat the process until you reach the desired vibrancy (remember, most colors dry back a little softer). After I dipped the panel, I let it dry for a minute, then splattered concentrated ink onto it (I just picked up more ink with a wet paintbrush and flicked it on). This gives the panel a little texture and adds interest. 
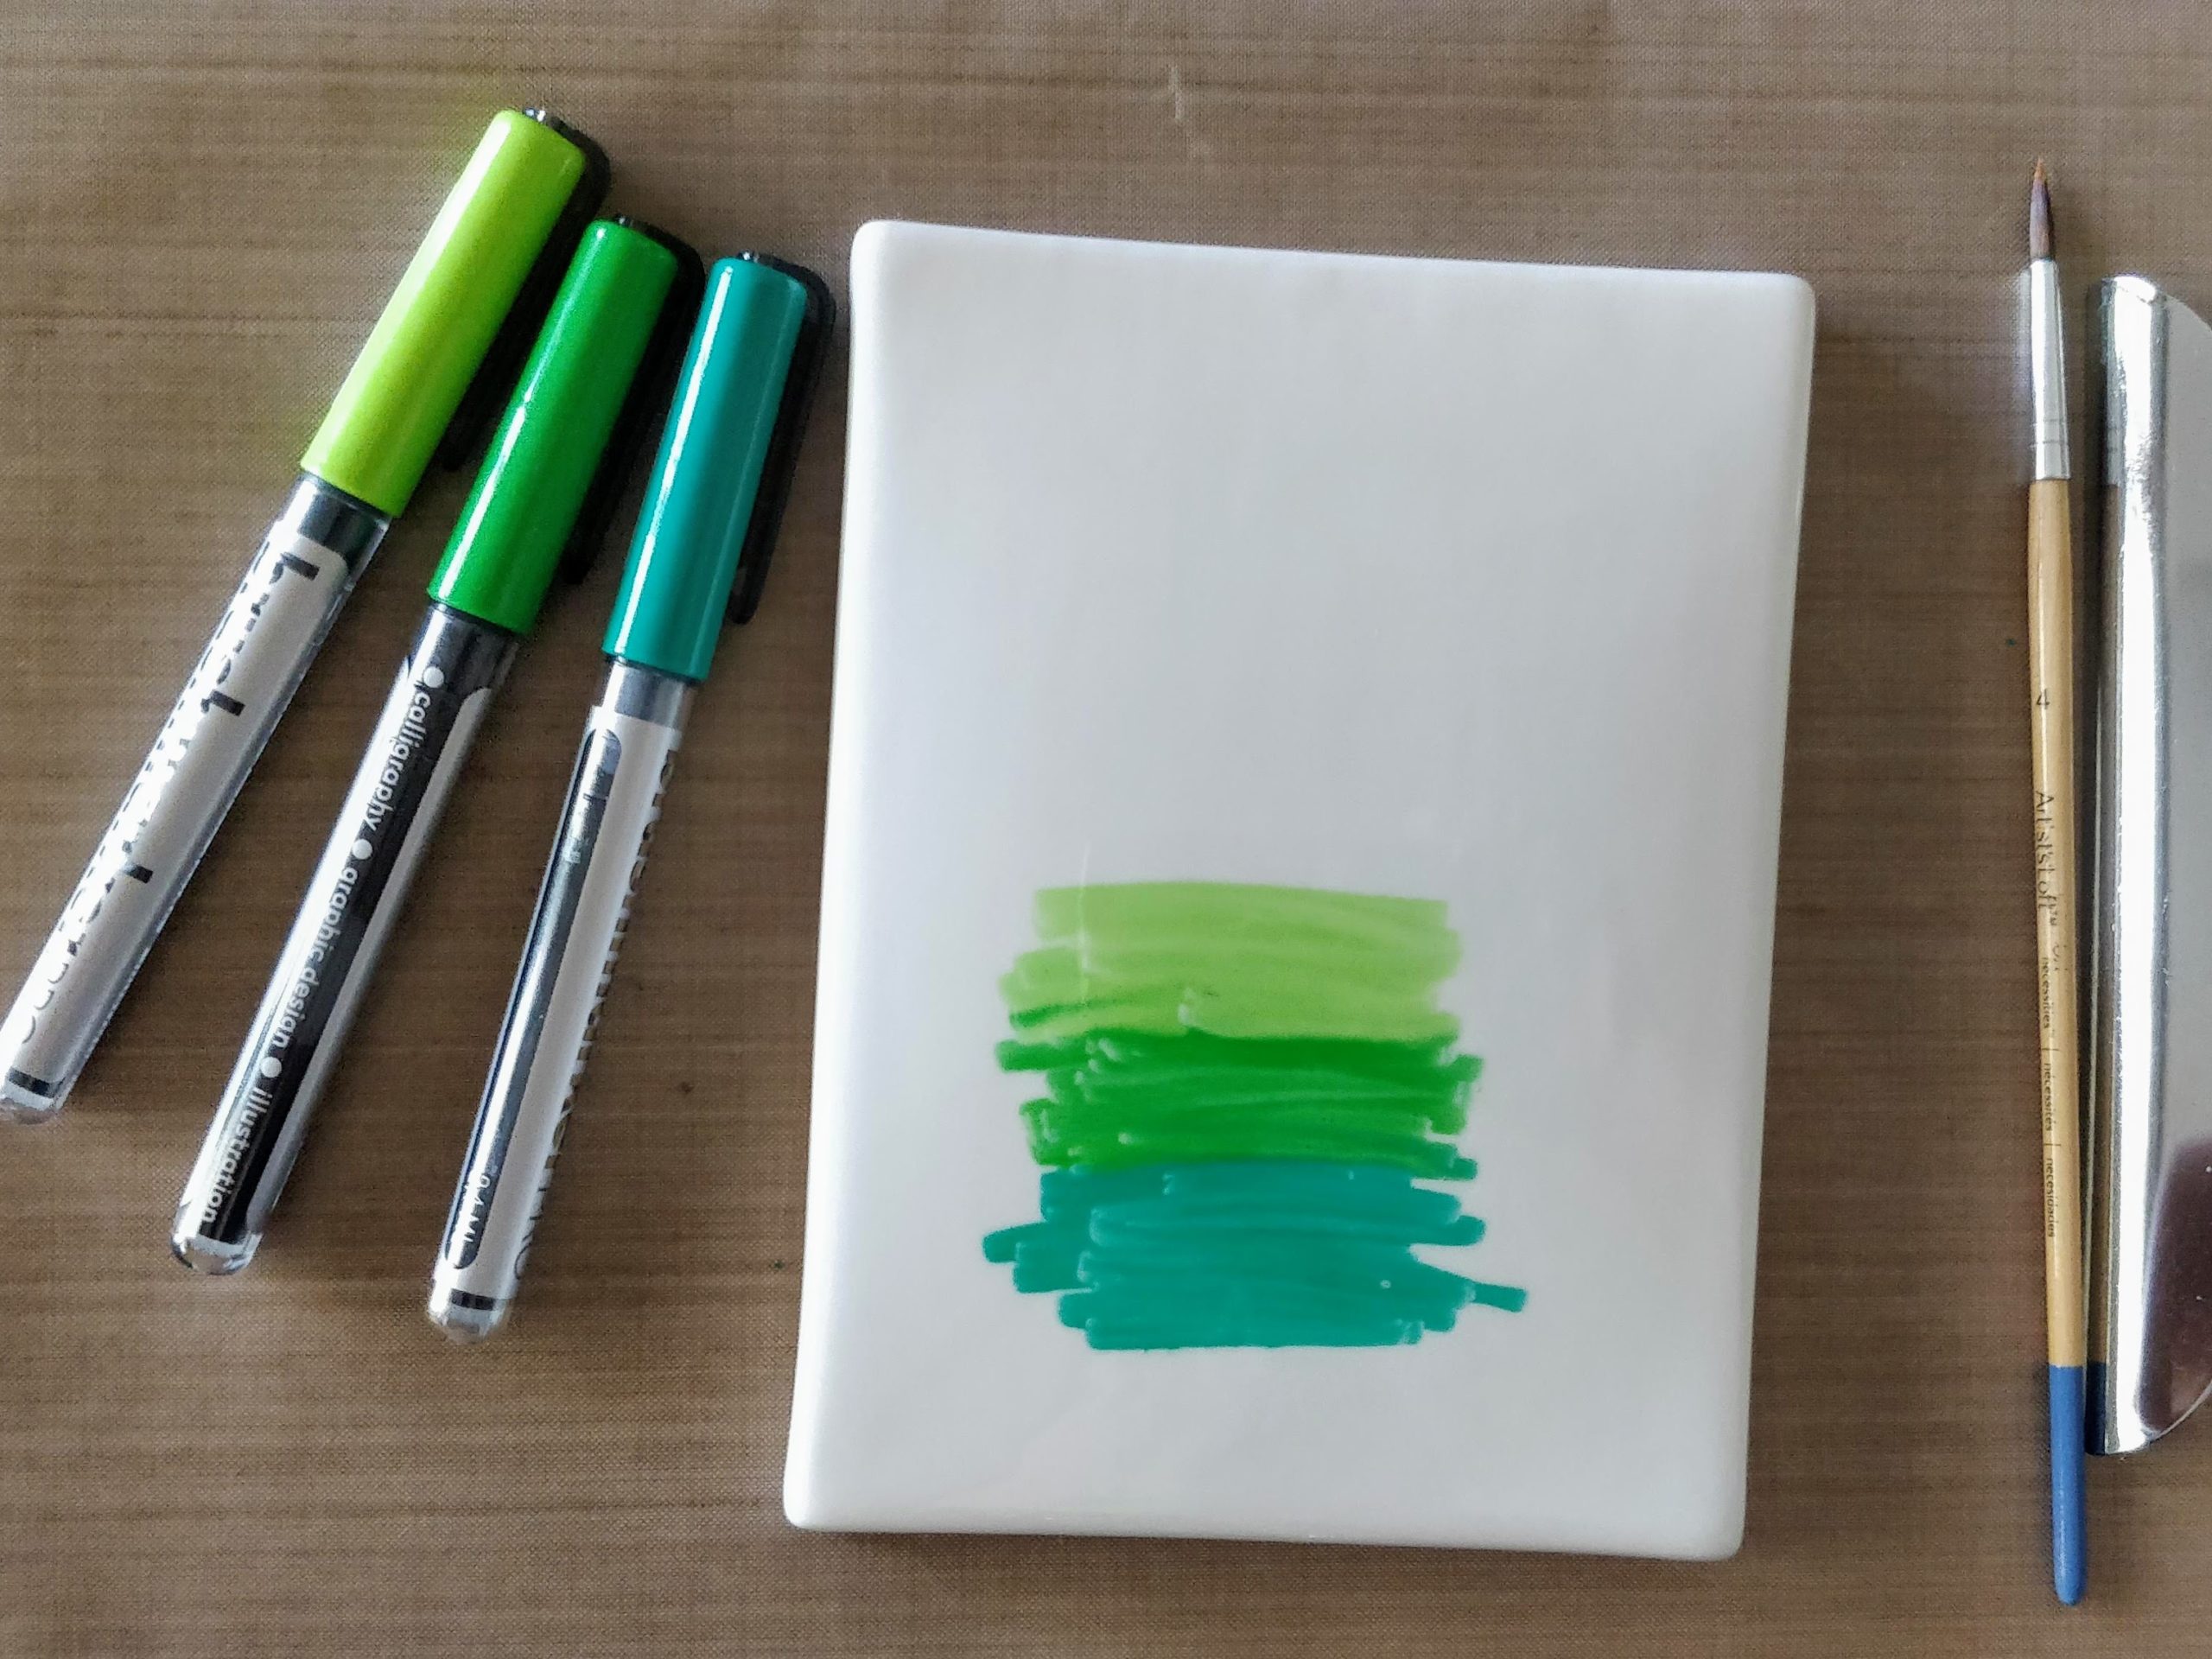
Ink Smooshing with Karin Markers Ink Smooshing with Karin Markers

Once the panel was dry, I lined it up in my Misti, with the pig roughly where I wanted him to live, and decided on sentiment placement. I was trying to create a visual line from the top left to the bottom right. Inking up the sentiment with the same green markers, I stamped it onto the panel. (You can color directly on your stamps with water based markers.)
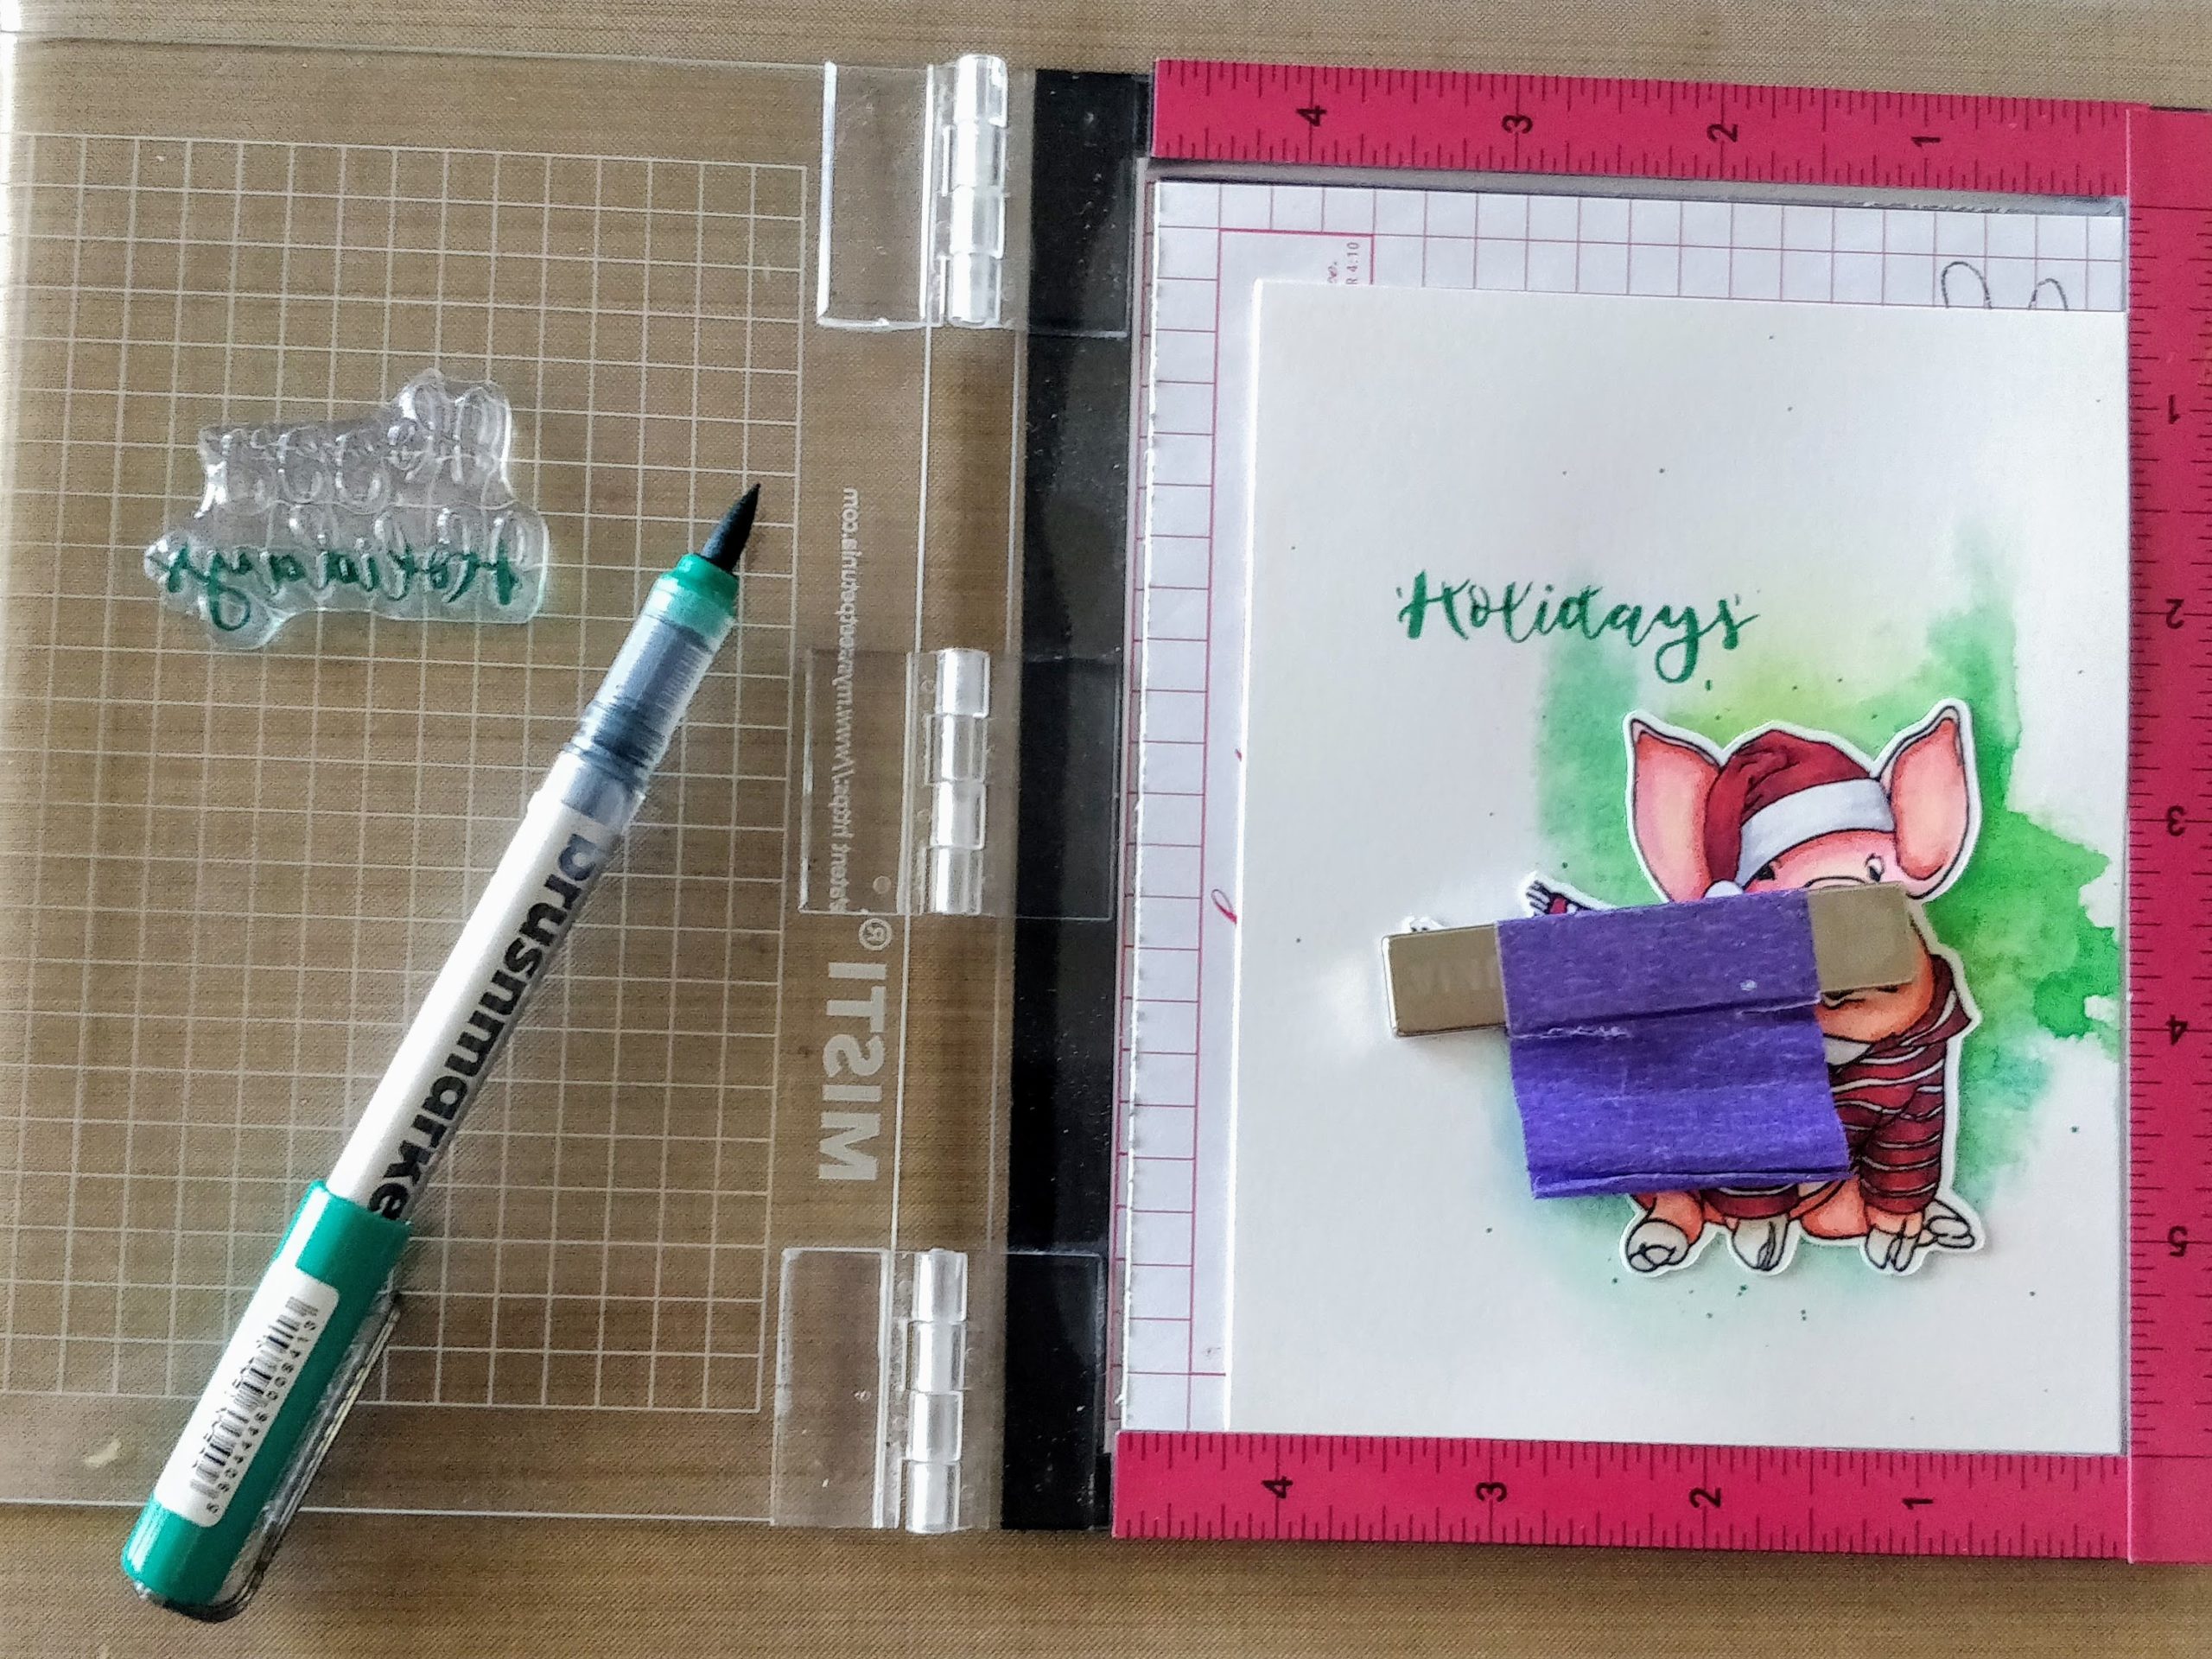
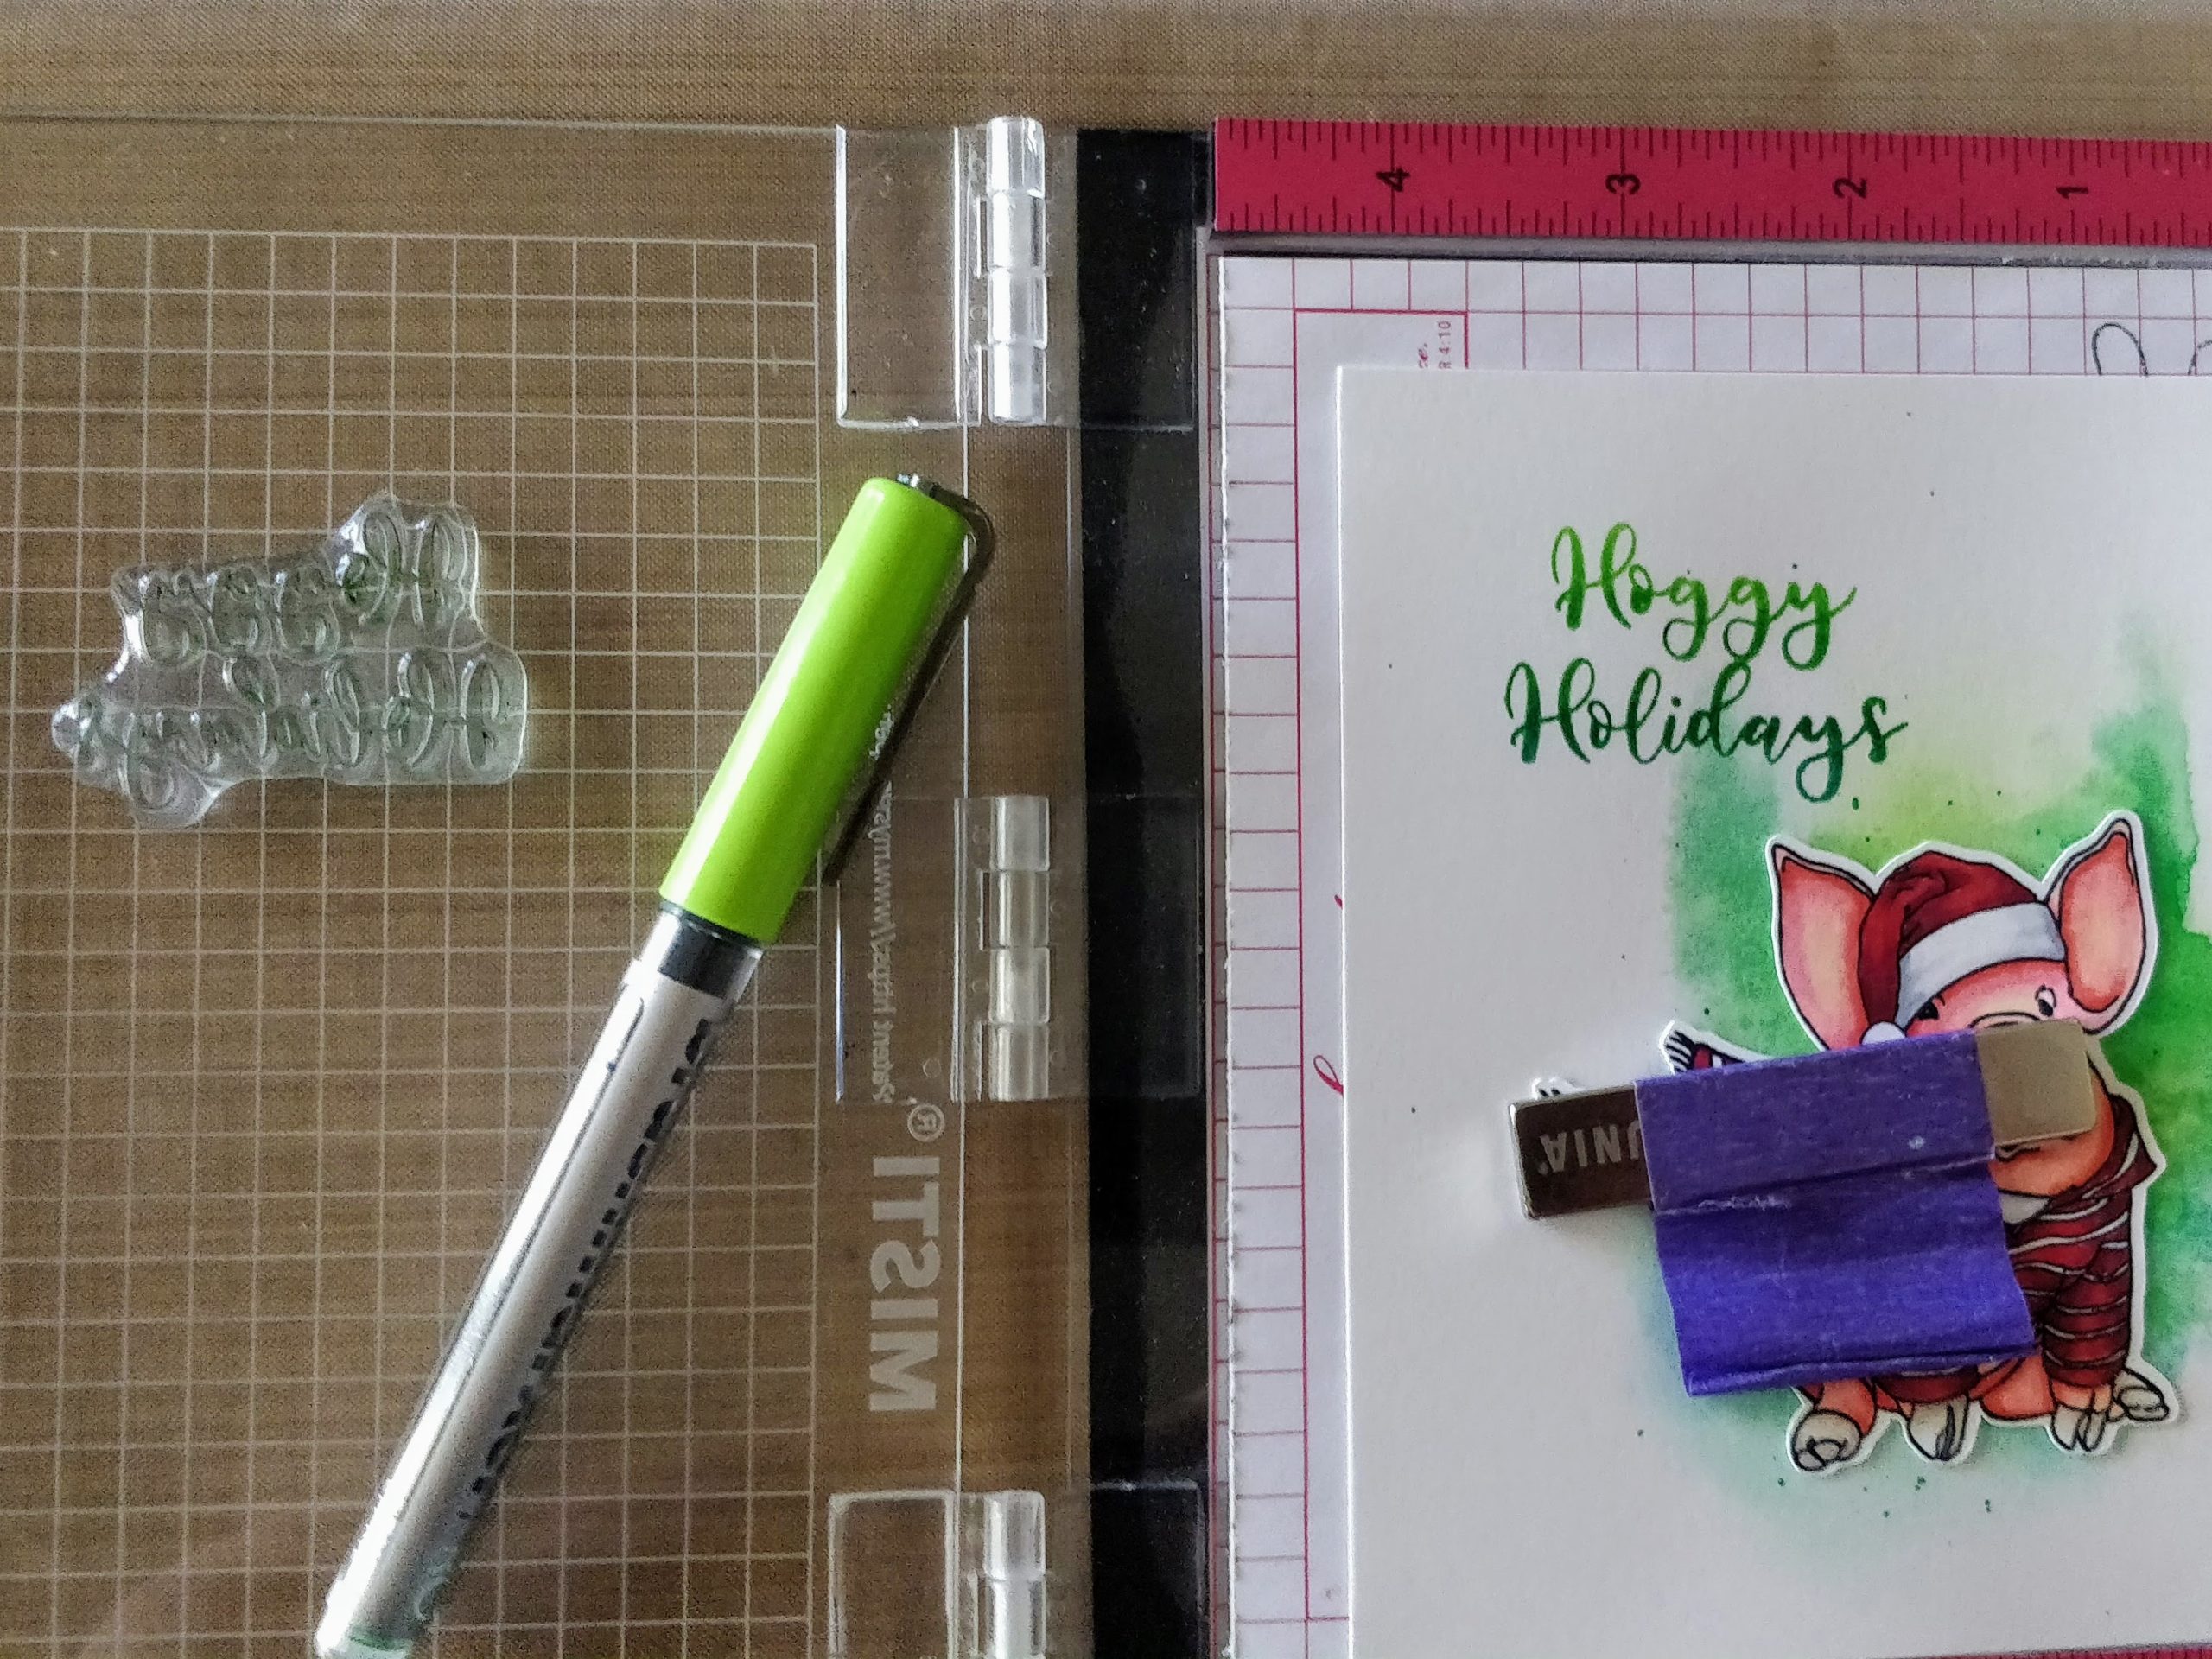
Stamping with Karin Markers Stamping with Karin Markers

Assembling the card was really fast. I trimmed the panel to 3¾" x 5" and mounted it to a green card base. To add a little sparkle, I brushed shimmer pen onto the white parts of the pig's hat and the ink smooshing. Then, I mounted the pig to the card with a Mini Action Wobble. This creates a fun, interactive element, and makes the card extra special. For a little more sparkle, I glued on a few sequins. Here is the finished card in action...


I love the way this one turned out. The design lends itself to mass production, and virtually any stamp set can be used. I think this card would be fun to recreate with kids too. Let them color the die cut images and ink smoosh until their hands are nice and stained. And what kid wouldn't love to play with the Action Wobblers (even us big kids), right?

Thanks for stopping by today. You can find the sister article to this post on my blog. Hop on over for more fun and links to the specific products I used! If you'd like to see another card I made with the Hoggy Holidays set, click here. I'll be back soon with another fun card to share.

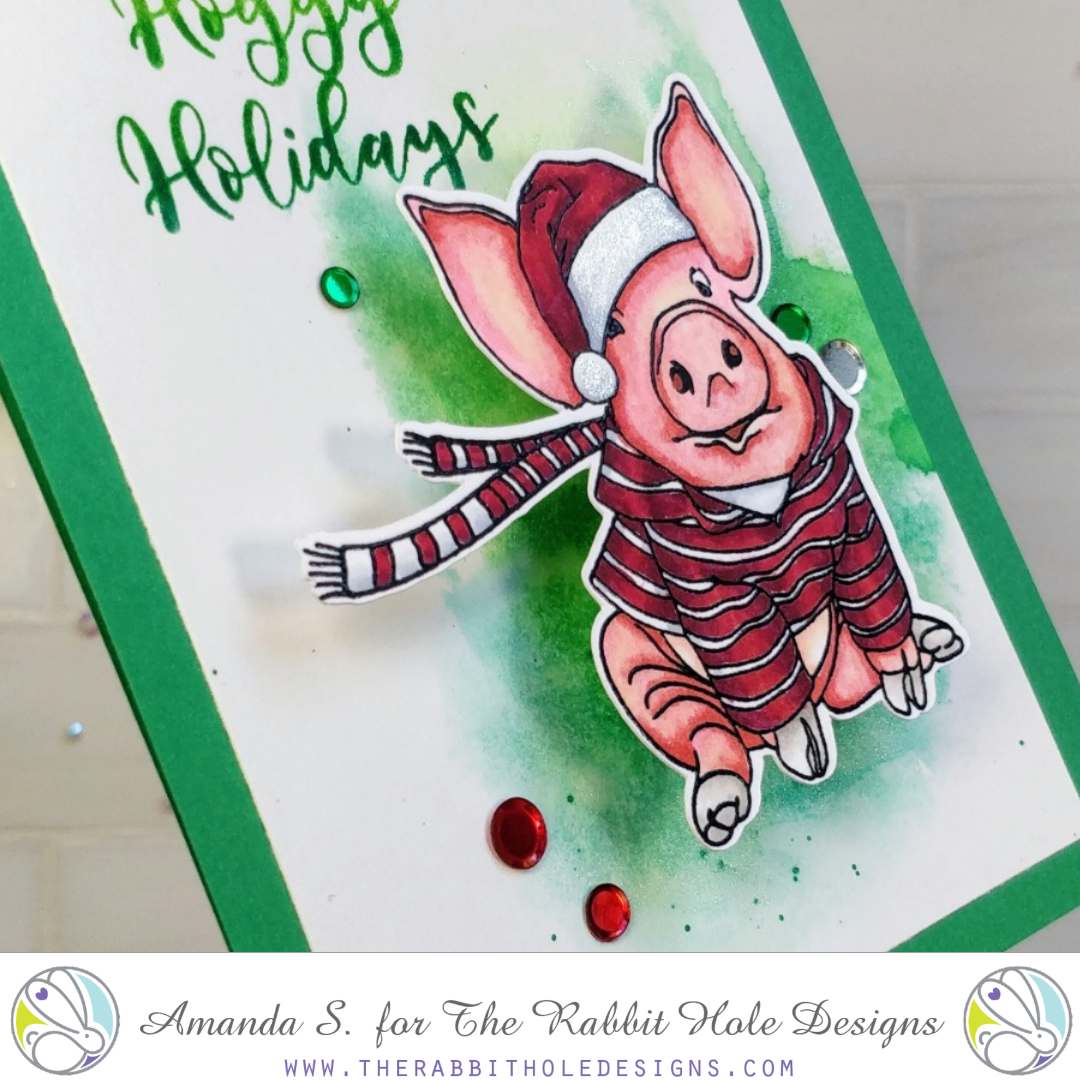
hoggy holidays The Rabbit Hole Designs Action Wobble hoggy holidays The Rabbit Hole Designs Action Wobble


A Hoggy Post Holiday Card


Hello everyone and happy day after Christmas!
I have family in Iowa and live in So Cal, so speaking to them on Christmas they were at 58 degrees and beautiful weather with no snow and we were at 54 degrees with rain and wind, so it was a bit backwards for us.  I hope you all had nice weather, good food and took time to be present.  We celebrated with our oldest son, his wife and their one year old (my very active toddler grandson), my dad and my husband's sister.  Our youngest son and his little family were ill and spent the day at home recuperating. But we had a grand visit and some good food and it was a beautiful day! 

I have a fun card to share with you that showcases our Hoggy Holiday's stamp set and our Light Me Up stencil and I used the sentiment "Let it snow" from our Love You More- Christmas Frost stamp set. So let's get started on how this card came to be:


I started with a piece of Simon Says Stamp Card Stock in Schoolhouse Red cut to 4.25" x 5.5"
I then took our Light Me Up stencil and using White Pigment Ink and a blender brush, I stenciled the snowflake all over the card stock.  I then used the brush and blended more white ink all along the edges of the card stock.  I love how it looks like those frosted windows you see around the holidays with the center being the focal point.  I then let the panel dry.  I then used Ink On 3's Liquid Pixie Dust and splattered the background liberally, and oh my how I am in love with this!  I then used some white ink and watered it down and splattered the background with that as well..... and if I wanted to leave it at that I believe that would have carried this card, it was such a great panel.  But, I had this little piggy all colored up and could not wait to use him! I love his scarf and shirt and that hat... he is adorable!!!  So I cut him out, popped him up on fun foam and put him on the bottom left of the card.  Then I stamped the sentiment on black card stock 3 times with clear sticky ink and heat embossed with white, fine detail embossing powder and cut out small banners and popped them onto some foam as well.  After I placed all the elements on the card front and placed my panel onto a white A2 sized card base, I then took some Vicki Boutin Iridescent Texture Glitter Paste and put it on the tops of my sentiment strips and under neath my piggy, and since sparkle and glitter is AWESOME- I then sprinkled some Unicorn Glitter on top while the texture paste was still wet for more fun.


Hopefully you can see some of the chunks and sparkle in the close up pictures.... it is so pretty in real life.  I also put some glitter gloss on the white parts of the piggy's hat and then used a white gel pen and added some lines here and there for some added interest.


If you have any questions for me please feel free to leave me a message, and from my family to yours I hope you all had a wonderful Christmas!  I added links to the sets I used in the body of the post.  You can also get our stamp sets and stencils at Simon Says Stamp or at The Rabbit Hole Designs.


The Most Wonderful Time of the Year!


Good morning everyone, Lisa here from the DT!

I'm so excited because tomorrow starts the New Release Reveal
for The Rabbit Hole Designs and I'm anxious to share all of the
new products with you.  I have been busy creating lots of cards
to show you and you are going to love the new release!

As for today I have one more card to share with you using the
Love You More - Christmas Frost stamp set from this month's release.
I just love this sweet couple, they epitomize the family fun that everyone
looks forward to on the holidays! Whether it's decorating the tree or lighting
the menorah, holidays are meant for family!

Card Recipe

For today's card I started out with a piece of smooth cardstock and 
the Diamond Flower Stencil.  I taped the stencil down and blended
some Tattered Rose Distress Ink over it getting lighter at the edges.

I colored that sweet couple with some watercolor pencils, cut 
them out and popped them up over the stenciled pattern.
I stamped a sentiment in the top right corner from the 
Hoggy Holidays stamp set in black ink.

Lastly I added a scalloped border with some glittered cardstock
and used the same cardstock to cut out a star for the tree.


I am so pleased with how this card came out and apparently so was my
mom because she snatched it up to give to a friend.
It makes me so happy when she gives my cards away!

Thanks so much for stopping by today and make sure 
to check back tomorrow for the December New Release!
There will be lots of fun, inspiration and as always
an awesome giveaway!

For more inspiration, updates, and news make sure to check out these links.


Have a great day, I already am!
🎄Lisa 🎄

Believe in the Magic


Good morning and welcome!
Lisa here and today is my day
on The Rabbit Hole Designs blog and I have
a piggy inspired Christmas card for you!
I just love the November release with the adorable piggies
and cute little mice! They are all ready for winter in their
warm clothes and skiing gear.

Today's card features the sweet little piggie in the santa hat
from the Hoggy Holidays stamp set and I used the 


Here is the card recipe:

1) I started out with a piece of Bristol Smooth card stock and I cut a piece
out using an Embossed Edge Rectangle die.

2) Next I used some removable purple tape to tape down the paper to the 
Candy Twist Stencil. I took an ink blender tool and covered the stencil with
Barn Door Distress Oxide Ink.

3) After the pattern was all inked up I put down a second layer of
Gina K Designs Glitz Glitter Gel to give the panel a whole lot of sparkle!

4) Next I took some white card stock and cut a panel down to 5 1/2 x 4 1/4
so I could lay it over the stenciled panel with a decorative edge.
I cut the panel down using a Stitched Scalloped Border die for a fancy edge.

5) I stamped my piggie in Copic friendly Gina K Amalgam ink
and did some quick coloring with my Copic markers then cut him

6) I popped him up on foam tape where the decorative edge meets
the stenciled panel and I stamped the sentiment from Hoggy Holidays
at the top of the card in red. I added some red and green sequins 
before and after the sentiment and my card was done.

**for some extra fun I used a Snow Marker to give the hat some fun puffy dimension!


Thank you so much for joining me today, I hope you enjoyed this fun 
Christmas card and that you'll give stenciling a try!
It's so much fun and the glitter gel gives it a whole new dimension!
For more details on specific products used please visit my blog at


For more inspiration, updates, and news make sure to check out these links.


Have a great day, I already am!
🐷Lisa 🐷

All I want for Christmas

Hello everyone! DTM Shanna here today with a card featuring The Rabbit Hole Design‘s new release for November, Hoggy Holidays! I love making non-traditional Christmas cards, and the presents image in this set was just perfect for a rainbow card!!  (any excuse for a rainbow right?!?)


I started by making a watercolored background for my presents by ink smooshing a rainbow of distress inks across a piece of watercolor paper.  I let the dry and then actually stenciled over it with Ranger Transparent Texture paste using the Diamond Flower stencil from TRHD.  The end result was quite pretty, but silly me ended up covering most of the stencil work with the card elements.  So here is a close up I took on my phone of the scrap so you could see how pretty the stencil work turned out.

Next I stamped out a bunch of the presents and colored them with my Zig markers, sticking to the colors of the rainbow. I lined them all up across the watercolored background in rainbow order, adhering with foam tape.


I chose a split card design for this card, die cutting 2 panels to adhere to my card base with foam tape above and below my stamped images.  The accent makes it look like the presents are *floating* in the negative space between the panels.  Kinda fun!!


Here is the full stamp set, isn't it cute??  


That wraps up my post for today, I will be back next week for another trip down The Rabbit Hole!  Until then you can find me over on my blog, Caffeinated Craftiness or over on Instagram
-Shanna


For even more inspiration, updates, and news make sure to check out these links.

This is My Costume!

Hello everyone! DTM Shanna here today with a card featuring The Rabbit Hole Design‘s new release for November, Hoggy Holidays! With today being Halloween, I just couldn't bring myself to make a Christmas card!!  Sooooo....who else loves a piggy dressed up for halloween in a Rudolph mask??  LOL


My card design actually used a lot of pattern paper scraps from a 6x6 pad I had in my stash. I inked all the edges in black ink to help tie everything in together.  My Pig was colored using my Zig Real Brush Markers and fussy cut out.  I popped him up with foam tape on top of the tag to add some dimension. Extra touches included adding glossy accents to the lenses of the glasses to make them more  “realistic”!


My sentiment came from the Pumpkin Hair Don't Care stamp set.  It was the perfect sentiment to turn my *Christmas* stamp into something for Halloween!!  


Here is the full stamp set, isn't it cute??  


That wraps up my post for today, I will be back next week for another trip down The Rabbit Hole!  Until then you can find me over on my blog, Caffeinated Craftiness or over on Instagram
-Shanna


For even more inspiration, updates, and news make sure to check out these links.

November Release Inspiration Hop ~ Day 2

Hello and welcome to Day 2 of the Inspiration Hop. We are so excited for you to join us as we present to you our November release.  Our fabulous Design Team will be sharing their projects for a few days, so be sure to visit their blogs and leave them some crafty love.

 The 4 new stamp sets, coordinating die's & 1 Stencil are available to purchase right now in the shop.
~
Every order placed will be eligible for a 10% discount. Discount Code TRHD2019 this code will only be accepted until Friday 11-01-2019 12:01 am PST. Excludes Crafters Essentials. Not applicable to previous orders. May be used more than once. Does not apply to shipping and tax.
**Please Note: Free Shipping WILL NOT be available during the time this discount code is in effect. **
~

The stamp set's that are being highlighted today are:

Hoggy Holidays

Merry Pigmas 


**Giveaway**
To celebrate day 2 of inspiration The Rabbit Hole Designs is giving away the 2 stamp set’s promoted on 10-29-19, to One lucky winner. Winner will be chosen at random from the comments left on participating blogs, so make sure to visit each stop and leave a comment. Leave comments by 11:59 pm PST 10-31-19-19 on all participating blogs. Winner will be announced on The Rabbit Hole Designs blog 11-01-2019


Here is the line up for the hop:

Make sure you come back tomorrow for Day 3 of our Inspiration Hop.


Thank you so much for stopping by today!