Pages

Showing posts with label Pretty in Peony. Show all posts

Floral Birthday Mini-slimline Card


Hey crafty friend, it's Amanda from Pear Blossom Press again. And today, I'm sharing a lovely mini-slimline birthday card, featuring one of my favorite stamp sets, Pretty in Peony. Isn't it lovely paired up with the new hot foiled BIRTHDAY sentiment? That gold foil really adds an elegant touch. 

If you'd like all the specific Copic markers, and details on how I colored this card, head on over to my blog... pearblossompress.com.

Supply List
Pretty in Peony
Birthday - Scripty Word Hot Foil Plate
Birthday - Scripty Word with Shadow Dies
Birthday - Scripty Stamp Set

Thanks so much for stopping by today! I hope I've inspired you to give this card a try. If you do, tag me on Instagram @pearblossompress so I can cheer you on! I'll be back soon with more fun cards to share. In the meantime, check out these fun places for more inspiration, updates and the latest news...

Halloween Treat Tag


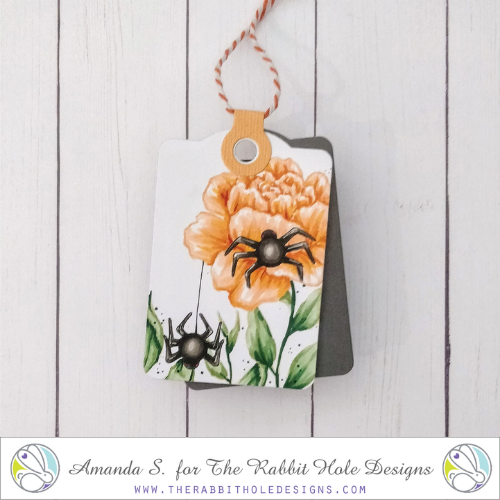
Hello again my crafty friend! It's Amanda from Pear Blossom Press again, with a fun new Halloween tag to share. I combined the spiders from The Right Shoes stamp set, with florals from Pretty in Peony to create a sophisticated, yet creepy tag. It's perfect to tie onto a bottle of wine, for a more grown up Halloween treat. Don't you agree?

Thanks so much for stopping by today. I'll be back soon with another fun project to share. In the meantime, check out these awesome places for more inspiration...

Just A Note To Cheer You Up!

 Hi everyone! Von Marie here and I am so excited to be on TRHD Blog today. I have a Mini Slimline card and matching envelope to share with you using some of my favorite TRHD products.


On this Mini Slimline Card I used the New Tastes Like Honey Stencil, Come Fly With Me, and Pretty in Peony Stamp Set. I first ink blended white cardstock with Picked Raspberry Distress Oxide ink. I then used the Tastes Like Honey Stencil with a yellow glitter paste and spatula. I then cut it out with a Mini Slimline Die.


I stamped the Peony Flower and greenery with Lawn Fawn Jet Black ink onto Neenah Solar White 80lb cardstock. I colored them in with my Altenew Artist Markers and fussy cut them out. I then stamped and heat embossed the sentiment with Versamark ink and Wow white embossing powder using the Come Fly With Me stamp set onto Black Cardstock 80lb. I used a banner die to cut the sentiment out. I then added my panel onto a Mini Slimline Card base. My peony and sentiment were then added with foam squares. I added sequins and Sparkle and made a mini envelope to match using the same stencil and paste. I hope you have enjoyed my project. Thank you for stopping by!

TRHD Products Used:

Tastes Like Honey Stencil

Come Fly With Me Stamp Set


Pretty In Peony stamp Set


For more inspiration, updates, and news make sure to check out these places:


Thank you for Stopping by and Happy Crafting!

Von Marie


Hello New Year!


Happy Monday and happy, happy New Year!  Tangii here for today's share!  I whipped up a pretty little card to add to a gift bag for a friend.  I used
Pretty in Peony and Marquee Words for this card. 

I stamped one of the larger flowers and added one of the stems and colored with Copic markers.  I  love flowers and I LOVE coloring them.  One of the things I love about this set is that you can color up those flowers with great detail or you can quickly add some color and they are still beautiful.  So easy to color!!!

Next up I stamped the "Hello" in green ink and then added some teeny rhinestones, pinks and greens.

All of the items I linked in my post are available at The Rabbit Hole Designs.

You can also read about this card on my blog, here with links to the products I used, etc.  Thanks for popping by, come back again soon!

Shabby Chic


I love it when flowers bloom in unexpected places. I created this card with that in mind. I combined the flowers from the Botanical Turtle and the leaves from Pretty in Peony with the Intersection stencil.

I started by creating my background. I wanted an imperfect, kind of shabby look to it. I inked up my stencil with versamark ink, then I placed it on a piece of computer paper and laid my white A2 sized cardstock panel (after using my antistatic tool on it) on top and applied pressure all over the panel. Then I removed the panel and applied black embossing powder over top. I used a paint brush to clean up any areas where I didn't want powder. Then heat set it. You can watch the video below to see my process.


Next I stamped the flower, leaves and turtle onto white cardstock. I colored them using Prismacolor pencils then fussy cut them all out. The colors I used were:
Flowers: Mulberry, Process Red, Pink, White
Leaves: Spring Green, Apple Green, Prussian Green

I arranged the cut outs onto the embossed panel then adhered them down using liquid glue. After they where set, I backed the panel with black cardstock and adhered it to an A2 card base.

Then onto black cardstock, I stamped the sentiment from the Flamingo Botanical set using my versamark ink pad. I sprinkled white embossing powder over it then heat set the powder. After trimming the sentiment, I adhered it to the card front.

I think this is a fun way to get a different look out of the stencil and I love how the card turned out with the flowers added.
Thanks for visiting and I hope you have a wonderful day. Lauren.


No Line Coloring - Caffeinated Parrot


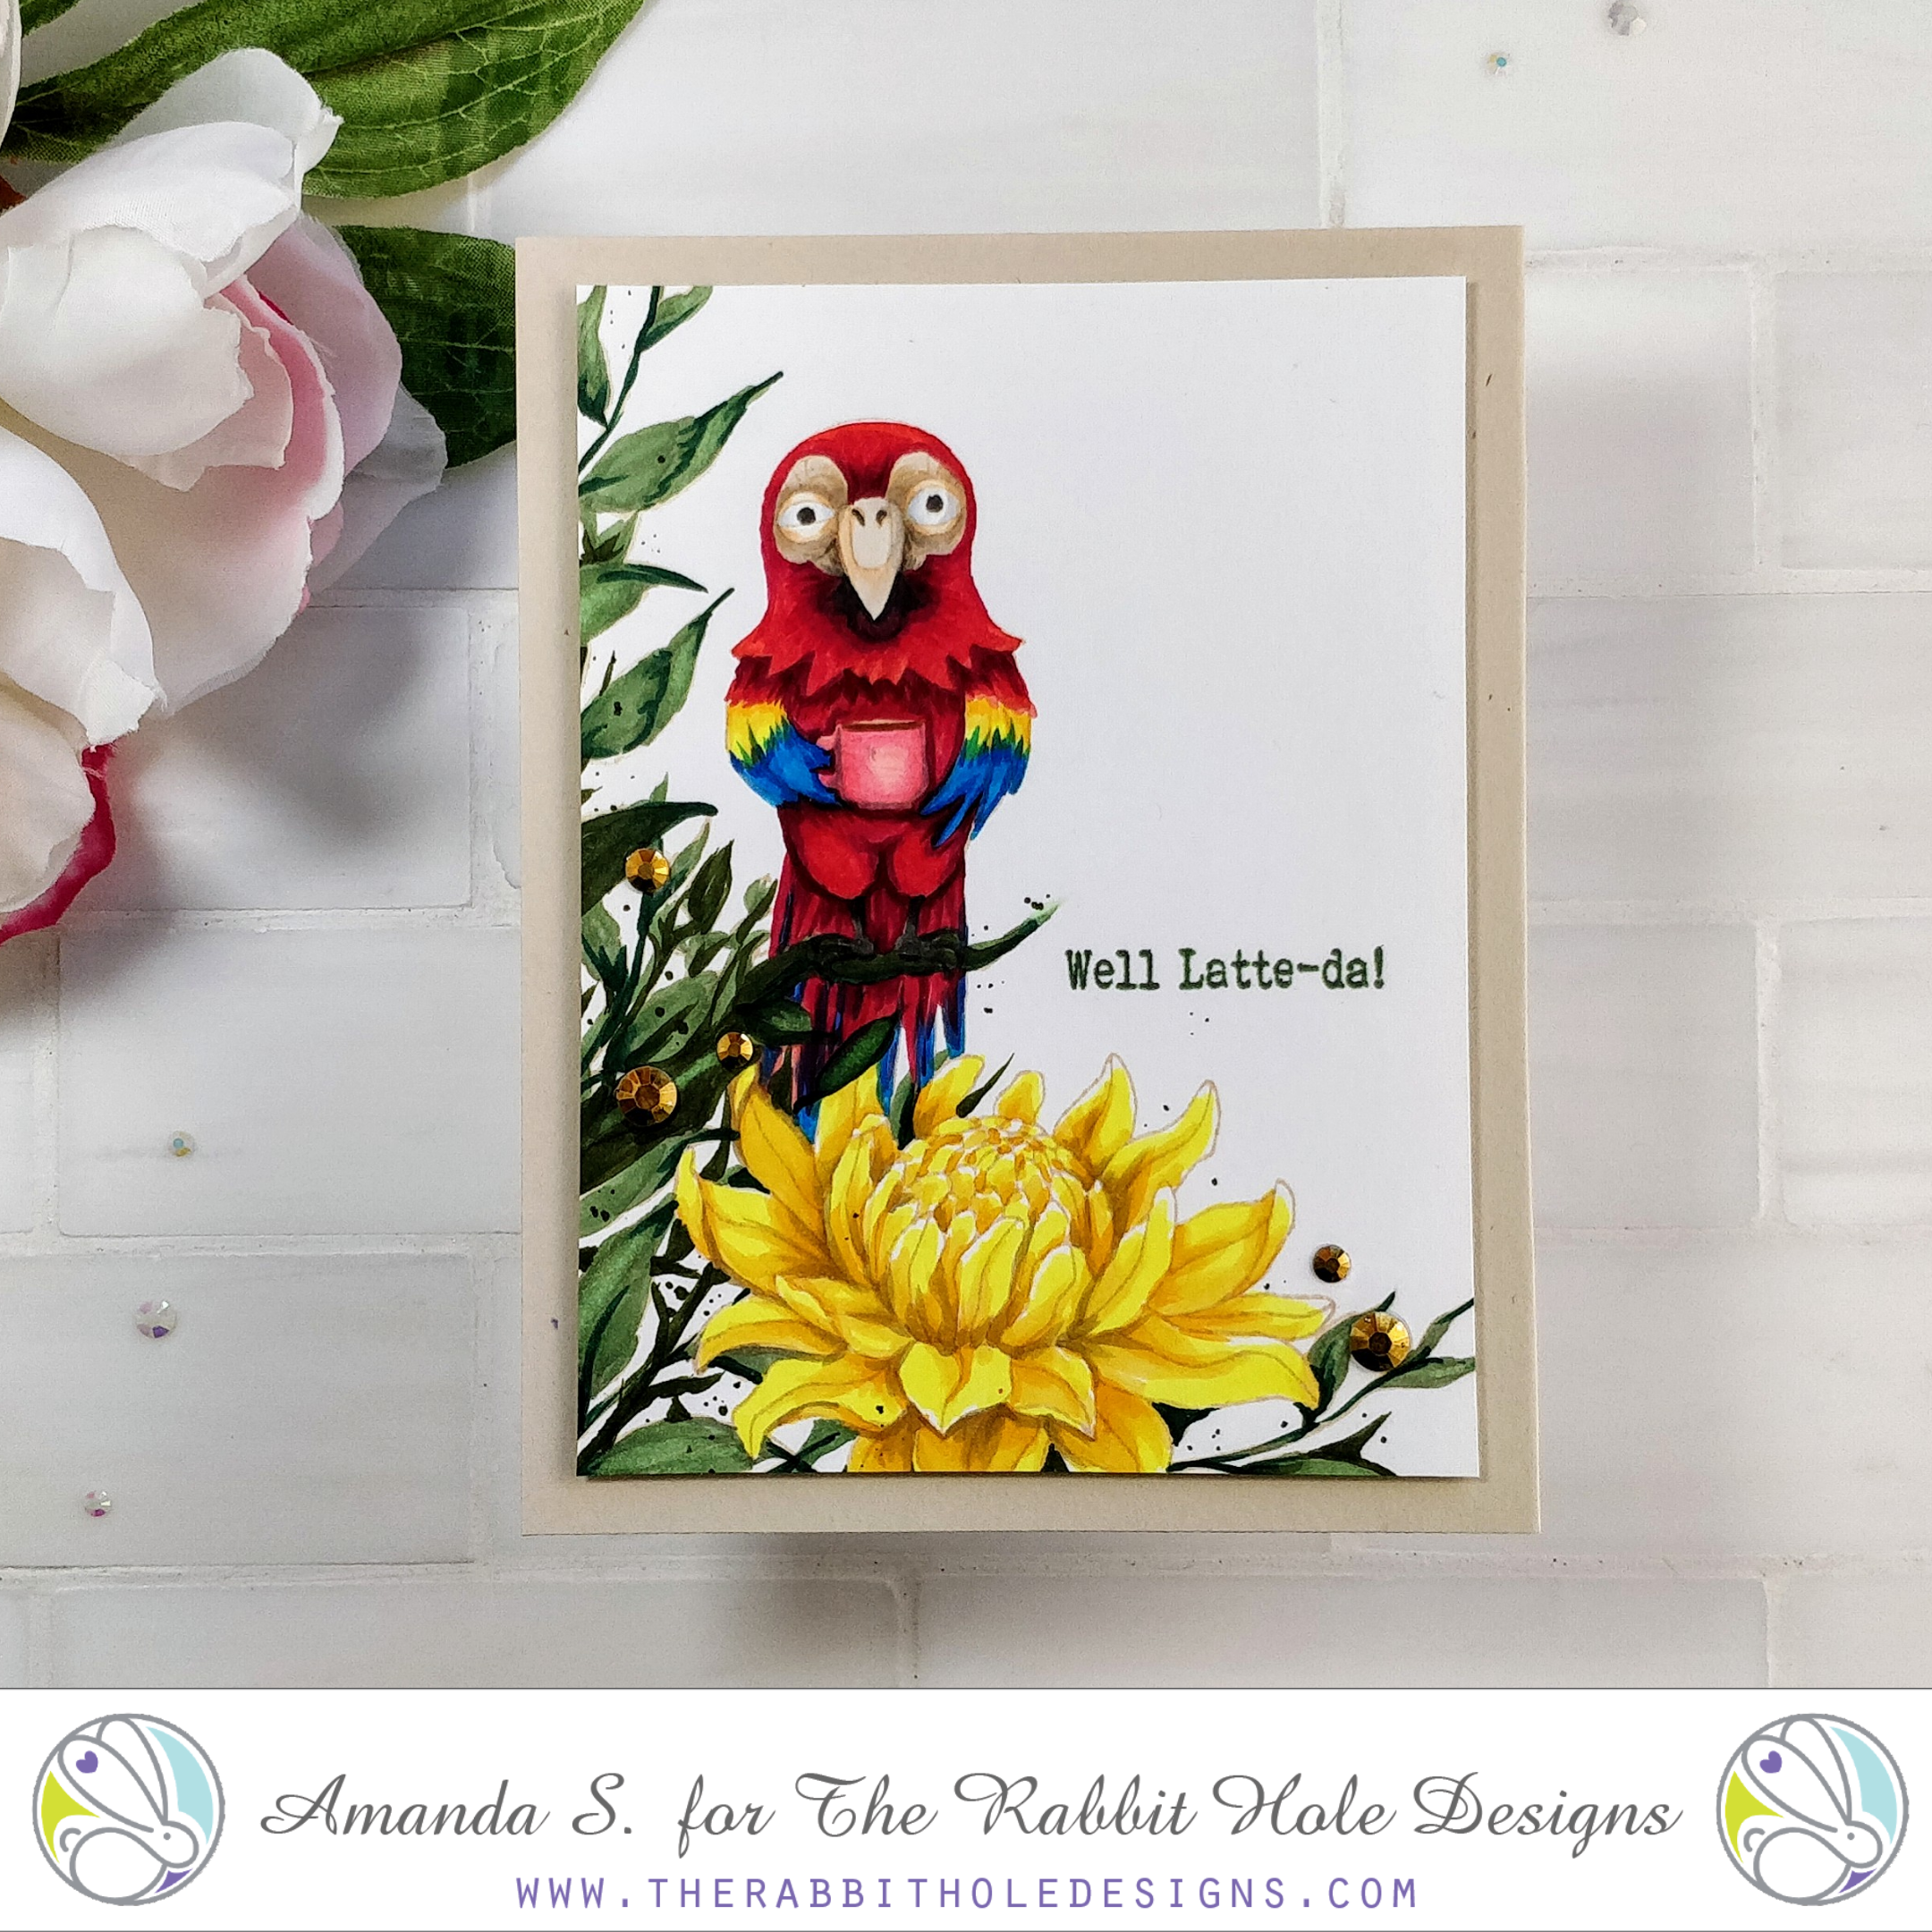
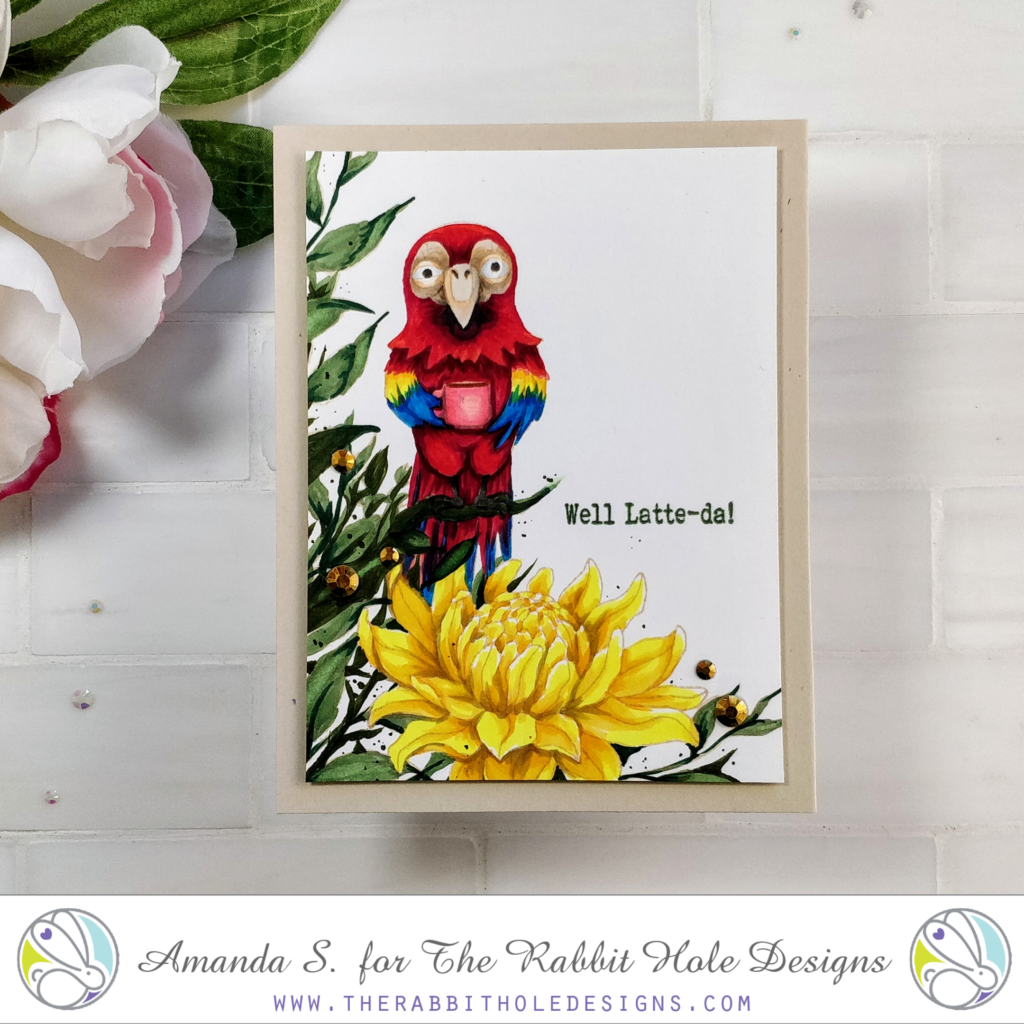
No line coloring, why is it so hard?! Hi friends, Amanda from Pear Blossom Press here again. If you've never tried no line coloring, the idea is to stamp images in pale ink. Then, as you color the images, the outlines will blend in, and seem to fade away. The problem for me, is that the outlines often end up too pale to see as I'm coloring. Pretty soon, my images look nothing like the original stamps.

I love the look though, so I keep trying. And I'm always searching for tips and techniques to make it easier. One such tip from Kathy Racoosin, is to stamp with a slightly darker ink. She recommends a warm golden brown. Today, I decided to give it a try. And look, it worked! Of course, I still need practice, but that's what today's card was designed to be, practice. 
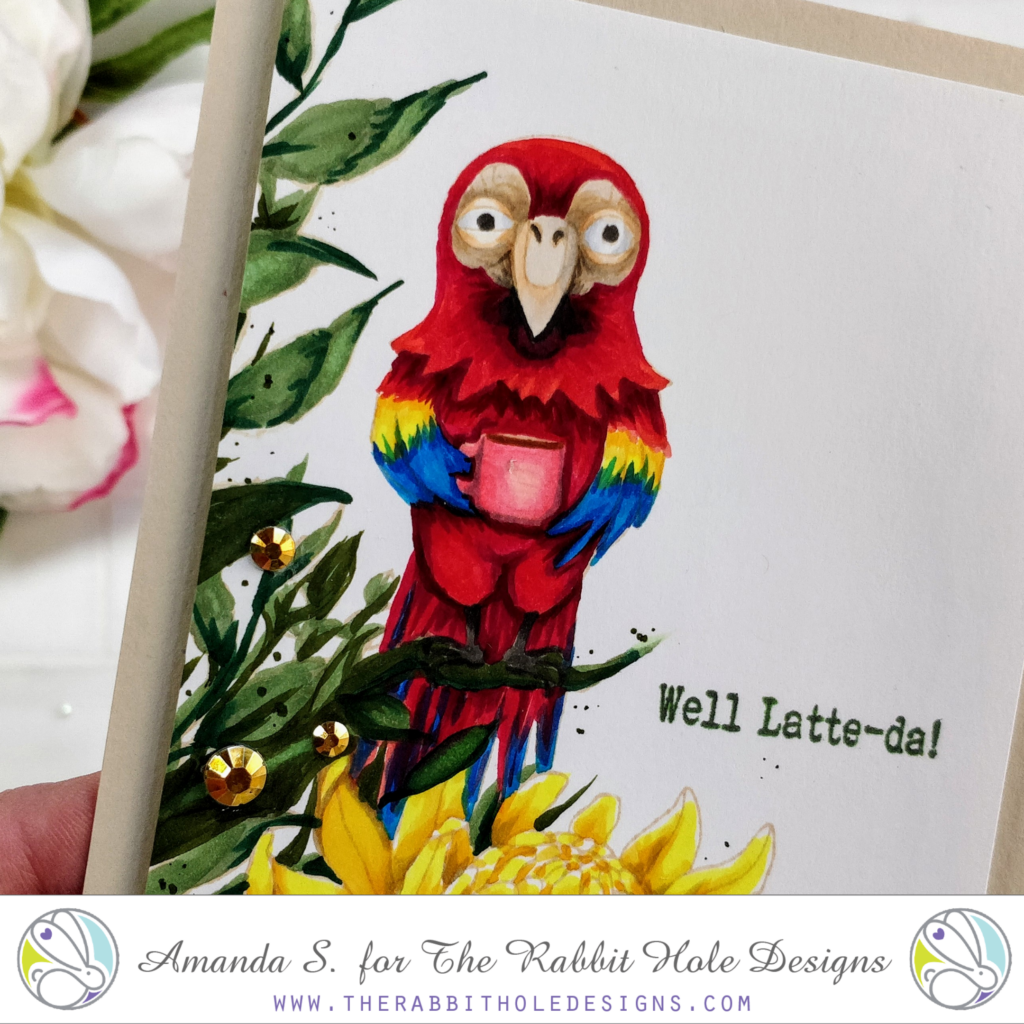
For this scene, I stamped the flower from Turtle Botanical, masked it off, and stamped leaves from Pretty in Peony all around. I masked off a few leaves where the Caffeinated Parrot would overlap, then I stamped him. I colored everything with Copic markers, and freehand drew in a few extra leaves and stems to fill in the lower left corner. I also added dark green dots around the foliage. 

Once I was happy with the scene, I trimmed the panel down, stamped a green sentiment from Blended Sentiments 2, and foam mounted it to a kraft card base. A few scattered gold gems add sparkle to the scene. Lol, I have to admit, I'm pretty pleased with it. 

Compared to my previous no line coloring projects, this one actually looks like the original stamped images (although, I accidentally edited out the steam that is supposed to be rising from his mug). I think the golden brown ink might just be the ticket! I'd love to know what you think. Any good tips to share for no line coloring? 

Thanks so much for stopping by today. Head on over to my blog for links to the specific products I used. If you'd like to see more inspiration with the new Caffeinated Parrot, check this out! I'll be back soon with another fun project to share. 

For more inspiration, news and updates check out

Botanical Beach Scene


Hello crafty friend, it's Amanda from Pear Blossom Press again. Today, I'm sharing this lovely botanical beach scene card. It's tall, slimline size is perfect for the new Flamingo Botanical stamp set. I added a few leaves and a sentiment from the Pretty in Peony set to round out the scene. Head on over to my blog for step-by-step photos for each segment as I colored it, and the Copic markers I used.


Thanks for stopping by today! I'll be back soon with another fun card to share. 

For more wonderful inspiration, info and news, check:


World's Greatest ANT

Worlds Greatest ANT The Rabbit Hole Designs

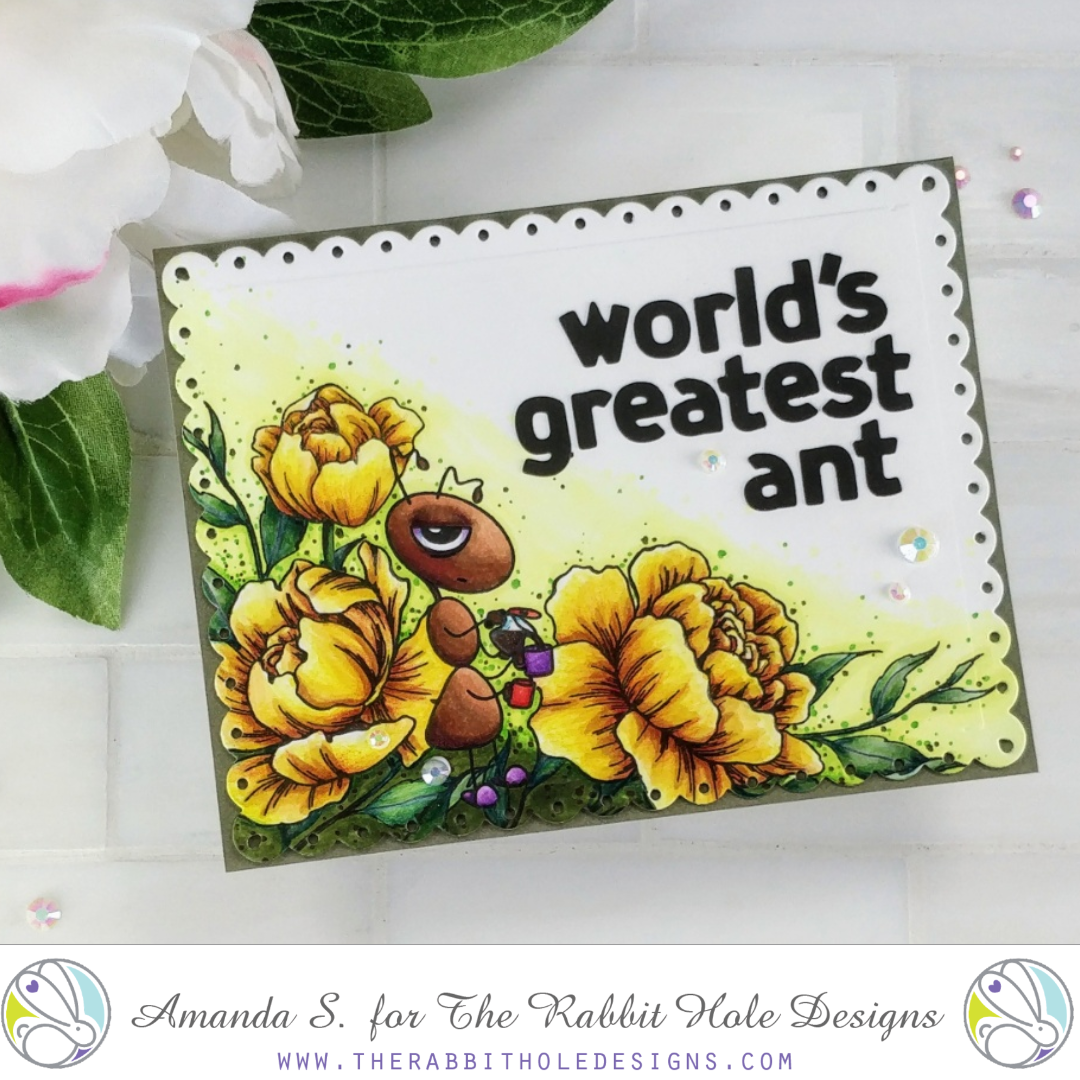
Hey crafty friend, it's Amanda from Pear Blossom Press again. As Mother's Day approaches in the US, I'd like to share a fun card I made for one of my sisters-in-law. I couldn't resist the urge to pair the ant in Buggy for Caffeine with the florals in Pretty in Peony, to create a punny scene.

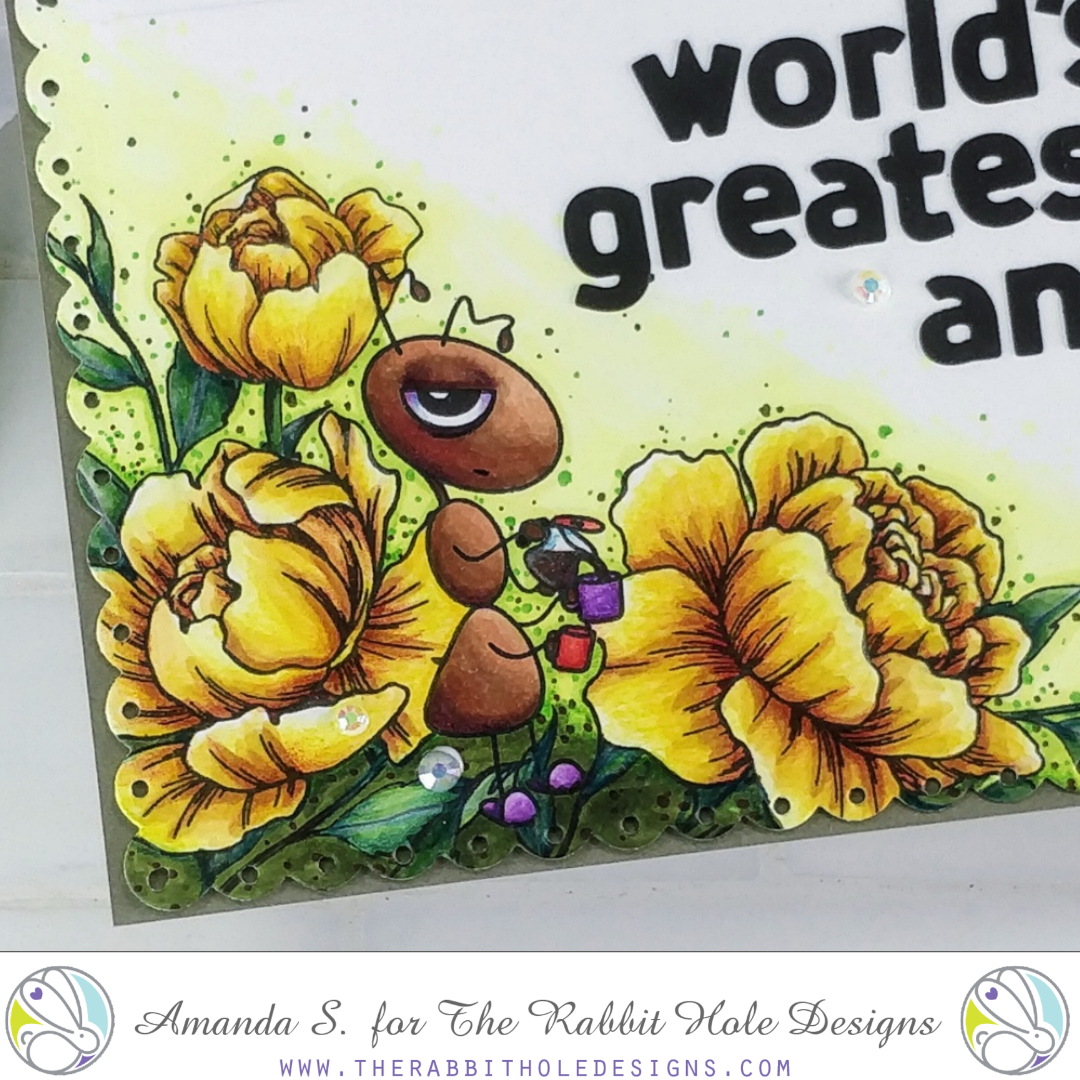
This card is all about the coloring! I stamped the ant and floral images, masking as necessary. Then I Copic colored them. Using several shades of green, I colored a partial background, allowing the coloring to fade into the negative space. I added dots to create texture, as well as help the transition into white. Colored pencils helped me darken up some of the nooks and crannies, and make the images pop.

Worlds Greatest ANT The Rabbit Hole Designs Mother's Day Card

Once I was happy with the coloring, I trimmed the panel down with a scalloped rectangle, then popped it up on an olive card base with foam. I die cut my sentiment, and glued it in place, using a t-square ruler to align everything. A few Aqua Shimmer highlights, and some flat gems finish the card.

I can't wait for my sister-in-law to get this card in the mail. I know she will love it! We both share an affinity for terrible dad jokes, so the punny sentiment will make her laugh. Plus, it's pretty to look at. It's hard to beat a card that is both pretty, and makes you chuckle. Who would you make this card for?

Thanks for stopping by today! If you'd like to see more projects featuring these stamp sets, check this out these articles...
For links to the specific products I used, head on over to my blog. I'll be back soon with another fun card to share.
  For more inspiration with The Rabbit Hole Designs, be sure to follow along at these other locations:

The Rabbit Hole Designs Blog
The Rabbit Hole Designs Instagram
The Rabbit Hole Designs Facebook Page
The Rabbit Hole Designs Pinterest
The Rabbit Hole Designs YouTube


Sassy Anti Valentine

Hey crafty friends!  It's Cassie here to share another card with you!  This time I combined the ever lovely Pretty in Peony stamp set with the new Sassy Anti Valentine stamp set.  LOL, I love how this turned out. . .so unexpected when you see that beautiful flower stamp and then you read the sentiment.  Of course, now I want to eat a taco, lol.

I stamped out my images using some Versafine Clair Nocturne ink and then colored it all in with some Arteza Real Brush Markers.  It's a fairly flat card, so I did use some dimension to pop up my panel onto my card base.


If you'd like to see how I made this card, you can watch it here, or over on my channel:


And here is what the Sassy Anti Valentine stamp set looks like.  It's a must ;)


For more inspiration, updates, and news make sure to check out these links.

Thanks for stopping by!
Cassie

Thinking of You


Hello there!!!
Michelle here, stopping by with a card I created for a friend going 
through a difficult time. She's a 'bow' girl so I know this card will
have her smiling. 

I embossed the stamp, Put a Bow on It, than colored it with a combination of 
Copic Markers and Prismacolor Pencils.  I die cut the bow cluster with the coordinating die.
I inked up the card base with cracked pistachio distress oxide ink. 
I splattered some white paint onto the background and 
bow cluster.  

The sentiment is from the stamp set Pretty in Peony  I also embossed it 
with gold embossing powder. 


I love the way it sparkles!

Here are the supplies I used:

Put a Bow on It 4x4
Put a Bow on it - Die

Pretty in Peony 4x6

Thanks for stopping by!

For more information, news and updates check out these links:


Thanks Card & a Farewell

Hello The Rabbit Hole Designs fans!  It's Maria back on the blog with you today with a Thank You card showcasing the Pretty in Peony stamp set.


Before I give you the details on how I made my card, this is to let you all know that this is going to be my last post as a DT member for The Rabbit Hole Designs.  My schedule has been really crazy lately and I am trying to cut back on commitments.  I have thoroughly enjoyed being on this journey with MaryAnn Samuelson and Heather Ferguson (co-owners of TRHD) with the rest of the design team members.  This "thank you card is for you guys!


Here's my card:


To begin, I stamped the images on some Neenah solar white card stock using Pale Fig and Spring Meadow Harmony Inks by Spectrum Noir.  I lightly colored the image with my Hydrangea and Citrus Green TriBlend markers.   To create softer colors, I used my alcohol blender so that some parts looked like they are colored with watercolors.

I also stamped the flowers and leaves using Spectrum Noir watermark ink and sprinkled this with white embossing powder.  I heat-set the images using my heating tool.  I fussy-cut the images with my precision scissors.

I die-cut another piece of white card stock using a die from my stash.  I foam-mounted this piece on my colored background.

I adhered the leaves and the small flower with some liquid adhesive.  I also layered the main flower with some liquid and foam adhesive to create more texture and dimension.

Lastly, I die-cut the word "thanks" using a die from my stash on some black card stock, and the shadow with some vellum.  I adhered this piece on my card.

Here's a little close-up:


I would like to thank MaryAnn and Heather for being the most wonderful lady bosses ever!  I had a great time designing for you guys from the very beginning, and I only wish you both greatest success in the future.   I also would like to thank the rest of the design team for being so supportive of me.  You guys rock!

I hope you like my card today and got inspired.  If you are looking for further details about my project including supplies used, I would be so grateful if you can stop by my blog today at:

For more inspiration, updates and news make sure to check out these places.  Happy stamping!

Pretty in Peony Thinking of You


Welcome back everyone! 
It's Amanda W. with you today sharing a card using the gorgeous Pretty in Peony set. 


Here's how I did it:
  • Stamped, heat embossed and colored the flowers and leaves.
  • Ink blended salty ocean distress ink in the center of a white panel
  • Attached all of my layers starting with yellow, then black and finally the ink blended one.
  • Attached my flowers and leaves, some with glue and some with foam squares. 
  • Heat embossed my sentiment and attached that with a foam strip on top.
  • Finishing touches were clear sequins and stickles scattered throughout the card.

This is such a bright and cheery card to share with anyone. I hope you are inspired to create something wonderful!

The products I used today are:

For more inspiration, updates and news be sure to check out:


Watercolor Peonies


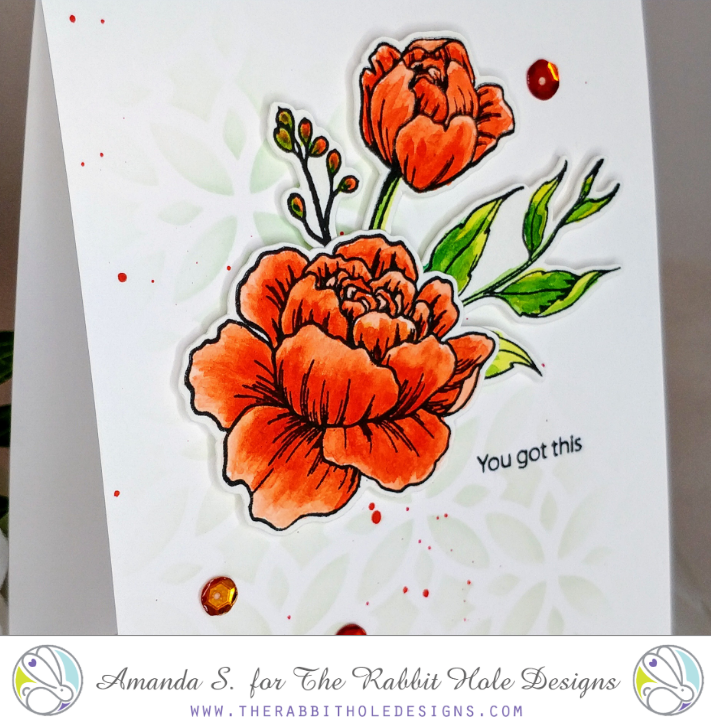
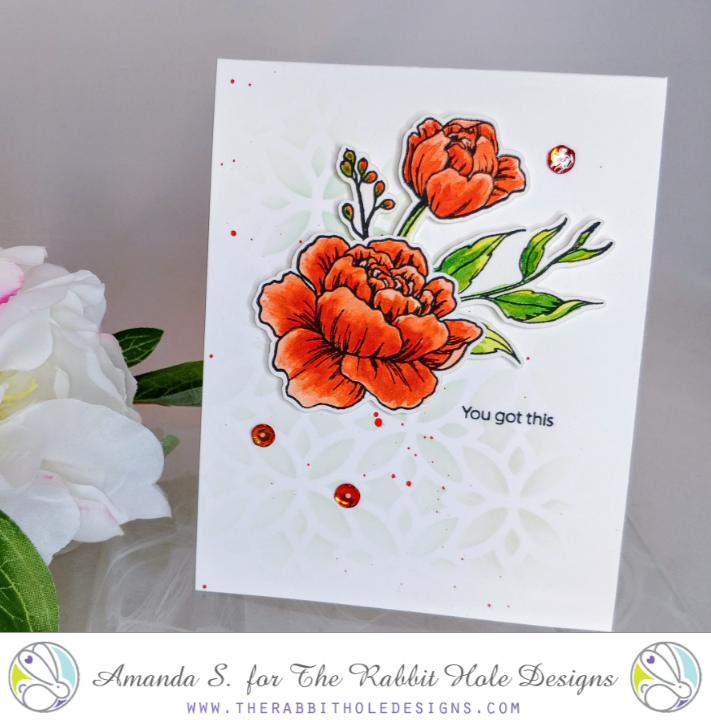
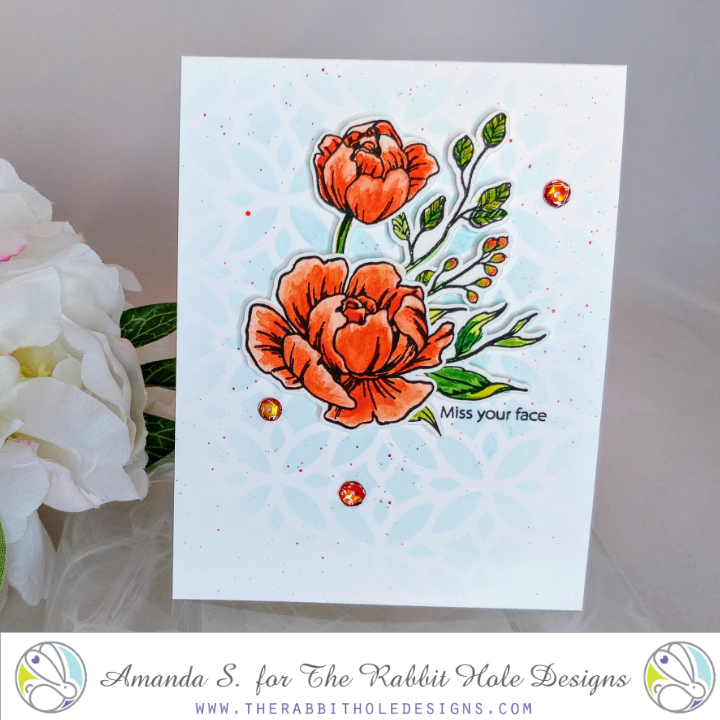
Hey crafty friends, It's Amanda Stevens from Pear Blossom Press, back with another pair of pretty cards I made using images I colored in the last Daily Marker 30 Day Coloring Challenge. I colored and fussy cut so many images that I have a stack just waiting to be turned into cards. For today's cards, I used watercolored floral images from the Pretty in Peony set and  popped them up onto backgrounds that I stenciled with the Diamond Flower Stencil and added some splatters with the same orange paint I colored the flowers with. I added a sentiment from Sassy Sentiments to each one, and finished the cards with sequins coated with Diamond Glaze. Aren't they lovely?


I'm so excited to go meet Kathy Racoosin next month when her Coloring Challenge Road Trip brings her to Southern California! Luckily, I get to go with MaryAnn and Heather from The Rabbit Hole Designs; it's going to be a party!!!


If you're looking for more inspiration with the Pretty in Peony set, you might like this article. You can find the sister article to this post on my blog today. Hop on over for more fun! I'll be back soon with another great card to share...

Thinking of You Peony

Hello everyone!!! 


It's Niccole from Nic & Viv Designs back again to share another card I made using one of The Rabbit Hole Designs stamp sets. 

For today's card I used the Pretty In Peony stamp set.


How to create this card:
  • Standard A2 size card trim 2" off of non folded side
  • Score three lines in paper 1/2' from edge of cut card front - this is for decoration
  • Stamp Thinking of You in lower left corner of card front
  • Add three gems
  • Stamp flower images on edge of 4 1/4' x 5 1/2" card 
  • Mask off flowers and stamp leaves and buds
  • Copic color your image 
  • Trim a sliver off non colored side so it lines up with card front when closed
  • Glue card front to colored panel 
  • Add black strip of card stock 
  • Add a few more gems to the colored portion of card
  • Add Wink of Stella to flowers
Here is one more of the full card ... 


TRHD Products Used:

Pretty In Peony


For more inspiration, updates, and news make sure to check out these places

The Rabbit Hole Designs YouTube


I have had so much fun playing with the Pretty In Peony set. The possibilities are endless with this set.  Flowers are my downfall if you don't know that already.

Thank you so much for stopping by and spending some time with me.

Until next time ... Hugs & inky fingers!   -Nic-