Pages

Showing posts with label Caffeinated Reindeer. Show all posts

Holiday Tags!

 Hello there and Happy Holidays!

It's Kelly here on the blog today sharing some holiday tags.

Pull out your Rabbit Hole favorites and spread some holiday joy!

This is a picture heavy post. I had SO MUCH FUN making these tags!

My tags feature several Rabbit Hole Designs Products:
  • Candy twist stencil
  • Caffeinated Reindeer stamp and die
  • Love You More stamp set
  • Kringle stamp and die


To make my tags, I stamped, colored and die cut or fussy cut my images.

I applied Glitz gel with the Candy Twist stencil on store-bought tags.

Stencils work GREAT on tags and are so much fun.  

I assembled my tags after the glitz dried. I used double-sided sticky tape to adhere the elements to the glitter. Nuvo gloss, glitter and foam make these tags extra special.


 for my hubs: 


For more inspiration, updates, and news make sure to check out these places.

The Rabbit Hole Designs 

The Rabbit Hole Designs Instagram

The Rabbit Hole Designs Facebook Fan Page

The Rabbit Hole Designs Pinterest

The Rabbit Hole Designs YouTube


Thank you for stopping by. I hope these tags inspire you to use those Rabbit Hole favorites in fun, festive and even unexpected ways this holiday.

Have a GREAT holiday! 

-Kelly 


Falala Well Latte-da! - a holiday slimline card


Hello my crafty friends! Welcome to The Rabbit Hole Designs blog. I created this fun slimline Falala - Well Latte da! holiday card.  I think the Caffeinated Reindeer might be one of my top three caffeinated critters.  His reindeer slippers crack me up!

The Rabbit Hole Designs is a Super Sponsor for the 2020 Fall/Winter Coffee Lover's Blog Hop  It runs from November 6 -13, so be sure to check out the hop.  You will find the link below!


I decided to create this festive caffienated holiday slimline card.  It features the new Blended Sentiments 2 stamp set and it's "Well Latte-da!" sentiment The Caffeinated Reindeer stamp set provides the main image I colored with alcohol markers.  


I love this barely awake Reindeer.  He is dressesd in a holiday robe and has a silly far off gaze in his eye. Aren't  his slipper so cute?


I used a few additional stencils.  I created the holiday lights and colored rays with the Light Me Up stencil,  Candy Twist stencil, and the Cotton Tail Blender Brushes.  I had the Falala die cut in my stash and felt it would be perfect to add with the "Well Latte-da!" sentiment.  The card front measures 3"x 8".  It is layered on top of a piece of 3 1/4"x 8 1/4" holiday green cardstock.  I attached the layered card front to a Christmas red slimline card base.

Here are The Rabbit HoleDesign products used in this card:

Blended Sentiment 2


Cotton Tail Blending Brushes


I hope you enjoyed this fun slimline Falala - Well Latte da! holiday  slimline card featuring the Blended Sentiments 2 stamps set and the Caffeinated Reindeer stamp set.   I love hearing from you  What do you think of slimline cards?  Have you created any of your own yet?


As a Super Sponsor of the 2020 Fall/Winter Coffee Lover's Blog Hop,

The Rabbit Hole Designs is offering a savings of 10% on all caffeinated images!
Make sure you use the code CAFFEINE in TRHD shop. . 


Social media: #fallwinter2020clh 


Be Creative ~ Stay Inspired

Jenn Gross


Follow me, Journey Coach Jenn, on 

Instagram - https://www.instagram.com/journeycoachjenn/

YouTube - http://www.youtube.com/c/JourneyCoachJenn

Blog - http://www.journeycoachjenn.com/


For more inspiration, updates, and news make sure to check out these places


The Rabbit Hole Designs

The Rabbit Hole Designs Instagram

The Rabbit Hole Designs Facebook Page

The Rabbit Hole Designs Pinterest

The Rabbit Hole Designs YouTube


8 Tiny Reindeer - Easy Christmas Tags

Caffeinated Reindeer Christmas Tags


When what to my wondering eyes did appear, but a miniature sleigh and eight tiny reindeer...

Hi crafty friend, it's Amanda from Pear Blossom Press again. I'm continuing my Christmas in July blitz, and today, I'm sharing some quick and easy gift tags. 

This project was inspired by my friend Yvonne. She has lots of great ideas and shares them on Instagram. We were talking about ideas for quick Christmas projects and she suggested white embossing on kraft cardstock. I decided to give it a try with the Caffeinated Reindeer for these tags. 

To start, I cut a piece of kraft watercolor paper in half so it would fit in my Mini Misti. I used a powder tool before stamping the reindeer in Versamark ink. Then, I coated the images with white embossing powder and heat set them. I stamped and heat set two at a time to make it go faster.  


Next, I used the coordinating die to cut them out. Saving one sheet that I cut them out from, I lined it up in my Misti, upside down, and placed the TO and FROM stamps from Pawlidays on the back of one of the die cut reindeer. That creates a jig to perfectly line the die cuts up and stamp the words in the same place each time. I repeated the embossing process on all eight. 


Locking tweezers are helpful for removing the die cuts and holding them while embossing, but since I was doing so many at the same time, I opted to use the clip on my clipboard to hold down the reindeer and heat set all of them at the same time. I was careful not to overheat them, so I wouldn't remelt the powder on the front sides, and possibly stick to the next reindeer.


At this point, I could have stopped and just added the cords, but the kraft paper I used was lighter than usual and I wanted to punch them up a bit. I used some Walnut Stain ink and a Cotton Tail brush to blend on a little color on the fronts, then a baby wipe to clean up the white embossing powder. To add a pop of color, I used a red marker on the noses. 


After that, I simply punched a 1/16" hole in the antlers and threaded a few inches of gold cord through to tie off. 


They were really cute, but I am a lover of all things bling, so I glued red gems over the noses to jazz them up a bit more. What do you think?

Caffeinated Reindeer Christmas Tags Caffeinated Reindeer Christmas Tags

I love having a big collection of tags on hand at Christmas. It seems like we go through tons of them each year at my house. You can make ones like this, or change the color of the cardstock and the images to suit your needs. If you want to skip the embossing, you can use a white pad, or an ink darker than your paper, for a tone-on-tone look. And if you don't have coordinating dies for your images, you can stamp on circles, squares, or rectangles. 

Thanks for stopping by today. You can find the sister article to this on my blog. Head on over for links to the specific products I used. And if you'd like to see another fun tag using this stamp, you might like this. I'll be back soon with more fun cards to share. 

For more information, news and updates check out these links:

November Guest DT Member Jessica Shier

We are pleased to bring you our November 2019 Guest Design Team member Jessica Shier

We sent Jessica the Caffeinated Reindeer stamp and we think she nailed it with her project. To see all the details please click here -> Caffeinated Reindeer


We love the use of the brown cardstock and bright colors for the stencil.  For the coloring Jessica did an amazing job here.   
Look for Jessica's next GDT post next Wednesday on the blog.
~
Until then for more inspiration, updates, and news make sure to check out these awesome places! 

Thank you so much for stopping by today!

Caffeine Gives Me the Jingles

Hello and welcome!

I am so excited for you to accompany us as we join up with the Coffee Loving Cardmakers for their Fall/Winter Coffee Lovers Blog Hop. I am joining in as part of The Rabbit Hole Designs. This is our second time joining them and we are happy to announce we are Super Sponsors for this event. For the duration of the Coffee Lovers Blog Hop, The Rabbit Hole Designs will be offering specials ...
SPECIALS WE ARE OFFERING FOR THE DURATION OF THE HOP: 15% off everything in the Caffeinated section of the shop.
Use Code: FallBrew
You can shop for all of the Caffeinated Critters HERE

Today I'm sharing this super fun interactive caffeinated reindeer card! I used the candy twist stencil on the background, assembled my card, stamping and heat embossing my sentiment at the bottom. Then I built my wreath, added a vellum circle behind it and adhered my reindeer. Then gluing just the bottom part to the card front so the mechanism still moves I lined up my stamp and added a sentiment to the inside too.


I plan to add a Starbucks gift card to the inside of this, which fits perfectly inside the opening.
 Make sure you come back tomorrow to see Lisa sharing more Caffeinated Critters. Make sure you also head over to CLC Fall/Winter Blog Hop to link up to win some awesome prizes. The hop goes through November 8th.

Caffeinated Reindeer Gift Tags


Woohoo! Amanda from Pear Blossom Press here again. It's time for the Coffee Loving Cardmakers' 2019 Fall | Winter Coffee Lovers Blog HopThe Rabbit Hole Designs is participating again as Super Sponsors, and all week long, the design team will be sharing coffee themed projects to inspire you. Make sure you hop along on both The Coffee Loving Cardmakers' blog (where you can link up your coffee themed projects), and here each day, for lots of caffeinated inspiration! In addition to the prizes being given away over on the Coffee Loving Cardmakers Blog Hop page, The Rabbit Hole Designs will be doing some fun giveaways randomly right here, so be sure to come back each day of the HOP and comment on the blog post of the day.


As an added bonus, The Rabbit Hole Designs is offering 15% off everything in the Caffeinated section of the shop for the duration of the hop.
Just use the code: FallBrew
All of the caffeinated stamps can be found here.

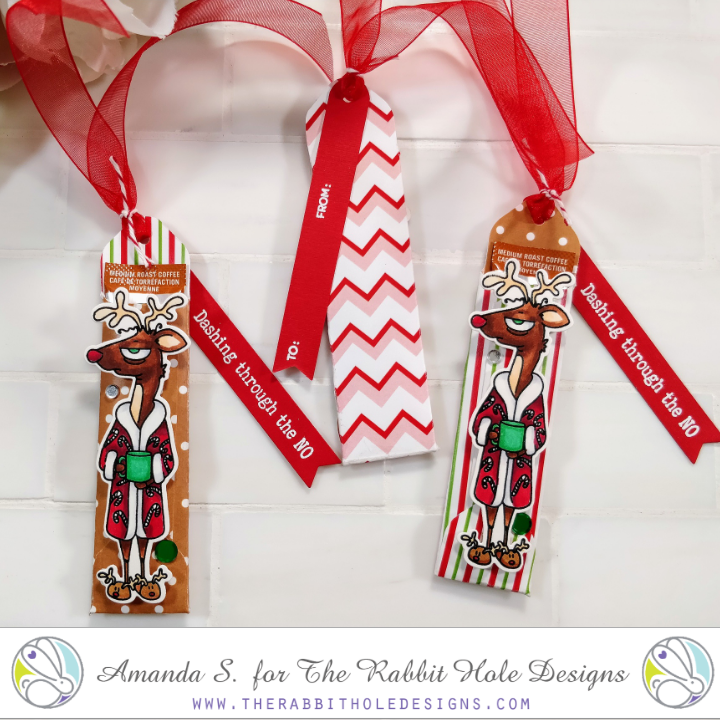
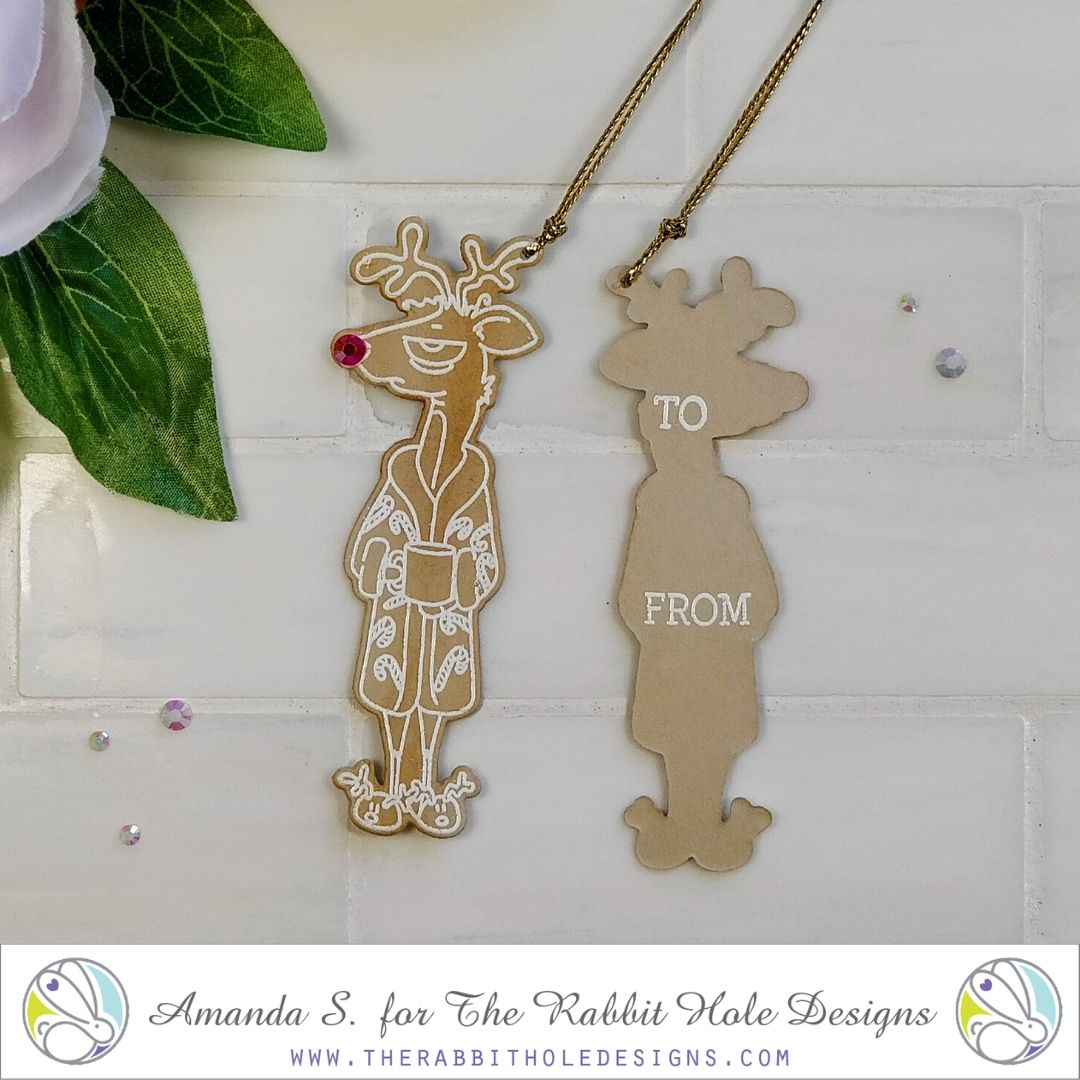
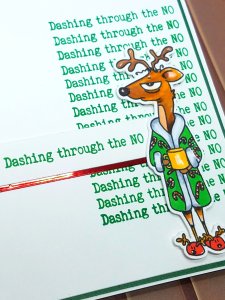
Today, I've got some fun gift tags featuring the Caffeinated Reindeer. They hold an extra little treat to tie onto your Christmas packages: a Starbucks® Via packet! These are quick and easy to make. Especially, if you use double-sided pattern paper to make the tiny envelopes. Of course, you could also stamp out your own pattern paper using the caffeine molecule stamp included in the set, or stencil ink through the Candy Twist Stencil.


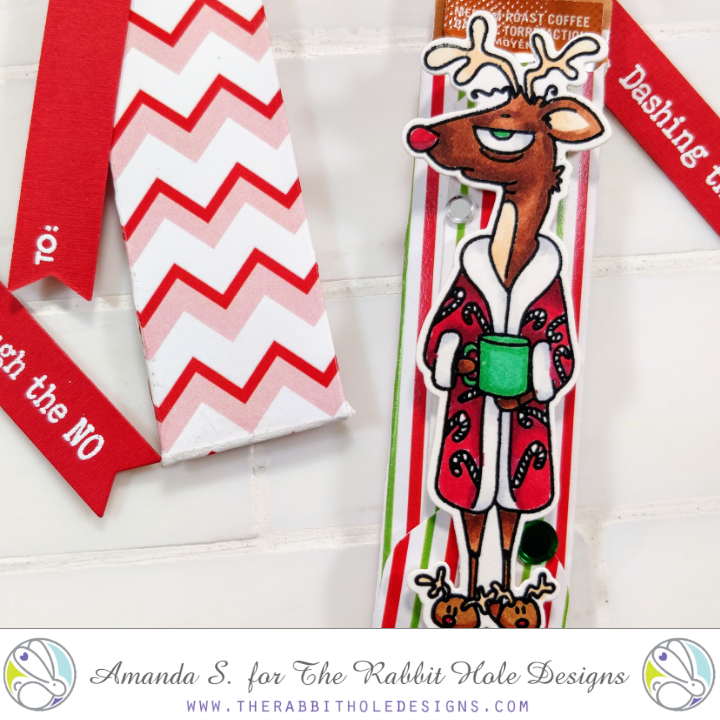
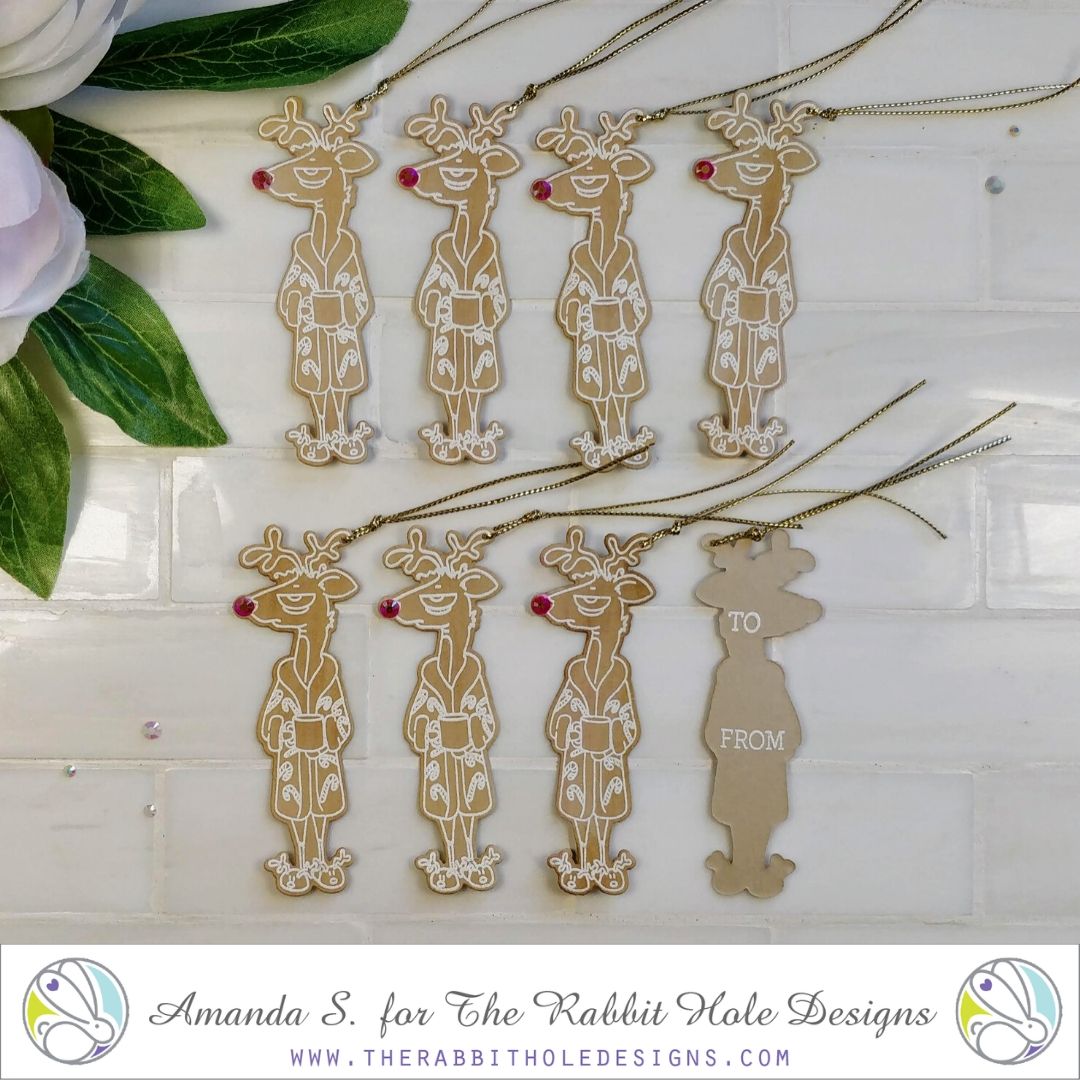
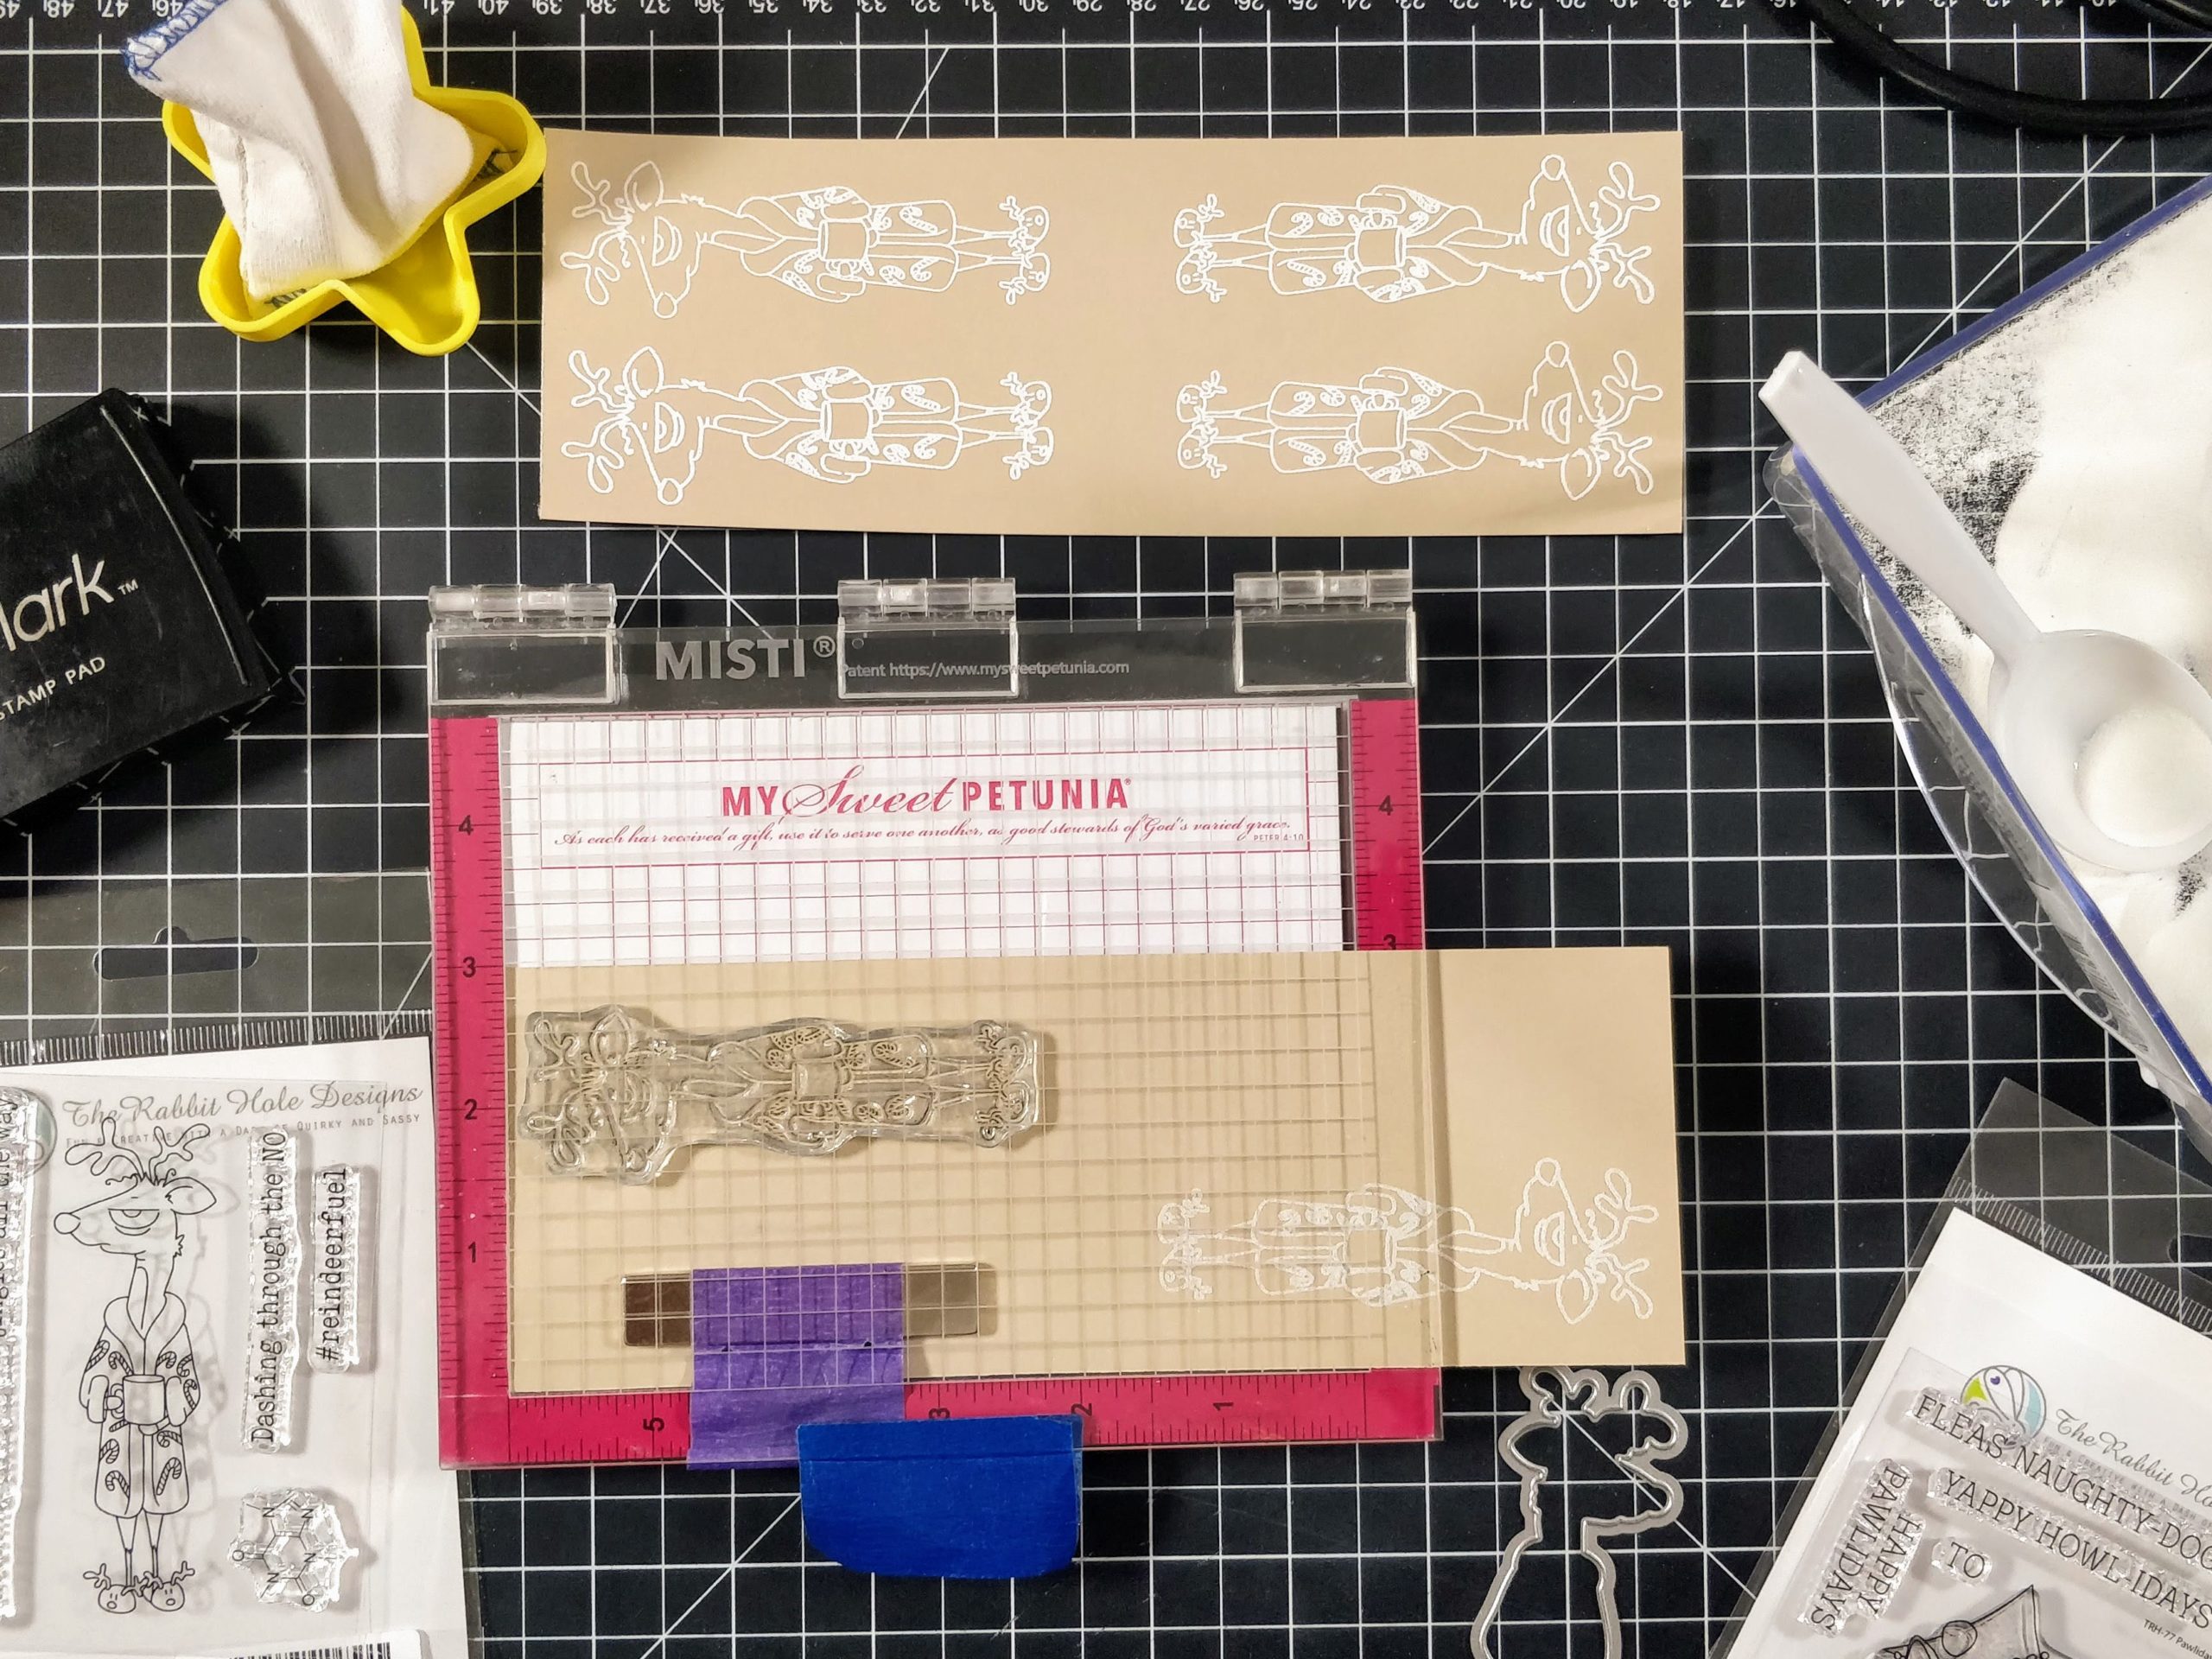
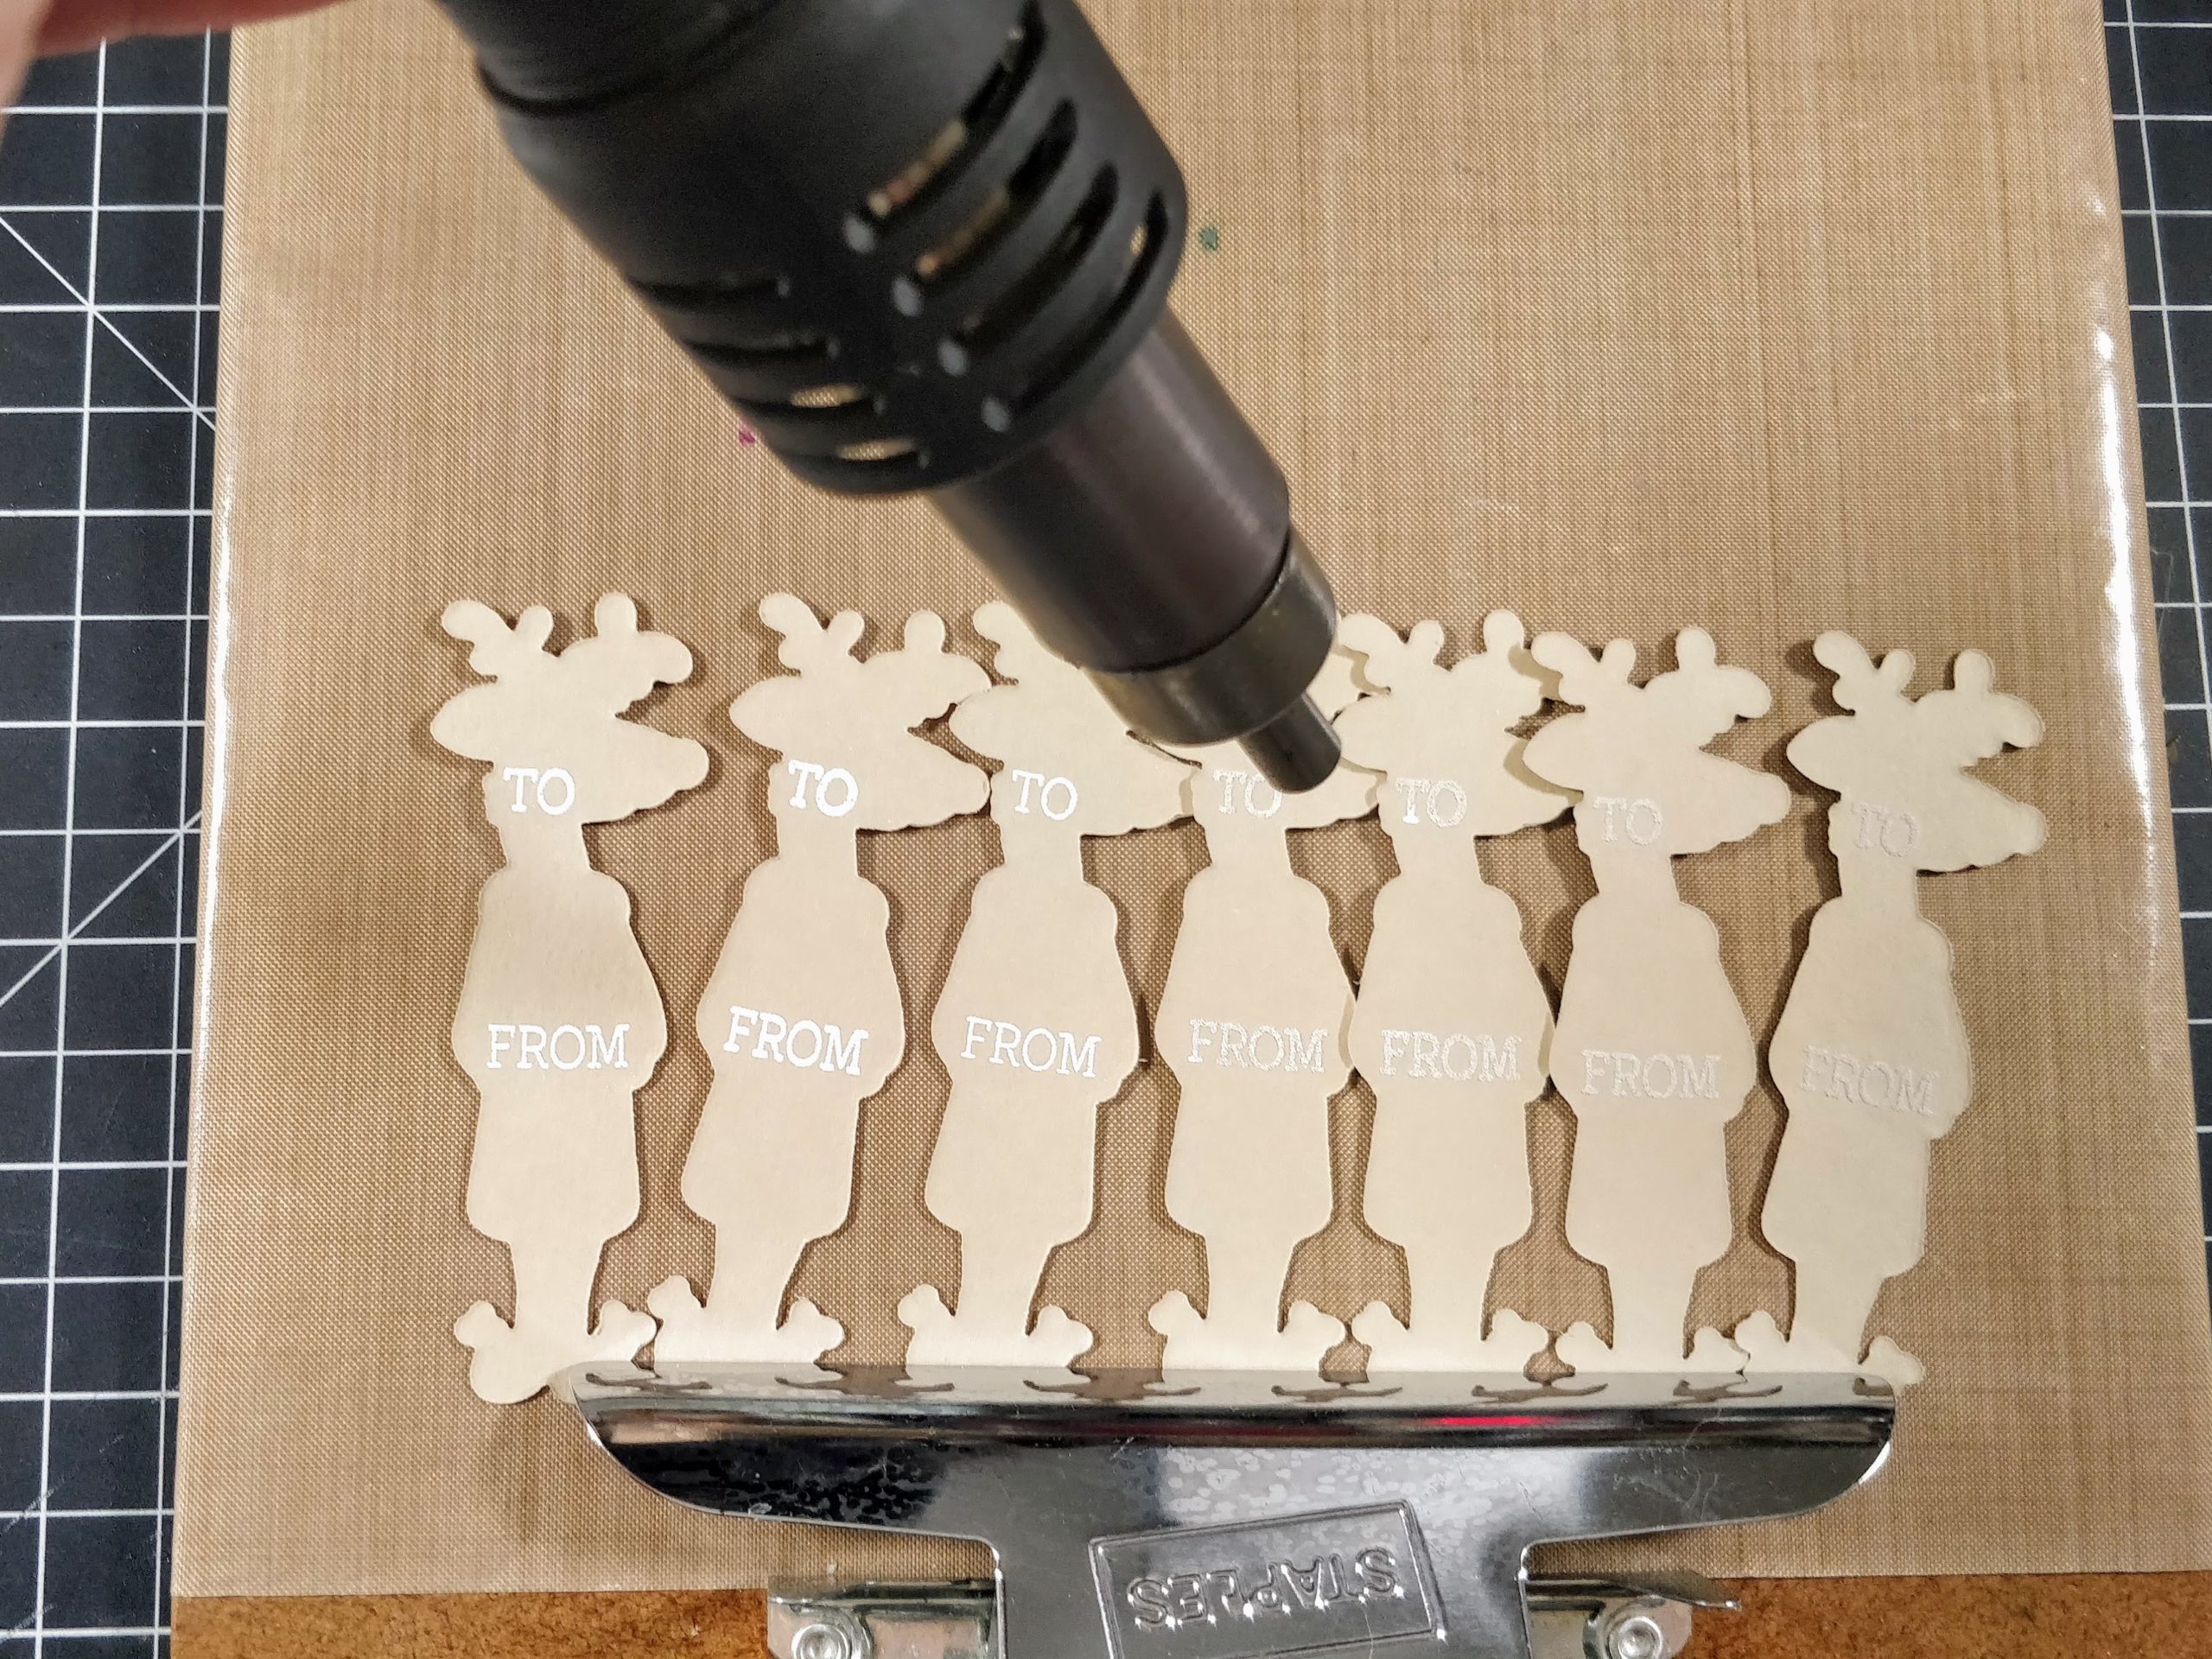
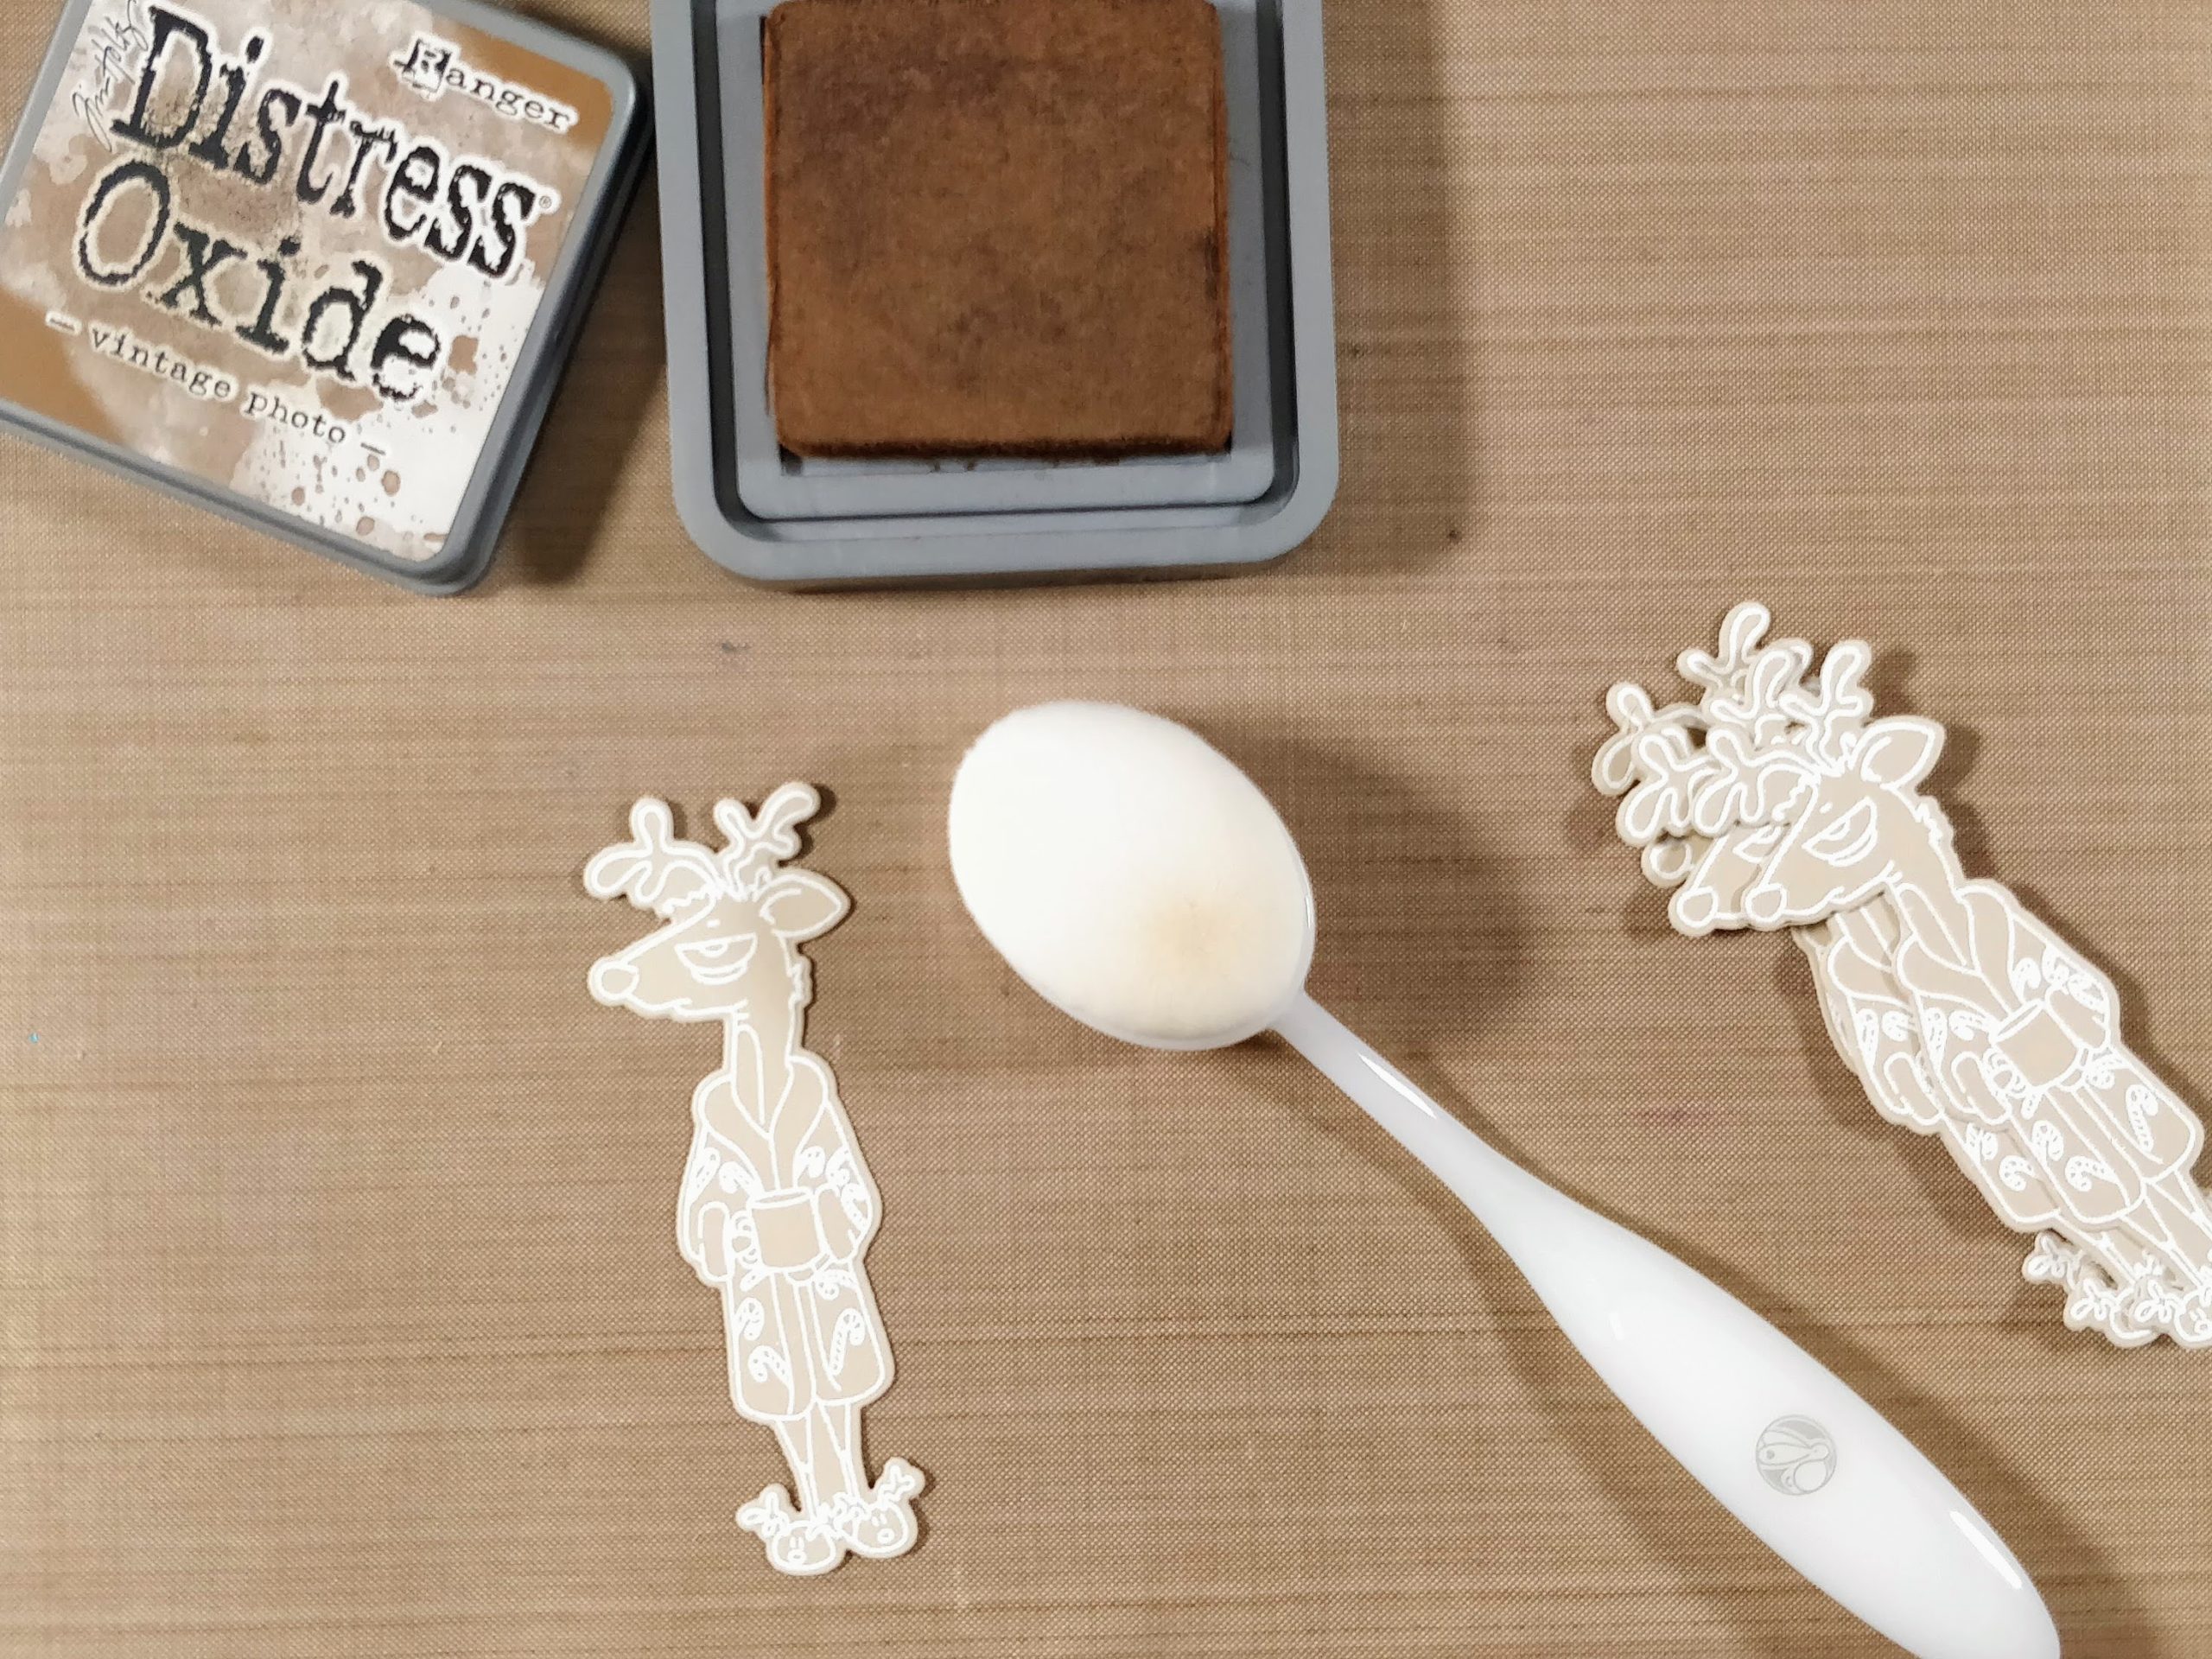
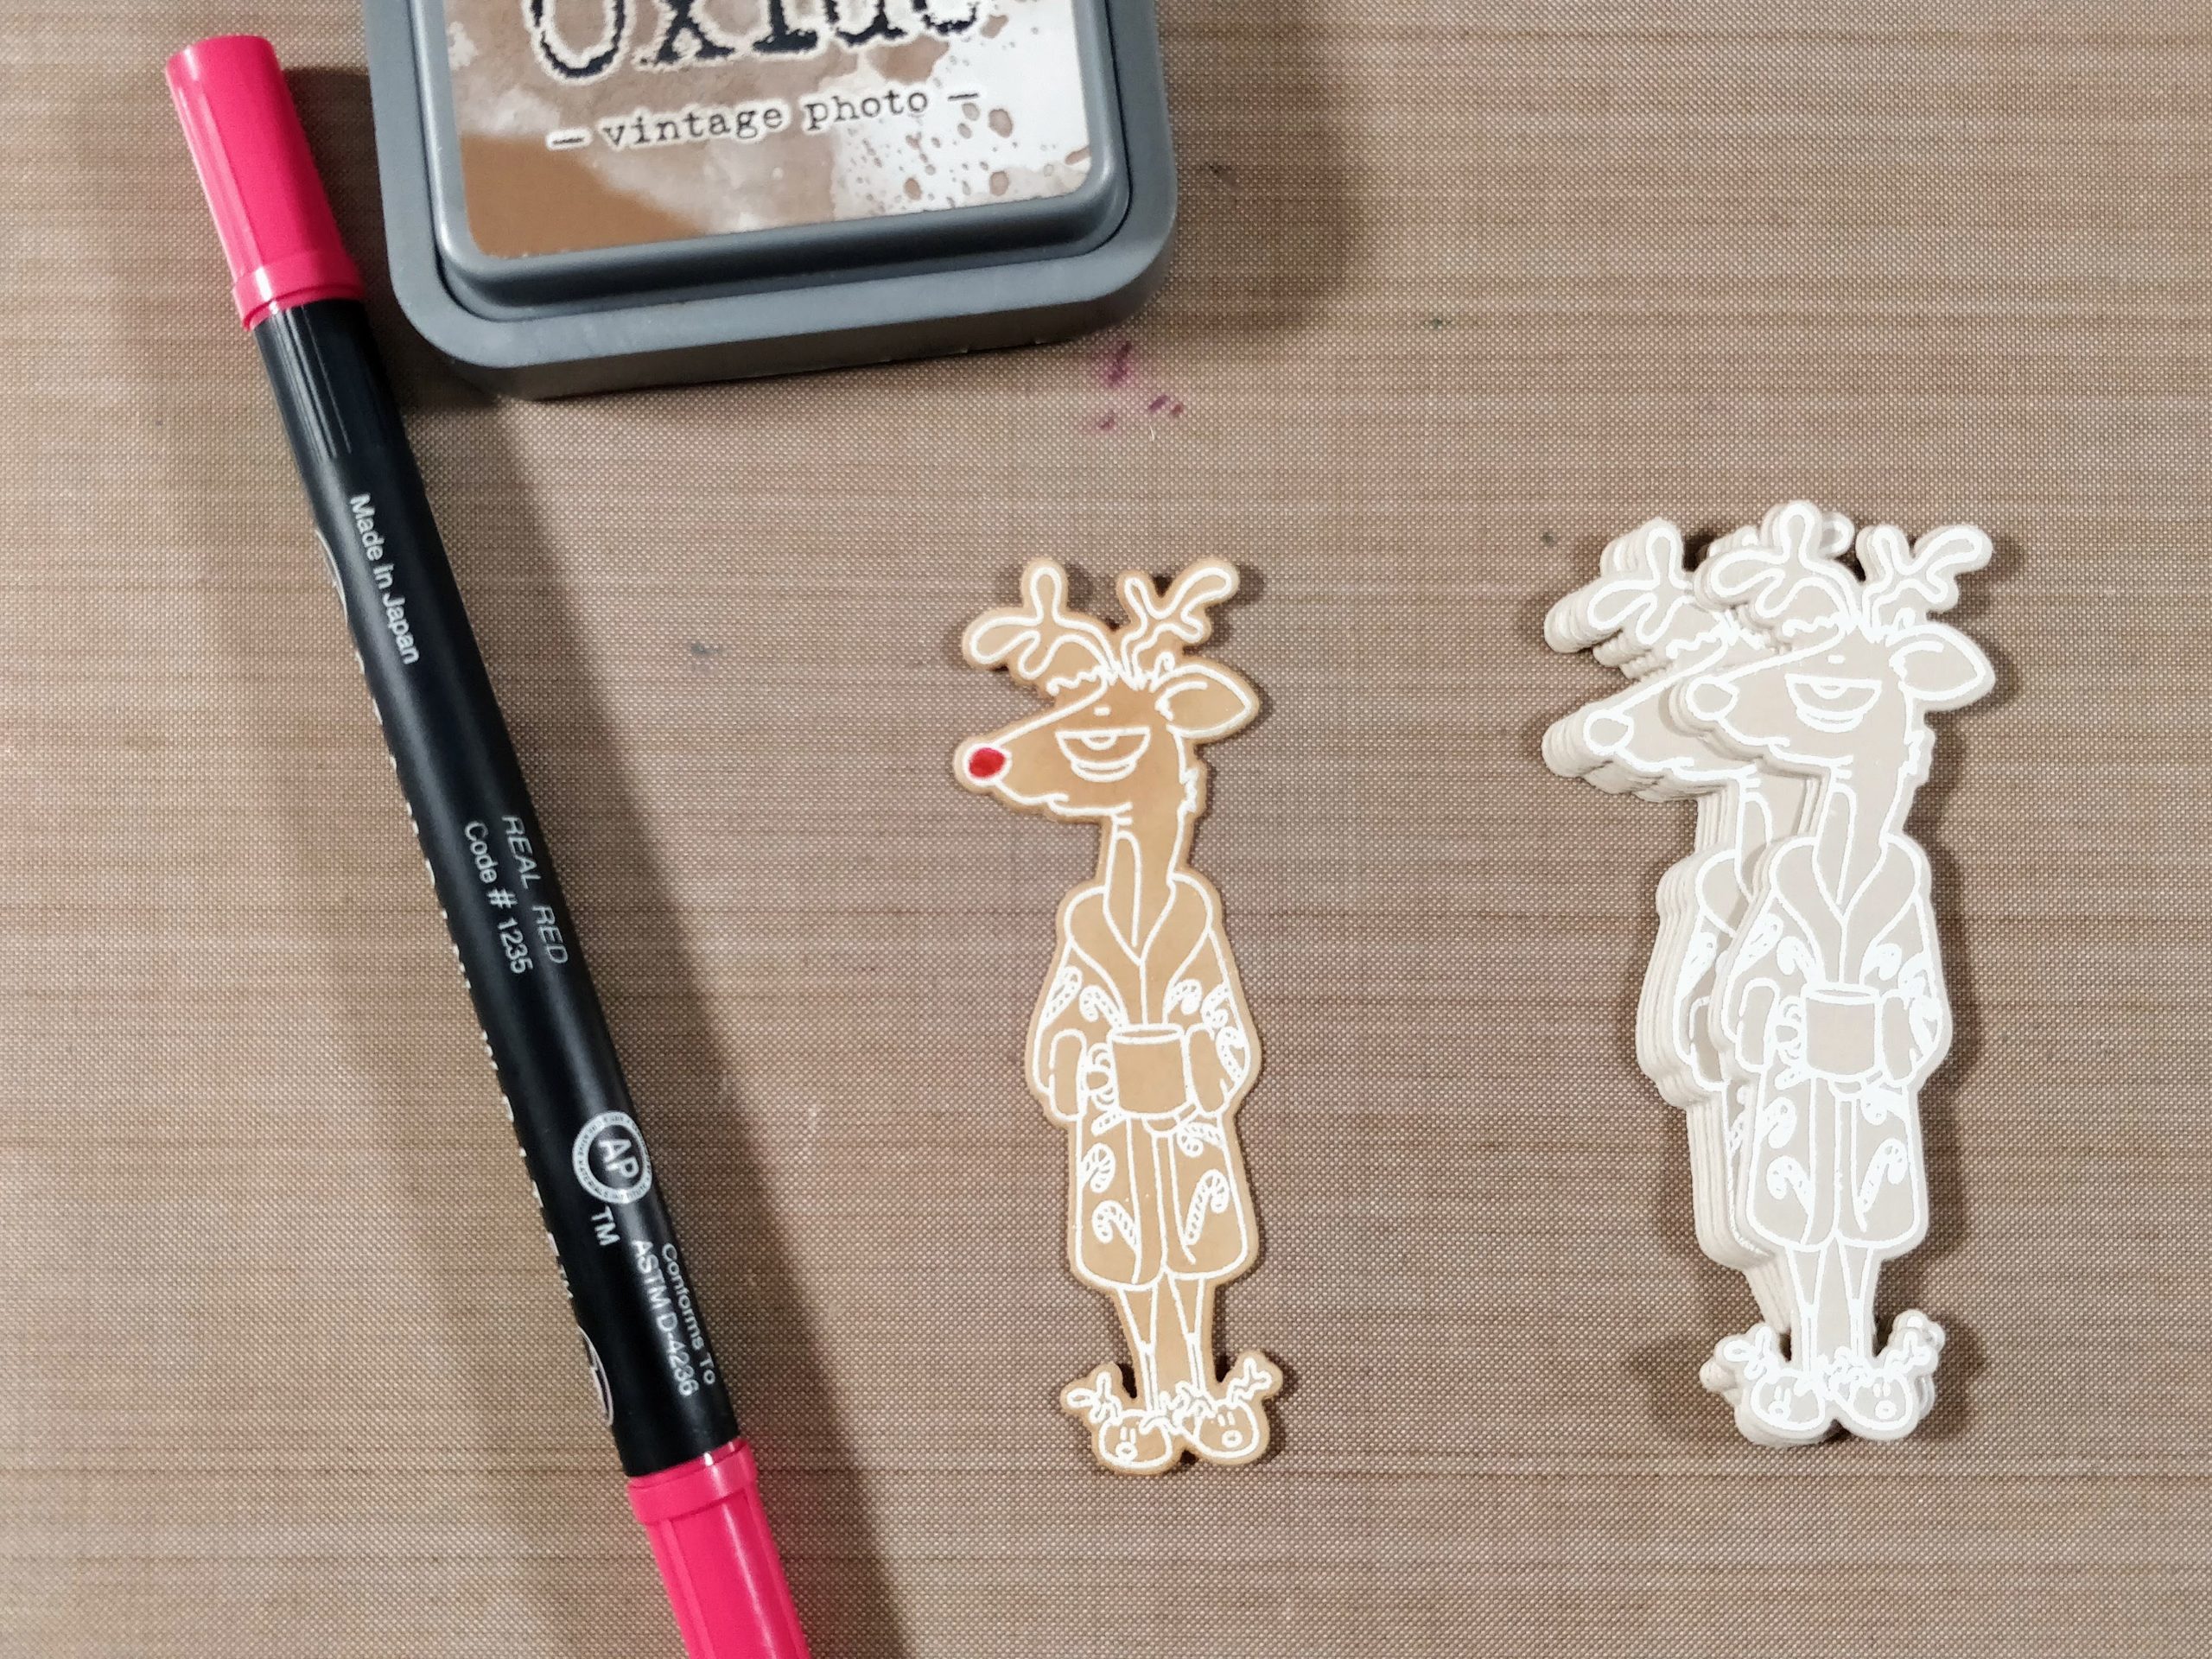
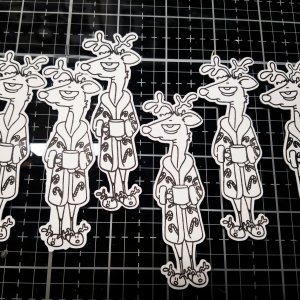
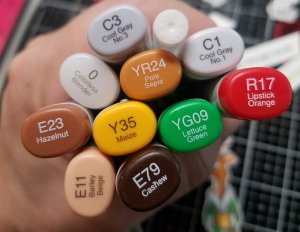
To whip these out, I stamped, embossed, and Copic colored a bunch of 
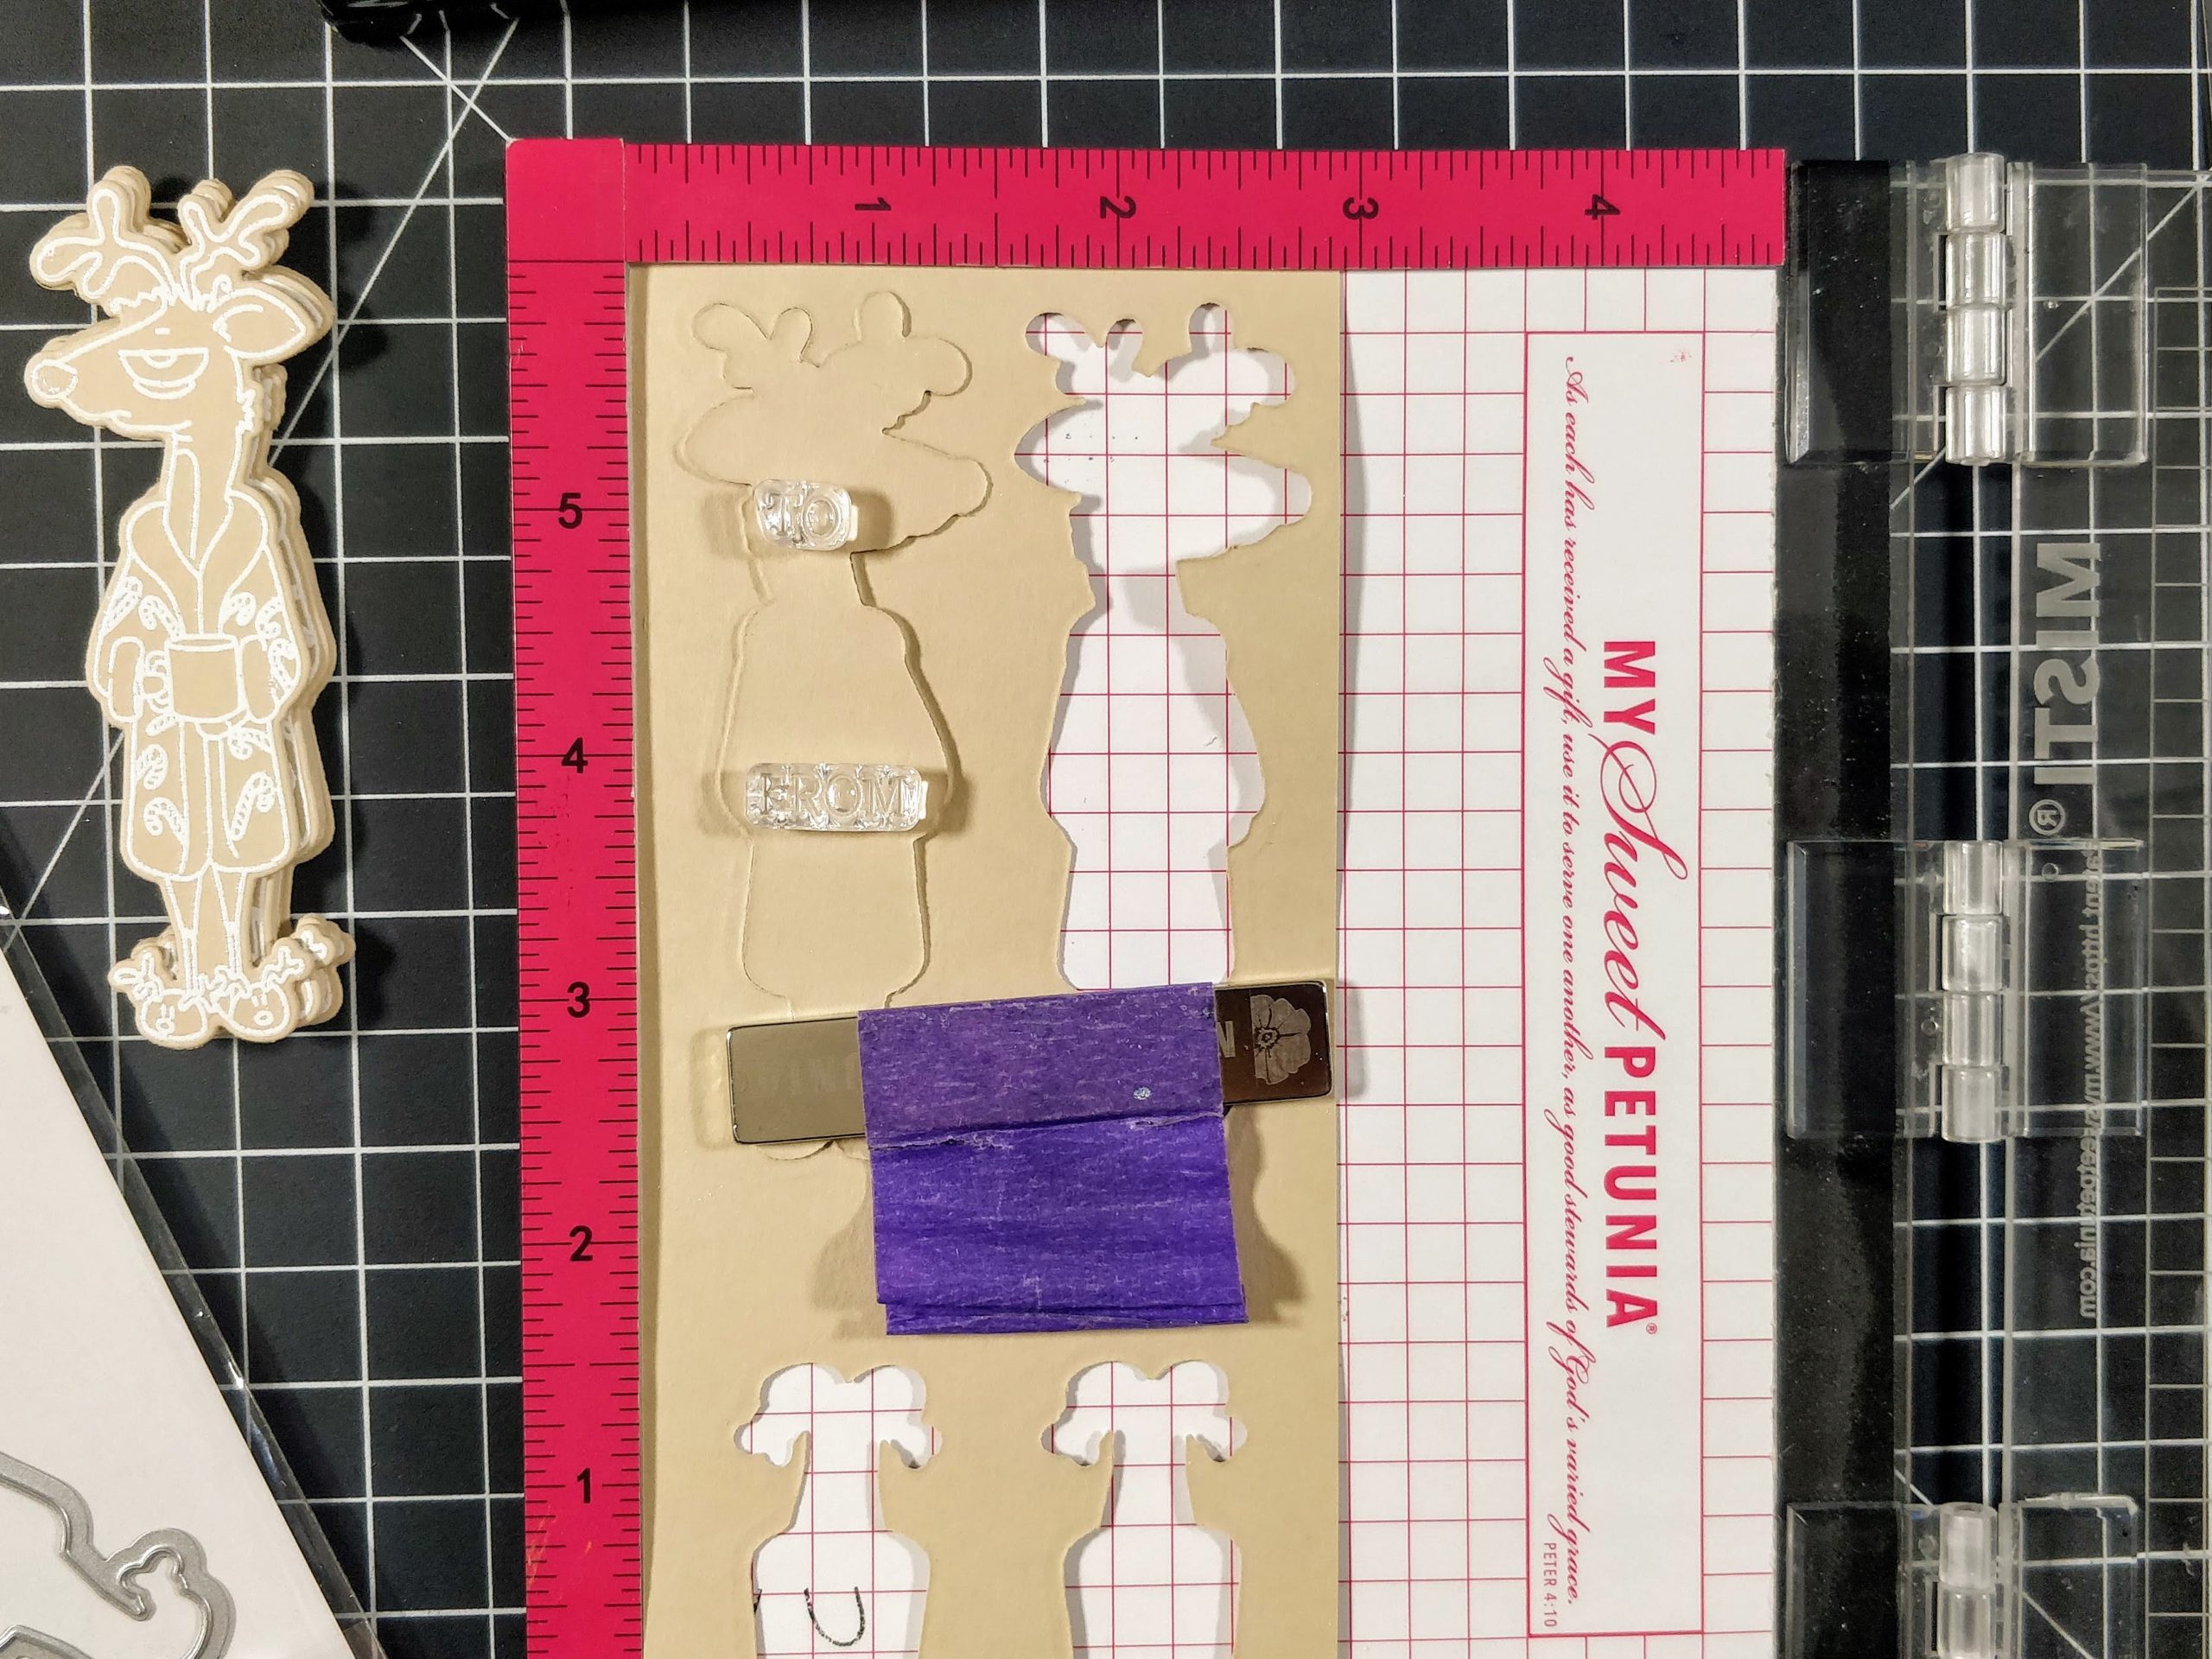
reindeer. Then I cut them out with the coordinating die. I made the envelopes using my Envelope Punch Board and 
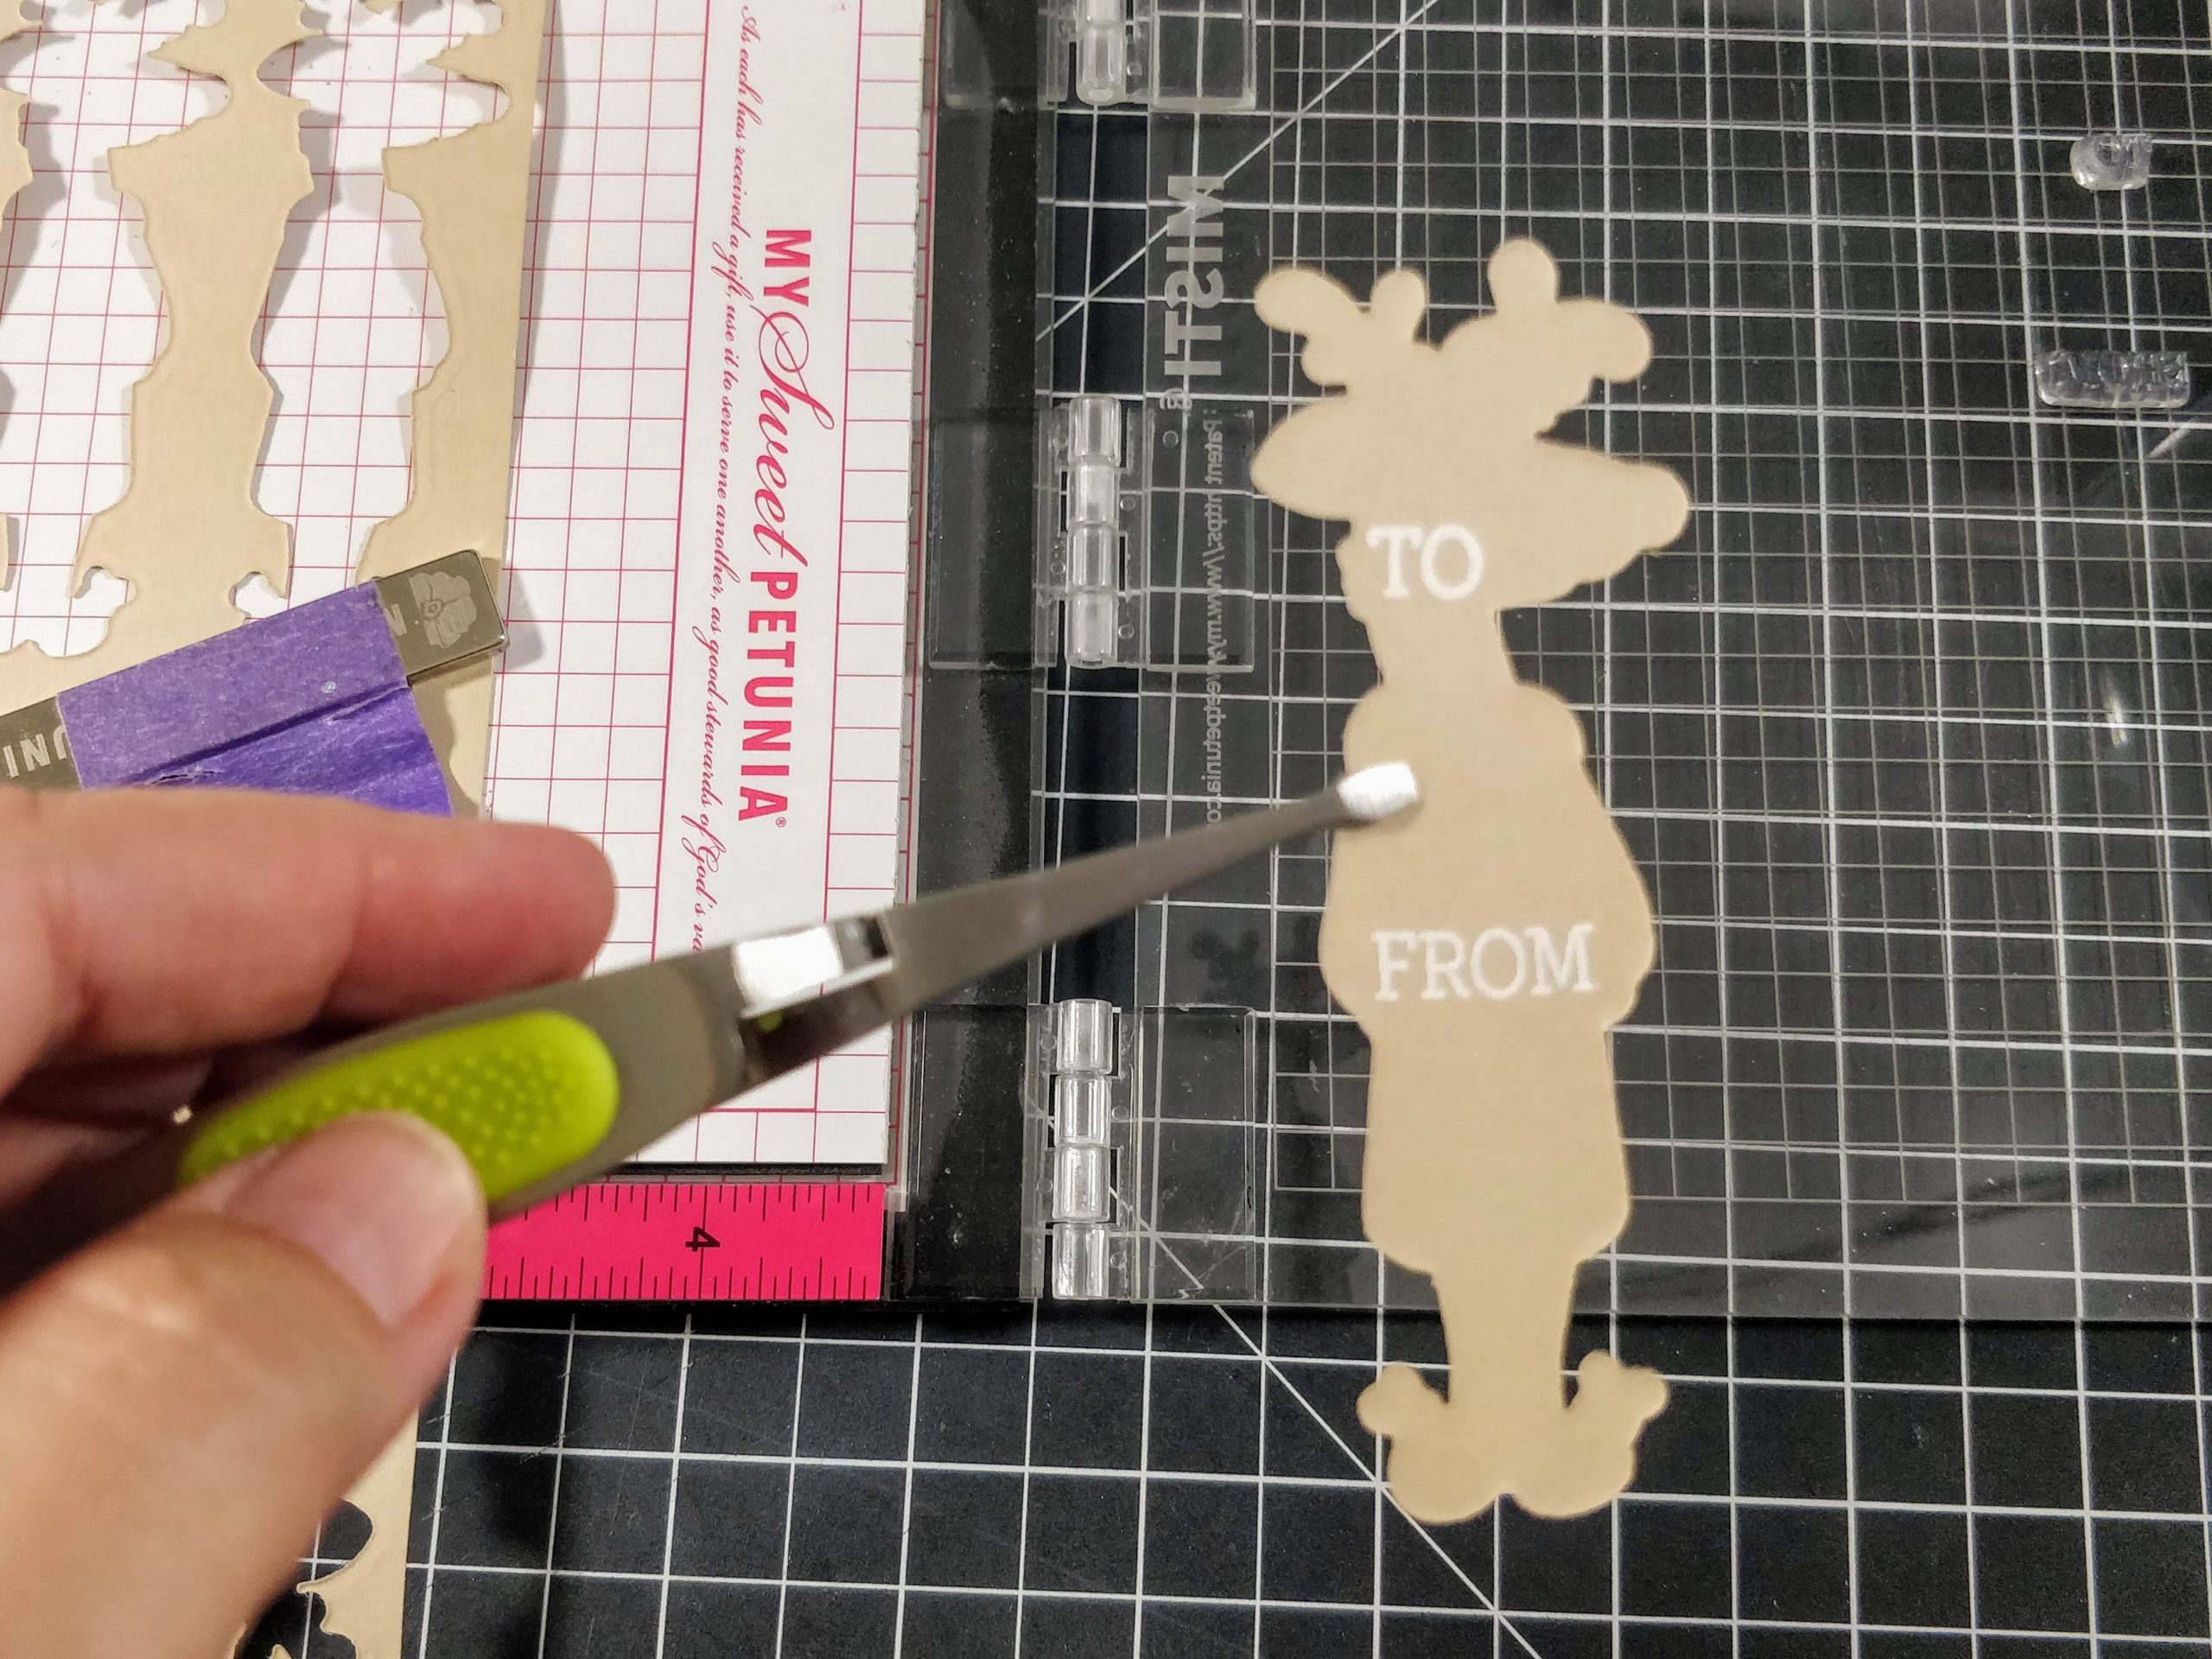
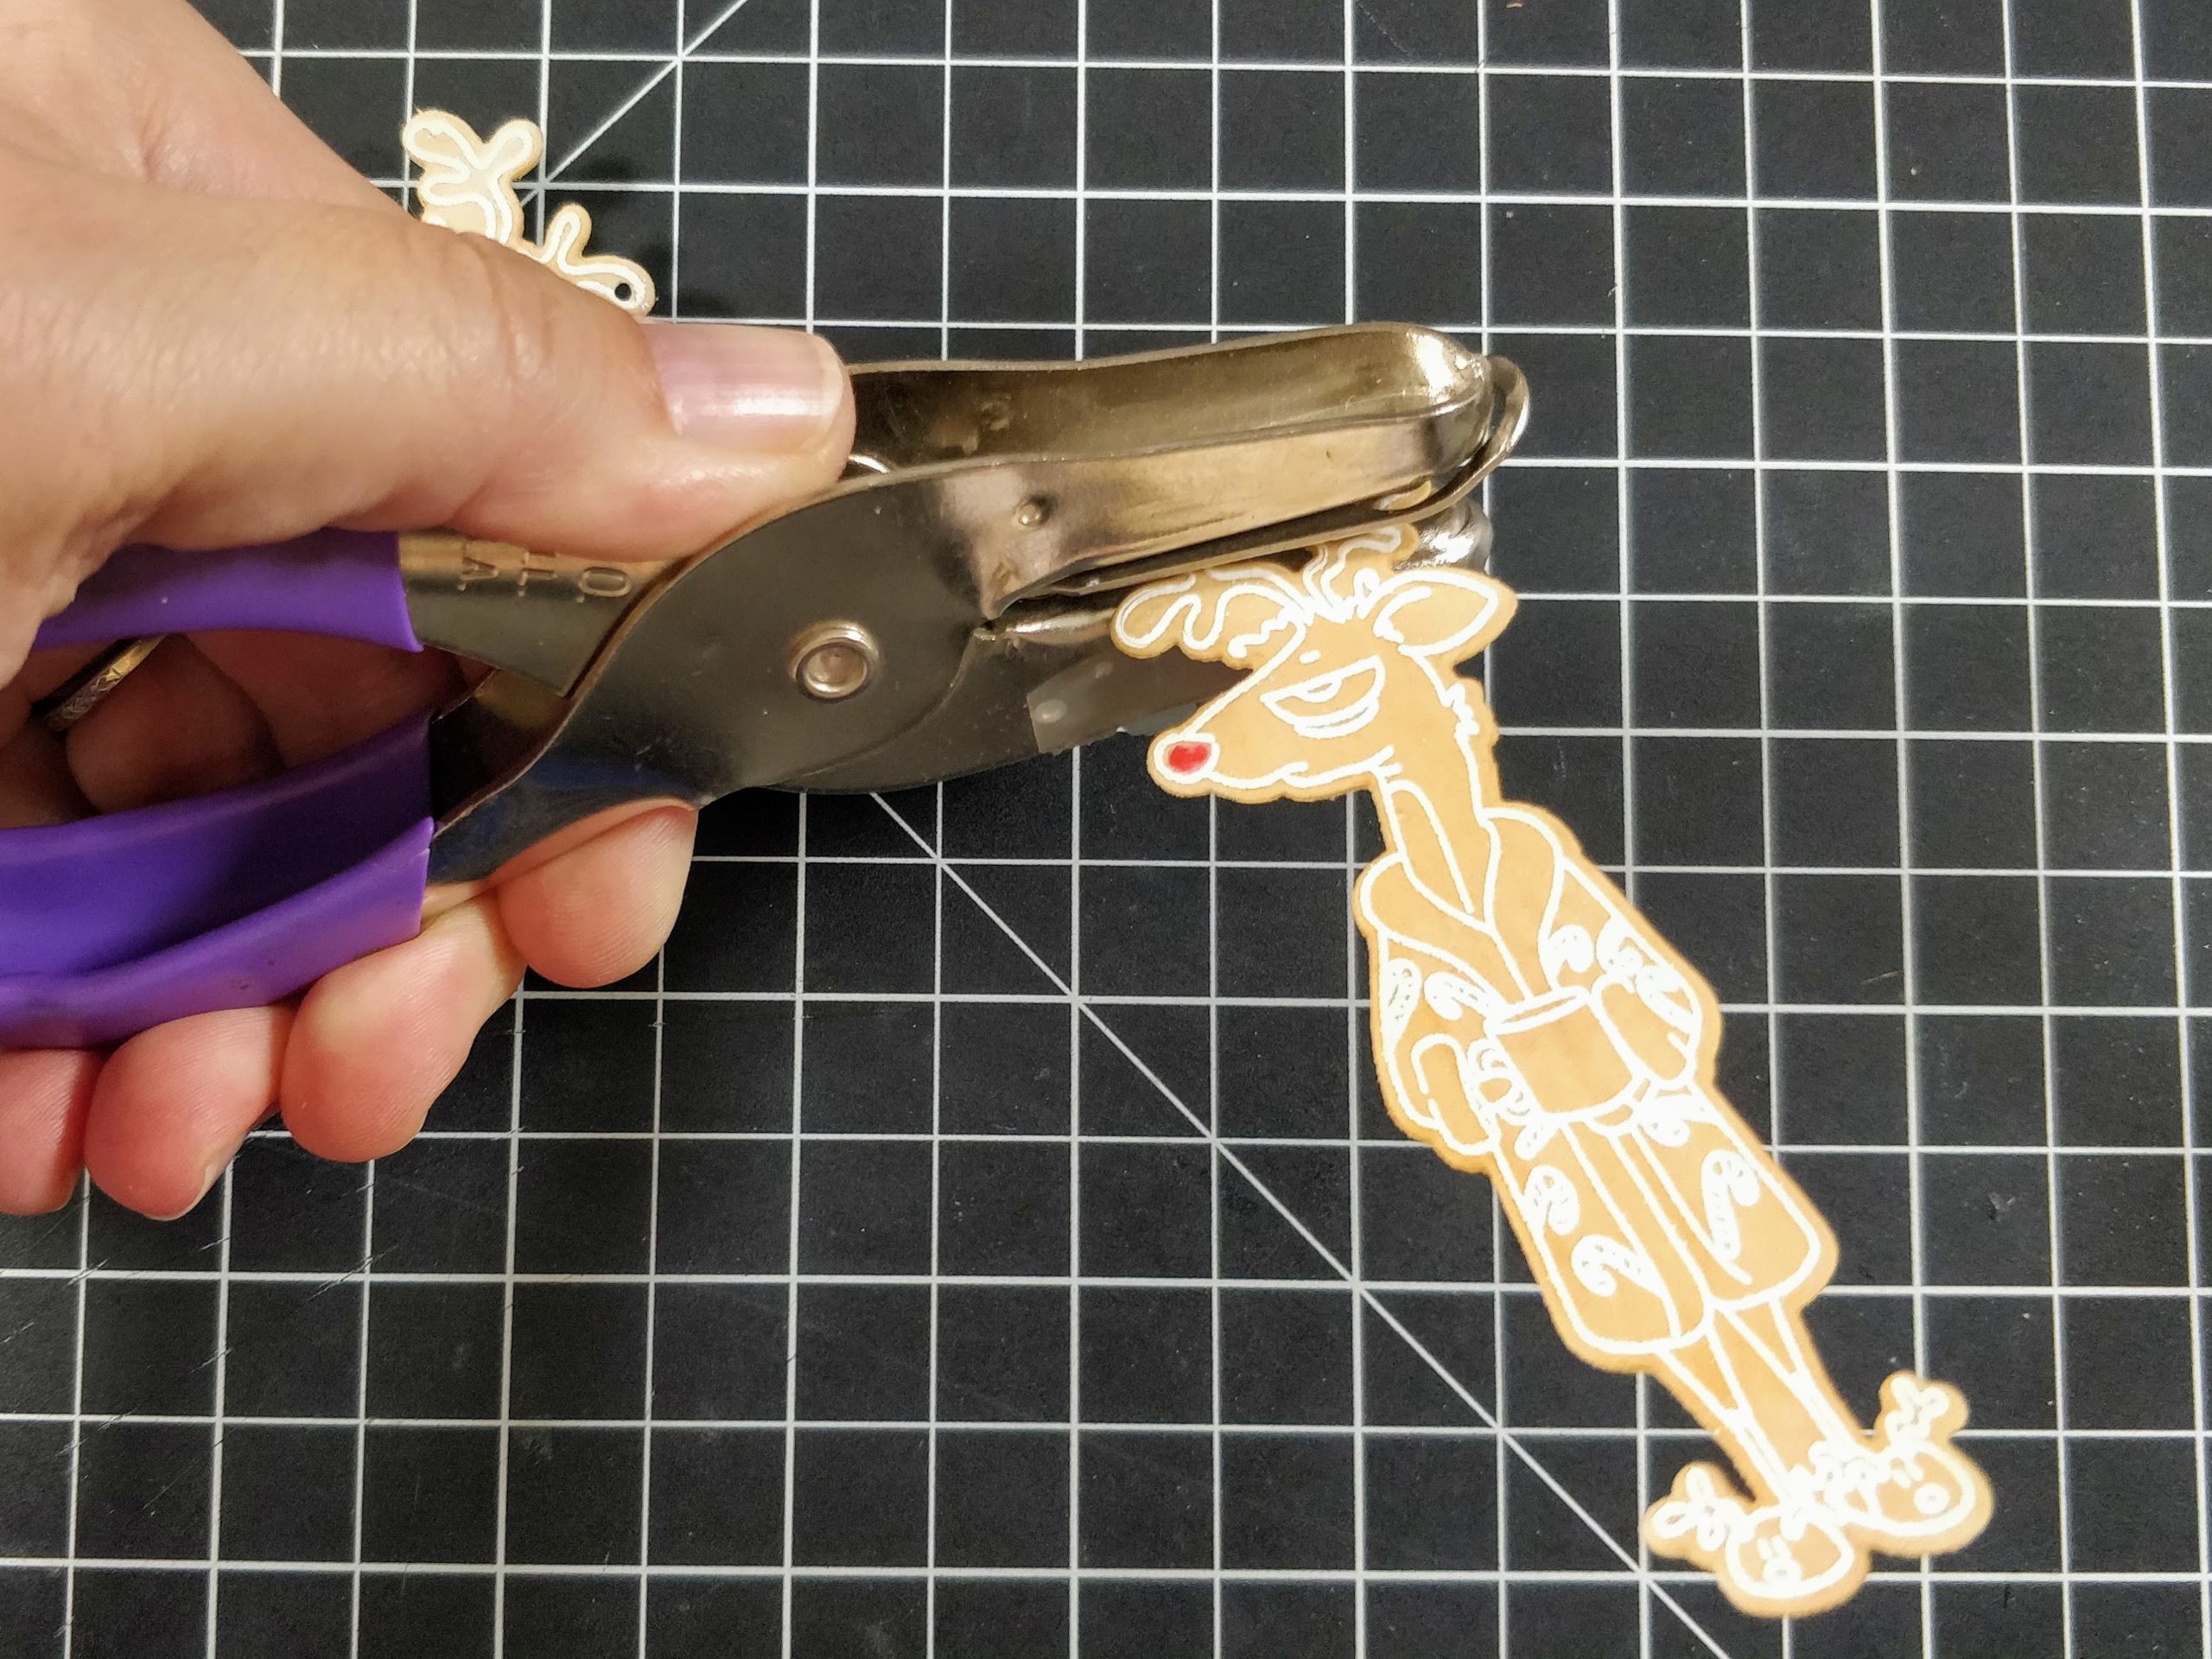
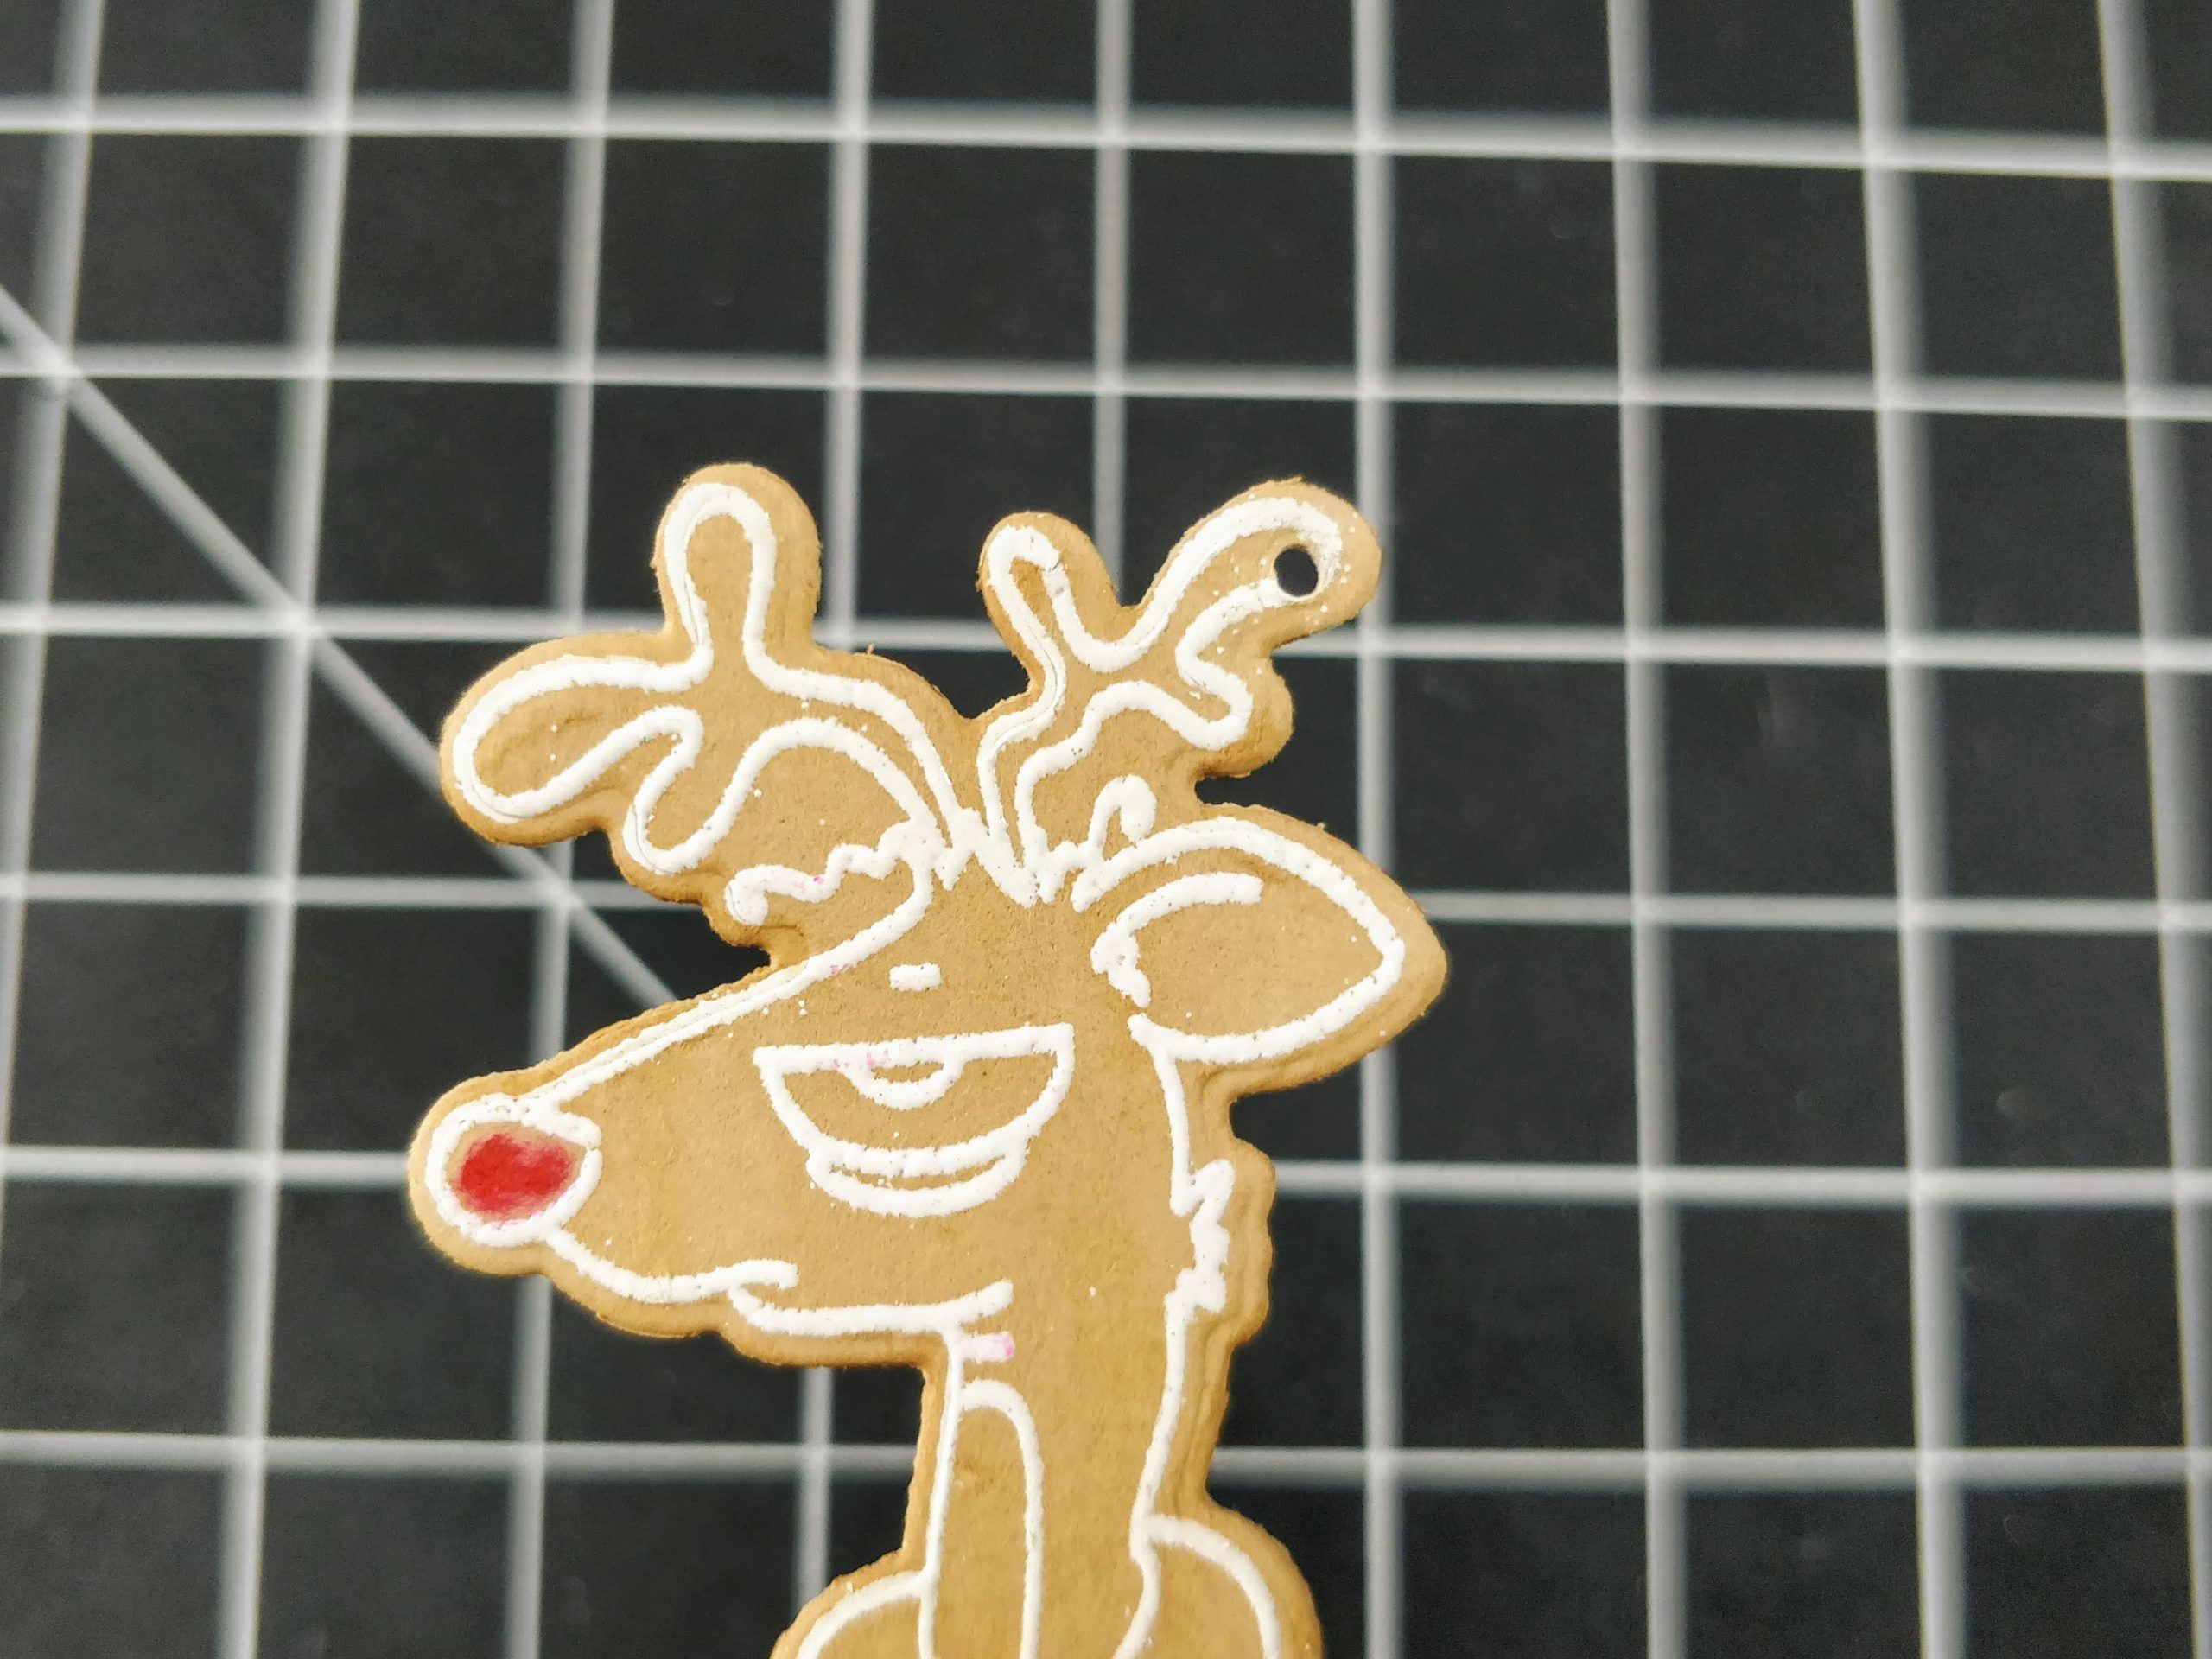
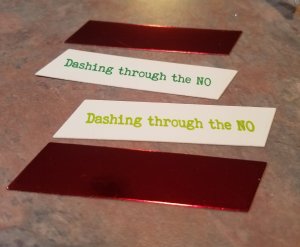
an envelope punch board calculator. I die cut red banners, then stamped and embossed the sentiment on one side, and to/from on the other. Then, I punched a hole through the tops and tied them together with ribbon and twine. I added a few sequins that were included for free in my last order from The Rabbit Hole Designs. A little birdie told me they're going out in every new order right now :)

I have quite a few coffee drinkers on my list this year, but I also have a bunch of younger kids on the list too. For the non-coffee drinkers, I'm going to make envelopes for hot chocolate packets, or tea bags. Who would you make these tags for?

Thanks for stopping by today! I hope I've inspired you to give these tags a try. Don't forget to comment for your chance to win a prize. Then hop over to the Coffee Loving Cardmakers' blog and link up your coffee themed cards for more chances to win! If you'd like links to the specific products I used on the tags, head over to my blog.

A dose of Reali-tea


Hello everyone! DTM Shanna here today with a card featuring The Rabbit Hole Design‘s New Release for October, Caffeinated Reindeer! All of them new caffeinated critters are so flipping fun to play with, you will want to check them all out here, if you haven’t already.

Moving on to my card for today... I had a lot of fun watercoloring my reindeer, and then was *puzzled* by what to do for a backgound.  Puzzled you say?  My perfect solution was found with TRHD’s Puzzle Box stencil!  I used Nuvo expanding mousse, but chose not to heat set it so it retained more of the metallic finish.  The stencil was applied over a Barn Door distress oxide ink blended card panel. The red and green came together for a fun Christmassy background I think!


I added a bit of interest by die cutting a circle from some metallic gold printed vellum and stamped the caffeine symbol from the stamp set all over it.  The sentiment is from the Perfectly Blended sentiment stamp set, and was stamped on a banner die cut and water colored to match.


Have you started making Christmas cards yet?
That wraps up my post for today, I will be back next week for another trip down The Rabbit Hole!  Until then you can find me over on my blog, Caffeinated Craftiness or over on Instagram!
-Shanna
For even more inspiration, updates, and news make sure to check out these links.
The Rabbit Hole DesignsThe Rabbit Hole Designs InstagramThe Rabbit Hole Designs Facebook PageThe Rabbit Hole Designs PinterestThe Rabbit Hole Designs YouTube

Dashing through the NO!


Good morning my caffeinated critters!
Charmaine with CharCards "on the sleigh"!
 I like to make extravagant cards that take hours but decided that I need a quick card with a punch!
Well, here he is in all his Christmas glory!


This caffeinated reindeer stamp and metal die are available at the Rabbit Hole Design and Simon Says Stamp stores.


                                             Here is what I did:

1. I stamped a few reindeer on Neenah 110 lbs card stock and fed it through my Brother Scan N Cut. You can also use the metal die cut. I used Gina K Amalgam ink (Copic friendly) to stamp.


2. I used Copics to color this reindeer. Use a white Gelly pen for highlights and candy canes.


3. Using a 4 x 5 1/4 white card stock piece, I stamped the "dashing through the no" multiple times, 1/4 apart, with my Misti. I like using VersaFine Claire ink for sentiments! I made two different cards with a green variety.


4. Stamp the sentiment and cut with a metal sentiment die. To add some shine to the card, also cut a red piece from red mirror card stock. Assemble with double sided tape.


5. Attach a matching green card stock to the stamped base's back. This should be about an 1/8th bigger than the stamped base.


6. This is a  4 1/4 x 5 1/2 top folding card. Attach the sentiment with double sided tape and the reindeer with dimensional foam tape.
7. For the inside of the card, cut a piece of 60 or 80 lbs colored paper, 4 1/8 x 10 1/2. Fold at center, stamp sentiment and adhere with double sided tape.


8.  Match your envelope and you're done! I made 4 cards under two hours with distractions from my own village.


I hope you will give this a try! Clean and simple for the win! Leave me a comment or better yet, post your creation on our fan page!

Reindeer kisses,
Charmaine