Pages

Showing posts with label Butterfly Kiss Stamp Set. Show all posts

Looking back at a Butterfly Kiss

Hello my crafty friends!  I hope you had a relaxing holiday with family and friends.  Today I am revisiting another of my favorite cards from 2021.  I created this Whisper - i love you... card for The Rabbit Hole Designs' June 2021 Release.  

When I saw this sweet bunny image (illustrated by Tatsiana Zayat), I knew I wanted him laying in the grass to whisper to this butterfly. You can re-visit my May 24th blog here.
Thank you for stopping by and revisiting The Rabbit Hole Designs Brand Ambassadors' favorite creations of 2021.  Wishing you a very crafty 2022!

Creative ~ Stay Inspired

Jenn Gross


Follow me, Journey Coach Jenn, on 

Instagram - https://www.instagram.com/journeycoachjenn/ 

YouTube - http://www.youtube.com/c/JourneyCoachJenn

Blog - http://www.journeycoachjenn.com/ 


For more inspiration, updates, and news make sure to check out these places


The Rabbit Hole Designs

The Rabbit Hole Designs Instagram

The Rabbit Hole Designs Facebook Page

The Rabbit Hole Designs Pinterest

The Rabbit Hole Designs YouTube


Butterfly Kiss with clouds in the grass!

Hello friends! I have a cute card to share today with the newly released Butterfly Kiss stamp set and coordinating die from The Rabbit Hole Designs. I paired it with the clouds in my coffee stencil, using it not only for the sky, but my grass as well!


I absolutely love this Butterfly Kiss stamp set. I stamped all of the images, colored, and die cut them. To make the background, I covered the bottom of my white panel with an oval to block off where I wanted my grass mound to go. Then, using the Clouds in my Coffee stencil, I blended Speckled Egg distress oxide to build my sky.


When I finished building my clouds, I stamped the sentiment directly to the panel. Next, I used an oval frame to blend Mowed Lawn distress ink to make the mound. Then, I used the Clouds in my Coffee stencil to add shape to my grass mound.


Next, I adhered the images that I die cut to the scene I had built. To finish my card, I adhered it to a green card base. 


Thank you so much for stopping by! 
Kimberly

For more inspiration, updates, and news make sure to check out these places


The Rabbit Hole Designs

The Rabbit Hole Designs Instagram

The Rabbit Hole Designs Facebook Page

The Rabbit Hole Designs Pinterest

The Rabbit Hole Designs YouTube

Butterfly Kiss Mini-slimline

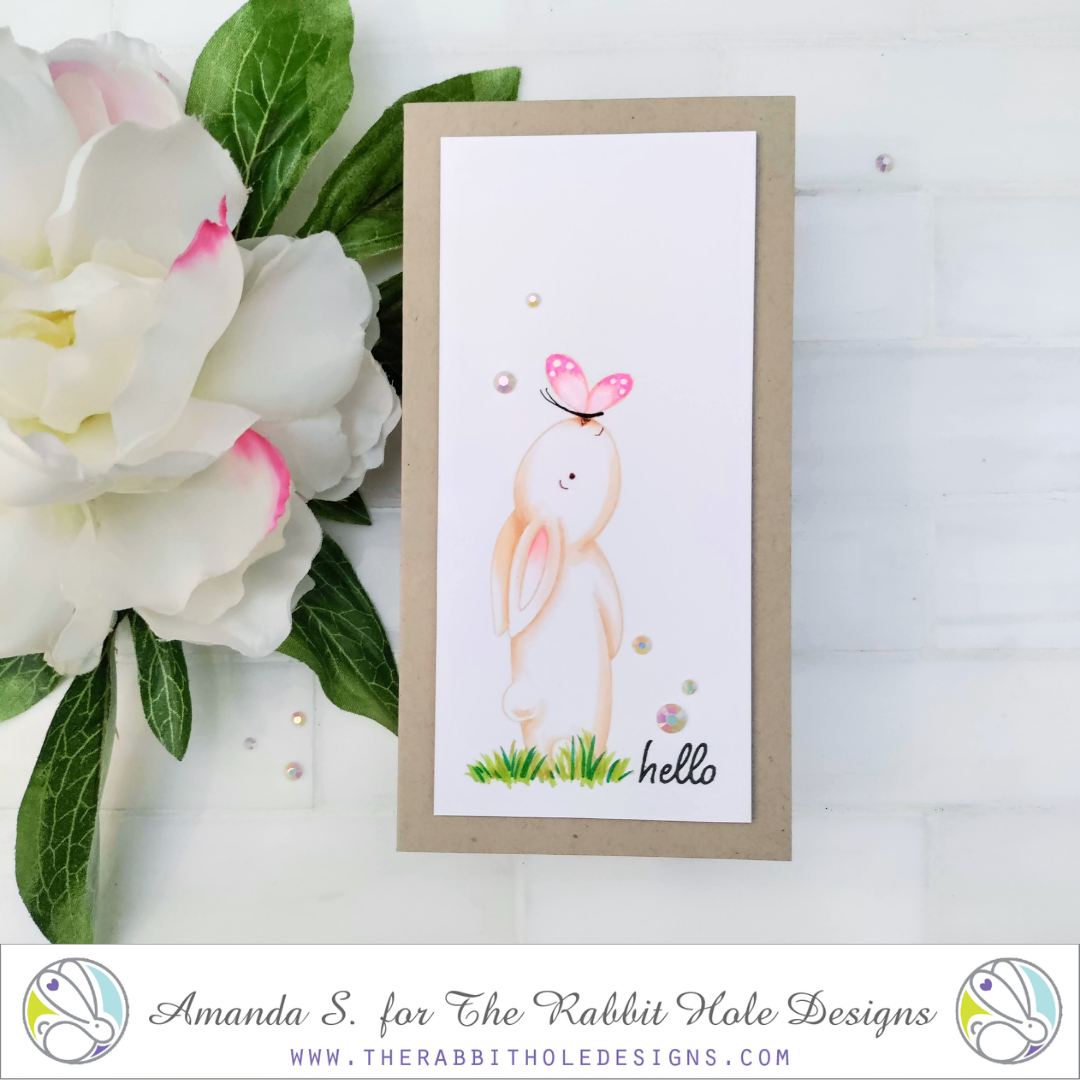
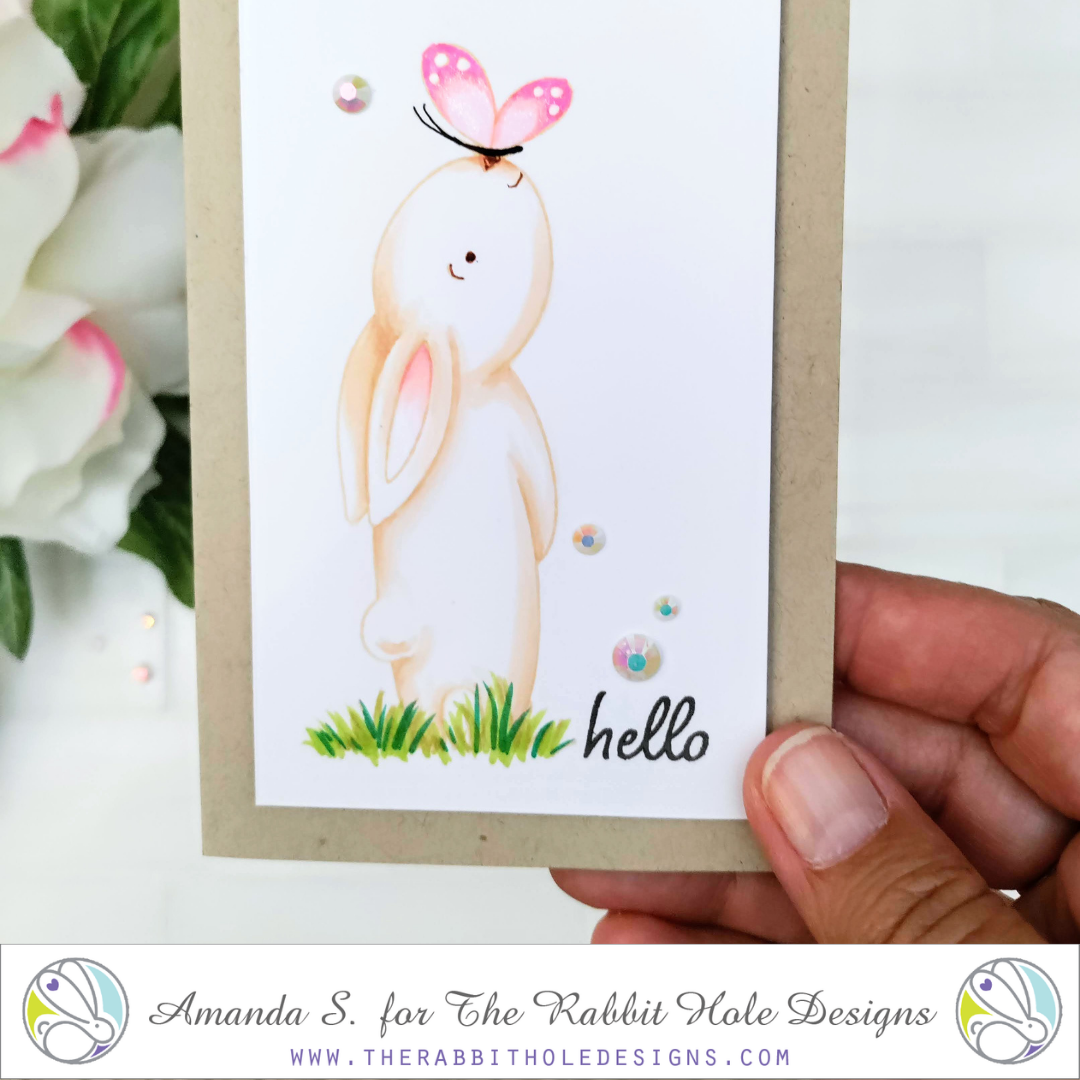
Hello again my crafty friend, it's Amanda from Pear Blossom Press again. Today, I've got a clean and simple mini-slimline card for you, and I think you'll agree, it's very sweet.

Using the new Butterfly Kiss stamp set, and minimal coloring, it came together very quickly too. Head on over to my blog for all of the details, and for a list of the markers I used... pearblossompress.com

Thanks so much for stopping by today. I'll be back again soon with another fun card to share. Until then, I'll see you in the Facebook Fan Page.

For more inspiration, updates, and news make sure to check out these awesome places! 

The Rabbit Hole Designs 

The Rabbit Hole Designs Instagram

The Rabbit Hole Designs Facebook Fan Page

The Rabbit Hole Designs Pinterest

The Rabbit Hole Designs YouTube

Quick and Easy Butterfly card!

 Hello! Kimberly here to share with you how to make this quick and easy butterfly card! I used the Butterfly stencil and the Butterfly Kiss stamp set from The Rabbit Hole Designs June release. I love them both so much!


I started blending distress ink through the butterfly stencil to give it a pastel rainbow look. The colors I used were: wilted violet, picked raspberry, carved pumpkin, mustard seed, twisted citron, and mermaid lagoon. Next, I used glitter paste through the stencil before removing it. Once I removed the stencil, I put the butterfly off to dry while I prepared the background. I blended Speckled egg distress ink over the Clouds in My Coffee Stencil on my white cardstock panel. Then, I stamped the sentiment from Butterfly Kiss on the bottom right corner of the panel. Next, I adhered that panel to the card base. To finish off the card, I fussy cut my butterfly and popped it up on foam tape to adhere it to the card. 
Thank you for stopping by! Have a crafty day!
Kimberly


June 2021 Inspiration Hop - Day 1


Hello and welcome to Day 1 of the Inspiration Hop. We are so excited for you to join us as we present to you our June release. Our fabulous Design Team will be sharing their projects over the next few days, so be sure to visit their blogs and leave them some crafty love.

 The 4 new stamps sets, 3 die sets, and 1 new stencil are all available to purchase right now in the shop.

The new stamp set and stencil being highlighted today are ...

Butterfly Kiss


Make Sure you stop back tomorrow for Day 2 of our inspiration hop.

Here is the line up for the hop:

___________________

**Giveaway**

To celebrate the June release, The Rabbit Hole Designs is giving away two savings vouchers; one to a lucky Instagram follower and one to a lucky Fan Page follower.  Winner will be chosen at random from the comments left on the INSTAGRAM post, and tagging friends, and also from commenting on the Fan Page post.  So make sure to head on over to INSTAGRAM and look for the giveaway post @therabbitholedesignsllc and look for the post at
by 11:59 p.m. PST 05-27-2021. 
Winner will be announced on The Rabbit Hole Designs blog 05-28-2021.

This is the graphic you are looking for on our IG and FB

___________________

For more inspiration, updates, and news make sure to check out these awesome places! 


Thank you so much for stopping by today!