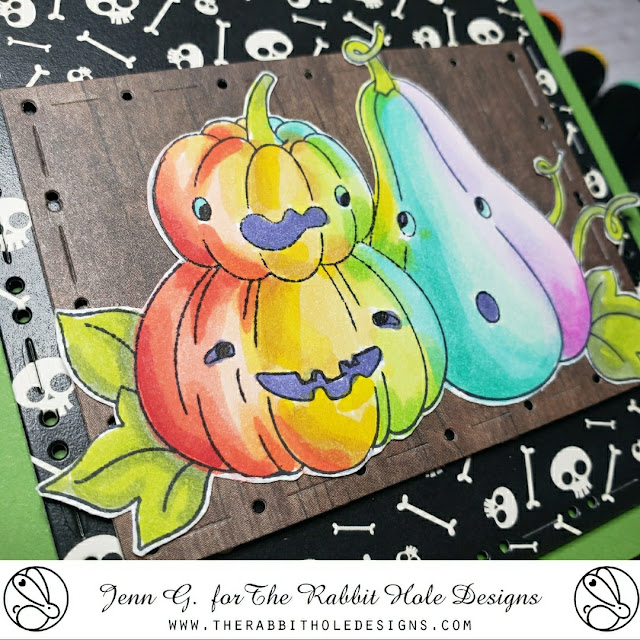
Hello crafty friends! I created and colored a holiday tag featuring The Rabbit Hole Designs Warm & Cozy stamp set. The stamp set is an Agota Pop illustration and includes 4 snowman images, a Christmas Tree, 2 presents and 4 cozy sentiments
TRHD Supply List
Other Supplies
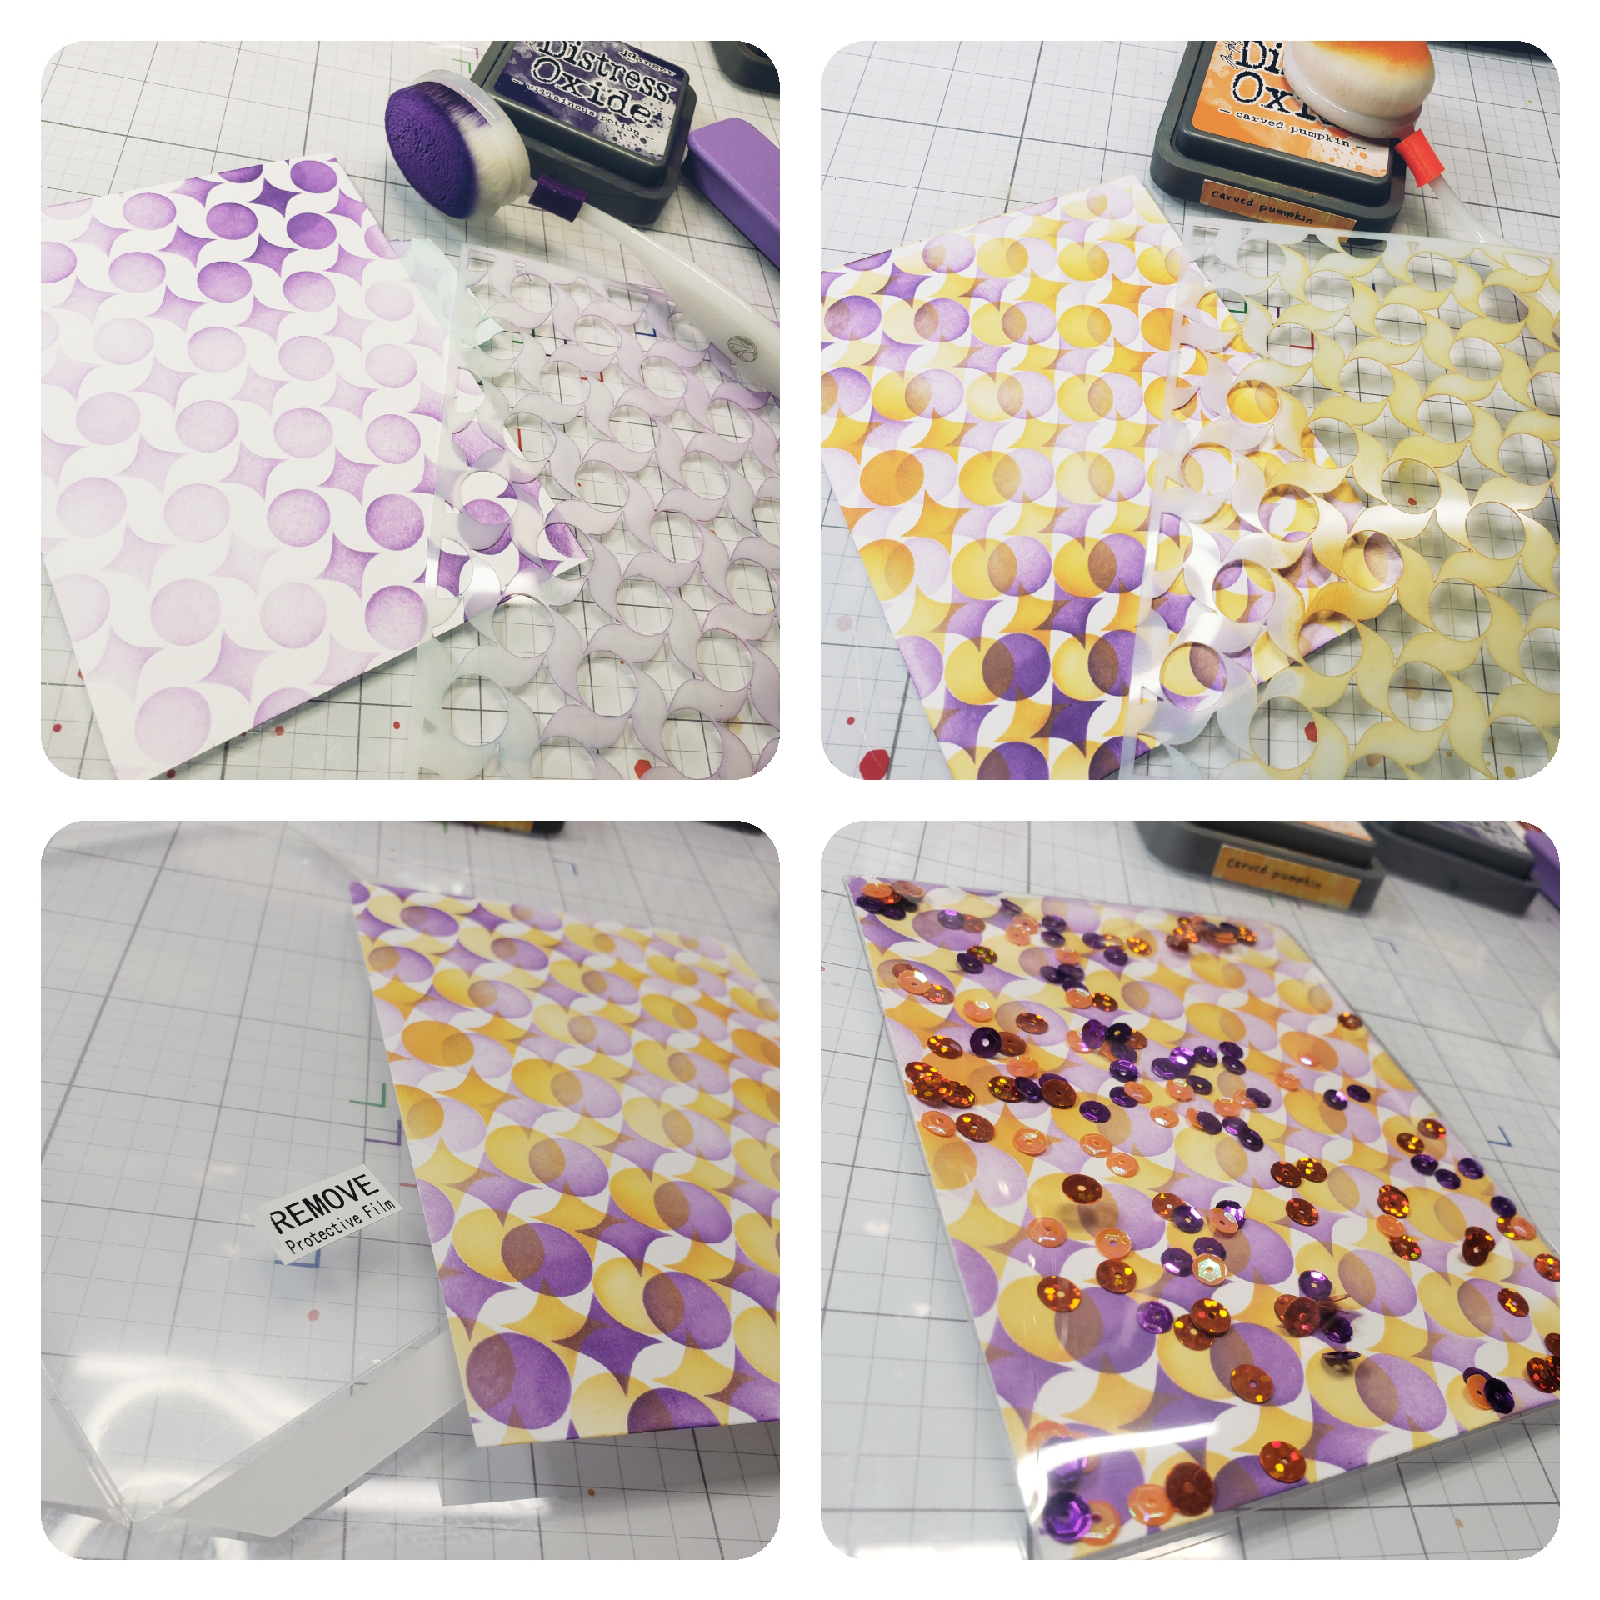
Distress Oxide inks - Salvaged Patina, Victorian Velvet
Pawsitively Saturated ink - Melon
Masking Magic
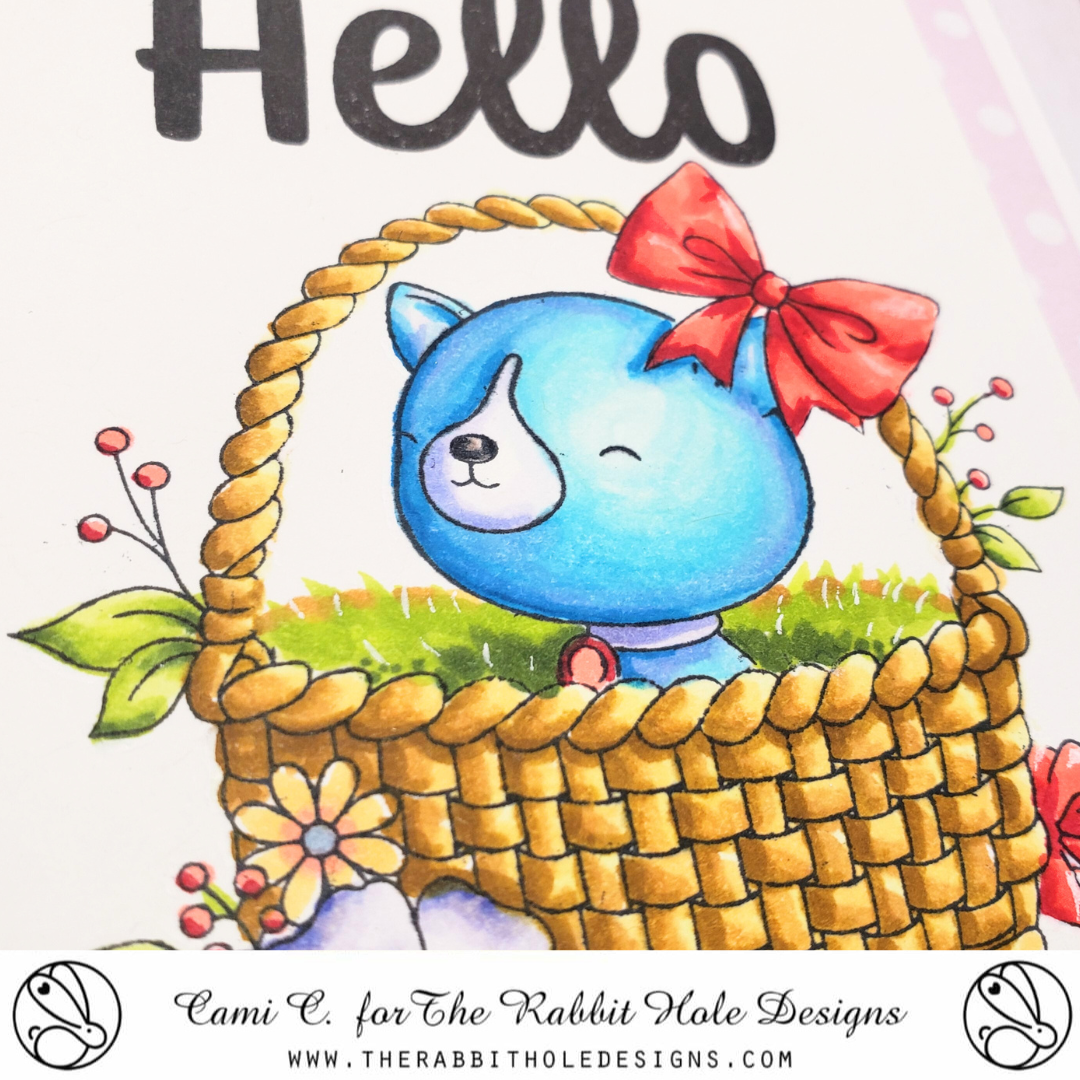
OLO Markers

I stamped the snowman with the bird onto a 3" x 7" piece of white cardstock along with the Snow Happy We're Friends sentiment. I created masks for both the snowman and sentiment. I used the Bitty Blending Brushes to ink blended the Melon around the snowman then added the Victorian Velvet to ink blend around the Melon color. The last color added is Salvaged Patina.
I splattered the ink blended tag with white iridescence watercolor for a snowy effect. I removed the Masking Magic from the tag and colored the image with OLO markers - BV2.2, BV1.4, BV4.4 / R0.3, R0.4, R1.7 / B0.2, B0.3 / O7.3, O7.7
I cut the tag to 3 1/2" x 4 1/2" and attached a teal and pink ribbon to finish the tag.

Thank you, I appreciate you taking time from your day to stop by and check out this easy Holiday Gift Tag created with The Rabbit Hole Designs' Warm & Cozy stamp set. I hope you are inspired to create something lovely today!
Be Creative ~ Stay Inspired
Jenn Gross
Follow me, Journey Coach Jenn, on
Instagram - https://www.instagram.com/journeycoachjenn/
YouTube - http://www.youtube.com/c/JourneyCoachJenn
Blog - http://www.journeycoachjenn.com/
For more inspiration, updates, and news make sure to check out these places
The Rabbit Hole Designs Instagram
The Rabbit Hole Designs Facebook Page