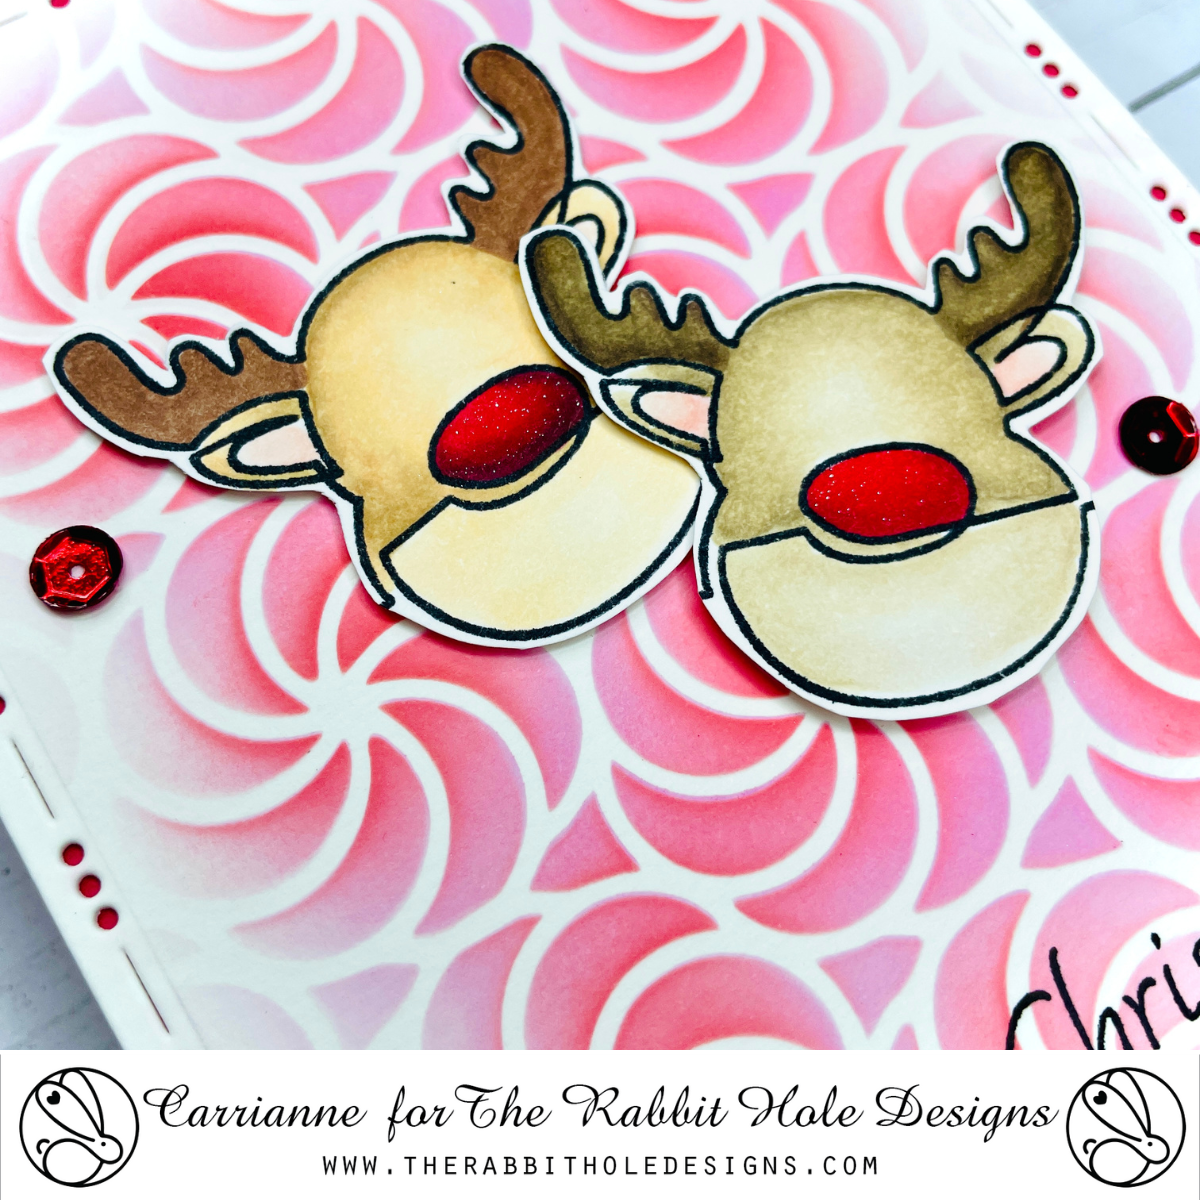
This is such a fun project.. You likely have a set of nesting die in your craft stash to use to create a shaker base for our Christmas ornament.
Let me share the quick step tutorial:
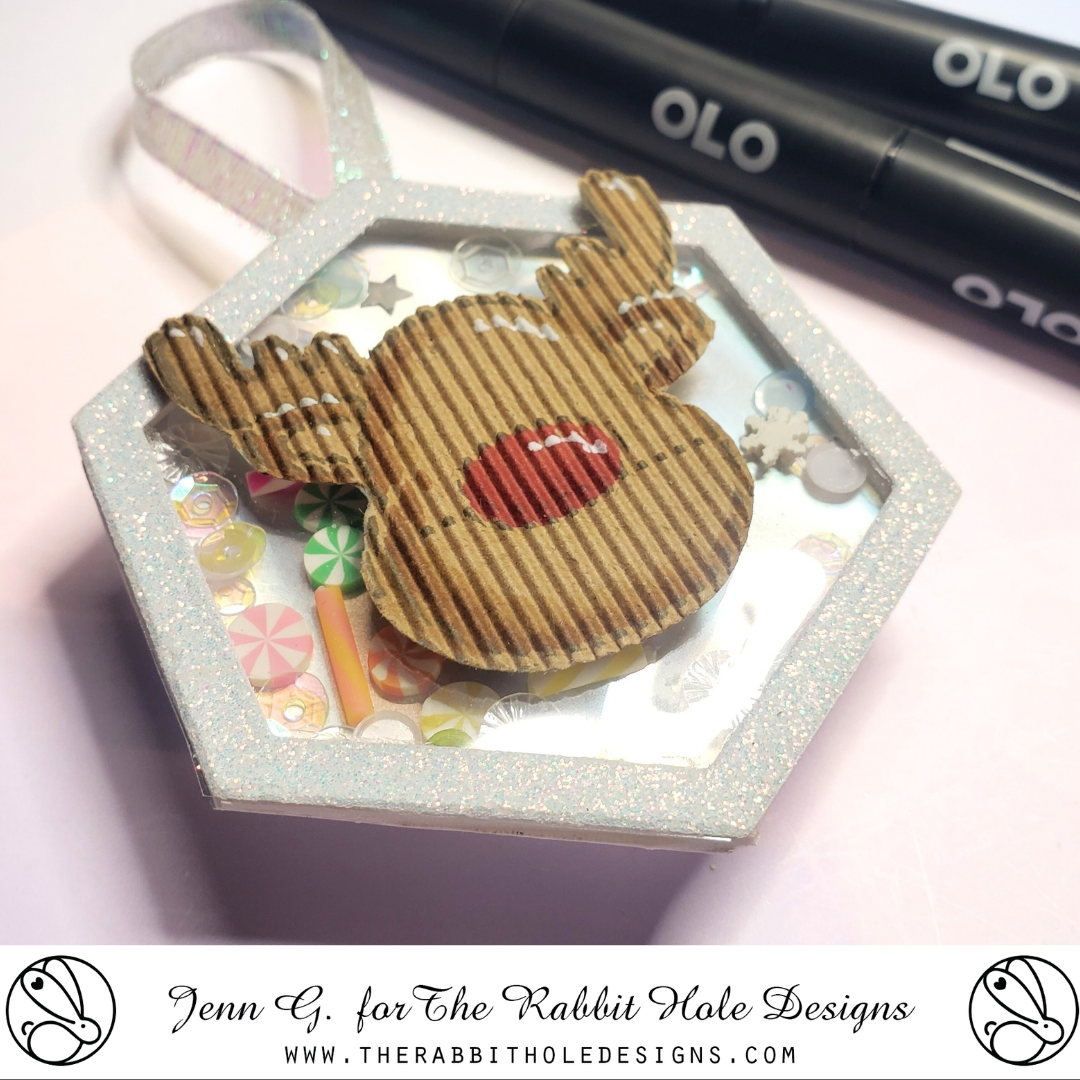
Stamp the image of the One-Line Reindeer using brown ink on to a piece of mini corrugated kraft cardstock. Shaded the image with OLO markers and color the nose red. Added a few highlights with a white gel pen and use detail scissors to fussy cut the Reindeer.
To make the shaker base, you need two of your nesting dies. I choose the size I want for the ornament and die cut an ornament back from a specialty paper like a matte silver lava cardstock and a second shape from a piece of clear acetate for the shaker window.
Choose a second nesting die, one that will fit inside the first one, to make a window frame. Make sure the two dies leave at least a 1/4" to 3/8" frame thickness when nested together. Use both dies to die cut togeter when die cutting a frame from white glitterstock. You should have a window frame and the smaller inside shape. Set the smaller shape aside for later.
Assemble that shaker by gluing the clear acetate shape to the back of the glitterstock window frame. On the back side, create the shaker window well by adding double thick adhesive foam strips around the outer edge of backside of the window frame. The foam strips should be edge to edge around the ornament frame leaving no gaps. Add shaker bits to the window well. Remove the release paper from the foam tape and attach the silver matte lava stock ornament back (face down) back of the ornament frame locking the shaker bits inside.
Turn over the ornament and you have your shaker base. Add the One-Line Reindeer to the front (over the frame and window as shown above) with foam tape. Then the ornament over to the back side and glue the ends of a ribbon loop to the ornament. Grab the smaller glitterstock shape (from inside of the die cut frame) and glue it to the back of the ornament to secure the ribbon loops in place. Stamp and fussy cut the Merry Christmas sentiment to add to the back of the shaker ornament. This shaker could also be used as a gift tag.
Supply List
Supplies in your stash
Shaped nesting dies
Kraft cardstock
Glitterstock
Clear acetate
Matte silver cardstock
Double sided adhesive foam tape
Shaker bits
Ribbon
Die cutting machine
Detail scissors
Liquid Craft Glue
OLO Markers