
Hey there crafty friends! Now here is a basket full of adorable! This little blue dog is content sitting outside in the sun just soaking in the beautiful day!
Today I am sharing this lovely card featuring The Rabbit Hole Designs' new Easter Basket stamp set paired with the Year 5 Birthday stamp set (both are illuastrated by Agota Pop) and the Hello word stamp set.
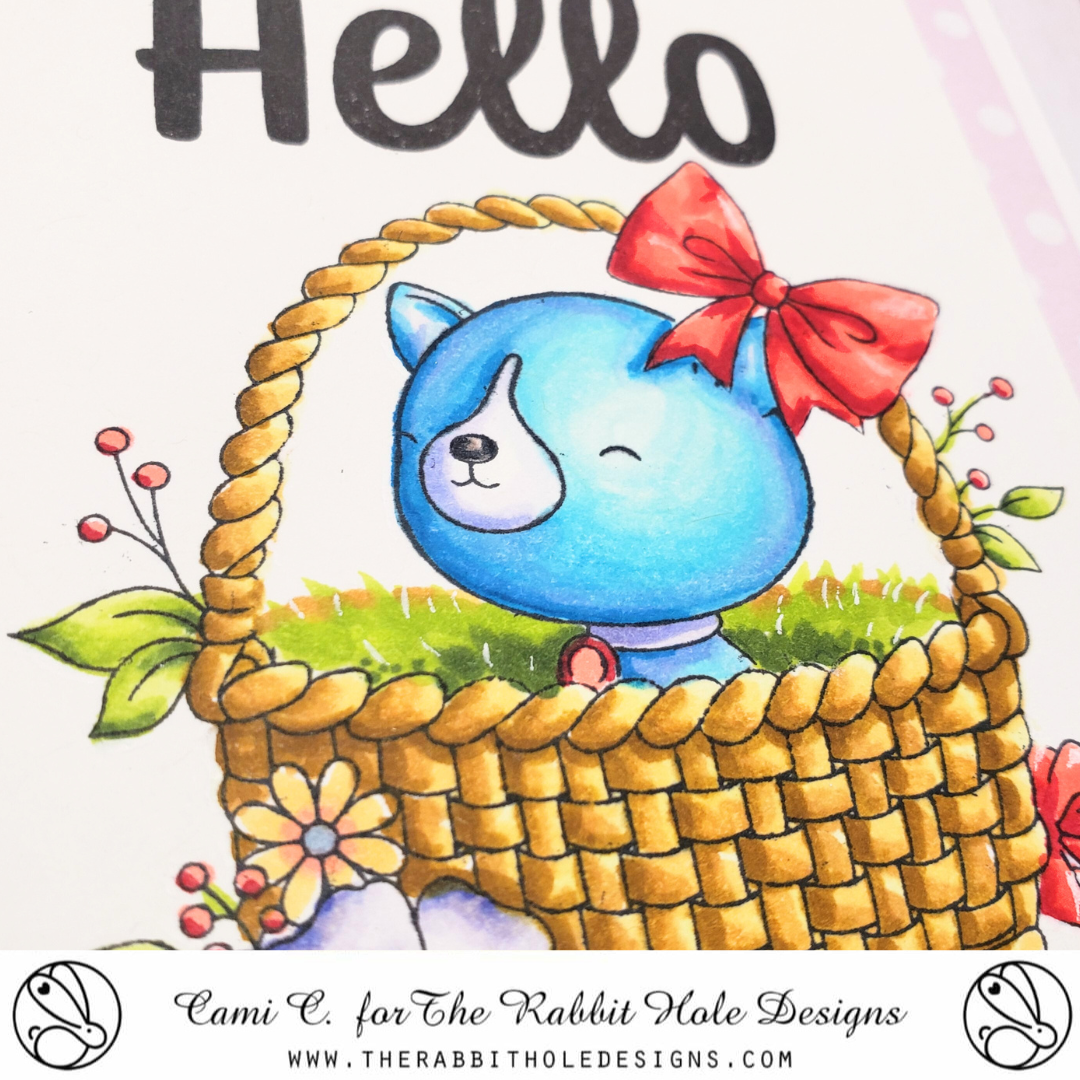
I started by stamping the Easter Basket stamp on a piece of Masking Magic. I cut the basket out and used a craft knife and cutting mat to carefully cut out the inside area with the eggs. I use this part to mask off the inside of the basket, when I stamped it on coloring cardstock. This way the basket appears empty. I remove the inner mask and placed the basket mask over the stamped basket image and stamped the dog to sit inside the basket and his bone to the right side of the basket. After removing the basket mask, my image is ready to color.
I colored the dog with blue (B) OLO markers and the basket with orange (O) and orange red (OR) OLO markers. I added grass to the basket using green (G) and yellow green (YG) OLO markers.
The sentiment is from the Hello Word stamp set. I stamped Hello and gorgeous on the card front using Versafine Black Onyx ink. The finished card panel is trimmed and glued to a 4" x 5 1/4" pale purple polka dot cardstock and attached to an A2 card base completing the card.
Supplies used
Thank you, I appreciate you taking time from your day to stop by and check out my Hello Gorgeous card on The Rabbit Hole Designs Blog. I hope you are inspired to create something lovely today!
Be Creative ~ Stay Inspired
Jenn Gross
Follow me:
Instagram - https://www.instagram.com/journeycoachjenn/
YouTube - http://www.youtube.com/c/JourneyCoachJenn
Blog - http://www.journeycoachjenn.com/
For more inspiration, updates, and news make sure to check out these places
The Rabbit Hole Designs Instagram
The Rabbit Hole Designs Facebook Page
The Rabbit Hole Designs Pinterest
The Rabbit Hole Designs YouTube


