Pages

Showing posts with label alcohol inks. Show all posts

Thanks a Bunch!


  Hi there.  Welcome to The Rabbit Hole Designs blog. It's Kelly here today and I am sharing a card  I made using several new products from the last release.  My card features the "Thanks" stamps and dies.

 This is a special card that started as a design team challenge by Niccole Sather-Kulig.  She asked us to give her three colors and then she sent us GORGEOUS alcohol ink panels to use.  I decided to pair my panel with the new "Thanks" stamp set and coordinating dies.  

First, I used the inner "thanks" to cut the word in the gold paper.  Then, I used the shadow die to cut that out of the same gold piece.  You end up with a see-through window so to speak.  I then cut the shadow out of orange card stock and glued it behind the gold piece. I stamped "a bunch" from the stamp set and embossed it in white on vellum.  I adhered my piece to the alcohol ink panel, letting that beautiful work shine in the background. 


 THANKS stamps and dies:


For more inspiration, updates, and news make sure to check out these places.


Thanks For Everything


Hello! Lauren here today sharing my thank you card featuring the new Thanks, Scripty stamp and die sets. This was an easy card to make beautiful thanks to Niccole's gorgeous alcohol ink background panel! 

To turn the panel into a finished card, I first prepared a piece of vellum using the new Cottontail Embossing Powder Tool. Then I stamped the Thanks word using my watermark ink pad. I covered the word with gold embossing powder, tapped off the excess and heat set it. The Cottontail embossing tool works perfectly on vellum. No stray embossing powder clung to the vellum.


I used the shadow die from the Thanks die set to cut out the embossed word. I adhered it onto the alcohol inked background. 


Next, onto aqua cardstock I prepared, then stamped in watermark ink, the sentiment. Then embossed in gold. I used sentiment strip die from my stash to trim out the sentiment. Then adhered it to the panel. 


The last step, completing the card, was to back the panel with gold mirror cardstock and then adhere it onto a top folding A2 (4.25 x 5.5") white card base.
These Big Scripty words are perfect for creating quick and beautiful cards! Thanks so much for visiting!

Links to TRHD products used: 

Hippopot-a-Mess

 Welcome to the Rabbit Hole Designs Blog.
Kelly here sharing a card I made featuring "Caffeinated Hippo".

To make this card, I started with an alcohol ink background. 
I used Citrus, Pink Sherbet and Silver on a diagonal.


I set that aside to dry and stamped, colored and cut out my Caffeinated Hippo (die is now available). I chose Copic colors to match my alcohol ink background. I stamped the sentiment from the set using a stamping tool, black sticky ink and embossing powder.   Once the background was finished, I mounted the tired hippo to the card with Rabbit Hole's  Clear Foam Dimensional tape.  


 Thank you for stopping by the blog today.
I hope you will come back daily for more Rabbit Hole inspiration.
-Kelly


Alcohol Ink 1 Line Flower!

Hello, my crafty friends! Today I am sharing one of my favorite techniques! I don't know about you but I have so many alcohol ink backgrounds in my stash I wanted to pull one out for the 1 Line Flower Stamp Set


For the background, I used poppy field, Valencia, dandelion, botanical, glacier, and boysenberry alcohol inks to create the perfect background for this stamp set.
I stamped the 1 Line Flower in Versafine Claire, Twilight. I didn't want to use a harsh black since the flower is so delicate.


There are so many ways to use this set and it has so many great sentiments. I combined both the Be-you-tiful and bloom sentiment and white heat embossed them to make them stand out a little more. You just have to be careful not to burn the yupo paper. 


Thank you for being MERMAZING!


 Hello and welcome to The Rabbit Hole Designs blog.
It's Kelly here and I am excited to share a shaker card I made featuring the new "Merbunny" set. Her name is Haley and she's swimming in an blue ocean made of alcohol inks.  
 
I stamped the image and colored her with Copics.  I cut her out with the matching die that is available and glued her on the card panel.  I made the alcohol ink panel by smooshing the paper into the alcohol ink.  I took the alcohol ink panel and die cut the image out of the top and built the shaker on the back and carefully layered it on the card.  

Next, I embossed the sentiment in silver on vellum and then cut it out with a circle die.  I cut the same size circle in white cardstock and layered in under the vellum.  I added blue string and blue/white twine and the circle on top.  
 
She's such a fun shaker.  I love that shaker bits go up in her tail!


Thanks for visiting today,
Kelly


Stenciled Backgrounds with Alcohol Ink


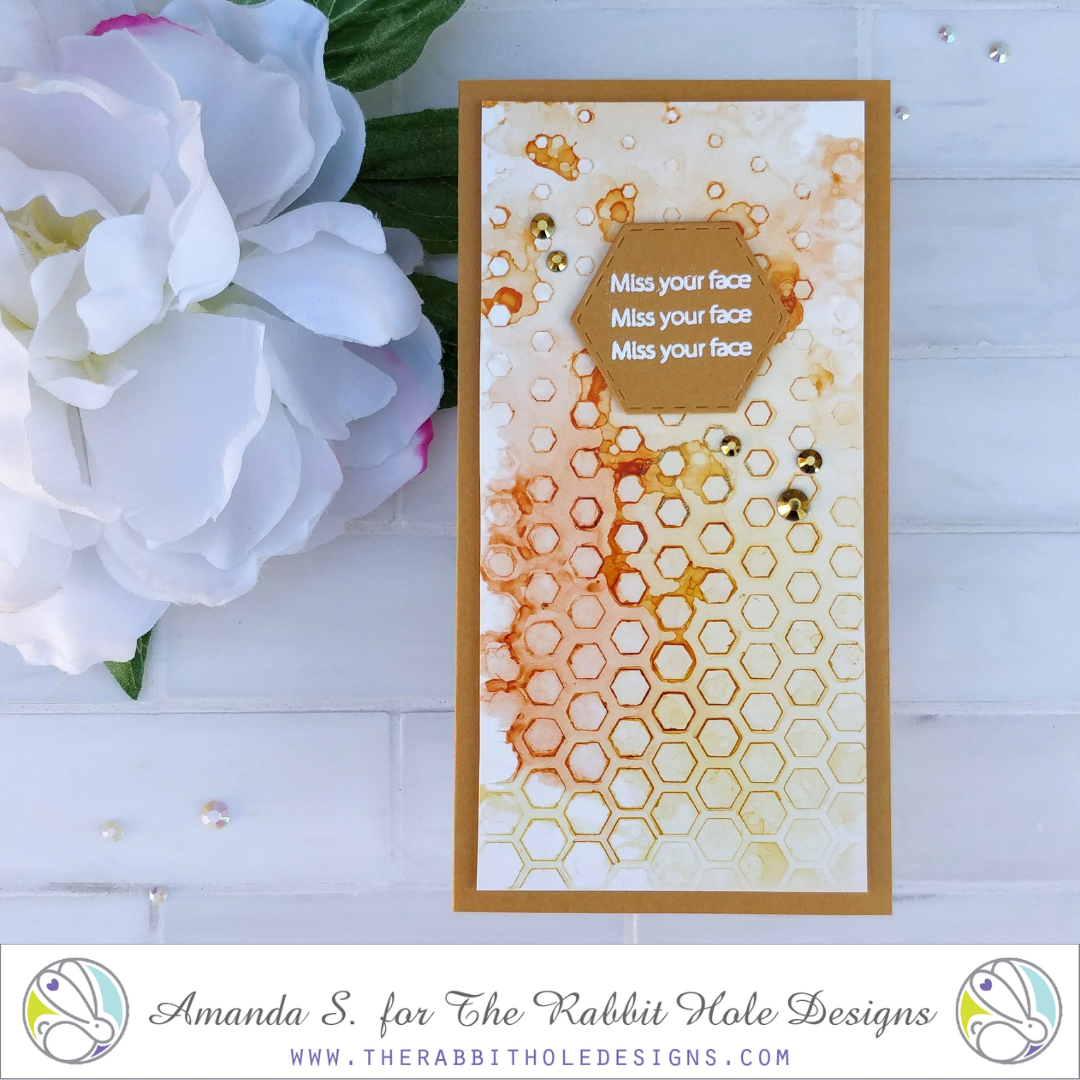
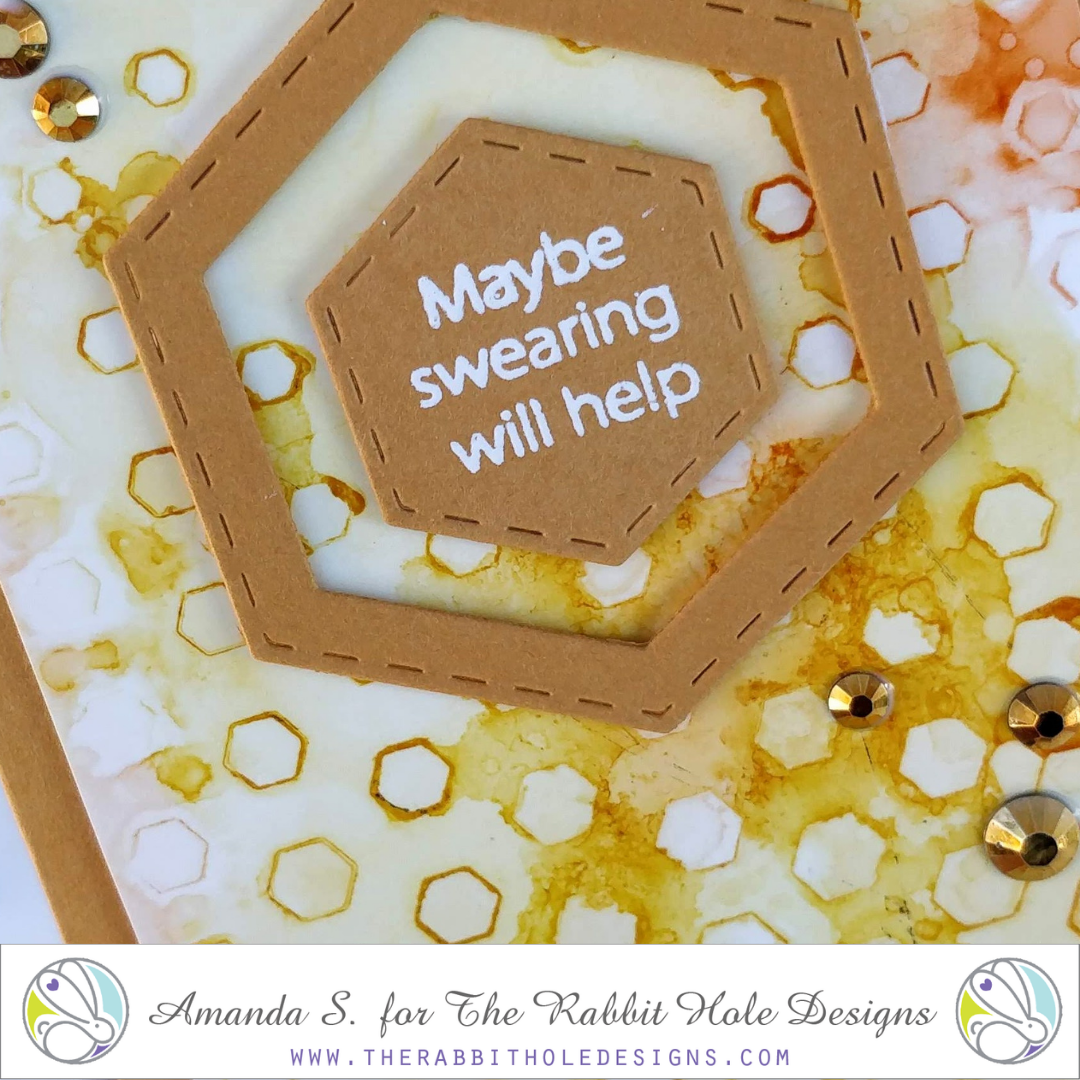
Hello crafty friend, Amanda from Pear Blossom Press here again, and today, I'm sharing a pair of fun mini-slimline cards that feature a cool stencil and alcohol ink technique! 

Head on over to my blog, pearblossompress.com, for instructions on how to combine alcohol inks with the new Tastes Like Honey Stencil for awesome backgrounds! A few Sassy Sentiments pull these cards together. 

Thanks so much for stopping by today! I'd love to know what your favorite way to make backgrounds are. Let me know in the comments below. I'll be back soon with more fun cards to share. Until then, I'll see you on Instagram

For more inspiration, updates, and news from The Rabbit Hole Designs, make sure to check out these places...

Northern Lights Christmas Card


Hello Everyone! Justin here and today I am sharing a simple Christmas Card I made using the new Kringle set!

I wanted to create a project inspired by tree silhouettes and the Northern Lights, and I thought this was the perfect excuse to break out my Alcohol Inks!

To make my Northern Lights background, I took a 4.125" x 5.375" piece of plastic craft paper and totally slathered it with alcohol blending solution. I used gray, dark purple, dark blue, aqua, and lime green alcohol inks to drop onto the piece. I then used my air puff tool to push the ink around to get the design I wanted. I set the panel aside to dry entirely (I usually like to give this a good hour).

I took the small tree stamps from Kringle and heat embossed them with black powder onto black cardstock. I fussy cut them out and set them aside.

Next I took 4.25" wide piece of black cardstock and die cut a stitched hill piece. I heat embossed the sentiment "Merry Christmas" in white powder and set it aside.

I took my dry alcohol inked panel and adhered it to an A2-sized piece of black cardstock so it had a nice frame.

I then adhered my trees to my stitched hill, and adhered the entire piece using foam tape to the bottom of my card panel.

Using some purple sequins from a Rabbit Hole Designs Embellishment Pack (one of the amazing freebies you get with your order), I adhered a few to my card, and adhered the panel to an A2-sized card base!

And that's how I made my project!

This card uses the following Rabbit Hole Designs Product:


For more inspiration with your The Rabbit Hole Designs Creations, be sure to follow along at these other locations:


For more details about products used in this post, you may also follow along at my personal blog, Just a Note by Justin, as well!

I cannot wait to see what you craft up using these super cute new Christmas in July release products! Be sure to share them in The Rabbit Hole Designs Fan Page (and don't forget about the Anything Goes Challenge Album as well!

Happy Crafting!


Take Life One Sip at a Time


Hey yall!  Happy Friday, hope you are healthy and enjoying some family & crafting time.  Tangii here with a supah dupah bright and cheery card.  Recently, our wonderful Niccole sent us some beautiful Alcohol Ink/Yupo sheets.  I used mine for this card.  I loved what she sent me... so much so, I was actually afraid to use it (sure I'd just mess it up, lol).  Plus the sheet was so pretty as it was how do you decide what part(s) to use/cut up??  So I decided to use as much of the sheet as I could.  


I started off by cutting a rectangle panel  from the middle of my Yupo sheet.  Using some Dark Roast cs and a postage stamp die, I made the frame for that cut out panel.  Then I stamped my image from the Steeped in Happiness set with some Embossing ink and added some Dark Roast ep.  I love the rich dark brown, but with a little shimmer.

Next I used the Dotted Flower Stencil and some pink stickles for the steam from the pot.  Finally I stamped my sentiment from the Perfectly Blended set on to a die cut tag. I am so in love with the way this card turned out!!!  I am thinking of making my own Yupo sheet and re-creating this card to be framed for my loft!  Thank you so much Niccole for the base for this card!

All of the items I linked in my post are available at The Rabbit Hole Designs which is still open & shipping!

You can also read about this card on my blog, here with links to the products I used, etc.  Thanks for popping by, come back again soon!

You're a Lifesaver

 Hello there!!! Michelle here.
I'm excited to share today's card with you! Our very adored Niccole, created some amazing
backgrounds using alcohol inks in our favorite color combos!!! She has a true talent for flawless
ink flow!!!! Especially the gold ink...mine always looks like a hot mess!!! 
Thank you Niccole!!! 
I love the color aqua and I was especially drawn to the new Old School Tattoo -Anchor stamp. 
So, pairing them together was a no-brainer.
Plus, I am a Pisces ;)
I gold embossed the anchor with some WOW embossing powder. I colored it up with a few Copic 
Markers in shades BG45, BG49, N5; (blues)
RV52, RV55, RV66; (pinks)
E51, E53, E55 (gold hue)
I fussy cut the image, than adhered to the card base. The sentiment is from the stamp set, Beach Day.
The strip of pattern is paper is soooo old...not sure where it's from. For a finishing touch I
scattered some sequins.

Thanks for stopping by!!!
Stay home and stay safe!!!!

Michelle
💚💙💜

For more inspiration with your The Rabbit Hole Designs Creations, be sure to follow along at these other locations:

Tattoo Christmas Card

The Rabbit Hole Designs Tattoo Christmas Card

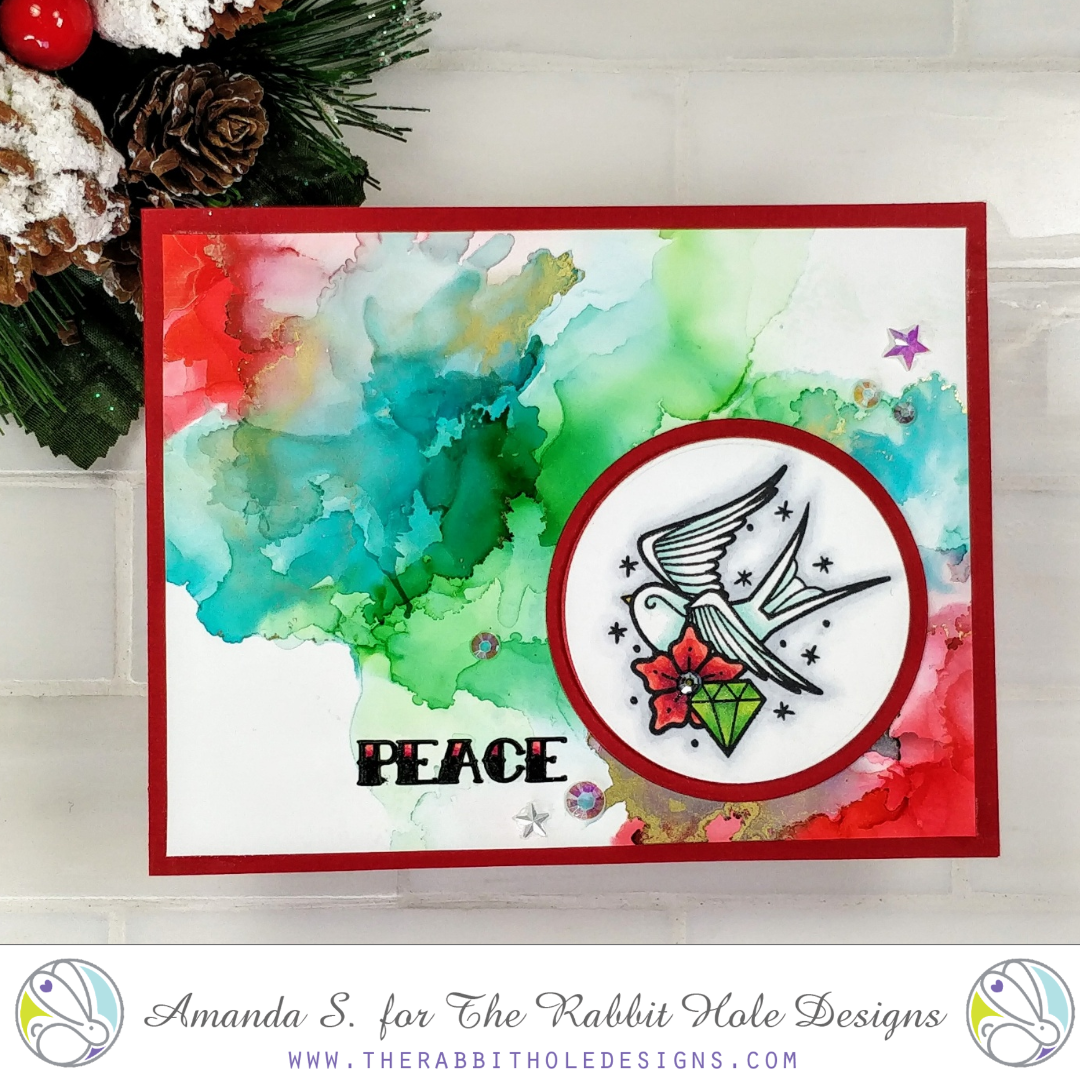
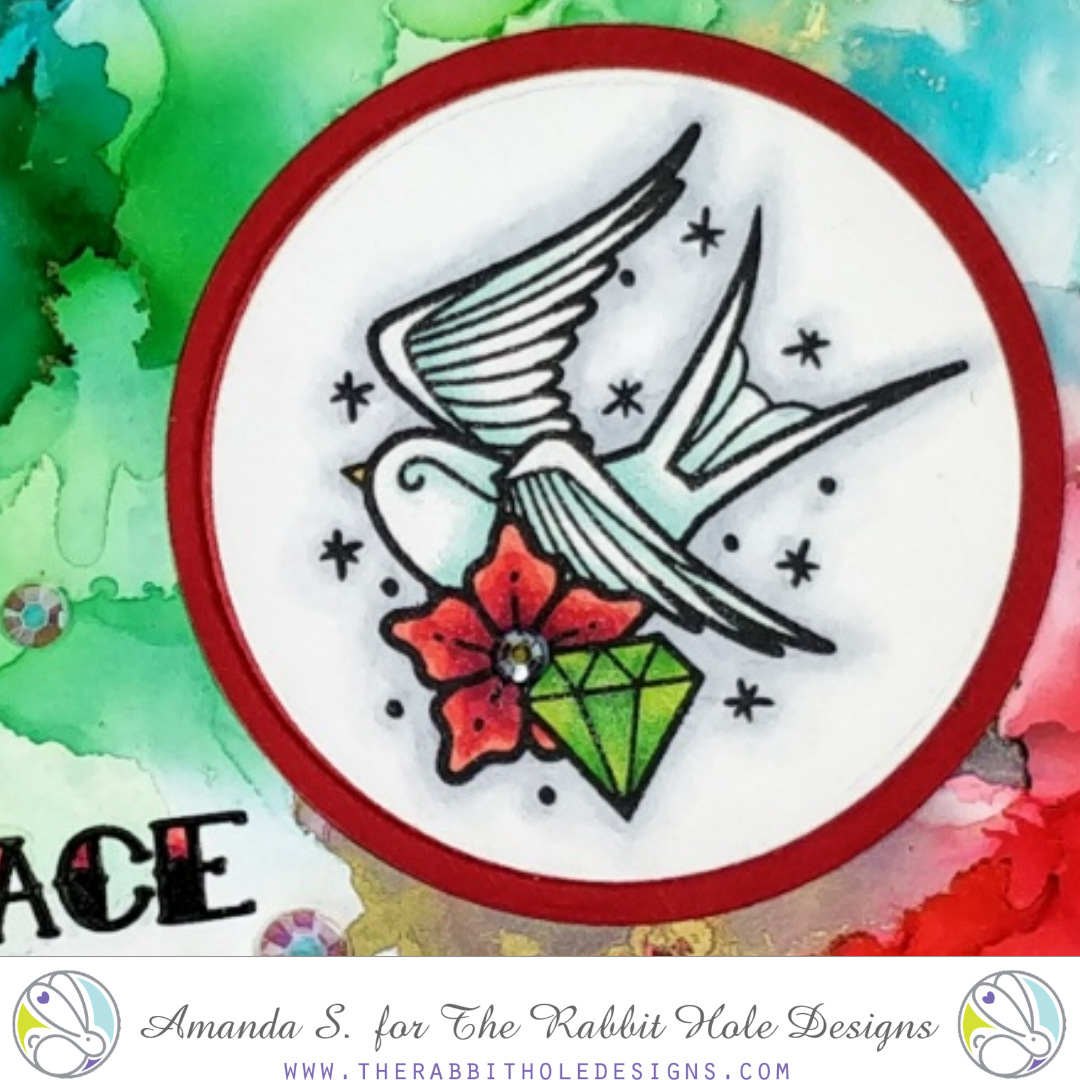
Hey crafty friends, it's Amanda from Pear Blossom Press again. Well, I did it. I officially started making Christmas cards in April. Maybe it's too soon, but I was inspired. ;) The swallows in the new Old School Tattoo Affirmation set remind me of doves, and one of the sentiments is PEACE. I wanted to see what they'd look like together, and I really love it! If you're looking to get a jump on the holidays too while we're all on lockdown, don't worry, The Rabbit Hole Designs is still open and shipping!

This card is easy to recreate and mass produce. In fact, when you're making alcohol ink backgrounds like this, you won't want to stop at just one. You can make a whole bunch of these in an afternoon. My friend, Niccole, got a new set of inks and she was so kind to share backgrounds she made with the whole design team. She made backgrounds in the colors of our choosing on alcohol ink paper and sent them to us. Wasn't that sweet? I used one to create this card. Isn't the background gorgeous? I trimmed it down, and mounted it to a red card base. 

The Rabbit Hole Designs Tattoo Christmas Card

For the focal point of the card, I stamped and colored one of the swallows from the Old School Tattoo Affirmation stamp set and cut it out with a circle die. I cut out a slightly larger circle from more red cardstock and sandwiched them together with foam in between. I glued them to the card and stamped, embossed, and colored the sentiment. Then, I finished the card with a few flat gems and stars. I just love how it turned out! And my first Christmas card of the year is done! 

If you'd like to see more ways to use this stamp set, check this out. You can find the sister article to this post on my blog, along with links to the products I used. Thanks for stopping by today. I'll be back soon with more fun cards to share. 

For more inspiration, updates, and news, make sure to check out these places...

One Draggin' Dragon

Kelly here on the blog today.
I am sharing a card featuring The Rabbit Hole Designs. LLC 
"Caffeinated Dragon"

I inked up white cardstock with light green ink and then stamped the coffee chemical compound and #draggin in darker green ink to make the back panel. These are both included in  "Caffeinated Dragon".

The panel behind the dragon was made with alcohol inks.
I stamped the dragon and colored him with copic markers and fussy cut him out.  
The sentiment is from "Perfectly Blended" .

For accent, I added glitter pen to the inside part of his wings 
and purple Stickles to the top part of his wings. 
There's a dab of Nuvo glaze on the coffee cup. 


For more inspiration, updates, and news make sure to check out these links.


I hope you enjoyed this Caffeinated Dragon card.  
Hope your coffee is hot and strong,
Kelly

Bear-ly Conscious Before Caffeine

Hi Rabbit Hole Fans!
It's Kelly on the blog today sharing a card I made using "Caffeinated Bear" from the Rabbit Hole's latest release.

I made the background using alcohol inks, both regular and pearl.
I feel like it is a cup of coffee ready to be stirred! 
I stamped, colored and fussy cut Ms. Bear.
She is attached with foam tape.

I added some thin strips of paper to pull the colors of the card together and stamped the sentiment from the set on the kraft piece.   

She's getting ready to face the day in her pink bunny slippers 
and her matching pink mug.  


For more inspiration, updates, and news make sure to check out these links.


Bear-ly Conscious Before Caffeine!
Me too, Ms. Bear, me too!
Thanks for visiting!
Kelly


Who Needs a Soulmate When There is a Kitten


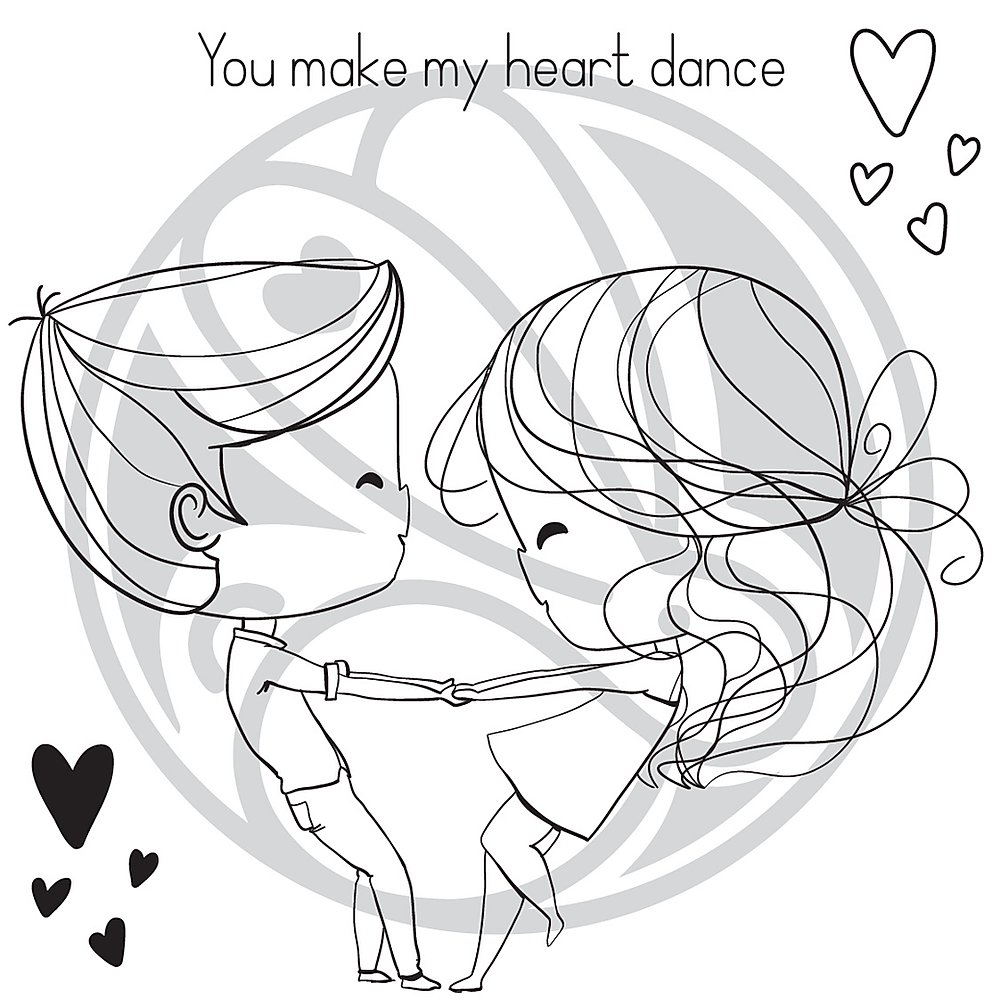
Have you ever tried doing some creative masking with your stamps?  That's exactly what I did here using the Heart Dance stamp set and the Sassy Anti Valentine stamp set.  Hey friends, it's Cassie back with another card!

In order to stamp just the girl from the set, I put the stamp into my Misti, and masked off the boy using some masking tape.  I inked it up and then pulled the tape away, and stamped the girl.  I colored her and one of the cats from the Cattitude stamp set using Copic Markers.  My background was made using some more masking paper along with the Diamond Flower Stencil and a couple different colors of Distress Oxide Ink.


I basically stamped the sentiment on the inside in the exact same manner, since I wanted to be creative with my sentiment.  The only difference is that I wrote the letter 'a' in between 'is' and 'kitten'.  If you'd like to see exactly how I did it, I do have a video that you can watch here, or over on my YouTube Channel.


And here are close ups of the products that I used:

Heart Dance stamp set

Cattitude stamp set


I hope you enjoyed what I made for you today and that you were inspired to go out and get a little crafty.  

For more inspiration, updates, and news make sure to check out these links.

Thank you so much for stopping by!
Cassie