Pages

Showing posts with label Christmas Card. Show all posts

Little Reindeer Shaker Tag/Ornament


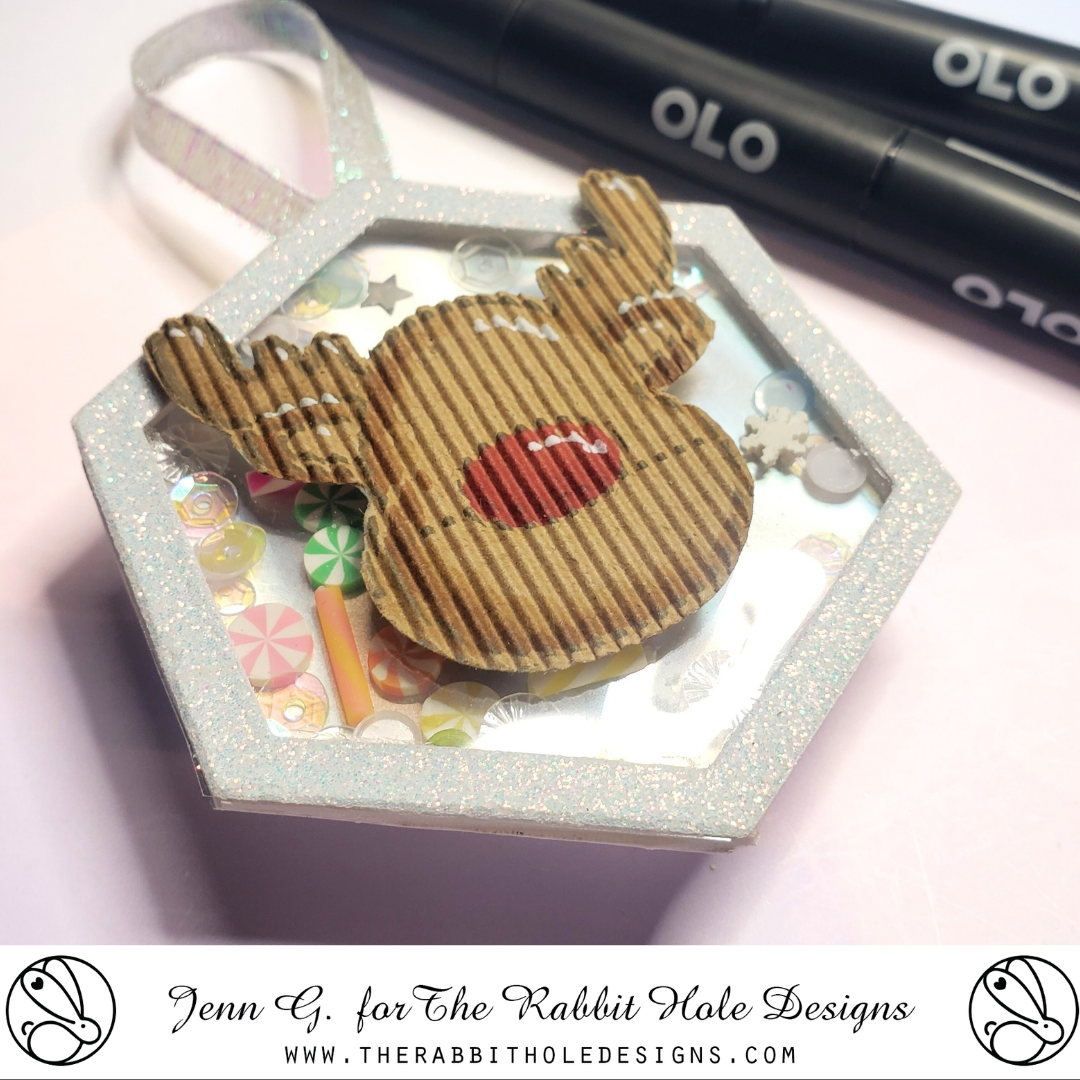
Hello crafty friends!  Jenn here with an easy shaker ornament featuring the One-Line Reindeer stamp set from The Rabbit Hole Designs

This is such a fun project.. You likely have a set of nesting die in your craft stash to use to create a shaker base for our Christmas ornament.

Let me share the quick step tutorial:
Stamp the image of the One-Line Reindeer using brown ink on to a piece of mini corrugated kraft cardstock.  Shaded the image with OLO markers and color the nose red. Added a few highlights with a white gel pen and use detail scissors to fussy cut the Reindeer.

To make the shaker base, you need two of your nesting dies.  I choose the size I want for the ornament and die cut an ornament back from a specialty paper like a matte silver lava cardstock and a second shape from a piece of clear acetate for the shaker window. 

Choose a second nesting die, one that will fit inside the first one, to make a window frame. Make sure the two dies leave at least a 1/4" to 3/8" frame thickness when nested together.  Use both dies to die cut togeter when die cutting a frame from white glitterstock.  You should have a window frame and the smaller inside shape. Set the smaller shape aside for later.

Assemble that shaker by gluing the clear acetate shape to the back of the glitterstock window frame. On the back side, create the shaker window well by adding double thick adhesive foam strips around the outer edge of backside of the window frame. The foam strips should be edge to edge around the ornament frame leaving no gaps. Add shaker bits to the window well.  Remove  the release paper from the foam tape and attach the silver matte lava stock ornament back (face down) back of the ornament frame locking the shaker bits inside.

Turn over the ornament and you have your shaker base. Add the One-Line Reindeer to the front (over the frame and window as shown above) with foam tape. Then the ornament over to the back side and glue the ends of a ribbon loop to the ornament.  Grab the smaller glitterstock shape (from inside of the die cut frame) and glue it to the back of the ornament to secure the ribbon loops in place. Stamp and fussy cut the Merry Christmas sentiment to add to the back of the shaker ornament.  This shaker could also be used as a gift tag.

Supply List

Supplies in your stash
Shaped nesting dies
Kraft cardstock 
Glitterstock
Clear acetate 
Matte silver cardstock 
Double sided adhesive foam tape 
Shaker bits
Ribbon 
Die cutting machine
Detail scissors 
Liquid Craft Glue 
OLO Markers 

Thank you for taking a moment  to check out today's blog featuring The Rabbit Hole Designs' One-Line Reindeer stamp set. I hope you enjoyed the shaker ornament tutorial and are inspired to create something lovely today!

Adorable Snowmen Card!


I used these adorable snowman images from the Warm & Cozy stamp set to create my clean and simple card. 

I stamped colored and die cut the images then created soft snowy hills for them to sit on.

You can watch me create my card in this short on my YT channel:


I've linked products I used, below. Thanks for watching!

*Disclosure: I use affiliate links where I can. This does not add any extra cost to you, but I do receive a small amount which helps keep me creating. Thank You*

Warm and Cozy stamp set: https://shrsl.com/44j8k Warm and Cozy die set: https://shrsl.com/44j8o

Cottontail Blending Brush: https://shrsl.com/3htkd


Deer Santa... Sweet Cookie Card


Hello crafty friends,  Jenn here with sweet treat of a card for you using The Rabbit Hole Designs' 1 Line Reindeer stamp set and making them into cookies for Santa.  I also added a sentiment from the Bunny Christmas stamp and die set.

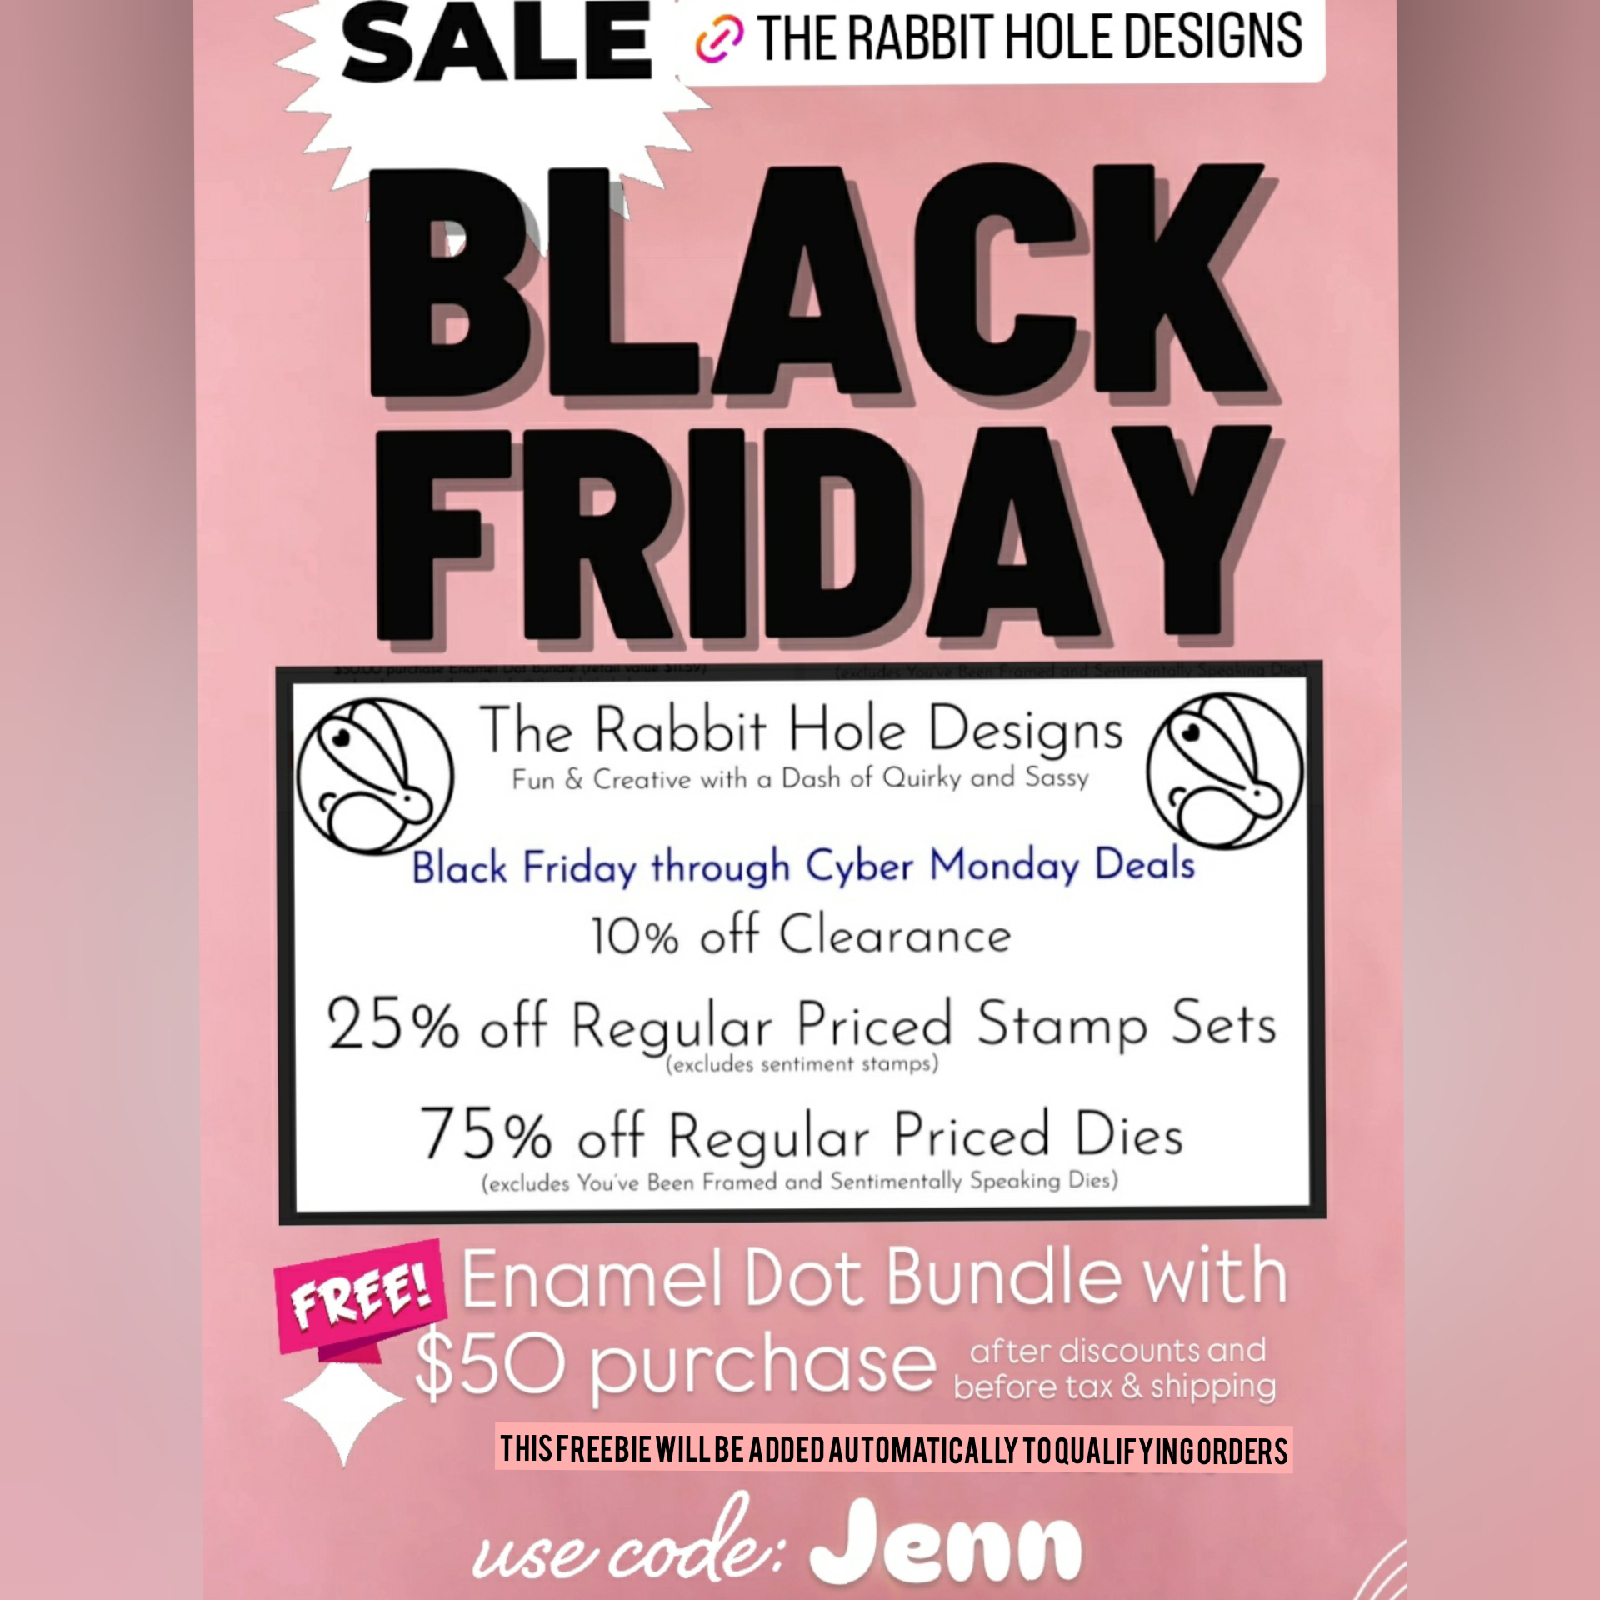
Make sure to take advantage of the BLACK FRIDAY and CYBER MONDAY sales at The Rabbit Hole Designs!  
Sales are from 11/27/2024 through 12/02/2024 11:59pm PST  (No Codes Needed)
Use Code Jenn at check out to share you saw this sale on today's blog!
Let's take a look at this easy step tutorial:
A & B - I stamped out the 1 Line Reindeer using brown ink on light brown cardstock and colored three of them with OLO Markers

C & D - I die cut three 2 1/2" circles from kraft cardstock and shaded the edges using a Bitty Blending Brush and Gathered Twigs Distress Oxide ink to look like a baked cookies
E & F - I die cut three 2 1/4" white cardstock circles to use as frosting on the cookies.  I softly recut the edges to give it a slight wave for more of a hand-iced  look.  I added shadowing with OLO Markers BV2.0 and BV2.2   I fussy cut the reindeer heads and glued them down on the white frosting circles.  I glued these on top of each cookie
G - To create the cookie plate, I die cut a 5" circle with a 4" circle centered inside from a piece of double sided winter printed cardstock in my stash

H - The circle card base is die cut from a piece of folded kraft cardstock and a 5 1/4" circle leaving 1 1/4" of the fold intact as shown in the photo
I & J -  I opened up the circle card base and glued the outer plate circle centering it on one side of the card base.  I truned over the middle circle for the plate and glued it to the center

K - I glued one cookie to the plate and attached the second cookie with adhesive foam squares.  The third cookie has a  bite taken out of it.  I uses a circle die form my stash that has a zig zag decorating the edge and die cut a bit out of the third cookie.  The bitten cookie is attached to the card  with two layers of foam tape.

L - I stamped out the Jolly Holly-Days to you using a sentiment from the Bunny Christmas stamp and die bundle.  I cut out the sentiment and added it above the cookies on the plate to complete the Deer Santa cookie card.

Supply List

Other Supplies (from your stash)
OLO Markers
Gathered Twig Distress Oxide
Circle Nesting Dies

Be sure to check out The Rabbit Hole Designs for the BLACK FRIDAY Specials
Use the code Jenn at check out to let us know you saw this post!

Thank you, I appreciate you taking time from your day to stop by and check out today's blog featuring The Rabbit Hole Designs stamps and dies. I hope you are inspired to create something lovely today!

Be Creative ~ Stay Inspired
Jenn Gross

Follow me, Journey Coach Jenn, on 
Instagram - https://www.instagram.com/journeycoachjenn/
YouTube - http://www.youtube.com/c/JourneyCoachJenn
Blog - https://journeycoachjenn.blogspot.com

For more inspiration, updates, and news make sure to check out these places 

Lovely Poinsettia Card with a Foil Plate Press Technique!


Hello crafty friends!  Jenn here sharing this lovely holiday card using three products from The Rabbit Hole Designs.   

I love the beautiful Poinsettia and Pinecone stamp set (illustrated by Kelly Taylor)  it is paired with the Fall Foxes stamp set an Agota Pop illustration) and the Garden Trellis foil plate.

Yes,  you can letter press foil plates!
I used a metallic silver ink on the foil plate and BetterPressed the background image onto a 4" x 5 1/4" piece of gray blue cardstock.  The result is a gorgeous frosty background for this card.
I stamped and colored the Poinsettia and Pinecone images with OLO Markers and did the same for the fox image. I stamped the Merry Christmas sentiment on the gray blue cardstock.  The coordinating dies for the Poinsettia and Pinecone stamp set cut the sentiment and flora images perfectly.  I assembled and attached the die cut images to the Garden Trellis background with glue and adhesive foam strips.

The Rabbit Hole Designs Supply List 

Thank you for taking time to stop by today's The Rabbit Hole Designs Blog to check out this foil plate pressing technique and the Lovely Poinsettia Card. I hope you are inspired to create something lovely today!

Be Creative ~ Stay Inspired

Jenn Gross


Follow me, Journey Coach Jenn, on 

Instagram - https://www.instagram.com/journeycoachjenn/

YouTube - http://www.youtube.com/c/JourneyCoachJenn

Blog - http://www.journeycoachjenn.com/


For more inspiration, updates, and news make sure to check out these places


The Rabbit Hole Designs

The Rabbit Hole Designs Instagram

The Rabbit Hole Designs Facebook Page

The Rabbit Hole Designs Pinterest

The Rabbit Hole Designs YouTube


Elegant Christmas Card- Revisited


 Hi there! It's Lauren here revisiting my easy yet elegant Christmas card using the beautiful Poinsettia & Pinecones stamp and die sets illustrated by Kelly Taylor.

I first prepared my white 4.23x5.48" cardstock panel for embossing by using the Cottontail Embossing Powder Tool. I then lined up and stamped my image onto the cardstock using my embossing ink pad. I covered the image with silver embossing powder, tapped off the excess and then heat set it. 

I then repeated the process, stamping the Merry Christmas words, embossing them in silver and then using the coordinating dies to cut them out. I also die cut 3 extra blank words and adhered them behind the corresponding embossed words. 


Finally, I adhered the embossed poinsettia panel onto a white, A2 sized (4.25x5.5) top folding card base. Then, I adhered the Merry Christmas words on to finish my card.

I hope this has inspired you to give this easy technique for creating a beautiful Christmas card a try. Thanks for visiting! 

 *Disclosure: I use affiliate links where I can. This does not add any extra cost to you, but I do receive a small amount which helps keep me creating. Thank You*

Here's my links to the sets I used to create this card:

Poinsettia & Pinecones Stamp Set: https://shrsl.com/47y0j

Poinsettia & Pinecones Die Set: https://shrsl.com/47y0l

Cottontail Embossing Powder Tool: https://shrsl.com/3f0uo

One Layer Scene: Penguining

I love making a one layer scene card but they take some thinking. For today’s card I’ll show you how I came up with the little scene and I share how I could have done better as well.


The Penguining stamp set from The Rabbit Hole Designs is so stinking cute! I just love it. Who doesn’t love penguins?


Snowy Night Scene - Penguining Stamp Set

Hello crafty friends and welcome back to the blog; it's Rick back with you again today to share a little more inspiration with you.  Today I am sharing a fun night scene card that I created using the Penguining Stamp Set illustrated by Tatsiana Zayats for the Rabbit Hole Designs.  I started this snowy night scene out by stamping the adorable penguins in embossing ink onto a piece of black cardstock.  I then covered them in white embossing powder and heat set.  After that was done I cut masks for each penguin and masked them off.   

Night Scene Card with the Penguining Stamp Set by Rick Adkins

I then took the Cat Eye Stencil and turned it on it's side and die a little ink blending with a hybrid ink in three or four different colors.  I did the ink blending very lightly so that it would look like the northern lights.  I then colored my penguins with some colored pencils and added some snow mounds in the background along with some snow falling and some trees covered in snow. 


Night Scene Card with the Penguining Stamp Set by Rick Adkins

 Remember when you are adding snow to your cards make sure to go over your stamped designs.  Snow in nature doesn't fall around things so you have to go over them to make it look realistic.  I hope that you have a wonderful day and I will see you soon. 

Stay Crafty 

Rick 

Nothing Like a Rainbow of Presents

 Hello and welcome back to the blog; It's Rick back with you again today and I am sharing one of the first cards that I designed as a member of the Rabbit Hole Designs Design Team.  For this card I created a rainbow wreath of presents using the present image from the Baby's 1st Christmas Stamp Set designed for Agota Pop for the Rabbit Hole Designs.  

rainbow wreath christmas card by rick adkins 2


With this card design I started out my stamping and masking each set of the presents to create the wreath.  And no even with an art degree I can not draw a straight line or a perfect circle without help.  So, circle die to the rescue.  I just traced the outline of the circle to know where to line up each set of the presents.  Then I did some rainbow ink blending over the entire thing and added some shading to each set with coordinating colored pencils.  Then I added a simple outline to the wreath with a cool gray alcohol marker.  Easy peasy!  


rainbow wreath christmas card by rick adkins

To finish off the card i added the sentiment by masking off the christmas from the stamp set and heat embossing it with white embossing powder and added the Happy Scripty Word and Shadow Die to finish it off.  

I hope that you have a wonderful day and a fabulous weekend.  

Happy Stamping and crafting 

Rick 

A Sweet Cupcake

This card was one of my favorites that I made during the year. I realized that I started with The Rabbit Hole Designs Design Team in May of this year and I've made a lot of fun cards. 

What a fun card to give to a friend. 


I stamped the background of this cardstock with a candy cane and white heat embossed. 
The cupcake was colored with copic markers.


Pretty Pink Poinsettia


Hello again. It's Lauren here with this pretty pink poinsettia card with touches of gold. I used the beautiful, Poinsettia & Pinecones stamp and coordinating die set along with the Garden Trellis hot foil plate to create my holiday card. 

I have created a video showing how me create it. You can watch it here:
https://youtu.be/8X6Bt8PeBfo 

Below are links to the products I used:


Thanks for visiting! 


Bunny Christmas Shaker Card

This is Wendy, back to share another fun Christmas card.

Today I am sharing the fun shaker card I made with the Bunny Christmas stamp set from The Rabbit Hole Designs.


I used the A2 Shaker Sheet from The Rabbit Hole Designs to create a full card front shaker. For the background inside the card, I used Copic markers to create a winter forest scene. 

For all the details on this card and a video visit my blog, here.

Penguin Gifts!


Hello! It's Lauren here today sharing a cute, no-line colored card featuring the Penguining stamp set illustrated by Agota Pop along with some stamps from a couple of other sets.

You can watch me create it in this video up on my YT channel:
https://youtu.be/qIBCbO_J-4w

I've linked the products I used below: 


Thanks for visiting! 

Create Colorful Christmas Cards in a Flash

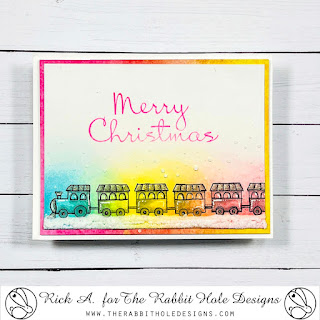
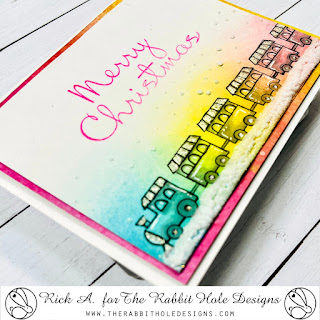
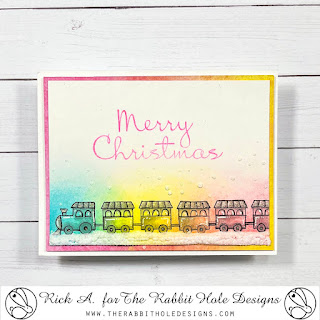
Hello and welcome back to the Rabbit Hole Designs Blog; it's Rick back with you today with a fun and festive Christmas Card Idea using the Baby's 1st Christmas Stamp Set.  I know that a lot of you may have your holiday cards all ready to go plus some may have started sending them out.  But if you're like me and in need of another idea that's quick and easy I have you covered.  

Baby's 1st Christmas Stamp Set, Rabbit Hole Designs, Rick Adkins, Train, Ink blended Card

Like I said this card is super easy and actually depending on how you choose to embellish it could be mass produced rather quickly. Okay, so this is the deal. You will need to pick a red blue and yellow ink color that's water reactive. Pull out your CottonTail Blending Brushes or even your Bitty Bunny Blending Brushes and slap down the three primary colors onto your Bristol smooth or watercolor cardstock where you are planning on stamping your focal image. Let the three primary colors overlap a little; but the blending doesn't have to be perfect. So, if you are not the best at ink blending no worries. Make sure you add enough ink to cover your chosen stamped image.

Baby's 1st Christmas Stamp Set, Rabbit Hole Designs, Rick Adkins, Train, Ink blended Card

Now the magic can happen! Spritz the ink with a little water and take a large flat brush and swipe through the ink. This will soften and blend the ink together. You want the ink to run a little that's okay. Next you are going to dry your cardstock panel completely. Once you have the panel dried stamp your focal image in the colored area. I picked the train from the Baby's 1st Christmas Stamp Set and added a few extra cars at the end of mine to extend the train a little. Make sure to stamp the image in a darker ink and something that want smear with your chosen color additive (markers or colored pencils). I stamped mine in Versafine Clair Nocturne Ink but stamped it off once to make it just a little lighter.

Baby's 1st Christmas Stamp Set, Rabbit Hole Designs, Rick Adkins, Train, Ink blended Card

Next I added some slight shading with a warm gray marker to the engine and box cars to give them a little more life. And then added a little glitter to sections of each with a glitter pen. I then added some snow below the train and sprinkled around the sky. All I had to do then was to stamp my sentiment in a coordinating ink color. I picked the Merry Christmas from the Poinsettia & Pinecones Stamp Set for my sentiment today but you can use any of the wonderful sentiments from your collection of Rabbit Hole Designs stamps.

Baby's 1st Christmas Stamp Set, Rabbit Hole Designs, Rick Adkins, Train, Ink blended Card

To finish off the card all I had to do was mat my inked panel with coordinating cardstock (or even pattern paper would work) and added it to my A2 (4 1/4" x 5 1/2" folded) Card Base.

I hope this post has given you another idea to add to your crafty arsenal. Whether you're making cards to brighten someone's day or as a creative outlet for yourself; having a fun technique to use for quick cards is a game changer.

Remember, it's all about experimentation and finding what resonates with you. And don't forget to share your creations on social media and tag The Rabbit Hole Designs to spread the card-making love.

Thanks for dropping by today I hope you have a wonderful day and that you found this post helpful. You can find all the supplies that I used on today's cards on my blog post by clicking here!

You can find me on the following Social Media Channels with more crafty inspiration: 
I hope that you have a crafty day.  For more inspiration, updates, and news make sure to check out these places.  


Have a crafty day!
Rick