Pages

Showing posts with label Caffeinated Dragon. Show all posts

Under The Stars


Hi Everyone! Amy here and I’m excited to share with you a card that I made using the Aim for the Stars Stencil from the June 2020 Release! 


For this card I wanted to do something really special with the brand new Aim for the Stars 6x6 Stencil. So I made the stars GLOW IN THE DARK! I started by ink  blending deep blue colors to look like a night sky. Then, I used clear embossing ink through the new stencil. You can do this with the pad directly or with a blending tool. I then heat embossed some glow in the dark embossing powder to really bring this scene to life. I stamped and cut out the hilarious Caffeinated Dragon and used some pattern paper and a paper piecing technique to give him  some extra flair. I then selected one of the sentiments from the Caffeinated Unicorn stamp set and completed the scene. I just love how the different TRHD products work so well with each other, and you can mix and match so many of the items. 


You can find these items and much more here


Thanks for checking out my project and have a great day!
Amy


For more inspiration, updates, and news make sure to check out these places.


Out of Work Dragon


Good morning Rabbit Hole fans, it's Lisa from Oh So Cute By Lisa and 
today I have a card to share with you using the recently released Broken Glass stencil from The Rabbit Hole Designs.  I paired the stencil with the previously released 
Caffeinated Dragon. Here's a look at these 2 fun products:


I actually made the stenciled background for another card but decided against using it when I changed color schemes.  I don't throw away backgrounds like this in case I want to use them for another card and that's exactly what happened here.  The same goes for my colored images.  I had this dragon all colored and cut for a previous card that I didn't wind up using.  When I went through my colored images I found this guy all colored in yellow and purple and I knew he was meant for this background.  Disclaimer: These are not my go to colors but it sure is fun to color outside the box every now and then! Even though he looks sick in my eyes I feel like he reflects a little bit of what we are all feeling right now.  Luckily I am not out of work right now but my heart absolutely breaks for those who are! The world is upside down and some days my head is too.

I hope this sad/tired/out of work Dragon puts a little smile on your face today.
Make sure to visit The Rabbit Hole Design's shop and take a look around. You'll find a lot more caffeinated critters to make you smile, I guarantee it!
You can also find The Rabbit Hole products at Simon Says Stamp!

For more inspiration, updates, and news make sure to check out these places ...


Have a great day, I already am!
🐉 ☕️  Lisa ☕️  🐉 

One Draggin' Dragon

Kelly here on the blog today.
I am sharing a card featuring The Rabbit Hole Designs. LLC 
"Caffeinated Dragon"

I inked up white cardstock with light green ink and then stamped the coffee chemical compound and #draggin in darker green ink to make the back panel. These are both included in  "Caffeinated Dragon".

The panel behind the dragon was made with alcohol inks.
I stamped the dragon and colored him with copic markers and fussy cut him out.  
The sentiment is from "Perfectly Blended" .

For accent, I added glitter pen to the inside part of his wings 
and purple Stickles to the top part of his wings. 
There's a dab of Nuvo glaze on the coffee cup. 


For more inspiration, updates, and news make sure to check out these links.


I hope you enjoyed this Caffeinated Dragon card.  
Hope your coffee is hot and strong,
Kelly

Partial Die Cutting to Create Easel Cards


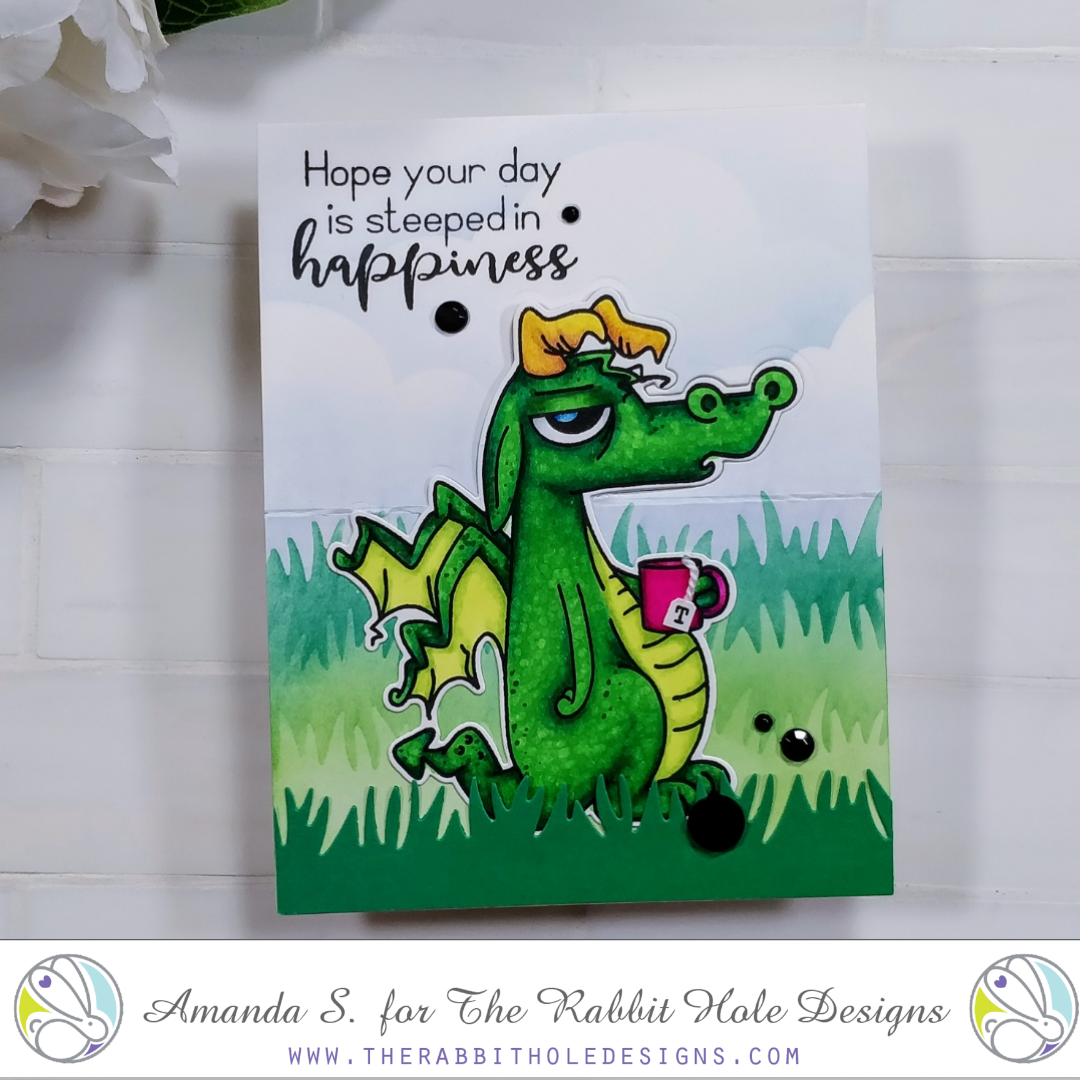
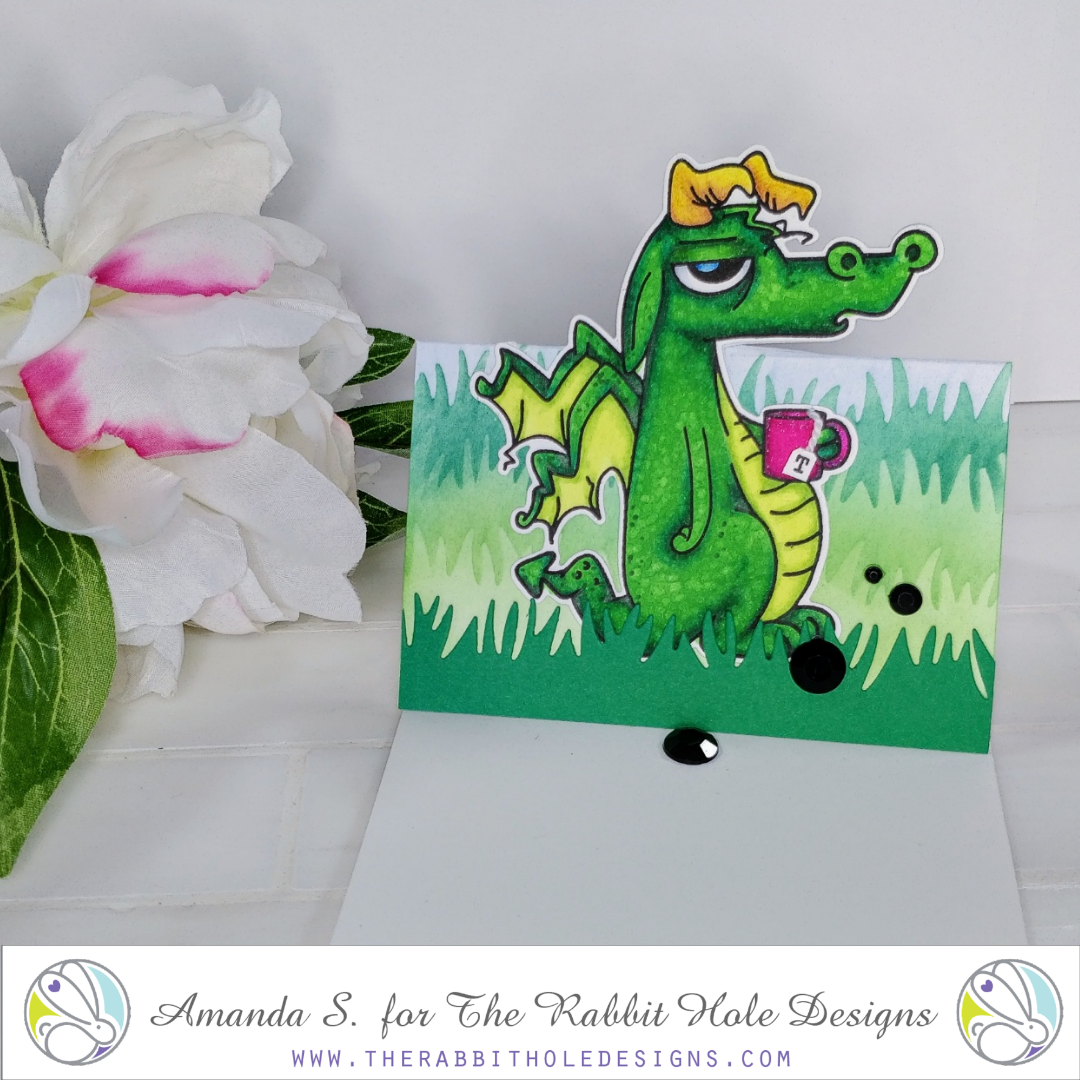
Hey crafty friend, it's Amanda from Pear Blossom Press again. In my last video, I explored several different ways to use your dies. I showed a lot of samples, so I've been breaking the different cards out into separate posts to go into a little more detail on each one. Today's card is the Caffeinated Dragon Easel card.

For this technique, you'll want to start with a top folding card base. Stamp and color a scene, then take a coordinating die from your focal image and line it up. You'll position it in your die cutting machine with the top plate only covering the top half of the die. After you run it through, the portion of the die that was under the plate will be cut out, leaving the bottom still connected to the scene.


Next, line the card up in your Scor-Pal and score a line on either side of where your cut stops. You don't want to score the image you partially cut. Now, when you fold the front of your card in half, the top of the image will pop up! You need to add something inside to catch the bottom of the card when it's popped up. You can add a sentiment strip with foam tape, or like I did for this card, a large flat-backed gem.


Check out the video, if you want to see exactly what I mean...


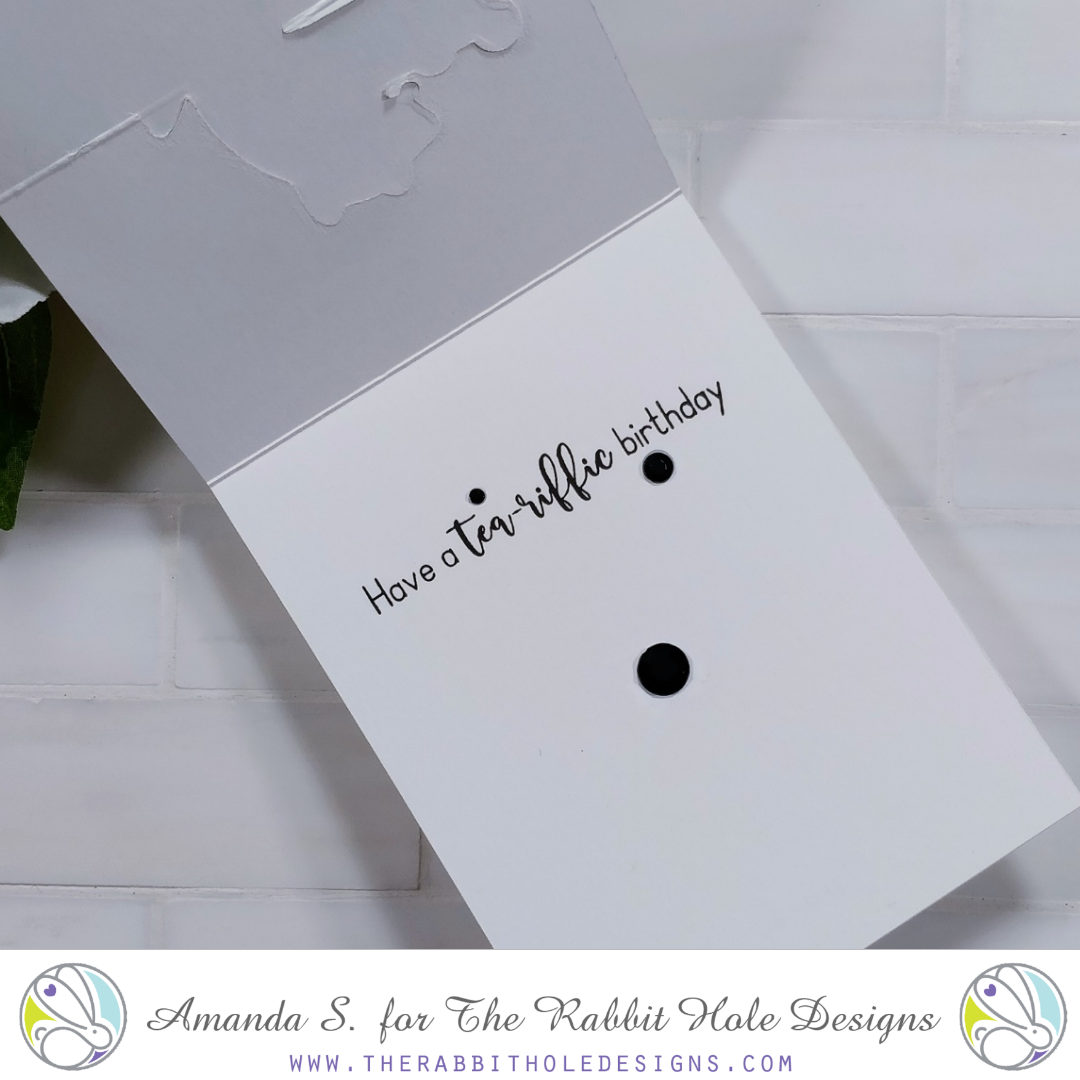
For this card, I just created the background scene on my card base. I stamped and cut out the Caffeinated Dragon separately and layered it on top, lining it up with my partial cut. This was because I wanted to color him with Copic markers and they bleed through. The technique works exactly the same way though. I also added sentiments inside and out from the Steeped in Happiness set

Speaking of the background scene I created, I used a second die cutting trick for that. Since I don't have cloud or grass stencils, I used border dies to create my own. This is a great way to stretch your supplies, and it also gives you both the positive and negative halves to use as masks, if needed. I taped my grass and cloud borders down, but did you know that you can use Pixie Spray on the back of your homemade stencils too? It's much less expensive than masking paper. 😉

Thanks for stopping by today; I hope you'll give these techniques a try and let me know what you think. You can find the sister article to this on my blog, along with product links and more inspiration.

Tomorrow kicks off the new release inspiration hop. If you like to color, you're definitely going to want to come back all week! (Also, the next 30 Day Coloring Challenge starts March 1st, so get ready!)

Follow The Rabbit Hole Designs for more inspiration:


Make a Window Card with Coordinating Dies


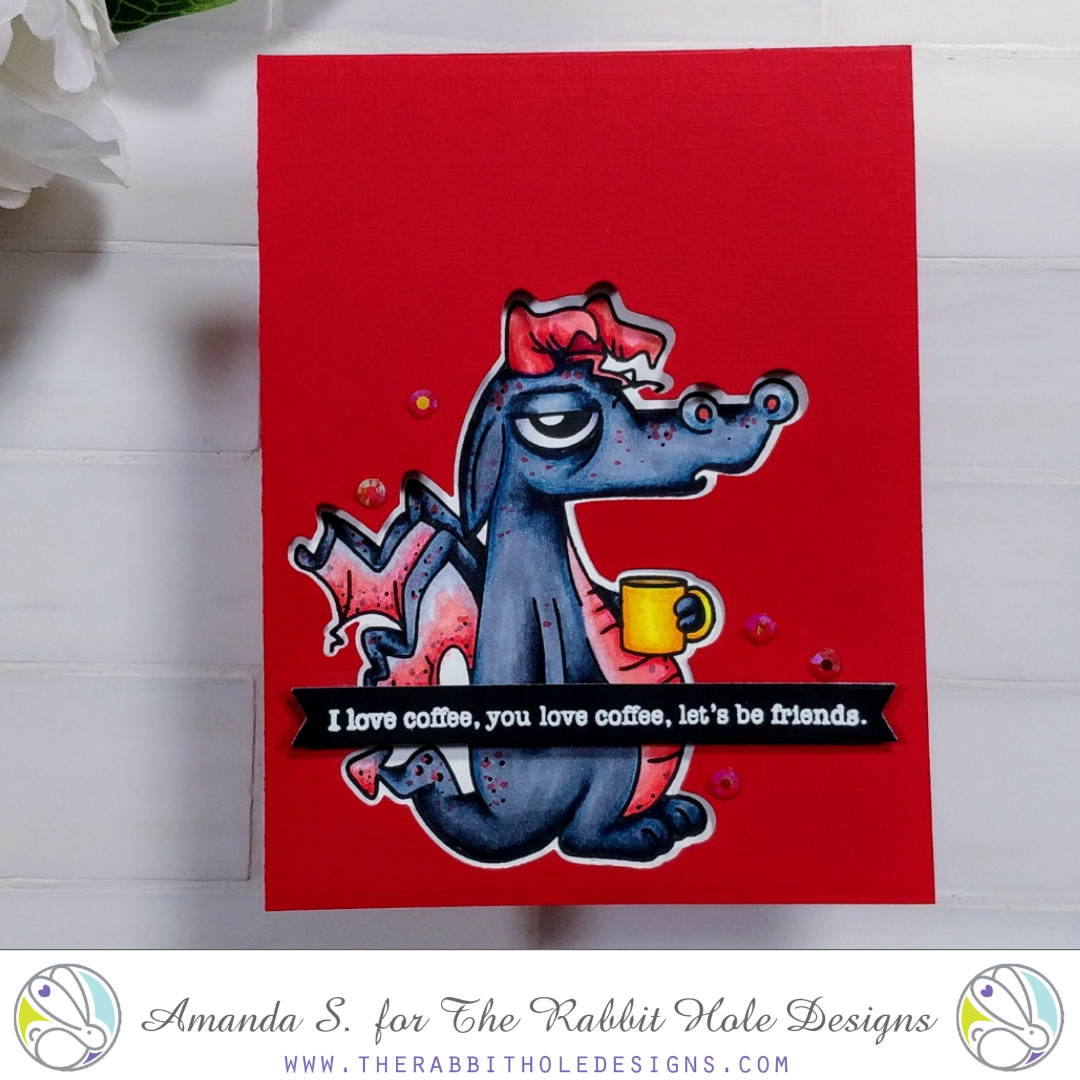
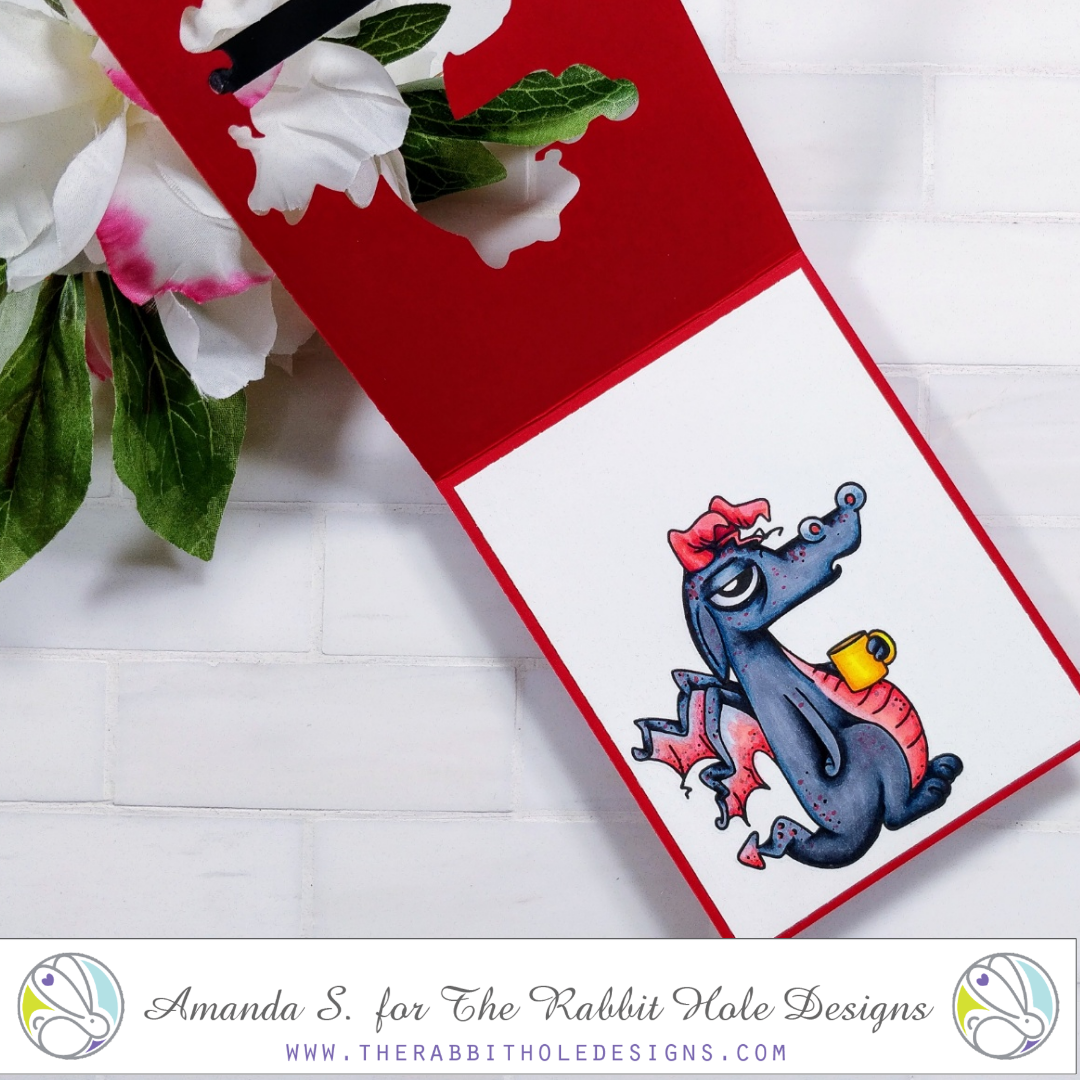
Hey crafty friend, it's Amanda with Pear Blossom Press, and I'm back to spotlight the Caffeinated Dragon window card I made in my last video. This is a fun technique that you can use with any stamp and die combination, but it is especially effective with coordinating sets. 

Caffeinated Dragon Window Card The Rabbit Hole Designs Caffeinated Dragon Window Card The Rabbit Hole Designs

The idea is simple. Stamp your image inside your card, then use a die to cut a window from the front of the card to see the stamped image inside. There is trick to getting the window lined up correctly. Line your stamp up in your Misti, then stamp the inside panel. Close your card, stamp the image again, and use that to line up the die before cutting the window. 

For this card, I stamped the Caffeinated Dragon on an A2 white panel and colored it with Copic markers. I stamped the image again on the front of a red card, lined up the coordinating die and cut the window. Then, I trimmed the white panel down on all four sides and glued it inside the red card. I finished it up with a Perfectly Blended sentiment on a die cut banner, and a few red gems on front. 

You can see the process, along with several other unique ways to use your dies in this video...


Thanks for stopping by today! You can find the sister article to this post on my blog, along with links to the specific products I used. If you'd like to see more cards featuring this stamp set, check out this article

For even more inspiration, updates, and news make sure to check out these links.

Gimme My Elixir! Interactive Pop-Up Card


Hello my crafty friend!  Today I am on the blog with Gimme my Elixir card featuring the fun and barely there Caffeinated Dragon!  I have him in pop up mode coming to the top of his castle when you open this interactive card card

The castle was created with printed paper pieces. Do you recognize the window shapes?  These are created using the small light bulbs from the Light Me Up Stencil.  They are the perfect shape, right?
I used a 85# dark blue cardstock for the card base, added the grass and drawbridge creating a moat around the castle. On the front of the card base, I use printed paper and die cut letters. 

To color the dragon, I chose pinks red and golds from my TriBlend alcohol markers.  I start by coloring the dragon body with the lightest pink and then using a stippling/dotting technique. I add a graduation of lighter to darker pinks and red dots to create the shading. I love the stippling look.  Not only does it add an interesting look to the dragon,it give it almost scale like texture.  The wings and horns are colored in the yellow golds to give look smoother look.


Here are The Rabbit hole Design products used in this card:


I hope this inspires you to try the stippling/dotting technique on your next creation. Remember it does not have to be alcohol markers (that is my preference),  you can use any type of coloring medium such as colored pencils, watercolors, and other types of pigments to color your image.

Thank you so much for stopping by the blog!

Be Creative ~ Stay Inspired
Jenn Gross
@journeycoachjenn

For more inspiration, updates, and news make sure to check out these places


Puff and a Cuppa Coffee

Hello Rabbit Hole Designs Fans!! DTM Shanna here with another fun card using my newest favorite Caffeinated Critter, Caffeinated Dragon!  
I was playing around with my Zigs again, and had a lot of fun making a green dragon.....pairing it with a background I made using the Spell It stencil!!  You know you are singing the song with me right now!!


To add some sparkle and detail to my critter, I used Liquid Pixie Dust, from Inkon3, to paint oval-scales on the body of the dragon.  This was my first time intentionally painting with the pixie dust, and oh my goodness will I be doing it again!  Subtle-sparkly-texture-goodness!!! 


Lastly, I added a sentiment banner using a sassy sentiment from the Perfectly Blended sentiment set.  Dragons are old right? So of course they drank coffee before it was cool!!  (or so my 10 year old says!!!)


What is your go-to supply for sparkle??  I am enamored with the Liquid Pixie Dust right now, but have used many things in the past.  
 
That wraps up my post for today, I will be back for another trip down The Rabbit Hole next week!  Until then you can find me over on my blog, Caffeinated Craftiness or over on Instagram
***BONUS*** I have a speed coloring video with me coloring this dragon over on my FB page and IGTV channel!!  Take a peek, I will be sharing it in the fan group as well!
-Shanna

For even more inspiration, updates, and news make sure to check out these links.

Anti Valentine's Day Dragon


Hi it's Lisa from Oh So Cute by Lisa! Today I am up on blog
with an Anti-Valentine's Day card. Since Valentine's Day is a very unpopular holiday for so many, The Rabbit Hole came up with an Anti-Valentine's Day stamp set and the snarky sentiments are HILARIOUS! When I first colored this Caffeinated Dragon I was not happy with the results and he got filed away with images that I might use one day. Well today is that day!  When I was going through the sentiments in the Sassy Anti-Valentine stamp set I knew that the sentiment I picked was perfect for my diseased looking Dragon.  
Well at least that's what I thought........ green with purple spots.......ick!

Here are the 2 stamp sets I used on today's card:


I love how the brick embossing folder background adds to the "blah" feeling on this card, the whole card just makes me laugh! I hope it gave you a good laugh too!


For more inspiration, updates, and news make sure to check out these places ...


Have a great day, I already am!

🐲Lisa 🐲

My Magical Elixir


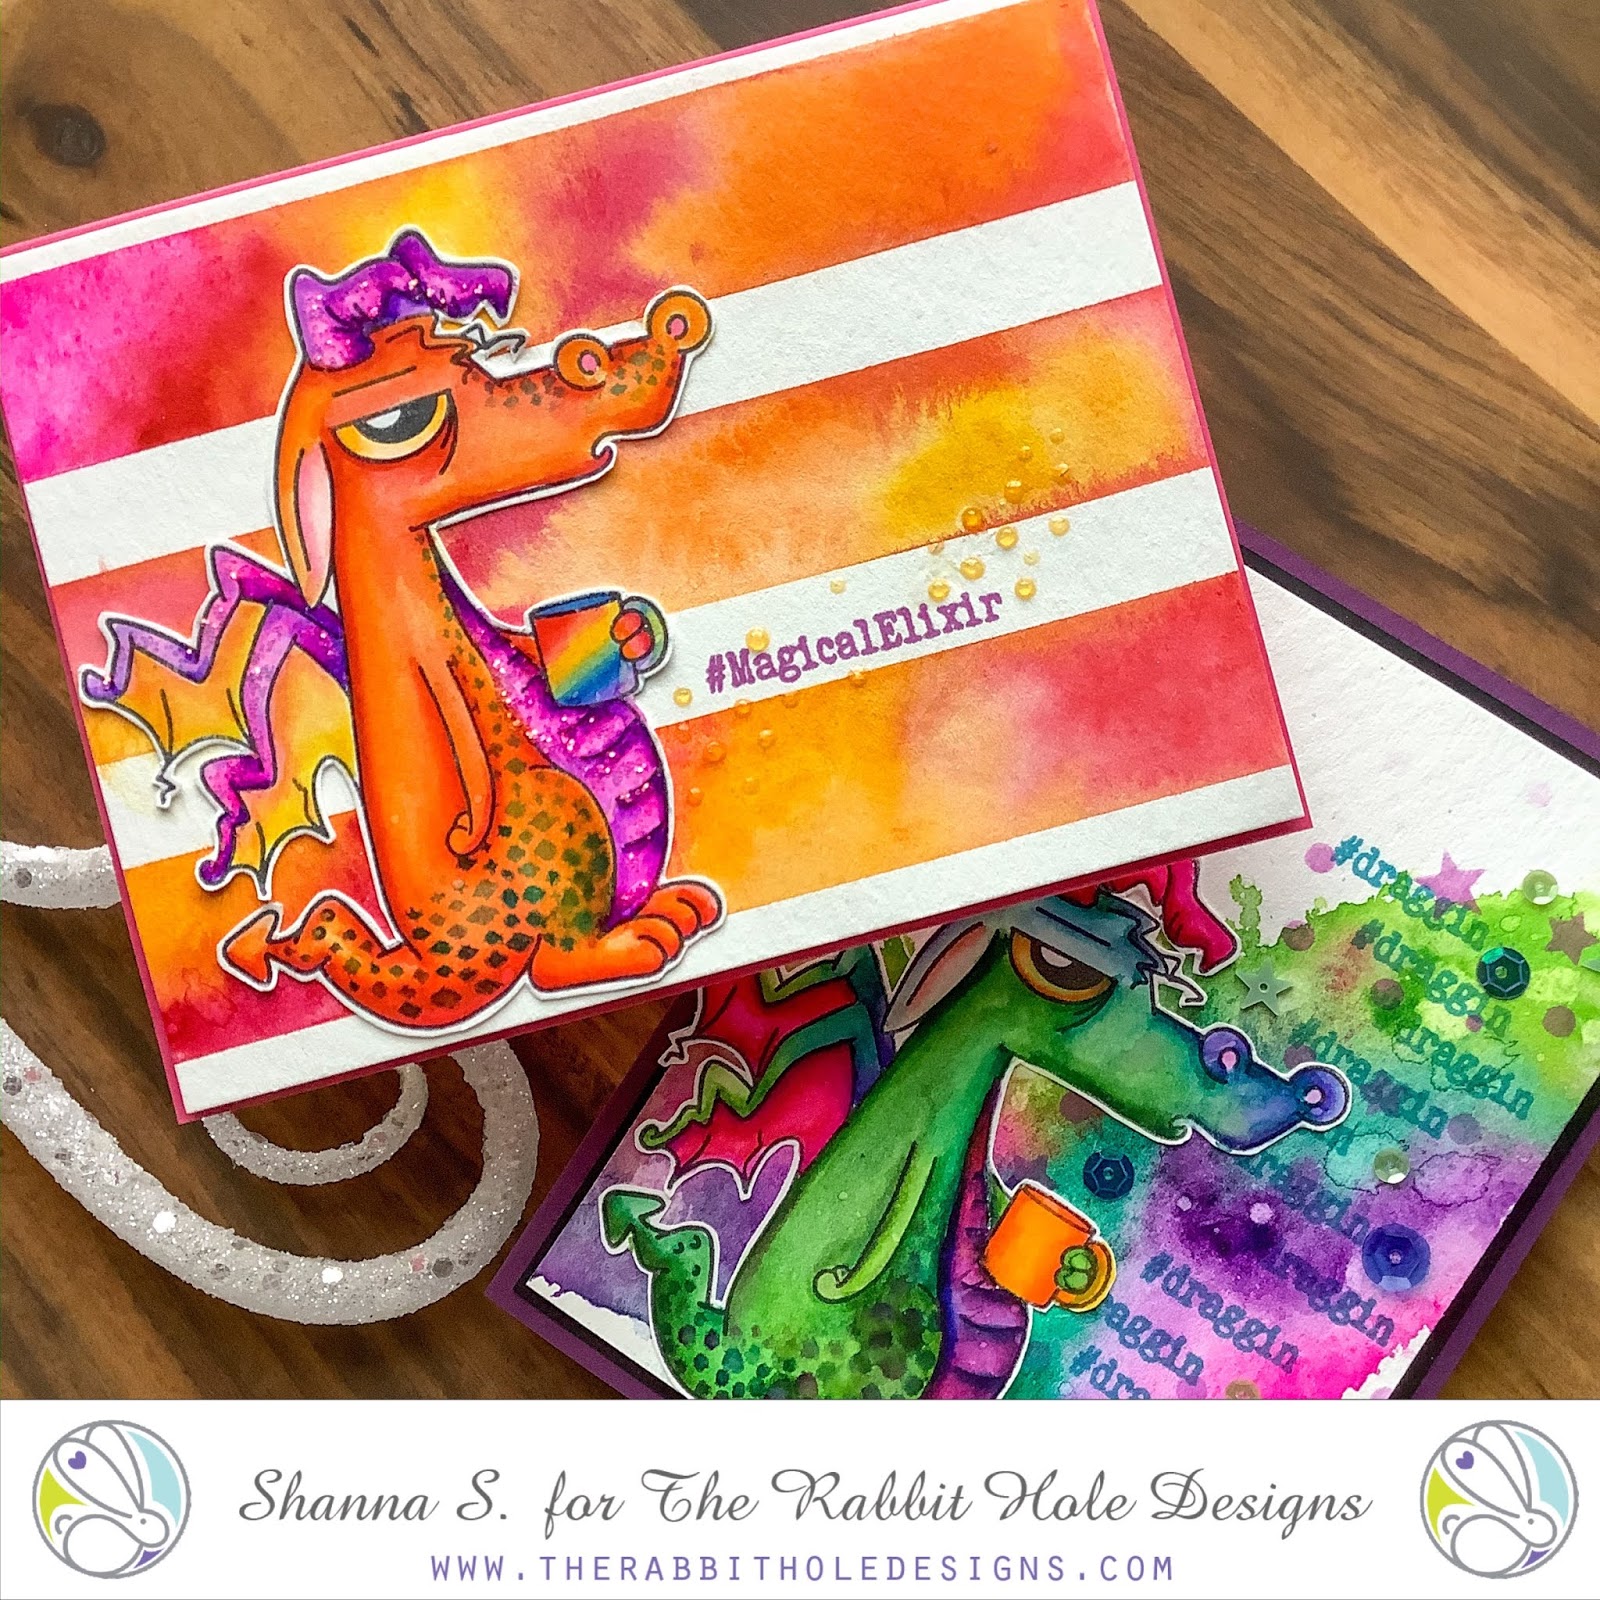
Hello Rabbit Hole Designs Fans!! DTM Shanna here today with another caffeinated card featuring my new favorite Caffeinated Critter, Caffeinated Dragon!  
I can't seem to stop coloring this guy!  He is so fun to color up in ANY color combo!  I have 2 cards here today that I watercolored with my Zig Real Brush pens. 


My first card was colored in dark, rich jewel tones for a fun and dramatic effect.  I added extra scaly-esque detailing to the belly and underside for a bit of texture.  The background was watercolored onto an A2 panel of cold press watercolor paper using my Jane Davenport pan watercolors.  Such vibrant colors! LOVE!


My second card I flipped from cool-tones to warm-tones and reached for my oranges and reds.  I still added some scaly type texture, but chose more of a diamond shape to repeat this time. 


I think I love this one even more, which is hard for me to say!  The background was watercolored similarly to the first card's...but I first masked off stripes to create a patterned paper.


Which one is your favorite!?!  Any color combo you want me to do next??  I will ask in the Facebook group, and be sure to let me know!  


That wraps up my post for today, I will be back soon for another trip down The Rabbit Hole!  Until then you can find me over on my blog, Caffeinated Craftiness or over on Instagram-Shanna

For even more inspiration, updates, and news make sure to check out these links.

February Release Inspiration Hop ~ Day 1


Hello and welcome to Day 1 of the Inspiration Hop. We are so excited for you to join us as we present to you our February release.  Our fabulous Design Team will be sharing their projects over the next 3 days, so be sure to visit their blogs and leave them some crafty love.


 The 3 new stamps sets and the Caffeinated Dragon die are available to purchase right now in the shop.


The stamp set that is being highlighted today is


Make sure you come back tomorrow for Day 2 of our Inspiration Hop.


Here is the line up for the hop:

_________________________


**Giveaway**


To celebrate the February release,  The Rabbit Hole Designs is giving away two gift certificates; one to a lucky Instagram Follower and one to a lucky Fan Page follower.  Winner will be chosen at random from the comments left on the INSTAGRAM post, and tagging friends, and also from commenting on the Fan Page post.  So make sure to head on over to INSTAGRAM and look for the giveaway post @therabbitholedesignsllc and look for the post at The Rabbit Hole Designs Fan Page by 11:59 p.m. PST 01-30-2020.  Winner will be announced on The Rabbit Hole Designs blog 01-31-2020.

This is the graphic you are looking for on our IG and FB

___________________


For more inspiration, updates, and news make sure to check out these awesome places! 


Thank you so much for stopping by today!