Pages

Showing posts with label Quick & Easy. Show all posts

Quick and Easy Beautiful Christmas Card

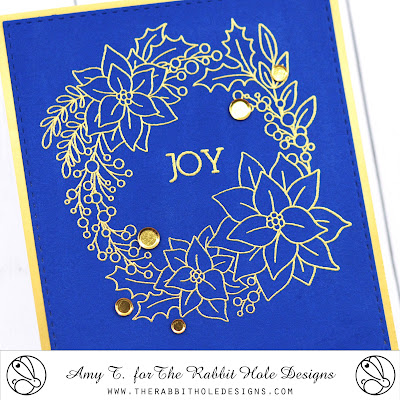
 Hi everybody!  Amy here.  Today I wanted to share a card that is quick and easy to make, but very beautiful!  No matter how well we plan, we always have those last minute Christmas cards that we need to make!  I hope this card can help you in those situations!

Merry & Bright Stamp Set illustrated by Tatsiana Zayats for The Rabbit Hole Designs #therabbitholedesignsllc #therabbitholedesigs #trhd

I started this card by die cutting a piece of dark blue cardstock and prepping it with the Cottontail Embossing Powder Tool.  I then stamped this absolutely beautiful wreath image from the Merry & Bright 4x4 Stamp Set, illustrated by Tatsiana Zayats, and gold heat embossed. 

Merry & Bright Stamp Set illustrated by Tatsiana Zayats for The Rabbit Hole Designs #therabbitholedesignsllc #therabbitholedesigs #trhd

Next, I lined up the sentiment, also from the Merry & Bright 4x4 Stamp Set, right where I wanted it, then stamped and gold heat embossed it as well.

I used matte gold paper for the cardbase and added a few gold confetti pieces!

Merry & Bright Stamp Set illustrated by Tatsiana Zayats for The Rabbit Hole Designs #therabbitholedesignsllc #therabbitholedesigs #trhd

Thank you and I hope you enjoyed my quick and easy, but beautiful Christmas card today!

8 Tiny Reindeer - Easy Christmas Tags

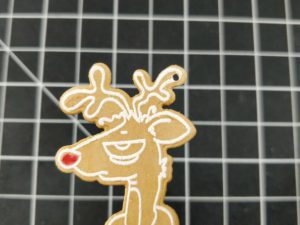
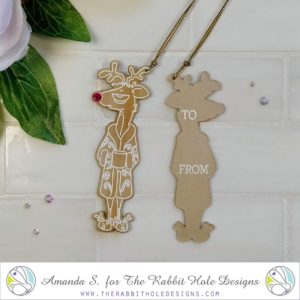
Caffeinated Reindeer Christmas Tags


When what to my wondering eyes did appear, but a miniature sleigh and eight tiny reindeer...

Hi crafty friend, it's Amanda from Pear Blossom Press again. I'm continuing my Christmas in July blitz, and today, I'm sharing some quick and easy gift tags. 

This project was inspired by my friend Yvonne. She has lots of great ideas and shares them on Instagram. We were talking about ideas for quick Christmas projects and she suggested white embossing on kraft cardstock. I decided to give it a try with the Caffeinated Reindeer for these tags. 

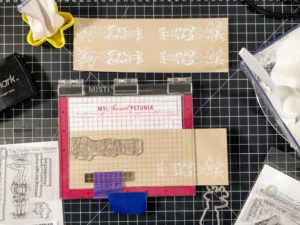
To start, I cut a piece of kraft watercolor paper in half so it would fit in my Mini Misti. I used a powder tool before stamping the reindeer in Versamark ink. Then, I coated the images with white embossing powder and heat set them. I stamped and heat set two at a time to make it go faster.  


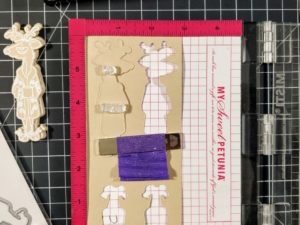
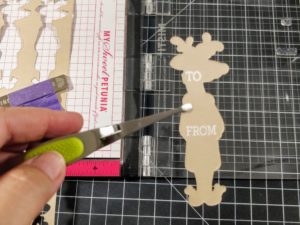
Next, I used the coordinating die to cut them out. Saving one sheet that I cut them out from, I lined it up in my Misti, upside down, and placed the TO and FROM stamps from Pawlidays on the back of one of the die cut reindeer. That creates a jig to perfectly line the die cuts up and stamp the words in the same place each time. I repeated the embossing process on all eight. 


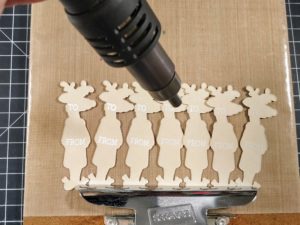
Locking tweezers are helpful for removing the die cuts and holding them while embossing, but since I was doing so many at the same time, I opted to use the clip on my clipboard to hold down the reindeer and heat set all of them at the same time. I was careful not to overheat them, so I wouldn't remelt the powder on the front sides, and possibly stick to the next reindeer.


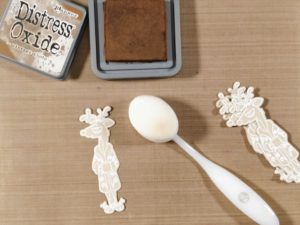
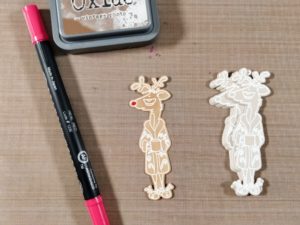
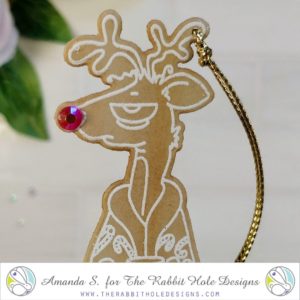
At this point, I could have stopped and just added the cords, but the kraft paper I used was lighter than usual and I wanted to punch them up a bit. I used some Walnut Stain ink and a Cotton Tail brush to blend on a little color on the fronts, then a baby wipe to clean up the white embossing powder. To add a pop of color, I used a red marker on the noses. 


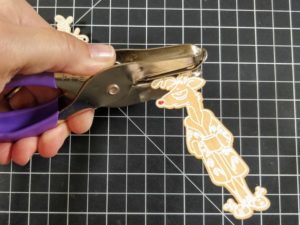
After that, I simply punched a 1/16" hole in the antlers and threaded a few inches of gold cord through to tie off. 


They were really cute, but I am a lover of all things bling, so I glued red gems over the noses to jazz them up a bit more. What do you think?

Caffeinated Reindeer Christmas Tags Caffeinated Reindeer Christmas Tags

I love having a big collection of tags on hand at Christmas. It seems like we go through tons of them each year at my house. You can make ones like this, or change the color of the cardstock and the images to suit your needs. If you want to skip the embossing, you can use a white pad, or an ink darker than your paper, for a tone-on-tone look. And if you don't have coordinating dies for your images, you can stamp on circles, squares, or rectangles. 

Thanks for stopping by today. You can find the sister article to this on my blog. Head on over for links to the specific products I used. And if you'd like to see another fun tag using this stamp, you might like this. I'll be back soon with more fun cards to share. 

For more information, news and updates check out these links:

Making Cards with a Single Stamp Set


Hello my crafty friend. Amanda from Pear Blossom Press back again, with another recipe for quick cards. I used a holiday stamp set, but you can substitute virtually any set. You want one that has an image and sentiment you like. Just think of the design, or layout of the card, as a template.

For this design, I broke it up into two parts: the coloring, and the background. Let's start with the coloring...

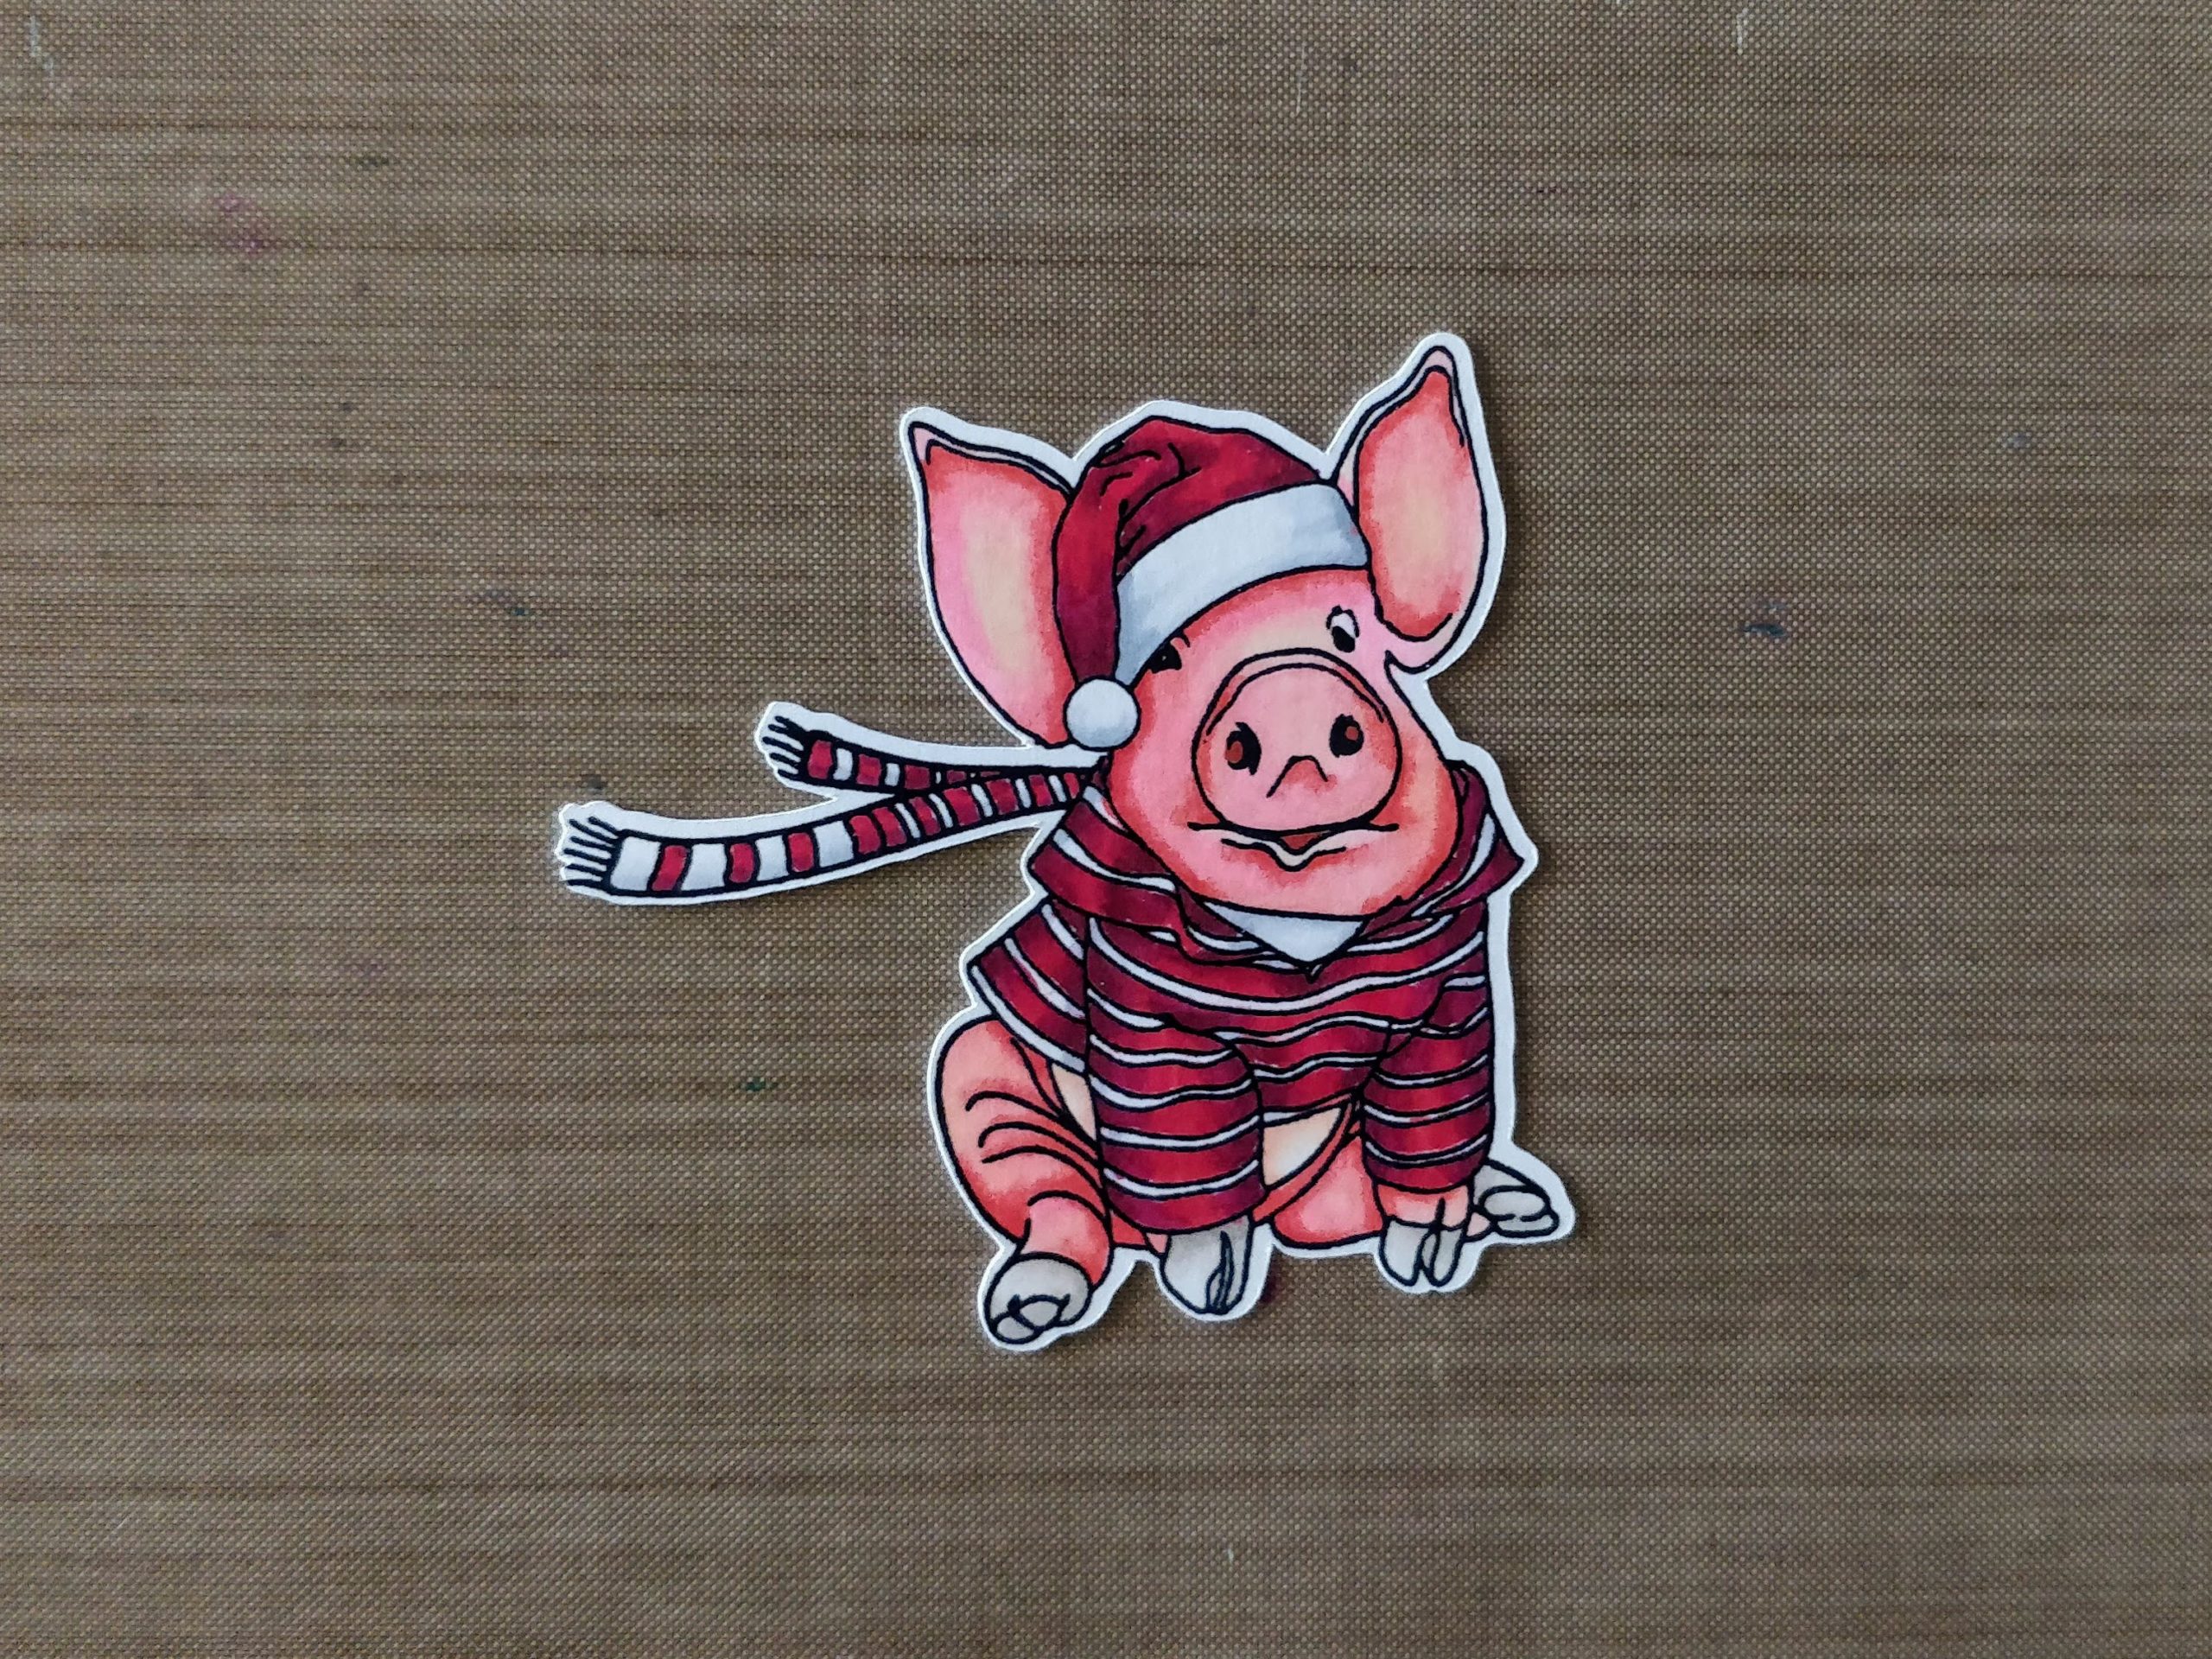
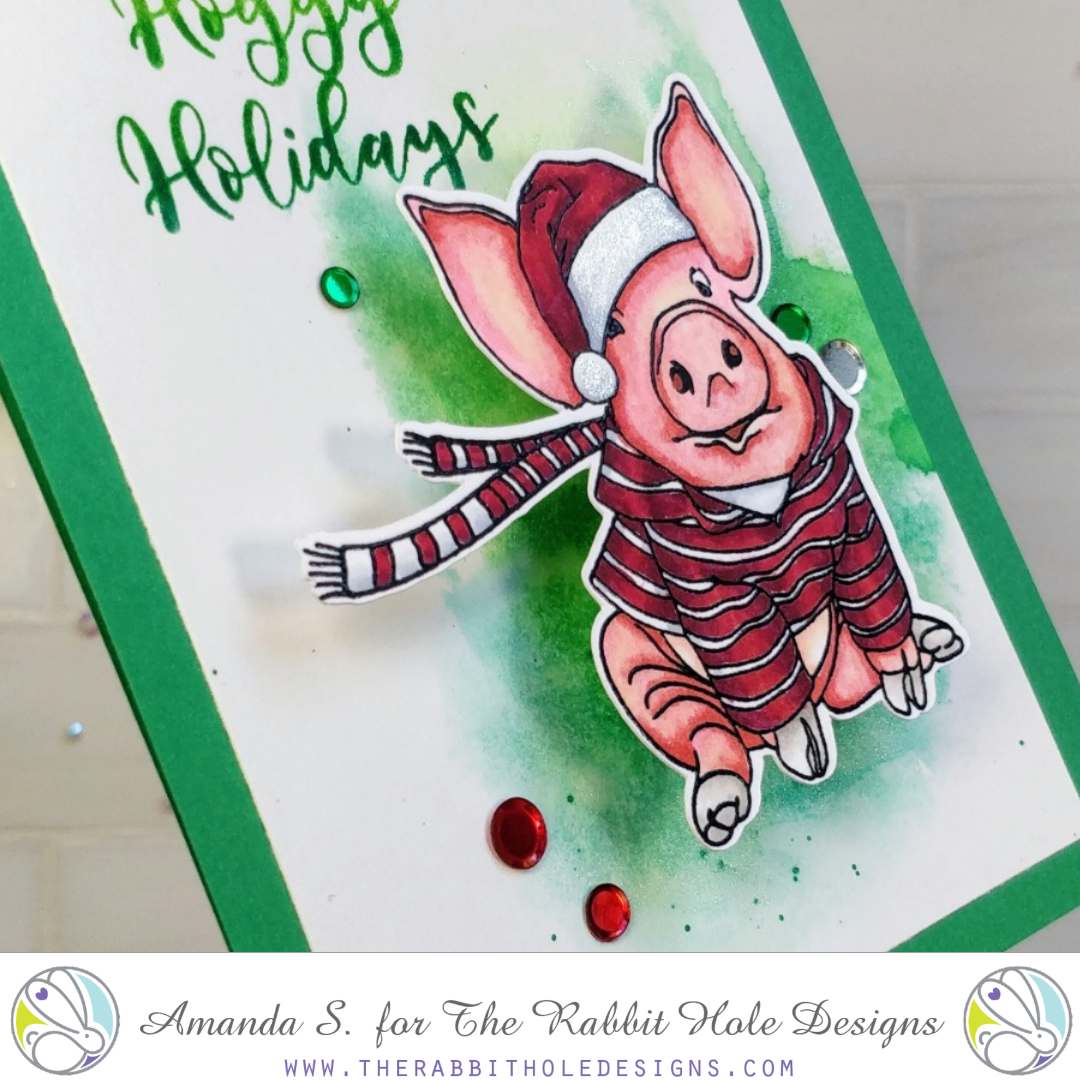
I have been coloring along with Kathy Racoosin for her 30 Day Coloring Challenge again. I like to stamp images onto quarter sheets and Copic color them while watching TV, or crafting online with friends. Usually, I do this without a specific plan for finished cards; I just color and die cut, or fussy cut the images with my ScanNCut, and set them aside for later. That's what I did here with the cute little pig from Hoggy Holidays.

hoggy holidays The Rabbit Hole Designs

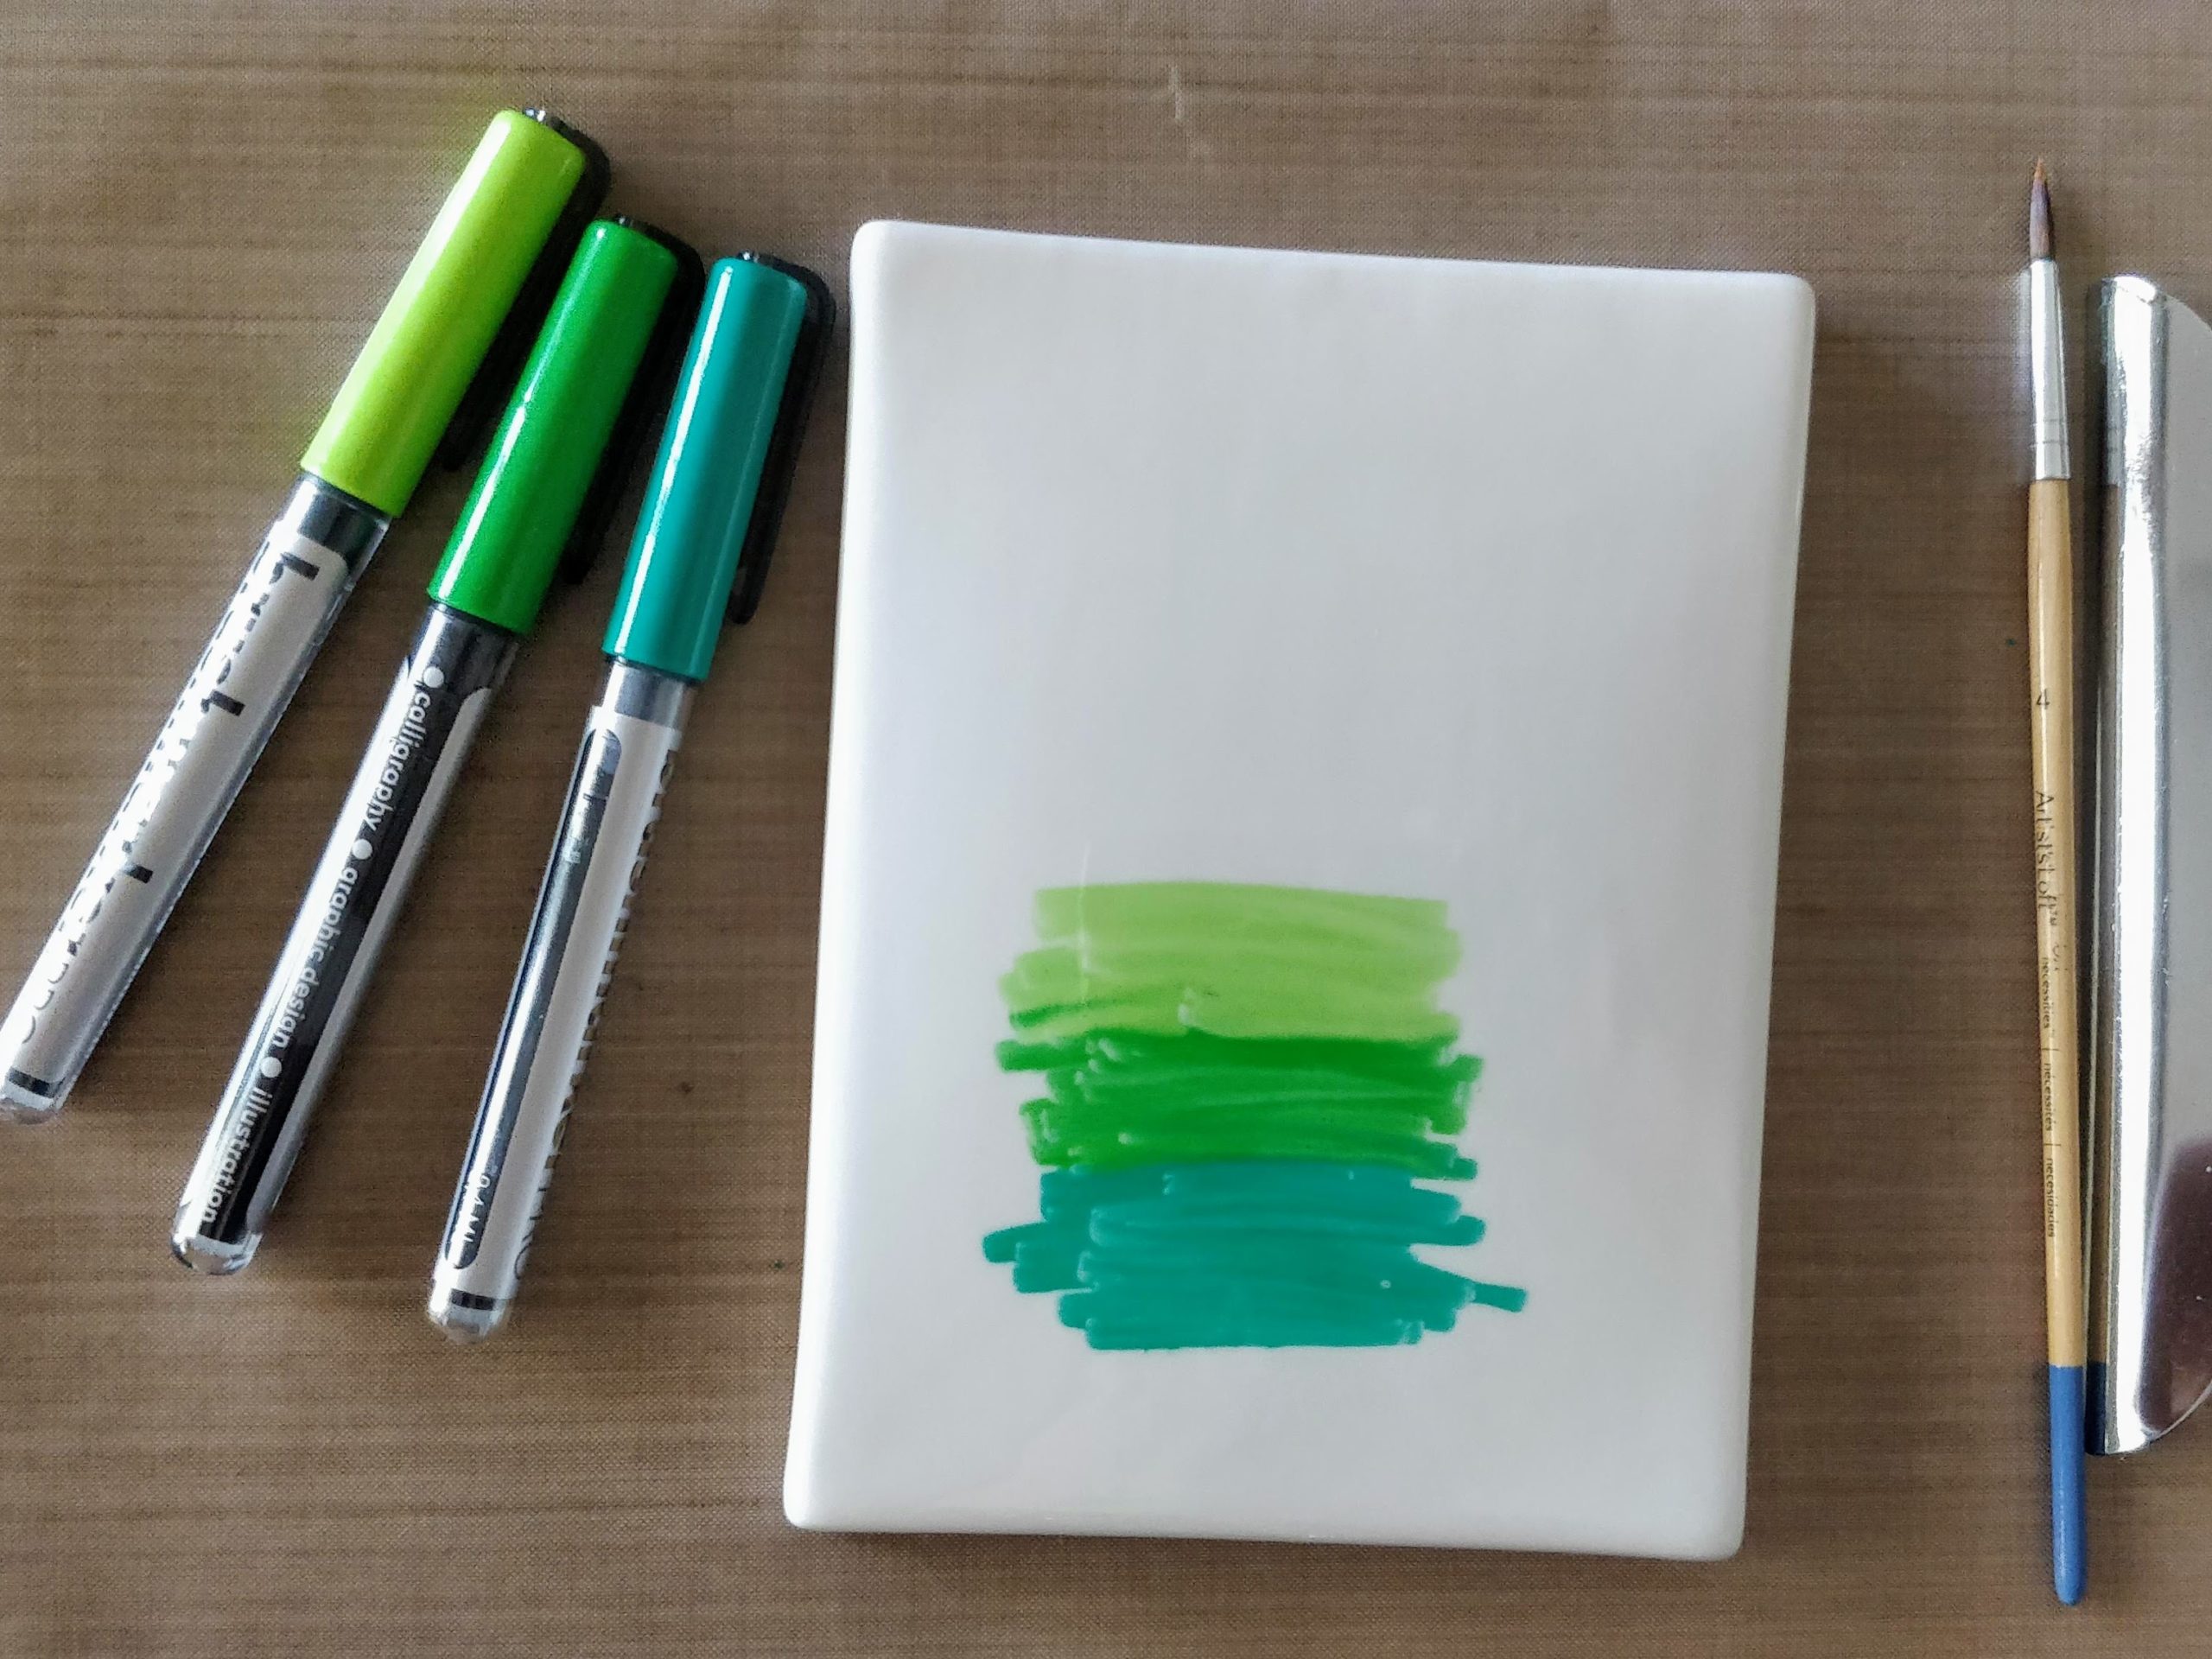
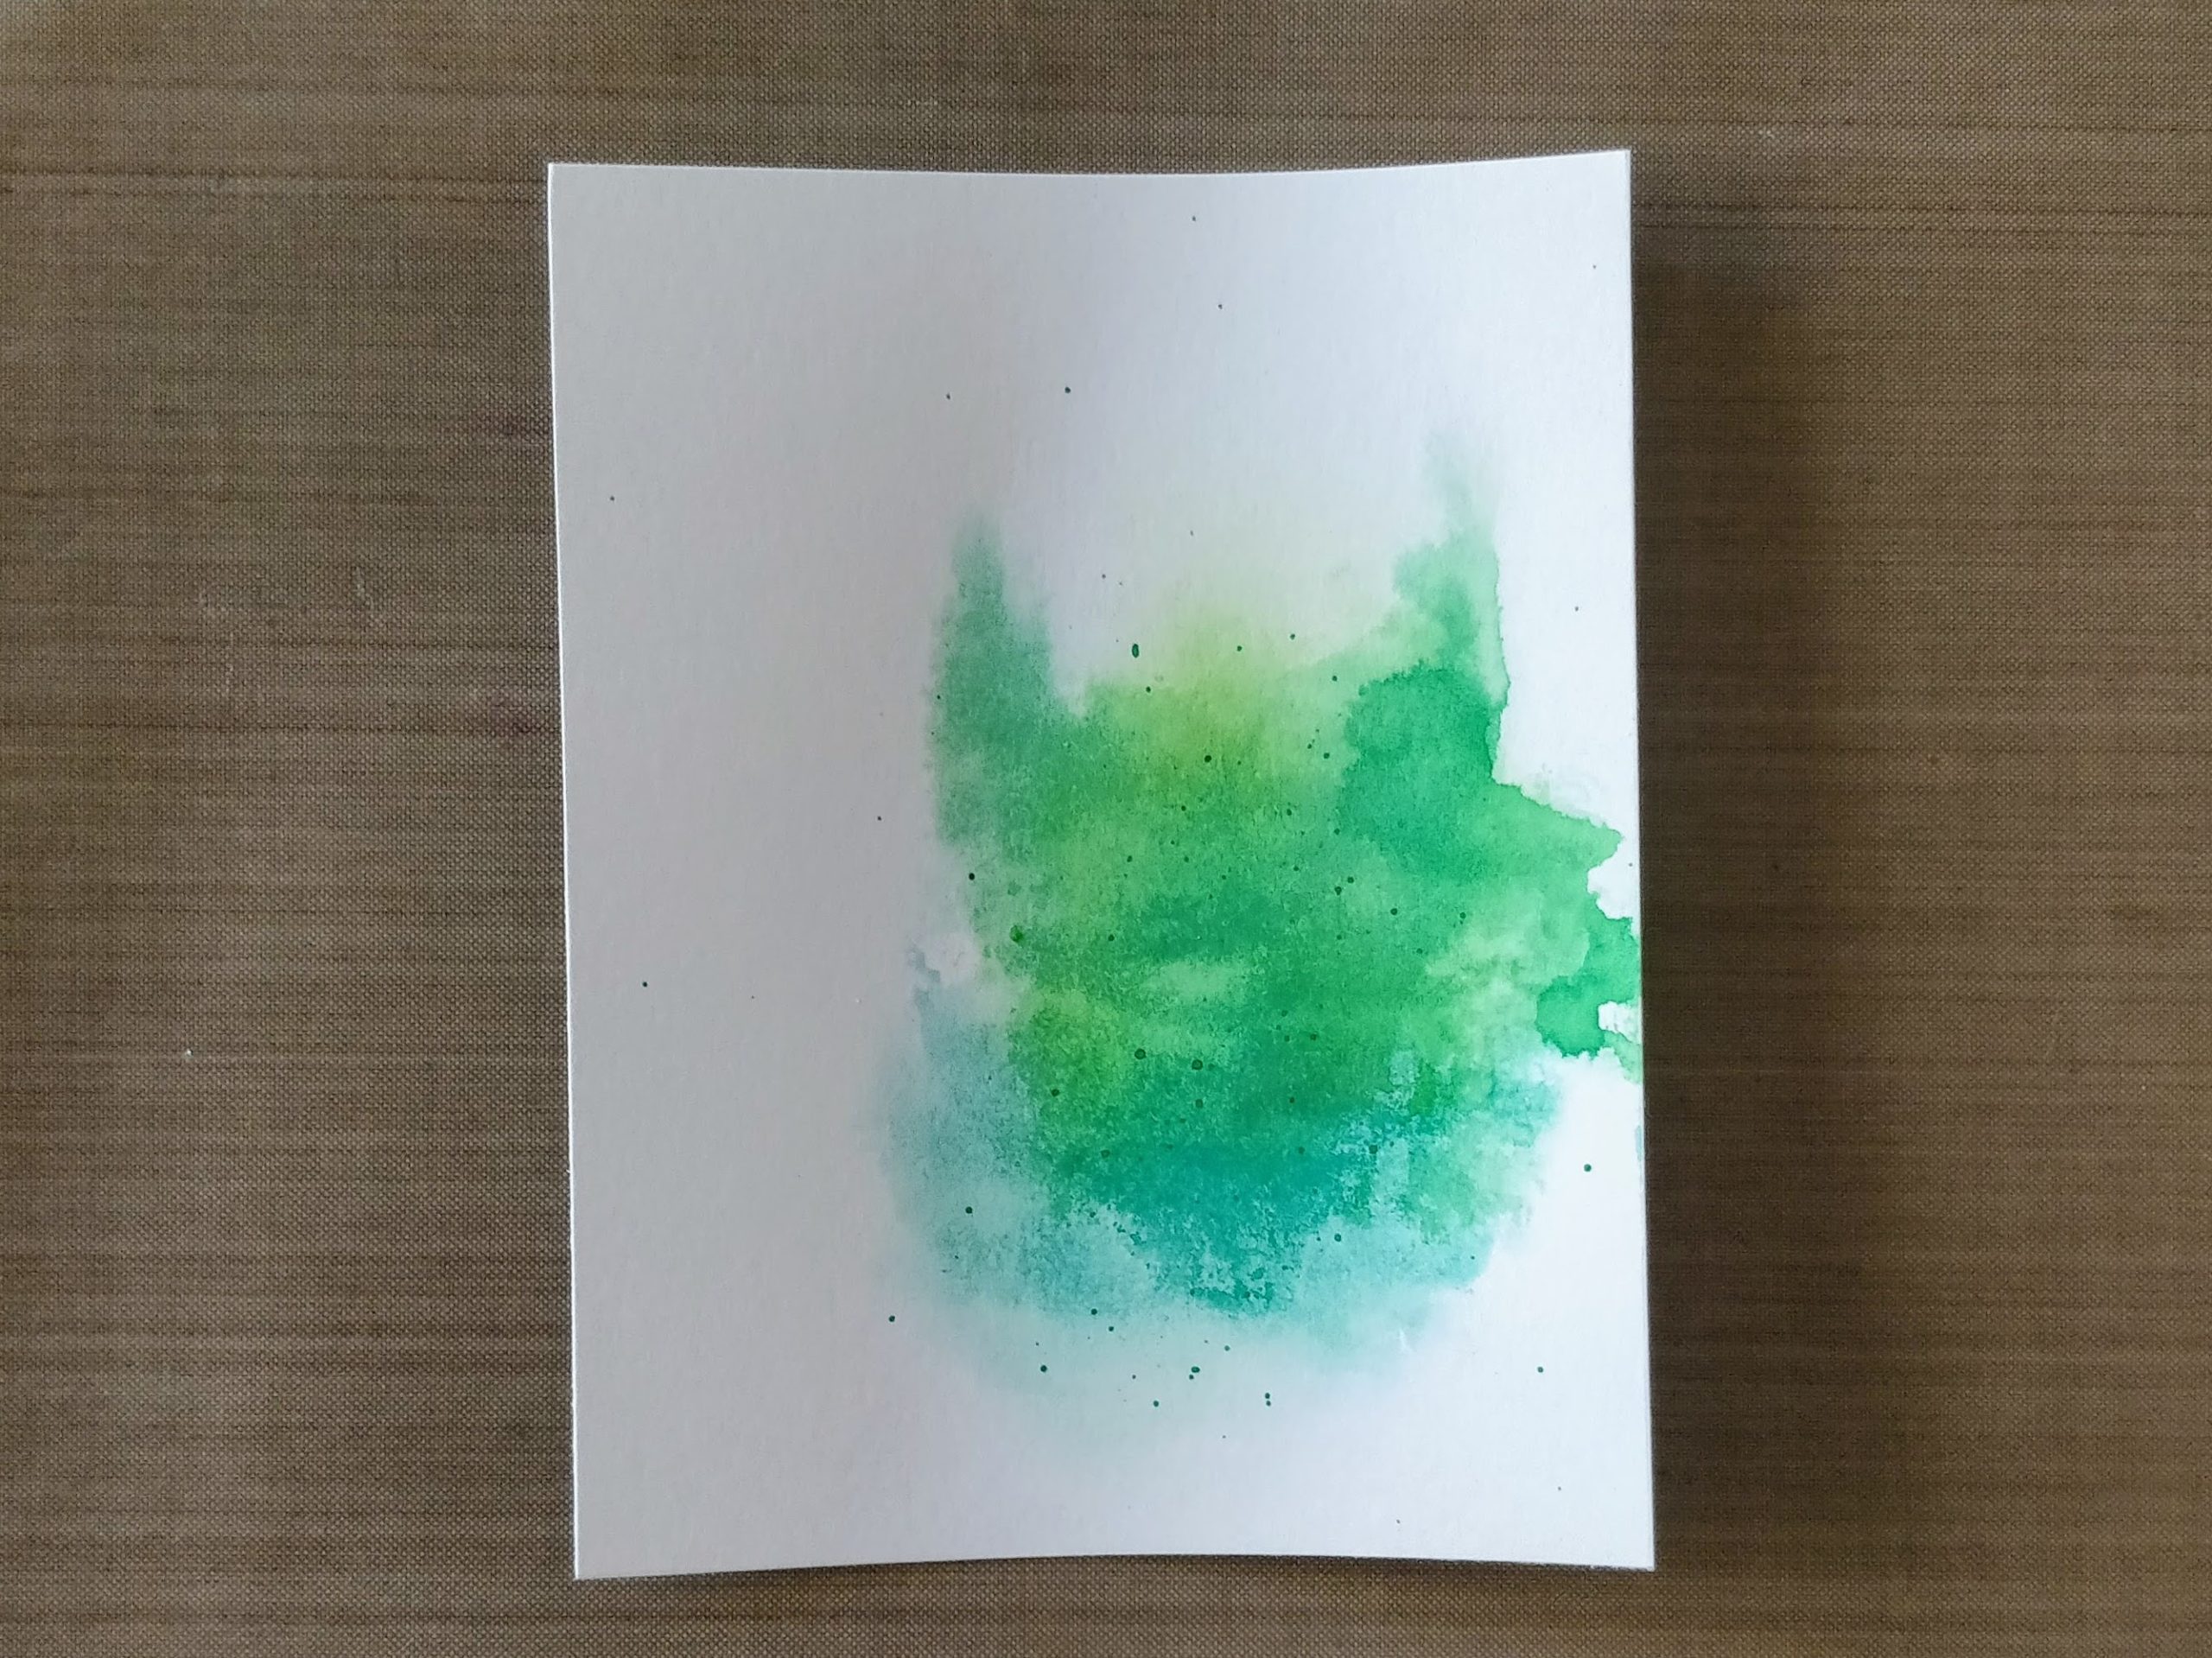
For the background of the card, I wanted something simple that would add a pop of color and ground the pig, but be fast and easy. I decided to use my Karin markers and do some ink smooshing. If you don't have these markers, you can use any water based markers, or even watercolor paint, or ink pads. I will however, recommend using a ceramic palette, not a plastic one, to help keep the ink from beading up. Just scribble (or swipe your pad) onto your palette, and spritz with a little water. Dip a panel of watercolor paper into the wet ink and lift.

You can dip it several times to create lines and variation of pattern. For markers or inks that aren't as concentrated as the Karin markers, you may want to apply more ink to the palette and repeat the process until you reach the desired vibrancy (remember, most colors dry back a little softer). After I dipped the panel, I let it dry for a minute, then splattered concentrated ink onto it (I just picked up more ink with a wet paintbrush and flicked it on). This gives the panel a little texture and adds interest. 

Ink Smooshing with Karin Markers Ink Smooshing with Karin Markers

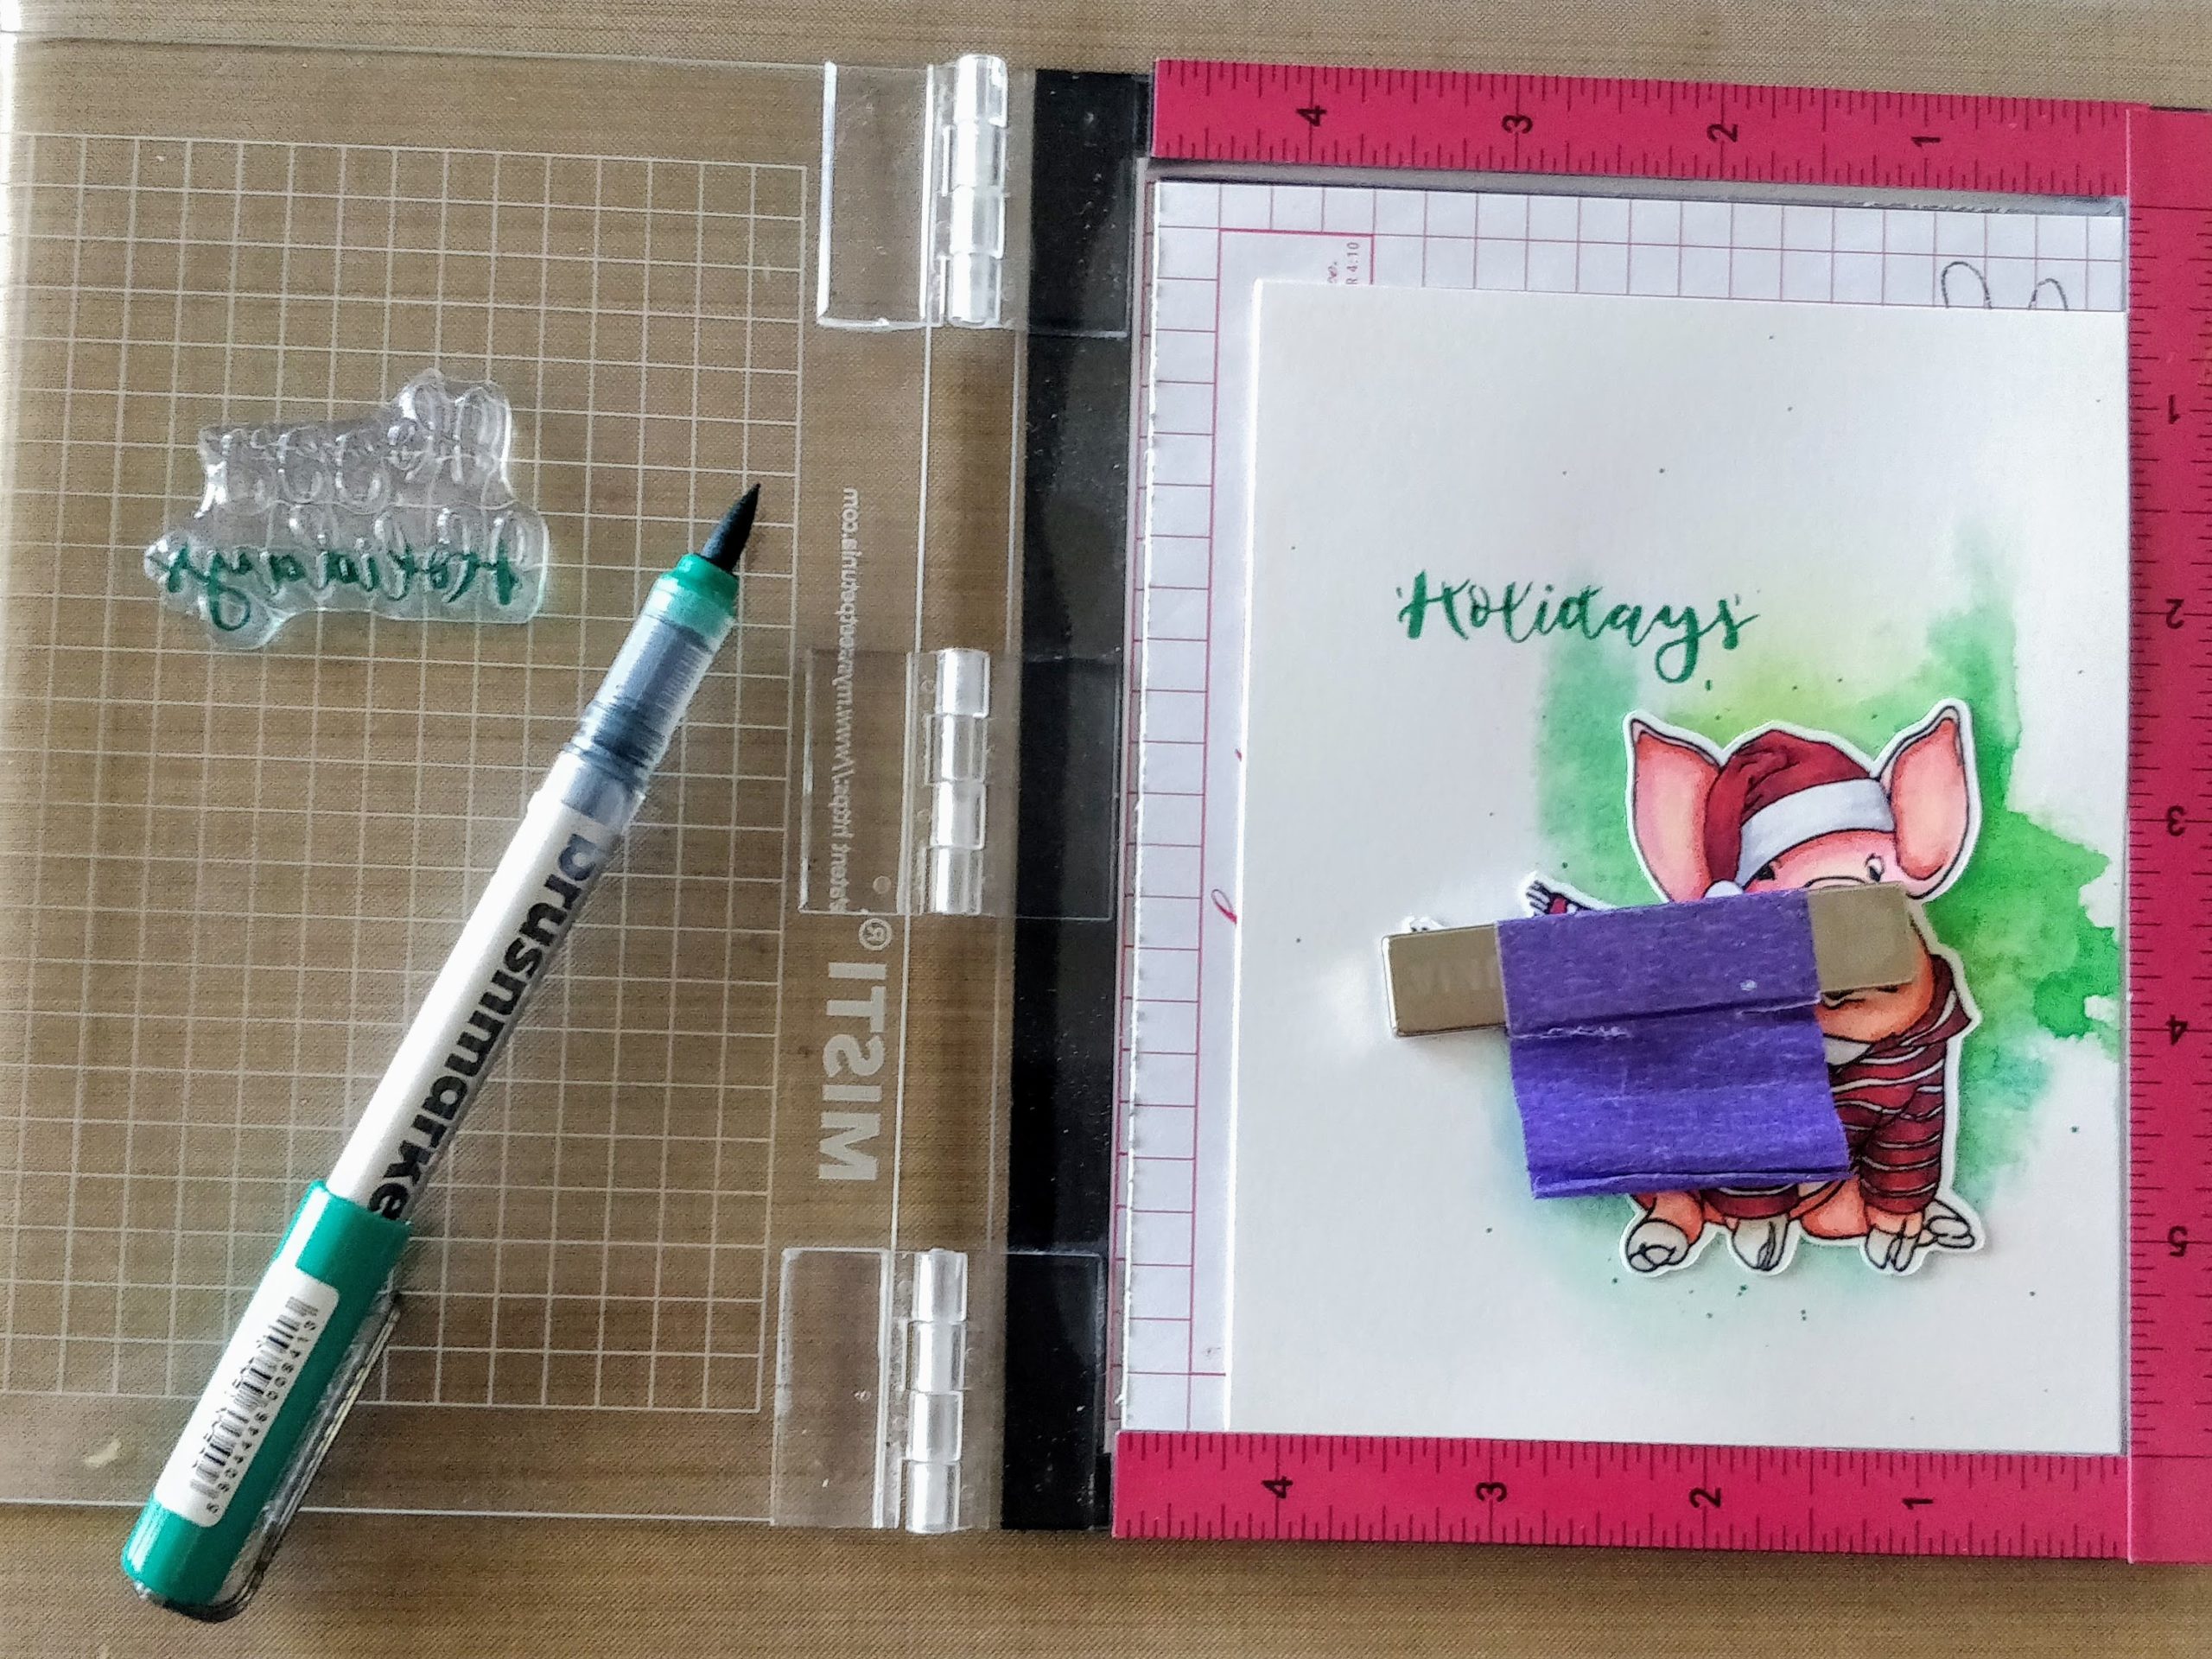
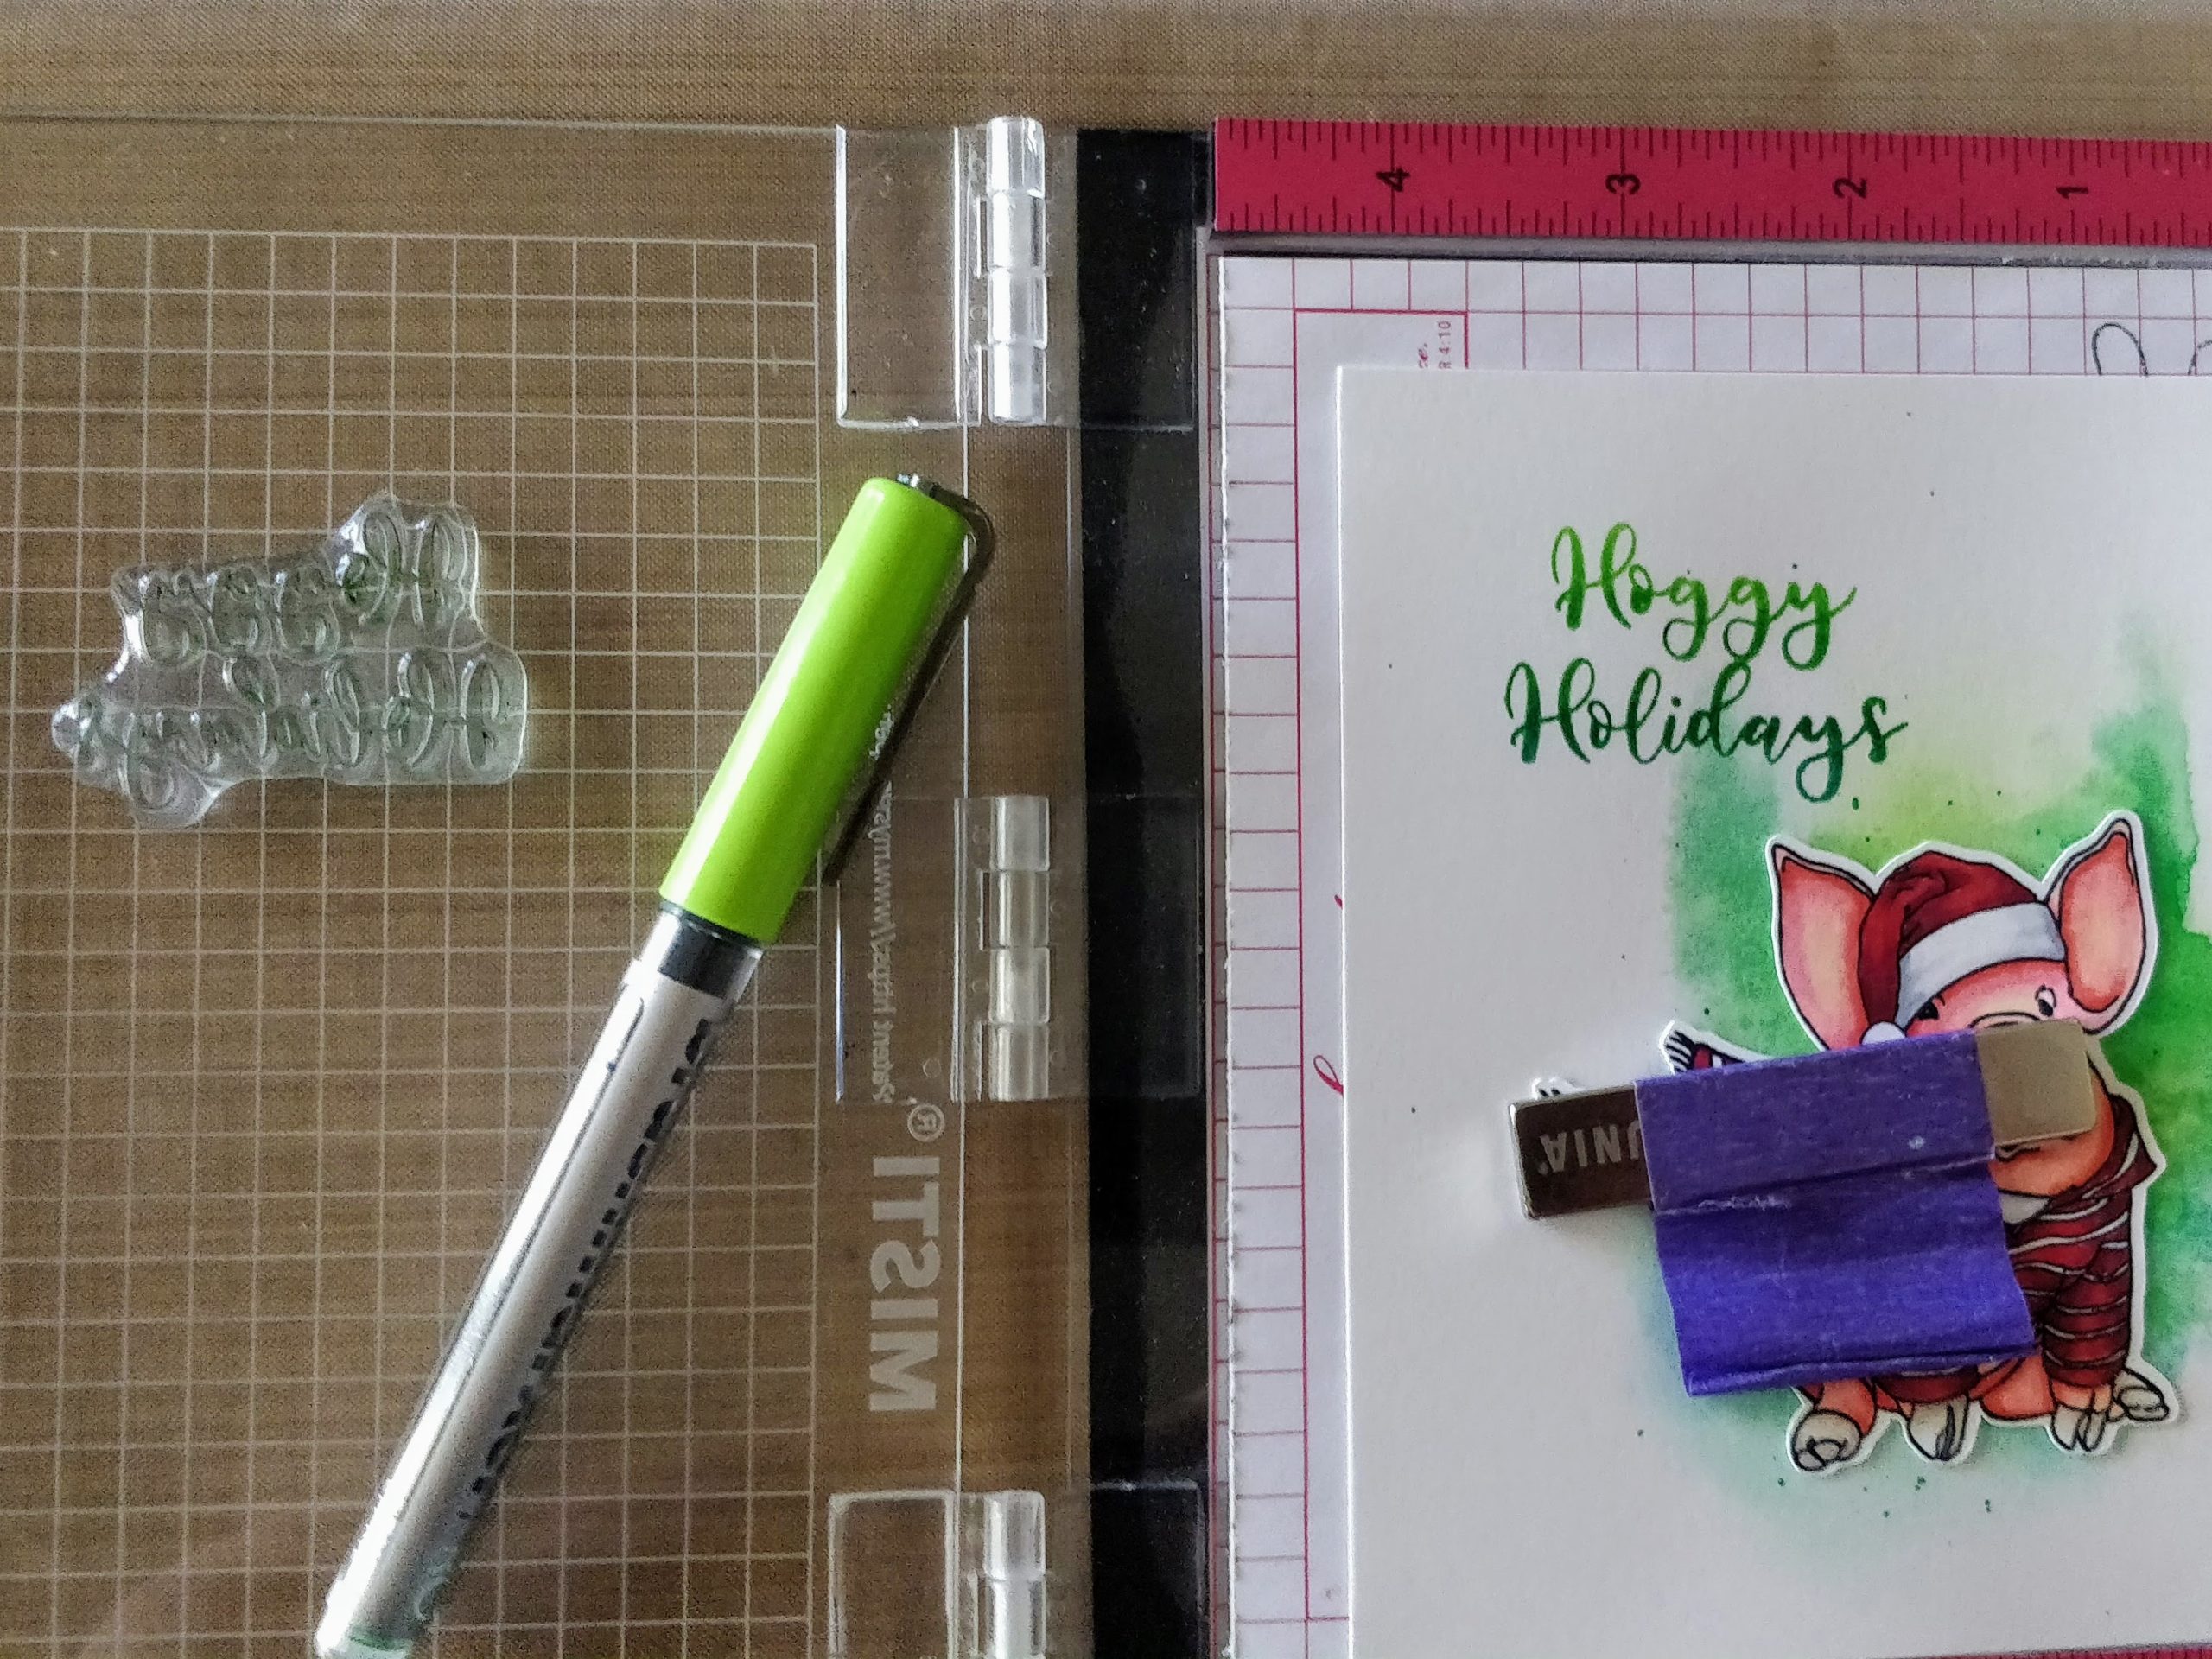
Once the panel was dry, I lined it up in my Misti, with the pig roughly where I wanted him to live, and decided on sentiment placement. I was trying to create a visual line from the top left to the bottom right. Inking up the sentiment with the same green markers, I stamped it onto the panel. (You can color directly on your stamps with water based markers.)

Stamping with Karin Markers Stamping with Karin Markers

Assembling the card was really fast. I trimmed the panel to 3¾" x 5" and mounted it to a green card base. To add a little sparkle, I brushed shimmer pen onto the white parts of the pig's hat and the ink smooshing. Then, I mounted the pig to the card with a Mini Action Wobble. This creates a fun, interactive element, and makes the card extra special. For a little more sparkle, I glued on a few sequins. Here is the finished card in action...


I love the way this one turned out. The design lends itself to mass production, and virtually any stamp set can be used. I think this card would be fun to recreate with kids too. Let them color the die cut images and ink smoosh until their hands are nice and stained. And what kid wouldn't love to play with the Action Wobblers (even us big kids), right?

Thanks for stopping by today. You can find the sister article to this post on my blog. Hop on over for more fun and links to the specific products I used! If you'd like to see another card I made with the Hoggy Holidays set, click here. I'll be back soon with another fun card to share.

hoggy holidays The Rabbit Hole Designs Action Wobble hoggy holidays The Rabbit Hole Designs Action Wobble


Stencil Shift for Quick Cards


Hey crafty friend, it's Amanda from Pear Blossom Press again, and I've got a fun stencil shift technique to share today. I learned this from my friend Lynnea; she always has the best ideas! And the coolest part, is that it's quick and easy. 

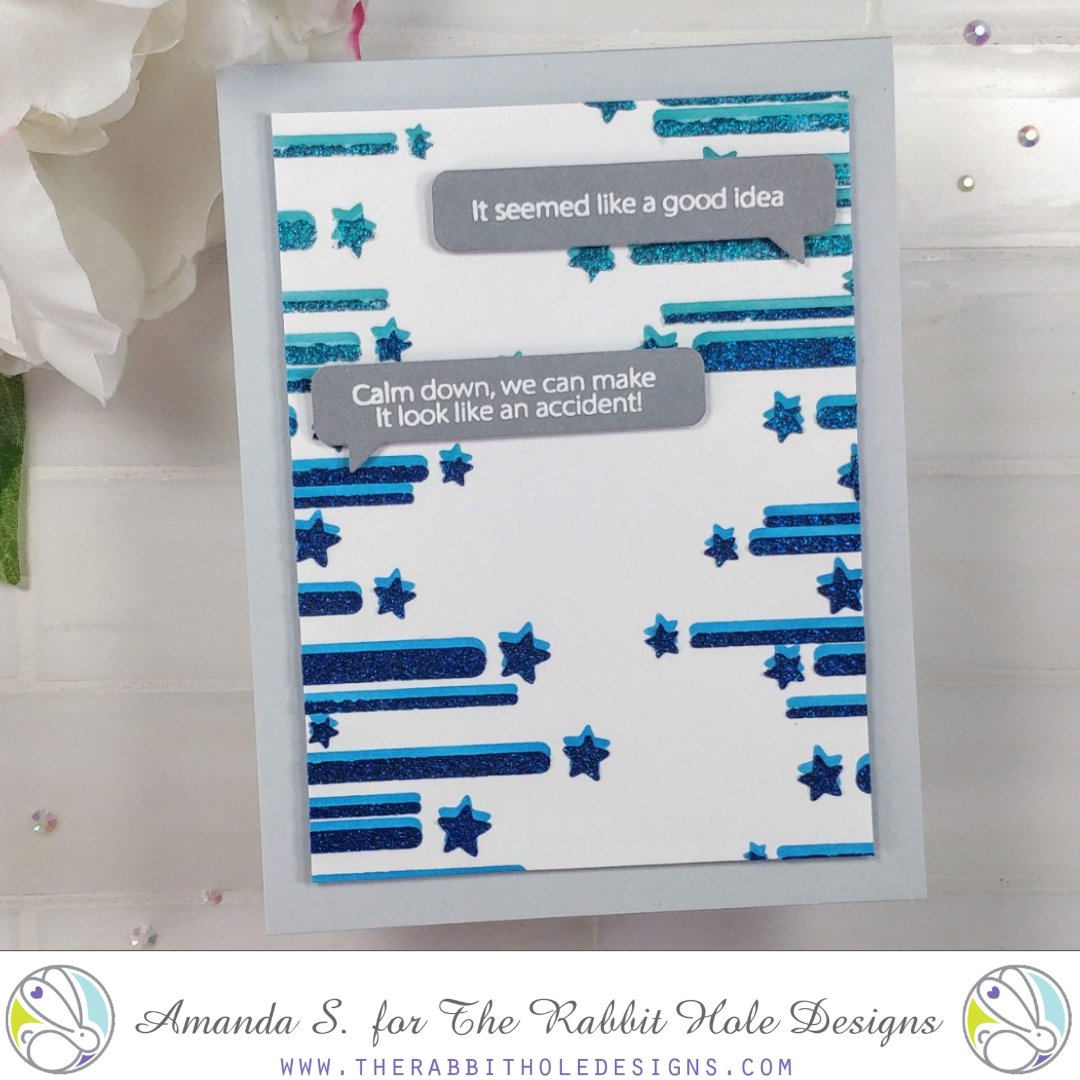
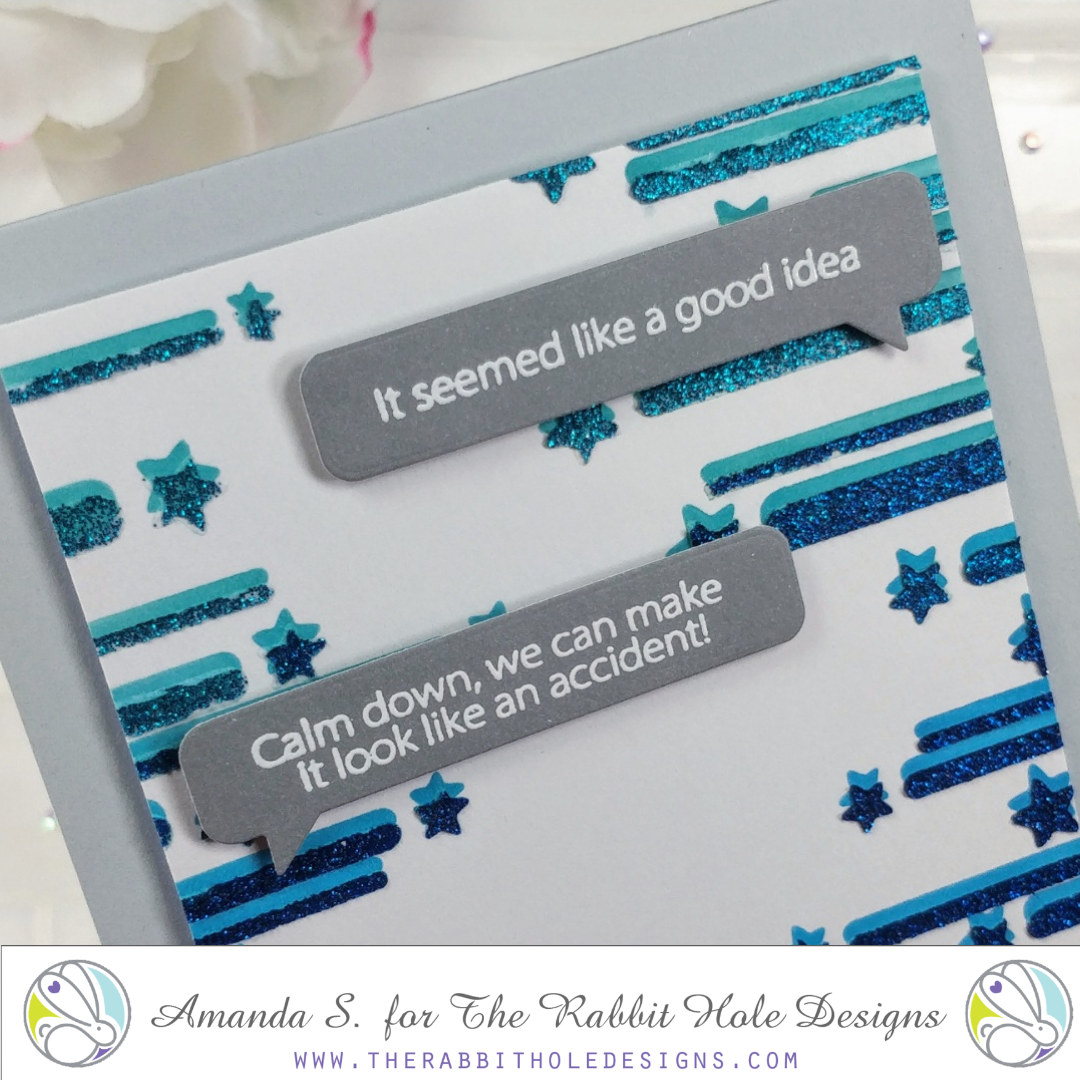
For this technique, pick your favorite stencil and blend ink through it. I used the Ribbon Star stencil, but anything with bold stripes will work really well for this. Next, shift your stencil over slightly and apply glitter gel or metallic paste through the stencil. That's it! Your ink blended layer creates a drop shadow effect for the gel. 

You can clean your stencil while your panel dries, then turn it into a card. For this one, I embossed a pair of Sassy Sentiments and cut them out with speech bubble dies. Then I popped them up onto my trimmed panel, and popped that up onto a card base. Easy peasy, lemon squeezy. 


Thanks for stopping by today. I hope you'll give this technique a try and let me know what you think. Tag me if you do; I'd love to see! If you'd like to see another fun project featuring the Ribbon Star stencil, check this out. You can find the sister article to this on my blog. Head on over for more inspiration. I'll be back soon with another fun card to share. 

For more information, news and updates check out these links:

One Set Wonder - Christmas Frost


Hey crafty friend, it's Amanda from Pear Blossom Press again! It's getting to be the time of year where we have to stretch our crafty pennies, so we can afford all of the gifts and goodies we want to share for the holidays. I thought it would be nice to show you an idea for a Christmas card that is not only quick and easy to recreate, but only uses one stamp set! Just because it's quick and easy doesn't mean that it has to be boring though, right? There's an Action Wobbler under the image, so this card is fun to play with too! See...


For this card, I stamped, embossed, and Copic colored the couple from Love You More - Christmas Frost. I used my ScanNCut to cut the image out, but there are coordinating dies available if you prefer. My background was ink blended directly onto a white card base. I just taped off strips and used makeup brushes to blend on several shades of distress oxide inks. Once the background was dry, I stamped and embossed the sentiment on the left side and popped the image up with a Mini Action Wobbler. To finish the card, I glued sequins on, and added Aqua Shimmer highlights, plus a coat of Diamond Glaze, to his glasses and the star. After the Diamond Glaze was dry, I added white reflections to the glasses, star, and top of the tree. Easy peasy, and fast!

If you have children that like to craft with you, it would be sweet to let the kids color the images while you ink blend the backgrounds. That way the whole family gets to help! I don't know about you, but I cherish the cards I've received that were obviously made by children. Don't forget to have them sign the backs too!

Thanks for stopping by today. I hope I've inspired you to create a few one-set-wonder cards yourself! If you'd like to see more inspiration using this stamp set, you might like this article, or this one. You can also find the sister article to this post on my blog today, with links to the specific products I used. I'll be back soon with another fun card to share.

Sassy Peonies


Hey crafty friends, It's Amanda from Pear Blossom Press, back with a quick and easy set of cards today! These feature the Pretty in Peony floral stamps along the bottom in a tone-on-tone finish. The grey and black color scheme is modern and elegant, so the hilarious sayings from the Sassy Sentiments are really unexpected. Who would think that cards this pretty would make you laugh out loud? I really love how these turned out and I was done with all five cards, and coordinating envelopes, in less than an hour. (Which is record time for me!)

I thought it would be pretty to emboss the Pretty in Peony images in silver along the bottom of the grey A2 card bases. I lined the flowers up in my Misti, stamped them with Versamark ink, then embossed them with silver embossing powder. After the second one, I realized that I actually liked the Versamark ink alone, better than the silver embossing on this paper. (Versamark is also sometimes referred to as watermark ink, because it deepens up the color of the paper that it's stamped onto, and almost looks like you got the paper wet. The image stays darker even after the ink is dry, giving you a tone-on-tone result.)


I stamped five card bases with the flowers, using just the Versamark ink. Then, I cut masks for the three flowers, placed them on the cards, and stamped the leaves on top. This process was really quick with the Misti and I transferred the masks from one card to the next, so I only had to cut one set. The hardest part was being careful not to accidentally transfer any Versamark ink from your fingers to the cards. (A sand eraser will help you fix any smudges; ask me how I know...) For a little more pizzazz, I splattered on some iridescent white watercolor. Then, I stamped one flower and leaf cluster onto five coordinating envelopes. Don't go crazy with the envelope; you just want to hint at what's inside, not give the whole card away.

While the card bases were drying, I laid five of the Sassy Sentiments onto black cardstock, leaving enough room around them for the banner die I would later cut them out with. I picked the sentiments up with the Misti, prepped the cardstock with a powder tool, then inked all of the sentiments with Versamark and stamped them at the same time. I sprinkled on silver embossing powder, tapped off the excess, and melted it with a heat gun. This time around, I liked the silver embossing. I cut them out with a fishtail banner. (To get the banners to the correct size, I first lined the die up with three sides where I wanted and cut. Then moved the banner over so the fourth side was lined up and cut again.) I added strips of foam tape behind the sentiments and popped them onto the dry card bases. As a final finishing touch, I glued on some black flat-backed gems.


Easy peasy, right? Seriously, I was done in less than an hour, and that includes the time I spent changing my mind with the silver embossing. (Side note, now I have a pair of silver embossed card bases to play with later.) These cards are great stash builders, or would make a lovely gift. I might have to make a few more sets like this and tuck them away for Christmas gifts... What tricks do you have for quick and easy cards? Let me know down below.

Thanks for stopping by today; I hope I've inspired you to whip up a batch of quick and easy cards! I'll be back soon with another fun project, but in the meantime you can find the sister article to this post on my blog. If you'd like to see more cards made using these stamps, check out this article.