My second favorite project here at TRHD is this bookmark!
My Favorite Bookmark
Inspire, Imagine, Dream
We are bringing back our favorite projects this month here at TRHD!
Good day everyone, Leah here with another fun project for The Rabbit Hole Designs, using the Succulent Life Stamp Set.
I have created this hexagon-shaped shadow box using the images and sentiments from the Succulent Life clear stamp set. I watercolored them on 140lb watercolor paper and then fussy-cut them out. I added them to some "stems" so that I could layer them over the background paper (which I added some ink to with the Triangle Mosaic Stencil) to add depth to the project. I added some Spanish moss and enamel dots to finish it off.
For more inspiration, updates, and news make sure to check out these places:
Flower Whale Friends
Good day friends! I am here to share a card featuring several products from The Rabbit Hole Designs, but the one that definitely takes center stage in this project is the Flower Whale stamp set.
Bunny Ballet Greeting Card
Hello my crafty friends! Have you had a chance to visit The Rabbit Hole Designs shop lately? There are so many fun new stamps! I am sharing this card with you today using the Bunny Ballet stamp set.
Succulent Life Notebook Cover
Hello everyone, Leah here to share my first ever The Rabbit Hole Designs project with you today! I have used the newly released Succulent Life stamp set to create a notebook cover for my THRD notes :)
I colored the stamped image with my Copic markers and layered it over some washi tape and a scrap of linen. For the background, I used the Triangle Mosaic Stencil with some inks over some patterned paper to give it some depth and interest. I also stamped 3 of the sentiments from the stamp set. The background patterned paper had some text on it, so the 3 sentiments I also stamped fit right in but are bold enough to stand out. Perfect!
For more inspiration, updates, and news make sure to check out these places:
Golden Spring Floral Kitty
From OWL Of Us Card
There are so many things to love about this new release, especially these adorable owls! I hope this card sparked some ideas and inspiration for your next project!
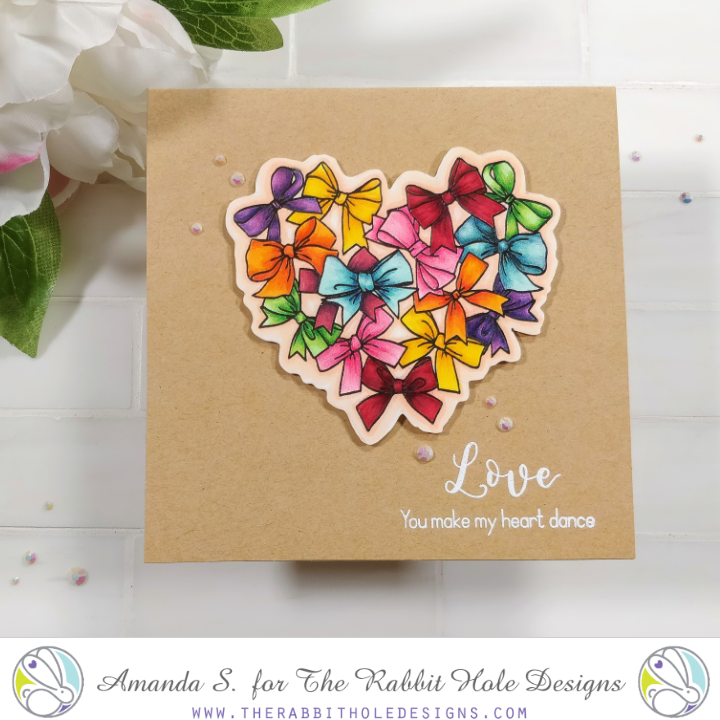
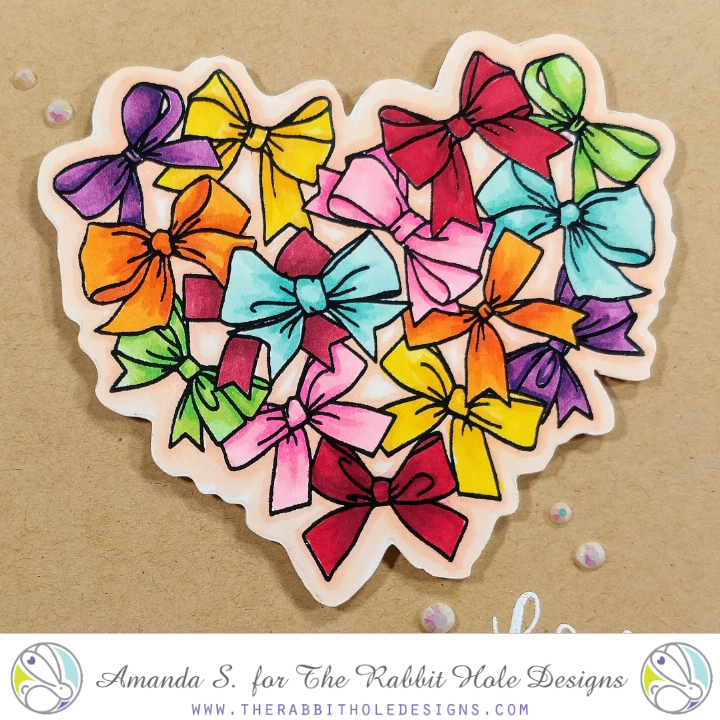
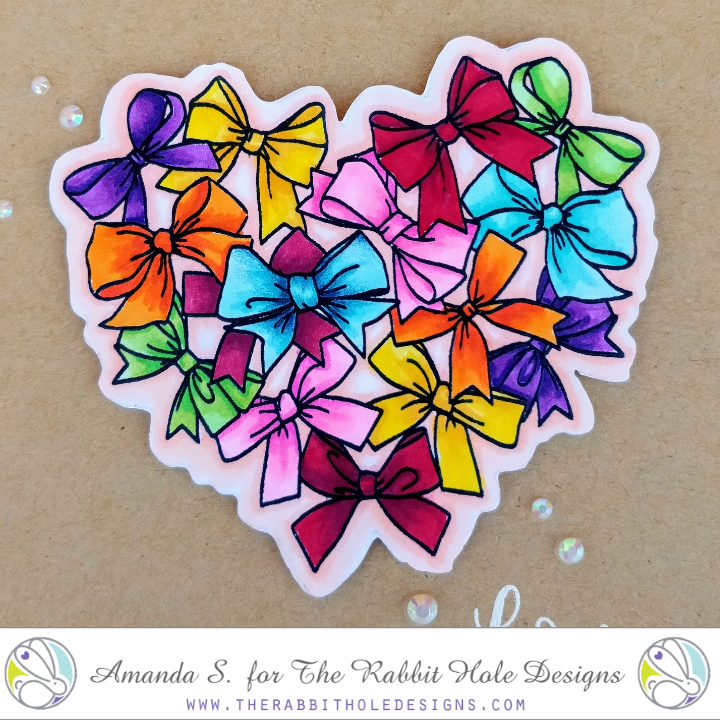
Dance your heart out!
Stepping It Up With Colored Pencils

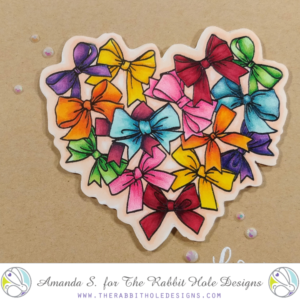
Hey crafty friends, it's Amanda from Pear Blossom Press again. Have you played with the new Put a Bow on It stamp set from The Rabbit Hole Designs yet? It is so pretty and offers a ton of coloring possibilities. After seeing Kathy Racoosin's take on it, I almost didn't want to post my first card with it.


Put a Bow on it...for Christmas!
Ruff Life
I think this card says it all! Life is rough before coffee, no matter what day of week it is! The boxer and the sentiment get Oscar for sure, but that paper get's best supporting actor. LOL
I made this card by:
- Stamping my image on Copic friendly paper and coloring it with my Copics. I used my 0 blender to make the edges of the robe look fluffy like terry cloth.
- You'll notice that next, I used my gold gel pen to make his boxer shorts a bit sassy.
- After it was dry (not to smudge the gel pen), I fussy cut it out and put it aside.
- Next, I pulled out this DP from Echo Park and I die cut it using my Wonky Stitches die.
- I brushed the edges with a blue distress ink and then I adhered it to my base.
- Next, I cut the red CS and my white smaller. I stamped the sentiment on my white and adhered that to the red, which I adhered to my DP.
- Lastly, I added my pooch into the scene with some foam tape.
So, do you love the latest release and all the caffeinated critters? What is your fave stamp/set? I am not sure I can chose.
Don't forget you can now get these stamps in the shop and at Simon Says Stamps as well.
Thanks for visiting and head on over to my blog for a list of supplies. Have a fantastic day! ~Katie
Curiosity with Katie
So as we sprint into fall (it sure does feel that way to me), I have another fun Halloween card using the September release.
- I started by stamping my image from the Hex Yeah set and colored it with my Copics. I fussy cut it out and set it aside.
- Next I went about creating the layers. I knew I wanted to use this die and make the color pop through the black, but I had to be careful about placement so that it didn't take away from her lovely orange dress.
- Once I had my layers and colored CS picked, I cut them to the size I wanted.
- I mounted my girl on top and set it aside.
- Next, I cut a black base. On the base I stamped this sentiment from my stash with versamark ink and embossed with Metalline Flame embossing Powder from Wow. I chose this color because it complimented the scene so well.
- I came back in and mounted my layers and dress on the card.
- Lastly, I added these sparkly enamel dots from Freckled Fawn.
Well, I hope you like this card! I truly enjoyed making it. You can head to my blog here for a full list of supplies.
Feline Fine- with Katie
Last week I had one for the dog lovers and today I have one for the cat lovers... with a teensy bit (literally) of dog too. Hopefully this one makes someone feel a teensy bit better if they are under the weather.
- Started by stamping my cats and pups from Cattitude and Doggone on Copic Friendly paper.
- I die cut them out using my ScanNCut and colored them with my copics.
- For the dog, I paper pieced a bit of plaid paper for his scarf.
- Next I die cut the blueprint die using a light shade of brown paper. Then I mounted it on Kraft.
- I decided where I wanted to place each of my critters and then set them aside.
- I stamped the paws and the different bits of sentiment in the different grids based on where I wanted the pets.
- Lastly, I came back in and added my pets using foam tape.
Cattitude by Martha Lucia
Today I have a fun project to share, a Cattitude Card that I made, using the recently released Cattitude Stamp Set.
Create this was very simple:
- Create the card base using Basic Black cardstock.
- Cut a second layer with Pacific Point cardstock.
- Create the third layer of the card using a embossing/cut folder. I am using the Moroccan View Cut and Emboss Folder from Spellbinders.
- Paste the embossed layer over the card base using double sided foam tape.
- Stamp the images from the Cattitude Stamp Set onto whisper white card stock. I used Memento Tuxedo Black Ink to stamp the images.
- Color your cats with your favorite medium. I used Spectrum Noir Alcohol Markers to colored mine.
- Fussy cut the images with scissors.
- Arrange the images over the decorated card base and paste them with double sided foam tape
Kitty Dreams with Katie
- I stamped this kitty from the Cattitude set and the bird from the Love You More set on Copic friendly paper. I colored them both and fussy cut them out and set them aside.
- I cut a piece of light blue paper to 3.75 X 3.75. I stamped some clouds from the Love you More set directly on the blue. then I added some white highlights.
- I die cut the flowers and grass scene builders and added them to the blue background.
- Next, I added my kitty and added a bit more grass in front.
- Lastly, I mounted it all on a 4X4 notecard.
Supplies Used:
Cattitude
Love you More
Doggone Shaker Card by Martha Lucia
Create this was very simple:
- Emboss the front of your card base using a embossing folder of your preference.
- Create the pieces to make the shaker design.
- Ink one of the small frames with the color that you prefer. I used Peacock Featers and Broken China Distress Ink and used my Clarity Brushes to apply the ink.
- Cut the stitched heart included on the same set of die cut from the inked layer.
- Cut a piece of clear sheets that cover the window created with the heart die cut and paste it over the window.
- Add some sprinkles under the clear window.
- Paste double sided foam tape around the window and around all the borders of the scalloped frame and cover it with the second white piece.
- Add the shaker piece to the embossed card base.
- Stamp your favorite dog from the Doggnone stamp set. I used one small and colored it Spectrum Noir Alcohol Markers. Paste partially over the clear window. To stamp the image, I used Memento Tuxedo Black Ink.
- Finalize your card adding a stamped sentiment. I stamped one of the sentiments included on the stamp set Doggnone following the shape of one of the die cut tags included on the Favor Bag Die Creative Cut with Memento Tuxedo Black Ink.