Pages

Showing posts with label Steeped in Happiness. Show all posts

Take Life One Sip at a Time


Hey yall!  Happy Friday, hope you are healthy and enjoying some family & crafting time.  Tangii here with a supah dupah bright and cheery card.  Recently, our wonderful Niccole sent us some beautiful Alcohol Ink/Yupo sheets.  I used mine for this card.  I loved what she sent me... so much so, I was actually afraid to use it (sure I'd just mess it up, lol).  Plus the sheet was so pretty as it was how do you decide what part(s) to use/cut up??  So I decided to use as much of the sheet as I could.  


I started off by cutting a rectangle panel  from the middle of my Yupo sheet.  Using some Dark Roast cs and a postage stamp die, I made the frame for that cut out panel.  Then I stamped my image from the Steeped in Happiness set with some Embossing ink and added some Dark Roast ep.  I love the rich dark brown, but with a little shimmer.

Next I used the Dotted Flower Stencil and some pink stickles for the steam from the pot.  Finally I stamped my sentiment from the Perfectly Blended set on to a die cut tag. I am so in love with the way this card turned out!!!  I am thinking of making my own Yupo sheet and re-creating this card to be framed for my loft!  Thank you so much Niccole for the base for this card!

All of the items I linked in my post are available at The Rabbit Hole Designs which is still open & shipping!

You can also read about this card on my blog, here with links to the products I used, etc.  Thanks for popping by, come back again soon!

Partial Die Cutting to Create Easel Cards


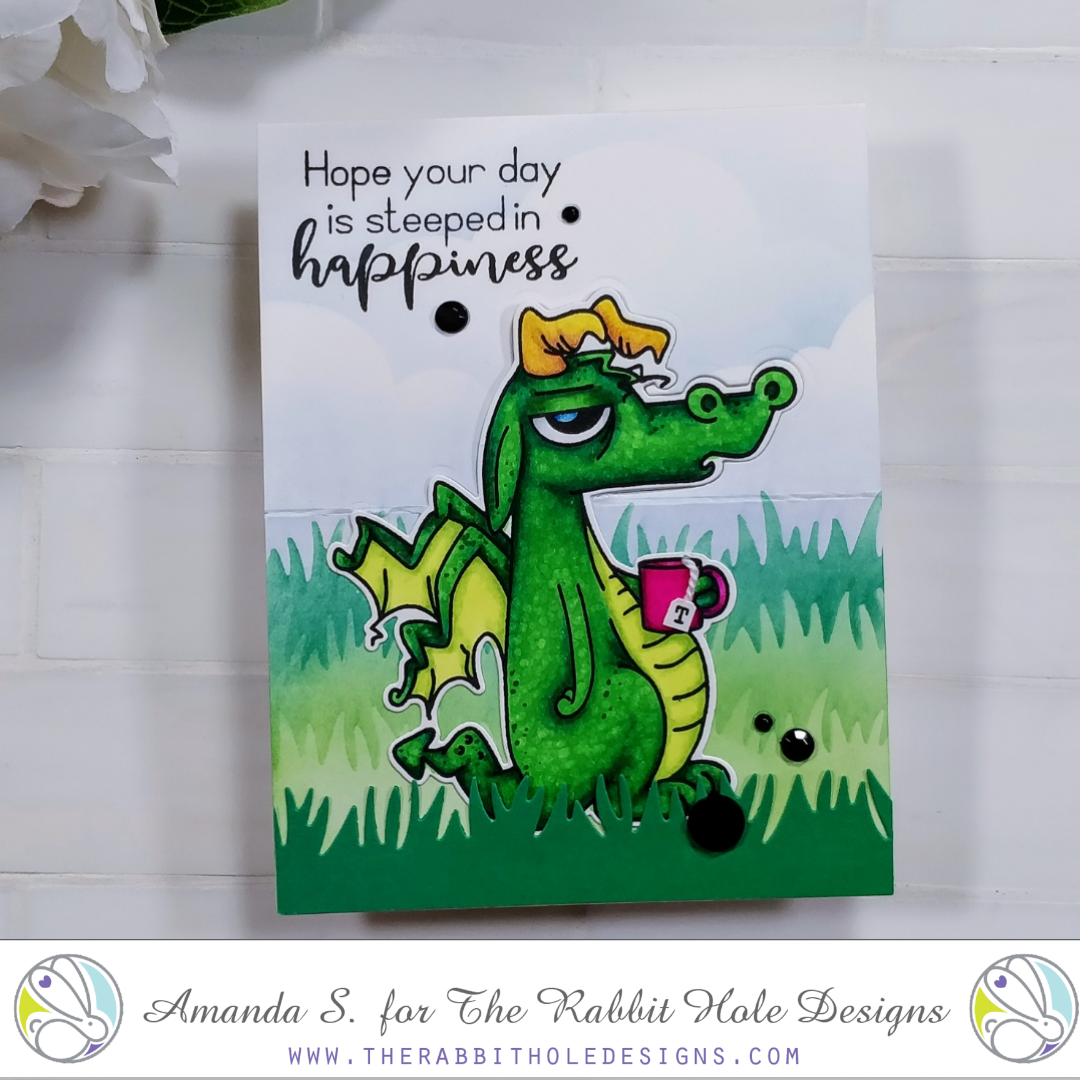
Hey crafty friend, it's Amanda from Pear Blossom Press again. In my last video, I explored several different ways to use your dies. I showed a lot of samples, so I've been breaking the different cards out into separate posts to go into a little more detail on each one. Today's card is the Caffeinated Dragon Easel card.

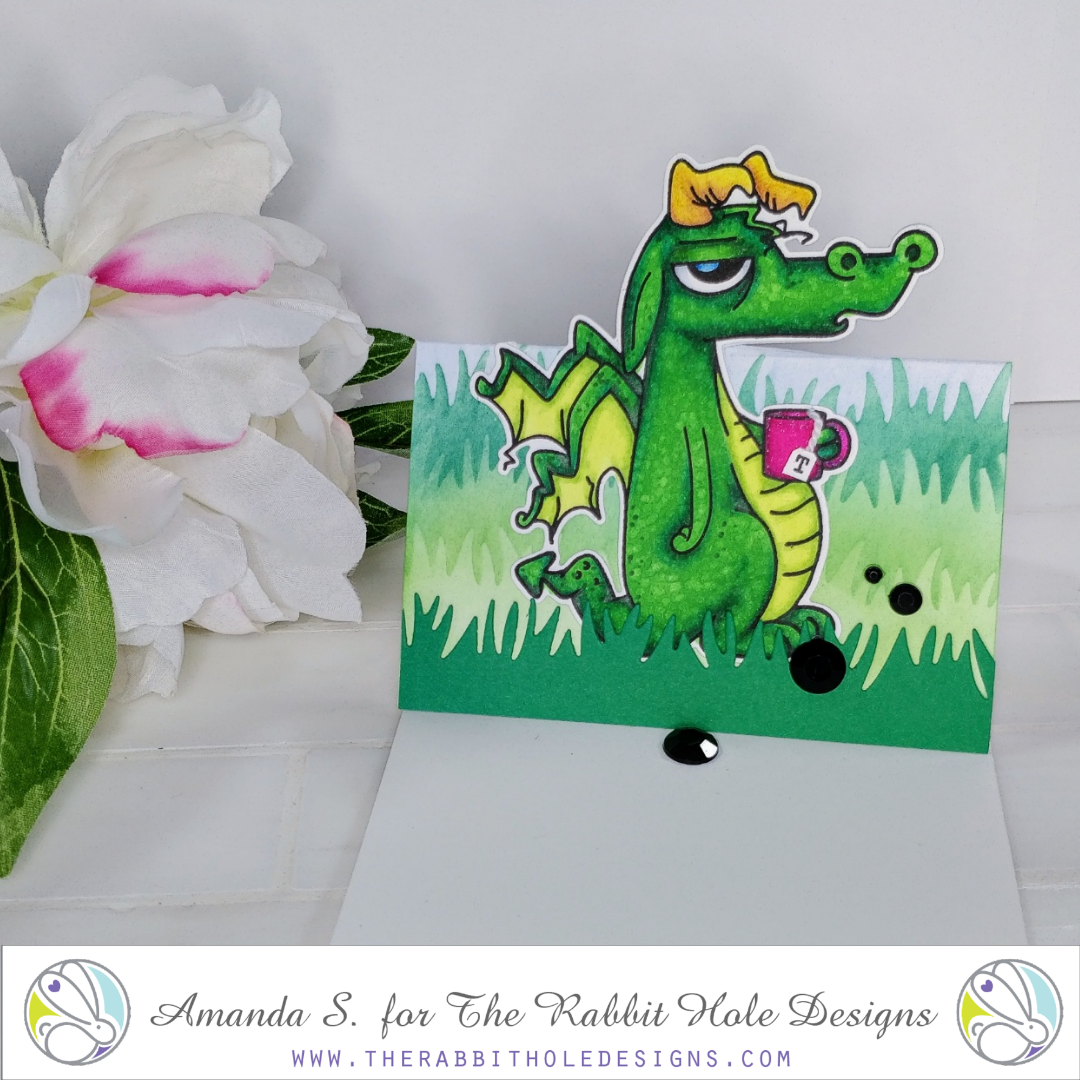
For this technique, you'll want to start with a top folding card base. Stamp and color a scene, then take a coordinating die from your focal image and line it up. You'll position it in your die cutting machine with the top plate only covering the top half of the die. After you run it through, the portion of the die that was under the plate will be cut out, leaving the bottom still connected to the scene.


Next, line the card up in your Scor-Pal and score a line on either side of where your cut stops. You don't want to score the image you partially cut. Now, when you fold the front of your card in half, the top of the image will pop up! You need to add something inside to catch the bottom of the card when it's popped up. You can add a sentiment strip with foam tape, or like I did for this card, a large flat-backed gem.


Check out the video, if you want to see exactly what I mean...


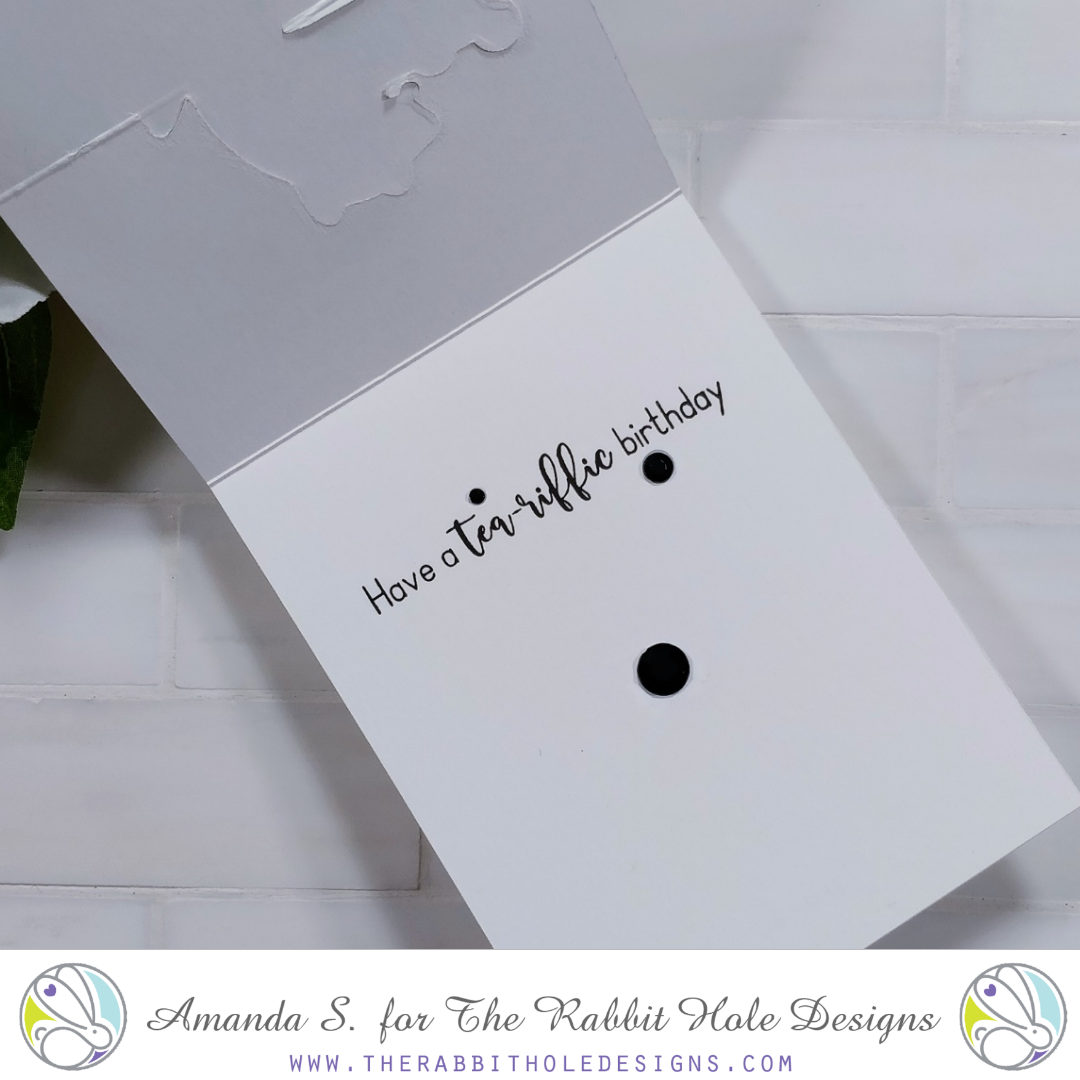
For this card, I just created the background scene on my card base. I stamped and cut out the Caffeinated Dragon separately and layered it on top, lining it up with my partial cut. This was because I wanted to color him with Copic markers and they bleed through. The technique works exactly the same way though. I also added sentiments inside and out from the Steeped in Happiness set

Speaking of the background scene I created, I used a second die cutting trick for that. Since I don't have cloud or grass stencils, I used border dies to create my own. This is a great way to stretch your supplies, and it also gives you both the positive and negative halves to use as masks, if needed. I taped my grass and cloud borders down, but did you know that you can use Pixie Spray on the back of your homemade stencils too? It's much less expensive than masking paper. ðŸ˜‰

Thanks for stopping by today; I hope you'll give these techniques a try and let me know what you think. You can find the sister article to this on my blog, along with product links and more inspiration.

Tomorrow kicks off the new release inspiration hop. If you like to color, you're definitely going to want to come back all week! (Also, the next 30 Day Coloring Challenge starts March 1st, so get ready!)

Follow The Rabbit Hole Designs for more inspiration:


Inspiration Hop for the October Release ~ Day 1


Hello and welcome to Day 1 of the Inspiration Hop. We are so excited for you to join us as we present to you our October release.  Our fabulous Design Team will be sharing their projects over the next 3 days, so be sure to visit their blogs and leave them some crafty love.

 The 7 new stamp sets and coordinating die's (6) are available to purchase right now in the shop.
~
Every order placed will be eligible for a 10% discount. Discount Code TRHD2019 this code will only be accepted until Friday 10-04-2019 12:01 am PST. There are no exclusions on this code it is applicable to your whole order. Please Note: There will not be free shipping available during the time this discount code is in effect. Not applicable to previous orders. May be used more than once. Does not apply to shipping and tax.
~

The stamp set that is being highlighted today is:

Steeped in Happiness


**Giveaway**
To celebrate day 1 inspiration The Rabbit Hole Designs is giving away the stamp set Steeped in Happiness to One lucky winner. Winner will be chosen at random from the comments left on participating blogs, so make sure to visit each stop and leave a comment. Leave comments by 11:59 pm PST 10-03-19 on all participating blogs. Winner will be announced on The Rabbit Hole Designs blog 10-04-2019


Here is the line up for the hop:
Shanna Slater
Niccole Kulig
Amanda Stevens
Amanda Wilcox
Lisa Golzbein

Make sure you come back tomorrow for Day 2 of our Inspiration Hop.


Thank you so much for stopping by today!