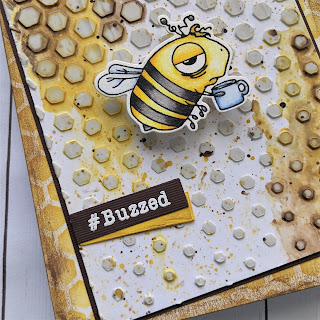
Next, I trimmed down my "drippy honey" panel and bordered it with brown cardstock. Then I adhered it to my card base on an angle.
Mixed Media Buzzed, A Fun Favorite!
Next, I trimmed down my "drippy honey" panel and bordered it with brown cardstock. Then I adhered it to my card base on an angle.
Well Latte-da
Hello friends, Joy here with a mid week caffeinated pick me up! I don't know about you, but by Wednesday I need an extra shot of caffeine, and as soon as I'm done here I'm heading out to my local coffee shop! But, I am sure happy to be sharing this buzzy little card with you today!
 |
I started the project out by blending the Tastes Like Honey stencil onto a vibrant yellow panel with Distress Oxides, Black Soot and Wild Honey with Cotton Tail Blending Brushes. Once happy with the blend I die cut using a stitched rectangle die from my stash. My next step was stamping the Caffeinated Bee three times with Memento ink and coloring them with a 3 marker blend of Copics. I fussy cut the images, but there is a coordinating die available HERE. I decided to add just a bit more texture to my card by adding a honeycomb die cut to the top of the ink blended panel. To finish off my card I heat embossed a sentiment from the Blended Sentiments 2 stamp set. Okay that wraps things up for me! I had so much fun creating this card, and I hope it inspires you to create something special today! You can follow the link HERE to see the entire line from The Rabbit Hole Designs. For more inspiration, news and updates go these places: Bye for now!!! |
Coffee Buzzed
Here are The Rabbit Hole Design products used in this card:
I hope you enjoyed this Coffee Buzzed Bee card featuring the Clouds In My Coffee Stencil along with Caffeinated Bee and Sassy Sentiments stamp sets. I love to hear from you. Let me know what are you looking forward to in the new year? Me, I hope to be traveling and able to visit with friends
Be Creative ~ Stay Inspired
Jenn Gross
Follow me, Journey Coach Jenn, on
Instagram - https://www.instagram.com/journeycoachjenn/
For more inspiration, updates, and news make sure to check out these places
The Rabbit Hole Designs Instagram
The Rabbit Hole Designs Facebook Page
Altered Caffeinated Critters
Hey crafty friends, it's Amanda from Pear Blossom Press. By special request, I made this hysterical slimline card for MaryAnn. We were laughing one day and she said she'd love to see a card with the Caffeinated Bee spraying a can of Raid® bug spray at the Caffeinated Spider. I thought the idea was fantastic and filed it away in my "to make" folder. When the Sassy Birthday 2 sentiment stamps were released, there was one I knew would bring my card together perfectly.
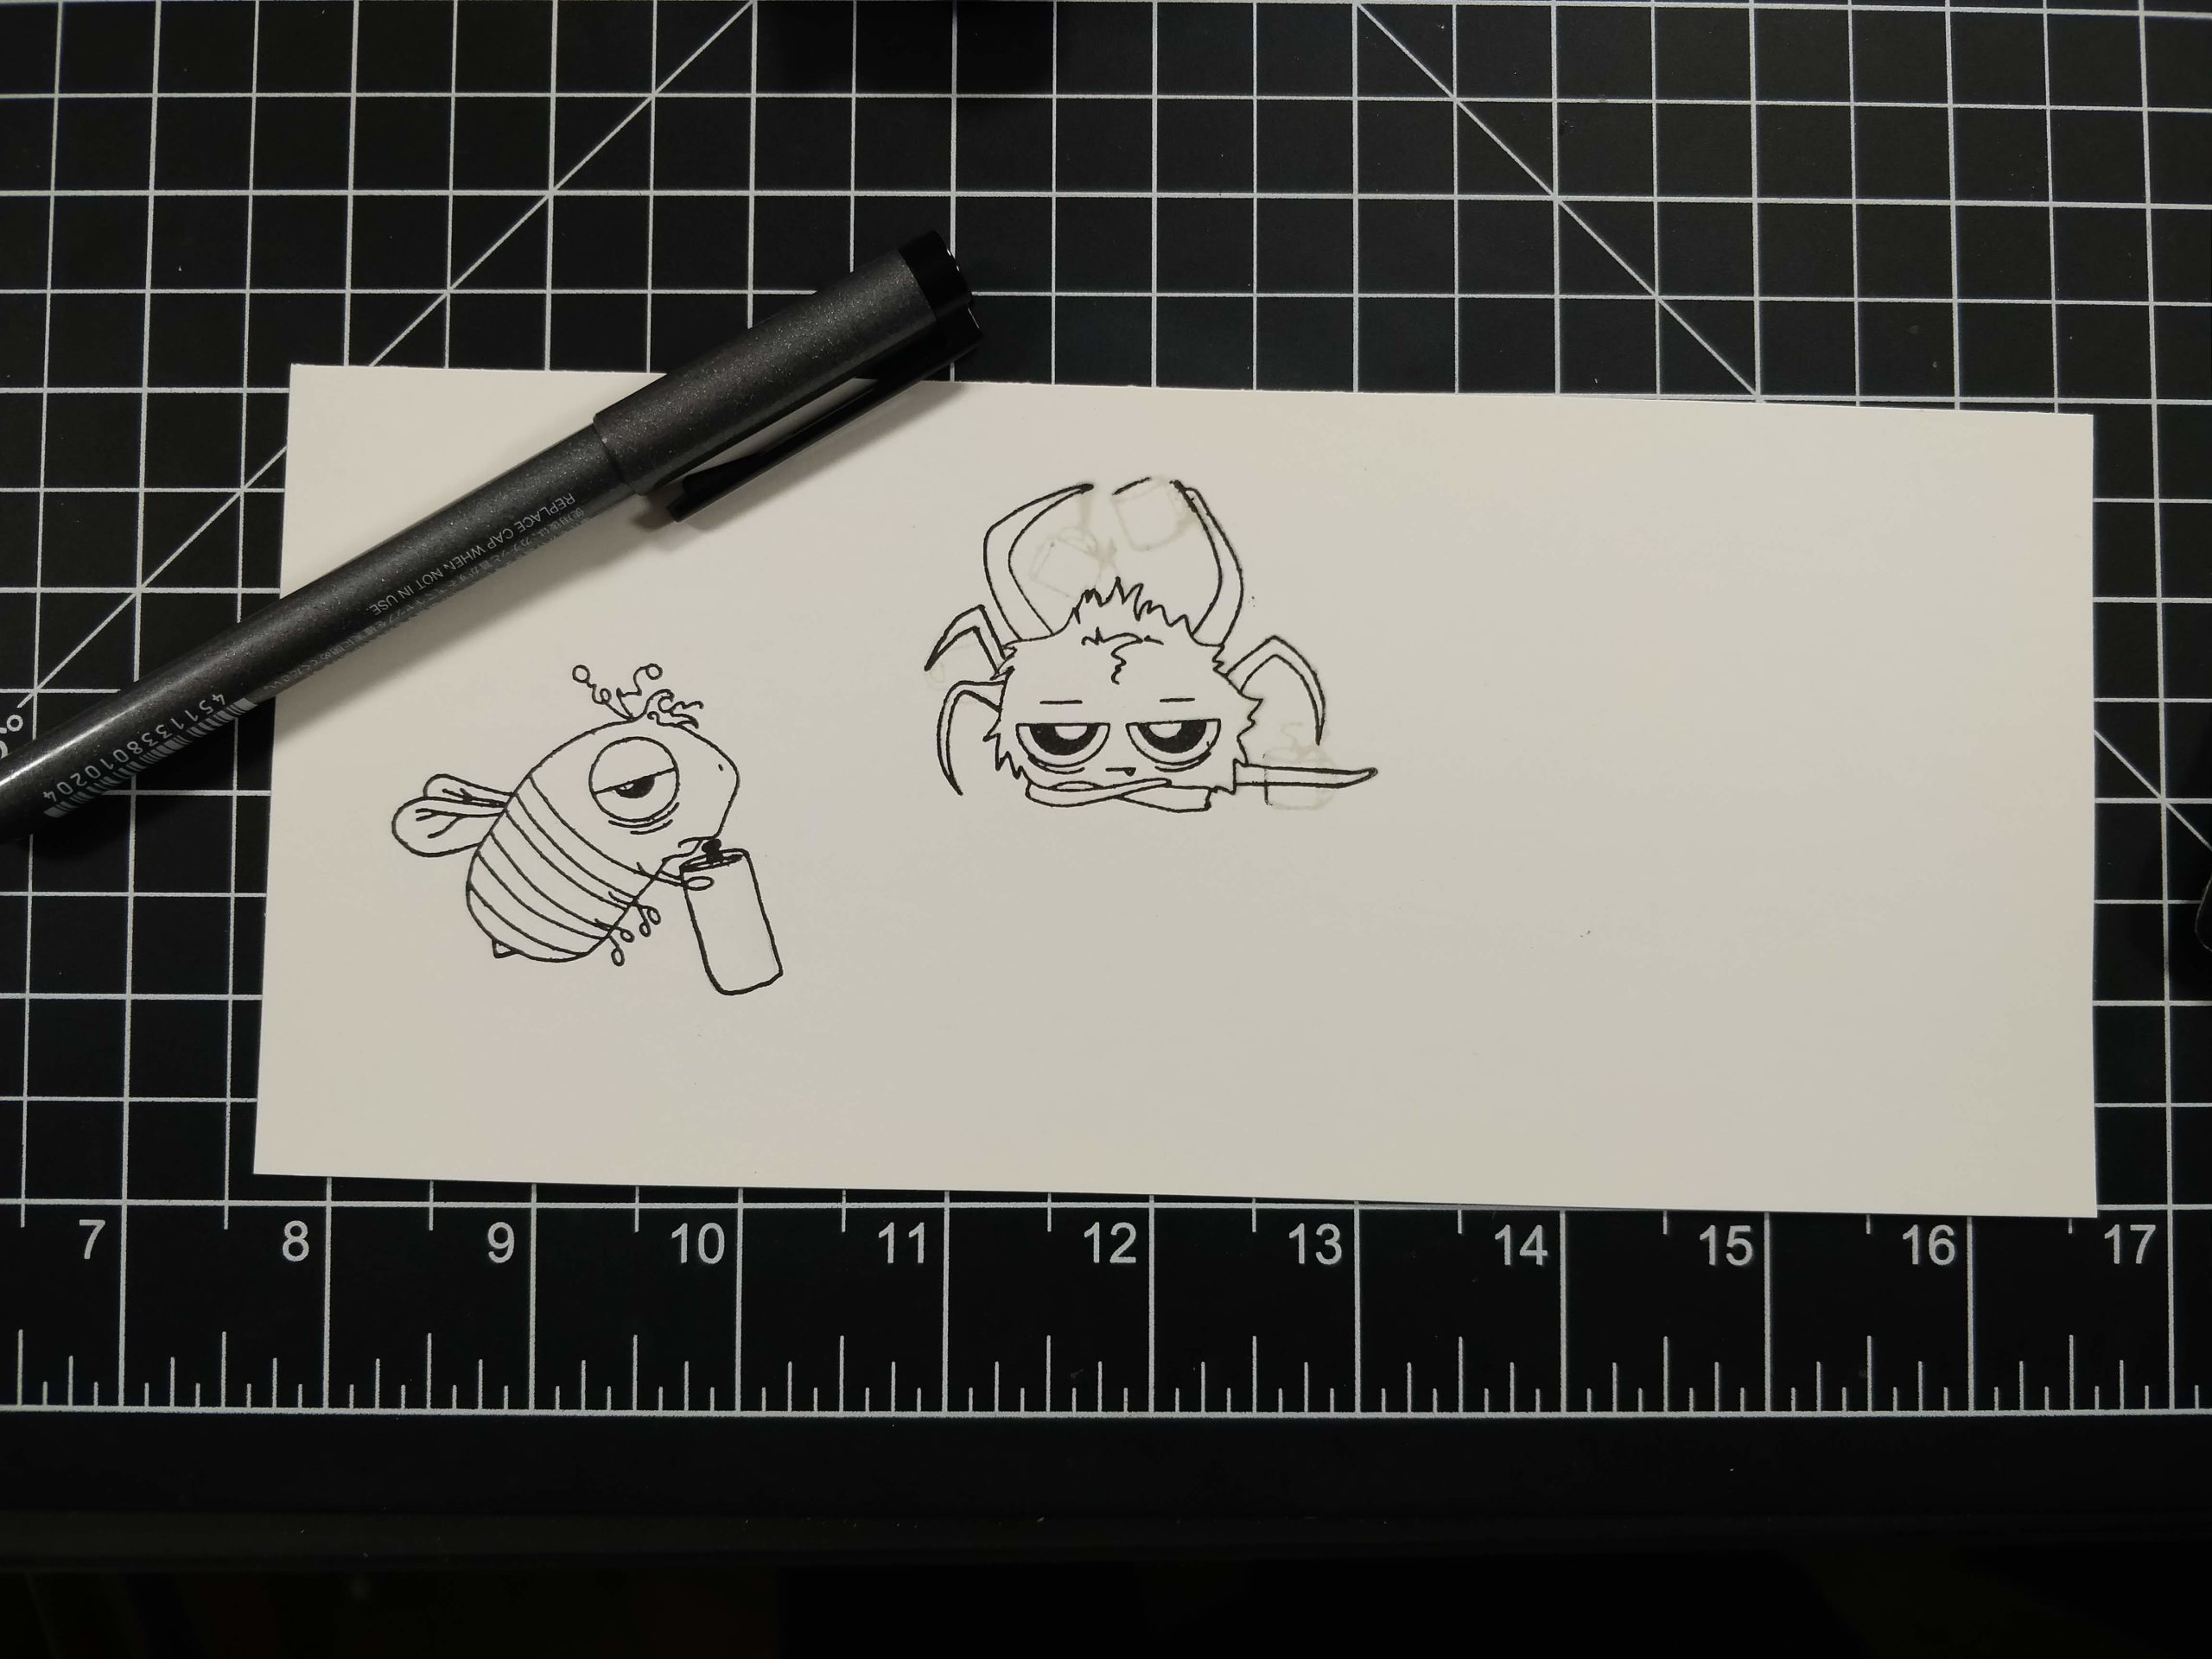
This card was actually very easy to make. I started by lining up the bee and spider in my Misti. I used some masking tape to mask off the coffee cups in the spider's hands and most of the cup in the bee's. I inked up the stamps with black ink, removed the masking tape, and stamped the images onto a slimline panel (4" x 8½"). Because so much of the spider's arms are touching the coffee mugs, I cleaned my stamp and inked the entire spider image again with Fadeout ink. I knew I was going to ink blend a dark sky around the images, so I could "edit out" any of the Fadeout inked areas I didn't want in the final scene. (That's another trick I learned in Kathy Racoosin's coloring classes!) Then, I traced over the rest of the spider's legs with a black Copic liner pen (0.3). I drew the can of bug spray in the bee's hand too.
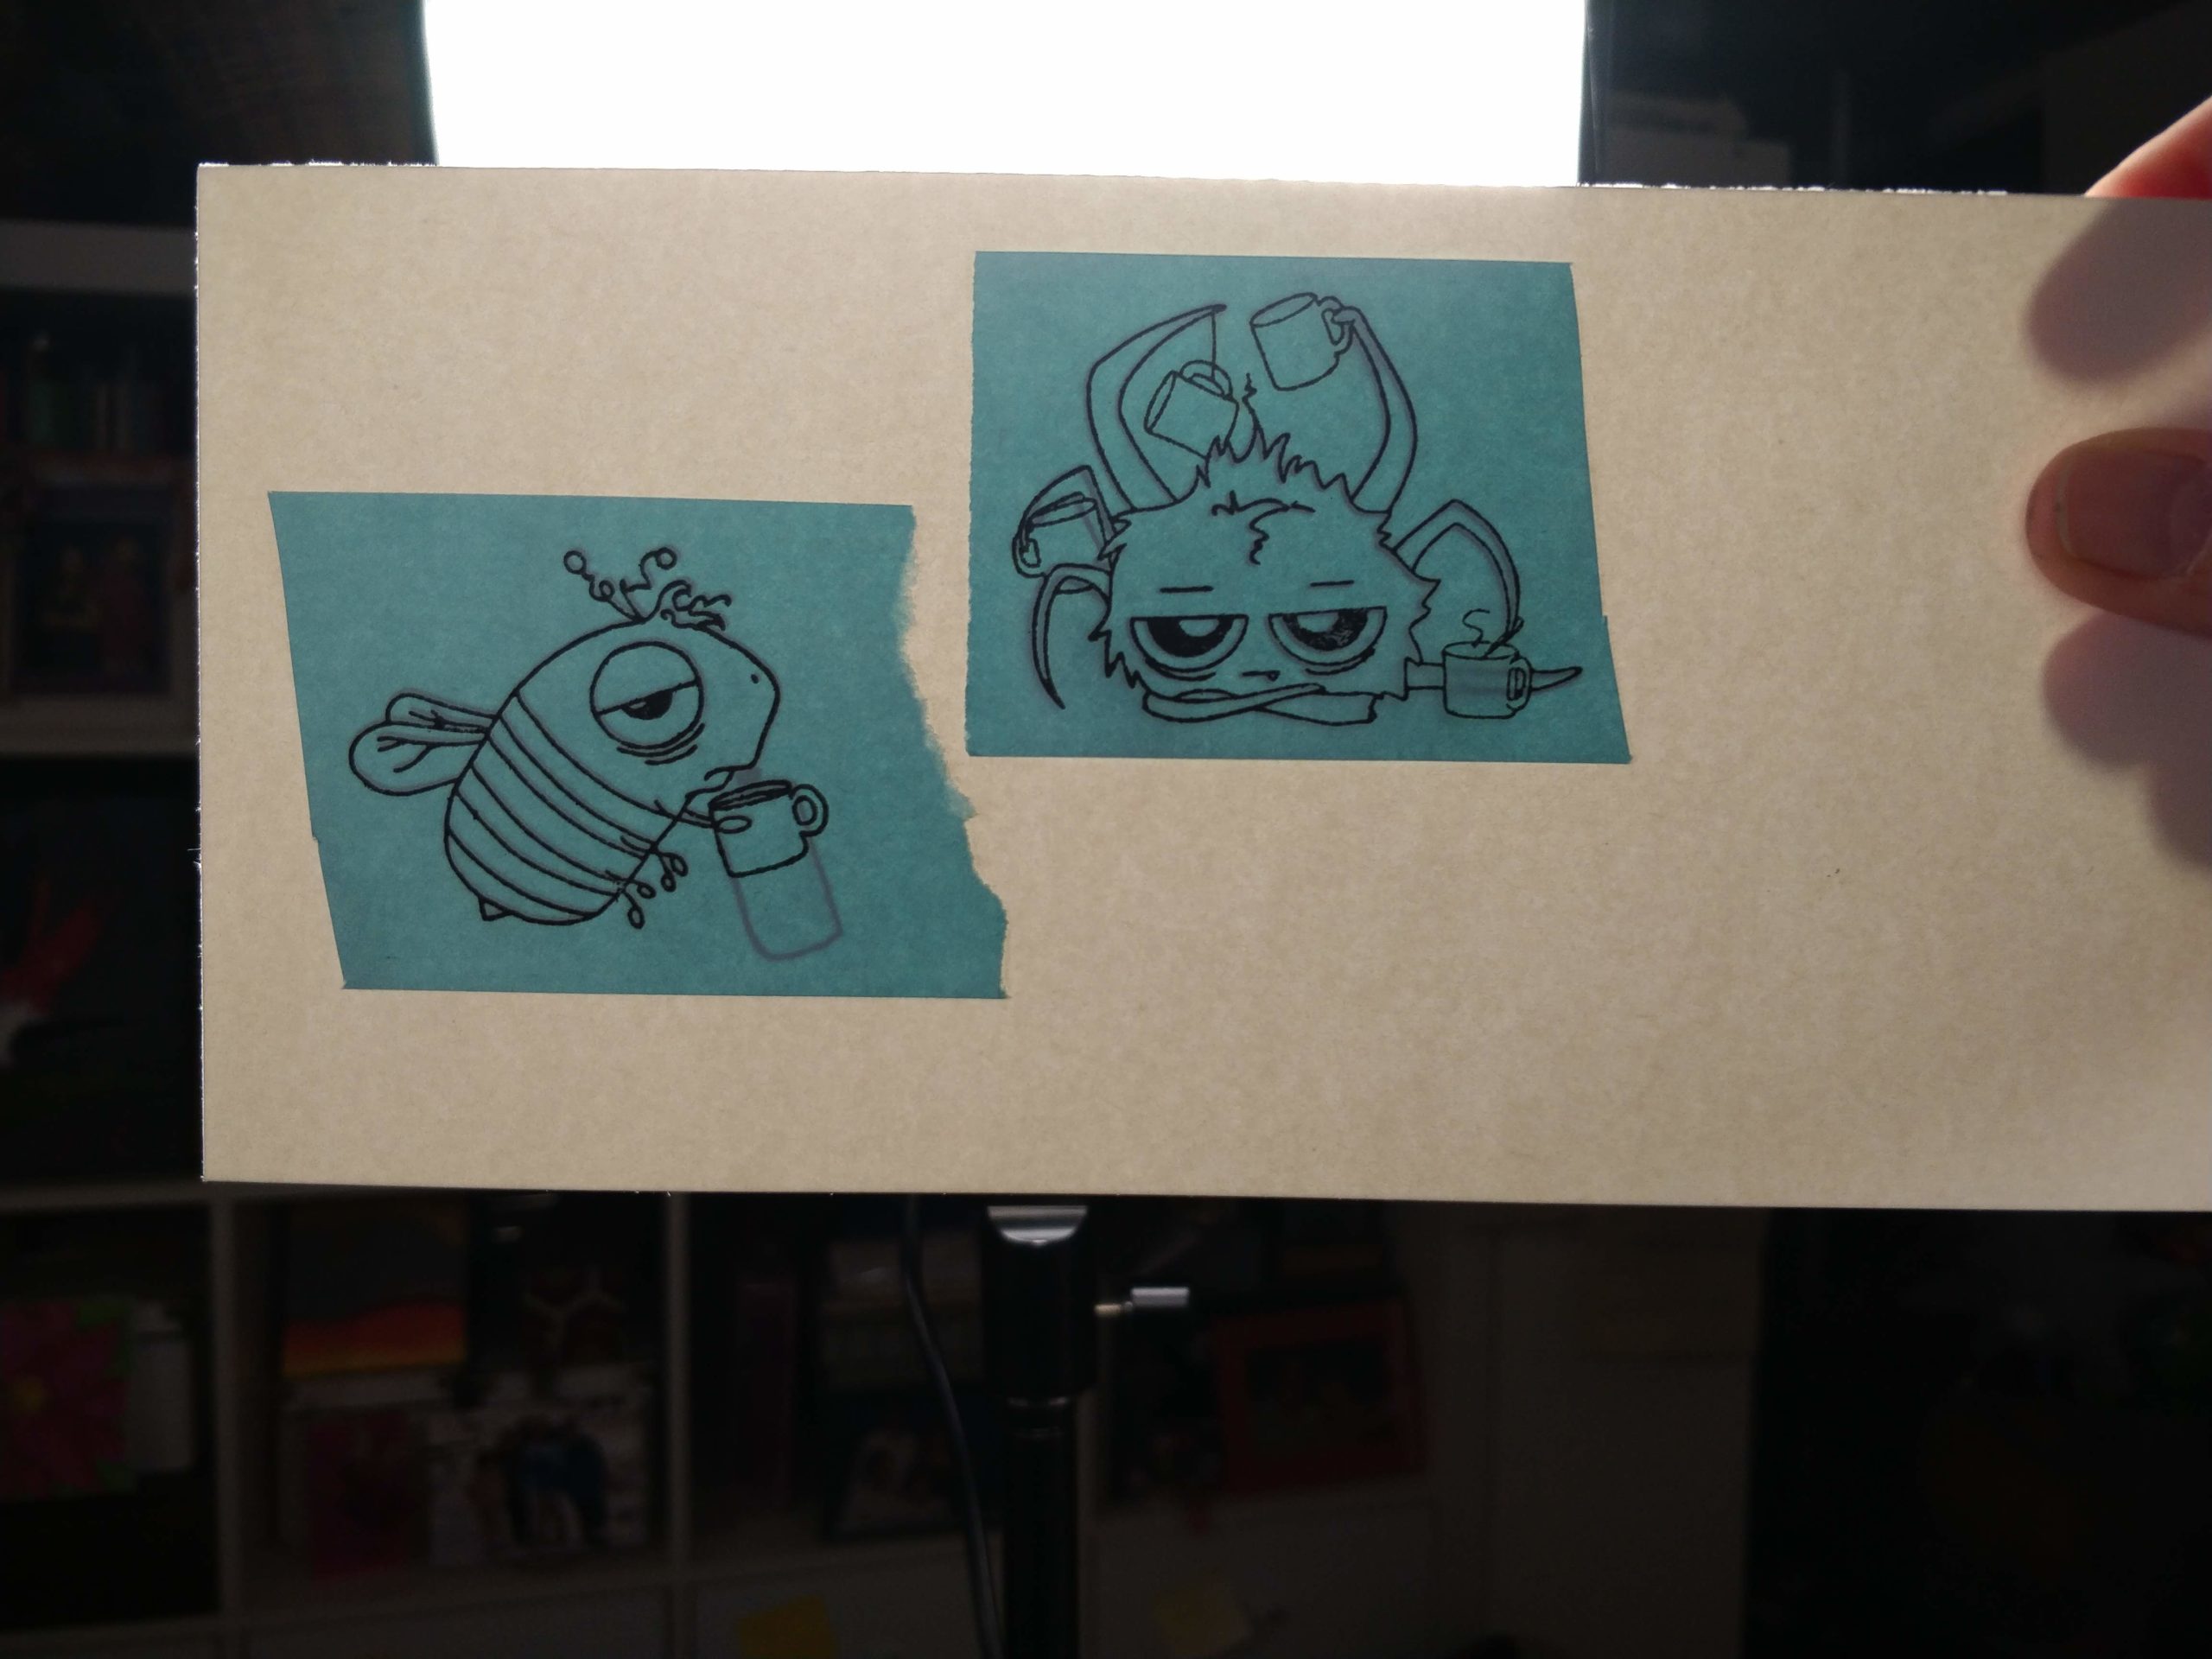
Next, I cut out masks of the bee and spider to prep for ink blending. To get the bug spray can mask to match, I held the panel up to a light, put the post it masks over the images, then traced around the can, before cutting them out. Once the images were cut out, I stuck them back on top of the panel, and cut a triangle mask out to cover the spray area.
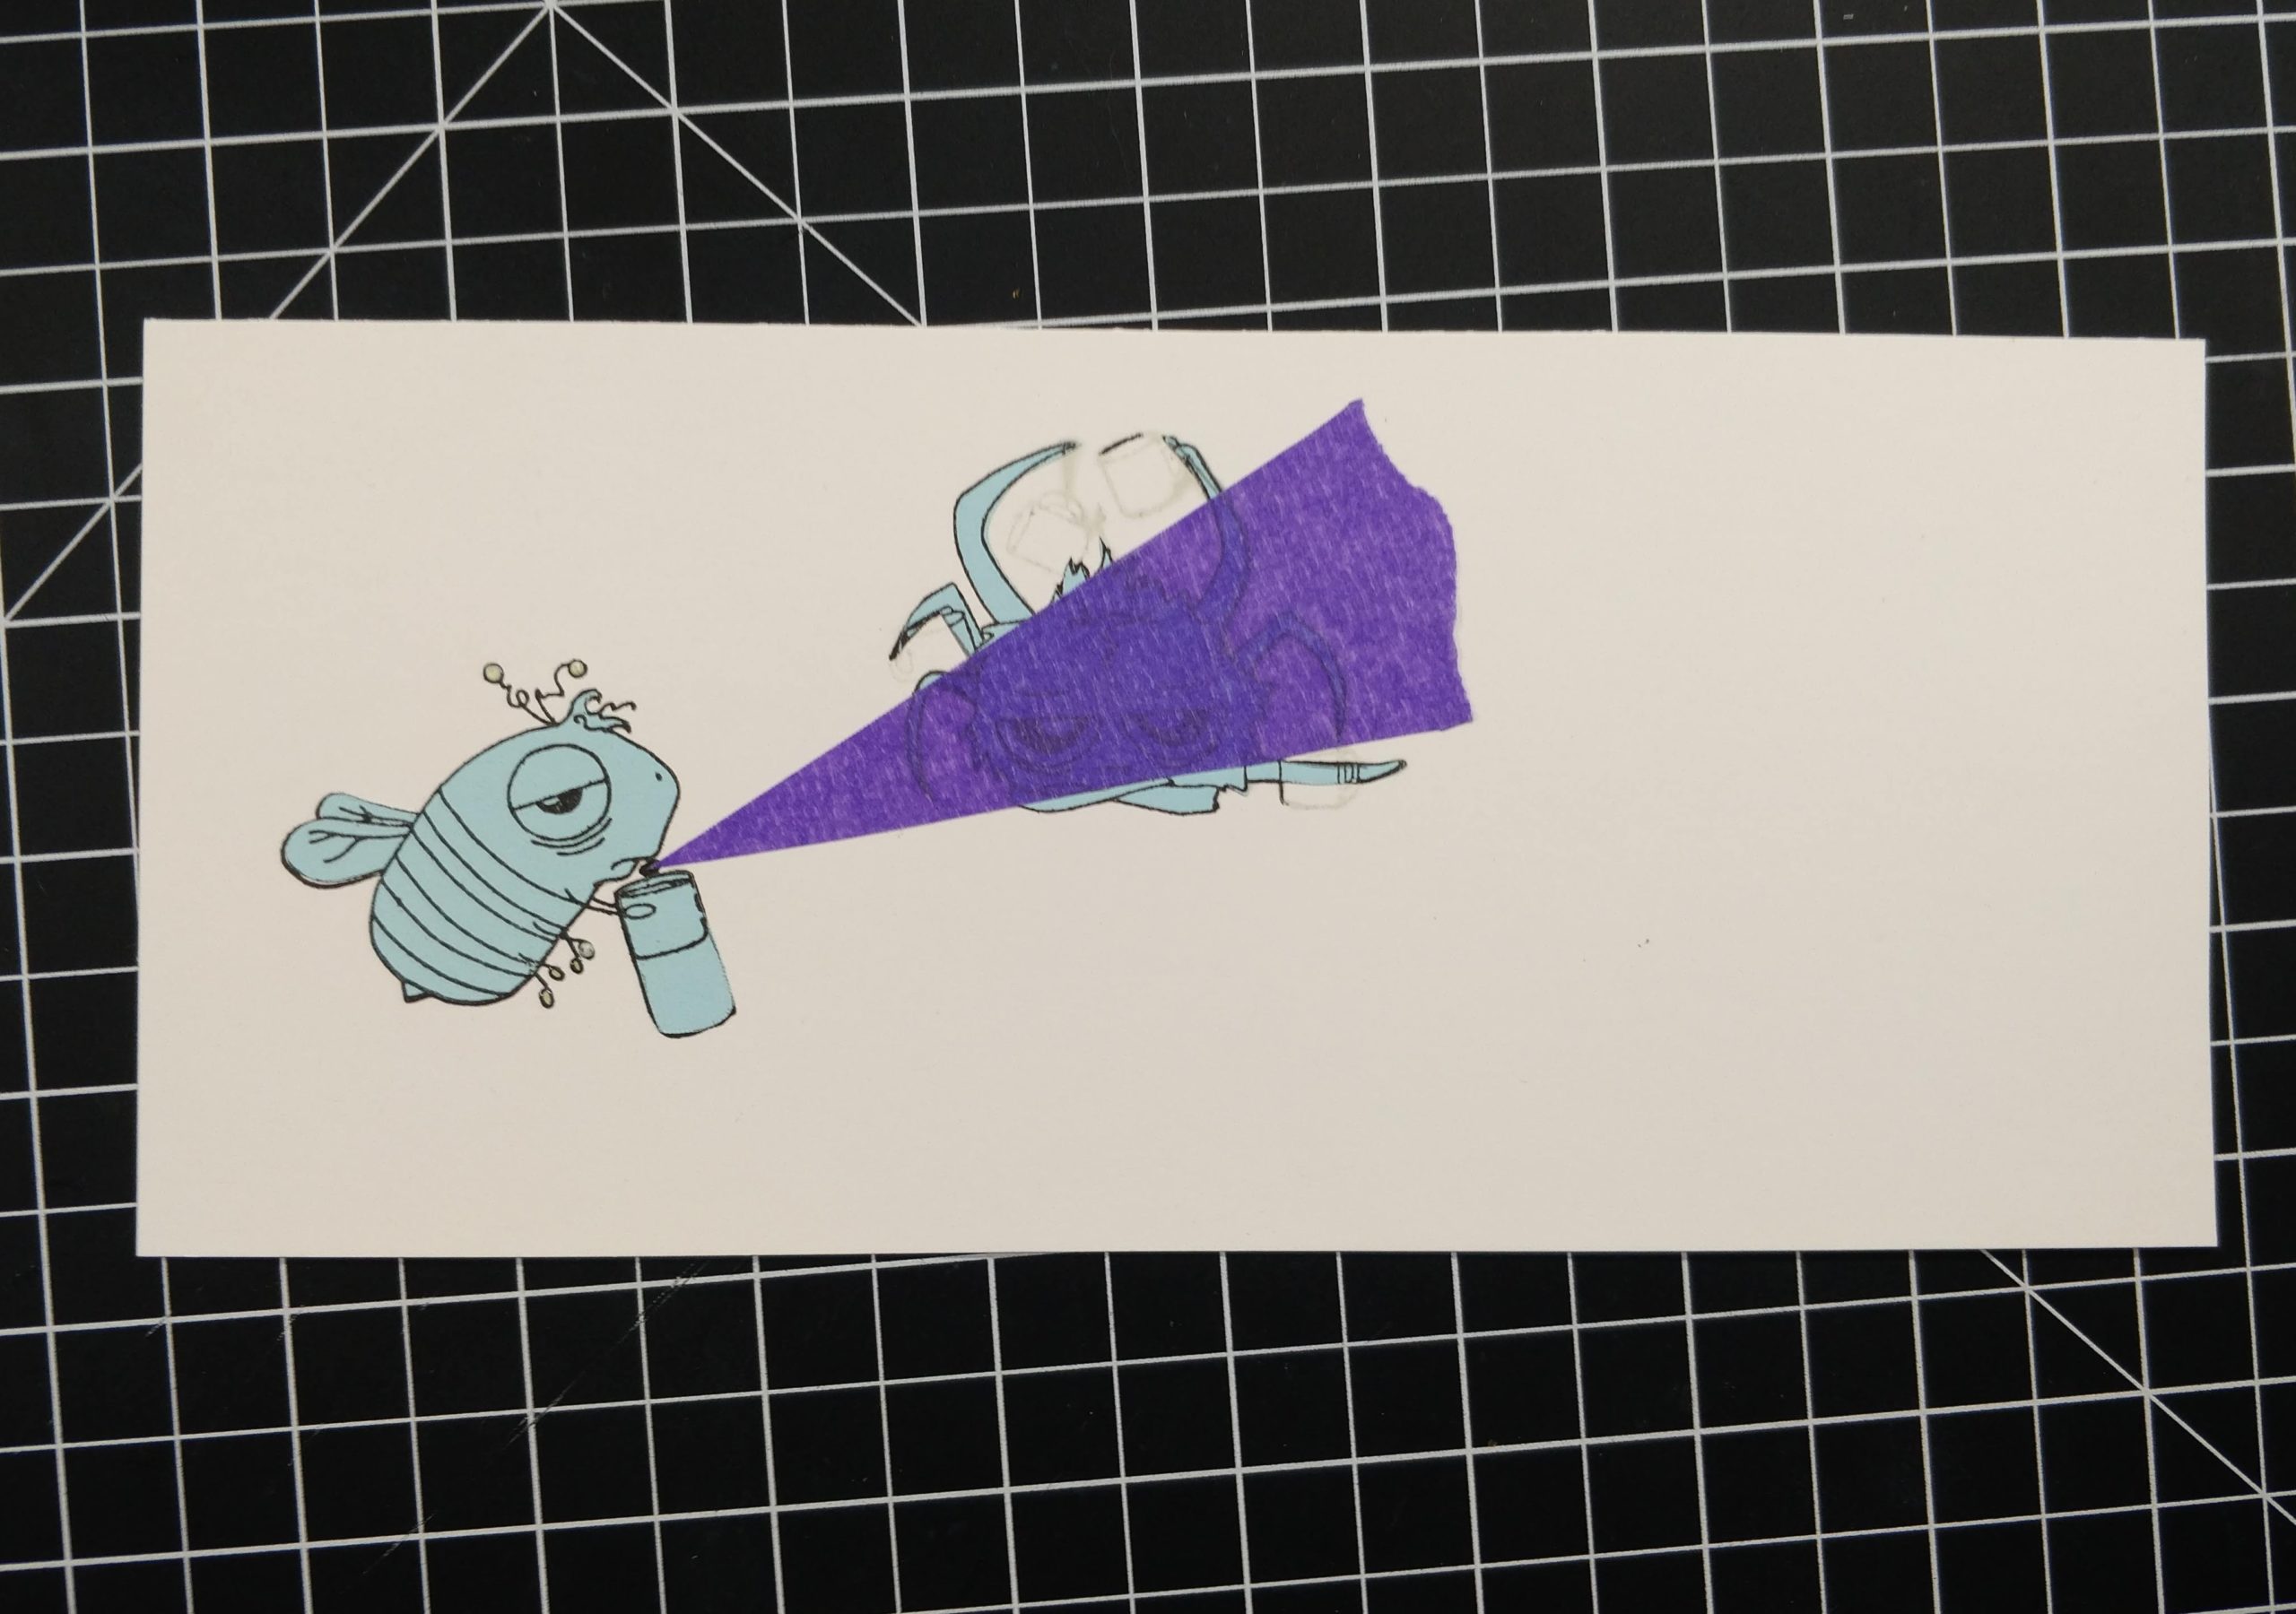
I used a makeup brush with Faded Jeans, Blueprint Sketch, and Black Soot Distress Oxide pads to ink up the background. Once I was happy with the colors, I pulled up the triangle and blended on some Stormy Sky ink. I used a heavier hand on the right of the spider, to make the spray look like it was dissipating into the background. It was a hot mess at this point, but wait until the masks come off...
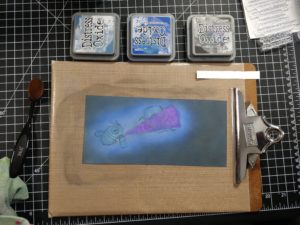
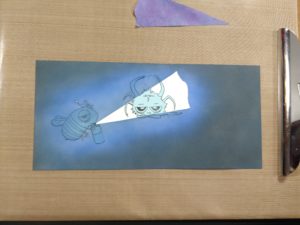
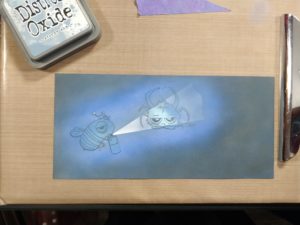
My masks aren't coated, so I removed them from the spider and bee to spritz water onto the background. (If the masks get too wet, ink can bleed through them onto the images.) After I absorbed the water with a towel, I put the masks back in place and lightly misted shimmer spray over the top. (I didn't want to contaminate my Copic markers with shimmer when I colored the critters.) Then, I removed my masks again and let the panel dry.
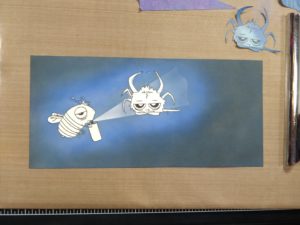
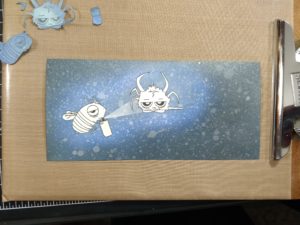
My husband said I should leave the panel with the images in black and white, but I decided to color them anyhow ;) I used Copic markers. I freehanded the bug spray label and added a line down to the spider. Then I embossed the sentiment with white powder. I trimmed the panel down, then rounded two corners and popped it up on a navy card base. I glued on a few sequins and added sparkle to the eyelids and wings with Liquid Pixie Dust. To finish the card, I coated the eyeballs, bug spray can, and sequins with Diamond Glaze.
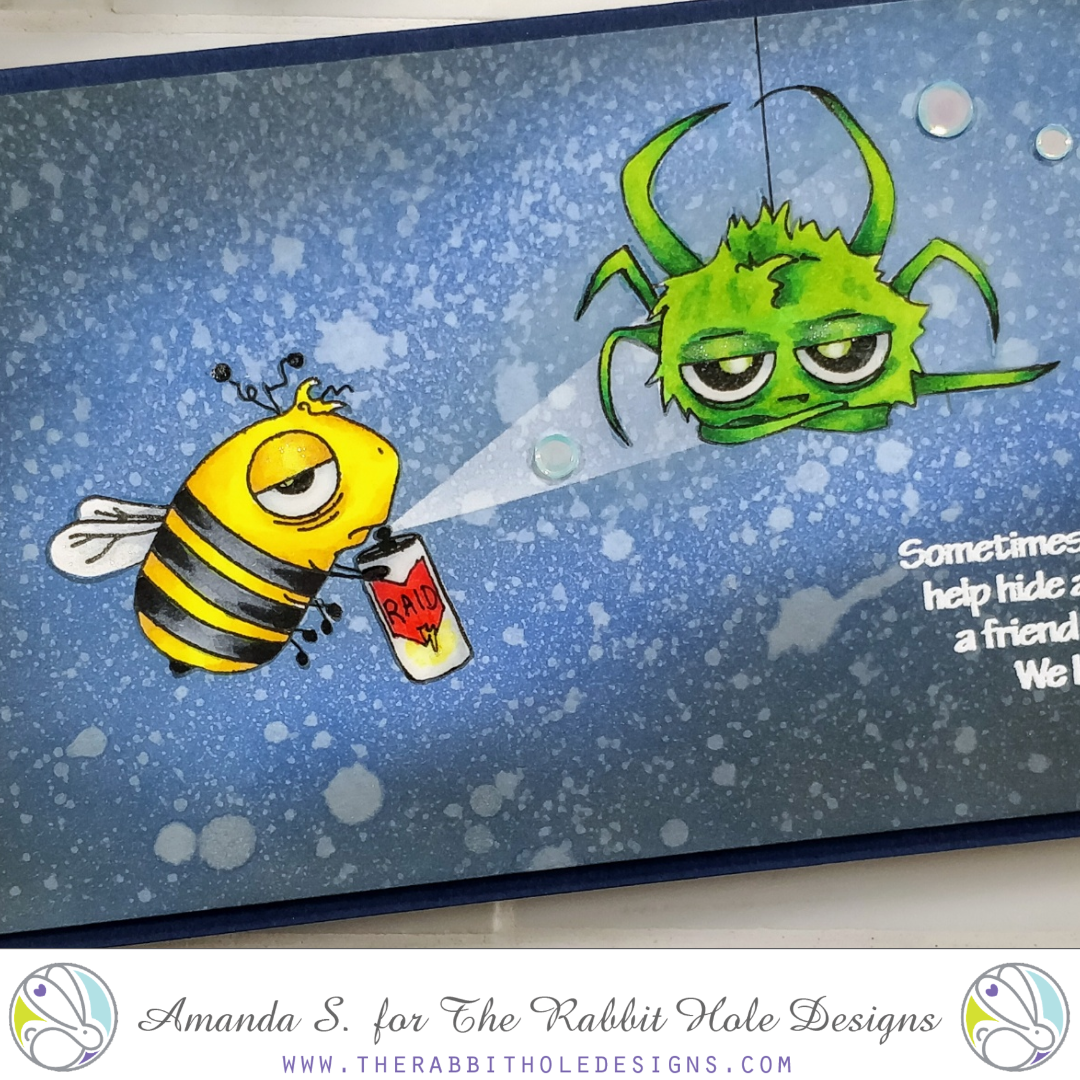
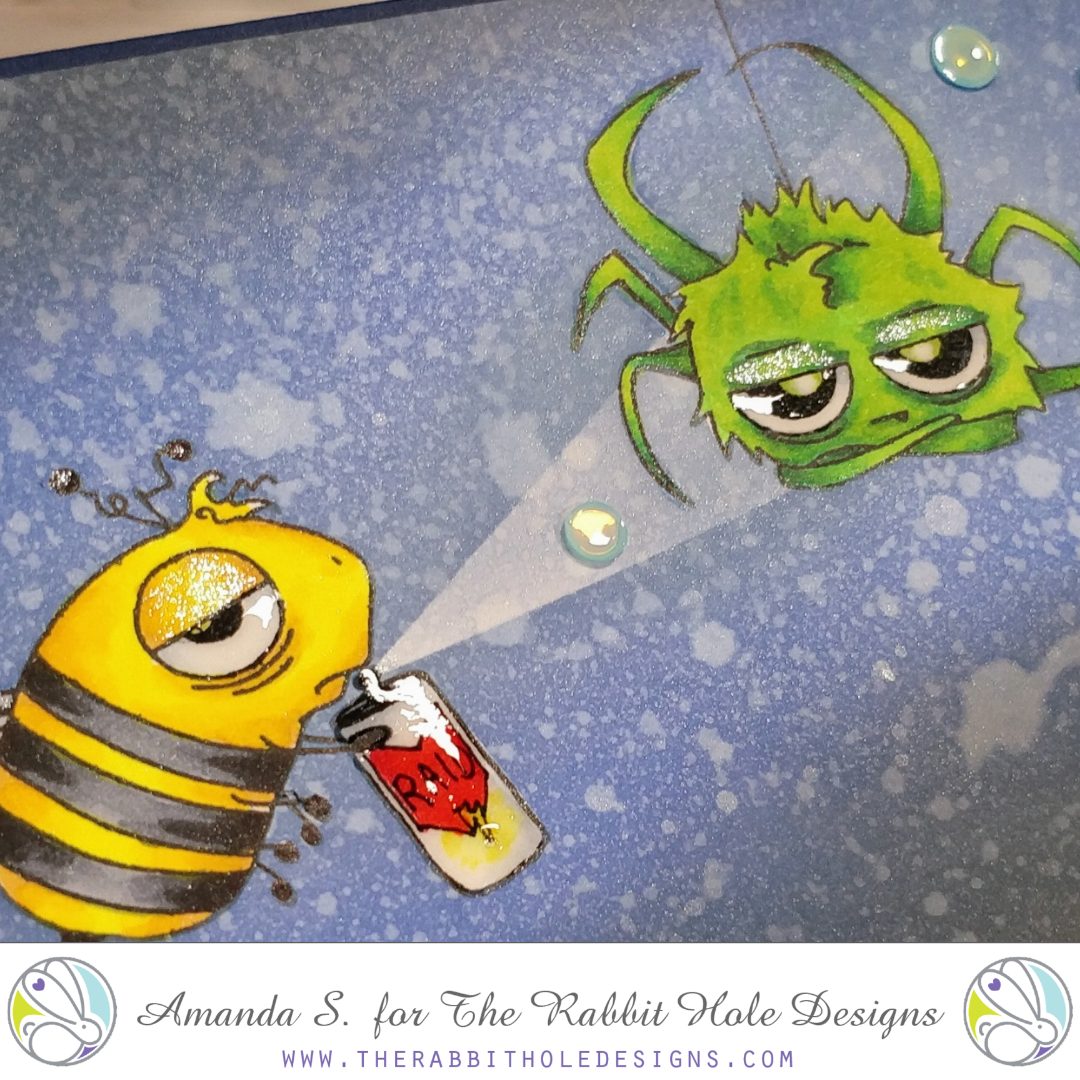
I love the way this card turned out! It's funny, the scene was simple to create, and did you notice - it's flat! I made a (mostly) one-layer card! Okay, it's popped up off the base with foam tape, but the scene is flat and I didn't add any die cuts on top. (If I'm being honest, I wanted to add a die cut tree silhouette on the right side of the card, but I forced myself to keep it simple, so the focus stayed on the critters.) What do you think? I can't wait to give it to MaryAnn :) Have you altered any of your stamps to create a scene like this?
Thanks for stopping by today; I'll be back soon more fun cards. You can find links to the specific products I used for this card in the sister article on my blog. And be sure to keep an eye out on Facebook and Instagram for pictures and stories from Creativation later this week!
Pink and Fearless
💗 Lisa 💗
Livin' La Vida Mocha
.
Pinky Finger Up!
Hello again my crafty friends, it's Amanda from Pear Blossom Press! Now that another of Kathy Racoosin's 30 day coloring challenges is over, I've got a stockpile of colored images all ready to be made into cards. Have you colored along for any of the challenges? The idea is simple, just color a little every day. No pressure; just practice. I love the challenges because I approach cardmaking a little differently during the run. Instead of starting with an idea for a card, picking out all of the papers and elements, and then coloring my images to coordinate, I just stamp out lots of images and color them in. Usually, I fussy cut the images with my ScanNCut so I have images ready to go. (If I don't use them right away, I will tuck the cut out pieces into the pockets with the stamp sets.) Once I have the images ready to use, I lay them out on my grid mat and play with different configurations. So instead of starting with an overall design, then decorating it, I start with the decorations and work backwards.
Often when I'm coloring, I will color images from different sets in the same colors schemes, since I already have those supplies out. This inadvertently allows stamps from different sets to work together. Hooray for happy accidents! For today's card, I pulled several watercolored images from different sets from The Rabbit Hole Designs and combined them because they were all yellow. I laid out the flowers and leaves from Pretty in Peony on my grid mat and decided I liked the Caffeinated Bee up in the top corner. To keep the images in the exact same configuration, I picked them all up with a piece of Press'n Seal, then glued the flower pieces together from the back.
I wanted to create a background for my card that would tie the elements together and also add a little pizzazz to the scene. I needed to use a color in the yellow family since the flowers and bee took up so much of the space on the card. If I introduced another color under them, it would get too busy. I opted to apply Gold Deco Foil Metallix Gel over a hexagon stencil. It gave the illusion of golden honeycombs. I only applied it where it would be mostly covered by the flowers. After the gel was dry, I stamped my sentiment from Perfectly Blended and popped the Caffeinated Bee and peonies up with foam tape. To add some of the gold shimmer to the flowers and bee, I used a gold gel pen to draw on highlights and quickly blended them out with my finger. I also added some Aqua Shimmer to the bee's wings and coffee mug. I applied a thick coat of Diamond Glaze to the bee's eyeball and mug to finish the card.
I love how this card turned out and I honestly don't think I would have ever considered using the bee and peonies together if I hadn't colored them at the same time for the coloring challenge. So what do you think? Too big of a stretch, or do you like them together? Let me know down in the comments below.
Thanks for buzzing by today. If you'd like to see more cards featuring these stamps, check out Sassy Peonies and March Release. You can also find links to the other products I used for this card in the sister article to this post on my blog. I'll be back again soon with another fun card for you... And now I'm wondering what other caffeinated critters the peonies might go with!
Stalker Alert
Happy Birthday To Me!
Rainbow Caffeinated Bee
- Stamp the Caffeinated Bee image repeatedly across a card base with light brown/tan ink.
- Add spatters of Distress Oxide Ink Sprays across the background.
- Stamp and color Caffeinated Bee with rainbow colors.
- Stamp sentiment from Perfectly Blended onto a strip of white cardstock and adhere to a piece of vellum.
- Die cut vellum with a stitched circle die.
- Adhere all elements together.
Buzzed with Maria
Hello The Rabbit Hole Designs fans! Maria here back on the blog today. The Rabbit Hole Designs is one of the super sponsors for the Spring/Summer Coffee Lovers Blog hop, you will be seeing A LOT of coffee-themed cards from the design team this week.
For my project today, I am showcasing the Caffeinated Bee stamp set.
- stamp the bee image on some Neenah classic crest solar white 110 lb card stock and color him in with alcohol markers (or any medium of your choice).
- I used my Brother Scan N Cut 2 Machine to die-cut the image.
- I used my Medallion Coverplate die to die-cut an A2 size panel with some white card stock.
- I used a circle die to die-cut the middle piece of this panel and I inked up this small circle with some distress oxide inks and my hexagon stencil. I adhered this piece on the card stock.
- I used an alphabet die from my stash to die-cut the words #BUZZED on some black card stock.
- I adhered the pieces on the card.
- I used another branch die from my stash to die-cut the branch and leaves, coloring them with my alcohol markers. I adhered the pieces on my card.
- Lastly, I used foam adhesive to adhere my Caffeinated Bee.


