Pages

Showing posts with label ALL Ears. Show all posts

Hoppy Easter Egg Card


Hey Everyone! Justin here, and today I am sharing a fun Easter card that I made using the new All Ears set, part of the March 2020 release and available now!

There are so many fun ways to use these adorable little bunnies, and, for this project, I decided to only use 4 of them!

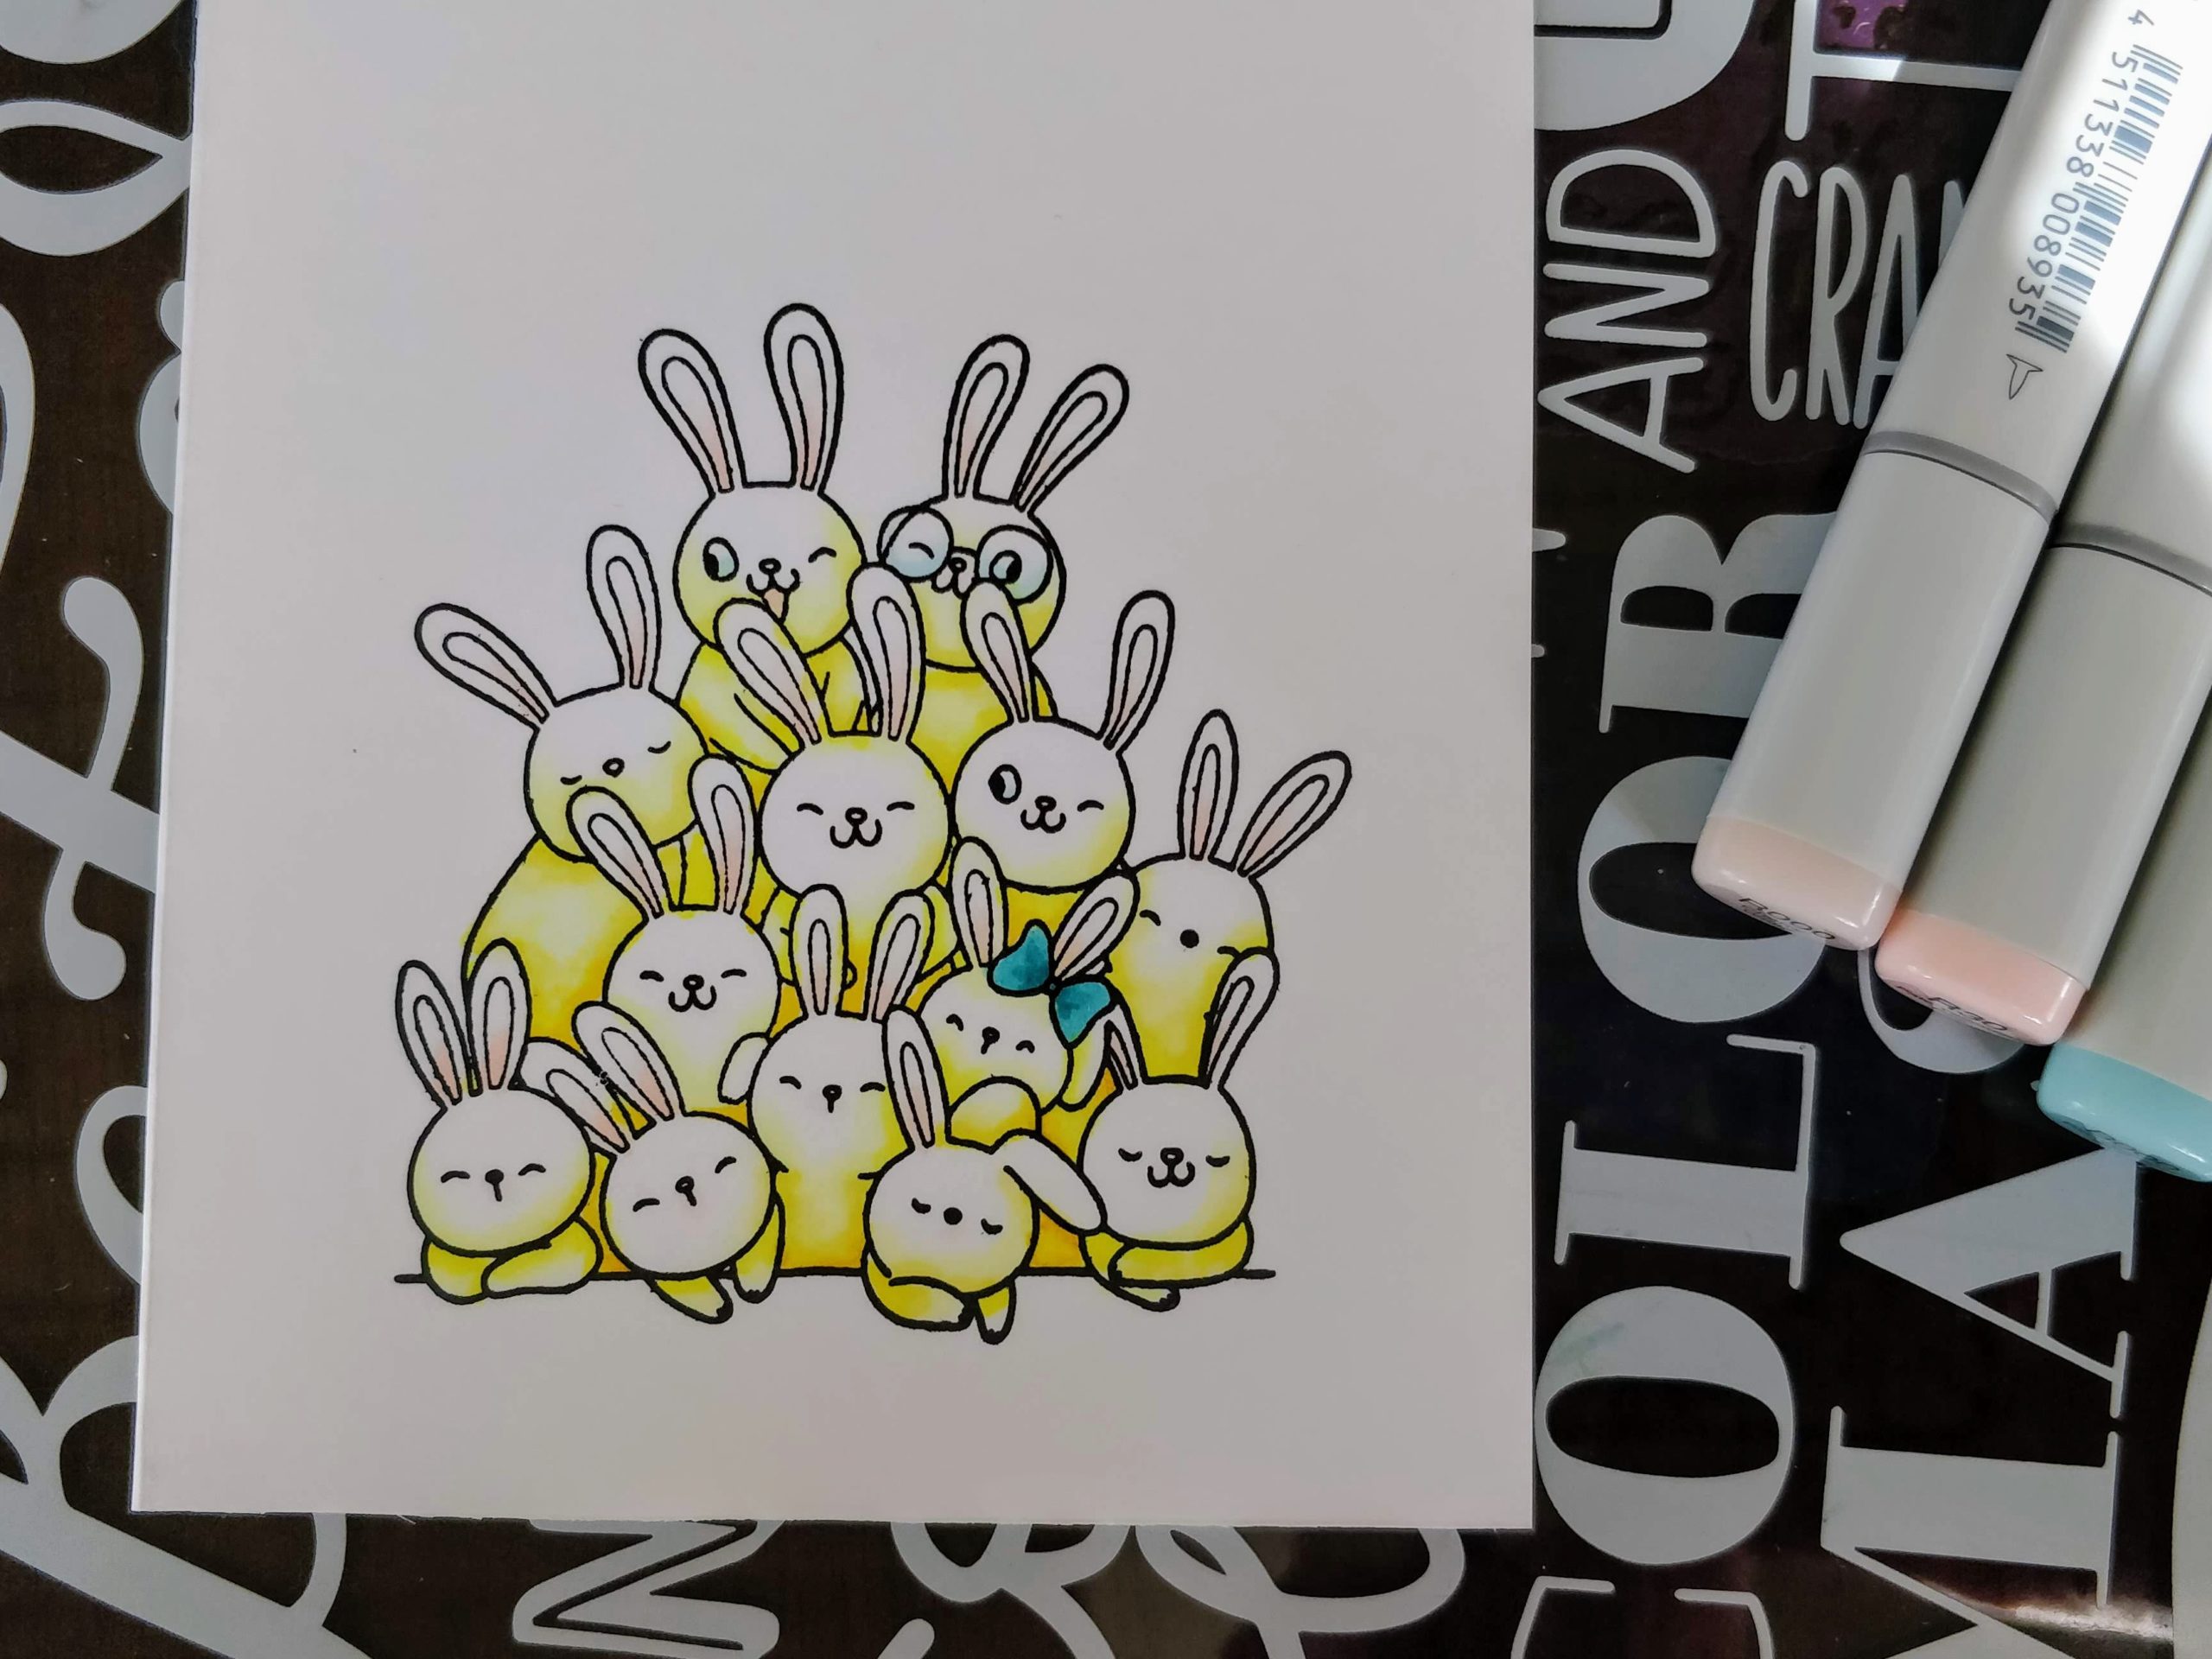
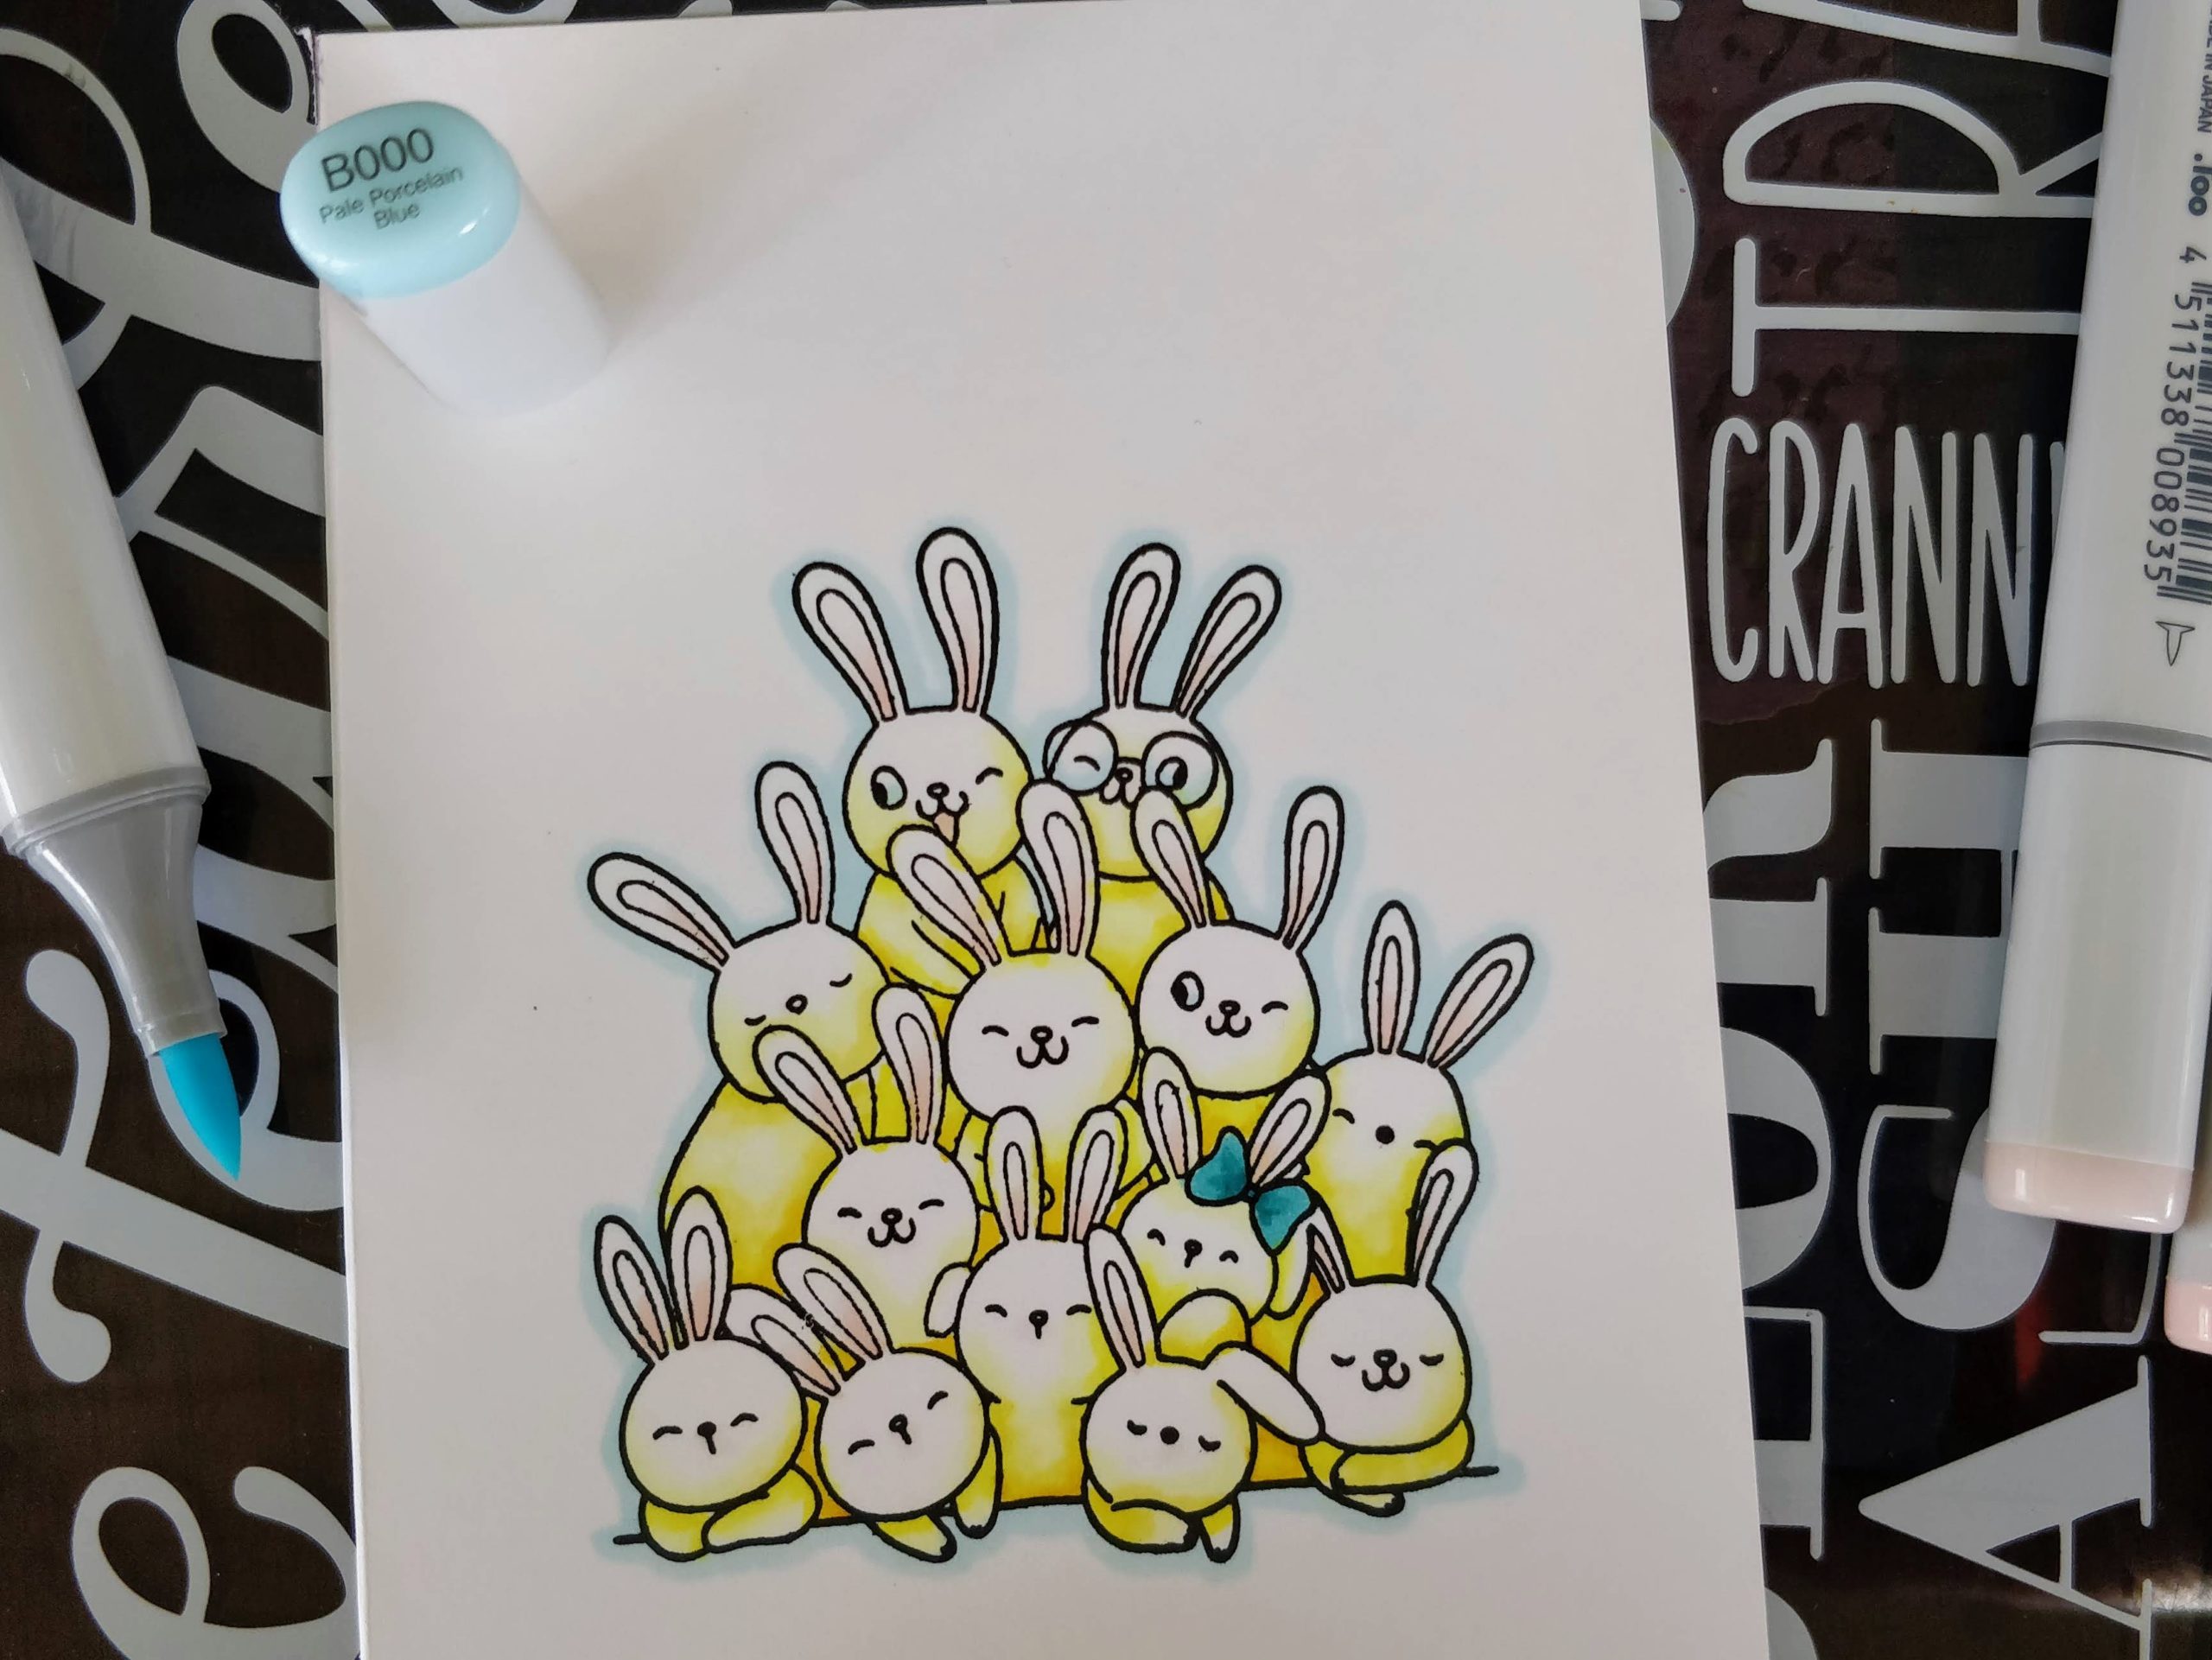
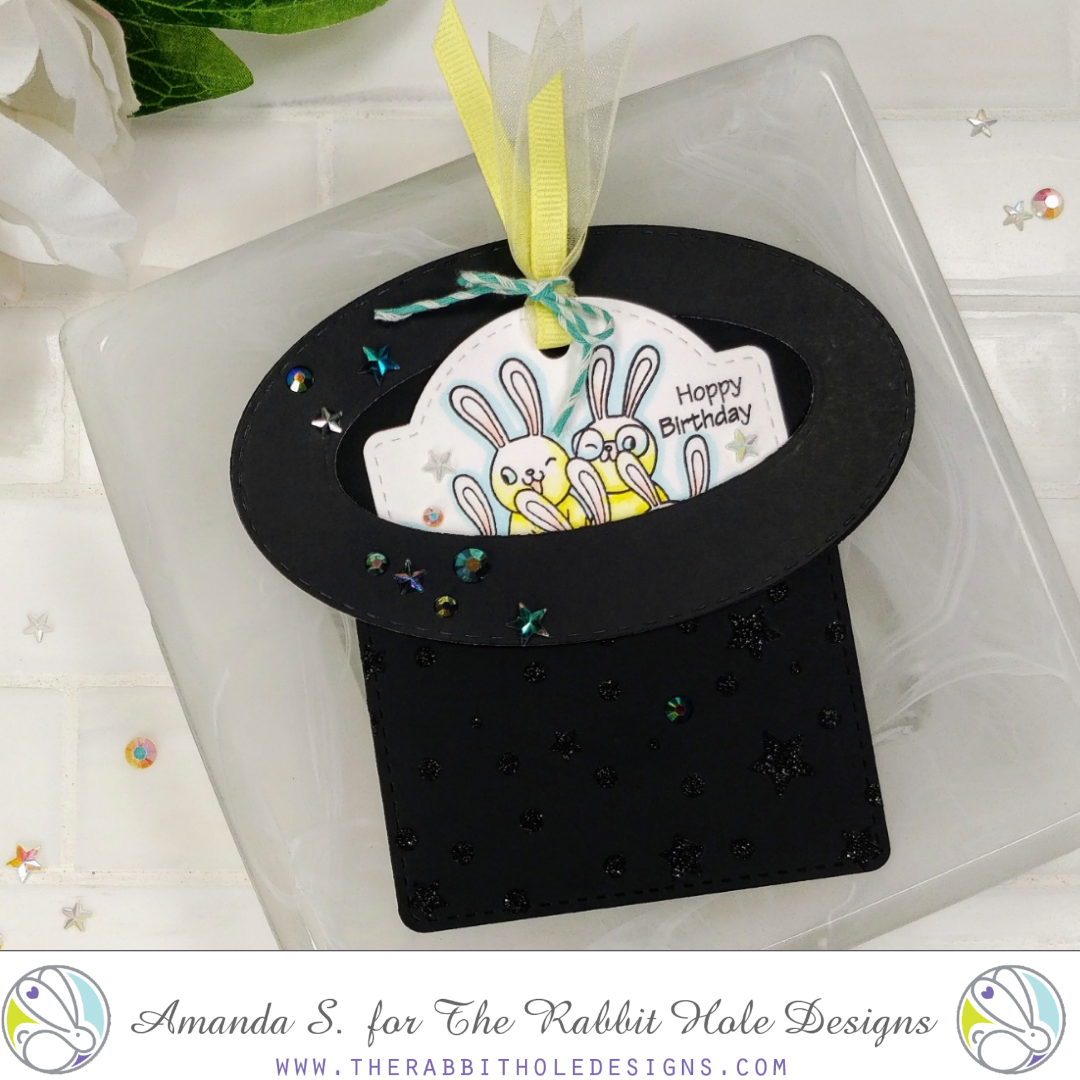
First, I stamped out my bunny pile from All Ears and colored up 4 bunnies from the bottom row (starting at the bottom left bunny and working my way over) with my warm gray alcohol markers. I then fussy cut the bunnies out so there is no border.

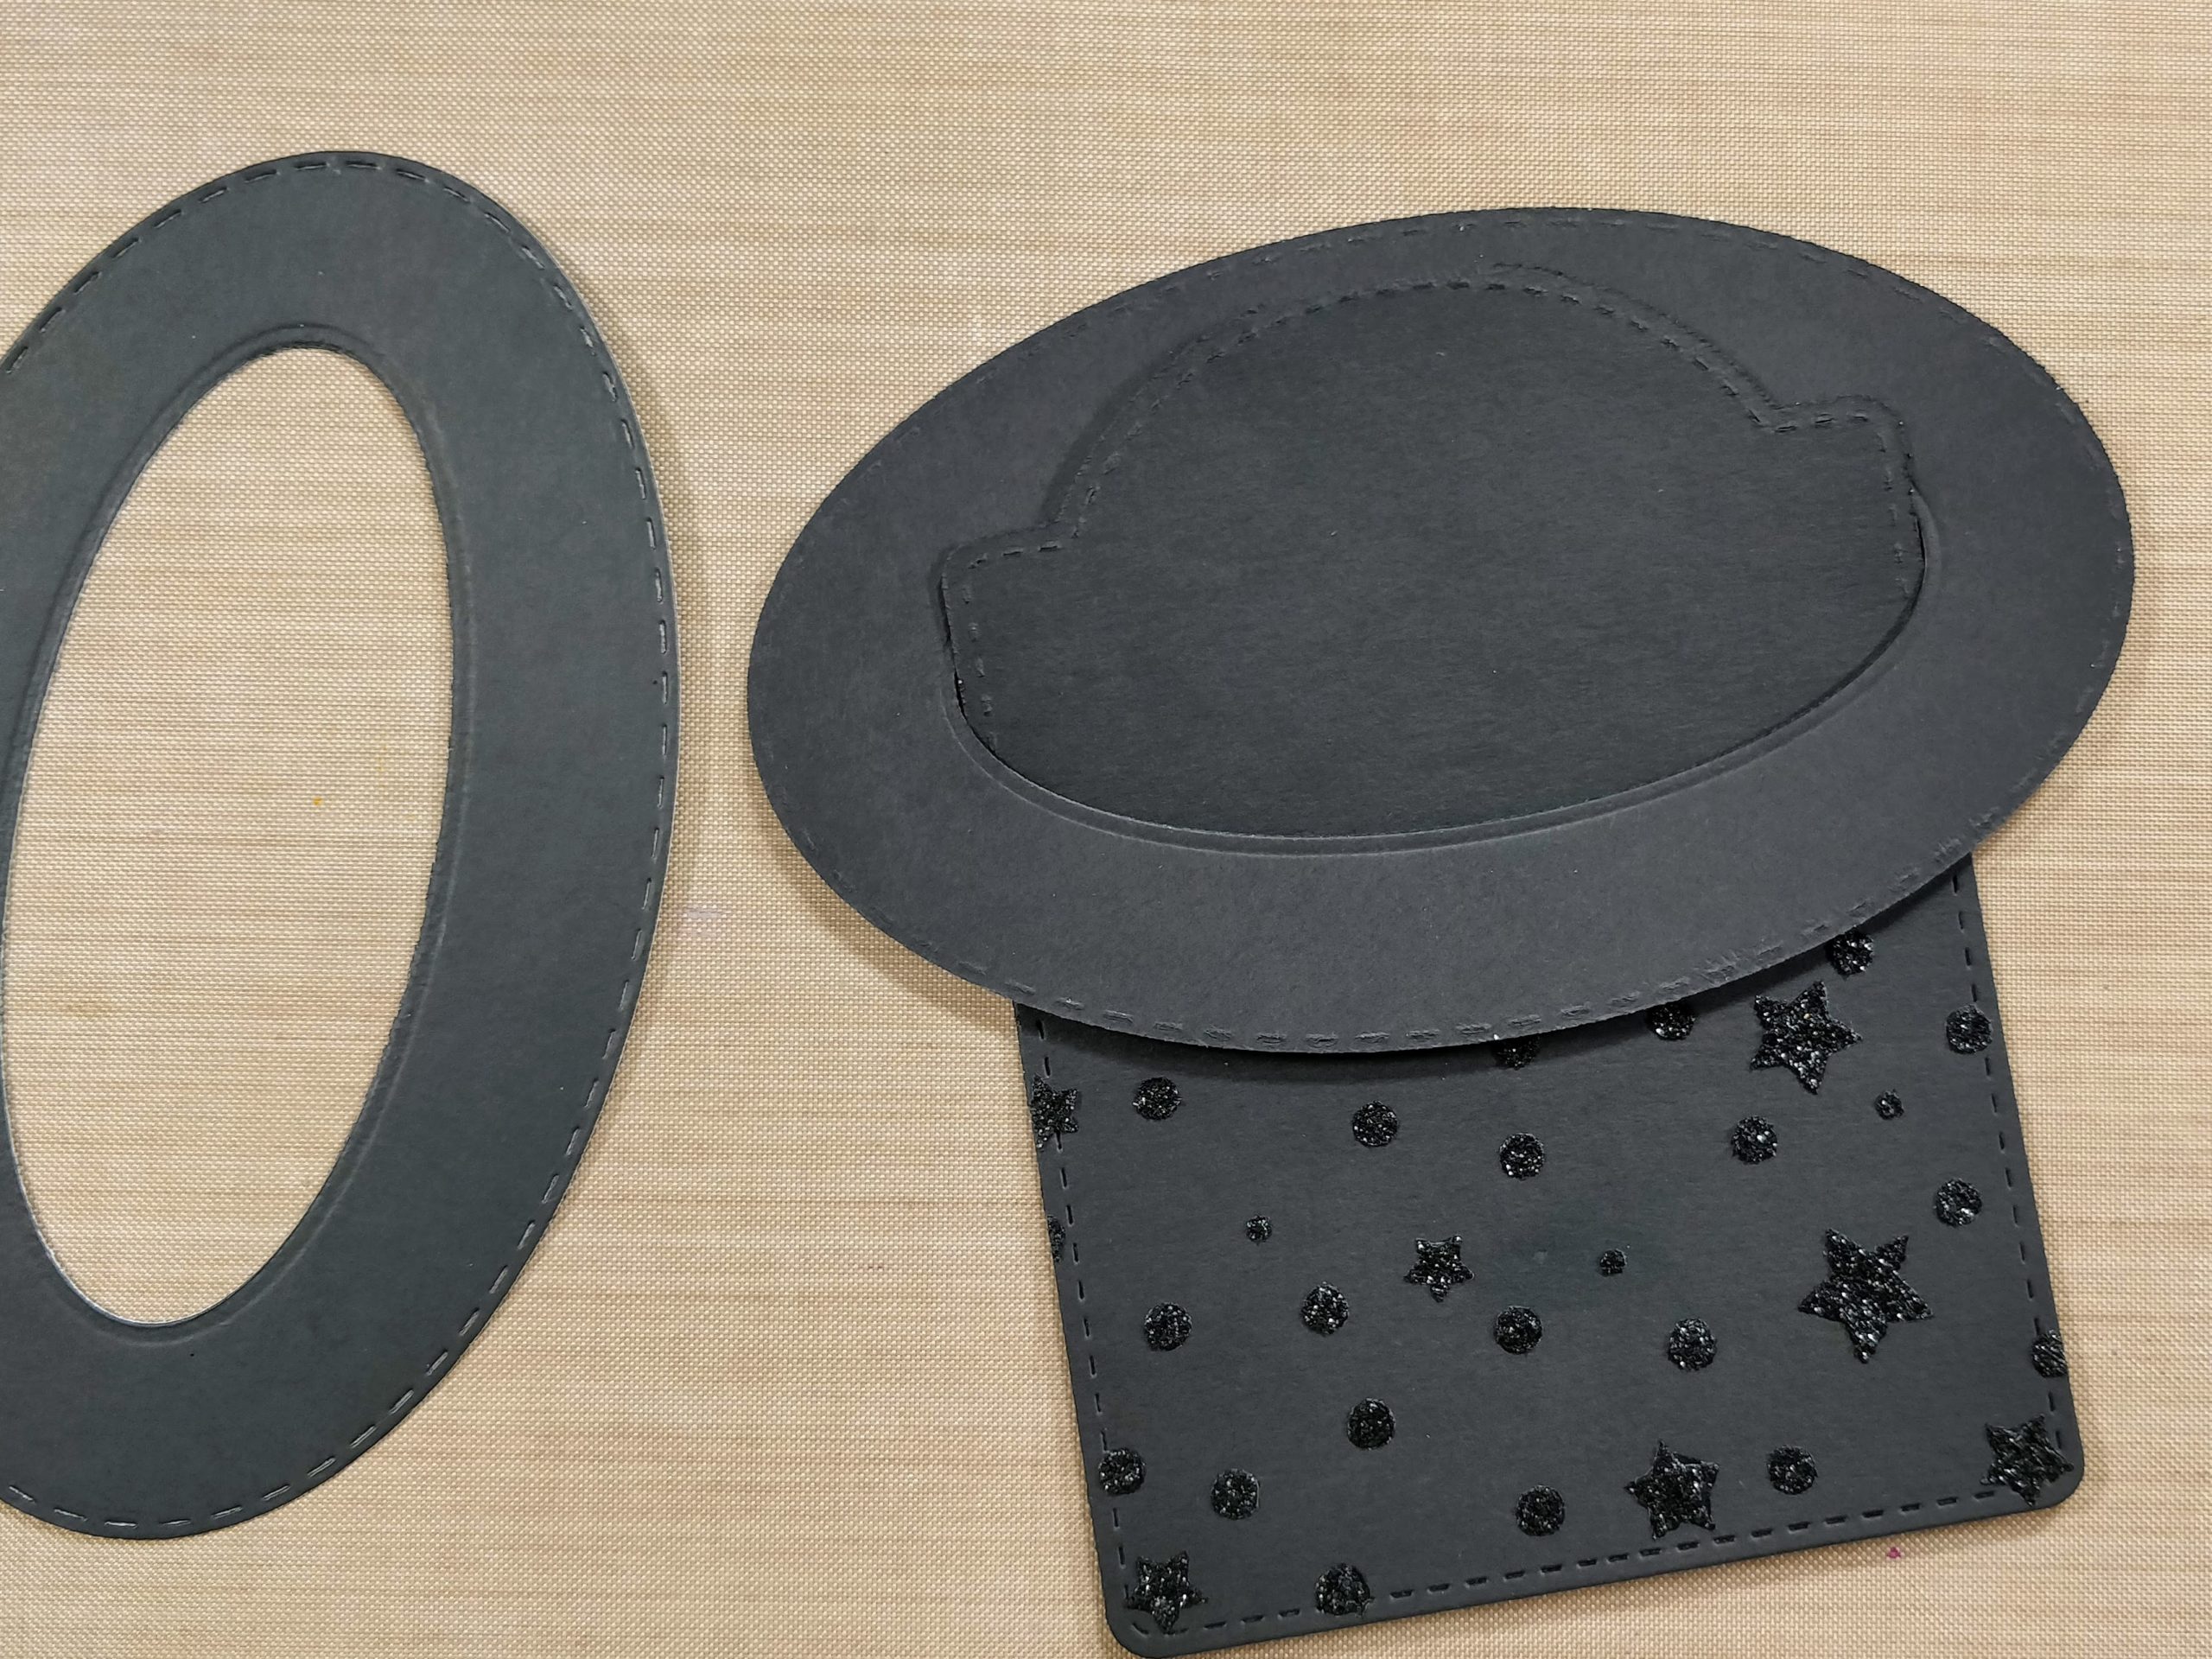
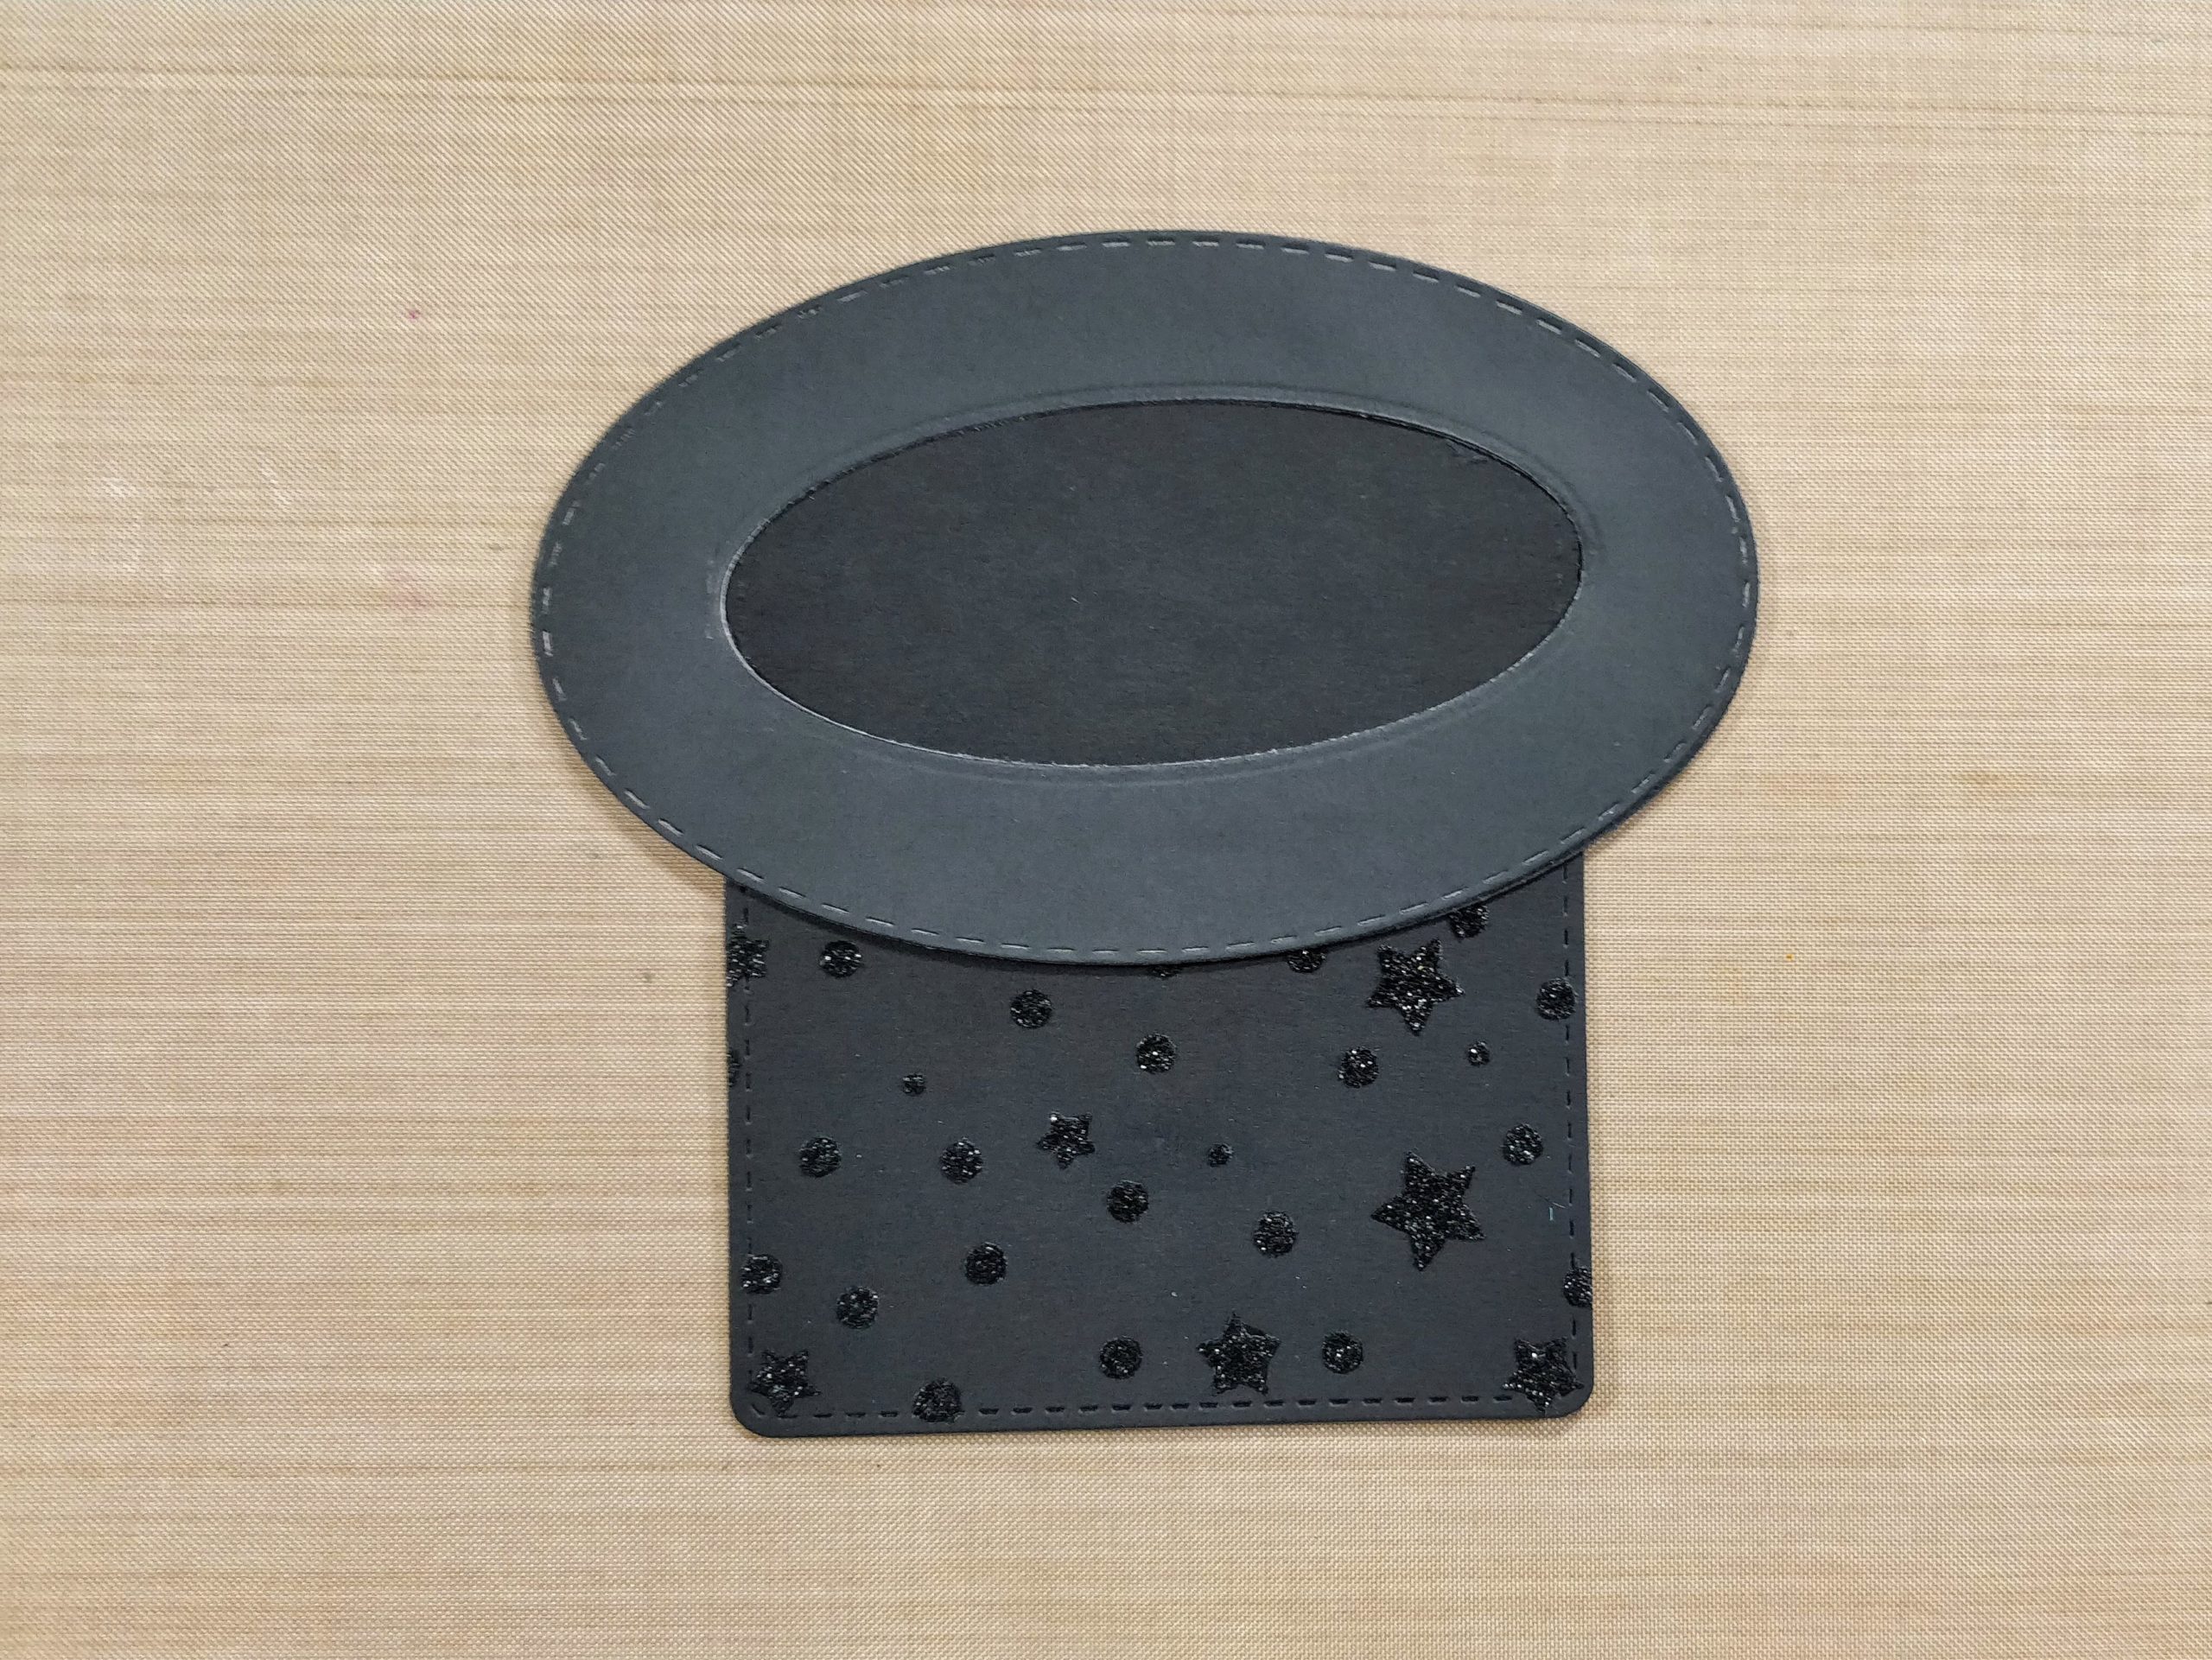
To create my Easter egg background, I cut (2) 4.125" x 5.375" panels from white cardstock, once of which also had an Easter egg cut out from the center. I laid the Easter egg cut-out piece on top of the no-cut-out piece, and taped them together with a few pieces of purple tape for stability while stenciling. Then, I put the Candy Twist Stencil on top of the attached panels and ink-blended a pastel ombré. After I was done blending, I removed the stencil (you know, that moment that perfectly emotes the emoji that has hearts for eyes). Before removing my Easter egg cut-out piece, I splattered the inked area with some sparkle silk for extra shimmer. I removed my Easter egg cut-out piece and let my panel set aside to dry.

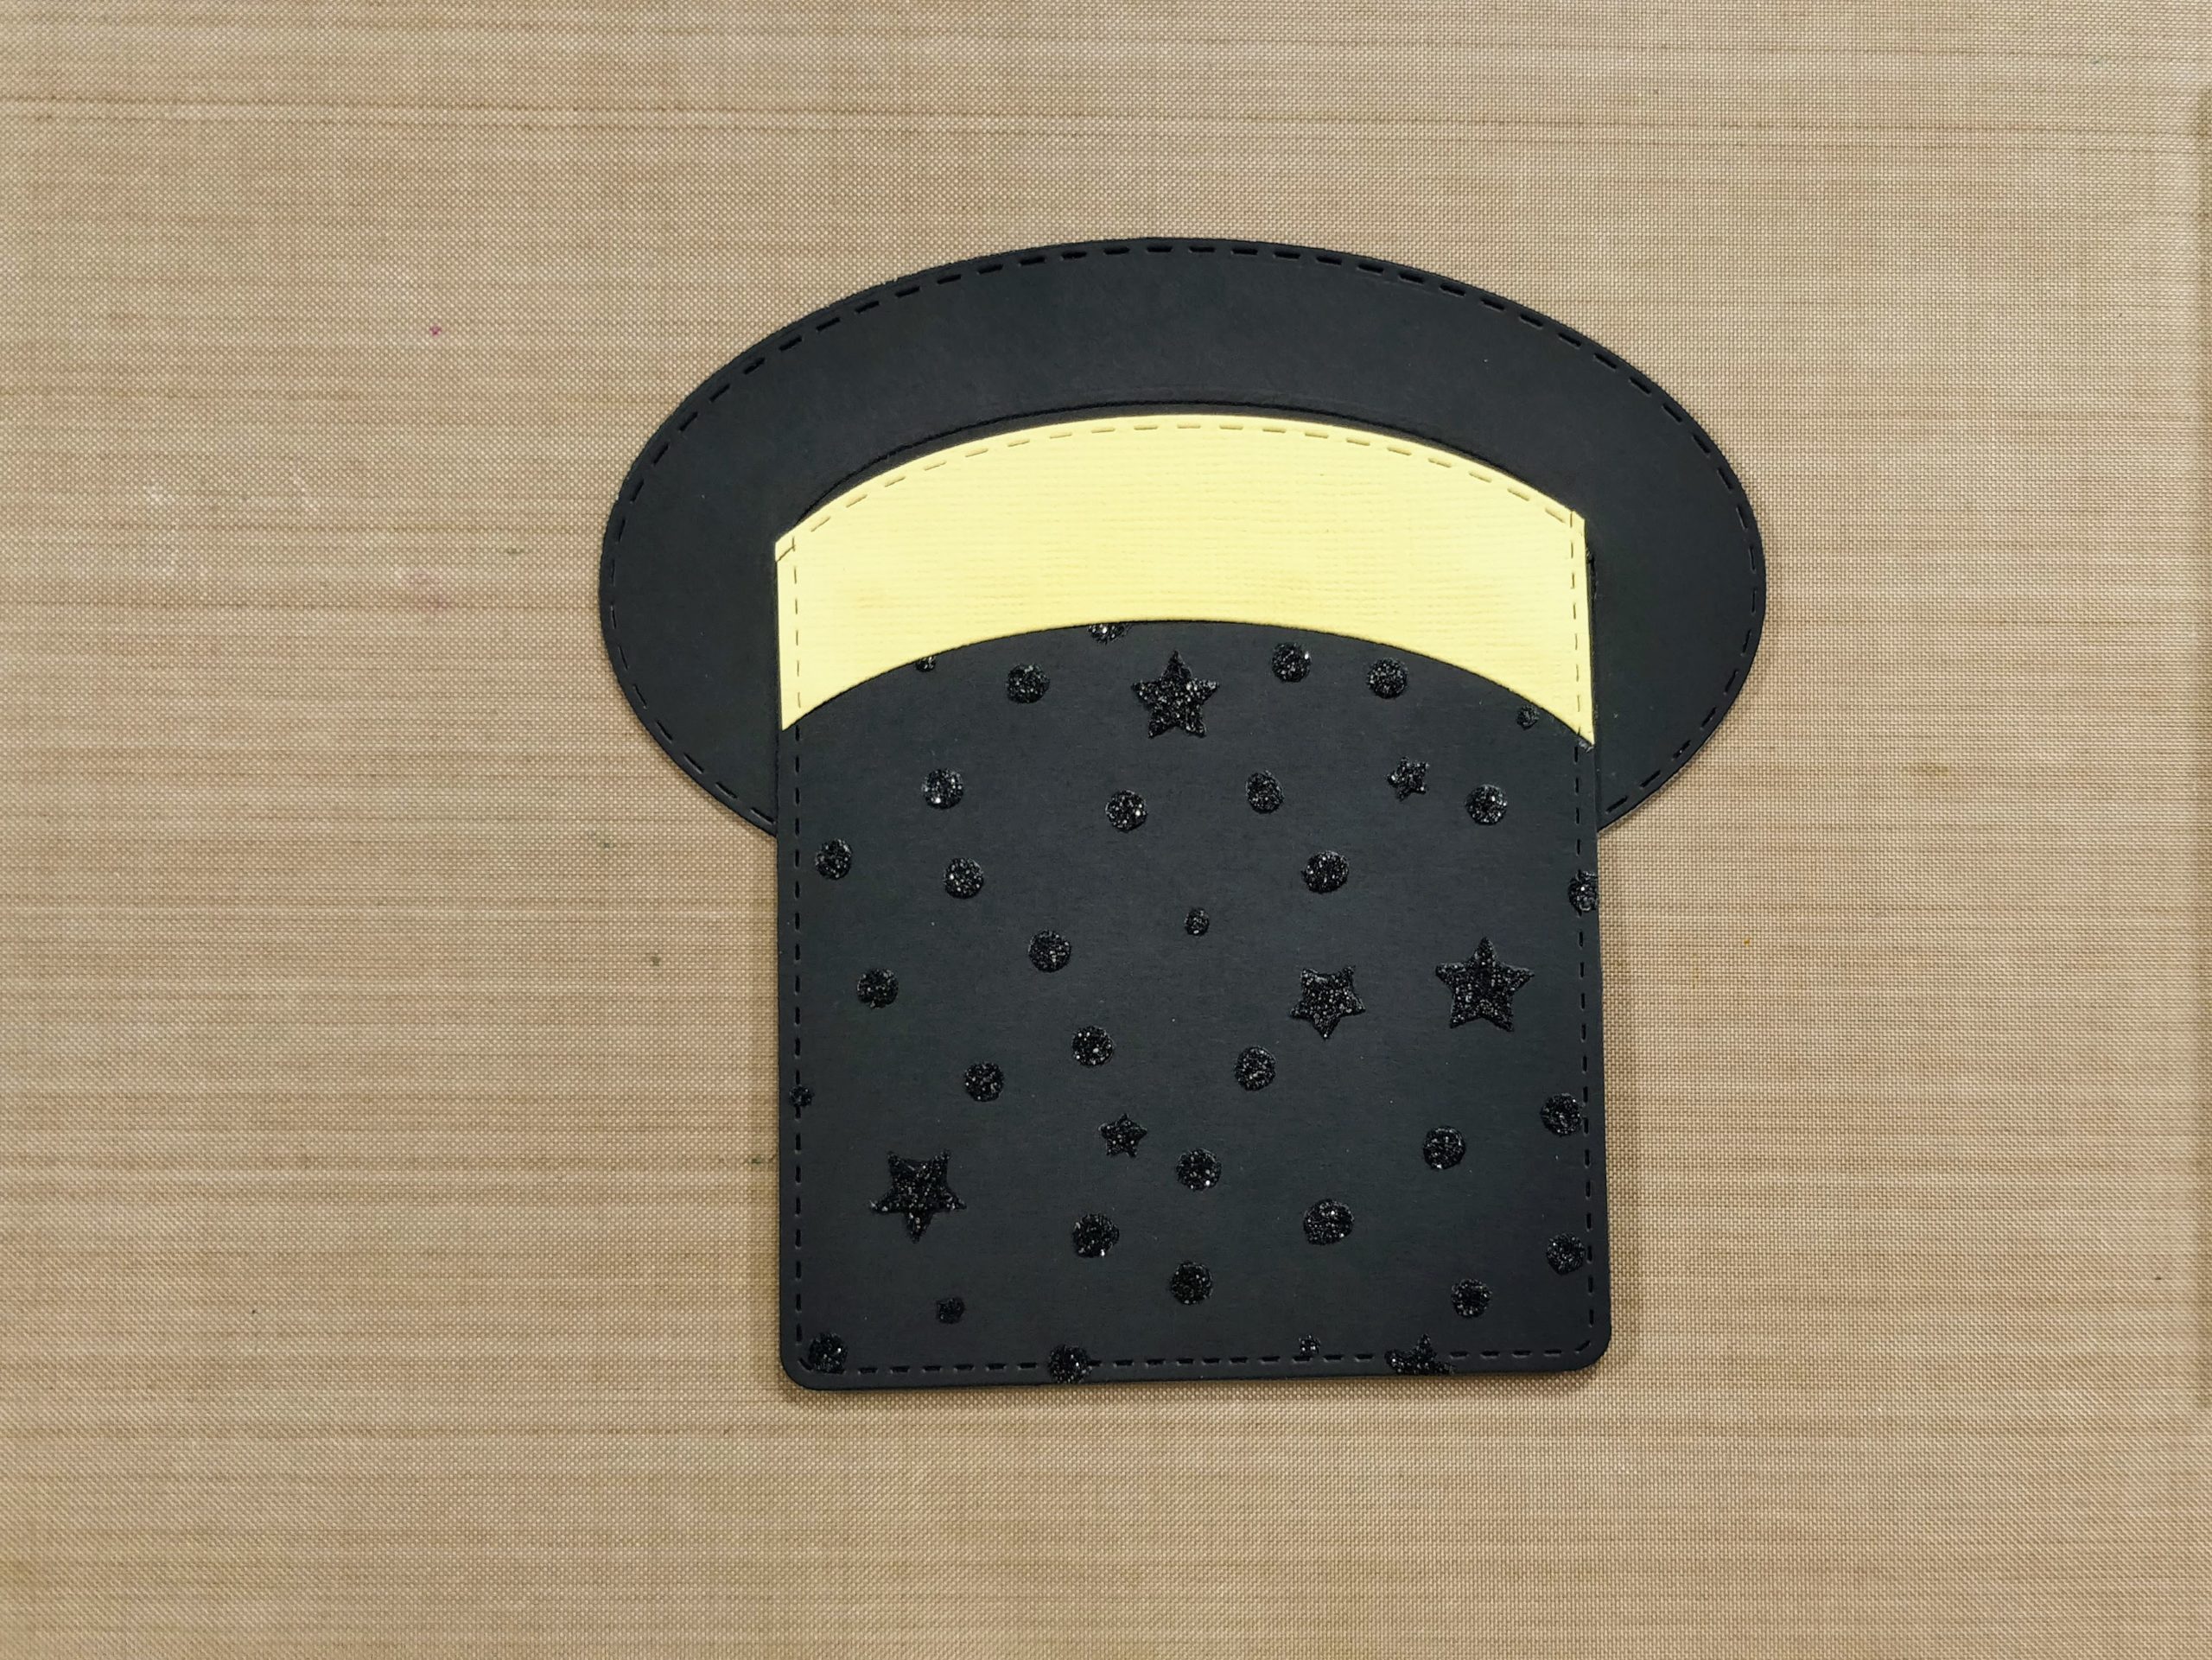
From here, the card became fairly easy to put together. After the Easter egg panel dried, I adhered it to an A2-sized piece of light blue cardstock. I stamped the sentiment "Hoppy Easter" from All Ears on a .5" high sentiment strip, and framed that with some light pink cardstock. I placed my 4 little bunnies from All Ears into a position where it looked like they were over hanging the strip, and covered the back of my bunnies and strip with some foam tape, and adhered the piece to my card.

I then took some sequins from one of the packs I received when ordering from The Rabbit Hole Designs that had a pearly pastel palette, and adhered them to my card.

I adhered my panel to an A2-sized card base and I was done!

Here are the products I used to make my project:

All Ears


Candy Twist Stencil


For more inspiration with your The Rabbit Hole Designs Creations, be sure to follow along at these other locations:


For more details about products used in this post, you may also follow along at my personal blog, Just a Note by Justin, as well!

I hope this card is providing you with some fun ideas with how to make some adorable Easter cards or just fun bunny cards in general! Thanks for stopping by the Rabbit Hole Designs blog!

Nobunny Like YOU


Hello there! Michelle here...
I couldn't resist playing with this stamp set, All Ears! Their faces and ears...and that cutie with 
the bow!!!!! I stamped the bunny cluster with antique linen distress ink and used Copic Markers to color. I used shades E40, E41, E42, E43, E44 and E000 for their bodies. I used RV10 and RV13 for ears, cheeks and bow. I used N0, N1, N2 for the shadow. 
 After I finished coloring, I used the Spell It stencil to ink up the word YOU. I used distress oxide inks in spun sugar and picked raspberry.  I stamped the sentiments with Memento black ink.
For a finishing touch I added some white accents with a gel pen and a few sparkly gems.
Thanks for taking a peek!!!
Hope you are keeping yourself safe and your mind busy with fun things!!!

All the best!
Michelle


Supplies used:
All Ears 4x4

Spell It - 6x6 Stencil


For more inspiration with your The Rabbit Hole Designs Creations, be sure to follow along at these other locations:

You are Ear-resistable!


Hello everyone, Lisa here from Oh So Cute By Lisa and I'm here on the blog today with
a heart shaped card using the recently released stamp set All Ears.  I started by coloring my bunnies with Copic markers in different shades of brown with a couple of pink bunnies thrown in for fun. I colored the background in a pale blue/green and fussy cut those cute bunnies out.  Next I used the Diamond Flower stencil and a blending brush to make a pale pink pattern that I then cut out with a large heart shape.  I cut out a larger heart shape to mat the stenciled panel on in a light blue/green color.  I added foam tape to the back of the bunnies and popped them up on the stenciled heart.
For a little bit of added interest I added some fun white dots around the larger heart. All that was left was to stamp the sentiment from the All Ears stamp set and my card was done!

Thank you so much for stopping by the blog today!

For more inspiration, updates, and news make sure to check out these places ...


Have a great day, I already am!
🐰 Lisa  🐰

There's Nobunny Like You


Who doesn't love a little stack of bunnies?!  Hello everyone, it's Cassie back with another card for you today!  For my card I did lots of ink blending.  When I was happy with the blend, I brought in the Candy Twist Stencil, and spritzed some water all over that.  I let it sit for a few seconds, and then dabbed it up.  When I pulled away the stencil, I was left with a subtle textured background that I just love.  

I stamped my bunnies from the new All Ears set, and did just a bit of watercoloring over the top of them.  I stamped and embossing my sentiment and attached that the front.

If you'd like to see exactly how I made this card, you can watch it here or head over to my YouTube Channel.


Here's a closer look at the products I used:


I hope you enjoyed what I made for you today and that you were inspired to go out and get a little crafty.  

For more inspiration, updates, and news make sure to check out these links.

Thank you so much for stopping by!
Cassie

Hoppy Easter!

Hey Rabbit Hole fans!  I'm hopping over on the blog today sharing 
an Easter Shaker card I made featuring

I stamped, colored and fussy cut the bunny pile image. 
The shakers were in a Rabbit Hole order.  They are such pretty pastels!

I built the shaker with a frame die cut, acetate and foam tape. 

The sentiment "Happy Easter" is from the set! 
Many versatile sentiments are included.


Bit of Nuvo glaze on the back bunny's glasses and glitter pen on the front bunny's bow. 


For more information, news and updates check out these links:
 
Thanks for hopping over today,
Kelly


Somebunny is Awesome!


Hello my crafty friends and welcome to The Rabbit Hole Designs blog!  Has any-bunny told you, you’re awesome today?  Well I am!    This card features the fun and whimsy 4" x 4" stamp set All Ears! 


I stamped out the bunnies with black ink onto a piece of my favorite coloring cardstock. I colored them with a light grey alcohol marker to add shading and added a pale pink shade to the bunnys' ears and noses. After fussy cutting the group of bunnies out, I glued them to the piece of purple printed paper.


I wanted to frame the bunnies with some love in mind, so I used this fun circle and heart frame die and I die cut it to the upper part of a piece of 4"x 5 1/4" pink cardstock creating the opening for the bunnies to be seen through. I positioned the bunnies on printed paper behind the opening in the pink card front and attach it with foam squares.   I added double side adhesive foam tape to the back of the pink card front and attached it to an A2 white card base.


This sentiment, "Somebunny is"  just happens to be stamped from two different sentiments in the All Ears stamp set.  I masked off the words/letters I did not need and stamped out the sentiment with my stamp positioner onto white cardstock.. Once complete,  I cut out the sentiment. I created a frame layer from the same purple printed paper  I used behind the bunnies. I cut it slighty larger than the sentiment and used it as a layered frame. I glued this sentiment  to the card front above the bunnies as shown.


I love looking through my craft stash to see what I might have available to use with my projects. I found the "awesome" die cut word and knew it would be perfect for this card. I die cut the word from white cardstock and the back accent layer from the purple printed paper. I glued them together and then glued it just below the bunnies on the card front completing the card.


Here are the TRHD products used in this project:

All Ears 4” x 4” stamp set


I hope this fun “Somebunny is Awesome” card inspires you in your creations. Thank you so much for stopping by the blog!

Be Creative ~ Stay Inspired
Jenn Gross
@journeycoachjenn

For more inspiration, updates, and news make sure to check out these places


You Are Ear-resistable

 Welcome to my very first blog post as part of The Rabbit Hole Design Team! I'm sharing  my quick and easy method of creating a mask and layers with a stencil background.
Stamped/Fussy cut image using All Ears
After coloring with Copic Markers I used the same mask to shade in a "sky" background.
Lastly I used the Puzzle Box stencil to create a "table" for the bunnies to rest on.
These are super easy and fun techniques that I feel add a lot of pizzaz.
Thank you so much for stopping by today!!
The Rabbit Hole Designs products used in this project:
For more inspiration, updates, and news make sure to check out these places.The Rabbit Hole DesignsThe Rabbit Hole Designs InstagramThe Rabbit Hole Designs Facebook PageThe Rabbit Hole Designs PinterestThe Rabbit Hole Designs YouTube

There is Nobunny Like You by Niccole

Hello everyone!


It's Niccole from Nic & Viv Designs back again to share another card I made using one of The Rabbit Hole Designs stamp sets.

For today's card I used the All Ears stamp set.


How to create this card:
  • 4.25x5.5 pinnk card base
  • A white piece of card stock cut to 4x5.25 glued to the pink piece
  • Stamped my bunny image to the white piece
  • Colored my bunnies with Copic markers
  • Added my sentiment to a pink piece of paper 
  • Applied sentiment with two layers of foam tape
  • Finished by applying sequins to card randomly
Here is one more picture of the full card ...


TRHD products used:

For more inspiration, updates, and news make sure to check out these places:


I have had so much fun playing with the All Ears stamp set.

Thank you so much for stopping by and spending some time with me.

Until next time ... Hugs & inky fingers! -Nic-

Pulling Rabbits Out of a Hat


Hey crafty friend, it's Amanda from Pear Blossom Press again with a fun new interactive card! I haven't been shy about saying the All Ears set is my favorite of the new release. As soon as I saw the image, I knew I wanted to create a pocket card shaped like a top hat and have the cute little bunnies pull out. And I'm happy to report, this card came out as cute in real life as it was in my head! (Lol, that isn't always the case.)


I stamped the bunny pile onto a panel and channeled my inner Mona Toth for coloring inspiration (she does yellow and turquoise like nobody's business!) I used Copic markers to color the bunnies, then added a drop shadow around the outer edge with a pale blue marker. You can see how that little bit of color helps the image not look so flat. (By the way, it's day 2 of the new 30 Day Coloring Challenge; are you coloring along with us?)

Rabbit Out of a Hat Pocket Card Rabbit Out of a Hat Pocket Card

I stamped my sentiment and cut the panel out with a tag die. Because I used Copic markers, I cut a second tag to layer behind to cover the bleed through. The tag I used was a little long for my image, so I slid the die up and re-cut the bottom to shorten it.

Rabbit Out of a Hat Pocket Card

The top hat might look a little complicated, but it was actually pretty easy to make, and I've got step-by-step pictures to help guide you through. Basically, I cut a pair of oval donuts, and a pair of tags (slightly larger than the tag I used for the bunnies). Some black Glitter Glitz Gel stenciled on the tags give the top hat some pizzazz and lend to the magical feeling I was trying to create.

Rabbit Out of a Hat Pocket Card Rabbit Out of a Hat Pocket Card

The tags I used for the hat are the same width as the inner oval, so they slip right inside.* I trimmed the front tag down with the inner oval die so when I glued outer the edges together, they created a library pocket.

Rabbit Out of a Hat Pocket Card

Next, I slipped the pocket in through the center of the first oval and lined it up with the pocket opening. I glued it in place. (It's going to look weird and you're going to wonder if you're doing it right. Don't worry, if it looks like the picture below, it's right.) Now to fix the weird lines at the top, I glued the second oval on top of the first oval. (It doesn't slide around anything, just gets glued right on top.) This hides the top edge of the back of the pocket and makes it look like a hat brim. Test to make sure no glue has seeped out and sealed your pocket shut.

Rabbit Out of a Hat Pocket Card Rabbit Out of a Hat Pocket Card

Every dapper top hat has trim, and I decided to add a yellow band to the back of mine. (From the front side's perspective, you wouldn't be able to see the band, so I only added it to the back.) I used the same larger tag and smaller oval dies to cut it out, then I glued it to the hat.

Rabbit Out of a Hat Pocket Card Rabbit Out of a Hat Pocket Card

To finish the card, I punched a hole in my bunny tag, tied on some ribbon and twine, then added some flat-backed stars and gems to both the tag and hat. I love it! It's all ready for a very magical birthday...my Grandpa's 90th! (I'll let you know what he thinks of it ☺️)

Rabbit Out of a Hat Pocket Card Rabbit Out of a Hat Pocket Card Rabbit Out of a Hat Pocket Card Rabbit Out of a Hat Pocket Card

Thanks for stopping by today! You can find the sister article to this on my blog, along with links to the specific products I used. Hop on over for more inspiration. If you'd like to see another card I made using this stamp, check this out. I'll be back soon with another fun card.

*If you don't have tag or rounded rectangle dies that are wide enough to fit the exact opening of your inner oval, just cut the right size panels with your paper trimmer and use a corner rounder at the bottom. If your die is too wide, you can cut the panels out, then slide your die over and trim the panels down with it in a second pass through your machine (like I did to shorten the bunny tag).


For more inspiration, updates, and news make sure to check out these places


There's Nobunny Like You


Good morning and welcome to The Rabbit Hole Designs blog! It's Lisa here with a new card featuring the recently released All Ears stamp set. How cute are those bunnies all stacked up? There are so many different ways to color them and they always look so cute! During the hop the design team colored them in pastels, greys, browns, and just fluffy white. For my card today I decided to leave them mostly white with a light grey border around the edges just to accentuate the white.  I of course colored their ears pink and gave them pink cheeks with polka dots.  One of my favorite things to do with critter stamps is to give them pink cheeks with 3 white dots in a triangle with my white gel pen.  I just think it adds a lot of charm to them.

I decided to use a kraft color card base and start with a 4x4 square card.
This was a super easy card to make once the coloring was done.  I used some pretty Spring themed Doodlebug design paper and cut it down using a zig zag border die.  I created a half circle for the bunnies to sit on. For the base of the card I created some texture on the base of the card using a polka dot embossing folder. The bunnies were popped up on foam tape and the sentiment from the same stamp set was stamped onto white paper, trimmed and matted with kraft paper.

Although it's a simple card design I just love how all the colors go together so well!

So glad you could join me today!

For more inspiration, updates, and news make sure to check out these places ...


Have a great day, I already am!
🐰 Lisa  🐰