Pages

Showing posts with label Double Thick Crystal Clear Foam Tape. Show all posts

So Lucky to Have You, Friend! Tips and Trick for Heat Embossing on Vellum

Hello my crafty friends and welcome to today's blog.  I am heat embossing on vellum and creating some depth and dimension to this So Lucky to Have You, Friend card.  I started out by stamping the Flower Whale stamp in black and colored it with colored pencils.  The Flower Whale stamp set is beautifully illustrated by Tatsiana Zayat. 
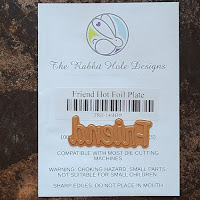
I used a piece of white glossy photo paper as the background for foiling the Friends Hot Foil Plate I used the Friend Scripty Word Layering die to die cut around the foiled the Friend Scripty Word. I positioned it in the die cut Friend sentiment in the middle of a piece of 4"x5 1/4" light blue vellum. This will help with stamp placement for the rest of the stamp and embossed sentiment ("lucky to have a" and "like you") I prefer to do sentiment placement with a stamp positioner, like a Mini MISTI. After my two sentiments are set in place to stamp, I use the Cotton Tail Embossing Powder Tool to treat the vellum. The specially formulated powder creates a light barrier on the vellum repelling any of the extra gold embossing powder from your project. This means the embossing powder will only adhere to your clear embossing ink stamped sentiment (None of those annoying spots of stray powder). After stamping the two sentiments (one above and the other below the placement of the foiled word Friend) heat set it the gold embossing powder.
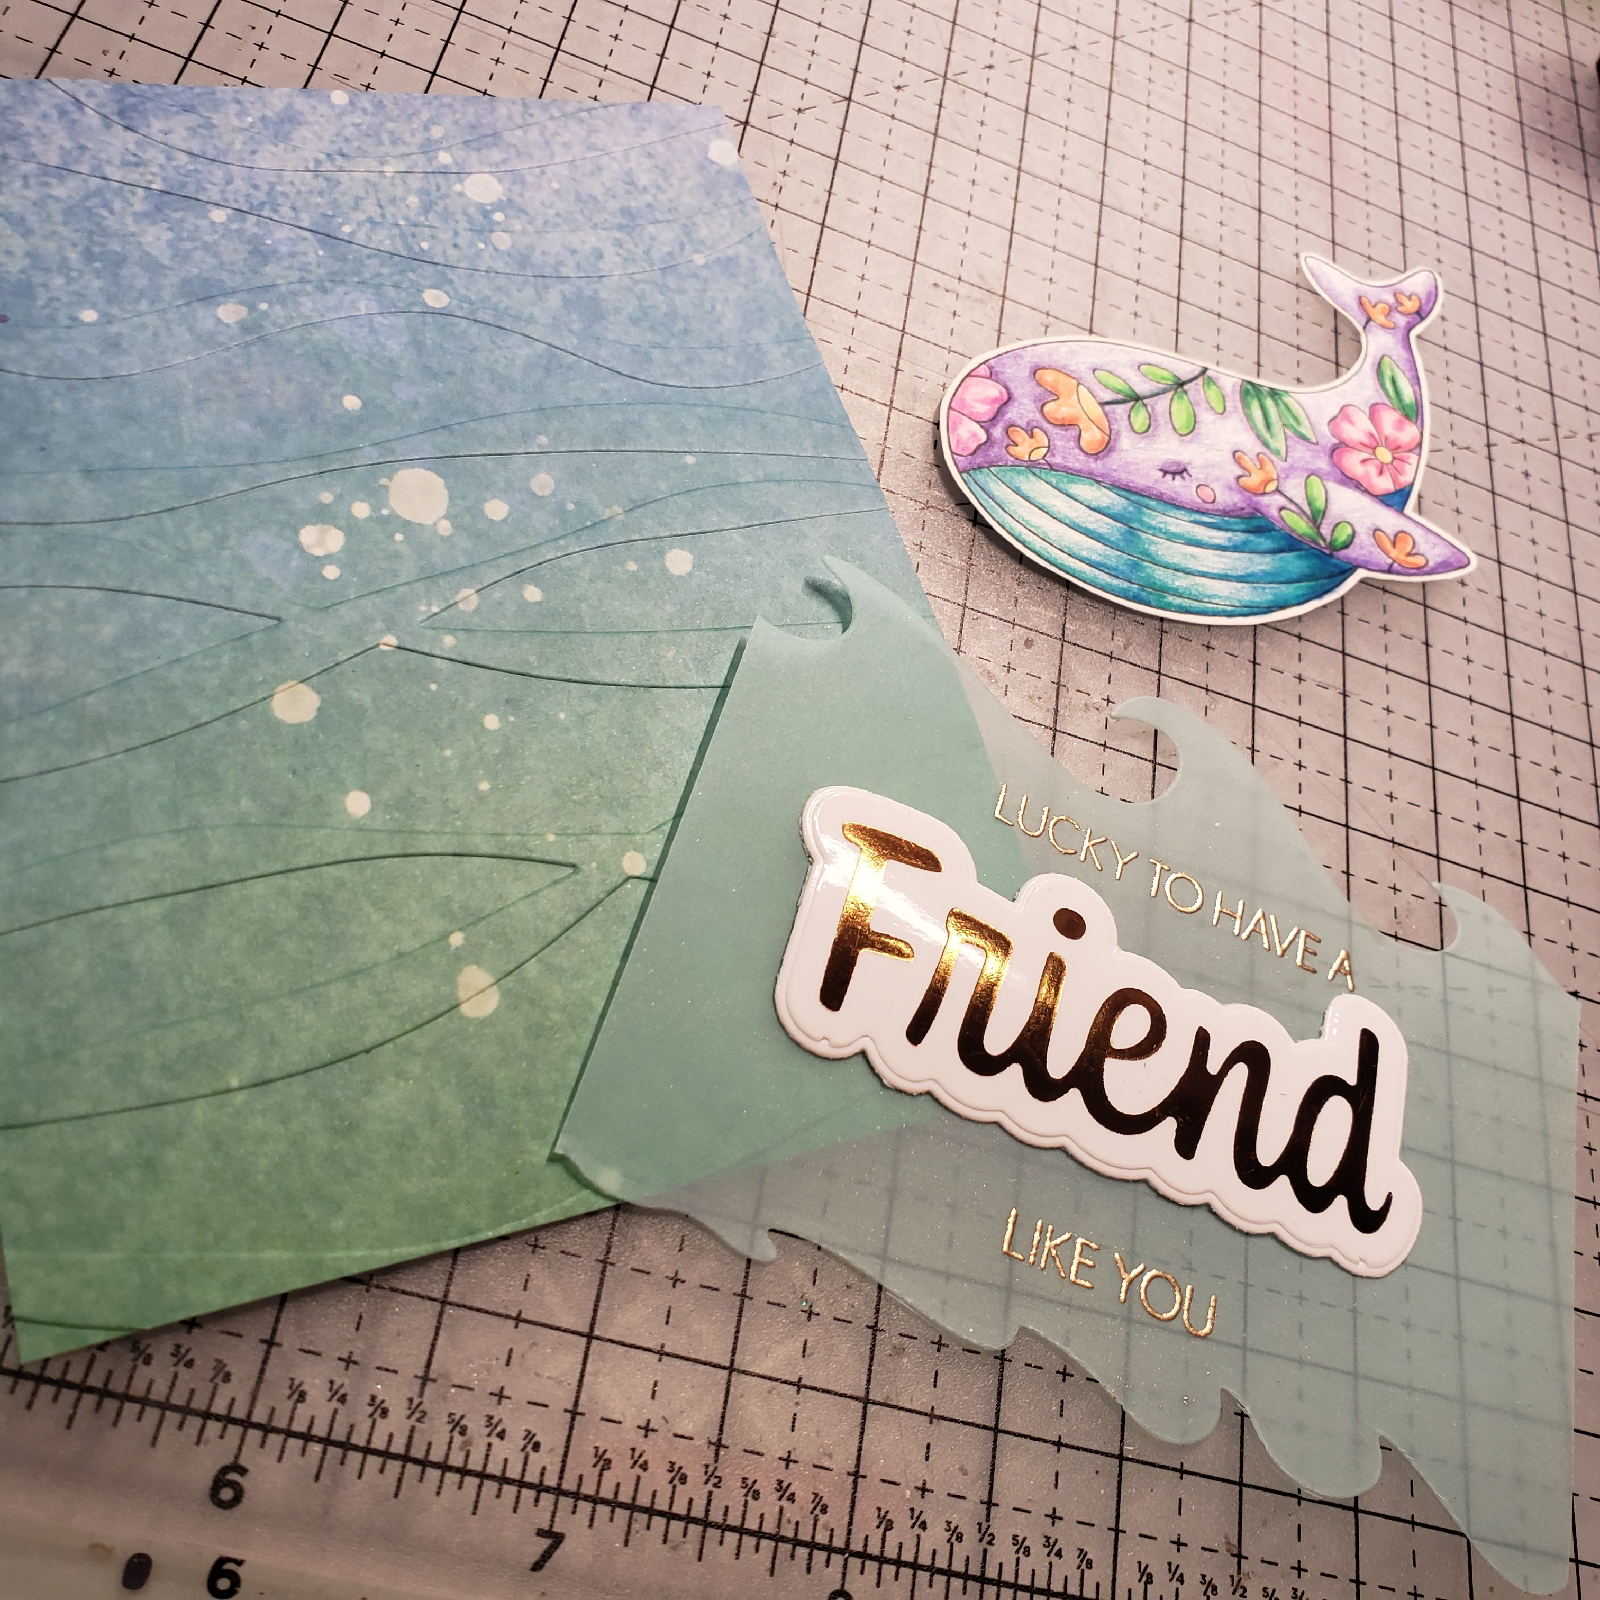
I used wave dies in my stash to die cut the top and bottom of the vellum sentiment and glued the foiled word Friend in the middle. Set this aside. The card front is cut from a blue-green watercolor printed cardstock I added the wave pattern with a wave embossing folder.
Turn the vellum sentiment piece over, exposing the back side. Add two strips of Double Thick Crystal-Clear Foam Tape to the vellum directly behind the Friend Scripty Foiled word.  Add two additional strips of the Double Thick Crystal-Clear Foam Tape on each side edge of the vellum.  I peel back a corner of the red release paper on the two side edges to expose a small are of the Double Thick Crystal-Clear Foam Tape and peel off the full red release strip from the Double Thick Crystal-Clear Foam Tape strips behind the foiled Friend sentiment. Position the wave card front layer up at the top of the wave embossed watercolor card front. Below are additional photos of the placement of the vellum wave layer. I finished the card front by gluing the whale image in place with his tail behind the vellum layer.  The card front was then attached to a teal A2 card base.

The Rabbit Hole Design Products used
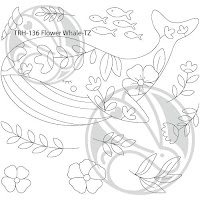
Thank you for taking the time to stop by today's blog to see how to recreate the So Lucky to Have You, Friend Card featuring the Flower Whale stamps set and Friend Hot Foil Plate, stamp set and layering die sets. I hope you learned a new paper crafting tip or trick. Please feel free to leave a comment or ask a question 


Be Creative ~ Stay Inspired

Jenn Gross


Follow me, Journey Coach Jenn, on 

Instagram - https://www.instagram.com/journeycoachjenn/

YouTube - http://www.youtube.com/c/JourneyCoachJenn

Blog - http://www.journeycoachjenn.com/


For more inspiration, updates, and news make sure to check out these places


The Rabbit Hole Designs

The Rabbit Hole Designs Instagram

The Rabbit Hole Designs Facebook Page

The Rabbit Hole Designs Pinterest

The Rabbit Hole Designs YouTube


Caffeine Is My Camo

 Hello Everyone! Von Marie here and I am so happy to be on the blog today. I have a fun Card to share with you using the Newest Products from the latest Release.


I'm using the Caffeinated Chameleon and I wanted my Caffeinated Chameleon card to be really Colorful. So I stamped this lizard onto Neenah Solar White 80lb. cardstock and colored it purple and it's markings rainbow colors using Copic Markers. I then cut it out with the Caffeinated Chameleon Dies. I used the Build Your Garden Stencil with 80lb white Cardstock using a rainbow of colored Dye inks and blending Brushes. I did mask of area so I didn't make a mess. I then used a Notched stitched A2 rectangle die to cut my inked background out.


I then added my panel to a A2 card base and Stamped the sentiment from the stamp set with a Crisp Black ink. I added my Caffeinated Chameleon with Double Thick Crystal Clear Foam Tape 5MM, and for fun some yellow enamel drops to the centers of my flowers. I hope you like my card, it was so fun to make!

TRHD Products Used:


For more inspiration, updates, and news make sure to check out these awesome places! 


Thank you for stopping by!

Von Marie


Hippopot-a-Mess

 Welcome to the Rabbit Hole Designs Blog.
Kelly here sharing a card I made featuring "Caffeinated Hippo".

To make this card, I started with an alcohol ink background. 
I used Citrus, Pink Sherbet and Silver on a diagonal.


I set that aside to dry and stamped, colored and cut out my Caffeinated Hippo (die is now available). I chose Copic colors to match my alcohol ink background. I stamped the sentiment from the set using a stamping tool, black sticky ink and embossing powder.   Once the background was finished, I mounted the tired hippo to the card with Rabbit Hole's  Clear Foam Dimensional tape.  


 Thank you for stopping by the blog today.
I hope you will come back daily for more Rabbit Hole inspiration.
-Kelly


Sprinkles Please!

Hello my crafty friends!  This has such a summer warm vibe to it.   This fun shaker card is featuring The Rabbit Hole Designs' Taste Like Summer stamp set.  I paired it up with the Corner Mandala stencil because it created such a whimsy  likeness of the Sun.

 I started by stamping the bunny image from the Taste Like Summer stamp set onto a piece of yellow cardstock with brown ink. The bunny is colored with colored pencils an so is the cone.  I used a kraft knife to carefully cut the three ice cream scoop opening in the card.   I positioned the Corner Mandala stencil on the top left hand corner of the yellow cardstock and masked of some of the stencil leaving only what looks like the sun and rays to stencil.  I used Cracklin Campfire, Carved Pumpkin and Squeezed Lemonade  Distress Oxide ink with the Cotton Tail Blending Brushes to create the sun.

 I die cut some grass from green card stock and added it to the bottom portion of the card front. I die cut some grass from green card stock and added it to the bottom portion of the card front. I stamped the sentiment "life is short get the extra scoop" just above the grass on the left side of the card front. I turned the card over and attached a piece of clear acetate for the shaker window. I outlined the shaker window with The  Rabbit Hole Designs' new Double Thick Crystal Clear Foam Tape - 5mm wide. This tape is clear, so you can see through it.  You will not see any white foam at the edges of this card!  I added my shaker elements and then sealed the opening with a piece of cardstock.  I then added the Double Thick Crystal Clear Foam Tape - 5mm wide around the outer side back of the card front and attached it to in A2 grapefruit colored card base.  I embellished the Sun with some sequins to complete the card.


Here are The Rabbit HoleDesign products used in this card:

Taste Like Summer stamp set


Corner Mandala Stencil

I hope you enjoyed this Sprinkles Please! Shaker card featuring the Taste Like Summer stamp set, Corner Mandala stencil and NEW Double Thick Crystal Clear Foam Tape.   I love hearing from you. Please feel free to leave comment or a question.


Be Creative ~ Stay Inspired

Jenn Gross


Follow me, Journey Coach Jenn, on 

Instagram - https://www.instagram.com/journeycoachjenn/ 

YouTube - http://www.youtube.com/c/JourneyCoachJenn

Blog - http://www.journeycoachjenn.com/


For more inspiration, updates, and news make sure to check out these places


The Rabbit HoleDesigns

The Rabbit Hole Designs Instagram

The Rabbit Hole Designs Facebook Page

The Rabbit Hole Designs Pinterest

The Rabbit Hole Designs YouTube