Pages

Showing posts with label Mermaid Hair. Show all posts

Happy Valentines Day - Using those stenciled backgrounds

 MaryAnn, here to share some inspiration using backgrounds created with some of our stencils.

Many of you may recognize these backgrounds from the examples of the stencil on our website.  Why is that you may ask? Well because I am the one testing the stencils when they first arrive and then I use the test to take and post pictures to our website of what the final stenciled image will look like for you all.  I have amassed quite the stack of examples and decided to take over the blog today to show you how I used them.  There are no recipes, just pictures.  I hope you enjoy them.


Corner Mandala Stencil


Thank you for falling down The Rabbit Hole for a few minutes!
MaryAnn - Co-Founder The Rabbit Hole Designs

Stenciling with Karin Markers


Hey crafty friend, it's Amanda from Pear Blossom Press again. Well, I did it. I couldn't resist the new Karin markers. I was trying to be strong. I've been building my Copic collection, and since I have full-set-itus (it's a real thing), I wanted to complete that collection before starting another. But there was a sale. And Jenn Gross has been creating the coolest backgrounds with them. And I couldn't hold out anymore...

So I've been testing them out! They are highly pigmented, waterbased markers, with nice nylon brush tips. I love them! Let me show you a card I created with them...


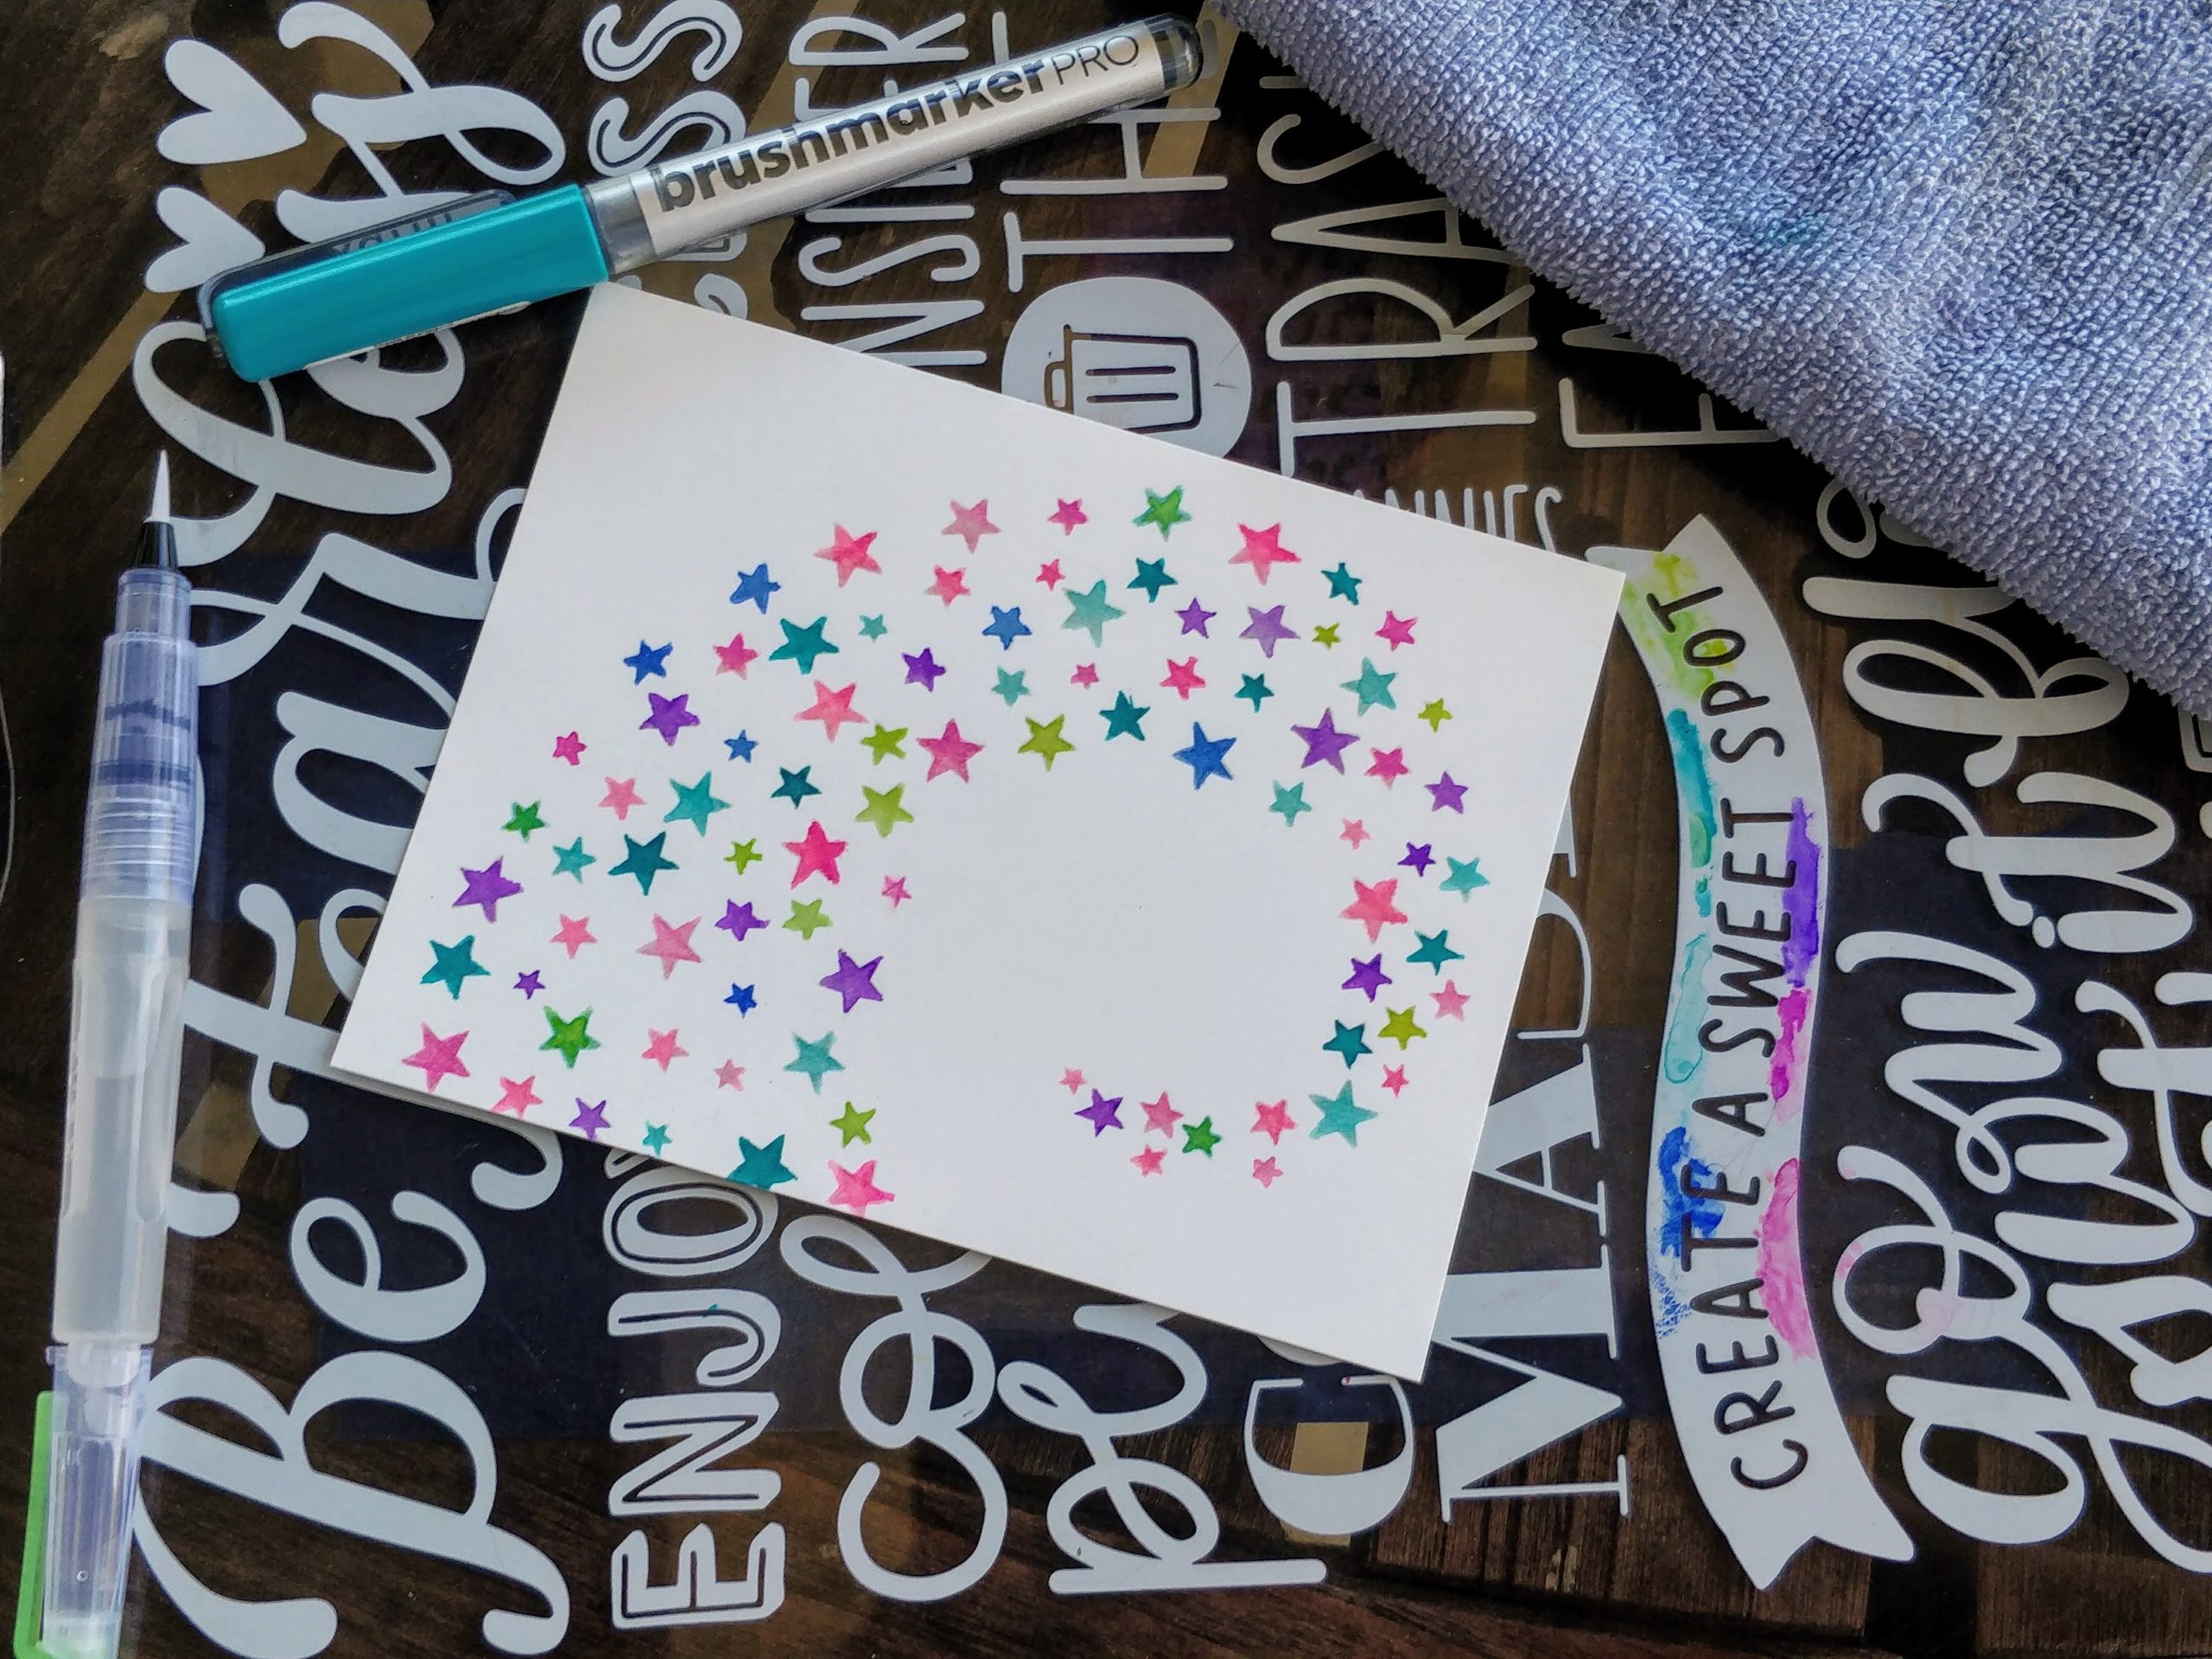
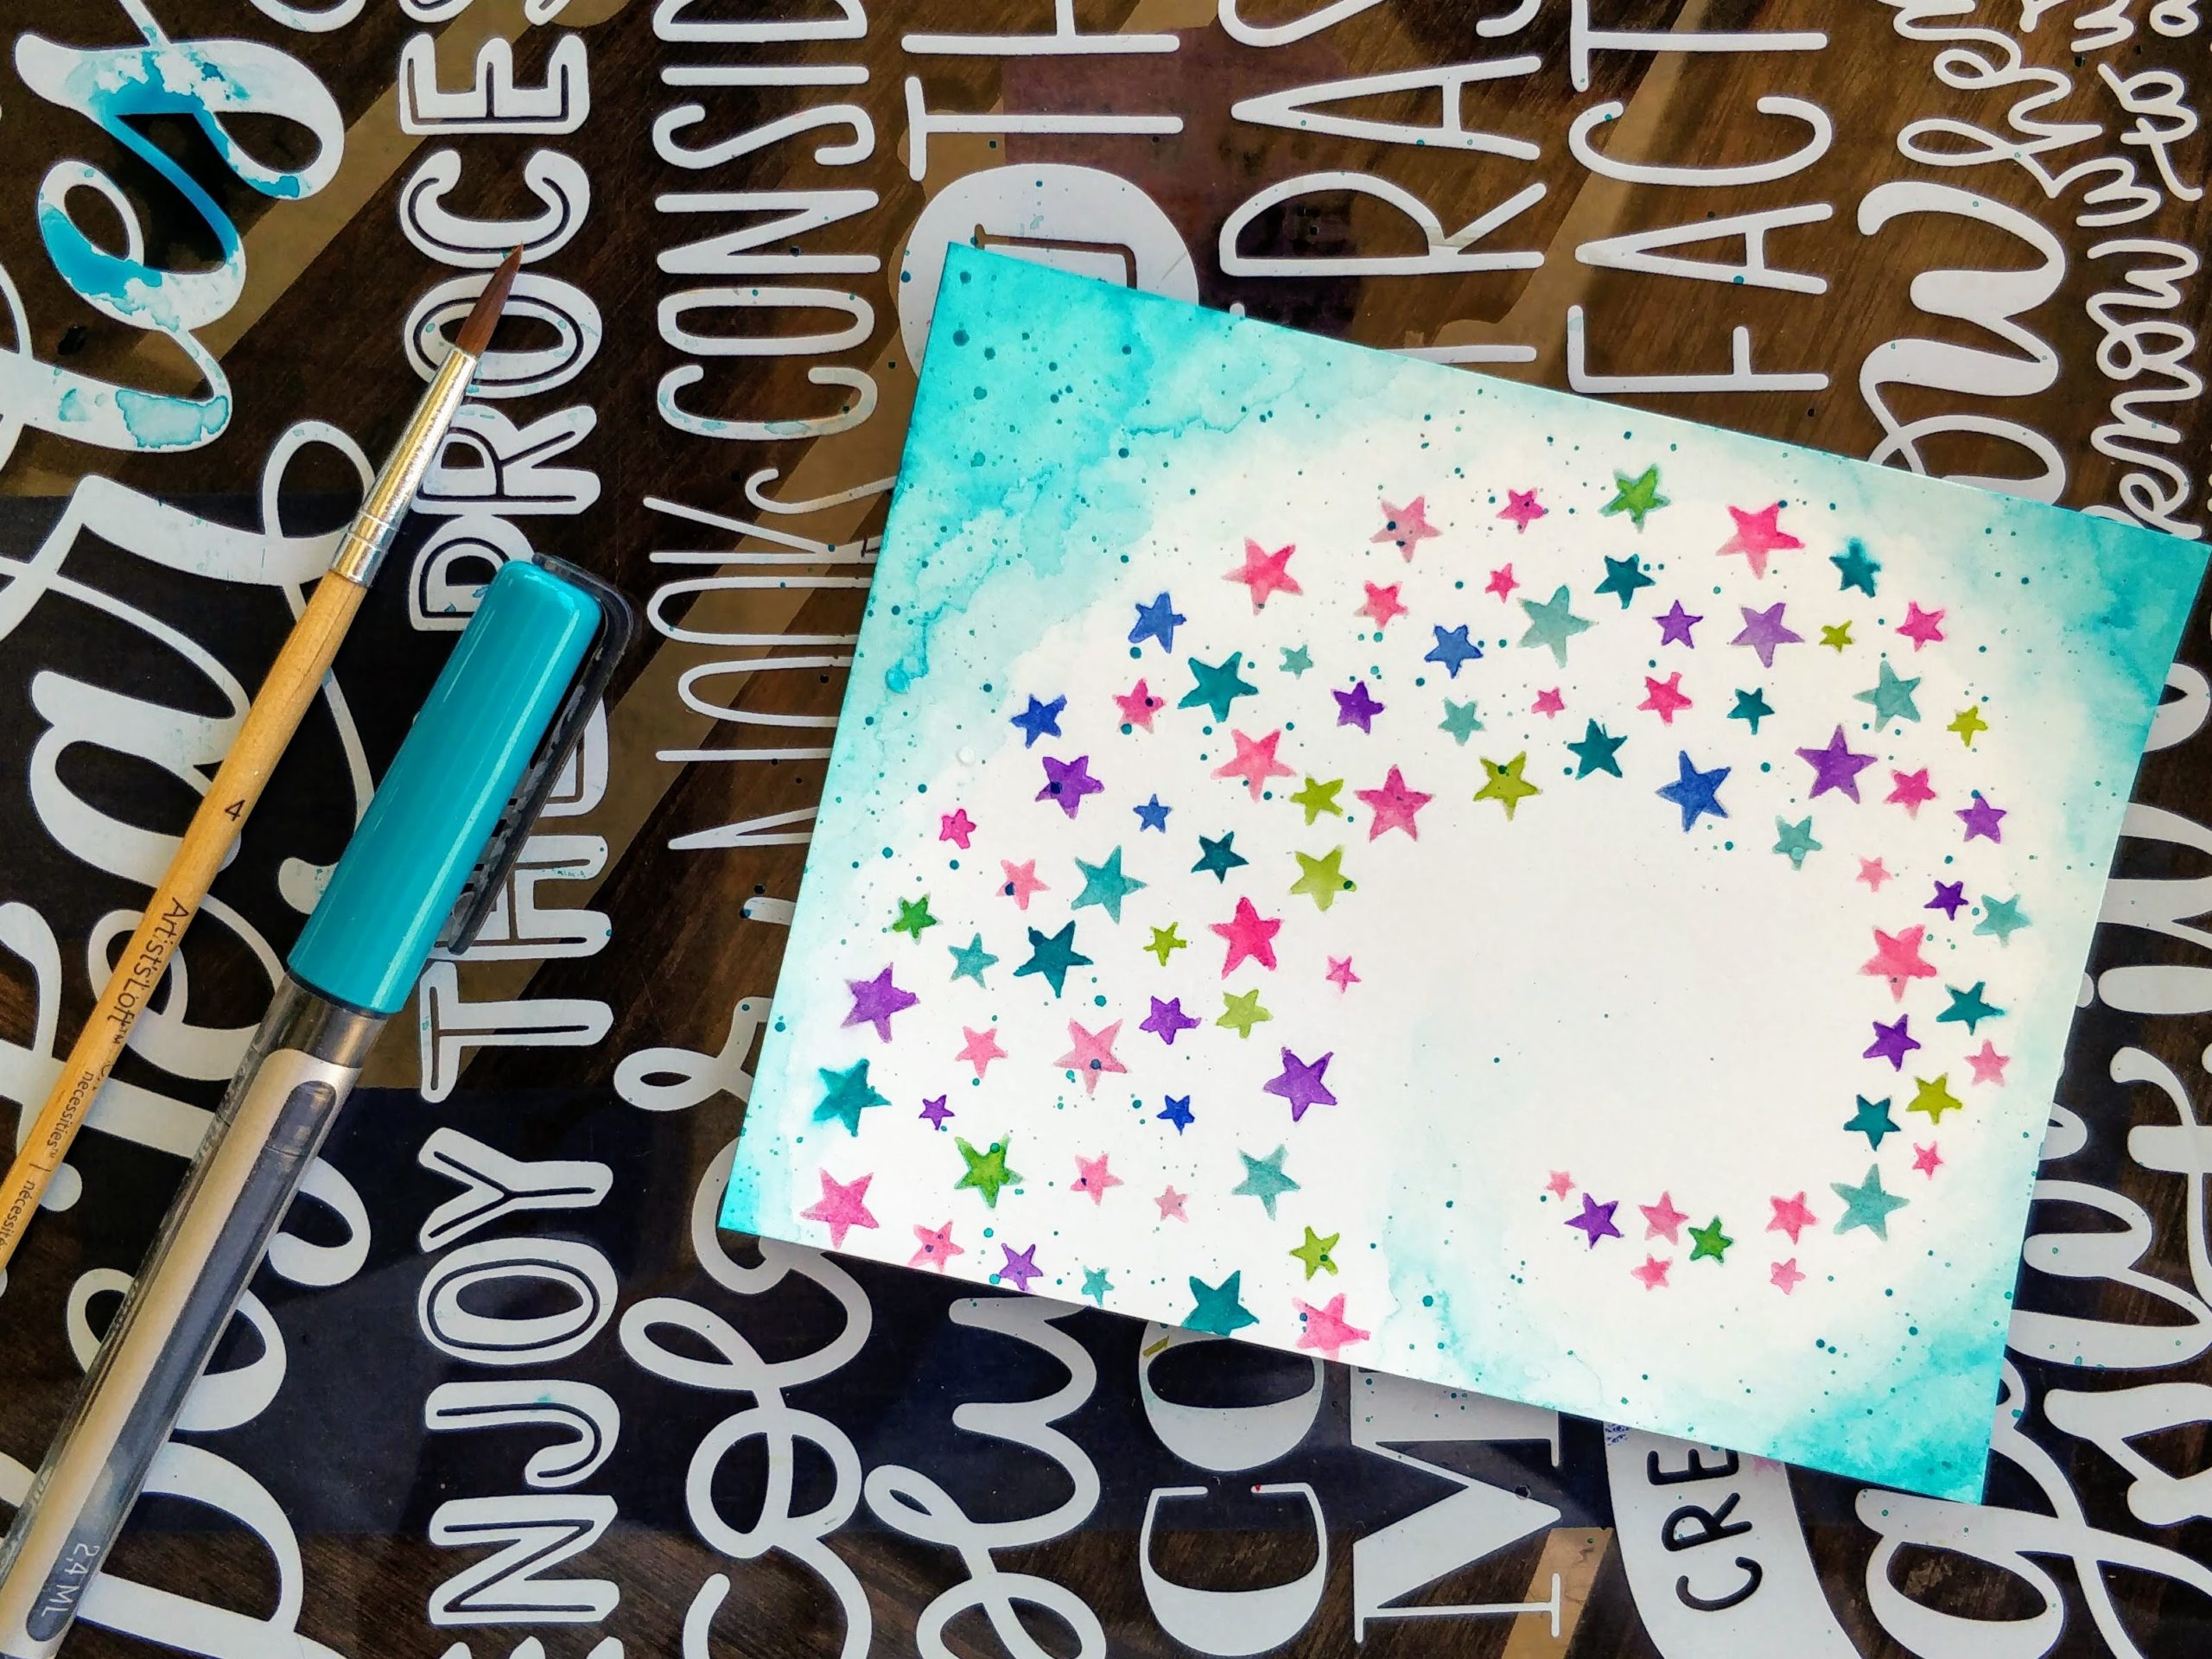
I saw Kathy Racoosin stencil a light, neutral colored ink onto a background, and then watercolor it. It's such a cool technique! For this card, I stenciled Fadeout ink through the Aim for the Stars stencil. I was just playing, so I used a panel of Neenah that I had handy. I probably should have grabbed watercolor paper, but since there was so much pigment in the markers, I didn't actually get the panel too wet, and it worked just fine.

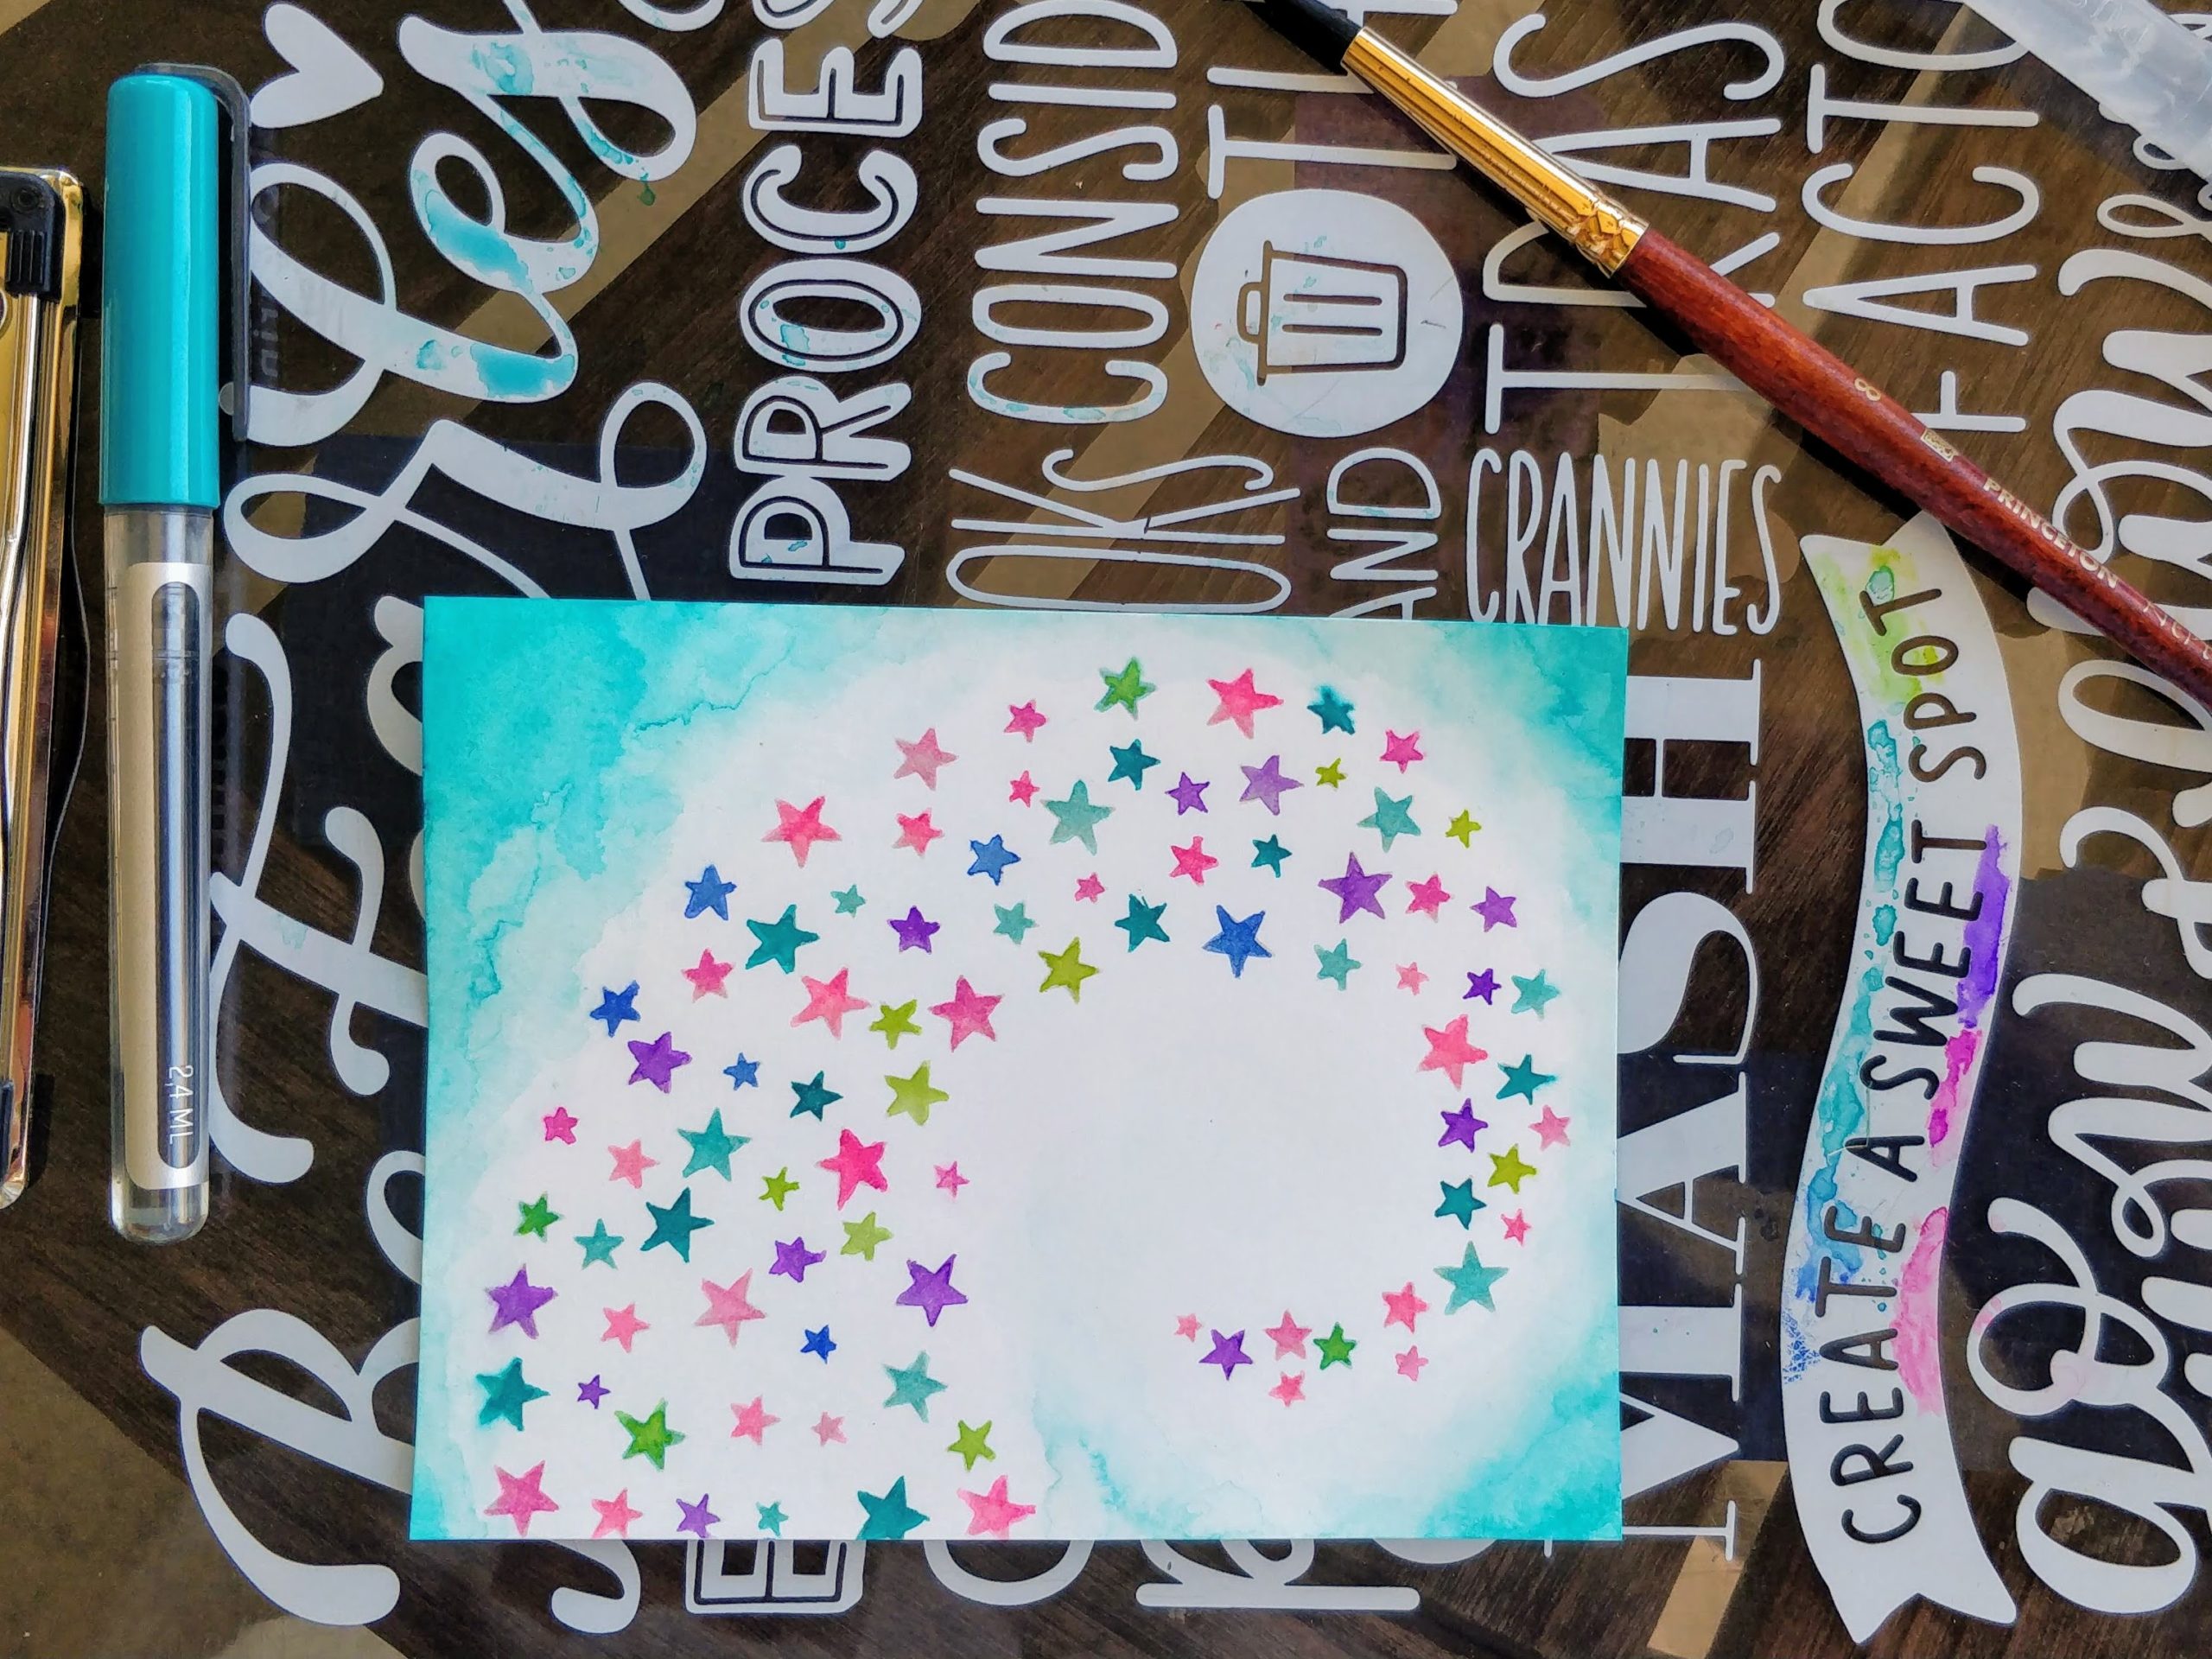
After I stenciled on the Fadeout ink, I scribbled several colors of markers onto my clipboard and picked them up with a waterbrush. I colored over the stars. Then, I added watered down turquoise to the sides (this is where watercolor paper would have been a better idea, but again, it worked just fine). To add interest, I splattered on concentrated color.


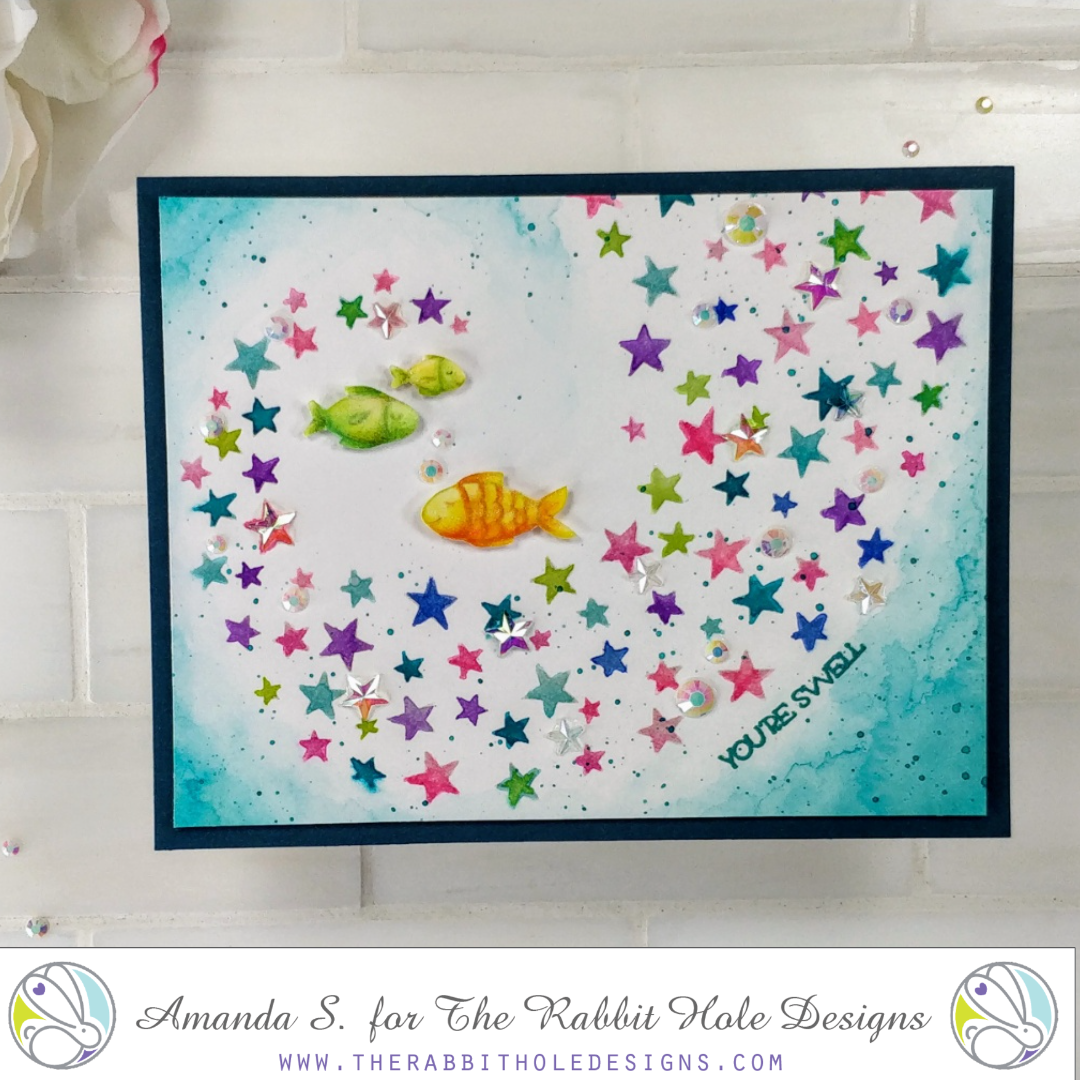
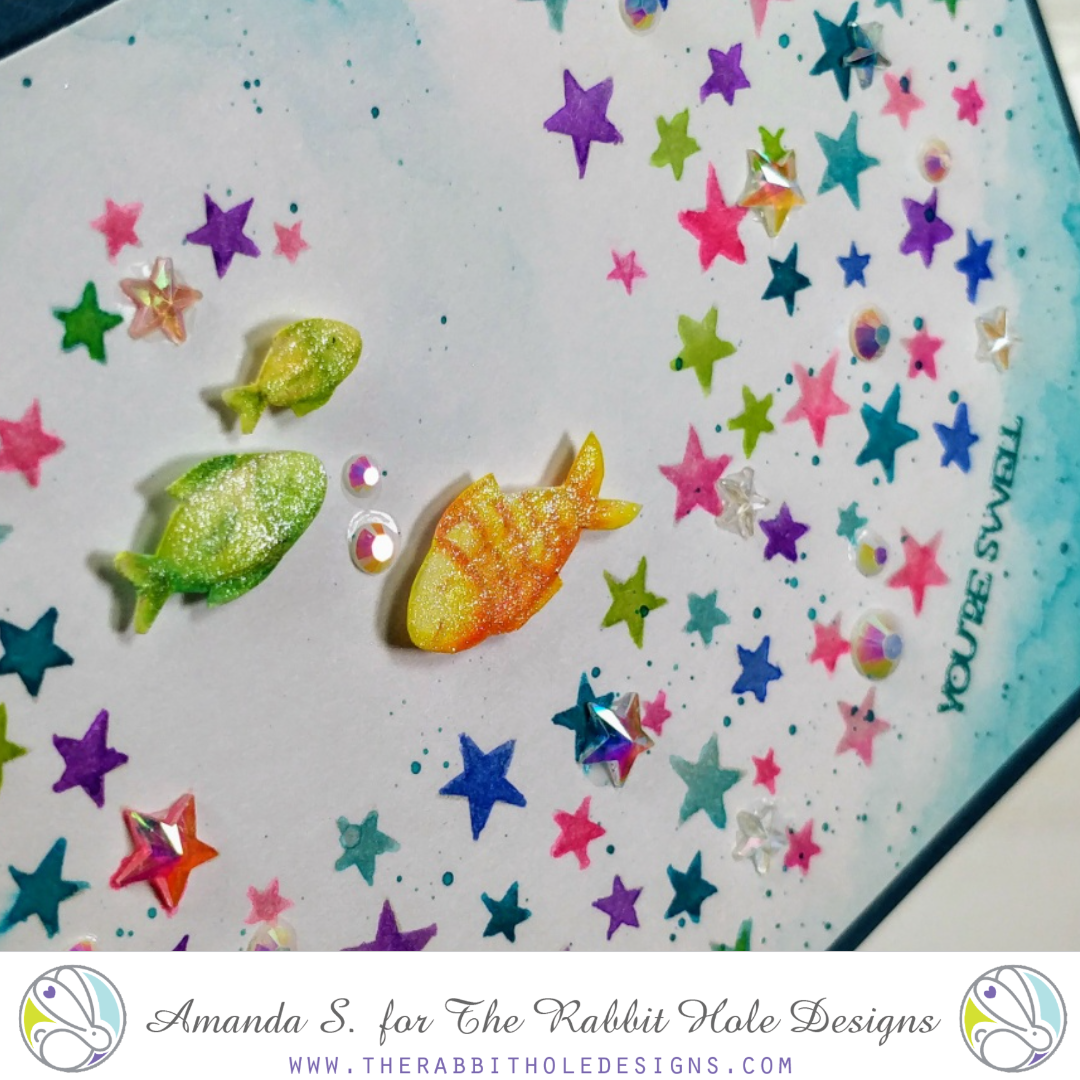
While I was rotating and trimming the panel down, the swirl of stars kind of reminded me of a mermaid tail, or waves. So I decided to turn it into an underwater background. Still wanting to play with the new markers, and with the Fadeout ink already out, I stamped the three fish in the Mermaid Hair stamp set to try no-line coloring again. (You may recall this no-line disaster, but I figured fish would be more forgiving images.) I watercolored them in the same way I did the stars, then fussy cut them. 

To pull the card together, I curved and stamped the sentiment YOU'RE SWELL from the Beach Day stamp set (on sale right now!) and embossed it on the background. I popped the panel up on a dark teal card base with fun foam, and popped the fish up with foam tape. Shimmer pen highlights, and flat-backed stars and gems add sparkle.


What do you think? Have you tried coloring a stenciled image? How about the Karin markers? Are you a fan of no-line coloring? I definitely need more practice with all three, but I'm enjoying the learning process. 

Thanks for stopping by today. You can find the sister article to this on my blog. Head on over for more inspiration and links to the specific products I used. I'll be back soon with another fun card to share. 

For more inspiration, updates, and news make sure to check out these awesome places! 

Love, under the sea

Hello there! Michelle here
With Valentine's Day approaching, love is in the air....and the sea!
I combined a few stamp sets and some masking to create this no line coloring card.
I love this cutie from Mermaid Hair and used her as my focus.
I used the big heart from Sassy Sentiments- Anti Valentine.
After my coloring was complete, I used stars and part of a sentiment from 
Love You More- Christmas Frost. The 'love' sentiment is from Put a Bow on It.


I began with a mask for both the mermaid and heart...
A. Mask the place where you want to stamp your mermaid, than stamp your heart.  
B. Remove the mask and cut along the heart outline on the mermaid body...this is
your second mask.


C. Place the second mask in it's original position and D. Stamp your mermaid.
 Using a Misti makes this a lot easier.


E. Remove the last mask and stamp the heart again. My placement was not
so perfect, but using antique linen distress ink for no line coloring allows
you to color over your mistakes!!
F. Start coloring...and have fun!!!
Here is a list of Copic colors:
fin, bubbles and bikini: BG11, BG13, BG18
body: E000, E00, E11, E93
hair: V000, V01, V12, V17, V17
heart: R24, R27, R29, R39
water: B32, B93, B24, B37
sand: E11, E13, E17
colorless blender for rays.
I stamped the stars with white ink and 'love' with festive berries distress oxide ink.
I added some white accents with a gel pen and shimmer with 
stickles glitter glue.


That's it for today!
Thanks for taking a trip down the rabbit hole!!!

Michelle

For more inspiration, updates, and news make sure to check out these places.


Therm-o-Web Mermaid Hair


It's Amanda W and I'm really excited to be back today with another collab card featuring The Rabbit Hole Designs and Therm-O-Web products! It's so fun to use them together. Today I'm going all out GLITZ and GLITTER!!!


Here are the details:
  • Ink blend Twisted Citron, Mowed Lawn and Peacock Feathers Distress inks and then adhered my Candy Twist Stencil with Pixie Spray. Then I covered the stencil with Glitz Glitter Gel in white.
  • While that was drying I pulled out Mermaid Hair and stamped, colored and cut out my images.
  • Then die cut my frame from white cardstock 4 times and glued them together.
  • Last I stamped my sentiment in green ink and cut it apart so I could scatter it in the card design.
  • For assembly I adhered my background glitter panel to the card front, then my frame with liquid glue because of the glitter texture and finally my images and sentiments were adhered with foam squares.
  • Finishing touches on this card were Wink of Stella Glitter Brush on the mermaid tail and fish. You can never have too much glitter when mermaids are involved!

Here's a closer look. Look at all that shimmer! This card is absolutely stunning in the light! The colors bounce off the glitter gel and it's so eye catching! The fun and whimsy of the whole card is fabulous!


I hope you enjoyed it. Remember to head over to the Therm-o-Web blog to see what their design team is creating too.

I appreciate you sharing your time with me. Have a fabulous day!

Here are the products I used:


For more inspiration, news and updates check out these links.


Sassy Mermaid


Good morning Rabbit Hole fans!
Today I have a Sassy Mermaid to share with you.
I absolutely love the look of an ink blended background 
especially on a sea themed card!

I used the following 2 Rabbit Hole stamp sets on my card today:


Mermaid Hair

Sassy

Card Recipe

I started with a piece of smooth card stock cut from a distressed edge
rectangle die so I could do some Distress Ink blending.

Next I took 3 different color Distress Inks and blended them down the 
die cut panel.  I sprayed some water on the panel to give it a distressed look
when I was all done.

I colored the Mermaid from Mermaid Hair and her 3 fish friends and cut
them out with my Scan N Cut and popped them up on the front of the card.

The sentiment from Sassy was the perfect way to finish off this card.
I masked off the sentiment "born to be a" so that the "a" didn't stamp and
then I added the word Sassy.  I heat embossed the sentiment with white
embossing powder so that it would stand out.

A few sparkly sequins and my card was done.

Thanks so much for stopping by the blog today!

Don't forget you can now purchase The Rabbit Hole stamps at


For more inspiration, updates, and news make sure to check out these links.

Have a great day, I already am!
🧜🏻‍♀️ Lisa  🧜🏻‍♀️

That ONE Friend


Hello and welcome TRHD fans!  Shanna here today to share a fun CAS card that stretches the stamp set Mermaid Hair from The Rabbit Hole Designs.
Summer is still HOT here in California, so I am not quite ready to put away my summer stamps, not that my mermaids ever go far!! And I am always looking for different ways to use my stamps that don't always jump out at me when first seeing the set. These 3 fishies were needing their own card for sure!

For this card I started my stamping my single *odd ball* fish first and then added all of the other fish in a triangular pattern for interest all on a A2 Bristol card base.  I used Versa Clair Nocturne ink knowing I would be watercoloring my images.
I used my Zig real brush pens to watercolor all the fist and water.
My sentiment came from Sassy Sentiments. It fit the design perfectly!!  I just heat embossed it in white on a black sentiment strip and added it to the card.


We all have "that one friend", I know I do!  What about you?!?


As always, thanks so much for stopping by! You can see more of my creations on my blog Caffeinated Craftiness, or be sure and follow my crafty adventures over on Instagram!
 See you all soon!
~Shanna

For even more inspiration, updates, and news make sure to check out these links.

Mermaid Kisses


Hello again my crafty friend, it's Amanda from Pear Blossom Press. I am so happy summer is finally here. I love the long, warm days and splashing around in the pool. There are bright colors everywhere and we get to sleep in while school is out. Kelly and I have been hanging out more in the craft room; she's been busy drawing while I've been coloring along with Kathy Racoosin's #thedailymarker30day coloring challenge. In the spirit of summer, I've been coloring everything in rainbow colors.
Mermaid Hair Perfectly Blended

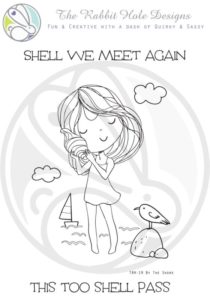
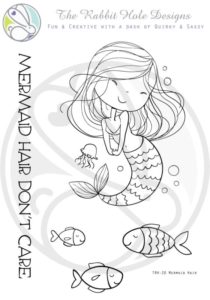
For today's cards, I did some masking and turned the little girl holding a shell in By the Shore into a mermaid. I stamped the top half of her, then stamped the bottom half of the mermaid in Mermaid Hair. It was super simple to do since they both have the same sized waists. I drew in a line to turn her dress into a bikini top and I gave her a little belly button. I considered using a mirror stamp for the tail, so they'd curl in opposite directions, but I wasn't sure I'd be able to get the lines as crisp (sometimes my mirror images end up a little fuzzy). I stamped a pair of mermaids like this. I also stamped out a bunch of fish and a pair of the whole images of the mermaid so I had two different girls (four mermaids in total). I colored them all with Arteza Real Brush pens. I knew I could cover up most of the shell in the first mermaid's hands with the hair of the other mermaid, so I chose to color the shell like it was her hair. It worked out perfectly! Once the images were all colored, I cut them out with my ScanNCut and outlined the cut edges with a black Sharpie. Then it was time to turn them into cards...

I think I've seen the Starbucks® logo so many times that the idea of combining mermaids with coffee/tea just seemed natural. I decided to put these little cuties into a large teacup, sort of like a hot tub. My ScanNCut has preset designs; one of which is a teacup and saucer set. I scaled it to 4" wide and cut out two sets. I pulled out the Perfectly Blended set for sentiments and got to work...


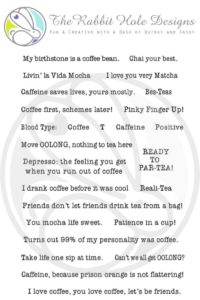
For the Ready to Par-Tea card, I ink blended Twisted Citron and Peacock Feathers Distress Oxide ink over a mermaid scale stencil onto one teacup and saucer. With the stencil still in place, I applied a thin coat of Vicki Boutin's Iridescent Glitter Paste. This paste is AWESOME! There are big chunks of iridescent glitter in there and it really shimmers. (You can now find it in The Rabbit Hole Designs' shop - woot, woot!) Once I removed the stencil and let the paste dry (on the paper, not the stencil; don't let it dry on the stencil), some of the chunky glitter pieces extended beyond the edges of the teacup. I just flaked those off for a cleaner look. I stamped and embossed the sentiment onto a small square, then chopped off the top corners to look like a tea bag label. I stapled on a piece of twine and tucked it into the top of the cup. I colored the tea with brown markers, then glued the cup parts together. I was going to put the girls into the cup, but I decided to put them in front of it for this card.


To pull the card together, I popped up a jade colored wonky stitched rectangle with a thin piece of fun foam onto a top folding A2 card base. I glued the cup on top of the rectangle, then popped the mermaids on top with foam tape. Since the sentiment is party themed, I decided to give them party hats. I cut out a pair of hats and quickly colored them with the same colors I used for their tails. I glued/foam taped the hats in place and added the fish to the scene. To keep the sentiment from just hanging limply, I secured it with foam tape. I used a combination of tiny rhinestones and sequins to add more sparkle to the card. To help the sequins look more like gems, I coated them with Diamond Glaze after they were glued in place. It's hard to see in the photos, but in person, the extra dimension is really cool.


For my second card, I went with a similar design layout, but I tried a different technique for the teacup. I spread a thin layer of white texture paste over a floral stencil. I removed the stencil and let the cup and saucer dry. Once they were dry, I dropped on Coral, Orange, and Fuchsia Aqua Pigments, along with a few drops of water, and tilted them from side to side so the colors would spread and mix. This is a technique I saw in a video from Pretty Little Button and I just had to try it. I love the way the paste grabbed the colors, but if you want it to resist more and be darker in the grooves, you can add the color while the paste is still wet. To add some sparkle to my teacup, I sprayed it with Glimmer Mist. I really like the way the mist settled into the grooves and bumped up the contrast.

Once the cup was completely dry, I assembled it the same way as the first one, except I tucked the mermaids inside this time. (To be honest, so much of the tails were covered up, I didn't need to alter the girl holding the shell at all.) I chose a sentiment that says Bes-Teas for the label and added a small fish to help fill some of the extra space. I decided on a neutral grey for the background color. It helped all of the other colors pop and, even though I die cut it with a fancy scalloped rectangle, it still has a modern feel. I popped the cup and mermaids in place with foam tape (I was generous with the foam tape since the paper was fairly warped). I added the fish to the scene and this time I used red flat backed gems to finish the card.


I love these cards so much that I'm thinking about making them in different colors for different seasons. Imagine them in reds and burnt oranges for pumpkin spice season (that is an official season now, right?!)... I also had a ton of fun playing with my stencils! I've got a whole list of other techniques to try and a bunch of new pastes too! I've made space on my desk for a glass baking dish that I'll fill with water and a squirt of dish soap to pop the dirty stencils into. #planningahead

What is your favorite stenciling trick or technique? Let me know in the comments below! If you'd like to see more cards made with these stamp sets, check out Watercolor Fun for Beachy Cards. You can find the sister article to this one on my blog too. Feel free to hop on over for even more inspiration and links to the specific products I used! I'll be back soon with another fun card for you...

Mermaid Shaker Tag


Good morning Rabbit Hole fans!
It's Lisa on the blog with you today and I have a super sparkly 
Mermaid shaker tag for you today using the Mermaid Hair stamp set!
This is one of my favorite stamp sets so far, I just love mermaids and anything
sparkly! I also added in some fun Rabbit Hole sequins that come as free gifts
with your orders.  The colors were my inspiration for this card.
I just love the blue and purple colors together for mermaid cards!
I made the background of my tag out of vellum so you could really 
appreciate the sequins! I also stamped 2 of the fish images from the 
Mermaid Hair stamp set in the background for a little extra fun!
Here is another pic with all of the Rabbit Hole supplies used.


Thanks for stopping by today and make sure to stop by The Rabbit Hole Design's blog
 each day to see more projects from the fabulous design team!

For even more inspiration, updates, and news make sure to check out these links.

Have a great day, I already am!
🧜🏻‍♀️Lisa 🧜🏻‍♀️  

You're a star- with Katie

Hello friends, happy Tuesday!  Katie here today to share a delightful ocean scene using the new Mermaid Hair stamp set that we've just released.  This may be my favorite set from the release.  It is just so darn sweet!!!  So let's get to it shall we....


SQUEE!!!!  it is so darn cute, because she is so darn cute!  

Here is how I made it: 
  • I started with my white cardstock and used distress inks (Mustard, Pistachio, Peacock, Wilted Violet, Spun Sugar), blending brushes, and an Echo Park stencil. 
  • Next, I stamped the images on a seperate piece of copic friendly paper and colored them, added gel pen highlights and fussy cut them out. 
  • I stamped the sentiment on the page, pulled from my stash. 
  • I stamped the mermaid and jelly on the base, then added the colored version on top with dimensionals. 
  • Lastly, I added glossy accents to the bubbles. 
Here is another view: 


There are so many amazing people on this Earth and I love to represent them all by adding diversity to my cards.  💗  With her dark skin, the pastel color pallet is perfect.


I hope you enjoyed this card today and I thank you for visiting.  To see a full list of supplies, visit me on my blog.  

I am entering this into the Cupcake Inspiration Challenge


For more inspiration, updates, and news make sure to check out these places.


Never Enough Glitter...


Hey crafty friends, it's Amanda from Pear Blossom Press again! So how much bling is too much for a card? Lol, I'm the wrong person to ask ;) This card is completely covered in shimmer and shine and I love it!

To create this card, I started by stamping, embossing, and watercoloring the images in the Mermaid Hair stamp set. Then I cut them out with my ScanNCut, leaving a narrow white border. After they were cut out, I added a healthy coat of Aqua Shimmer to the images.

For the background pieces, I sprayed heavyweight watercolor paper with Glimmer Mist, then sprinkled on Color Burst watercolor powders. It's easier to gauge how much powder to apply if you sprinkle it onto wet paper and you will also get a grittier look because the powders don't dissolve and mix as much. I made sheets in yellow, green, purple, red, and a blue/green/purple mix. You could use water for this instead, but the Glimmer Mist leaves a nice shimmery finish.


Once the pieces were dry, I used dies to cut out the castle pieces and a pair of stitched hillsides from the yellow. I cut the word thanks and a bunch of seaweed pieces from the green. I cut the flags, starfish, and shells from the red and purple sheets. I used a wonky stitched rectangle die to cut the blue/green/purple background piece. I also used it to cut the sand and castle pieces where they touched the edges so they'd have the same stitched details. I added another layer of sparkle by applying green glitter paste to all of the green pieces, including the mermaid's tail.


While the paste was drying, I die cut a wavy banner and an A2 sized stitched rectangle from blue cardstock. I also cut two more layers of the word thanks from scrap cardstock. I stamped a sentiment from the Sassy Sentiments stamp set onto the banner and embossed it with white powder. I glued the green word thanks to one of the scrap ones, and then glued it to the banner. I glued the third layer of thanks to the back, sandwiching in the banner where it overlapped. This gave me a stronger finished element.


I used a combination of glue and foam to layer the sand, castle, and seaweed to the background. I added the sentiment, starfish, and shells to the scene, then popped the mermaid and fish up with foam tape. I glued the blue rectangle to an A2 card base, then glued the scene to the card with a thin layer of foam sandwiched in between. To add even more bling, I glued on a few sequins and then covered them with Diamond Glaze. I added more Diamond Glaze to the mermaid's tail, the bubbles next to her, and all of the fish.


Every layer of this card has shimmer, glitter, or shine. I think it's pretty fabulous too. So what do you think, too much? Not enough? Let me know in the comments below. If you'd like links to the specific products I used, head on over to my blog for the sister article.

Thanks for stopping by today; I'll be back soon with another fun card!

Inspiration Hop for June ~ Day 2 ~ By the Shore & Mermaid Hair


Hello and welcome to Day 2 of the Inspiration Hop. We are so excited for you to join us as we present to you our June release.  Our fabulous Design Team will be sharing their projects over the next few days, so be sure to visit their blogs and leave them some crafty love.

 All of the new stamp sets are available to purchase right now in the shop.
~
FREE SHIPPING 
on orders of $25 or more before taxes and shipping
(applies to US orders only)
No code necessary, exclusions apply
ends 05-30-2019


The stamp sets that are being highlighted today are: 

By The Shore


**Giveaway**
To celebrate day 2 of the release The Rabbit Hole Designs is giving away winners choice of either Mermaid Hair or By the Shore to One lucky winner.  Winner will be chosen at random from the comments left on participating blogs, so make sure to visit each stop and leave a comment.  Leave comments by 11:59 pm PST 05-30-2019 on all participating blogs. Winner will be announced on The Rabbit Hole Designs blog 05-31-2019


Here is the line up for the hop:


Thank you so much for stopping by today!