Pages

Showing posts with label Sassy Birthday 2. Show all posts

Another Fave from 2021: At Your Age...

Happy Thursday!  Tangii here and I'm back with another one of my favorite cards from 2021!!

I had this fantastic glittery, shimmery paper and it was perfect for this festive card!  I die-cut the Congrats word from my base, and the shadow in black cs.  The shadow covers the the negative from my die-cutting and now my word has the same colors/gradient as the background.  My sentiment is from the Sassy Birthday 2 set, I stamped it on a white die cut piece and then blended some Oxide ink on the edges.  Finally I stamped, colored and then die cut some candles from the Just Cake stamp set & coordinating dies.  The candles are floating under the sentiment and popped up with pop dots.

The lighting on this pic stinks, but it shows the shimmery-goodness! Lookie at all of those layers & all of that texture! Swoon! 

 All of the items I linked in my post are available at The Rabbit Hole Designs.

You can also read about this card on my blog, here with links to the products I used, etc.  Thanks for popping by, come back again soon!

A Bright and Happy Birthday! A fun stencil technique


Today I am on The Rabbit Hole Designs blog sharing this bold birthday card.  I am using the Corner Mandala stencil, the Scripty Happy Birthday stamp set and the Sassy Birthday 2 stamp set to create this colorful card.


I used the shaving cream technique with items purchased from the Dollar Tree.  Add a roll of paper towel and you spent $5 and change for the  dollar supplies. I added some  liquid colors from my stash to use in this technique.


Find  and watch my Facebook Live from Sunday, January 31, 2021 on The Rabbit Hole Designs Facebook Page to see how to create the stenciled image on my card.

The Rabbit Hole Design Product


Thanks you so much for stopping by today.  I hope you enjoyed this Bright and Happy Birthday card featuring The Rabbit Hole Designs' new  Corner Mandala stencil, the Sassy Birthday 2 stamp set and the Scripty  Happy Birthday stamps set.  Feel free to ask any question or leave a comment below.


Be Creative ~ Stay Inspired

Jenn Gross


Follow me, Journey Coach Jenn, on 

Instagram - https://www.instagram.com/journeycoachjenn/

YouTube - http://www.youtube.com/c/JourneyCoachJenn

Blog - http://www.journeycoachjenn.com/


For more inspiration, updates, and news make sure to check out these places


The Rabbit Hole Designs

The Rabbit Hole Designs Instagram

The Rabbit Hole Designs Facebook Page

The Rabbit Hole Designs Pinterest

The Rabbit Hole Designs YouTube


Happy Birthday!


Hey yall!  Happy Tuesday!  Tangii here with another creation from the June release! I hope you are having a great week and doing something happy!  One of my teamies here shared a card that inspired me for this one.  I used the Ribbon Stars Stencil to make some birthday candles!

I used some scrap paper to make the teal "iced cake" piece. Then I drew a line just below the arch of it, this gave me an idea of where to place my candles.  Next I just masked off a couple the "ribbons" and then using blender brushes and ink I started coloring in my candles.  For the tips of the candles I used some embossing ink and Gold embossing powder... it kind of looks like candle flames.

Finally I added a sentiment from the Sassy Birthday 2 set at the top and added a twine bow!

All of the items I linked in my post are available at The Rabbit Hole Designs.

You can also read about this card on my blog, here with links to the products I used, etc.  Thanks for popping by, come back again soon!

Altered Caffeinated Critters


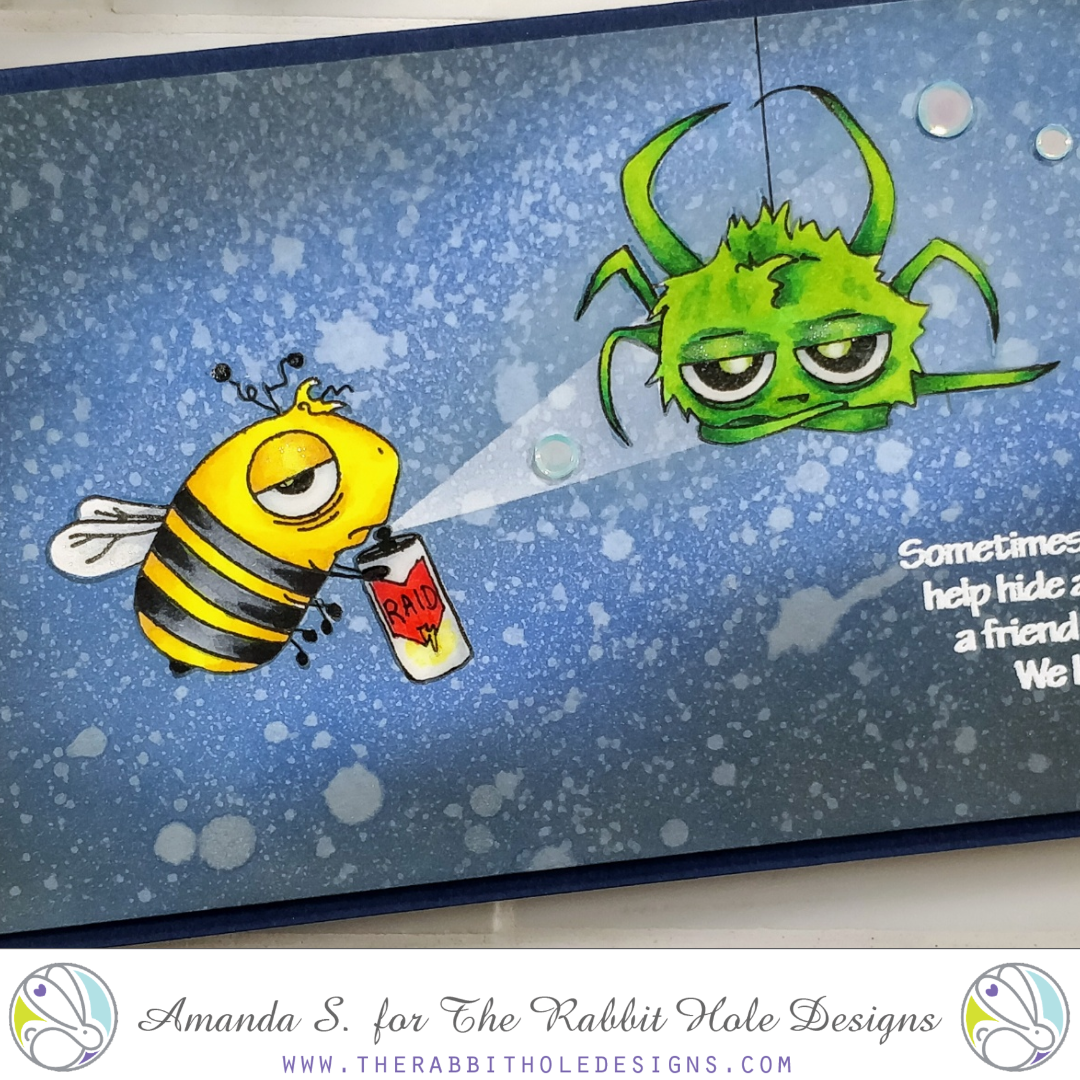
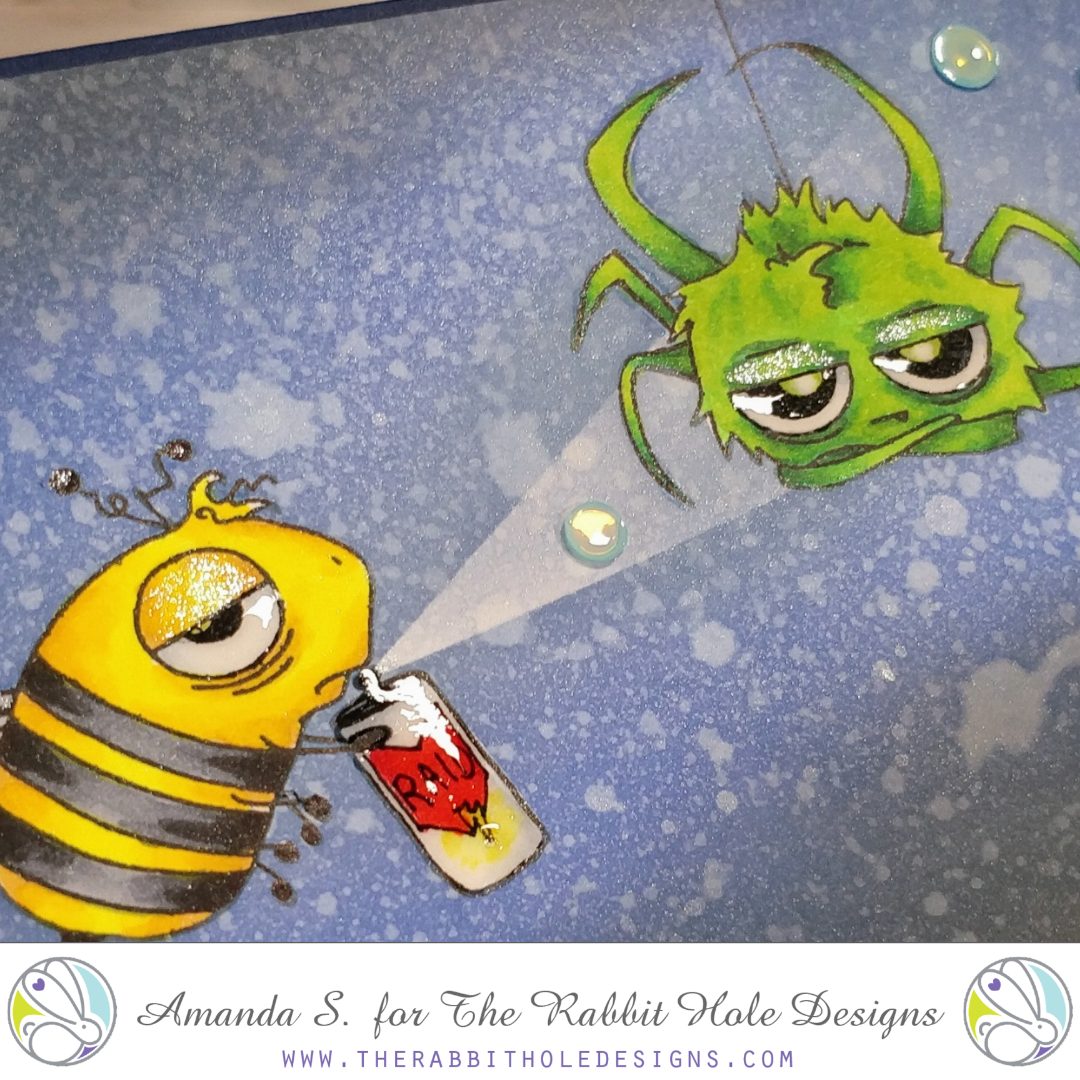
Hey crafty friends, it's Amanda from Pear Blossom Press. By special request, I made this hysterical slimline card for MaryAnn. We were laughing one day and she said she'd love to see a card with the Caffeinated Bee spraying a can of Raid® bug spray at the Caffeinated Spider. I thought the idea was fantastic and filed it away in my "to make" folder. When the Sassy Birthday 2 sentiment stamps were released, there was one I knew would bring my card together perfectly. 

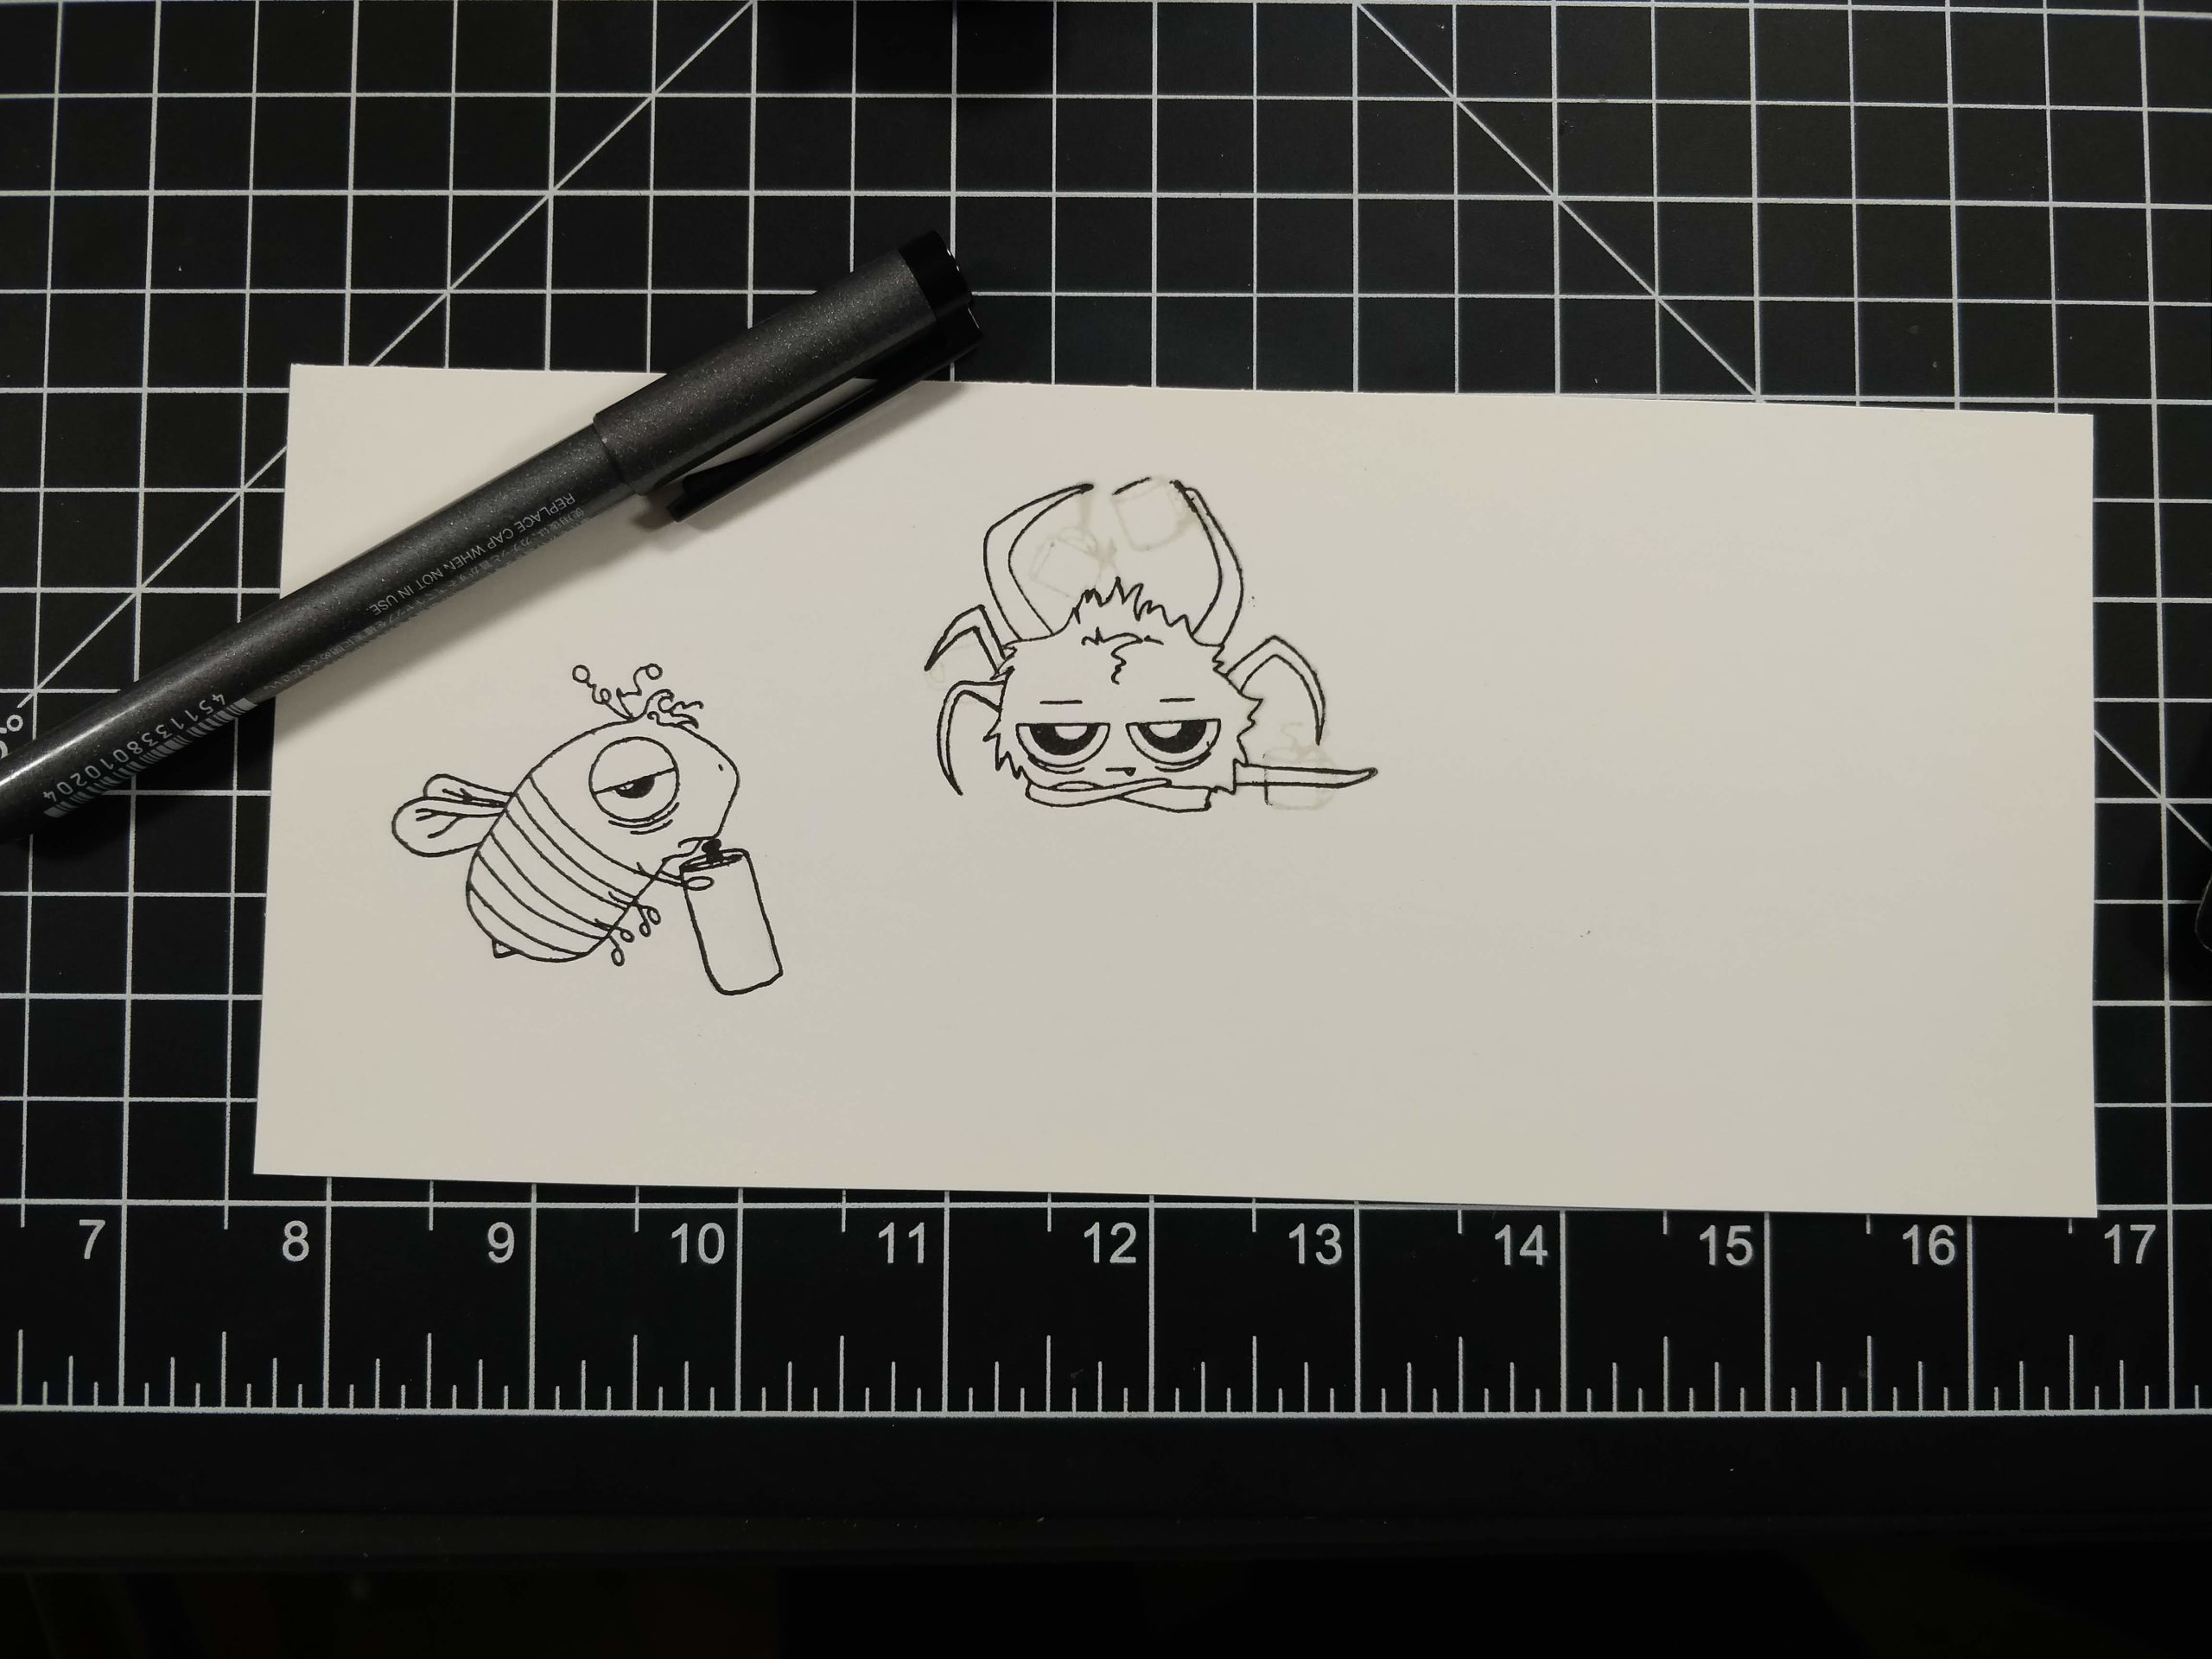
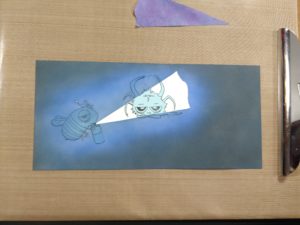
This card was actually very easy to make. I started by lining up the bee and spider in my Misti. I used some masking tape to mask off the coffee cups in the spider's hands and most of the cup in the bee's. I inked up the stamps with black ink, removed the masking tape, and stamped the images onto a slimline panel (4" x 8½"). Because so much of the spider's arms are touching the coffee mugs, I cleaned my stamp and inked the entire spider image again with Fadeout ink. I knew I was going to ink blend a dark sky around the images, so I could "edit out" any of the Fadeout inked areas I didn't want in the final scene. (That's another trick I learned in Kathy Racoosin's coloring classes!) Then, I traced over the rest of the spider's legs with a black Copic liner pen (0.3). I drew the can of bug spray in the bee's hand too. 


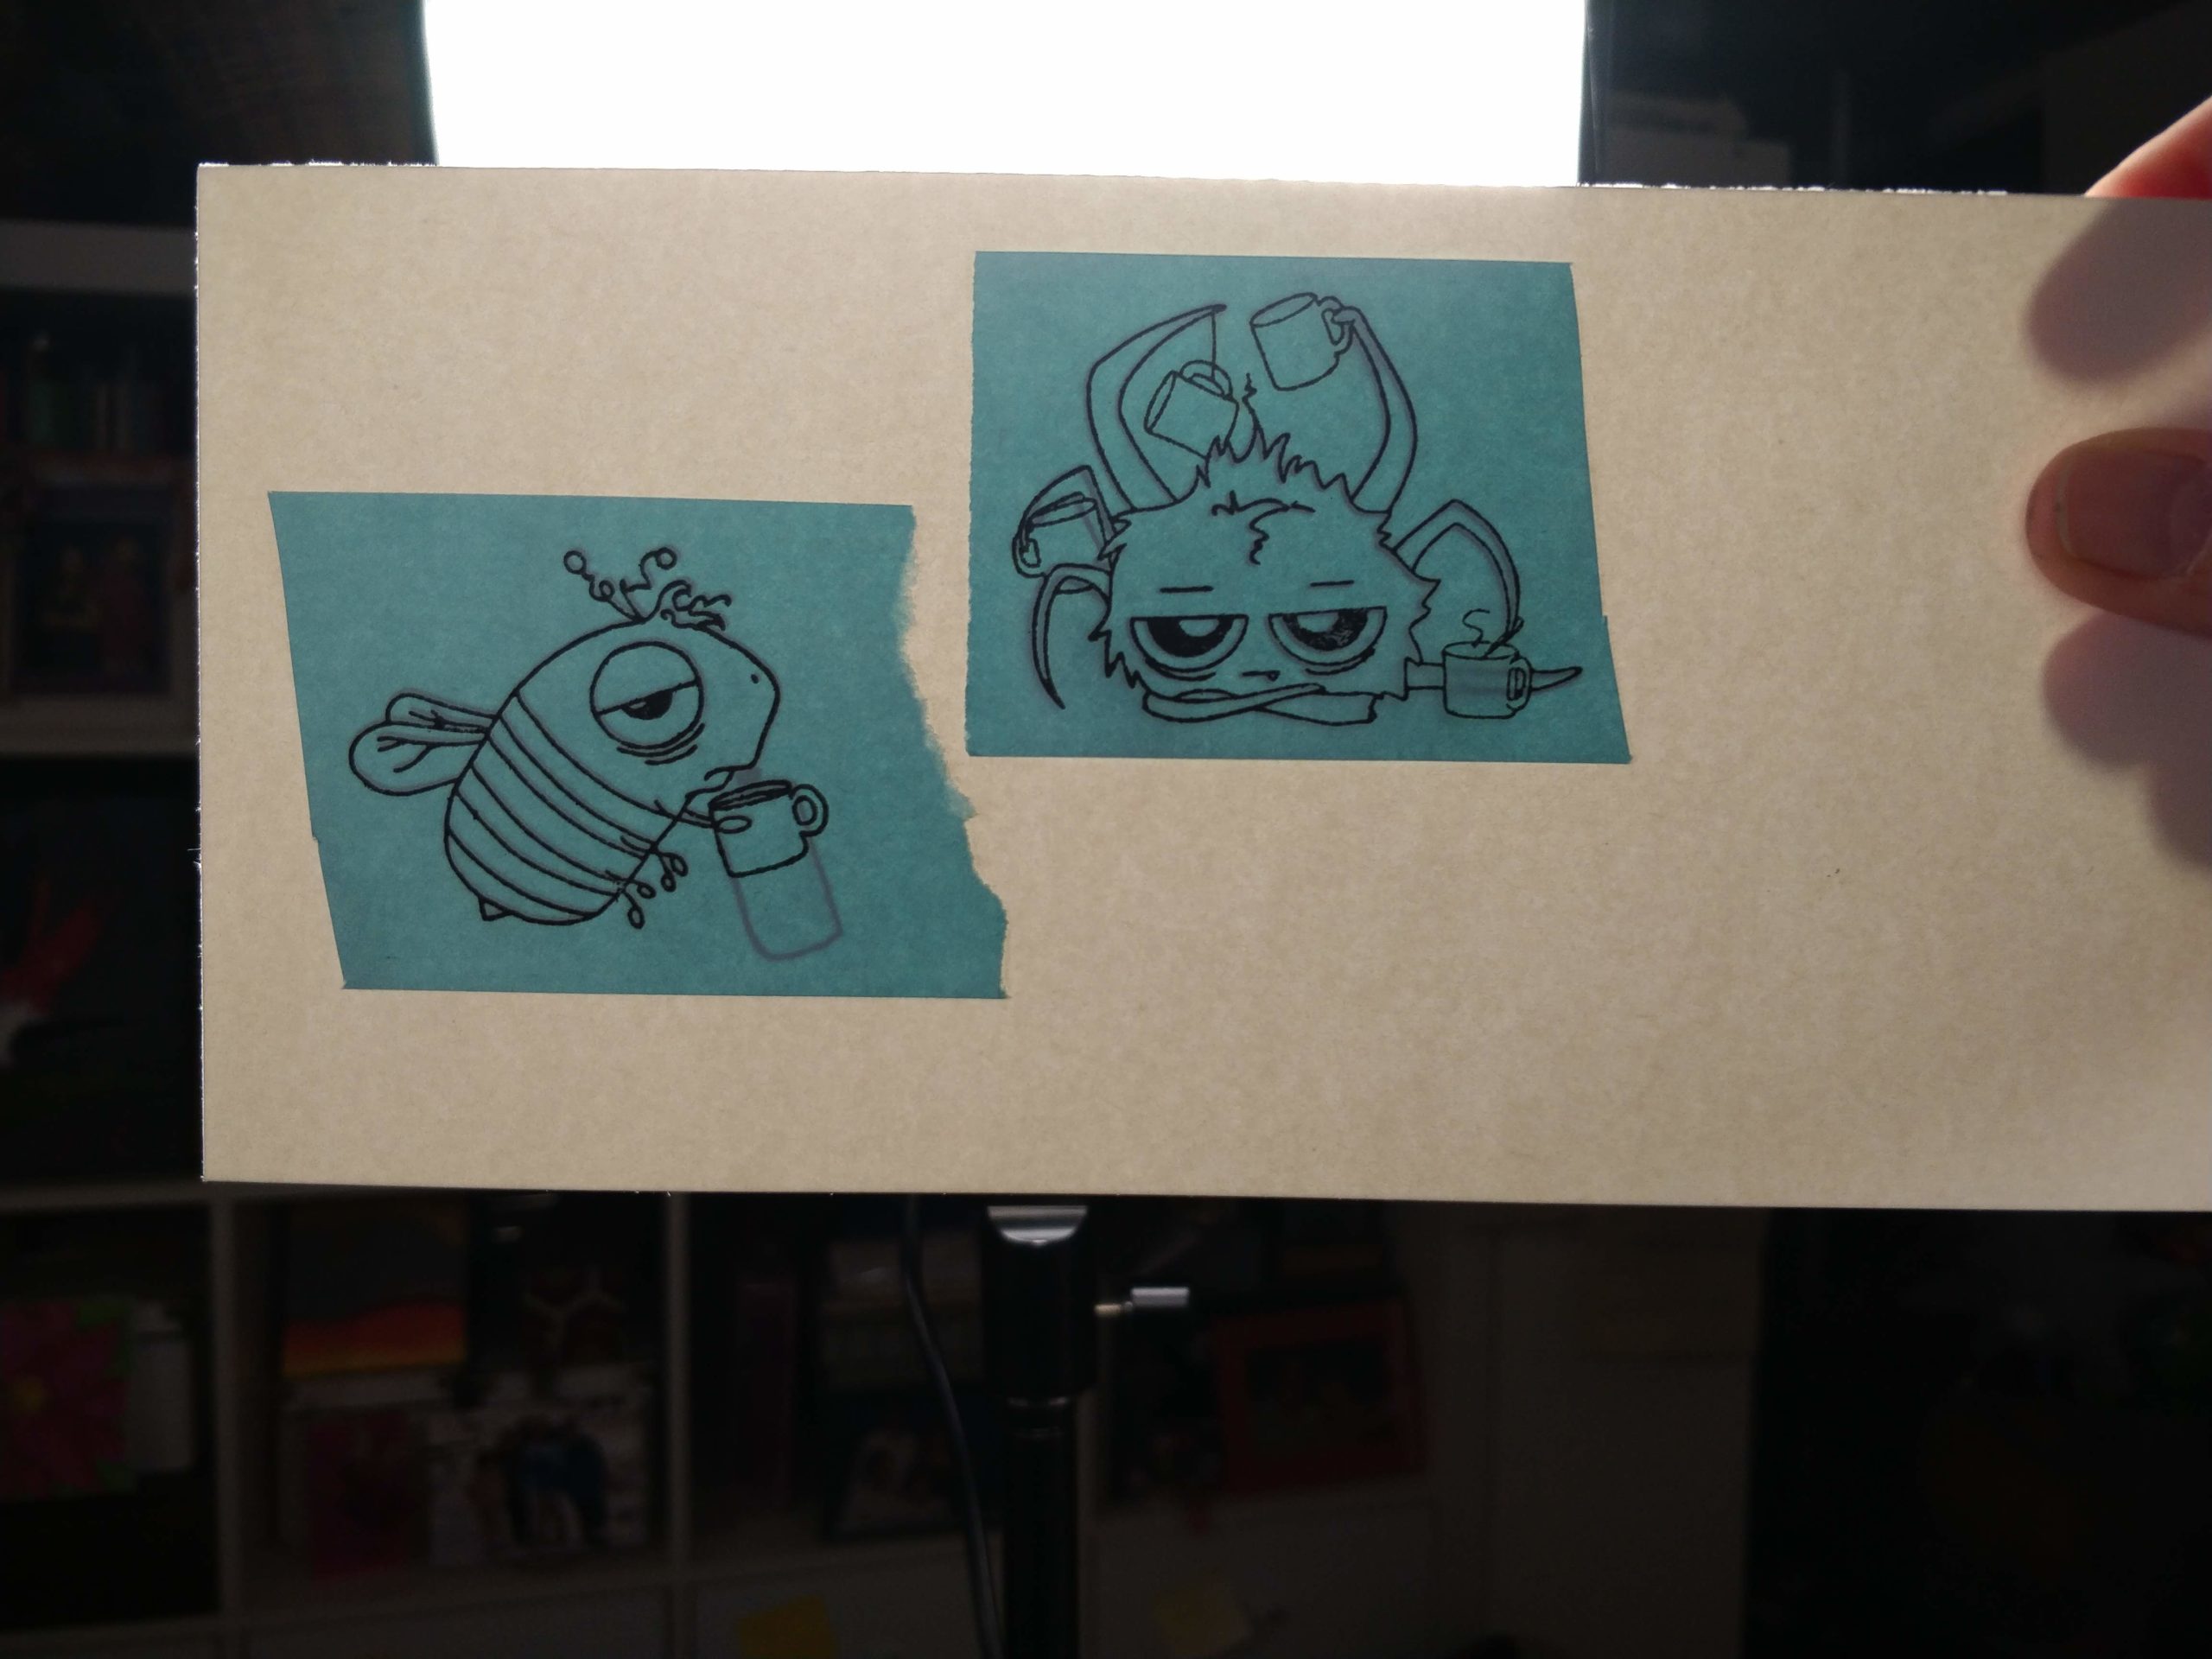
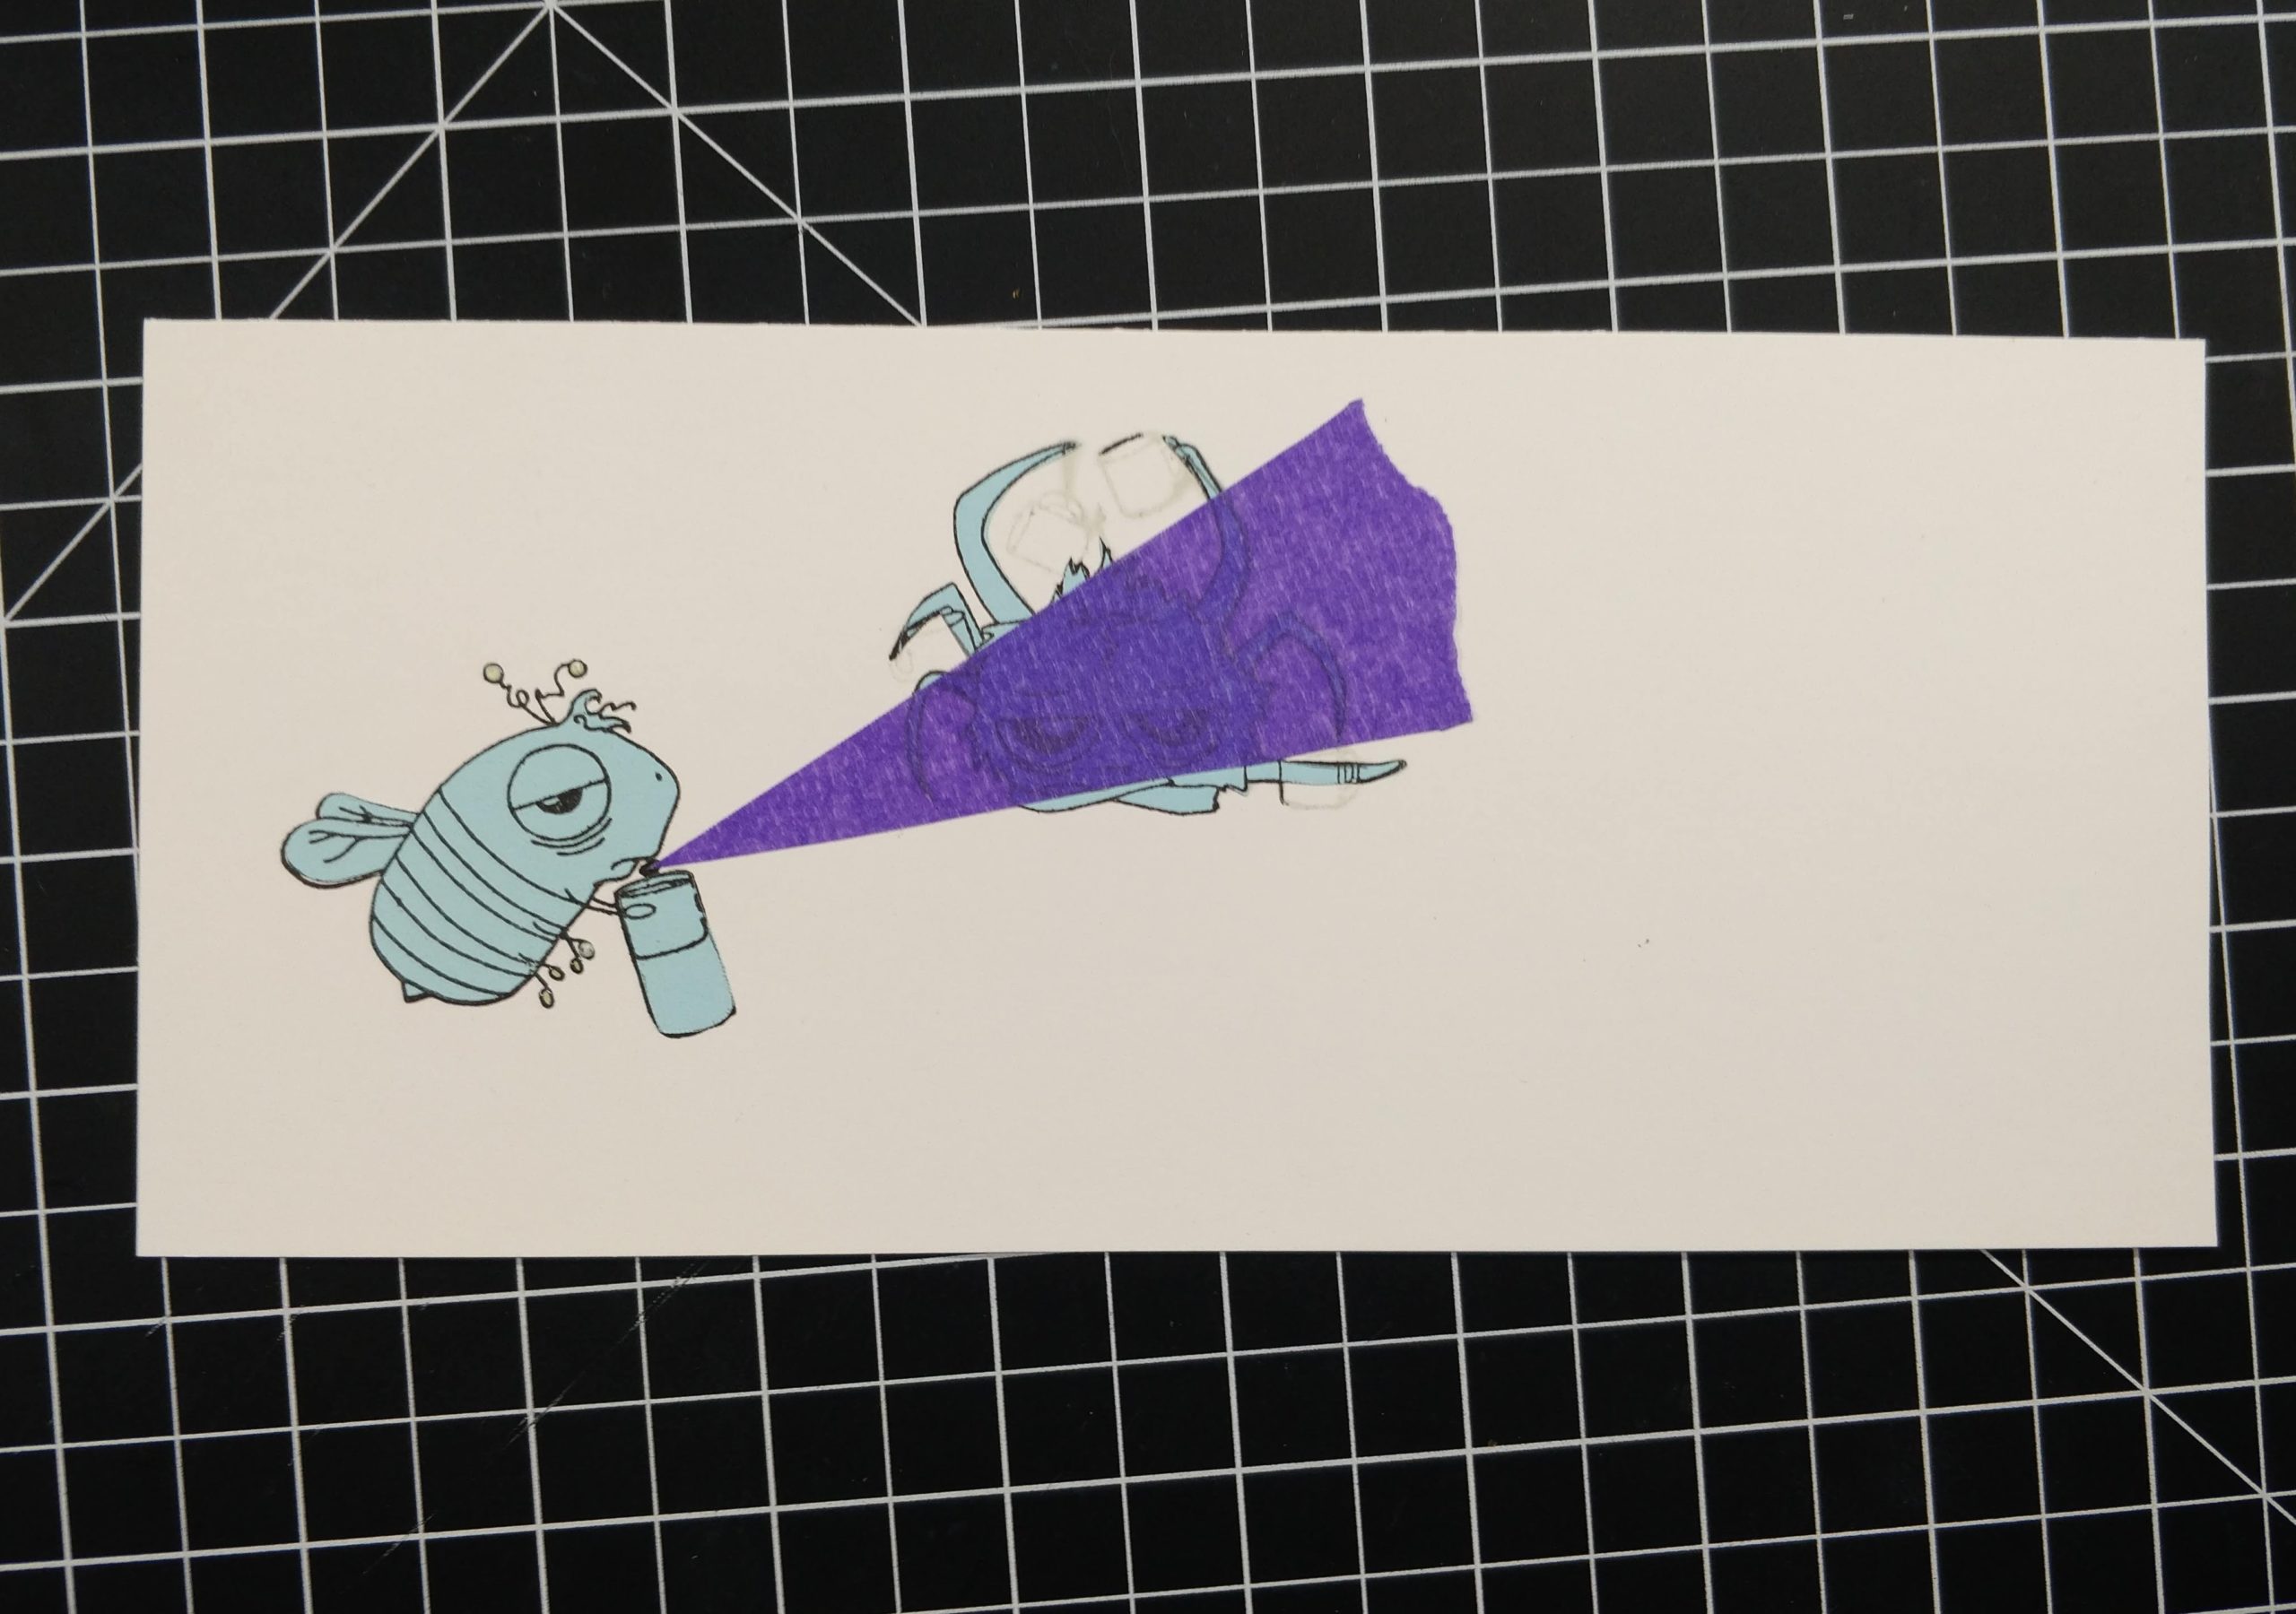
Next, I cut out masks of the bee and spider to prep for ink blending. To get the bug spray can mask to match, I held the panel up to a light, put the post it masks over the images, then traced around the can, before cutting them out. Once the images were cut out, I stuck them back on top of the panel, and cut a triangle mask out to cover the spray area. 


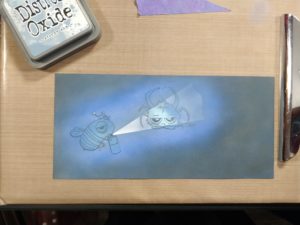
I used a makeup brush with Faded Jeans, Blueprint Sketch, and Black Soot Distress Oxide pads to ink up the background. Once I was happy with the colors, I pulled up the triangle and blended on some Stormy Sky ink. I used a heavier hand on the right of the spider, to make the spray look like it was dissipating into the background. It was a hot mess at this point, but wait until the masks come off...


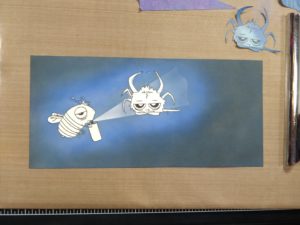
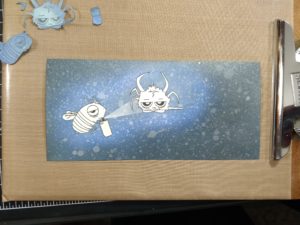
My masks aren't coated, so I removed them from the spider and bee to spritz water onto the background. (If the masks get too wet, ink can bleed through them onto the images.) After I absorbed the water with a towel, I put the masks back in place and lightly misted shimmer spray over the top. (I didn't want to contaminate my Copic markers with shimmer when I colored the critters.) Then, I removed my masks again and let the panel dry. 


My husband said I should leave the panel with the images in black and white, but I decided to color them anyhow ;) I used Copic markers. I freehanded the bug spray label and added a line down to the spider. Then I embossed the sentiment with white powder. I trimmed the panel down, then rounded two corners and popped it up on a navy card base. I glued on a few sequins and added sparkle to the eyelids and wings with Liquid Pixie Dust. To finish the card, I coated the eyeballs, bug spray can, and sequins with Diamond Glaze.


I love the way this card turned out! It's funny, the scene was simple to create, and did you notice - it's flat! I made a (mostly) one-layer card! Okay, it's popped up off the base with foam tape, but the scene is flat and I didn't add any die cuts on top. (If I'm being honest, I wanted to add a die cut tree silhouette on the right side of the card, but I forced myself to keep it simple, so the focus stayed on the critters.) What do you think? I can't wait to give it to MaryAnn :) Have you altered any of your stamps to create a scene like this?

Thanks for stopping by today; I'll be back soon more fun cards. You can find links to the specific products I used for this card in the sister article on my blog. And be sure to keep an eye out on Facebook and Instagram for pictures and stories from Creativation later this week!

For more inspiration, updates, and news make sure to check out these places:


January Release Inspiration Hop ~ Day 3

Hello and welcome to Day 3 of the Inspiration Hop. We are so excited for you to join us as we present to you our January release.  Our fabulous Design Team has been sharing their projects over the last couple of days, so be sure to visit their blogs and leave them some crafty love.


 The 4 new stamp sets & 3 Stencils are available to purchase right now in the shop.
~
Every order placed will be eligible for a 10% discount. Discount Code TRHD2019 this code will only be accepted until Friday 01-03-2020 12:01 am PST. There are no exclusions on this code it is applicable to your whole order. Not applicable to previous orders. May be used more than once. Does not apply to shipping and tax.
**Please Note: Free Shipping WILL NOT be available during the time this discount code is in effect. **
~

The stamp set that is being highlighted today is:

Sassy Birthday 2

Celebrate With Cake 

Scripty Happy Birthday

Twisted Sunshine - Stencil

**Giveaway**
To celebrate day 3 of inspiration The Rabbit Hole Designs is giving away the stamp set Scripty Birthday and the Twisted Sunshine stencil to one lucky winner. Winner will be chosen at random from the comments left on participating blogs, so make sure to visit each stop and leave a comment. Leave comments by 11:59 pm PST 01-02-20 on all participating blogs. Winner will be announced on The Rabbit Hole Designs blog 01-03-2020 


Here is the line up for the hop:
Lisa Golzbein
Amanda Stevens

Thank you for joining us the last few days of our Inspiration Hop.


Thank you so much for stopping by today!