Pages

Inspiration Hop Winners


Good Morning,
Today's post is real quick as we know you have been stalking the blog to see if  the winners were posted. 

Announcing the winners from the February release Facebook Fanpage and Instagram post's both winners were chosen using a random number generator by the amazing Deanna Benson

Diane Woo was the winner from the Fan Page post
rightbrainart was the winner from the Instagram post


email info@therabbitholedesigns.com to claim.  Please include what post you won. Winners have until 02-07-2020 to claim or prize is forfeited

Be sure to join us February 24th for our next release and another chance to win. If you have not already done so may we suggest joining our Facebook Fan Page where you will always be the first to know of any upcoming releases, and offers.

For more inspiration, updates, and news make sure to check out these places.

Thank you for falling down The Rabbit Hole for a few minutes!

My Magical Elixir


Hello Rabbit Hole Designs Fans!! DTM Shanna here today with another caffeinated card featuring my new favorite Caffeinated Critter, Caffeinated Dragon!  
I can't seem to stop coloring this guy!  He is so fun to color up in ANY color combo!  I have 2 cards here today that I watercolored with my Zig Real Brush pens. 


My first card was colored in dark, rich jewel tones for a fun and dramatic effect.  I added extra scaly-esque detailing to the belly and underside for a bit of texture.  The background was watercolored onto an A2 panel of cold press watercolor paper using my Jane Davenport pan watercolors.  Such vibrant colors! LOVE!


My second card I flipped from cool-tones to warm-tones and reached for my oranges and reds.  I still added some scaly type texture, but chose more of a diamond shape to repeat this time. 


I think I love this one even more, which is hard for me to say!  The background was watercolored similarly to the first card's...but I first masked off stripes to create a patterned paper.


Which one is your favorite!?!  Any color combo you want me to do next??  I will ask in the Facebook group, and be sure to let me know!  


That wraps up my post for today, I will be back soon for another trip down The Rabbit Hole!  Until then you can find me over on my blog, Caffeinated Craftiness or over on Instagram-Shanna

For even more inspiration, updates, and news make sure to check out these links.

February Release Inspiration Hop ~ Day 3


Hello and welcome to Day 3 of the Inspiration Hop. We are so excited for you to join us as we present to you our February release.  Our fabulous Design Team will be sharing their projects, so be sure to visit their blogs and leave them some crafty love.


 The 3 new stamps sets and the Caffeinated Dragon die are available to purchase right now in the shop.


The stamp set that is being highlighted today is


Tank you for joining us for February our Inspiration Hop.


Here is the line up for the hop:

_________________________


**Giveaway**


To celebrate the February release,  The Rabbit Hole Designs is giving away two gift certificates; one to a lucky Instagram Follower and one to a lucky Fan Page follower.  Winner will be chosen at random from the comments left on the INSTAGRAM post, and tagging friends, and also from commenting on the Fan Page post.  So make sure to head on over to INSTAGRAM and look for the giveaway post @therabbitholedesignsllc and look for the post at The Rabbit Hole Designs Fan Page by 11:59 p.m. PST 01-30-2020.  Winner will be announced on The Rabbit Hole Designs blog 01-31-2020.

This is the graphic you are looking for on our IG and FB

___________________


For more inspiration, updates, and news make sure to check out these awesome places! 


Thank you so much for stopping by today!

February Release Inspiration Hop ~ Day 2


Hello and welcome to Day 2 of the Inspiration Hop. We are so excited for you to join us as we present to you our February release.  Our fabulous Design Team will be sharing their projects, so be sure to visit their blogs and leave them some crafty love.


 The 3 new stamps sets and the Caffeinated Dragon die are available to purchase right now in the shop.


The stamp set that is being highlighted today is


Make sure you come back tomorrow for Day 3 of our Inspiration Hop.


Here is the line up for the hop:

_________________________


**Giveaway**


To celebrate the February release,  The Rabbit Hole Designs is giving away two gift certificates; one to a lucky Instagram Follower and one to a lucky Fan Page follower.  Winner will be chosen at random from the comments left on the INSTAGRAM post, and tagging friends, and also from commenting on the Fan Page post.  So make sure to head on over to INSTAGRAM and look for the giveaway post @therabbitholedesignsllc and look for the post at The Rabbit Hole Designs Fan Page by 11:59 p.m. PST 01-30-2020.  Winner will be announced on The Rabbit Hole Designs blog 01-31-2020.

This is the graphic you are looking for on our IG and FB

___________________


For more inspiration, updates, and news make sure to check out these awesome places! 


Thank you so much for stopping by today!

February Release Inspiration Hop ~ Day 1


Hello and welcome to Day 1 of the Inspiration Hop. We are so excited for you to join us as we present to you our February release.  Our fabulous Design Team will be sharing their projects over the next 3 days, so be sure to visit their blogs and leave them some crafty love.


 The 3 new stamps sets and the Caffeinated Dragon die are available to purchase right now in the shop.


The stamp set that is being highlighted today is


Make sure you come back tomorrow for Day 2 of our Inspiration Hop.


Here is the line up for the hop:

_________________________


**Giveaway**


To celebrate the February release,  The Rabbit Hole Designs is giving away two gift certificates; one to a lucky Instagram Follower and one to a lucky Fan Page follower.  Winner will be chosen at random from the comments left on the INSTAGRAM post, and tagging friends, and also from commenting on the Fan Page post.  So make sure to head on over to INSTAGRAM and look for the giveaway post @therabbitholedesignsllc and look for the post at The Rabbit Hole Designs Fan Page by 11:59 p.m. PST 01-30-2020.  Winner will be announced on The Rabbit Hole Designs blog 01-31-2020.

This is the graphic you are looking for on our IG and FB

___________________


For more inspiration, updates, and news make sure to check out these awesome places! 


Thank you so much for stopping by today!

Crabby Blue Crab


Hello crafty friends!   Do you have a favorite caffeinated critter from the Rabbit Hole Designs?  I do, mine is the Caffeinated Crab!  I think he is so darn cute and today I am sharing my Crabby Blue Crab with you.

This photo shows I have stamped the crab image in a light brown ink.  You'll see there is not a stark of a contrast between the stamped crab image and the alcohol marker coloring. I call this soft-line coloring  This is very close to a no-line coloring technique.  A no-line coloring technique is when you stamp your image in a much lighter ink color and as you color your stamped image  you will not see the lines you initially stamped.  There are specific no-line ink colors on the market, you can use a clear pigment ink or light beige or tan that you can barely see. They will nearly disappear as you color the image.  You will find that it gives your stamped image a much soft blended look. 

Let's take a look at the images and the differences:

A - traditional stamped image / stamped in black ink and colored with alcohol markers 
B - No-line stamped image / stamped in a beige ink and colored with alcohol markers 
C - soft-line stamped image / stamped in a soft brown ink and colored with alcohol markers 
All very different looks you can create.

For the background, I use the Drop It stencil choosing muted green, muted red and muted purple oxide  inks to stencil the background.  Afterwards, I dried the stenciled card front using my heat-gun. I could then add my oval stenciled layer (you can create a simple oval stencil with paper and an oval die).  By drying the the oxide inks, you set the 1st layer and when you add your second layer you see first image peek through as a soft fade.  You need to use a lighter colored ink on top.


After the oval was dry (with the help of a heat-gun) I replaced the stencil masking off the top area.  I used clear pigment ink  with embossing powder to create the sandy beach.
I used the sentiment from the Perfectly Blended stamp set and added it to the card front just above the crabby blue crab, using  adhesive foam squares on both.  


Here are the products I use to create my card:

Drop It Stencil   6" x 6" stencil


I hope this inspires you to try a new stamp and color technique. Remember it does not have to be alcohol markers (that is my preference),  you can use any type of coloring medium such as colored pencils, watercolors, and other types of pigments to color your image.

Thank you so much for stopping by the blog!

Be Creative ~ Stay Inspired
Jenn Gross
@journeycoachjenn

For more inspiration, updates, and news make sure to check out these places


Orange ya Glad its your Birthday??

Knock Knock!!
Who's there?
Orange!
Orange who?????
Orange ya glad....... 
LOL!

Hello Rabbit Hole Designs Fans!! DTM Shanna here today with a cheery and ORANGE card using the Celebrate with Cake stamp set and Twisted Sunshine stencil!  I will definitely be sticking to card making, and leave the jokes for the comedians though!!
Something about the color orange just makes my heart happy.  It never fails to brighten my day (pun intended!)!  I decided to go nearly monochromatic with this card and am in love with the end result!


I started by stenciling the Twisted Sunshine stencil using distress oxides and a blending brush.  I kept the center darker, and worked outwards to a lighter shade.  
Next I stamped and colored the cake with my Nuvo alcohol markers.  I glitzed up the flowers a bit with some orange Stickles from my stash.  It needed a little bit of sparkle!!  The cake was glazed as well with Diamond glaze over the frosting.  Once everything was dry, I adhered it to the stenciled card panel with foam tape.


Lastly I added my sentiment to the card base in black ink.  The sentiment made me giggle and it is from the Sassy Birthday 2 stamp set.  I mounted the entire card panel onto a A2 orange card (you saw that coming, right?!?)  and the card was finished!

That wraps up my post for today, I will be back soon for another trip down The Rabbit Hole!  Until then you can find me over on my blog, Caffeinated Craftiness or over on Instagram-Shanna


For even more inspiration, updates, and news make sure to check out these links.

Celebrate With Cake


Good morning Rabbit Hole fans, It's Lisa here with you and I hope your day is off to a great start! Today I have a shiny birthday card to share with you featuring the elegant birthday cake from the Celebrate With Cake stamp set.


Card Recipe

1) I started off with a white card stock panel and I painted some loose pink watercolor stripes horizontally across the background.

2) I stamped the cake image and heart bows in Versamark embossing ink and then sprinkled both with silver embossing powder. I did the same thing with the "Celebrate" sentiment and then heated them both up until they were dry and shiny.

3) I matted the stamped panel on to a sheet of silver foil card stock and then both panels on to a pink card base.

4) To complete my card and add extra bling I placed some pink sparkling jewels around my card.


Thanks so much for stopping by today!
And don't forget to visit Simon Says Stamp for all your Rabbit Hole needs as well!


For more inspiration, updates, and news make sure to check out these places ...


Have a great day, I already am!
🎂 Lisa 🎂

Twisted Dino Sunshine Card


Hey Rabbit Hole Crafters! Justin here, and I'm back again with another card using some of my favorite The Rabbit Hole Designs Products!

This card uses the Caffeinated-Dino Stamp Set, along with the Twisted Sunshine Stencil!

I was inspired to make this card by all the colorful citrus fruits out there, and definitely wanted to use those colors with both my Dino and the stenciled background!

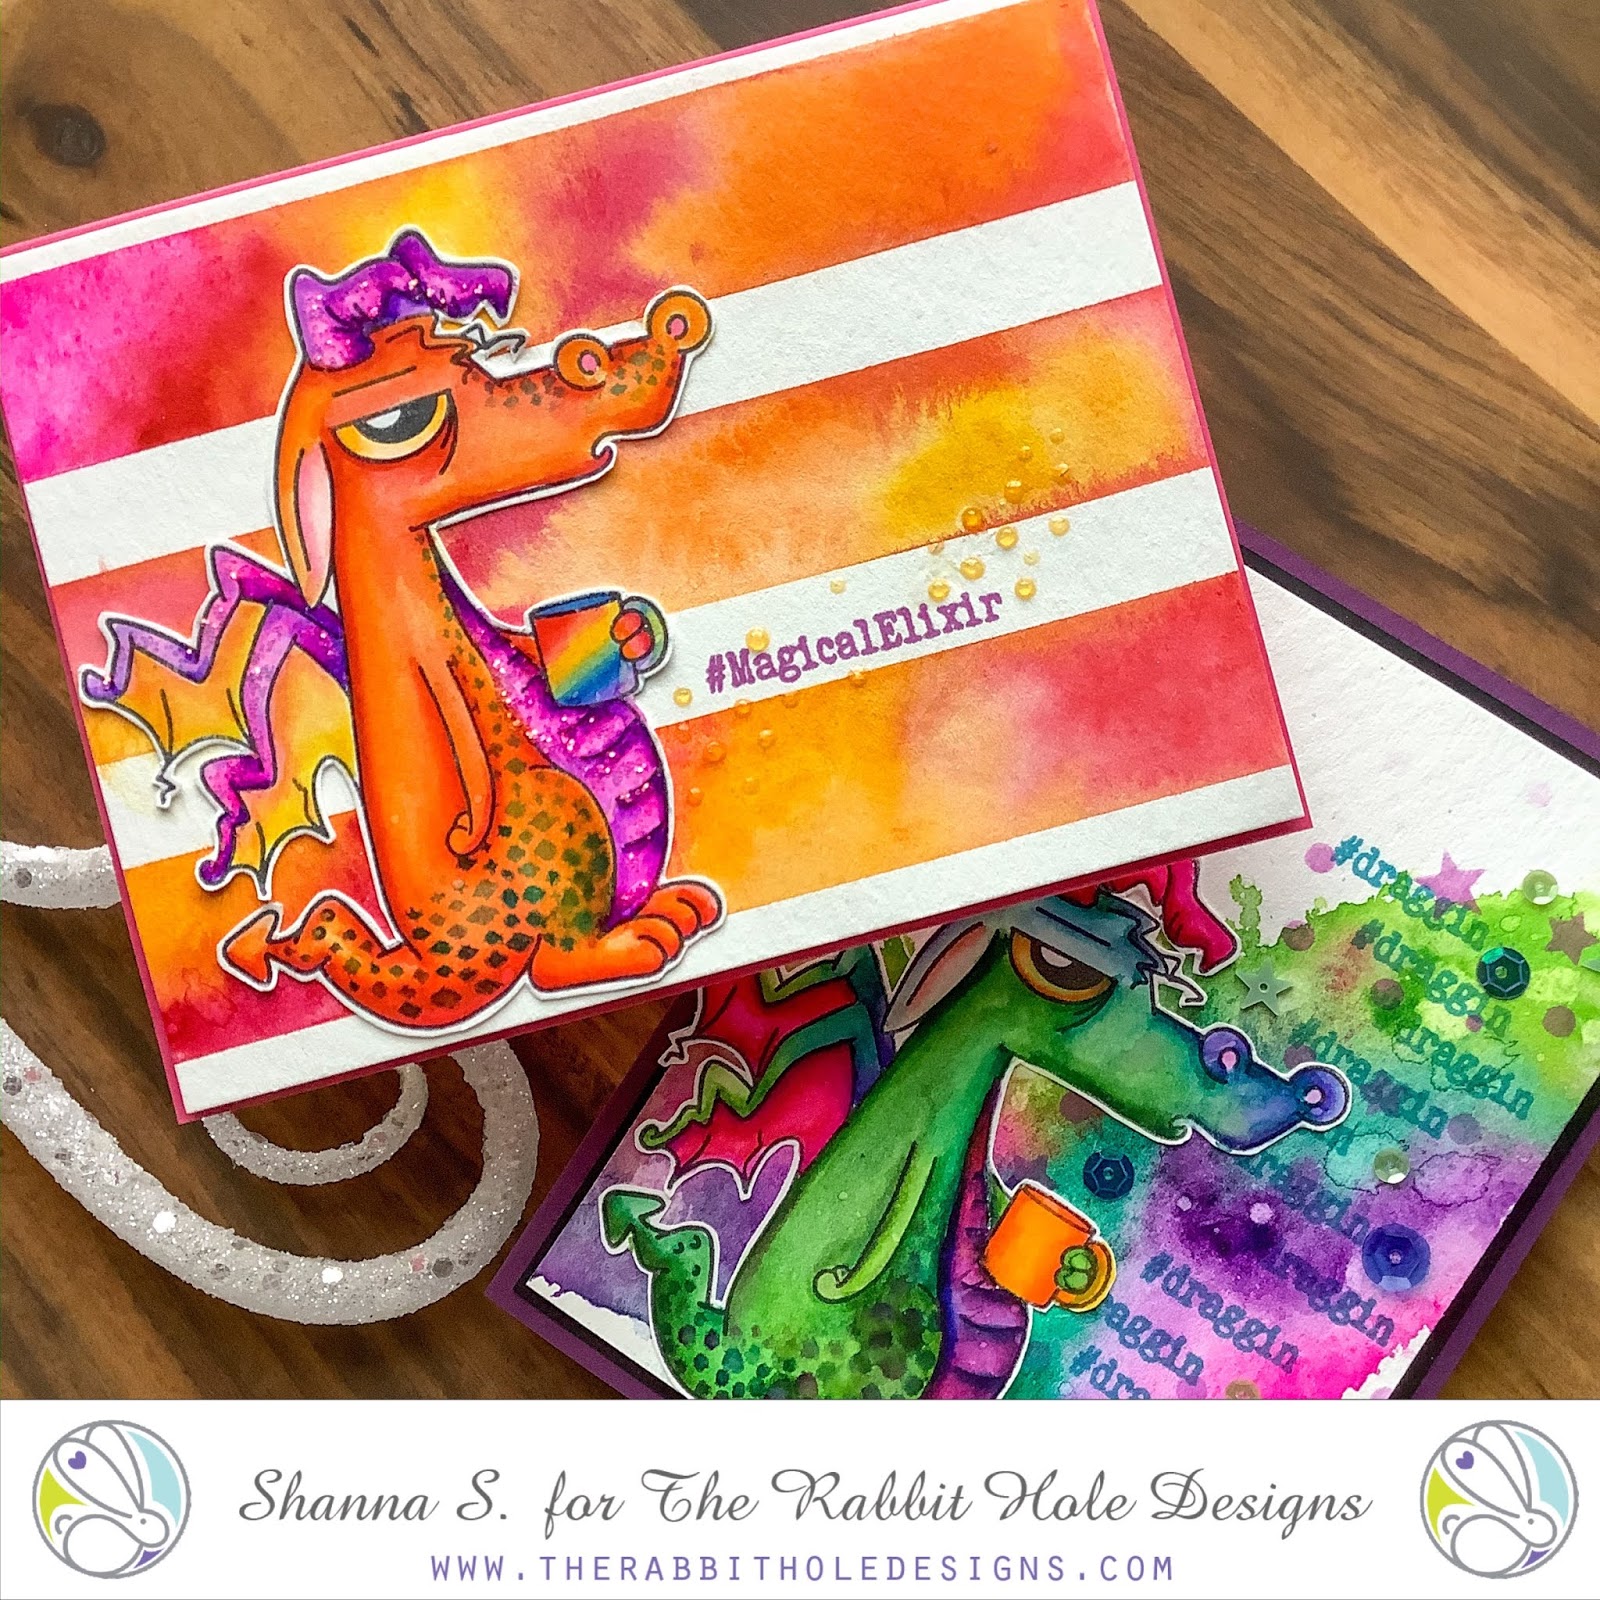
I always start with coloring up my image first with my alcohol markers. Because I was using the citrus colors of Green, Yellow and Orange, I wanted to use those colors for my dinosaur! So I made my dino green, his mug yellow, and his slippers orange. One item of the Caffeinated Critters I've had a lot of fun with is their eyes. I've really been trying to use a color you don't find anywhere else on the project, so their eye sticks out. For this guy, I went with a light blue!

After cutting my Caffeinated Dino out, I started to work on my background. I cut a piece of white cardstock down to 4" x 5.25. I adhered the Twisted Sunshine Stencil with a light tack adhesive so my stencil stayed in place. Next, I came up with a pattern for the order of my colors, just to add a bit of cohesiveness to the card instead of a random order.

I used a torn up post-it note to mask each individual partial circle, and used my blending brushes to blend the respective ink color. I then repeated until the entire panel was covered!

I used a stitched scalloped die to cut out a respective scalloped circle from a yellow wood-print paper. I adhered that to the center of my stenciled panel.

I matted my stenciled pattern on an A2-sized orange wood-print-patterned paper.

I trimmed down a sentiment strip on white cardstock, matted it with leftover yellow wood print paper, and stamped my sentiment in green.

I adhered my sentiment and dino on foam tape. To finish the project, I placed green and orange enamel dots for some extra embellishment. And that's how I made my card!

I used the following products to create this project:


For more inspiration with your The Rabbit Hole Designs Creations, be sure to follow along at these other locations:

For more details about products used in this post, you may also follow along at my personal blog, Just a Note by Justin, as well!

I hope this citrus-filled card sparked some fun ideas for your future projects, and maybe sparked a craving for orange juice or lemonade! 

Thanks for reading, and happy crafting!

A Friend Like Blue


Hello again my crafty friend! It's Amanda from Pear Blossom Press, and I have a quick and easy card to share featuring the Sassy stamp set. I've also got a great tip I picked up at Creativation for a less messy way to apply shimmer to your backgrounds!


For this card, I Copic colored the sweet and Sassy unicorn in shades of blue, and added Aqua Shimmer pen highlights. Cutting her out with my ScanNCut was a breeze (I'm terrible at fussy cutting). I stenciled the background onto my card base using the Twisted Sunshine stencil and three shades of blue ink, then added some shimmer. 


Quick Tip

Here's a quick tip I picked up at Creativation from Fleurette, the inventor of Liquid Pixie Dust. To add shimmer to your backgrounds without splattering or misting it all over the place, try spreading a few drops of Liquid Pixie Dust onto a Gel Plate with a brayer. Then dip your background onto the plate to pick it up. It's similar to ink smooshing, but with shimmer. And there is no splattered mess! I love this new technique!!! 

Assembling the card was quick and easy. The vellum layer is sandwiched between foam tape, hidden under the unicorn. It's a heavier weight vellum that I embossed my sentiment onto. I chose the vellum because it diffused the background enough to allow the unicorn to pop, but didn't hide too much of the pretty stenciling. If the vellum was flat against the background, it wouldn't soften it enough, so the foam tape is important. A few sequins added some more sparkle and finished the card. 


You can recreate this card in any color scheme you like. Wouldn't it be fun to make a whole rainbow of cards and give them as a gift set? If you'd like to see more cards using the Sassy stamp set, check this out. You can also find the sister article to this post on my blog today! Head on over for links to the products I used and even more inspiration!


Thanks for stopping by; I'll be back soon with another super card to share! 


For more inspiration, updates, and news make sure to check out these links.