Pages

Showing posts with label 3D Card. Show all posts

Galentine's Day Candy Box Card - Step tutoral and pattern


Hello crafty friends!  Jenn here with a fun and sassy Galentine's Day Box Card. I designed and created this book fold box card and have provided the details below.  Each side holds 3 smarties candy rolls. I share the dimensions,  score lines, and details below.

The Rabbit Hole Designs Supplies 
 

Let's get started on the box card
I am using white cardstock to show the details, but I use a pink cardstock to create the actual box. It is cut from a piece of sturdy cardstock to measure 11" long x 4 3/4" wide.

 I scored the short side all the way down the length of the panel at 1/4", 3/4", 4" and 4 1/2"

Turn the cardstock to the long side and score down the width at 1/2", 1", 2 3/4", 3 1/4", 5", 6 1/8", 7 7/8", 8 3/8", 10 1/8" and 10 5/8"
A - The scored piece of 11" x 4 3/4" cardstock will look like this.

B & C - We are creating two boxes, one on each side, so you need  to leave (on the 11" length of the cardstock) two box lids (both on top and bottom) and four side flaps on each side as well. I shaded the areas of the box that need to be removed and cut them out (see photos above). Once the panel is trimmed fold the box and flaps on the score lines.
D & E - To create the box panels inserts,  cut a long strip of printed cardstock 3" wide and 10" long. Cut the following pieces from the strip.
  • Two 1"x 3" panels
  • Four 3/8" x 3" panels 
  • Four 1 1/2" x 3" panels
Lay the panel inserts out on the box. Do NOT add glue yet.  Be sure to leave each far side flap empty as these will be glued to create each box.
Note the placement of the two magnets. They are located on the third panel from each box edge with the magnets in the middle closest to the middle of the box pattern.

F & G - Add a strong piece of double-sided tape 1/2" in from the edge of the third panel and adhere the mini magnet.  Repeat this step on the opposite sides third panel. Use Bearly Arts Craft Glue to glue down the panel insert on this side of the box.  The 1" x 3 " panel inserts are for the middle of the box card and one is for the reverse side.

H & I - Fold one side of the box in on itself and glue the side tab to the inside is the box as show (I).

J - Repeat these steps with the opposite side of the box card.  

K & L - Fold each box lid and box bottom to close the box.  You will have two box side that fold in like a book and are secured with the craft magnets.  Now you can add the card details.
I stamped out two dog images from the Year 5 Birthday stamp set. One is created using mirror stamping technique on a blank red rubber stamp and restamped on coloring cardstock.  Both images are colored with OLO markers creating a brown dog and a gray dog.  I used the Cottontail Embossing Powder Tool to treat red cardstock before stamping the Happy Galentine's Day and Cupid is Stupid sentiments with VersaMark Watermark ink and heat set them with white embossing powder. I cut them into strips. I glued one dog and Happy Galentine's Day to the outside of the closed box card.
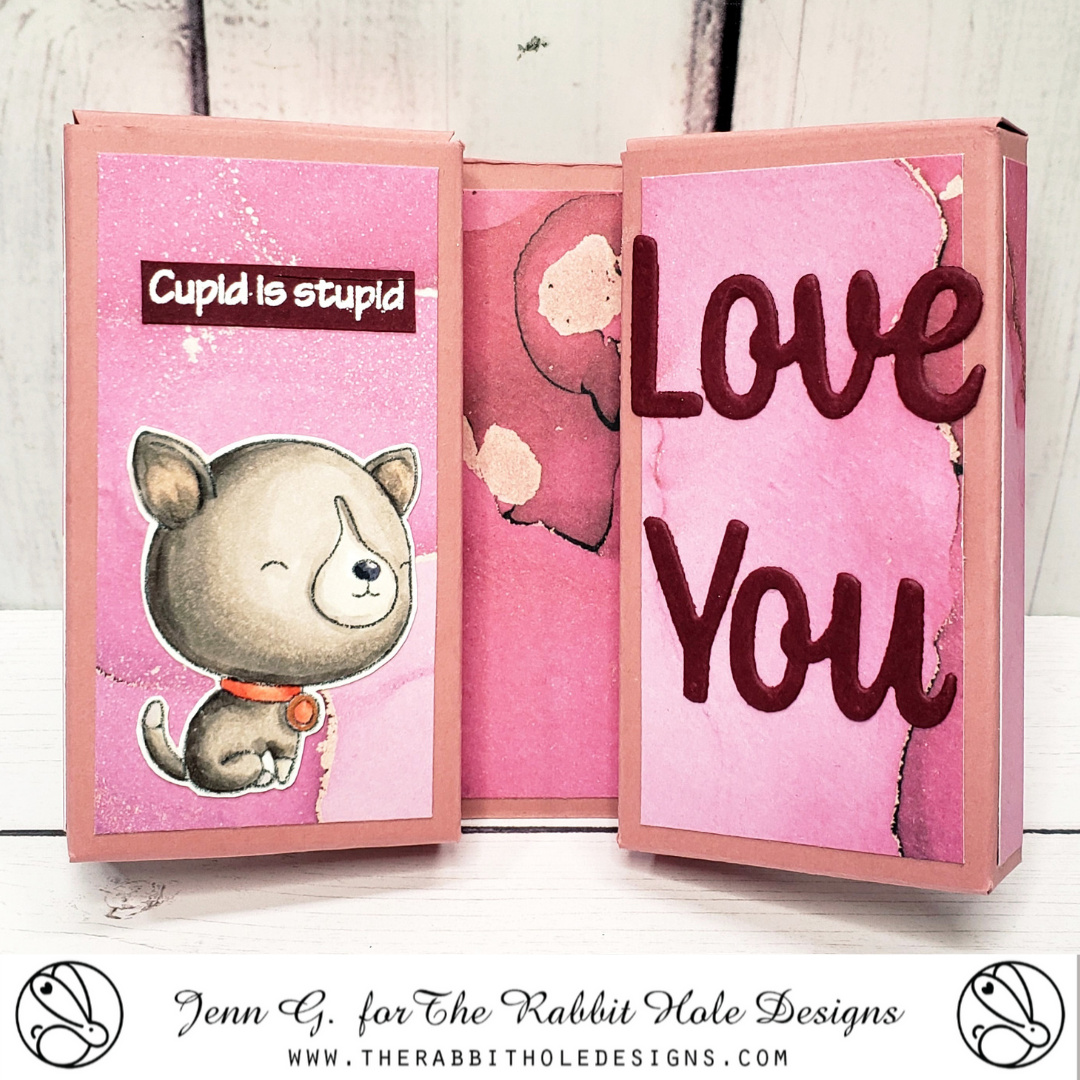
I added the second dog and Cupid Is Stupid sentiment on the left inside panel of the box card.  I die cut the words Love and You and glued them to the inside right card panel.  You can fill each box side with Smartie Candy Rolls, money, or any thing that will fit in a box opening measuring 1 5/8" x 31/8" x 3/8".

Thank you, I appreciate you taking time from your day to stop by and check out this Galentine's Day Candy Box Card.  I hope you are inspired to create something lovely today!


Be Creative ~ Stay Inspired

Jenn Gross


Follow me, Journey Coach Jenn, on 

Instagram - https://www.instagram.com/journeycoachjenn/

YouTube - http://www.youtube.com/c/JourneyCoachJenn

Blog - http://www.journeycoachjenn.com/


For more inspiration, updates, and news make sure to check out these places


The Rabbit Hole Designs

The Rabbit Hole Designs Instagram

The Rabbit Hole Designs Facebook Page

The Rabbit Hole Designs Pinterest

The Rabbit Hole Designs YouTube

3D Gentle Hugs Cotton Bloom

Hello my crafty friends!  Thank you  for stopping by to check out this 3D Gentle Hugs Cotton Bloom card using The Rabbit Hole Designs new Soft Hugs Cotton Flower stamp set and some specialty papers.
This photo close up shows a very cool 3D effect achieved by stamping the same cotton bloom images on a piece of Ultra White Smooth cardstock and coloring both with OLO Markers.  I cut apart one of the colored panel pieces and shaped each individual cotton ball bloom.  Each piece is then glued into place over the same colored image on the second panel.
I used a large ball stylus and piece of molding foam to help shape each of the individual cotton bloom section before gluing it on the second panel.  You can see the evolution as each of the 3D pieces are glued into place.
I stamped the sentiment "Sending Soft Hugs" on the completed 3D cotton bloom panel.  I am using a dark brown cardstock cut to 4"  x 5 1/4" as the card front.  I wrap a piece of 3 1/2" x 5 1/2"white rayon weave specialty paper around the middle of the brown card front. The stamped 3D panel is glued on top of the card front layers and then adttached to an A2 white card base completing the card.

The Rabbit Hole Design Products

Thank you, I appreciate you taking time from your day to stop by and check out this 3D Gentle Hugs Cotton Bloom Card featuring the Soft Hugs Cotton Flower stamp set fromThe Rabbit Hole Designs August Release. I hope you are inspired to create something lovely today! 


Be Creative ~ Stay Inspired

Jenn Gross


Follow me, Journey Coach Jenn, on 

Instagram - https://www.instagram.com/journeycoachjenn/

YouTube - http://www.youtube.com/c/JourneyCoachJenn

Blog - http://www.journeycoachjenn.com/


For more inspiration, updates, and news make sure to check out these places


The Rabbit Hole Designs

The Rabbit Hole Designs Instagram

The Rabbit Hole Designs Facebook Page

The Rabbit Hole Designs Pinterest

The Rabbit Hole Designs YouTube


Christmas Flower Card

The Rabbit Hole Designs Tattoo Christmas Die Cut Card 

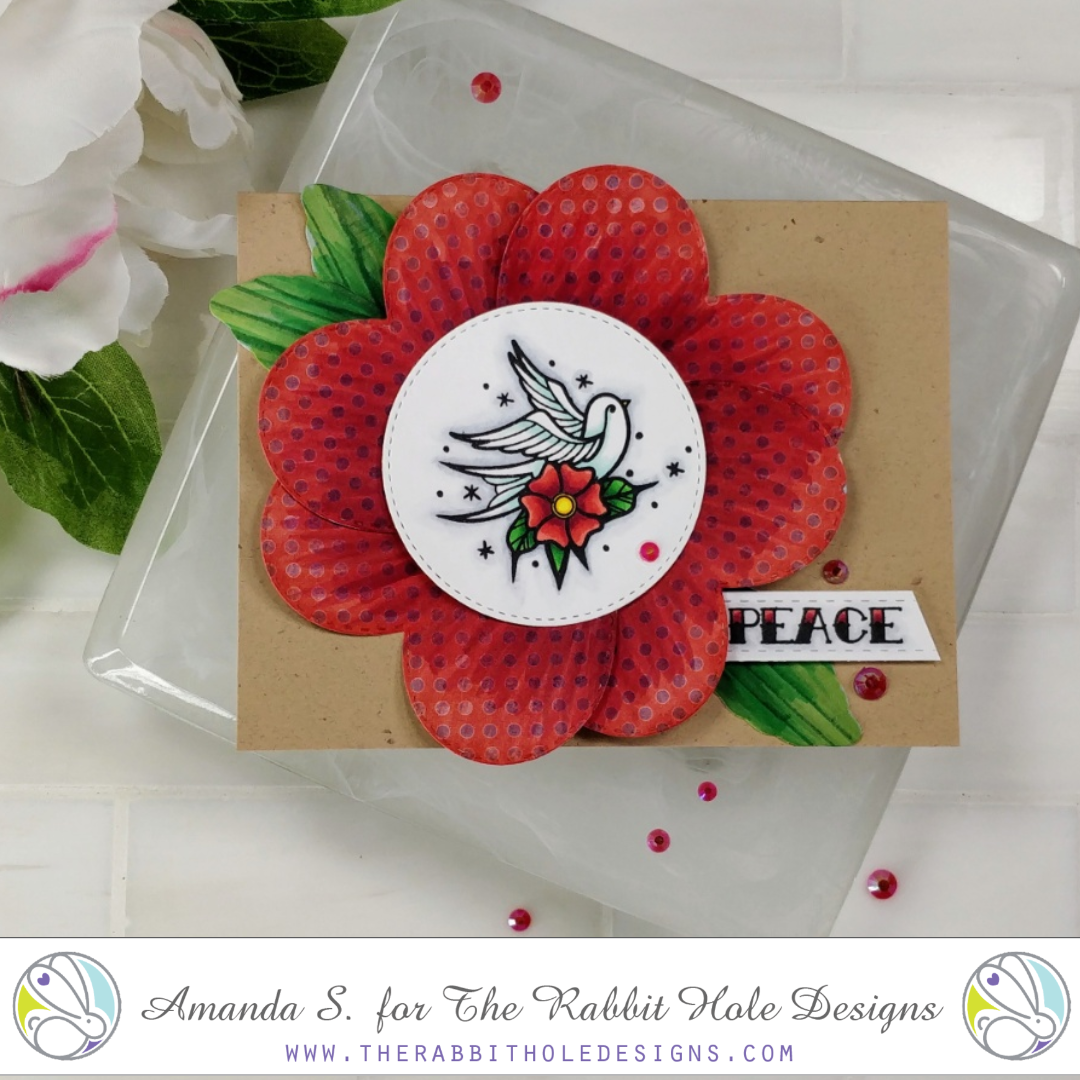
Hey crafty friend, it's Amanda from Pear Blossom Press again. I realize it's a little early to be making Christmas cards, but for some reason, the Old School Tattoo Affirmation set really inspires me. You may have seen the other Christmas card I made with it earlier this month (check it out here). I wanted to add the swallow to another card, but this time I wanted to add some layers and make it more 3D. 

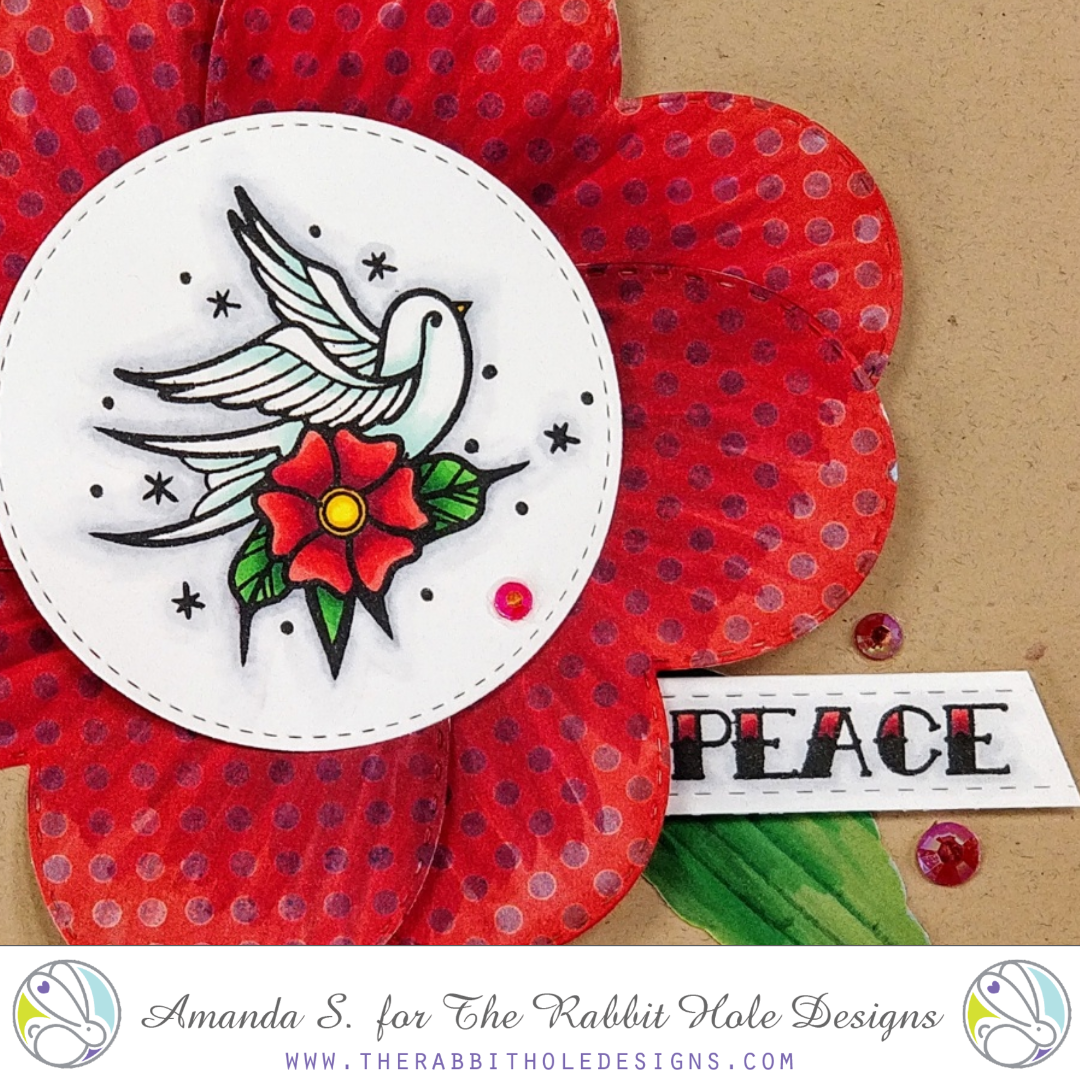
While this card might look like a lot more work, it was actually pretty easy. First, I stamped and Copic colored the swallow, then cut it out with a stitched circle die. Next, I die cut four stitched hearts from pattern paper. I used some of the same red Copic markers to add some shading to the hearts, and help the colors coordinate with my swallow. I used a large stylus to rub the hearts into the back foam pad of my Misti, to give them some curl and dimension. I fanned them out in a circle, and glued them together to form flower petals. Using foam tape, I adhered the swallow to the center, then I glued the flower to a kraft card base.

I die cut a few leaves from green pattern paper scraps, and a stitched strip that I stamped the word PEACE onto. Then, I added a smidge of color, again with my Copics. I nestled them under the flower petals and finished the card with a few red gems. By using pattern paper for the large die cut shapes, I was able to get a lot of color and texture, with minimal effort. It really helped me pull this card together quickly. And while it took a little more effort than a flat card, it would be pretty easy to make quite a few of these in an evening. Just remember to space your swallows out with enough room to cut the circles around them when you stamp them out. I've actually been stamping out sheets of images to color while I watch TV, or my favorite YouTubers, during the new 30 Day Coloring Challenge. It's very relaxing. 

The Rabbit Hole Designs Tattoo Christmas Die Cut Card


Thanks for stopping by today. You can find the sister article to this post on my blog, along with more links to the products I used. And get ready, the new release is coming out tomorrow; you'll definitely want to stick around for that!