Pages

Showing posts with label Shaker Card. Show all posts

Little Reindeer Shaker Tag/Ornament


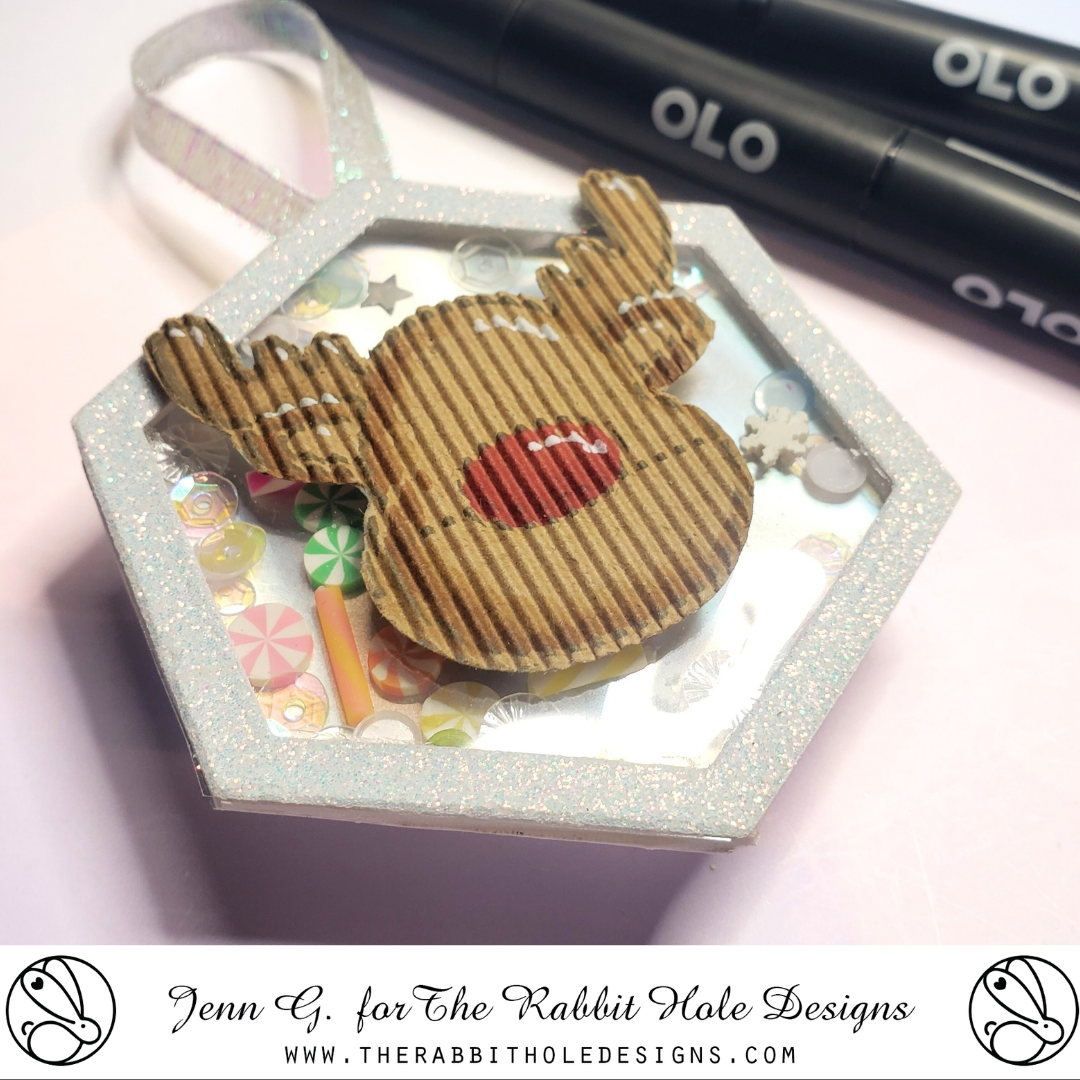
Hello crafty friends!  Jenn here with an easy shaker ornament featuring the One-Line Reindeer stamp set from The Rabbit Hole Designs

This is such a fun project.. You likely have a set of nesting die in your craft stash to use to create a shaker base for our Christmas ornament.

Let me share the quick step tutorial:
Stamp the image of the One-Line Reindeer using brown ink on to a piece of mini corrugated kraft cardstock.  Shaded the image with OLO markers and color the nose red. Added a few highlights with a white gel pen and use detail scissors to fussy cut the Reindeer.

To make the shaker base, you need two of your nesting dies.  I choose the size I want for the ornament and die cut an ornament back from a specialty paper like a matte silver lava cardstock and a second shape from a piece of clear acetate for the shaker window. 

Choose a second nesting die, one that will fit inside the first one, to make a window frame. Make sure the two dies leave at least a 1/4" to 3/8" frame thickness when nested together.  Use both dies to die cut togeter when die cutting a frame from white glitterstock.  You should have a window frame and the smaller inside shape. Set the smaller shape aside for later.

Assemble that shaker by gluing the clear acetate shape to the back of the glitterstock window frame. On the back side, create the shaker window well by adding double thick adhesive foam strips around the outer edge of backside of the window frame. The foam strips should be edge to edge around the ornament frame leaving no gaps. Add shaker bits to the window well.  Remove  the release paper from the foam tape and attach the silver matte lava stock ornament back (face down) back of the ornament frame locking the shaker bits inside.

Turn over the ornament and you have your shaker base. Add the One-Line Reindeer to the front (over the frame and window as shown above) with foam tape. Then the ornament over to the back side and glue the ends of a ribbon loop to the ornament.  Grab the smaller glitterstock shape (from inside of the die cut frame) and glue it to the back of the ornament to secure the ribbon loops in place. Stamp and fussy cut the Merry Christmas sentiment to add to the back of the shaker ornament.  This shaker could also be used as a gift tag.

Supply List

Supplies in your stash
Shaped nesting dies
Kraft cardstock 
Glitterstock
Clear acetate 
Matte silver cardstock 
Double sided adhesive foam tape 
Shaker bits
Ribbon 
Die cutting machine
Detail scissors 
Liquid Craft Glue 
OLO Markers 

Thank you for taking a moment  to check out today's blog featuring The Rabbit Hole Designs' One-Line Reindeer stamp set. I hope you enjoyed the shaker ornament tutorial and are inspired to create something lovely today!

Under Your Spell - Halloween Shaker Card

Hello crafty friends!  Jenn here, follow mw on social media @journeycoachjenn  Today I am sharing this fun interactive halloween card created using five products from The Rabbit Hole Designs. 

I started out with the newly released Pinwheel stencil, an A2 Shaker Acetate Sheet for the infinity shaker, the patented Cotton Tail  Embossing Powder Tool to treat the gray cardstock before heat embossing white cobweb images in the background and the sentiment on the black pumpkin, and images from the Meowgical stamp set. 

Supplies include:

Other  Supplies
OLO Markers
Chunky upper case alphabet letters to spell out "BOO" (from my stash)
Small Pumpkin die (from my stash) 
Purple and Orange sequins (from my stash)
Distress Oxide inks - Villianous Purple and Carved Pumpkin
VersaMark Clear Watermark Ink
White Embossing Powder
Bearly Arts Craft Glue
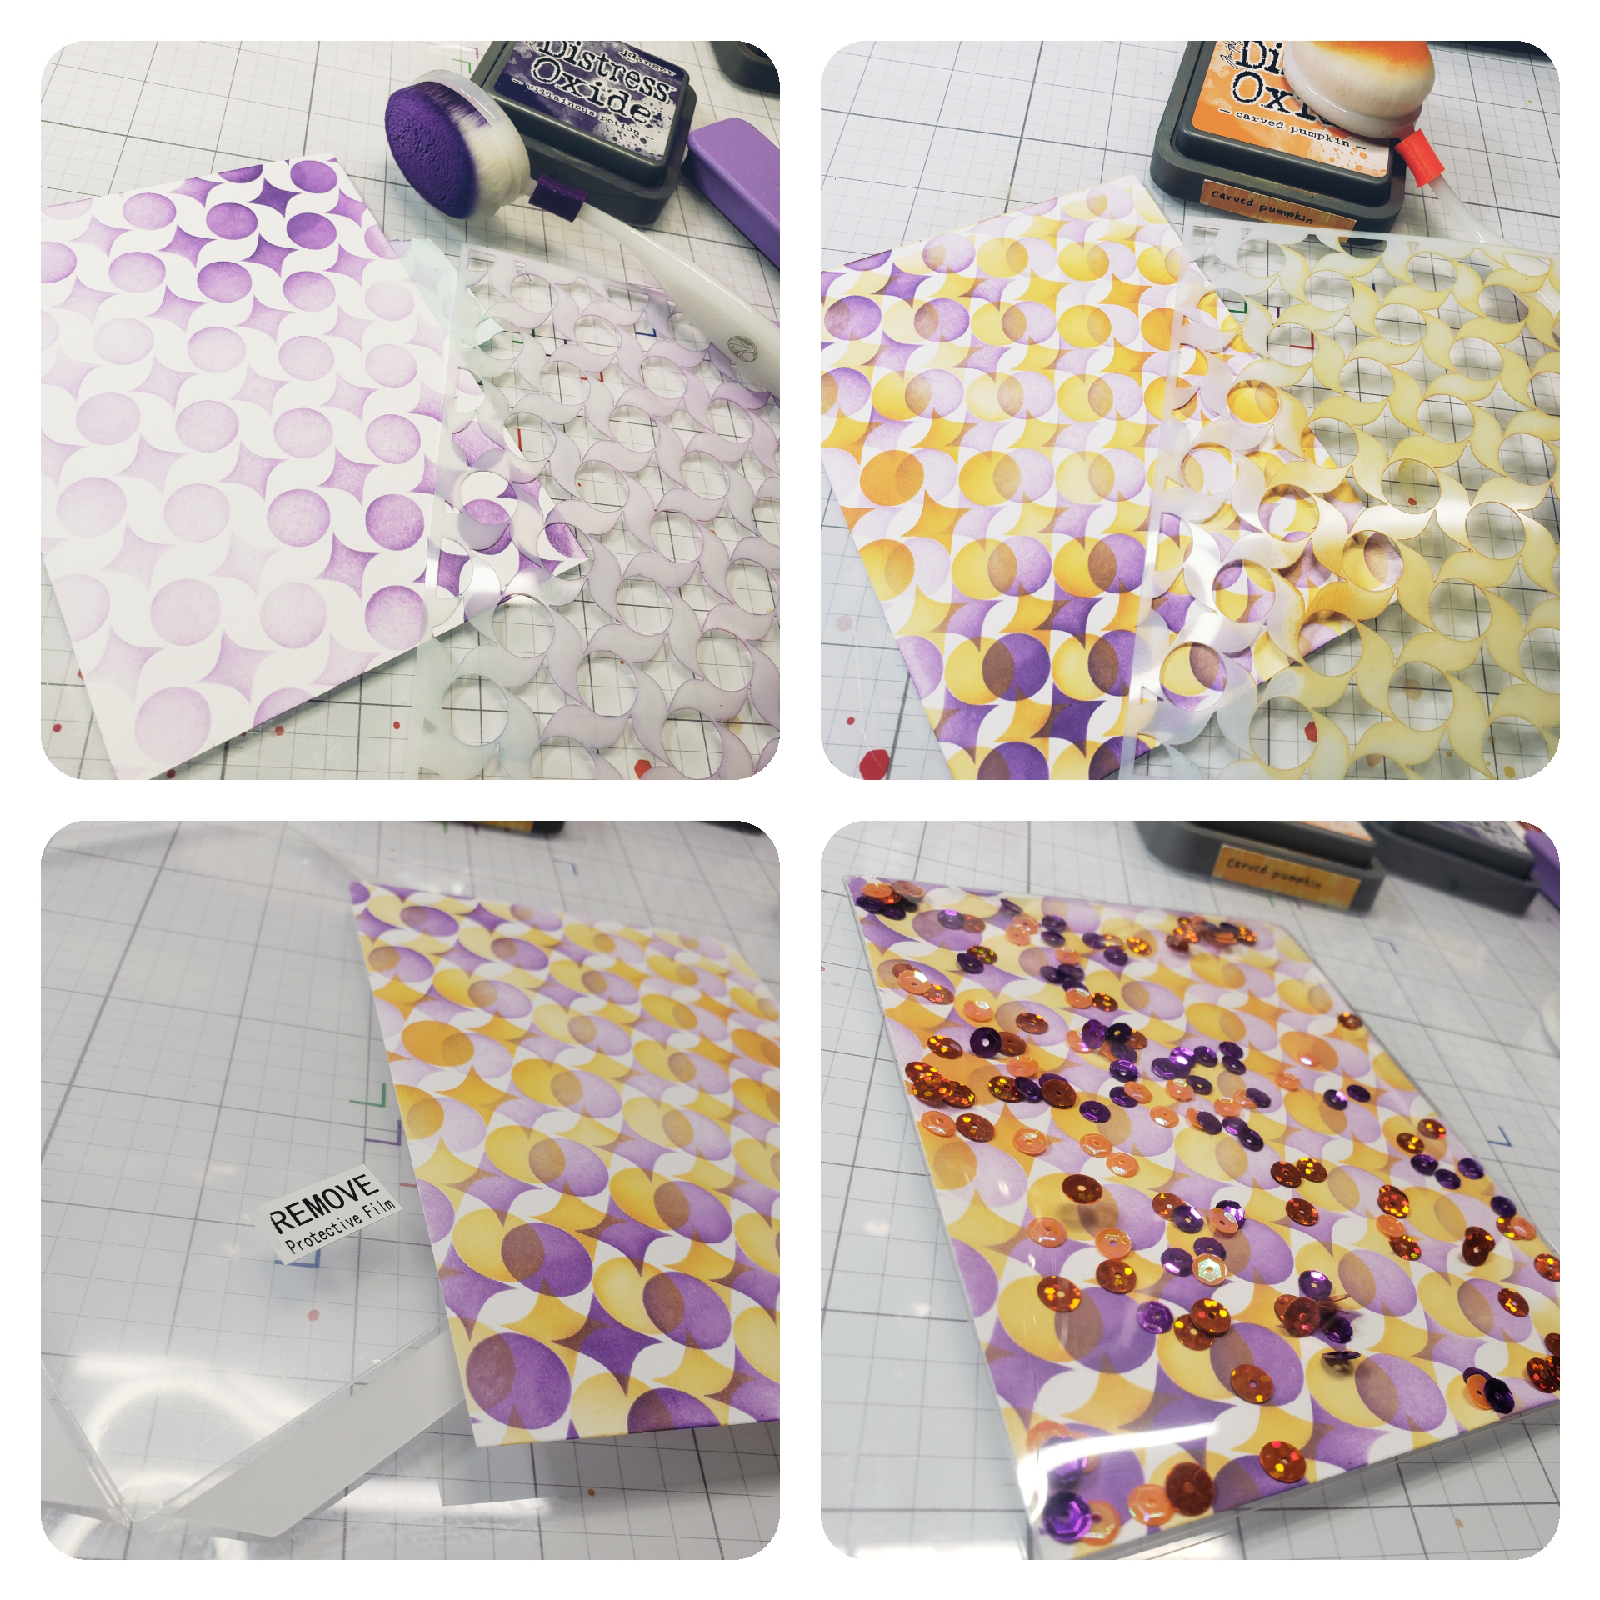
I stenciled a piece of 4 1/8" x 5 3/8" white cardstock using the Pinwheel stencil with Villanous Purple Distress Oxide ink. Clean the stencil and place it over the purple Pinwheels shifting it slightly catching the curve of the stencil circle in the curve of the purple stencil pin wheel.  Stencil it with Carved Pumpkin Distress Oxide ink.

Use one of the A2 Shaker Acetate Sheets and adhere it to three of the four sides of the Pinwheel stenciled background card. Add some purple and orange sequin shaker bits in the pocket and seal the remaining shaker window opening.
Using the Meowgical stamp set (illustrated by Agota Pop), stamp the spiderweb four times on gray cardstock. Heat emboss with white embossing powder. Use die cut alphabet letters from your stash to die cut the word "boo" from the embossd spiderweb cardstock and die cut a second set from black cardstock. Glue the spiderweb letters on top of the black letters off setting them slightly to create a black shadow. Set them aside.

Stamp the cat in the pumpkin.  I colored him with OLO markers using the Orange, Blue Green markers and cut out the image.
I stamped and heat embossed the sentiment  "I purred a spell on you" onto a piece of black cardstock treated with the Cottontail Embossing Powder Tool.   It is stamped with VersaMark Watermark ink and heat set with white embossing powder.  I used a pumpkin die from my stash to cut out the sentiment. Glue on the BOO at the top left side of the shaker card and glue the black  pumpkin sentiment with the kitty in the pumpkin image to the lower right side of the shaker card.  Attach the card to a whit A2 card base to complete the card.

Thank you, I appreciate you taking time from your day to stop by and check out today’s The Rabbit Hole Design project.  I enjoyed sharing the steps to recreate this fun halloween shaker card.  I hope it inspires you to create something lovely today!


Be Creative ~ Stay Inspired

Jenn Gross


Follow me, Journey Coach Jenn, on 

Instagram - https://www.instagram.com/journeycoachjenn/

YouTube - http://www.youtube.com/c/JourneyCoachJenn

Blog - https://journeycoachjenn.blogspot.com/  


For more inspiration, updates, and news make sure to check out these places


The Rabbit Hole Designs

The Rabbit Hole Designs Instagram

The Rabbit Hole Designs Facebook Page

The Rabbit Hole Designs Pinterest

The Rabbit Hole Designs YouTube 

Pretty Christmas Poinsettia Shaker Card


Hello. It's Lauren here today to share this pretty, full panel shaker card I created featuring the new Poinsettia & Pinecones. This set, illustrated by Kelly Taylor is super fun to create with. 

I wanted to use it to create a non-traditional poinsettia color. Something soft and subtle.  

I created a video showing how I created this shaker card that you can watch on my YouTube channel here: 

https://youtu.be/gLG20mrJ28w

You will find the products I used for this card linked below. Thanks for visiting! 

Poinsettia & Pinecones Stamp Set: Poinsettia & Pinecones 6x8 – The Rabbit Hole Designs

Cottontail Embossing Powder Tool: Cottontail Embossing Powder Tool – The Rabbit Hole Designs

A2 Shaker Acetate Sheets: A2 Shaker Acetate Sheets – The Rabbit Hole Designs


 You can follow me at these places:

Floral Thanks


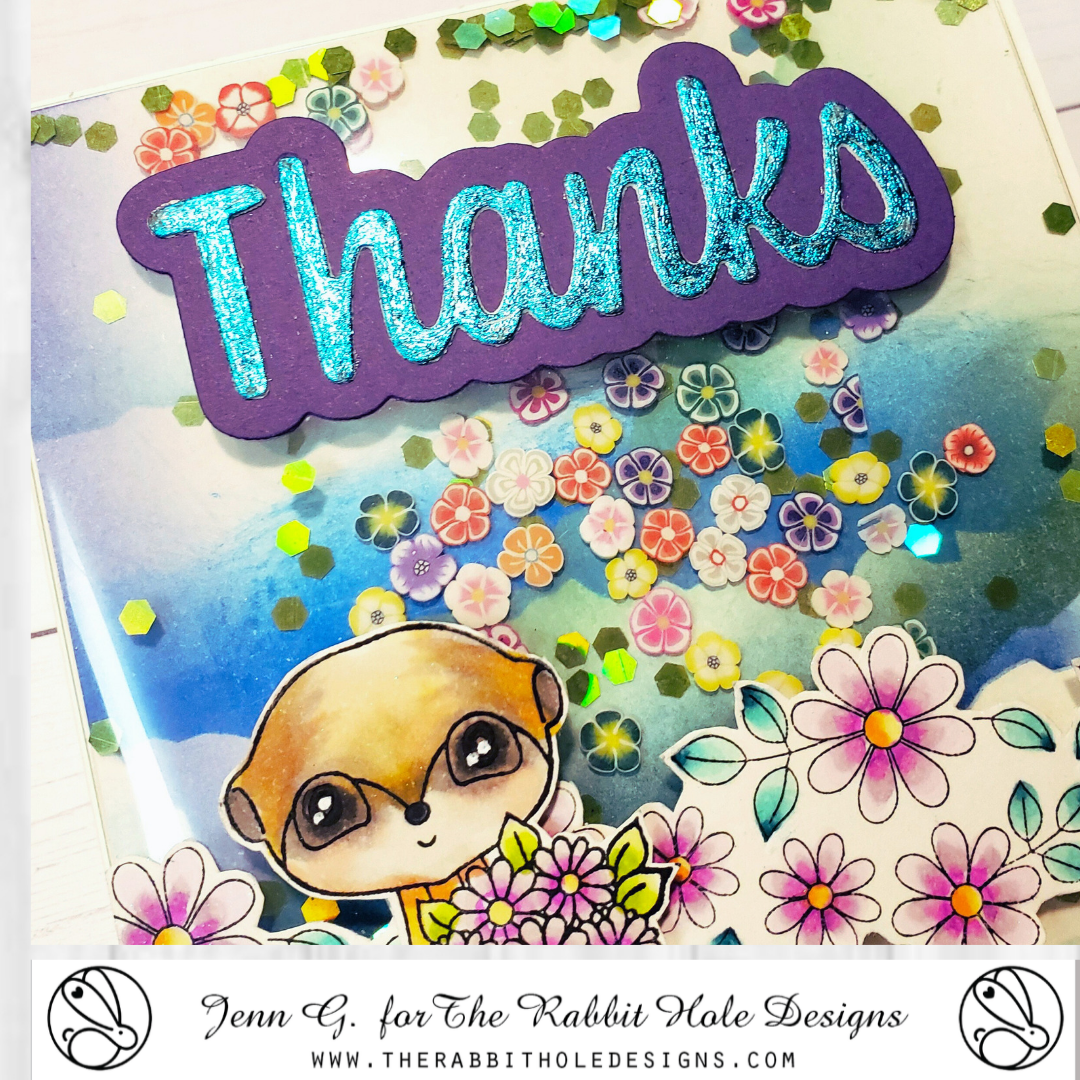
Hello my crafty friends!  I have created a lovely floral collaboration to share with you today on The Rabbit Hole Designs blog today! I love mixing and matching a variety of stamp stencils and dies to create!

I colored the Meaningful Meerkat and Daisy Chain images with OLO markers.

The background is stenciled with the Torn Paper stencil to create a cloud-like background with blue and green inks on a 4 1/8" x 5 3/4" piece of white cardstock.
The Thanks sentiment is cold foiled with adhesive.  I added a piece of 2" double-sided adhesive tape to a piece of cardstock and die cut the word Thanks.  I removed the release paper and place the word on a piece of teal foil release sheet and rubbed/burnished the foil to the word before glueing it to the purple shadow layer.
The stenciled background is placed face down onto the A2 Shaker Acetate Sheets.  Remove 3 of the 4 adhesive tabs and fold them to the back of the background to create a pocket.  Add shaker pieces to the opening in the shaker pocket and seal the final tab.  Attach this shaker front to an A2 card base.
Adhere the Thanks sentiment to the top part of the shaker card and the Daisy Chain to the lower half of the card front with double-sided adhesive tape.  Attach the Meerkat image to the lower left front with double-sided adhesive foam tape to complete the card.


Thank you for taking time to visit today's post.  I hope you enjoyed this Floral Thanks shaker card featuring products from The Rabbit Hole Designs.  I hope you are inspired to create something lovely today.

Be Creative ~ Stay Inspired

Jenn Gross


Follow me, Journey Coach Jenn, on 

Instagram - https://www.instagram.com/journeycoachjenn/

YouTube - http://www.youtube.com/c/JourneyCoachJenn

Blog - http://www.journeycoachjenn.com/


For more inspiration, updates, and news make sure to check out these places


The Rabbit Hole Designs

The Rabbit Hole Designs Instagram

The Rabbit Hole Designs Facebook Page

The Rabbit Hole Designs Pinterest

The Rabbit Hole Designs YouTube 

Save the Bees - Shakercard with New Product Sneak Peek


Hello crafty friends and welcome to today's blog featuring The Rabbit Hole Designs' Sunny Days and Rainbows stamp set pair with the Daisy Chain stamp set (both illustrated by Agota Pop) 

SNEAK PEEK ALERT! 
I am so excited to be able to share this sneak peek at a new product being introduced during next week new release on Monday, March 20.  You have to wait until then to order, but they come in a convenient pack of 10, are pre-scored (A2 size) with a protective film on the top and adhesive on all four tabs.
Are all bees yellow? ...No!   I discovered, in North America, there are Blue Orchard bees. They are blue in color and are attracted to spring fruit flowers.  If you Google blue bees, you will find there are several species all over the world.
I stamped and colored the two bees images with Olo Markers.  I used Blues B2.0, B0.3, B0.5, B0.7 for the bee bodies and the Cool Grays (C-G) for the bee wings.
The card is a full shaker card.  I cut a piece of yellow cardstock  to measure 4 3/16" x 5 7/16".  I stamped the Twisted Daisy Chain on the card front and colored it with colored pencils.
I removed the protective film from the shaker window and placed the card front, face down, in the center of the A2 shaker window.  I remove adhesive release paper and attached the three of the tabs to the back of  card front creating a pocket. Add the shaker bits of your choice and seal the last tab to create your shaker card front.  You can see two black die cut hexagon frames (from my stash) are added to the front.  I used the Niccole Lowercase Alphabet dies to add "save the" sentiment.  I added the two blue bees to the bottom of the card creating this  "save the blue bees" card.

Products used

Thank you, I appreciate you taking time from your day to stop by and check out my card using the The Rabbit Hole Designs' Sunny Days & Rainbows stamps set with the Twiated Daisy Chain stamp set. Thank you for taking tome to learn more about the blue bees!. I hope you are inspired to create something lovely today! 


Be Creative ~ Stay Inspired

Jenn Gross


Follow me, Journey Coach Jenn, on 

Instagram - https://www.instagram.com/journeycoachjenn/

YouTube - http://www.youtube.com/c/JourneyCoachJenn

Blog - http://www.journeycoachjenn.com/


For more inspiration, updates, and news make sure to check out these places


The Rabbit Hole Designs

The Rabbit Hole Designs Instagram

The Rabbit Hole Designs Facebook Page

The Rabbit Hole Designs Pinterest

The Rabbit Hole Designs YouTube

A Happy Hello - The Rabbit Hole Designs Sunny Days and Rainbows stamp set

Hello crafty friends.  I hope you are having a sunny day!  This sweet bee is sliding in on a rainbow to say hello to  to her friend.  I created this un interactive card featuring The Rabbit Hole Designs Sunny Days and Rainbow stamp and coordinating die. This set is illustrated by the talented Agota Pop.   I have paired it with the Taste Like Honey stencil and the Hello Scip[ty word with Shadow Layer die.
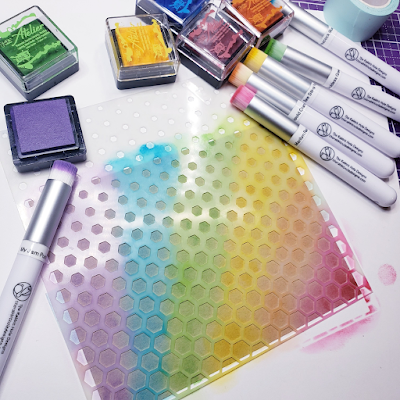
I stenciled the Taste Like Honey stencil in rainbow inks.  I set aside this initial stenciled kraft paper to the side. I will use this background for another project.  Placed the inked stencil, colorside up, on top a piece of 4" x 5 1/4 " white cardstock. I used a baby wipe to clean off the stencil, this will rub the ink off of the stencil and onto the paper through the stencil opening.  The look is a bit subtle, but I think it will be great for this card.
I used three hexagon stacking dies from my stash to die cut shaker window on a piece of 4" x 5 1/4" yellow cardstock.  I attached a piece of acetate to the backside of the hex panel to create the window.

I created the shaker windows by framing the back side of the card front with double-sided adhesive foam tape around the hex window opening.  I added sequin and shaker pieces to the window wells and added the Taste Like Honey stenciled background facing the window to seal in the shakre bits. 

The images are stamped on to Sweet Sentiment Coloring Cardstock and colored with OLO markers and die cut with the coordinating dies.  I die cut the Hello Scripty Word from yellow cardstock and the Hello Shadow Layer from vellum. 
Here is the completed shaker card with all the images and elements added to the card front.  I mounted it to an A2 dark yellow card base.


The Rabbit Hole Designs Products

Thank you, I appreciate you taking time from your day to stop by and check out this fun shaker card featuring The Rabbit Hole Designs new Sunny Days and Ranbows stamp and coordinating dies. I hope you are inspired to create something lovely today! 


Be Creative ~ Stay Inspired

Jenn Gross


Follow me, Journey Coach Jenn, on 

Instagram - https://www.instagram.com/journeycoachjenn/

YouTube - http://www.youtube.com/c/JourneyCoachJenn

Blog - http://www.journeycoachjenn.com/


For more inspiration, updates, and news make sure to check out these places


The Rabbit Hole Designs

The Rabbit Hole Designs Instagram

The Rabbit Hole Designs Facebook Page

The Rabbit Hole Designs Pinterest

The Rabbit Hole Designs YouTube


Love, Valentine Shaker Card


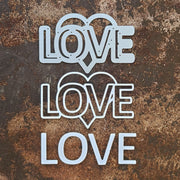
Hello! Lauren here sharing a pretty shaker card I created using the new Love-N-Heart die. There are so many ways to use this die! I used it to create a fun shaker. 


You can find a full tutorial on my blog: https://laurenzrdh.wixsite.com/queenlorecreations/post/pretty-love-shaker-card.

I hope you like this pretty shaker card and that I have inspired you to try using this die in different ways! Thanks for visiting!

Here is the link to the Love-N-Heart die: Love-N-Heart Die – The Rabbit Hole Designs


Thanks again for visiting. You can follow me here:

Infinity Shaker- Revisiting a Personal Favorite


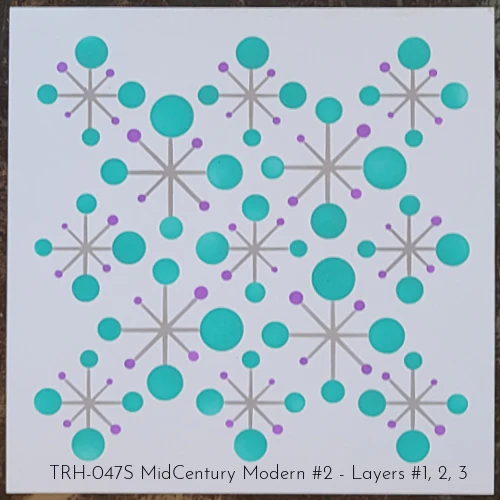
Hello. Lauren here. For the month of December, we revisit our personal favorite creations we've made over this past year. One of mine was this sparkly Christmas infinity shaker card using the Mid Century Modern #2, Layered stencil.


Full tutorial can be found on my YouTube Channel: https://youtu.be/jYT-mHklrNo

Thanks for visiting. You can follow me here:

For more inspiration, updates, and news make sure to check out these awesome places! 

Merry Christmas Shaker Card


Hello! It's Lauren here today sharing this full panel shaker card featuring the new Mid Century Modern #2 stencil and the sentiment from the 1 Line Reindeer stamp set. I went with a non-traditional soft color palette that I thought went well with the retro stencil.

I created a video tutorial showing how I created this card. Here's the link to the YouTube video: 

https://youtu.be/jYT-mHklrNo

This was a fun card to create. I hope it inspires you to create your own pretty holiday cards using this fun new release. 

For more inspiration, updates, and news make sure to check out these places
 

Here are the links to the products used for this card:

Mid Century Modern #2, 4 Layers stencil: 


1 Line Reindeer stamp set: