Pages

Showing posts with label Floral. Show all posts

Flower Whale Greeting Card

Saving the best for last!  My absolute favorite project of the year: 

Good day friends!  I am here to share a card featuring several products from The Rabbit Hole Designs, but the one that definitely takes center stage in this project is the Flower Whale stamp set.

Advice from Flowers

 Hi Crafty Friends! Amy here and I'm so thrilled to share today's card with you featuring the Flamingo Botanical stamp set from the September 2020 Release at The Rabbit Hole Designs.


I am absolutely crazy about florals and this release is no exception. The pairing of the animals with the blooming flowers is just so unique and beautiful.  

On this card I wanted to use just the flower all over in the design and show a slightly different way to use this stunning stamp set.  


For this card I started with a panel of A2 sized bristol smooth paper. I heat embossed the bloom from the stamp set all over the panel with gold embossing powder. 

 For the coloring I used my watercolor brush pens and filled in all the lovely flowers. The embossed edges of the flowers came in really handy when I was working with the brush pens because it creates little wells and makes it easier to color in. On the background I wrote directly on my glass work surface with the blue watercolor brush pen and used my water brushes to further dilute the pigment. I wanted the background to be really subtle and soft and not take away from the blooms. 


Finally, I chose the sentiment "Bloom Where You Are Planted" from the set because I felt that it fit the design so well and it really is such great advice! I heat embossed that in gold as well and die cut that into a sentiment strip. 

All that was left was to assemble the pieces with some foam tape for dimension. I attached the die cut panel to an A2 sized card base, and that finishes my card today. 

 I hope that you enjoyed this card and found some inspiration. Be sure to check out all the items from the new release as well as all the other fabulous products that The Rabbit Hole Designs carries. You can follow this link HERE to see their whole product line. 


Thanks for stopping by!
If you want to check out additional information on the products that I used to create this card you can visit my blog at amyswares.com 

-Amy


For more inspiration, updates, and news make sure to check out these places.

Framed Pretty Peony

Hello TRH fans!  Shanna here today with my very first post as an official member of the ahh-making design team for The Rabbit Hole Designs...I am so excited to be a part of this team, and of course to share some fabulous projects showing off such a fun line of stamps! I am sharing another fabulous card showcasing the TRH Pretty in Peony that was just released this month! I am in love with the versatility that a good floral stamp set provides, and let me tell you friends....this one does NOT disappoint!


I started off by stamping my flowers all on Canson mixed media paper. I tend to use that paper when I am undecided in what coloring medium I plan on using as it works well with a good variety.  I ended up coloring them with my Tombow markers and blending with a small water brush.  I love the corally-pink!


I cut a wavy frame shape using my Cameo and then arranged the flowers carefully begins the frame and glued them directly to the card front.  I popped up my frame with some foam tape and the mounted a final flower on the front of it.  I really like the dimension the simple framing gave the whole card, super easy but really effective.

I finished it off by heat embossing one of the sentiments included in the set on a strip of black card stock and then adhering it to the card front as well.


For more inspiration, updates, and news make sure to check out these places.


What is your favorite technique for adding dimension to your cards?
See you all again soon!
-Shanna

Inspiration Hop for June ~ Day 3 ~ Pretty in Peony


Hello and welcome to Day 3 of the Inspiration Hop. We are so excited for you to join us as we present to you our June release.  Our fabulous Design Team has been sharing their projects the past few days, so be sure to visit their blogs and leave them some crafty love.

 All of the new stamp sets are available to purchase right now in the shop.
~
FREE SHIPPING 
on orders of $25 or more before taxes and shipping
(applies to US orders only)
No code necessary, exclusions apply
ends 05-30-2019


The stamp sets that is being highlighted today is: 

Pretty in Peony


**Giveaway**
To celebrate day 3 of the release The Rabbit Hole Designs is giving away the stamp set Pretty in Peony to One lucky winner.  Winner will be chosen at random from the comments left on participating blogs, so make sure to visit each stop and leave a comment.  Leave comments by 11:59 pm PST 05-30-2019 on all participating blogs. Winner will be announced on The Rabbit Hole Designs blog 05-31-2019


Here is the line up for the hop:


The Rabbit Hole Designs
Maria Russell
Lynnea Hollendonner
Amanda Stevens
Martha Lucia Gomez
Lisa Golzbein
Katie Brooks
Shanna Slater
MaryAnn Samuelson

Make sure you come back on 05-31-2019 to see if you were randomly selected to win a prize.


Thank you so much for stopping by today!

Happily Ever After Times 2


Hello Rabbit Hole fans, It's Lisa here with you today and I have 2 
classy cards to share with you using the Happily Ever After stamp set.
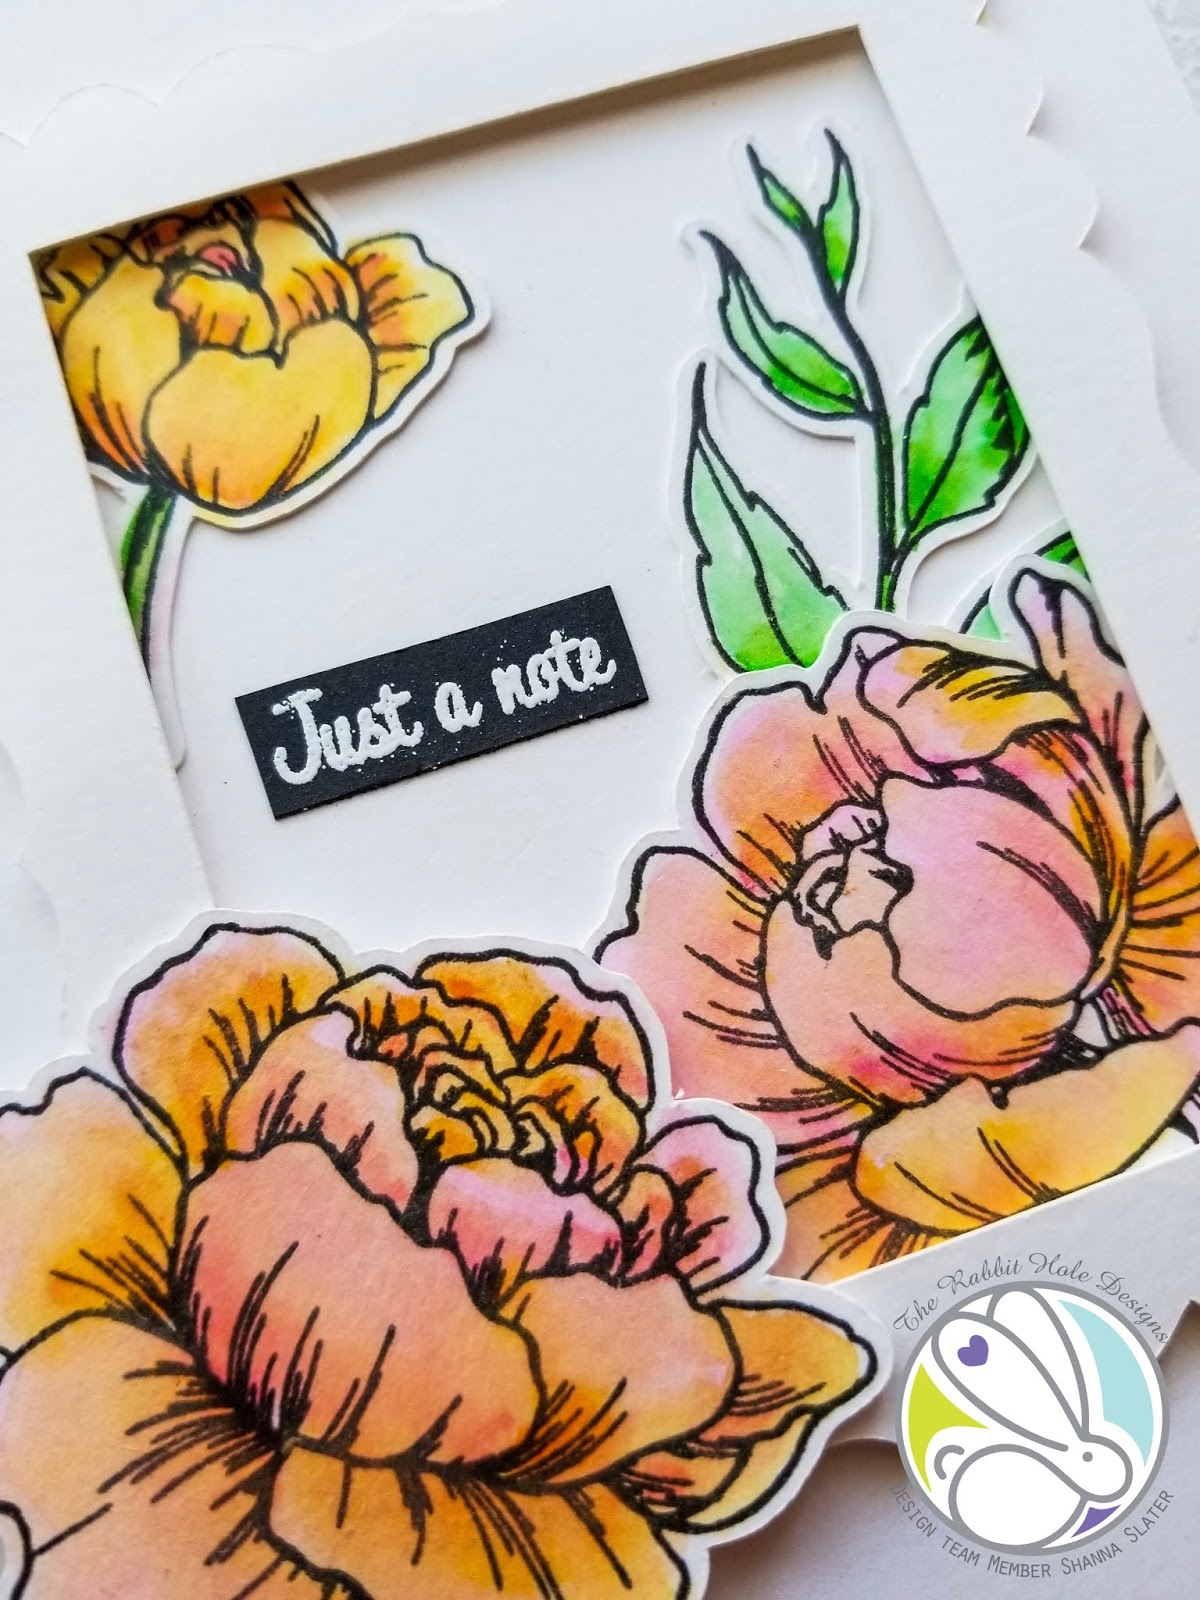
I'm so smitten with these stamps and I had an idea for a card
using the sweet images and some really pretty flowers.


For my first card I used a background die that had thick black stripes and 
I adhered it to a white card base.  I wanted a black and white background 
so that the pretty red roses would really stand out.
I colored the sweet couple from Happily Ever After with my Copic markers 
and cut them out with my scan n cut machine.
I watercolored the layered roses and leaves and arranged them in a bouquet
in the top left corner. I popped my sweet couple up on foam tape in the
bottom right corner and added a few sparkly jewels for some sparkle and shine.
For my sentiment I added a large "Love" die cut in 
silver foil layered on a vellum background.


For my second card I used the same couple but with a much lighter
and softer background. I used a background die again but instead of 
cutting it out, I decided to emboss it instead. I love the subtle texture it gives
to a card background. I colored the couple with my Copic markers and
sent them to the scan n cut once again. For my flowers on this card I decided
to use smaller roses in a simple cluster at the top middle of the card.
I added the same sparkly jewels for shine and I embossed the sentiment
from Happily Ever After to a piece of vellum at the bottom of the card.

One stamp set with 2 very different looks!
I hope you enjoyed my 2 cards today and if you are interested in any
of the products I used today, please head over to my blog for more information.


For more inspiration, updates, and news make sure to check out these links.

Thanks for stopping by today.
Have a great day, I already am!
👰🏼Lisa 🤵🏼