Pages

Showing posts with label Quick & Easy Card. Show all posts

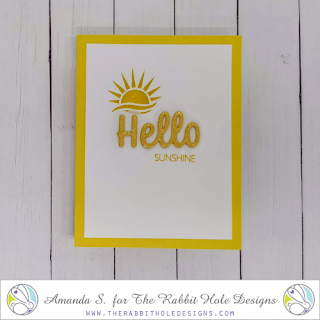
Hello Sunshine - Clean and Simple Card


Hello sunshine! It's Amanda from Pear Blossom Press again today with a clean and simple card, that's also really quick and easy to recreate! Head on over to my blog for all of the details, and a few tips for similar cards... pearblossompress.com.

Be sure to head on over to the shop and pick up the new Hello Scripty Word with Shadow Dies and the coordinating Hello Scripy Stamp Set, if you'd like to make a card like this. And check out the other coordinating word and stamp sets to create similar cards for any occasion!

Thanks so much for stopping by today. I'll be back soon with more fun cards to share. In the meantime, check out these fun places for more inspiration, updates and the latest news...


Color Pop Mini Slimline


Hello my crafty friend! It's Amanda, from Pear Blossom Press again, and today I'm sharing a quick and easy card idea that requires no coloring! The frame around the sentiment, plus a few coordinating gems, add a pop of color that really jumps out at you from the bold, stencilled background. 

This card features the Cat Eye Stencil, and Sassy Sentiments Stamp Set. Head on over to my blog for all of the details, and a few extra tips for this style of card... pearblossompress.com.

Thanks so much for stopping by today. I'll be back soon with more fun cards to share. And don't forget, the new release comes soon. You're not going to want to miss a thing. See you then!

For more inspiration, updates, and news make sure to check out these places.


Snail Mail with a sparkle!

Hello, Kimberly here with a card featuring Snail Mail Flower from the latest release. I love this cute little snail and wanted a way to easily jazz up this image.


To make this card, I stamped the snail from Snail Mail Flower on white cardstock. I covered it with a mask (image stamped on paper, cut out and placed the image) and then layered a long post it note over it where I wanted the skyline and grass to meet. I blended Mowed Grass distress ink over the exposed bottom of the cardstock. Next I flipped the post it note to expose the top of the cardstock and blended Tumbled Glass distress ink over the top. Once I removed the post it note, I had my background! 

I colored in the snail with Copics and decided I was not crazy about how I colored the shell. So I stamped the image on another piece of cardstock and colored the shell with new colors. I fussy cut the shell out and popped it up with foam tape on the snail on my original panel. Then I blinged it out using some sequins I had in my stash. I really loved this sentiment from Sassy Sentiments and thought it fit perfect with this card so I stamped it directly on the card. I put foam tape on the back of the snail panel and added it to a card base I had prepared for it. I hope you like it!

Thanks for stopping by!
Kimberly

For more inspiration, updates, and news make sure to check out these places


How to Use Pattern Paper and Washi Tape


Hey crafty friends, it's Amanda from Pear Blossom Press, and I've got a fun new video for you today, showing you several ways to use up some of that extra pattern paper and washi tape in your stash! Check it out...


As I mentioned in the video, this is part of the Dig It Out, or Use It Up Hop. Head on over to my blog for the next stop in the hop, as well as links to all of the products I used. 
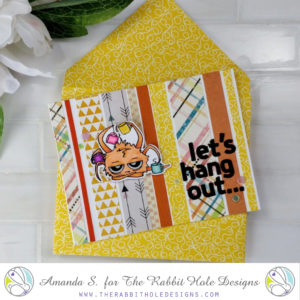
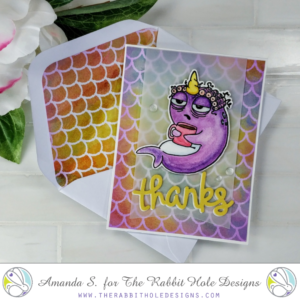
Let's take another look at the cards I made.
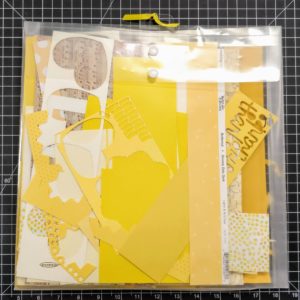
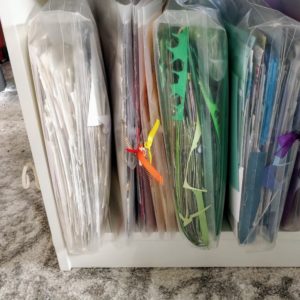
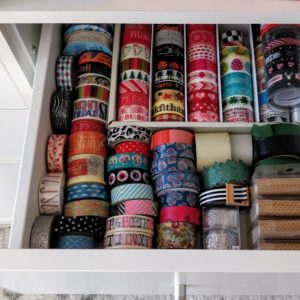
Here's another peek at my scrap paper, and washi tape storage. By keeping them organized and close at hand, I use them more often. 
If you are interested in the stamps I used for today's cards, you can find them here...

For more inspiration with your The Rabbit Hole Designs Creations, be sure to follow along at these other locations:

A dose of Reali-tea


Hello everyone! DTM Shanna here today with a card featuring The Rabbit Hole Design‘s New Release for October, Caffeinated Reindeer! All of them new caffeinated critters are so flipping fun to play with, you will want to check them all out here, if you haven’t already.

Moving on to my card for today... I had a lot of fun watercoloring my reindeer, and then was *puzzled* by what to do for a backgound.  Puzzled you say?  My perfect solution was found with TRHD’s Puzzle Box stencil!  I used Nuvo expanding mousse, but chose not to heat set it so it retained more of the metallic finish.  The stencil was applied over a Barn Door distress oxide ink blended card panel. The red and green came together for a fun Christmassy background I think!


I added a bit of interest by die cutting a circle from some metallic gold printed vellum and stamped the caffeine symbol from the stamp set all over it.  The sentiment is from the Perfectly Blended sentiment stamp set, and was stamped on a banner die cut and water colored to match.


Have you started making Christmas cards yet?
That wraps up my post for today, I will be back next week for another trip down The Rabbit Hole!  Until then you can find me over on my blog, Caffeinated Craftiness or over on Instagram!
-Shanna
For even more inspiration, updates, and news make sure to check out these links.
The Rabbit Hole DesignsThe Rabbit Hole Designs InstagramThe Rabbit Hole Designs Facebook PageThe Rabbit Hole Designs PinterestThe Rabbit Hole Designs YouTube

Brew-tiful Watercolor


Hello my crafty friends, it's Amanda from Pear Blossom Press again! Today, I'm sharing a quick and easy card featuring the Handmade Brew set. If you missed it last time, don't worry, it will be back on August 26th. If you haven't seen it yet, this set has a "handmade by" stamp - perfect for signing your name under, on the back of cards. It also has a lovely mug with hearts rising from the steam, and three little words that fit perfectly inside the cup. You can use this image on the back of your cards as well, but it is so pretty that I thought it would make a great image for the front of a card.


For today's card, I stamped and embossed the cup and words onto an A2 size panel of watercolor paper. The cups kind of form a diagonal line from the top left side to the bottom right. Loose is the name of the game for this card; watercolor and wispy images like this pair perfectly, and there is no need to try to line them up and evenly space them apart. Next, I painted a loose diagonal line of clean water over the area where I wanted to add color. The light coat of water helped the colors move around when I started dropping them in with my paintbrush, and it kept them confined to that diagonal line. The white embossing powder resists the paint. I used three colors and played around until I was happy with the look. The edges dried with harsh lines, so I came back in with some more clean water and pounced my brush over the edges a little to soften them. I dried the panel and splattered on some concentrated color, as well as some black paint. Then I trimmed 1/8" off each side and glued it to a top-fold A2 card base. Whenever you paint a panel all the way to the edges, color tends to pool up along the sides. Trimming the panel after it's painted allows you to cut off the obvious edges and keeps your eyes moving.
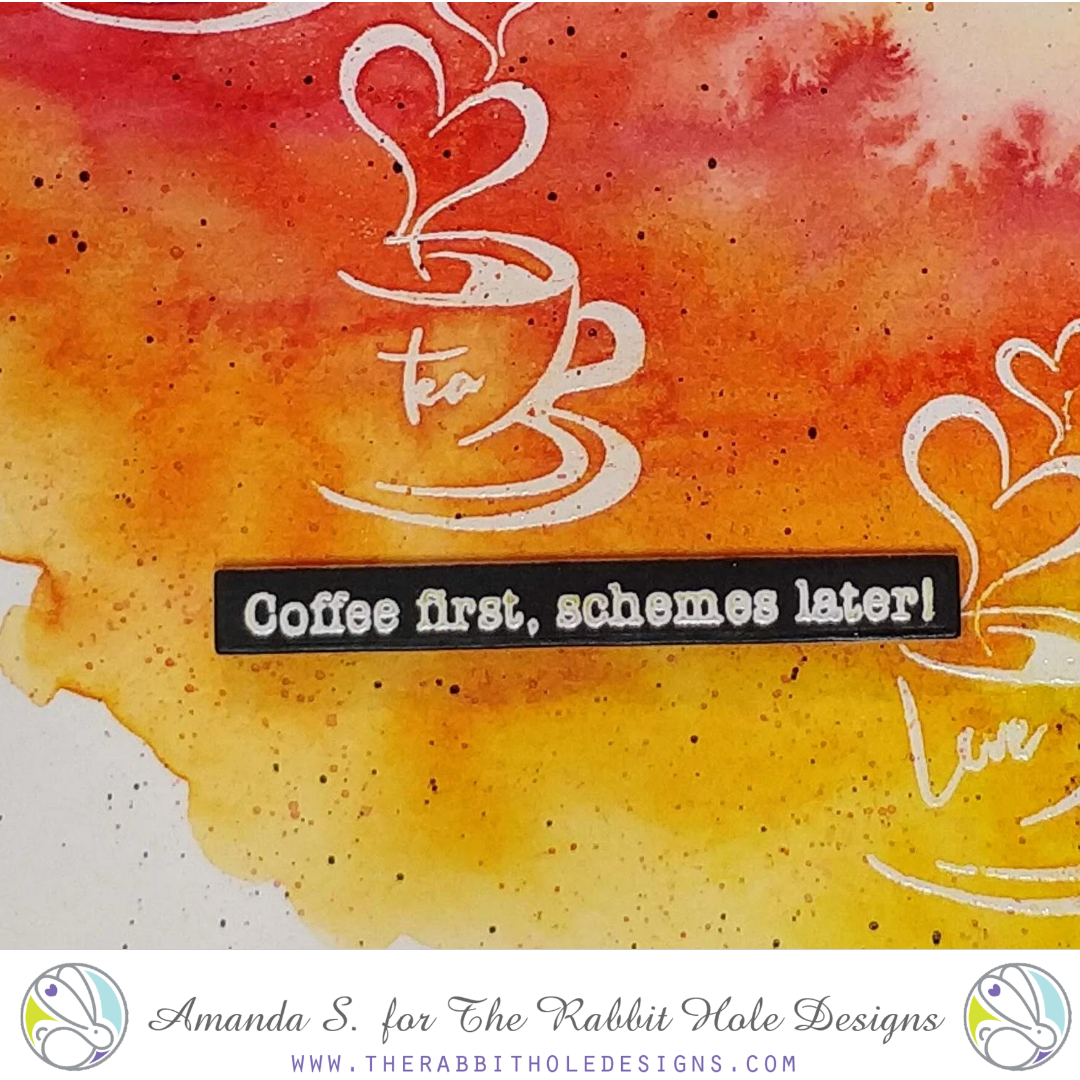


To finish the card, I embossed a sassy sentiment from Perfectly Blended onto a black strip, and popped it up with a little foam tape. The black splatter on the watercolor panel ties the two together nicely. I opted not to add any sequins or glitter, but you definitely can if you'd like. I love the way this card turned out. The tiny words that fit inside the cup make it look like three different images; I especially like how the L in love creates the left side of the cup. This card was so fast and easy to make that I plan to make several more with different sentiments. I think a set of these would make an awesome gift.

Thanks for stopping by today! Let me know in the comments below what types of images you like to use for watercolor pieces. How would you use the coffee cup in this set? You can find more watercolor inspiration here. You can also find the sister article to this on my blog. Hop on over for more great ideas and links to specific products I used. Until next time, stay crafty my friends...