Pages

Showing posts with label Dry Embossing. Show all posts

Have A Cherry Good New Year!


Happy New Year! Today I am sharing my last favorite creation of this past year. I hope everyone has a happy and safe New Year's Eve!
 
 Hello! It's Lauren here today with a sweet card that is sure to cheer anyone up. I used the yummy new Cherry On Top stamp set, illustrated by Agota Pop to create my card. I also used The Garden Trellis hot foil plate to emboss a background that I feel gives the card a old timey ice cream parlor vibe. 


More details can be found on my blog here: 
https://laurenzrdh.wixsite.com/queenlorecreations/post/cherry-good-day


Glitzy Star Power!

Hi TRHD friends! Today is all about stencils! Today's card features the Splish Splash Stencil and the Intersection Stencil


I don't know about you guys and gals, but I really like to stretch my supplies. It's for this reason that I really LOVE stencils. They can be used in so many ways and the price point on them is so reasonable! 

For today's card I wanted to show you two different techniques to use your stencils and really get the most out of them. 


To start I took some heavyweight white card stock and placed the Splish Splash Stencil down on top of it. I used a scraper tool and applied some glitz glitter gel through the stencil to create that awesome design. I then die cut multiple stars from it (once it dried of course).

For the background panel I did a dry embossing technique with the Intersection stencil from the December Mini release. I used my manual platform die cutting machine and a rubber pad and essentially turned the stencil into an embossing folder of sorts. Look at the instructions for your particular embossing machine to see what the best embossing plates "sandwich" would be for your machine. 

I chose a sentiment that I felt fit it really well from the Turtle Botanical stamp set. I stamped it on some card stock and cut it into a sentiment strip. I assembled all the pieces onto an A2 size card base. I used foam tape to pop up the pieces and give it more dimension and interest. That's it guys, easy peasy lemon squeezy! 


I hope that you enjoyed today's card and that you are positively beaming with new ideas on how to use your stencils! Be sure to check out all the  fabulous products that The Rabbit Hole Designs carries. You can follow this link HERE to see their whole product line. 


Thanks for stopping by!
If you want to check out additional information on the products that I used to create this card you can visit my blog at amyswares.com 

-Amy


For more inspiration, updates, and news make sure to check out these places.


A Caffeinated Hello!


Hello! It's Lauren on the blog today sharing this sweet Caffeinated Raccoon that has a caffeinated hello! Don't you just love that cute face!!! I thought she'd look great on the fun Pinwheel stencil. Both are from this months new release. TRHD is a super sponsor for the Fall/Winter Coffee Lover's Blog Hop Nov. 6-13 over at The Coffee Loving Card Makers, so be sure to head over to check it all out. You'll find the link down below.


I started out by dry embossing a white A2 sized cardstock panel. To do this, I ran them through my die cutting machine using an embossing mat along with the embossing plates. Then, using my Cotton Tail blending brush I lightly blended Picked Raspberry Distress Oxide ink over the panel to make the pinwheel shape stand out. then I trimmed it down slightly and adhered it to a teal cardstock background and then that onto an A2 sized card base.


Next, onto white cardstock, I stamped the word Hello from the Marquee Words stamp set using the picked raspberry ink. I also stamped it onto masking paper and fussy cut the individual letters out.


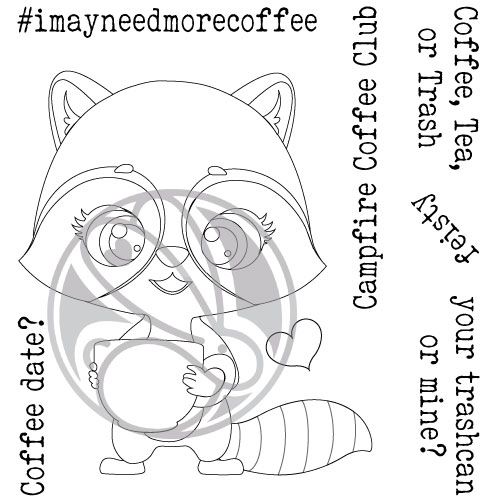
I then masked the letters and positioned the raccoon over the word so that the word would be under her chin. I stamped her using Black Versafine ink. I took off the masked letters and coloured her using Prismacolor pencils. Then I fussy cut her out. The colours I used were:
Raccoon body: Light Aqua, Aquamarine, Cobalt Turquoise
Eyes and cup: Lilac, Parma Violet, Dioxazine Purple Hue, White
Mouth: Pink


I toped her off with a pink flower and then adhered her to the front of the card using double sided tape.

I hope you are loving the release this month as much as I am. Thanks for stopping by. You can also see this card and my links to other products used on my blog.


As a Super Sponsor of the hop, TRHD is offering a 10% discount on all caffeinated images. Just use the code CAFFEINE.

Here's the link to the Coffee Loving Card Makers Fall/Winter Blog Hop

https://l.facebook.com/l.php?u=http%3A%2F%2Fcoffeelovingcardmakers.com%2F2020%2F11%2F2020-fall-winter-coffee-lovers-blog-hop%2F%3Ffbclid%3DIwAR0nEvz-XQxUwDC6cPpatgbYiU43X8DzdhrheRnHZwsWvwLgm58GfYdMfwA&h=AT3w_CQP9H0dX9cVIVDhUSFTxUriG1mXpq6NWm_kVt9x0jM9ONv8mZR2Xw3x4aqRlZwyf0_U8OI6gRbd6Kml5qcyiUynl3vi5yBeEMxB3nOadTAhSIrjBqeMSIyX6ScQRbAw_A_zMv0o_oaTmUGw&__tn__=-UK-R&c[0]=AT2kf6tKYZVJ1TGa4cSKV5__4EiglTAR0d8Vj21y0-YwD_DUQGjdGRFL-70DDBAXLepq_nU2N8IWLlnFLquqHJzO-K9M_pZPdFrk8TiP6vatgT4Wf4GEikMsHbK29cPGeY9SRF4_gg064vjT8y0NOrkZ-B2MKcni8D_1_Q1hMDBWjBS6BpT3mPuZ7McIoIePwekCqwH_C3GQhFga_Q