Pages

Showing posts with label Thanksgiving. Show all posts

Life's Bounty


Hi everyone! Lauren here to share my fall/Thanksgiving card. This Advice From A Pumpkin stamp set is so pretty! I love the illustrations by Tatsiana Zayats and look forward to sending this out to someone special.

To start my card, I stamped the included leaves and acorns onto a tan colored 4.25x5.5" cardstock panel. I used an embossing ink pad to stamp the images then covered them with gold embossing powder. After tapping off any excess, stray powder, I heat set the embossing powder. Then, using a stitched rectangle die from my stash, I trimmed the panel and adhered it to a black 4.25x5.5" cardstock panel.

Next, I stamped my pumpkin image onto a white cardstock panel using black ink. I then colored the image using Prisma Color pencils. The colors used were:
Pumpkin: Eggshell, Ginger Root, Beige Sienna, 10% French Grey
Stem: Kelp Green, Moss Green
Flowers: Crimson Red, Crimson Lake, Tuscan Red
Berries: Yellowed Orange, Orange
Leaves: Pale Sage, Celadon Green, Marine Green


Once the image was colored, I trimmed it with a smaller rectangle stitched die. Then near the top of the panel I stamped, then gold heat embossed the sentiment.


With the panel complete, I adhered it to the gold leaf embossed background then onto a top folding 4.25x5.5" card base.

I hope this card inspires you to color up this gorgeous stamp set too! Thanks for visiting!

Let's Talk Turkey...


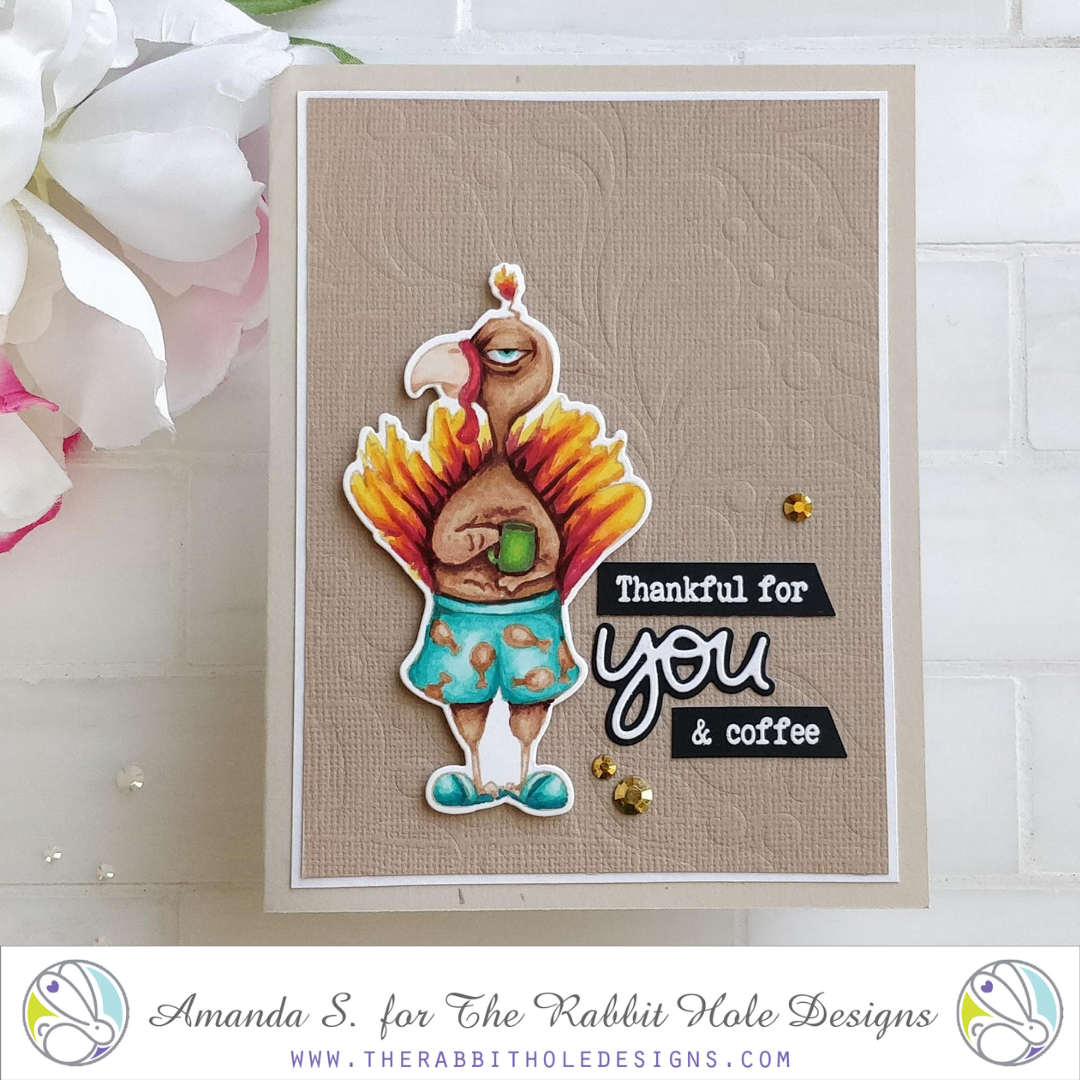
Hey crafty friend, it's Amanda from Pear Blossom Press again. With Thanksgiving less than a week away, I wanted to share one more card for the occasion. The Caffeinated Turkey is such a fun focal point, I had to use him again.

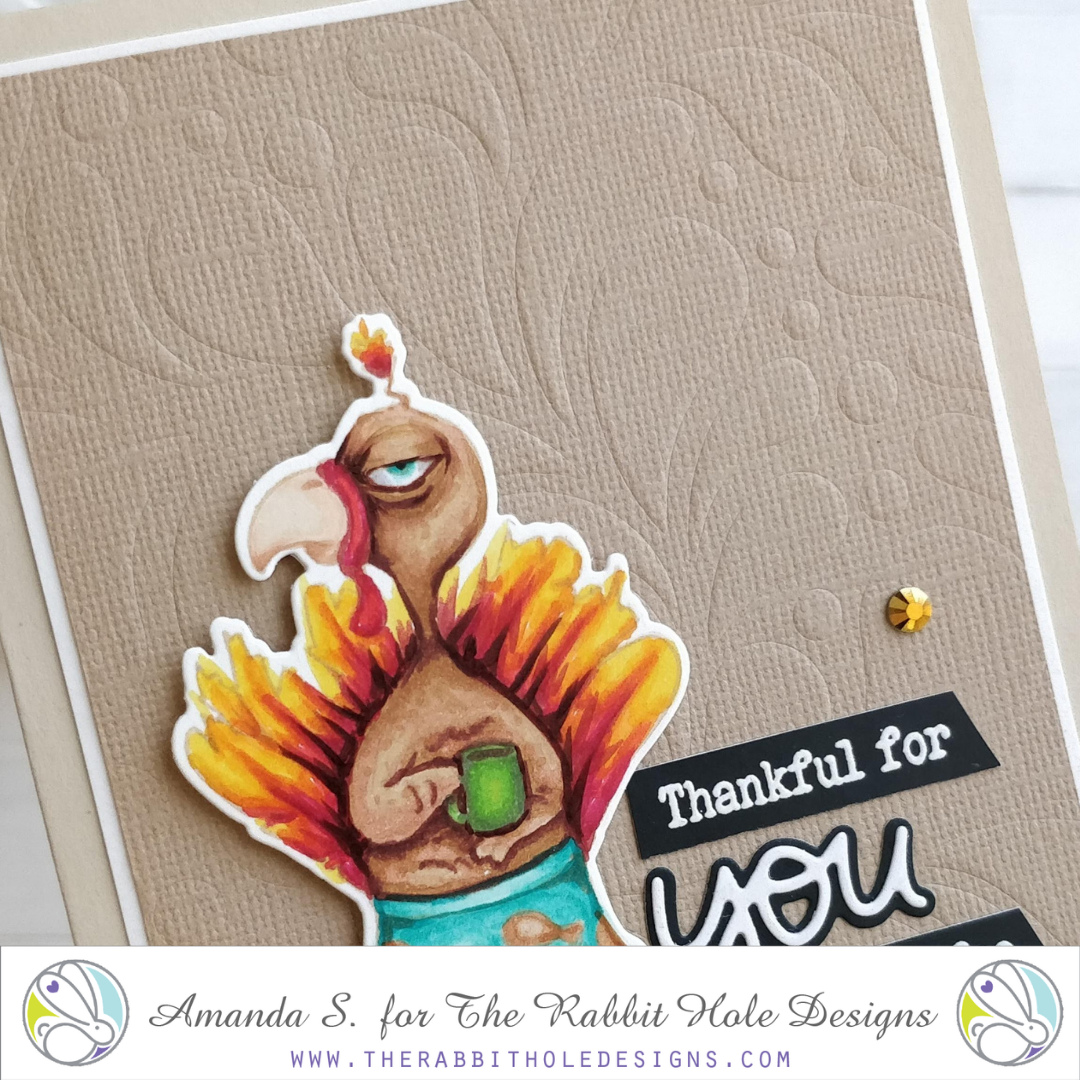
For today's card, I stamped my turkey with Warm Glow ink and Copic colored him, before cutting him out with the coordinating die. To create the embossed background, I ran a tan sheet of cardstock through my die cutting machine, sandwiched between a squishy pad, and the Splish Splash stencil. This is one of my most favorite stenciling techniques (it's fast and mess free too)! 


To pull the card together, I glued the embossed panel to a slightly larger white panel, then glued that to a sand colored card base. Foam tape pops the turkey up. The sentiment is a combination of heat embossed, and die cut words. To make them pop, I used white powder on black Perfect Sentiment Cardstock. This black cardstock is coated, so embossing powder melts fast and smoothly, without sinking into the paper. A few gold gems finish the card. 


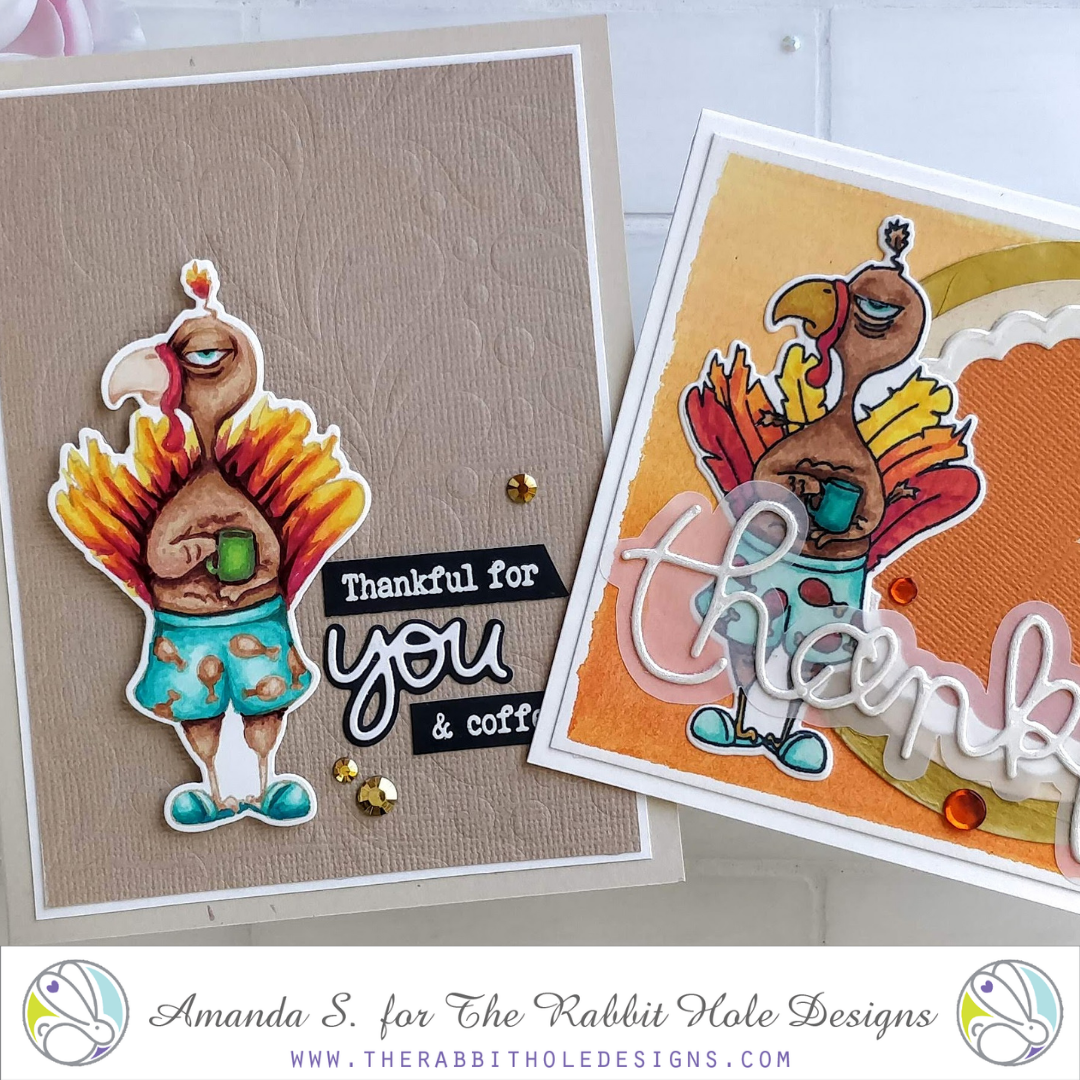
Before I go, I wanted to share a side by side comparison of Caffeinated Turkeys. I still have the card I made with him last year, and when I pulled it out, I was pleasantly surprised to see how far my coloring skills have come! I no longer emboss before coloring. I've ventured into no-line coloring, and I'm not afraid to choose markers with big gaps between numbers. I'm not looking for gradual transitions from one color to the next, I want contrast. Obviously, I have lots of room to grow, and I really want to practice more with adding colored pencil details, but I'm happy with my progress so far! I'll have to remember to color this stamp again next year, and see the difference then.


What do you think of my turkeys? I actually love both cards. Lol, so now the question is, do I send the cards out? Or hoard them to compare again next year? Let me know in the comments below. 

Thanks for stopping by today. I'll be back again soon with another fun card to share! Until then, head on over to my blog for links to the products I used, and for some of the coloring tricks I've picked up along the way. 

For more inspiration, updates, and news make sure to check out these fantastic places!