
Hello my crafty friend. Amanda from Pear Blossom Press back again, with another recipe for quick cards. I used a holiday stamp set, but you can substitute virtually any set. You want one that has an image and sentiment you like. Just think of the design, or layout of the card, as a template.
For this design, I broke it up into two parts: the coloring, and the background. Let's start with the coloring...
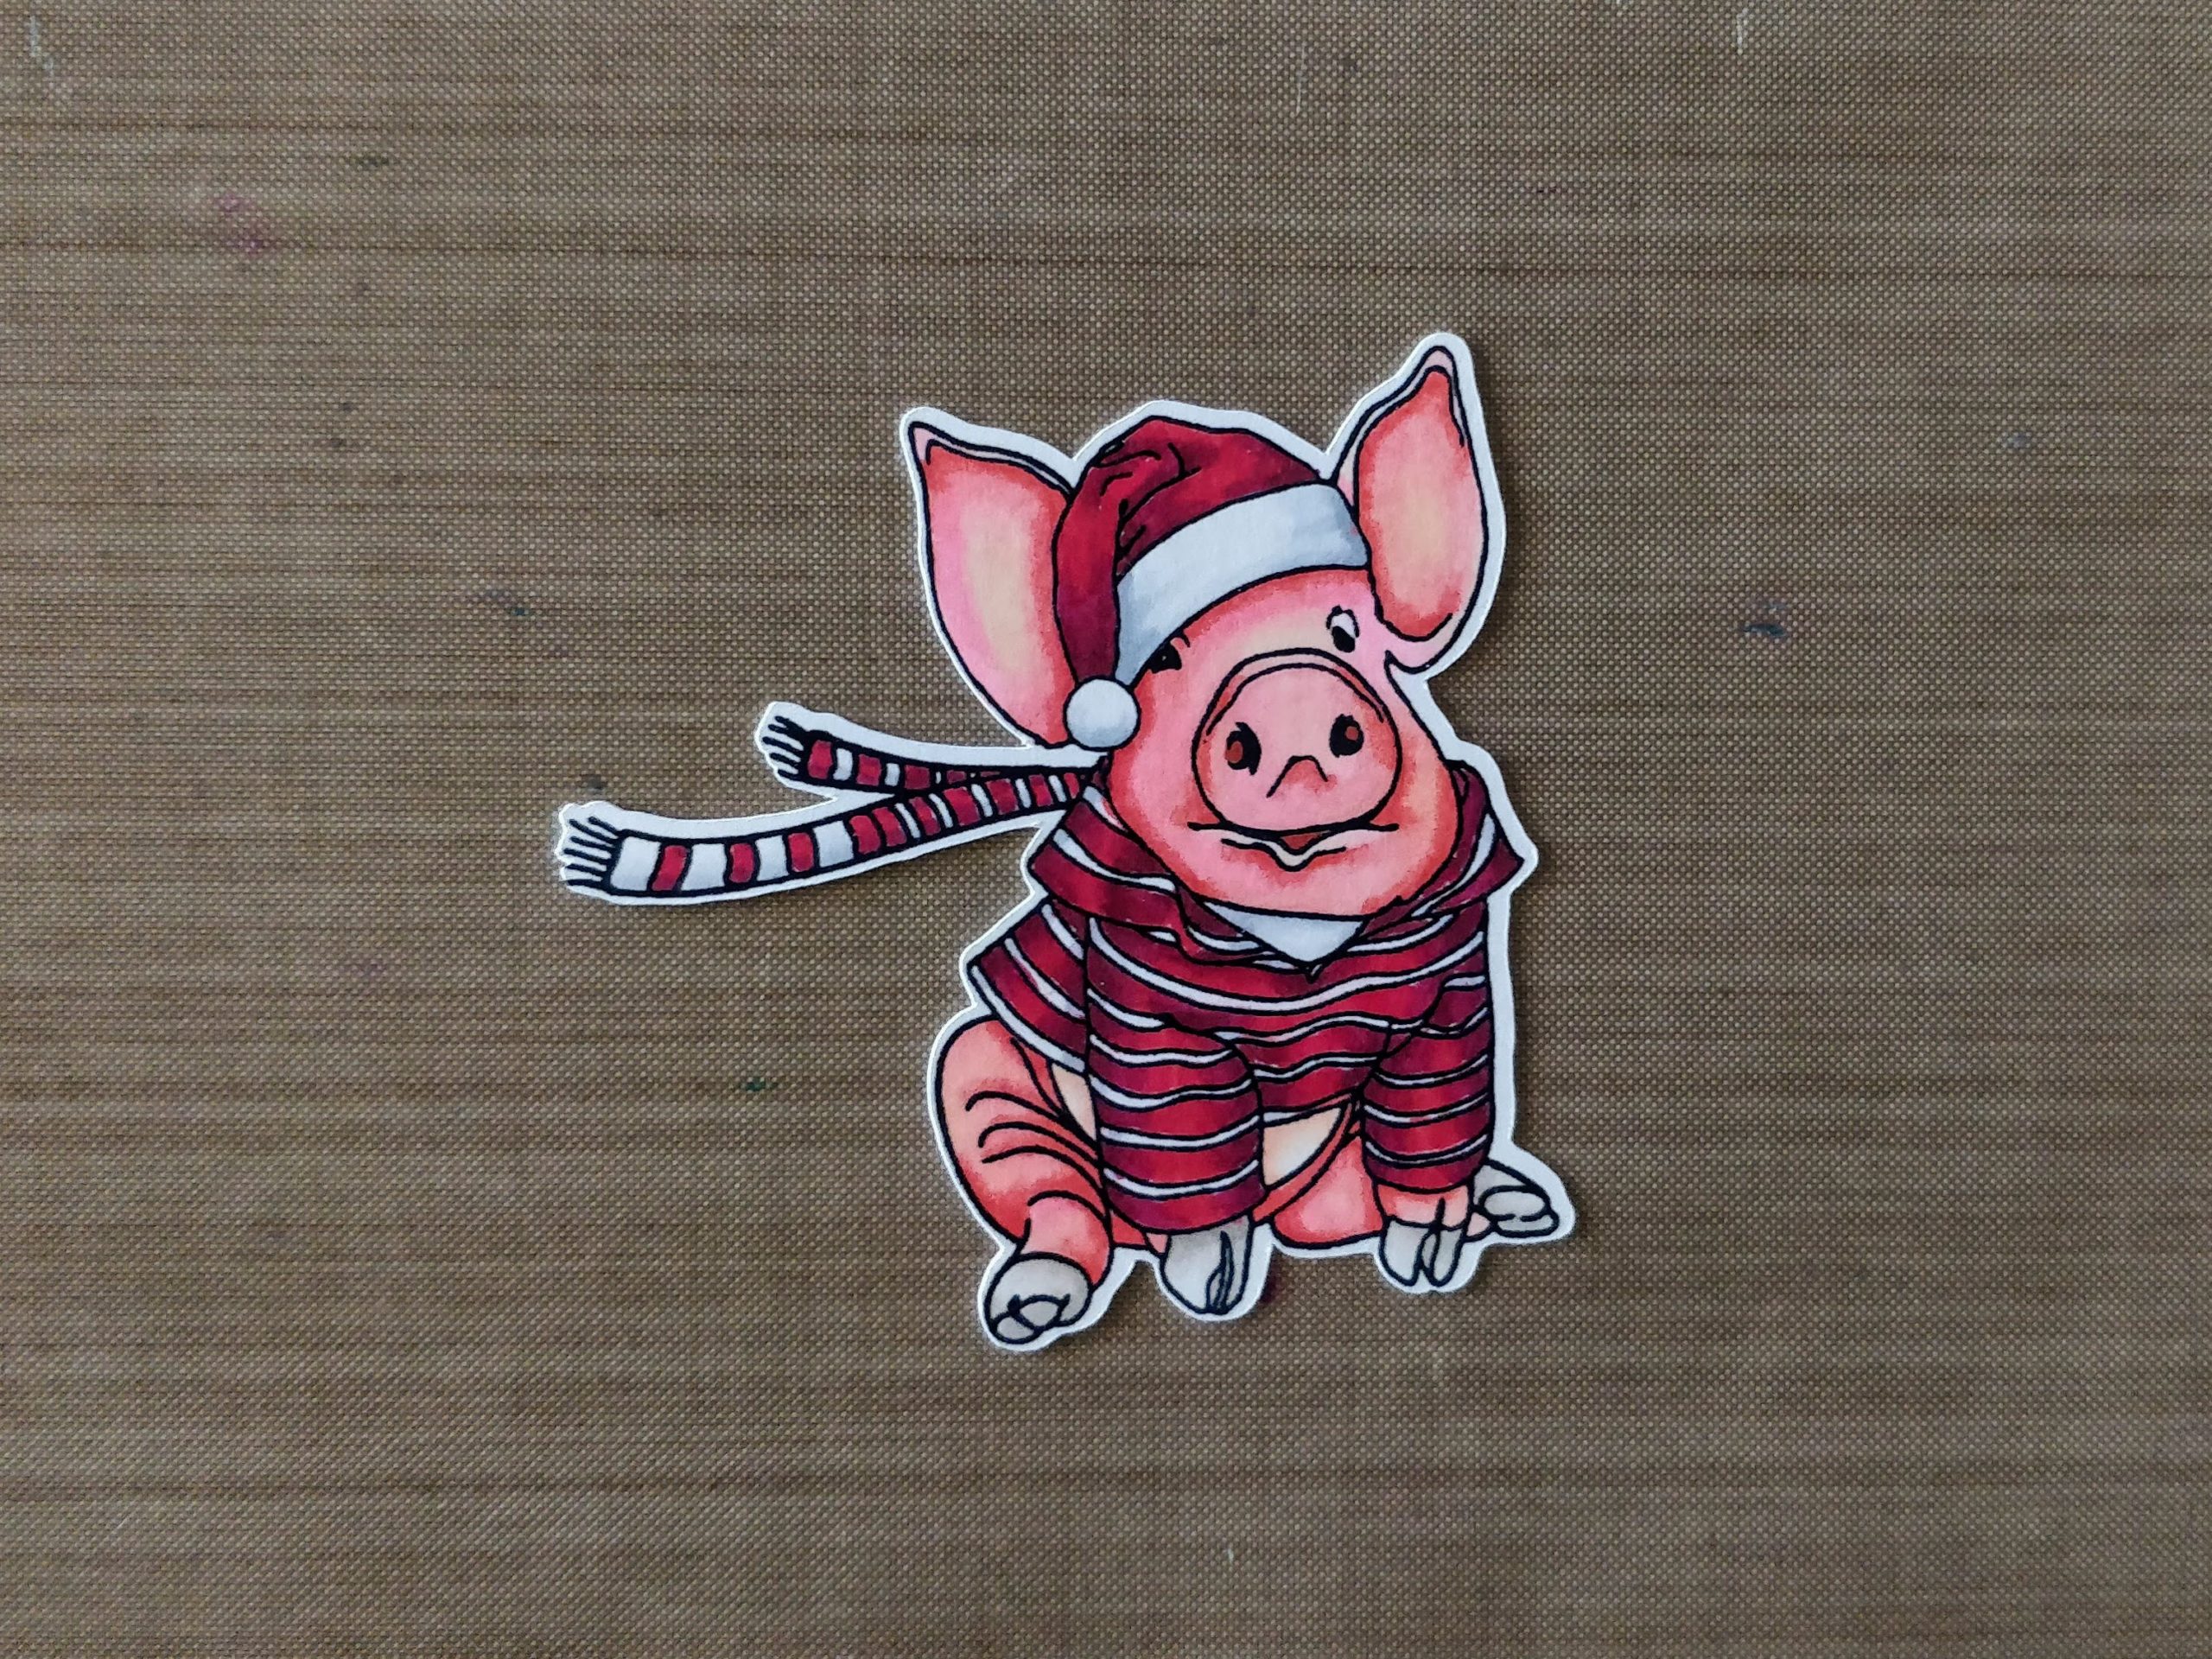
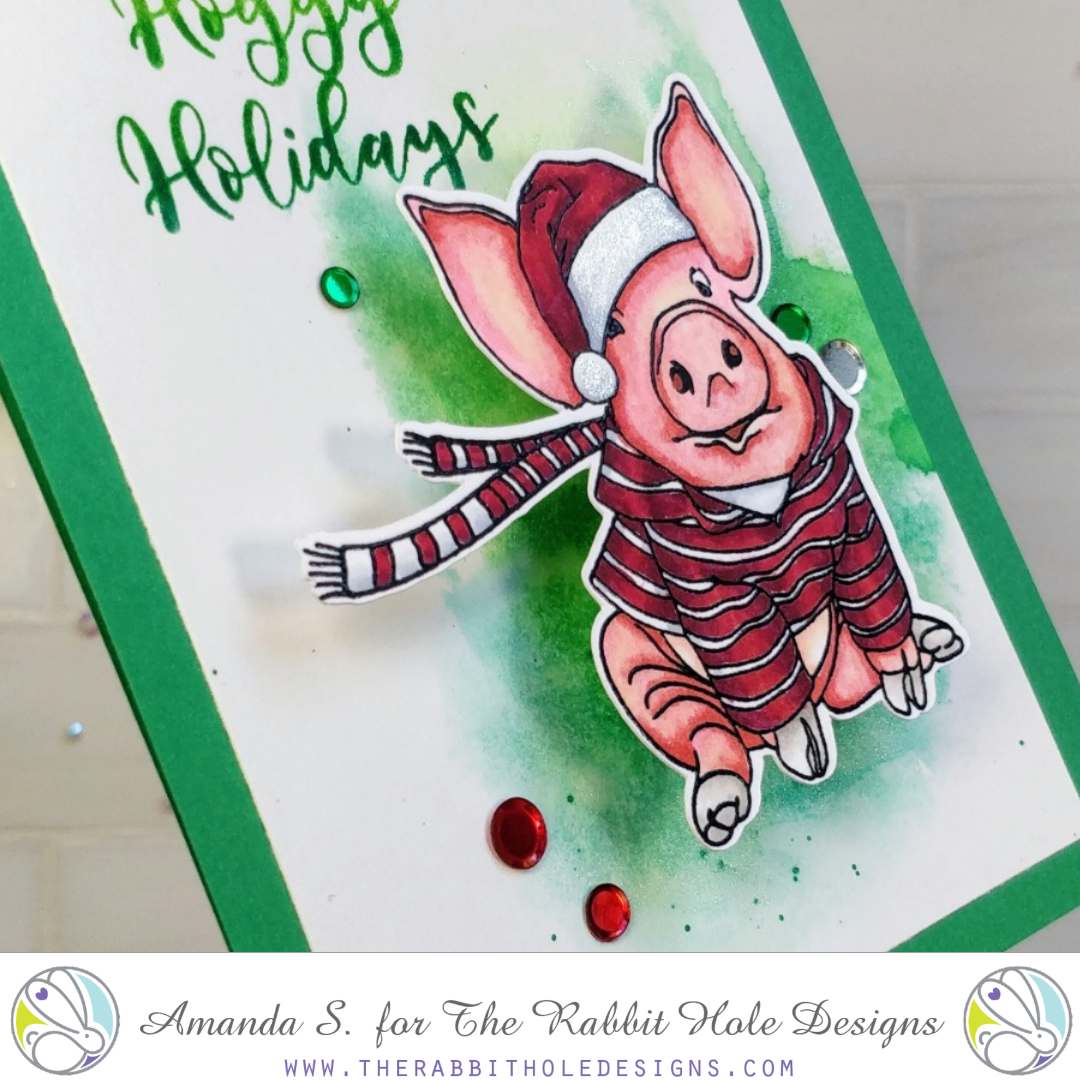
I have been coloring along with Kathy Racoosin for her 30 Day Coloring Challenge again. I like to stamp images onto quarter sheets and Copic color them while watching TV, or crafting online with friends. Usually, I do this without a specific plan for finished cards; I just color and die cut, or fussy cut the images with my ScanNCut, and set them aside for later. That's what I did here with the cute little pig from Hoggy Holidays.
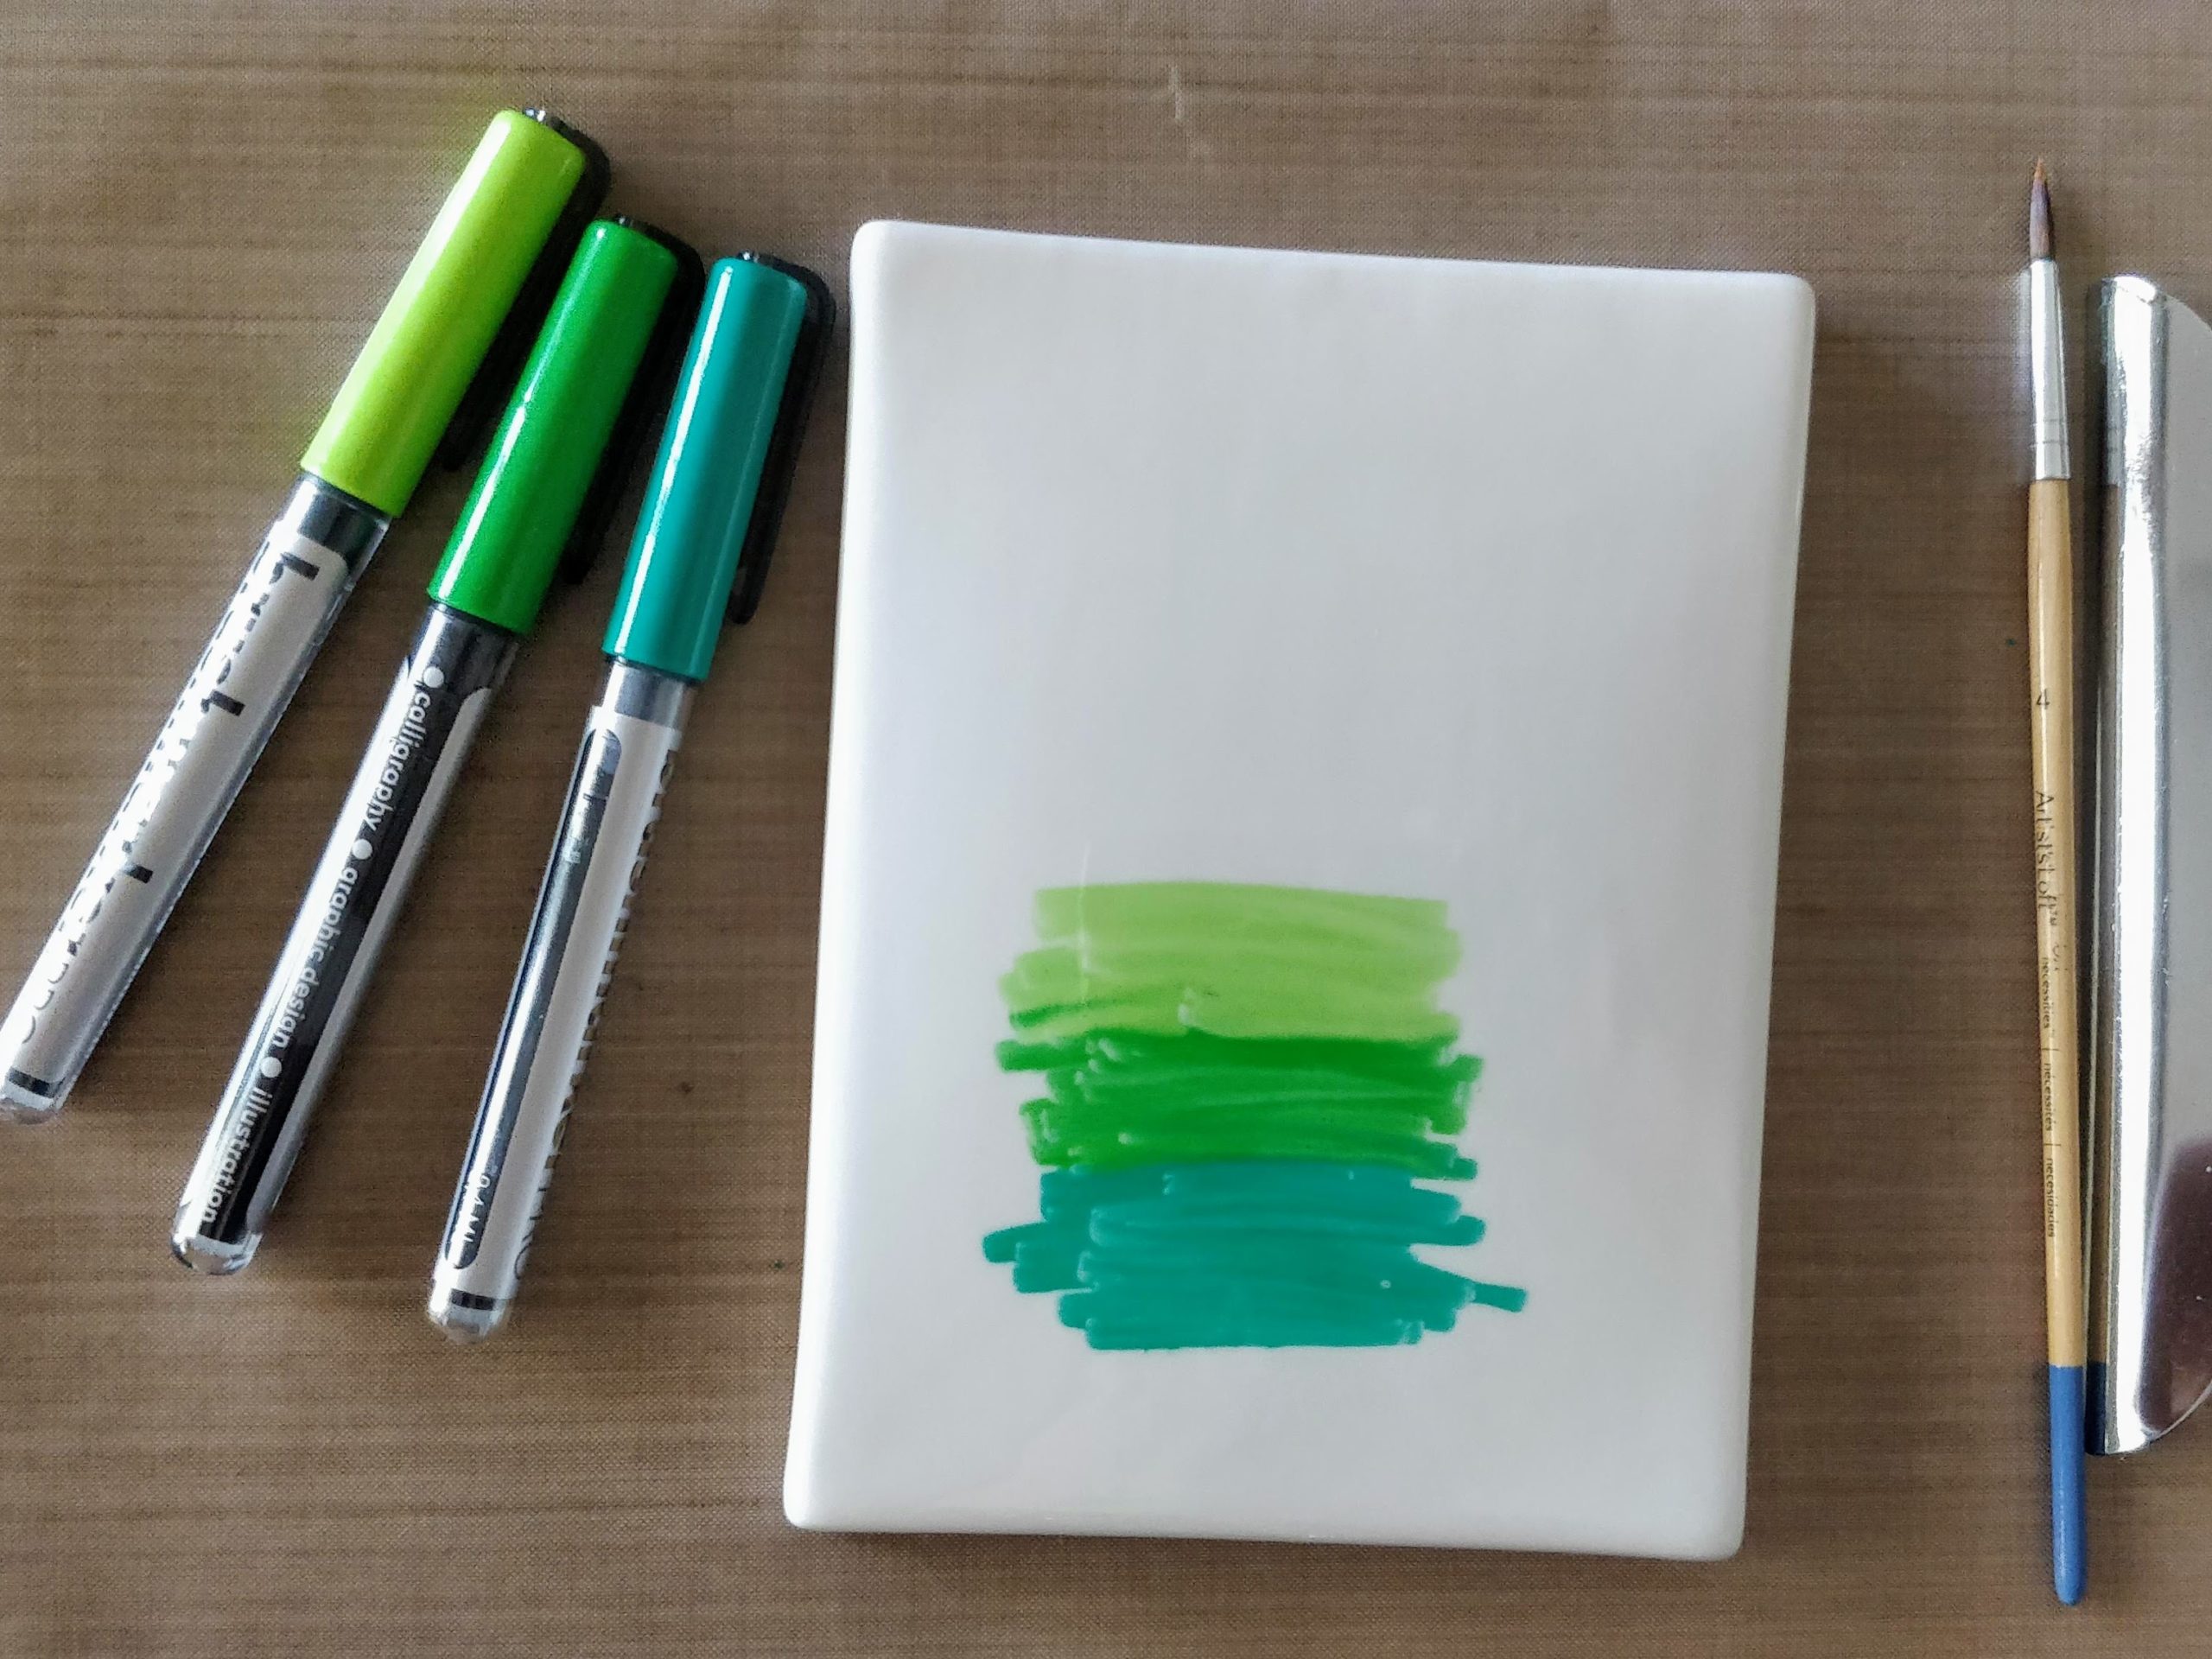
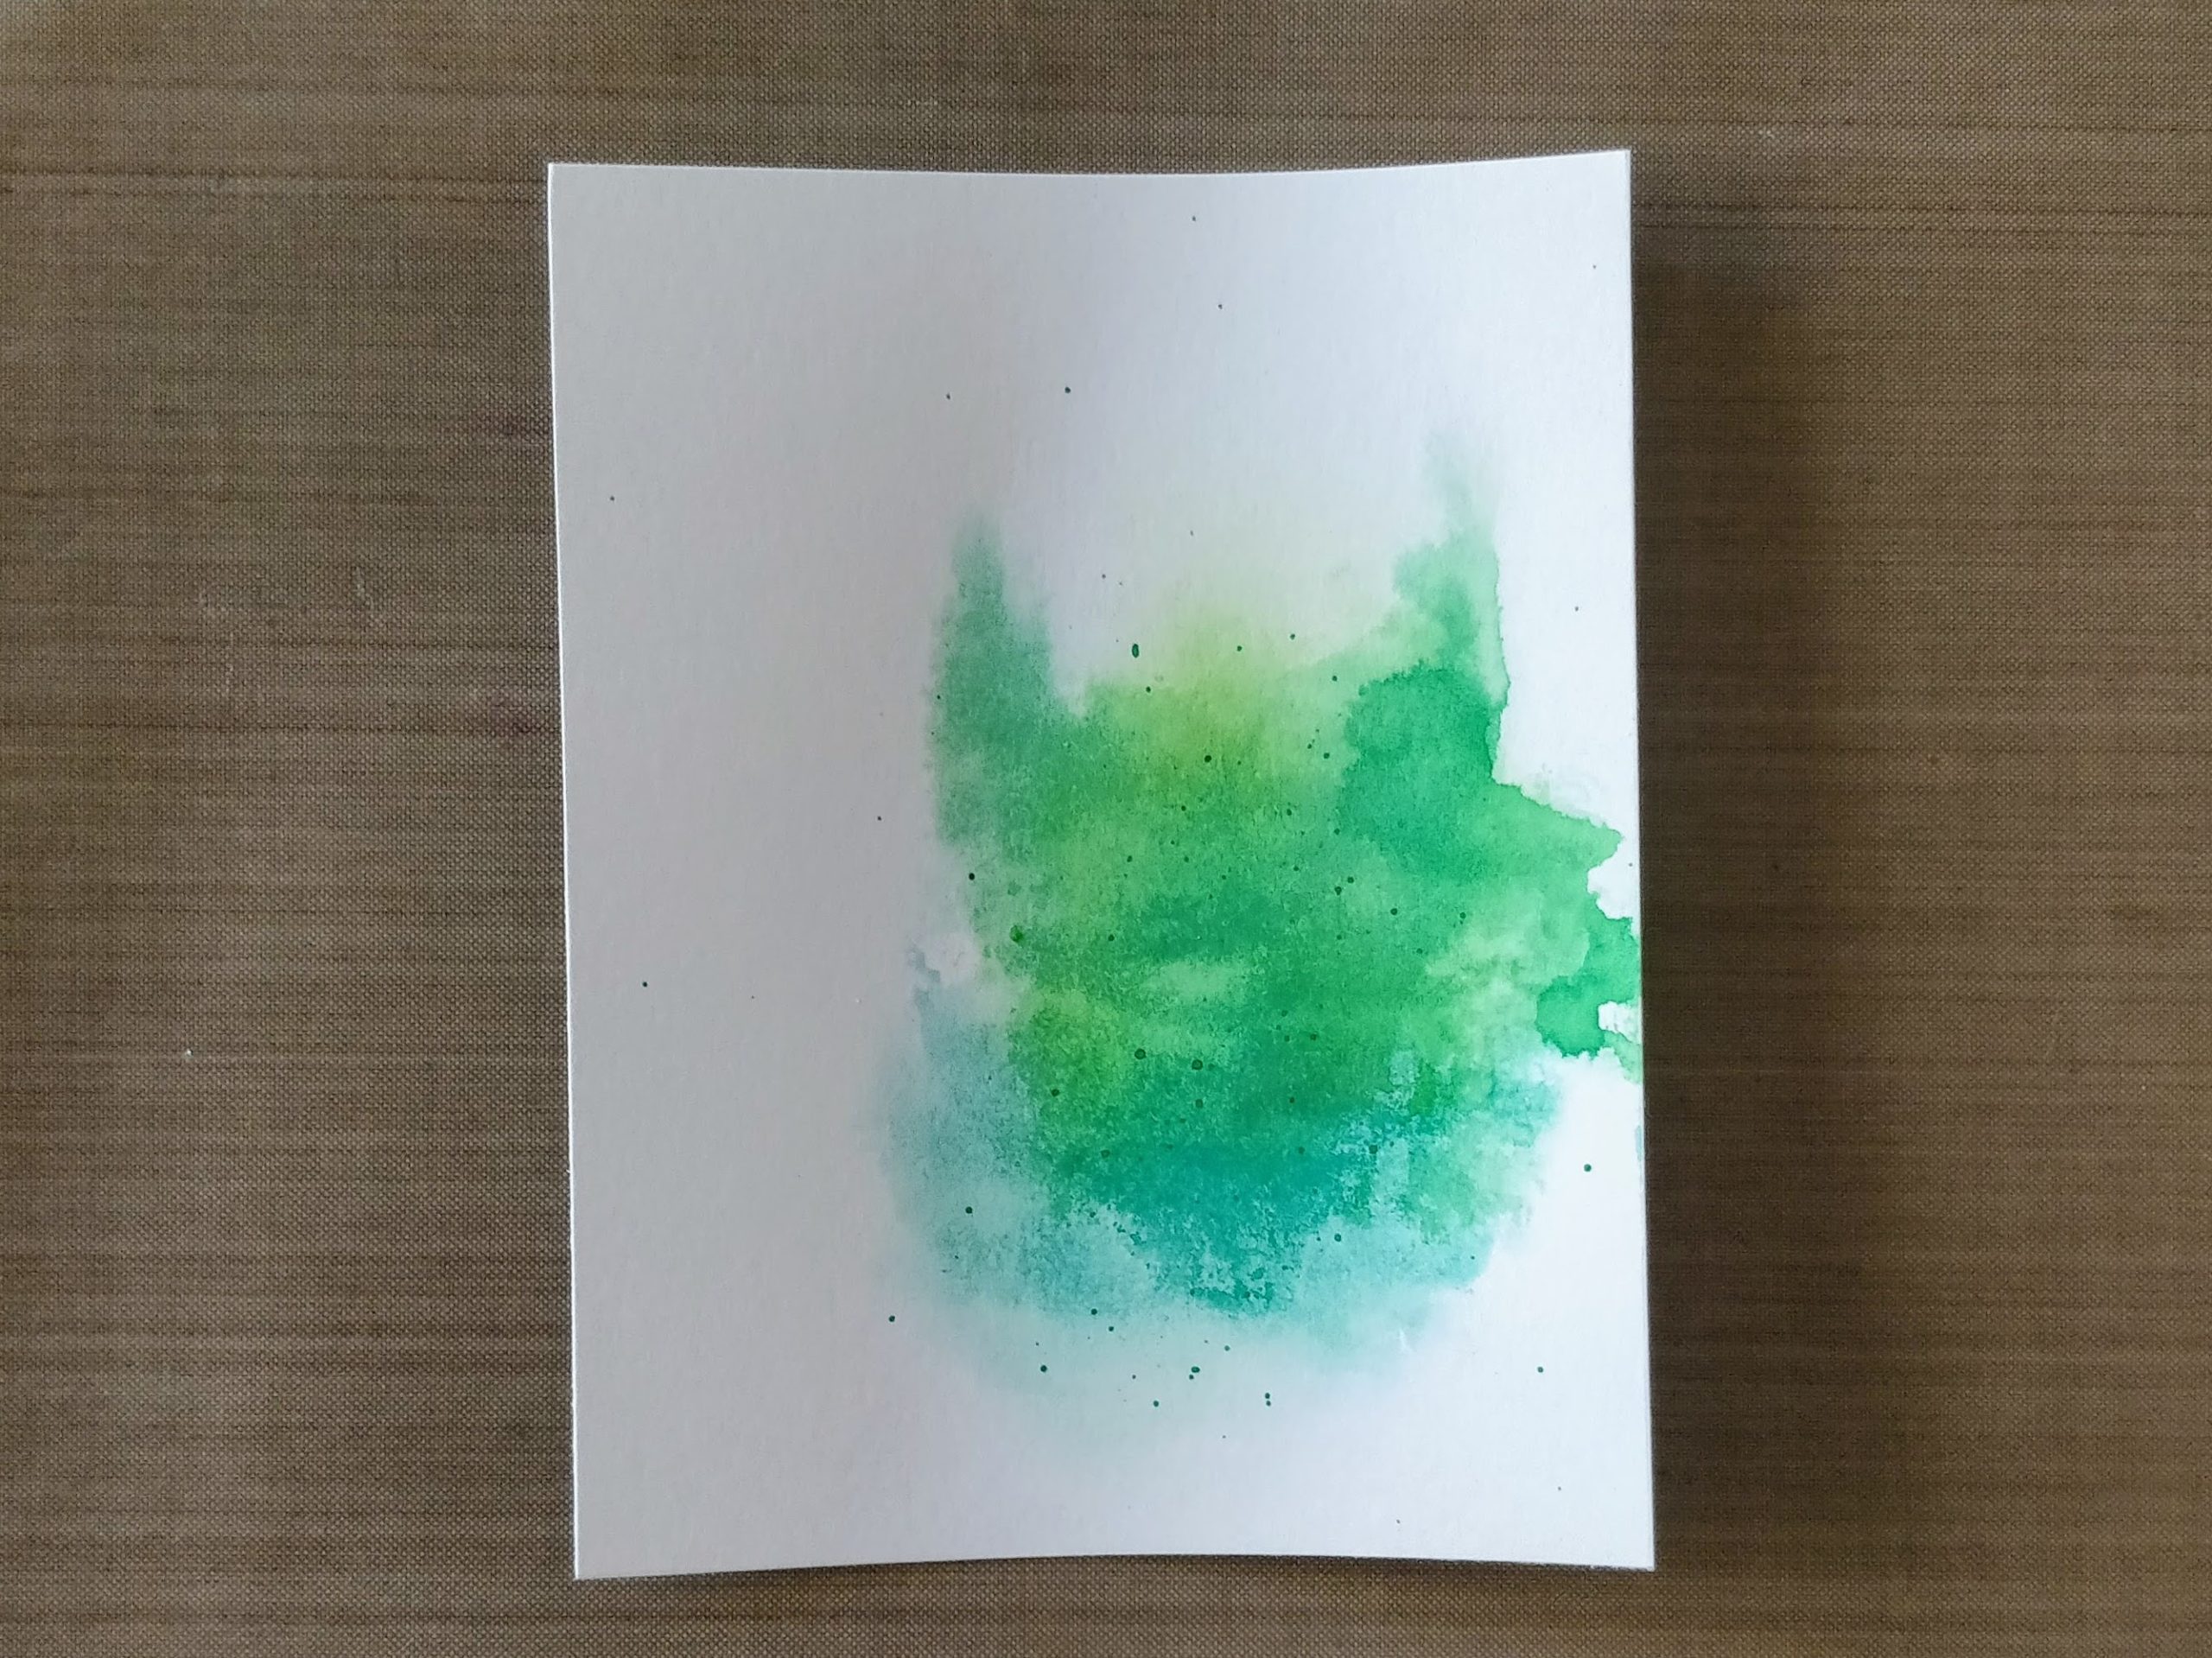
For the background of the card, I wanted something simple that would add a pop of color and ground the pig, but be fast and easy. I decided to use my Karin markers and do some ink smooshing. If you don't have these markers, you can use any water based markers, or even watercolor paint, or ink pads. I will however, recommend using a ceramic palette, not a plastic one, to help keep the ink from beading up. Just scribble (or swipe your pad) onto your palette, and spritz with a little water. Dip a panel of watercolor paper into the wet ink and lift.
You can dip it several times to create lines and variation of pattern. For markers or inks that aren't as concentrated as the Karin markers, you may want to apply more ink to the palette and repeat the process until you reach the desired vibrancy (remember, most colors dry back a little softer). After I dipped the panel, I let it dry for a minute, then splattered concentrated ink onto it (I just picked up more ink with a wet paintbrush and flicked it on). This gives the panel a little texture and adds interest.
Once the panel was dry, I lined it up in my Misti, with the pig roughly where I wanted him to live, and decided on sentiment placement. I was trying to create a visual line from the top left to the bottom right. Inking up the sentiment with the same green markers, I stamped it onto the panel. (You can color directly on your stamps with water based markers.)
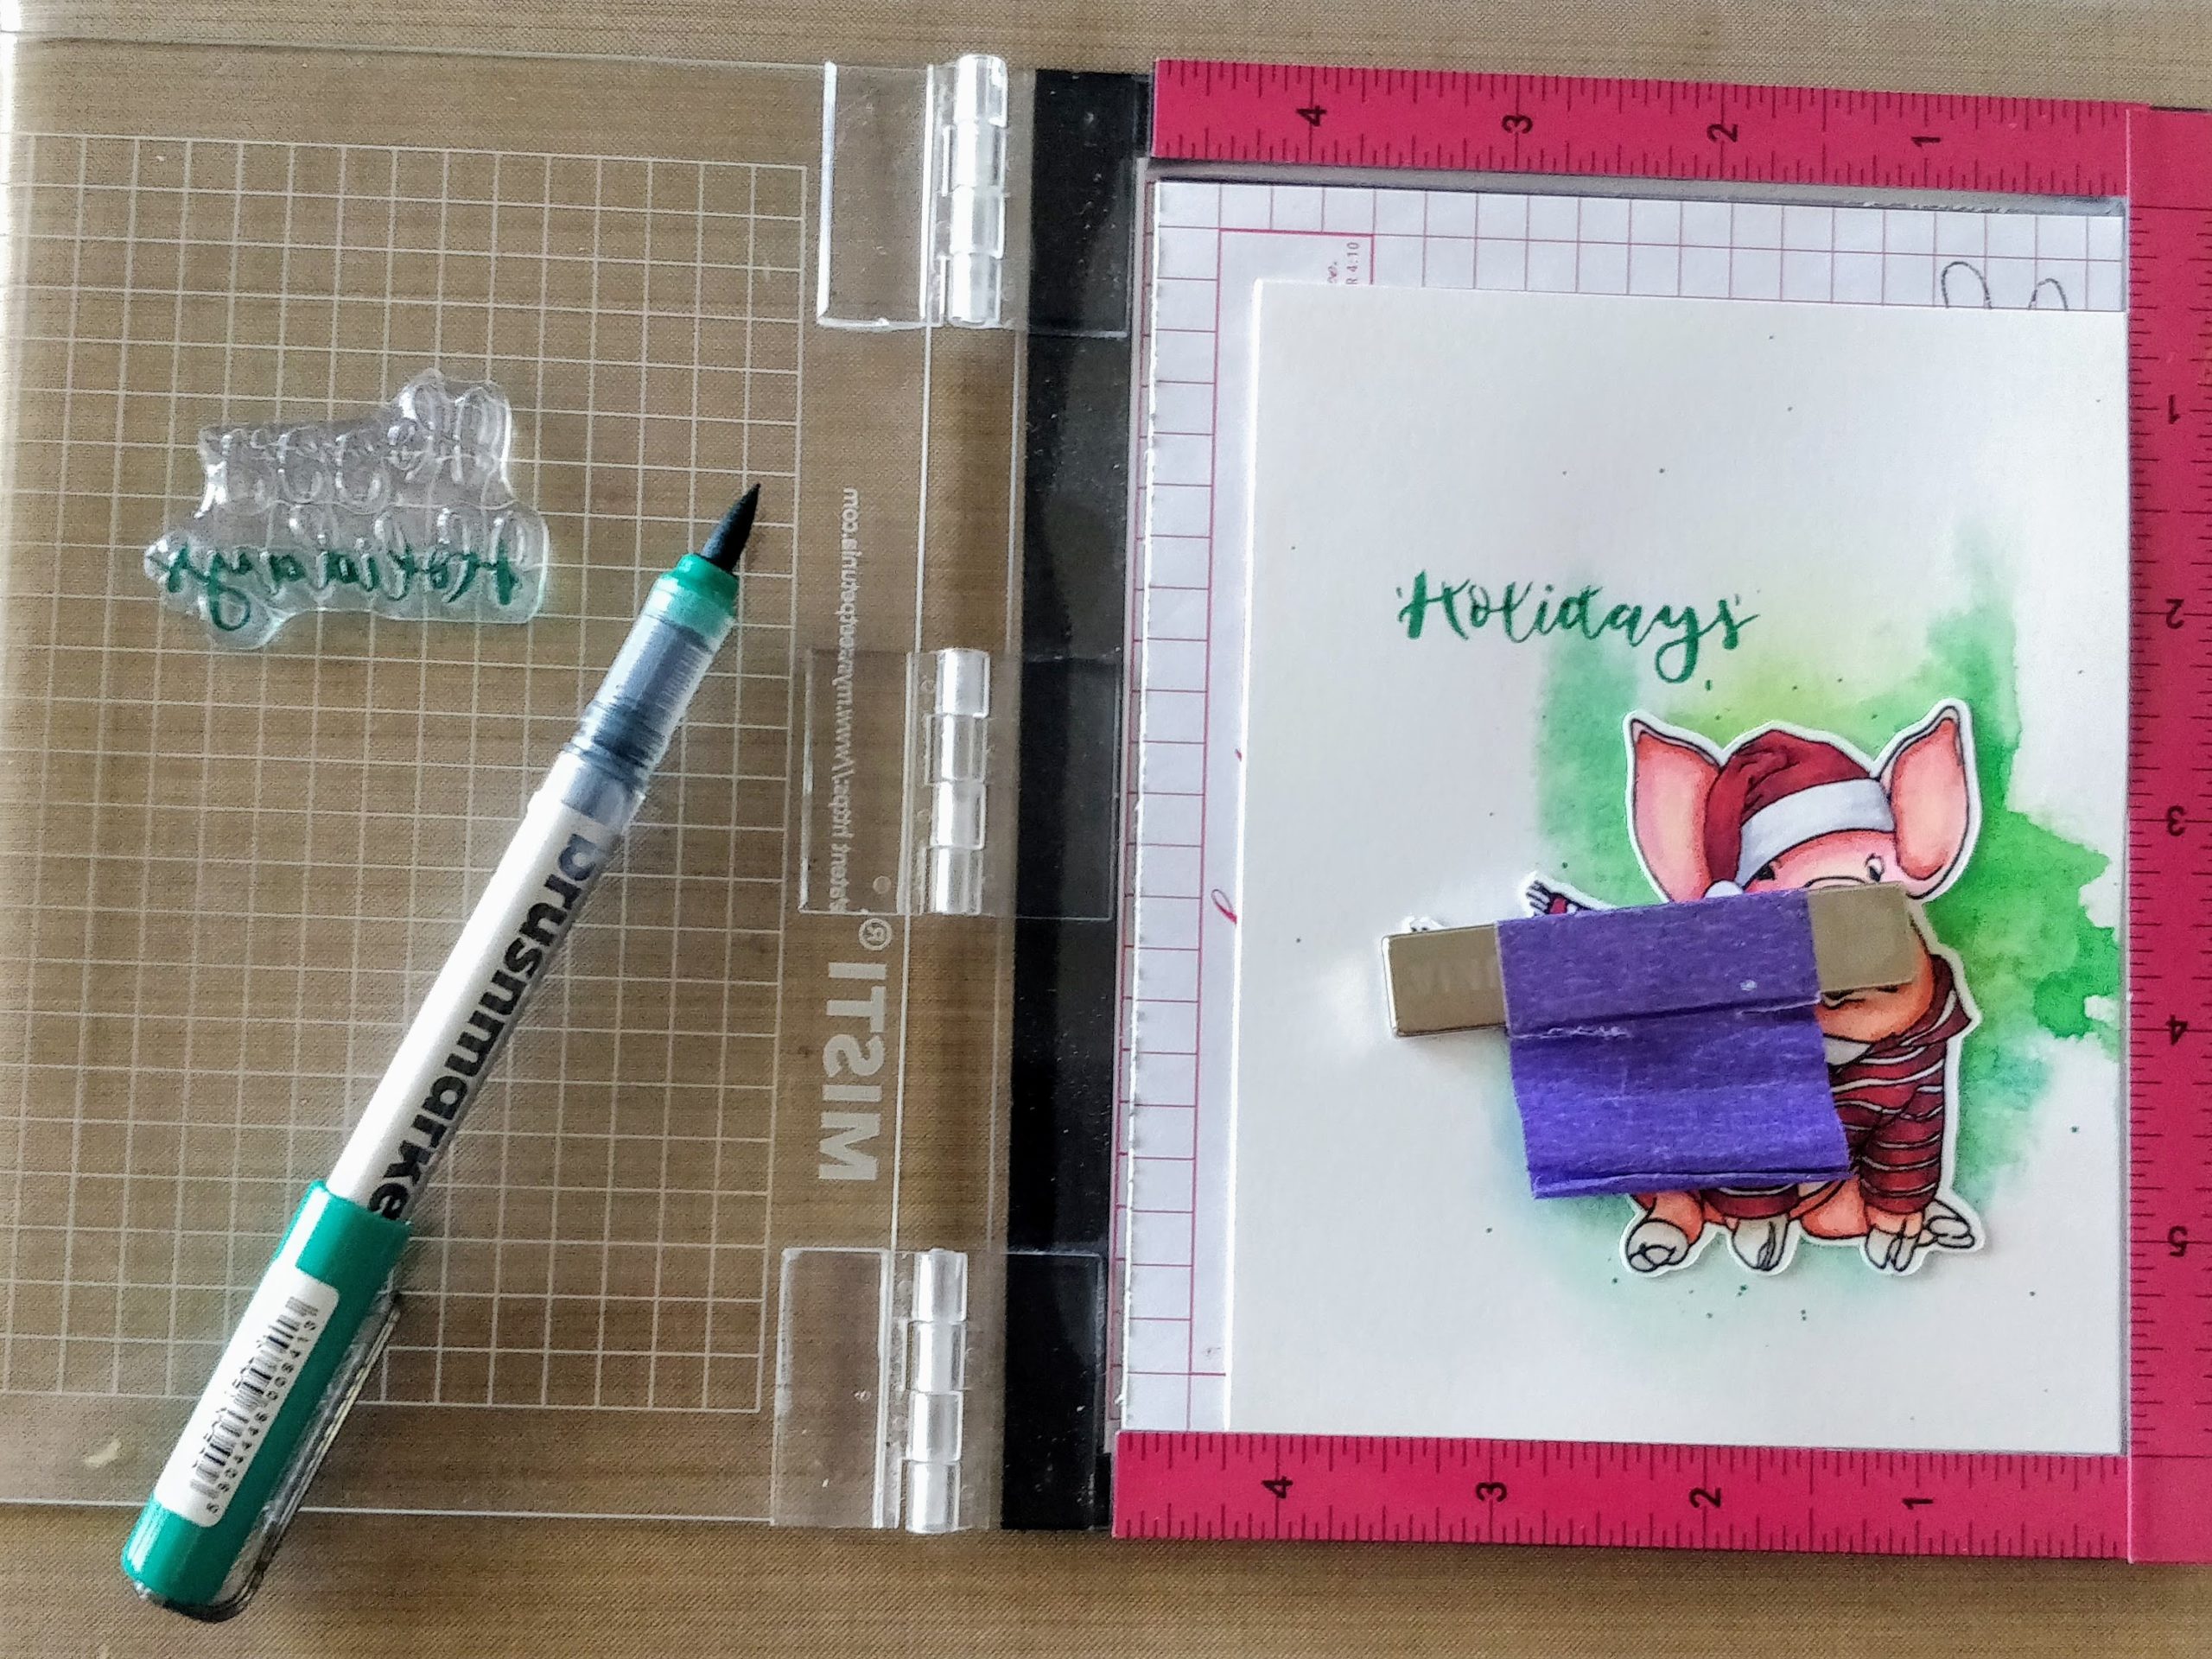
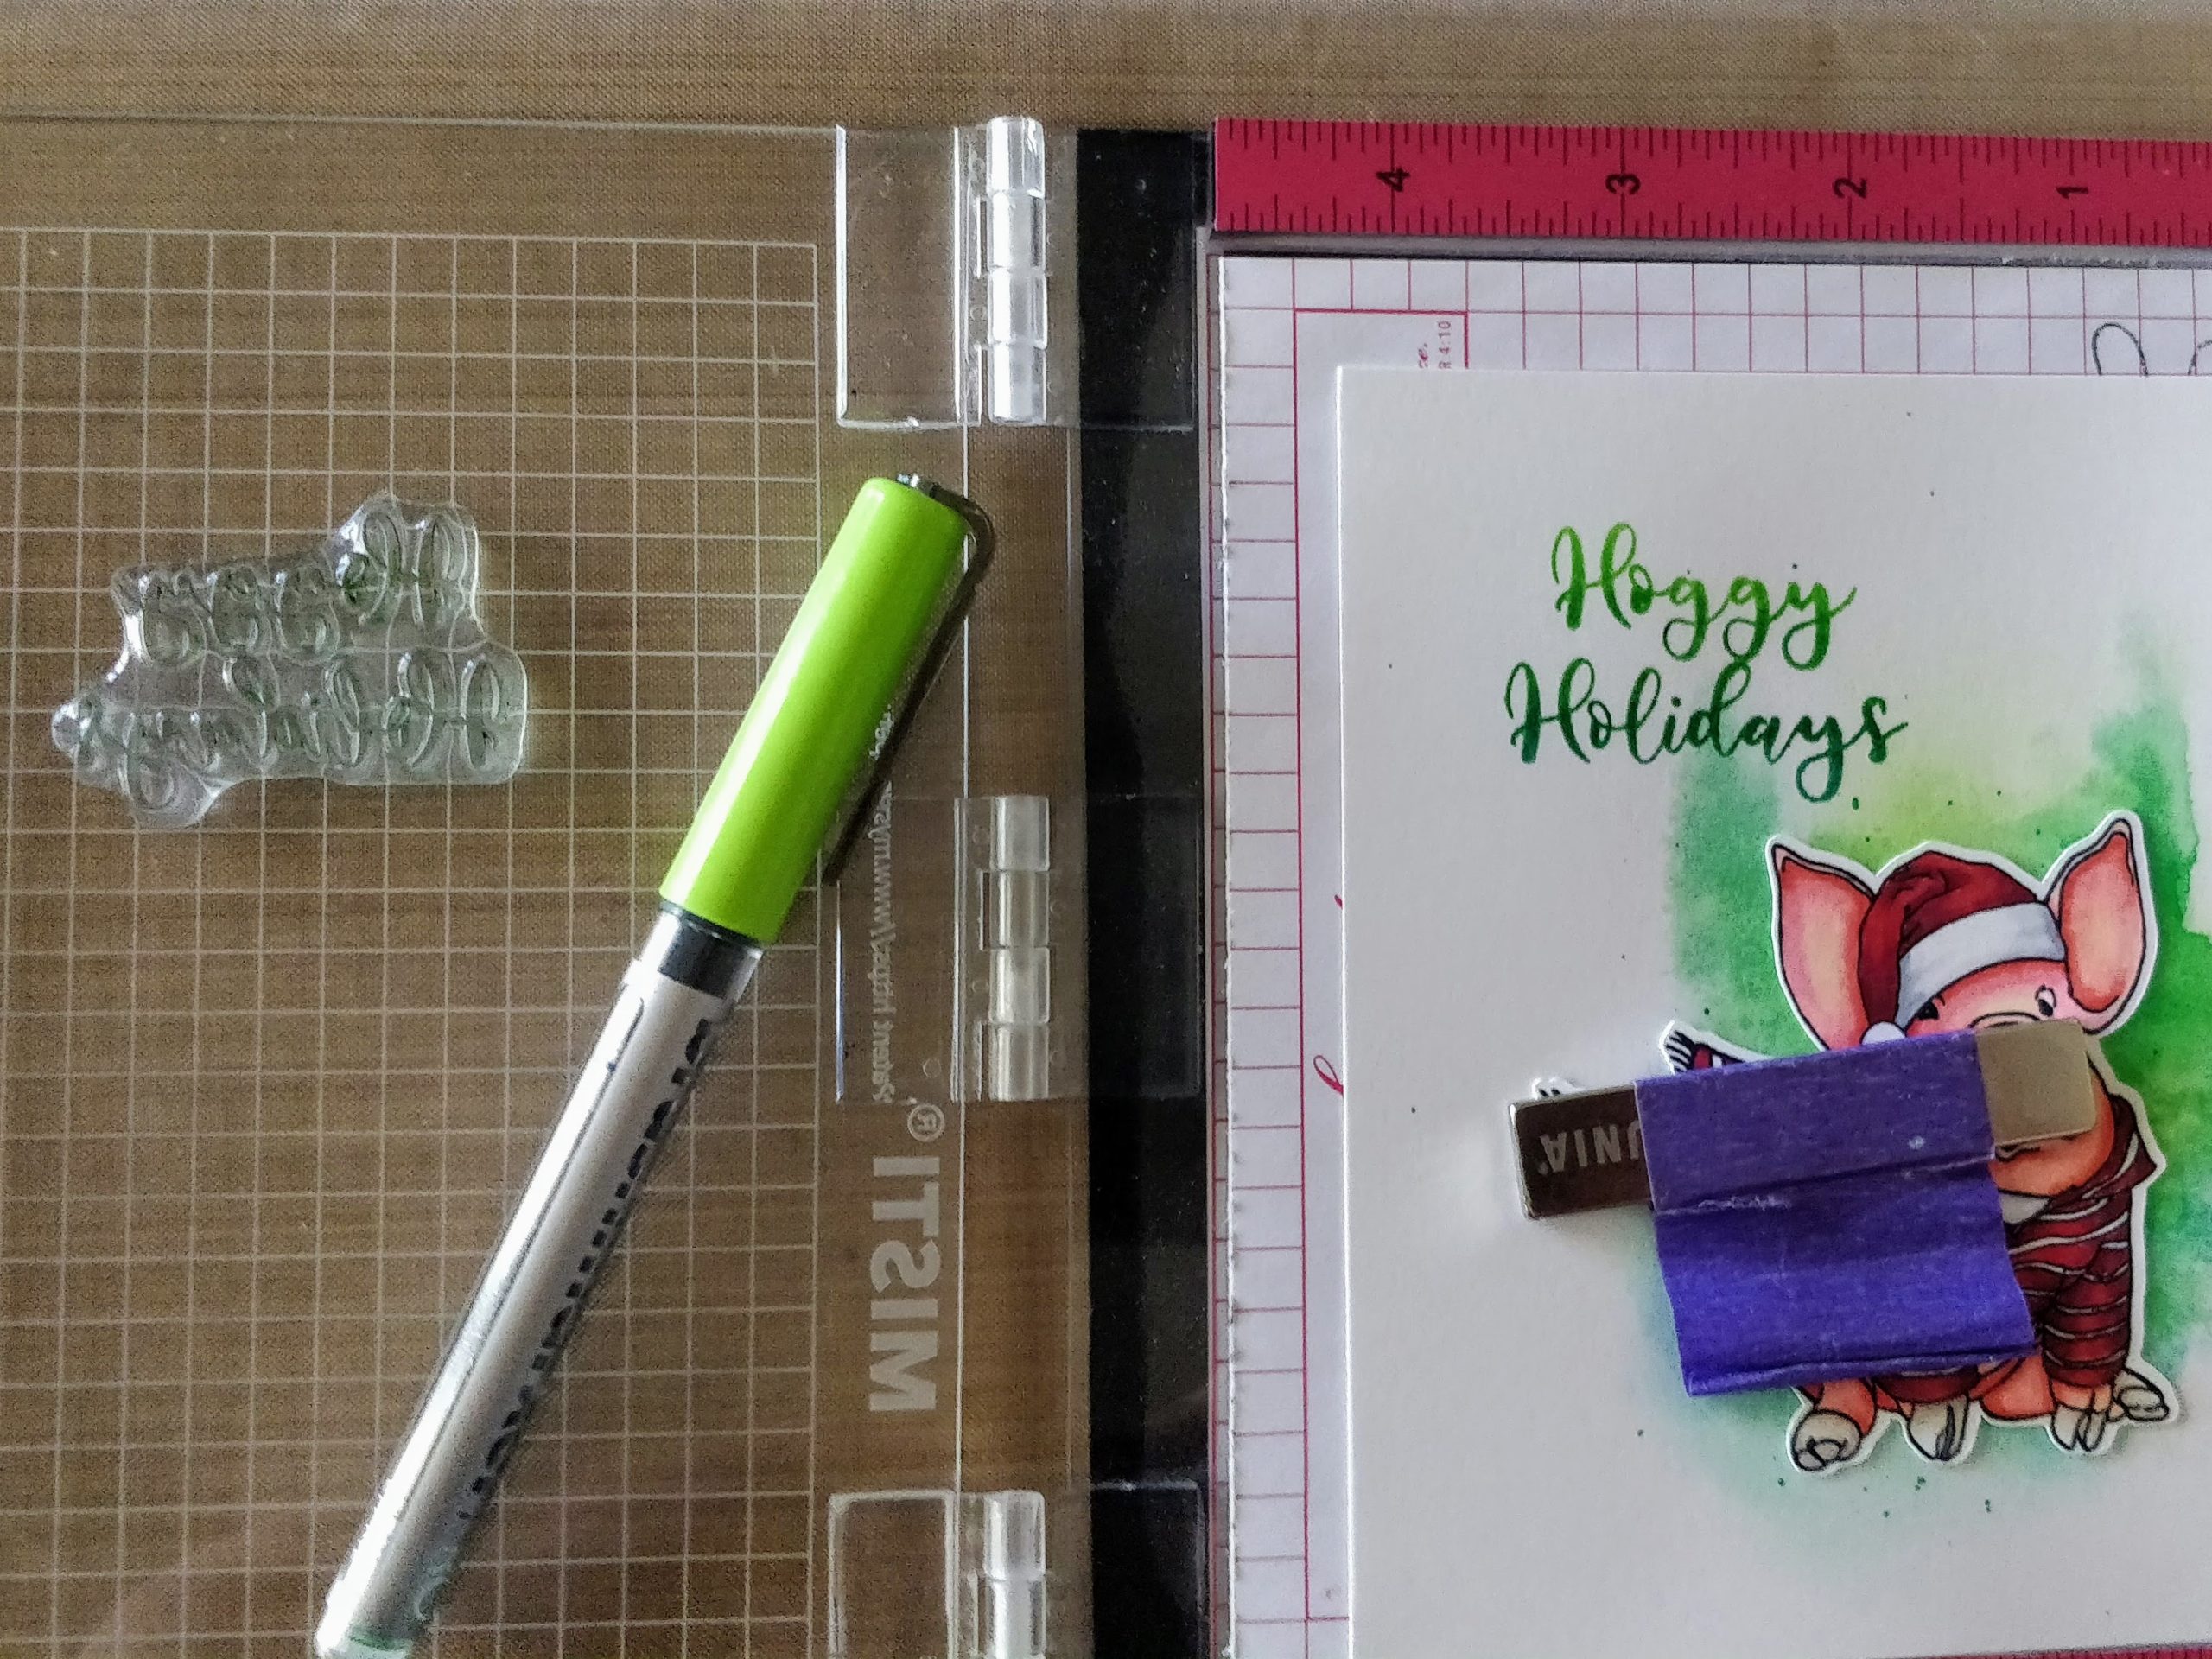
Assembling the card was really fast. I trimmed the panel to 3¾" x 5" and mounted it to a green card base. To add a little sparkle, I brushed shimmer pen onto the white parts of the pig's hat and the ink smooshing. Then, I mounted the pig to the card with a Mini Action Wobble. This creates a fun, interactive element, and makes the card extra special. For a little more sparkle, I glued on a few sequins. Here is the finished card in action...
I love the way this one turned out. The design lends itself to mass production, and virtually any stamp set can be used. I think this card would be fun to recreate with kids too. Let them color the die cut images and ink smoosh until their hands are nice and stained. And what kid wouldn't love to play with the Action Wobblers (even us big kids), right?
Thanks for stopping by today. You can find the sister article to this post on my blog. Hop on over for more fun and links to the specific products I used! If you'd like to see another card I made with the Hoggy Holidays set, click here. I'll be back soon with another fun card to share.

For more inspiration, updates, and news make sure to check out these places ...
The Rabbit Hole Designs
The Rabbit Hole Designs Instagram
The Rabbit Hole Designs Facebook Page
The Rabbit Hole Designs Pinterest
The Rabbit Hole Designs YouTube
The Rabbit Hole Designs
The Rabbit Hole Designs Instagram
The Rabbit Hole Designs Facebook Page
The Rabbit Hole Designs Pinterest
The Rabbit Hole Designs YouTube
No comments:
Post a Comment