I am coming out of my glitter fort to bring you
this awesome shiny card. Grab your laminator, foil and this gorgeous stamp!
This is a very doable card, it took about two hours to do everything.
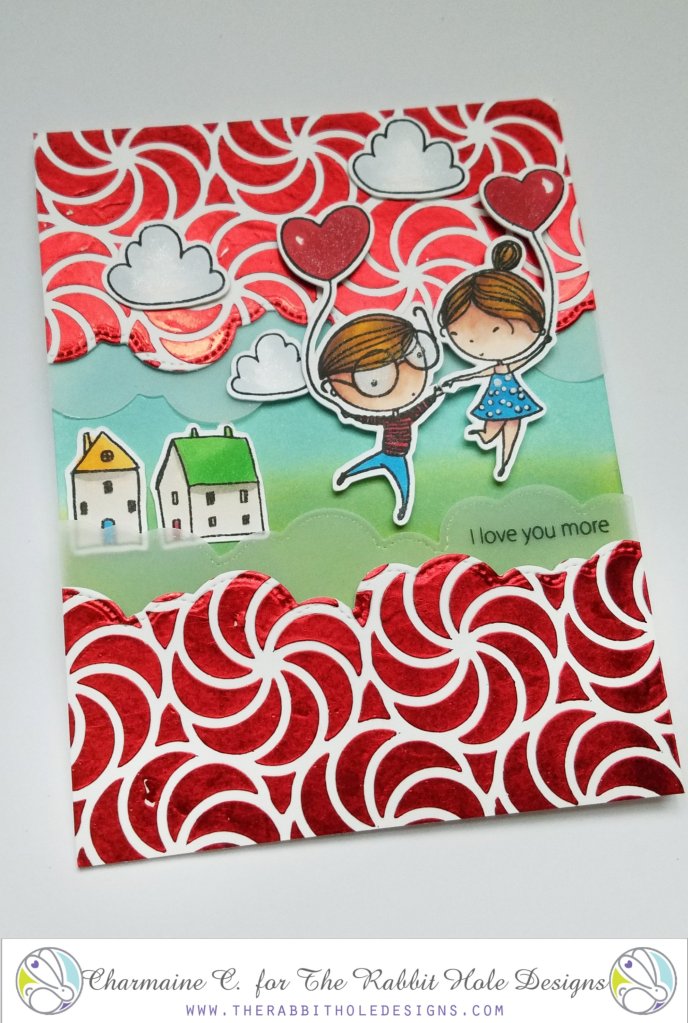
This is a top folding 4.25 x 5.5 card.
I used the previously released Love you More stamp and one of the new stencils, Candy Twist, to make the background.
Click on the images to go to the store. Also, these stamps and stencils are also now available at Simon Says Stamp!
This is a top folding 4.25 x 5.5 card.
I used the previously released Love you More stamp and one of the new stencils, Candy Twist, to make the background.
Click on the images to go to the store. Also, these stamps and stencils are also now available at Simon Says Stamp!
 |
| Love You More, Click image for store |
 |
| Candy Twist Stencil, click image for store |
Place the 6x6 stencil over a sheet of Neenah cardstock 110lb paper, or any other heavy duty cardstock. I use washi tape to keep everything in place but Pixie Spray is pretty handy here. Smear the transfer gel evenly across the stencil and paper using a craft knife or old credit card. Immediately wash the stencil in warm soapy water to avoid hardening of the gel. Set this aside and allow the gel to dry for about an hour. Switch on your laminator. Give it a good 20 minutes to heat up before use.
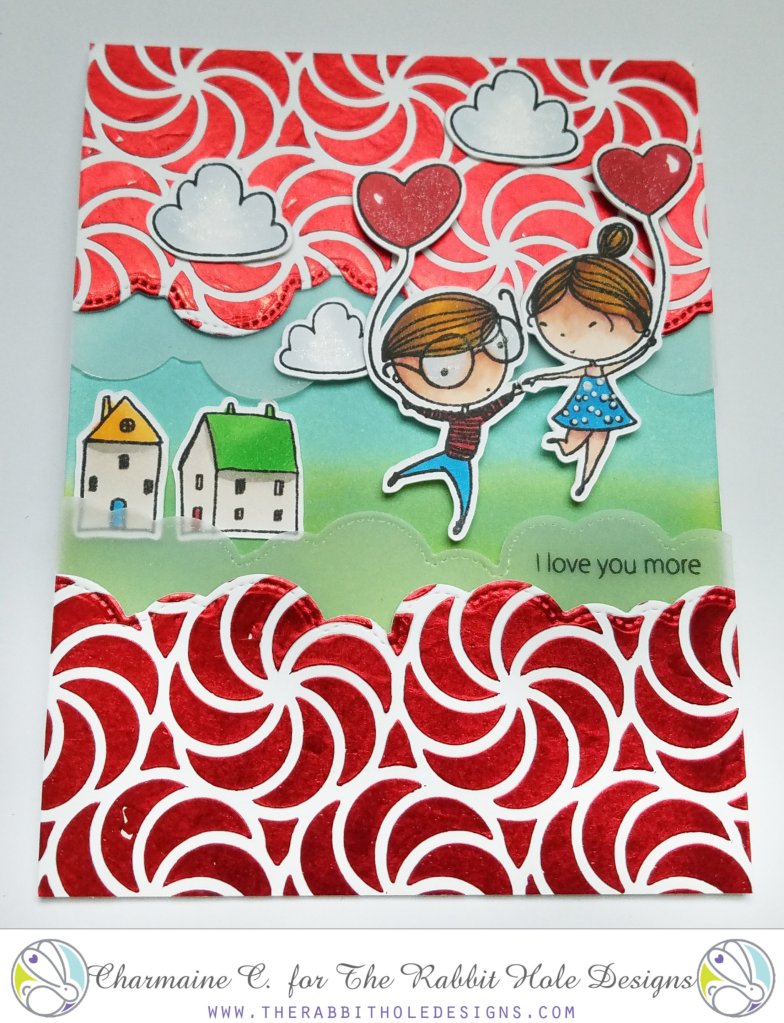
Now, stamp, cut and color your pretty people and buildings. I used Copics and didn't focus too much on the detail. The main attraction of this card will be the foiled stencil result. For the background, I used a green and blue distress oxide palette. Nothing fancy, just enough to peak through.
Vellum "paper" is a fantastic way to soften any card. I used a cloud like metal die to cut clouds for the top and the bottom. Using black StazOn ink, stamp the sentiment on the vellum. This ink is amazing as it is PERMANENT! Give it a second to dry.
Vellum "paper" is a fantastic way to soften any card. I used a cloud like metal die to cut clouds for the top and the bottom. Using black StazOn ink, stamp the sentiment on the vellum. This ink is amazing as it is PERMANENT! Give it a second to dry.
Make sure the transfer gel is dry. Place a piece of red foil large enough to cover over the cardstock. Depending on your laminator (***please read your instructions***) place the foil and dried gel cardstock through the laminator.
Some machines require you to place your product in a piece of parchment paper to run through the machine.
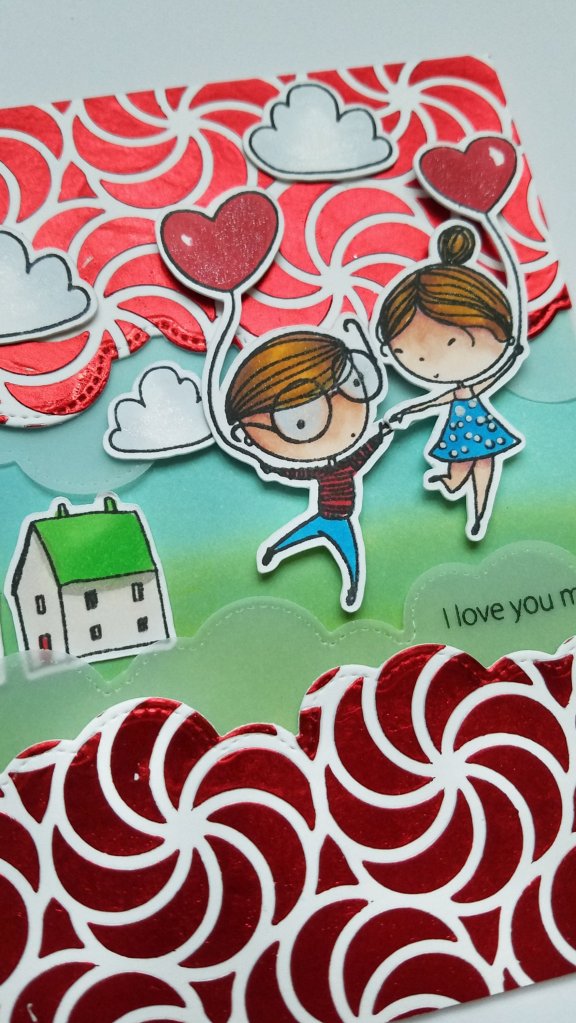
Using the fluffy cloud die, cut two pieces from the red foiled product that match the vellum pieces.
Adhere the vellum to the red with a little overlap, and then to the card. Cut off excess paper to match the card size. Place the people on dimensional tape and use regular adhesive for the buildings.
I hope you have a fantastic day and appreciate you supporting a new and small business! We are all so excited that you are here growing with us!
Ta-ta!
Charmaine
charcards.blog
Some machines require you to place your product in a piece of parchment paper to run through the machine.
Using the fluffy cloud die, cut two pieces from the red foiled product that match the vellum pieces.
Adhere the vellum to the red with a little overlap, and then to the card. Cut off excess paper to match the card size. Place the people on dimensional tape and use regular adhesive for the buildings.
I hope you have a fantastic day and appreciate you supporting a new and small business! We are all so excited that you are here growing with us!
Ta-ta!
Charmaine
charcards.blog
For more inspiration, updates, and news make sure to check out these links.
Great use of foiling and a wonderful card!
ReplyDeleteThank you!!!!!
DeleteLove love love this card! Love the foiling and using the cloud die with this cute stencil!
ReplyDeleteAawww, thank you!
ReplyDelete