Pages

Hoo's there?

Hello everyone! It's Amanda W taking over today. Thanks for stopping by to check out this super fun light up Caffeinated Owl card. This was my first attempt at a light up card and with the help of my friend Amanda at Pear Blossom Press, it was super easy and I'm excited to try it again.


Here's how I did it:
  • Die cut a circle from a white panel and set the circle aside.
  • Ink blended the main panel like a night sky, splattered with water and gold watercolor. Then layered vellum behind the opening.
  • Next ink blended the circle yellow for a moon...or sun, whichever you prefer. This was glued directly to my card front.
  • Stamped, colored and cut my owl and die cut a branch for him to sit on. Using my images  as a guide I also stamped and heat embossed "push here" where the button would be hiding.
  • At this point I laid out and glued my light and circuitry down. Check out Pear Blossom Press for info on that.
  •  After that was glued down I popped my sky panel up with double-layer foam tape and glued my branch and owl directly to it.
  • I stamped and heat embossed a sentiment, cutting it into a strip and popping it up with foam squares.

Here's a look at it all lit up! It's so fun!!! My whole family keeps playing with it. I think this owl might be my favorite in the caffeinated critter collection. Thank you so much for joining me today. I'll chat with you again soon.

Here are the products I used:

Caffeinated Owl


For more information, news and updates check out these links:

Joyful Boxer


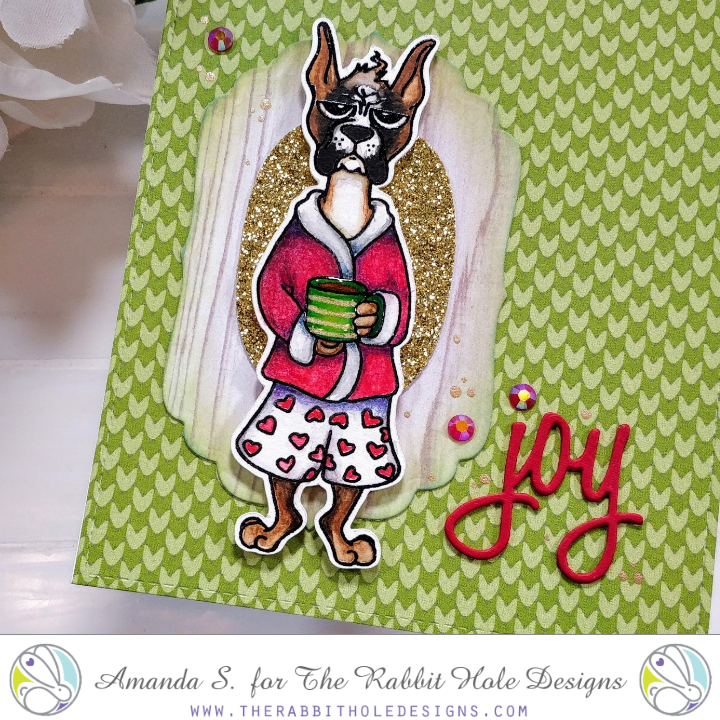
Hello again my crafty friend, it's Amanda from Pear Blossom Press again. I'm back with a fun new Christmas card featuring the Caffeinated Boxer. I took this image with me to Kathy Racoosin's coloring class, and I have to admit, I got help from the teacher on this guy ;) Because I simply love the way he turned out, I wanted to keep the focus of the card entirely on him.


Once I had him stamped, die cut and watercolored, Kathy showed me how to add in shading and sharpen up some of the details using color pencils. She encouraged us to be fearless and randomly color pluck. She also suggested that we use different colors for the shading, not just darker versions of the same color. So if you look close, you'll see that the shading on his red coat and the top of his boxers is purple. I never would have thought of that on my own. Now my pencil work isn't as smooth as Kathy's; it's going to take a lot more practice, but I'm working on it. And I'm getting ready for her next 30 Day Coloring Challenge that starts on November 1st. One of these days, I'll be good at it.

Have you had the chance to play with any of the new caffeinated critters from the last release? They are adorable! I love that the Caffeinated Boxer is wearing a pair of boxers! He cracks me up! And I love that he has a coordinating die; it makes life so much easier. For more inspiration, head on over to my blog, where you'll find the sister article to this post and a whole lot more! I'll be back soon with more fun cards to share.

A dose of Reali-tea


Hello everyone! DTM Shanna here today with a card featuring The Rabbit Hole Design‘s New Release for October, Caffeinated Reindeer! All of them new caffeinated critters are so flipping fun to play with, you will want to check them all out here, if you haven’t already.

Moving on to my card for today... I had a lot of fun watercoloring my reindeer, and then was *puzzled* by what to do for a backgound.  Puzzled you say?  My perfect solution was found with TRHD’s Puzzle Box stencil!  I used Nuvo expanding mousse, but chose not to heat set it so it retained more of the metallic finish.  The stencil was applied over a Barn Door distress oxide ink blended card panel. The red and green came together for a fun Christmassy background I think!


I added a bit of interest by die cutting a circle from some metallic gold printed vellum and stamped the caffeine symbol from the stamp set all over it.  The sentiment is from the Perfectly Blended sentiment stamp set, and was stamped on a banner die cut and water colored to match.


Have you started making Christmas cards yet?
That wraps up my post for today, I will be back next week for another trip down The Rabbit Hole!  Until then you can find me over on my blog, Caffeinated Craftiness or over on Instagram!
-Shanna
For even more inspiration, updates, and news make sure to check out these links.
The Rabbit Hole DesignsThe Rabbit Hole Designs InstagramThe Rabbit Hole Designs Facebook PageThe Rabbit Hole Designs PinterestThe Rabbit Hole Designs YouTube

#wideawake by Niccole

Hello everyone!

It's Niccole from Nic & Viv Designs back again to share another card I made using one of The Rabbit Hole Designs stamp sets. 

For today's card I used the Caffeinated Owl stamp set.


How to create this card:


  • Black A2 card base
  • White card panel cut to 4"x5.5"
  • Stenciled background on white card panel with gray ink
  • Stamp background images and hashtag sentiment with a darker gray ink
  • Copic color and cut out Caffeinated Owl image
  • Glue image to bottom left card front
  • Add Judikins Diamond Glaze to the coffee cup for glass effect and dimension
Here is one more picture of the full card ...


TRHD Products used:


For more inspiration, updates, and news make sure to check out these places

The Rabbit Hole Designs YouTube


I have had so much fun playing with the Caffeinated Owl stamp set today.

Thank you so much for stopping by and spending some time with me.

Until next time ... Hugs & inky fingers!   -Nic-

Dashing through the NO!


Good morning my caffeinated critters!
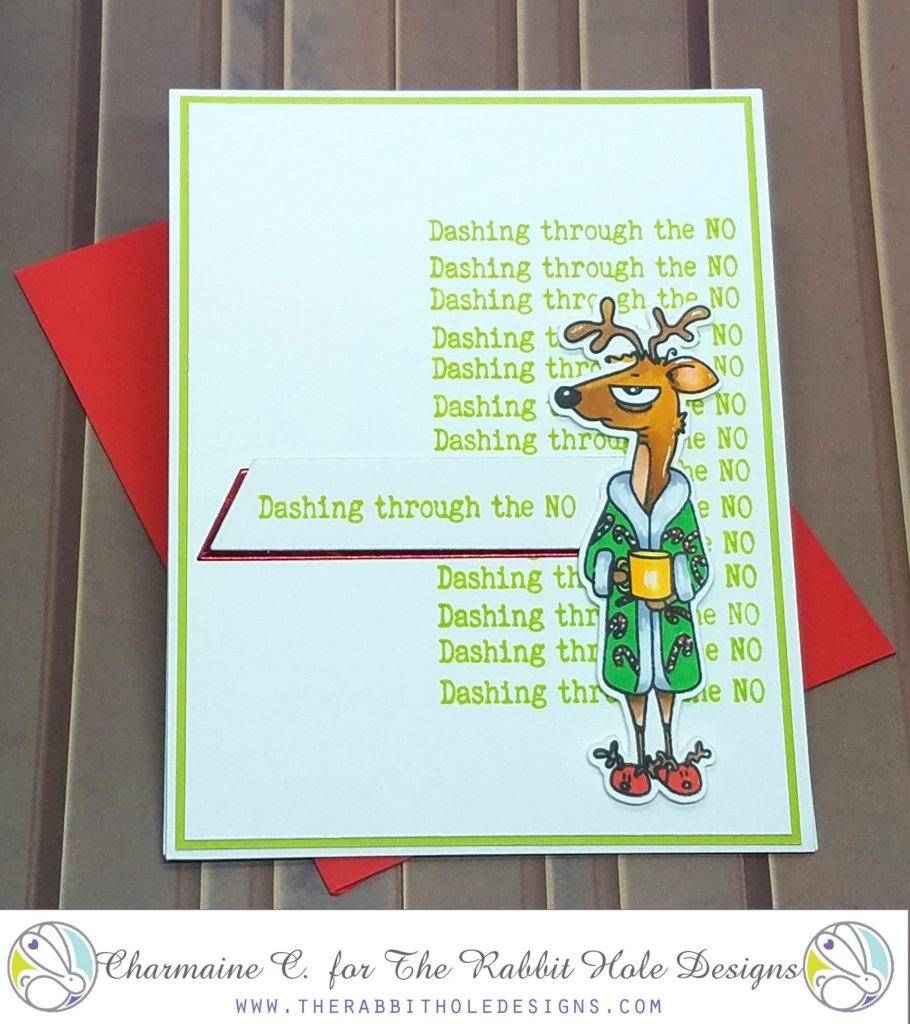
Charmaine with CharCards "on the sleigh"!
 I like to make extravagant cards that take hours but decided that I need a quick card with a punch!
Well, here he is in all his Christmas glory!


This caffeinated reindeer stamp and metal die are available at the Rabbit Hole Design and Simon Says Stamp stores.


                                             Here is what I did:

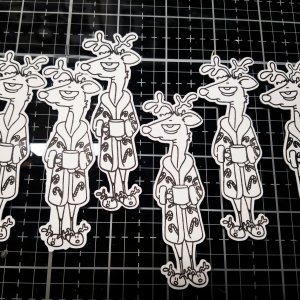
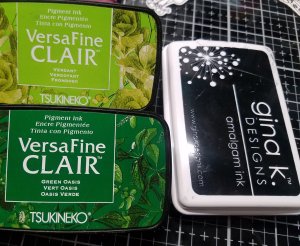
1. I stamped a few reindeer on Neenah 110 lbs card stock and fed it through my Brother Scan N Cut. You can also use the metal die cut. I used Gina K Amalgam ink (Copic friendly) to stamp.


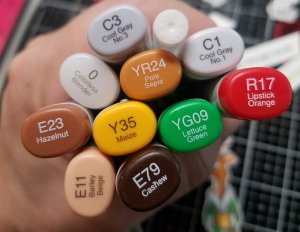
2. I used Copics to color this reindeer. Use a white Gelly pen for highlights and candy canes.


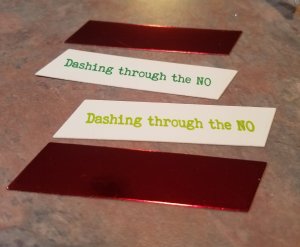
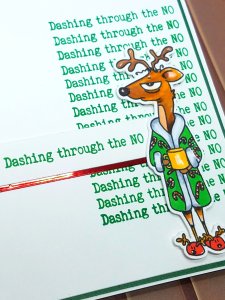
3. Using a 4 x 5 1/4 white card stock piece, I stamped the "dashing through the no" multiple times, 1/4 apart, with my Misti. I like using VersaFine Claire ink for sentiments! I made two different cards with a green variety.


4. Stamp the sentiment and cut with a metal sentiment die. To add some shine to the card, also cut a red piece from red mirror card stock. Assemble with double sided tape.


5. Attach a matching green card stock to the stamped base's back. This should be about an 1/8th bigger than the stamped base.


6. This is a  4 1/4 x 5 1/2 top folding card. Attach the sentiment with double sided tape and the reindeer with dimensional foam tape.
7. For the inside of the card, cut a piece of 60 or 80 lbs colored paper, 4 1/8 x 10 1/2. Fold at center, stamp sentiment and adhere with double sided tape.


8.  Match your envelope and you're done! I made 4 cards under two hours with distractions from my own village.


I hope you will give this a try! Clean and simple for the win! Leave me a comment or better yet, post your creation on our fan page!

Reindeer kisses,
Charmaine