
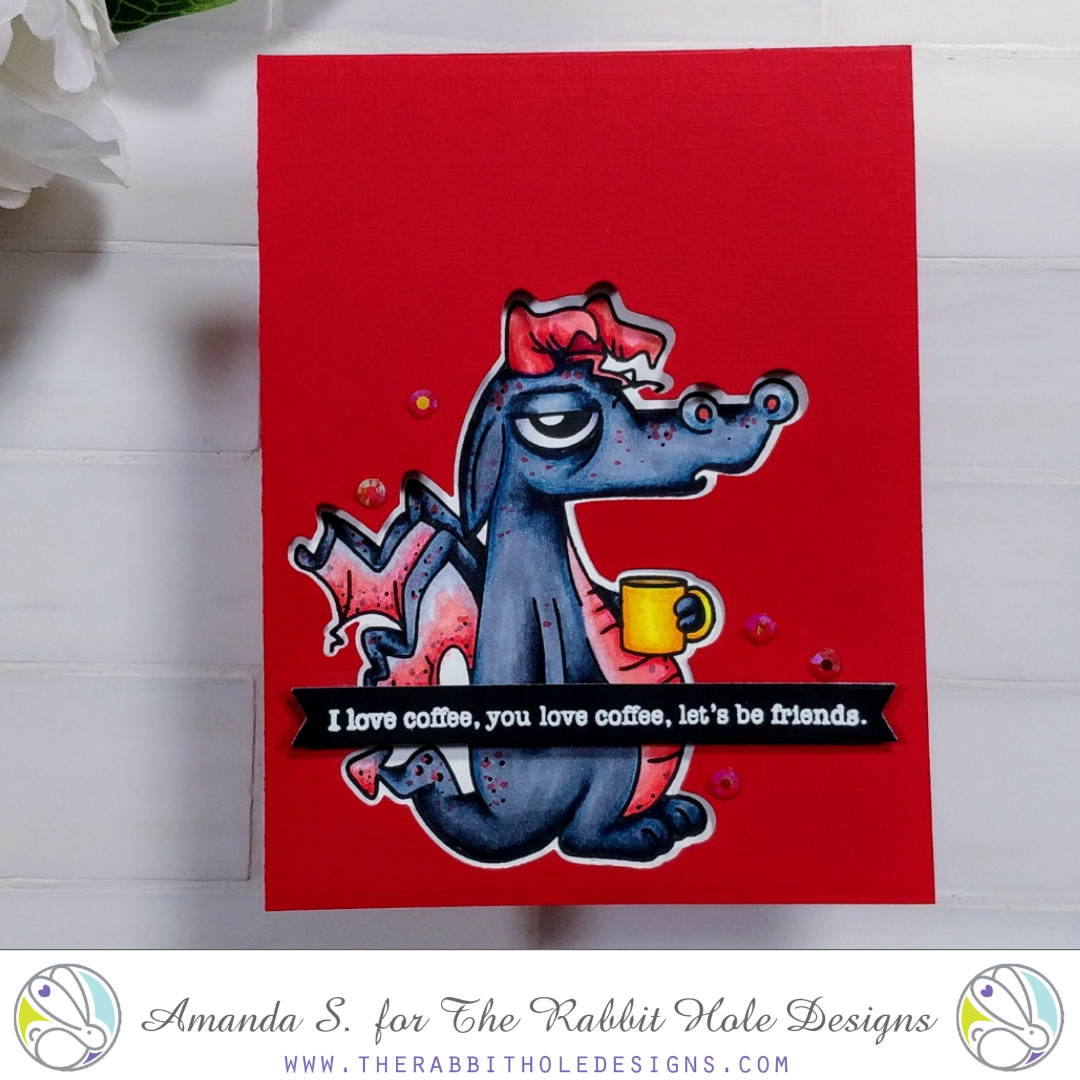
Hey crafty friend, it's Amanda with Pear Blossom Press, and I'm back to spotlight the Caffeinated Dragon window card I made in my last video. This is a fun technique that you can use with any stamp and die combination, but it is especially effective with coordinating sets.
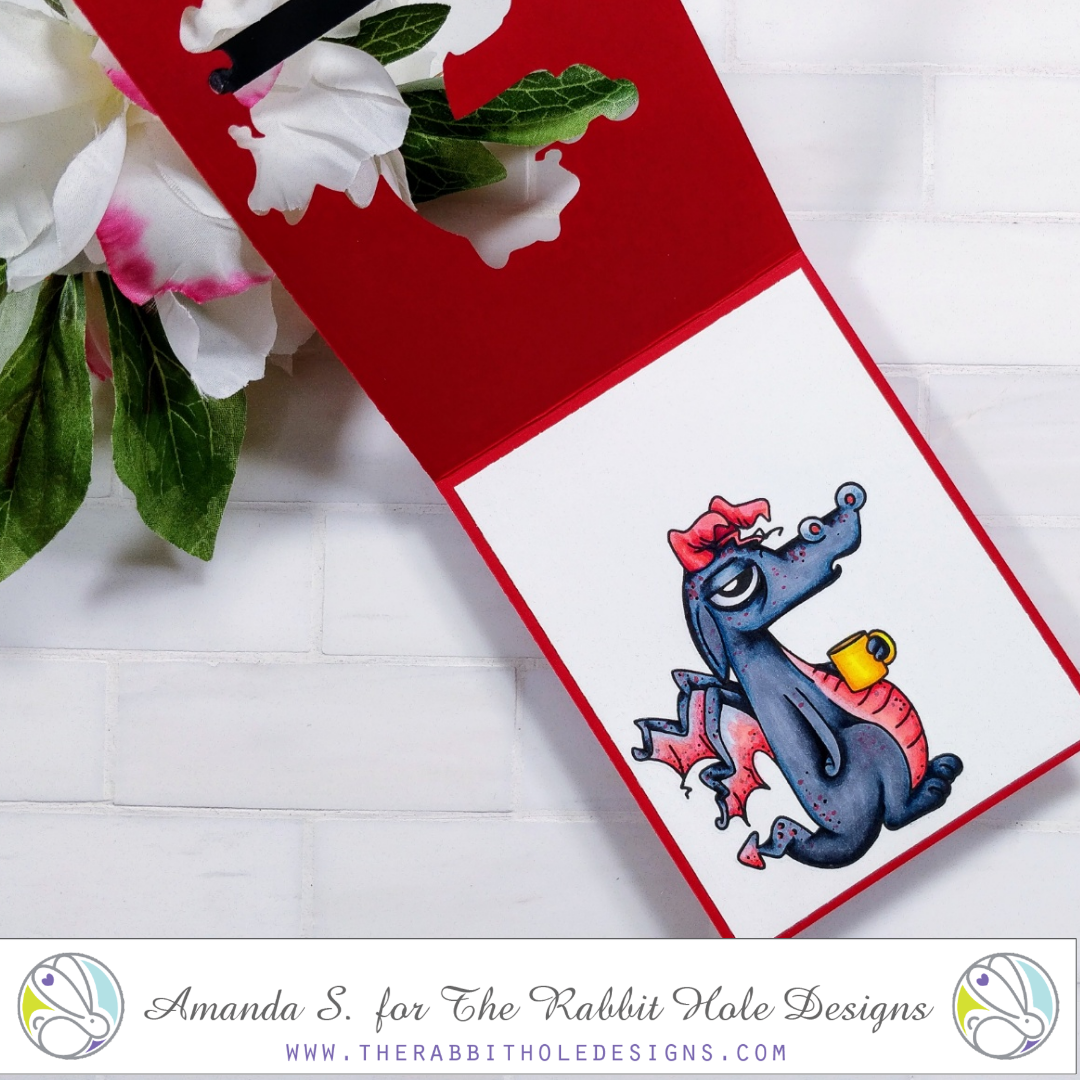
The idea is simple. Stamp your image inside your card, then use a die to cut a window from the front of the card to see the stamped image inside. There is trick to getting the window lined up correctly. Line your stamp up in your Misti, then stamp the inside panel. Close your card, stamp the image again, and use that to line up the die before cutting the window.
For this card, I stamped the Caffeinated Dragon on an A2 white panel and colored it with Copic markers. I stamped the image again on the front of a red card, lined up the coordinating die and cut the window. Then, I trimmed the white panel down on all four sides and glued it inside the red card. I finished it up with a Perfectly Blended sentiment on a die cut banner, and a few red gems on front.
You can see the process, along with several other unique ways to use your dies in this video...
Thanks for stopping by today! You can find the sister article to this post on my blog, along with links to the specific products I used. If you'd like to see more cards featuring this stamp set, check out this article.
For even more inspiration, updates, and news make sure to check out these links.
No comments:
Post a Comment